
Yet another PaceSetter install
 11-30-2010, 06:18 PM
#1

I am doing this as a step by step to show how these bad boys go in, with pictures. Sorry no pop-up pictures though.
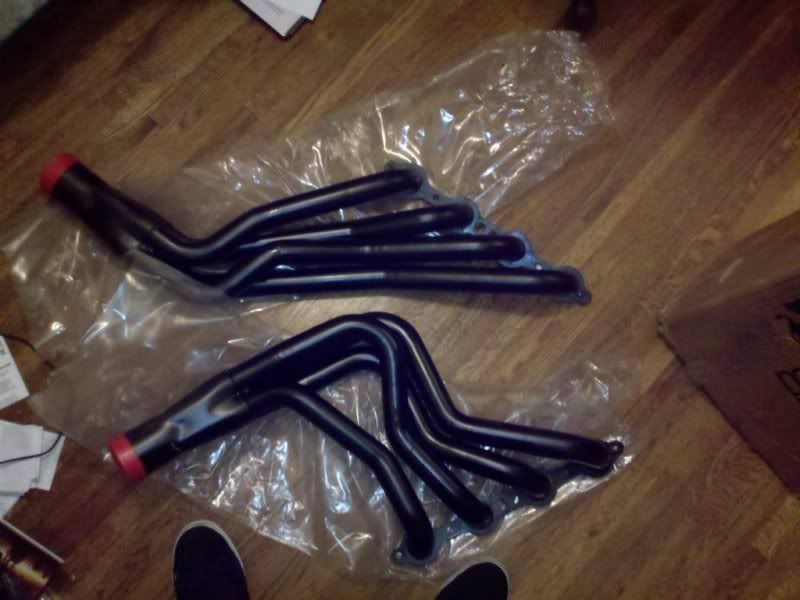
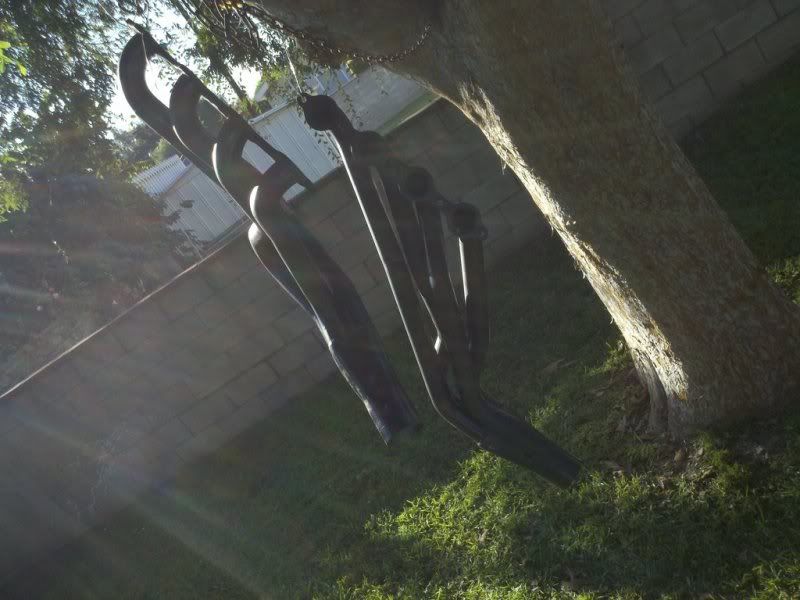
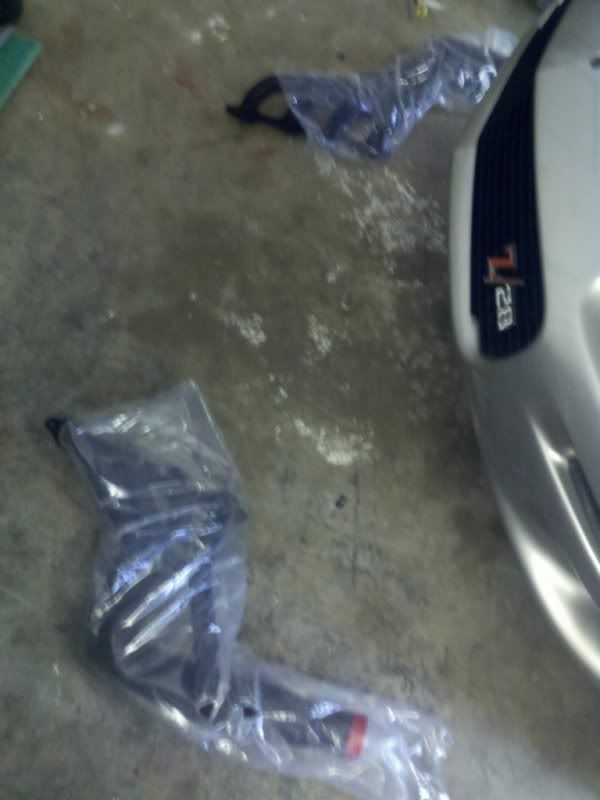
I got them in on 11/29/2010 this was first day with them out of the box
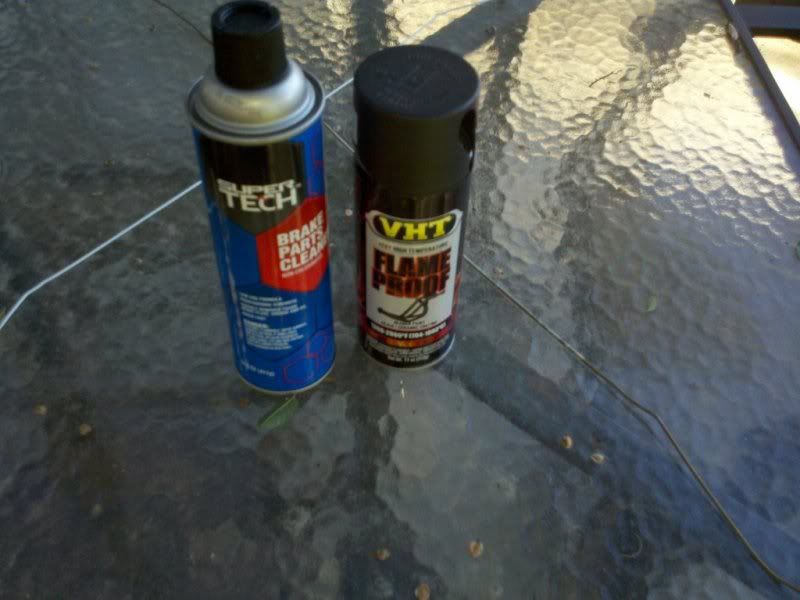
This was what I used, no this is not the proper paint prep process, this was me being super lazy and just taking the easy way, if you want better results, completely sand down, then clean with a less abrasive cleaner than brake cleaner.
The paint is VHT paint found at any O'Reillys, Autozone, Napa, Pep Boys (Insert favorite place to shop)
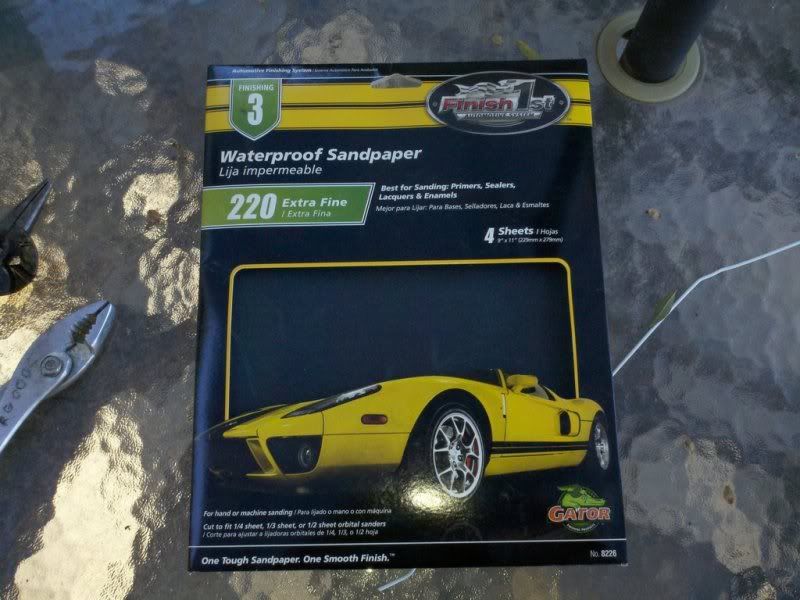
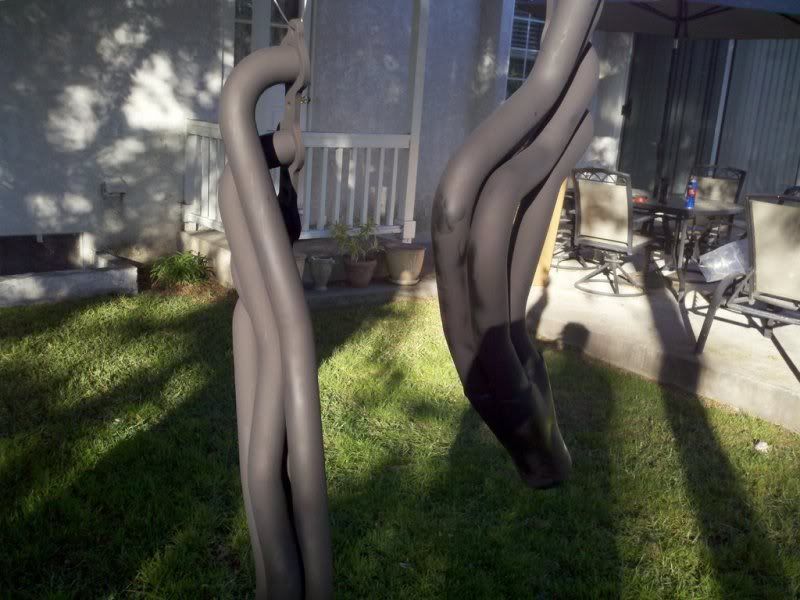
Now we get to sanding, this was one header sanded, well as good as I could get lol.
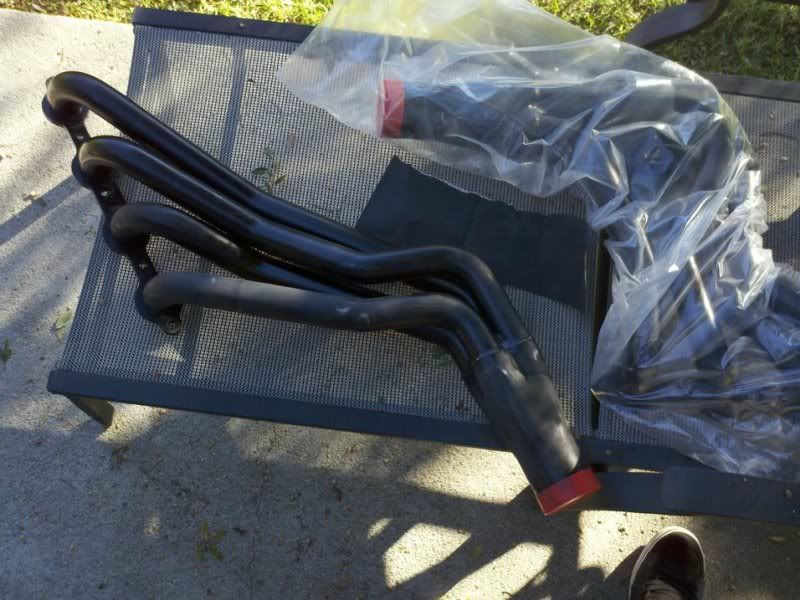
Now we have paint this was first few coats.
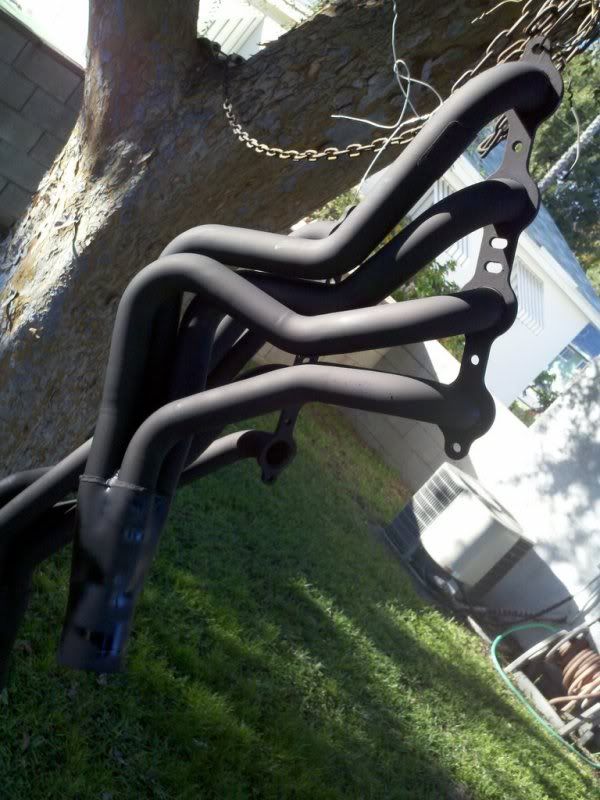
Now after two cans of paint, and about 45 mins or so later from starting of paint time. I know not the most patient painter, this stuff dries fairly quickly well, at least here it does, Right now temps are 68 degree with less than 15% humidity.
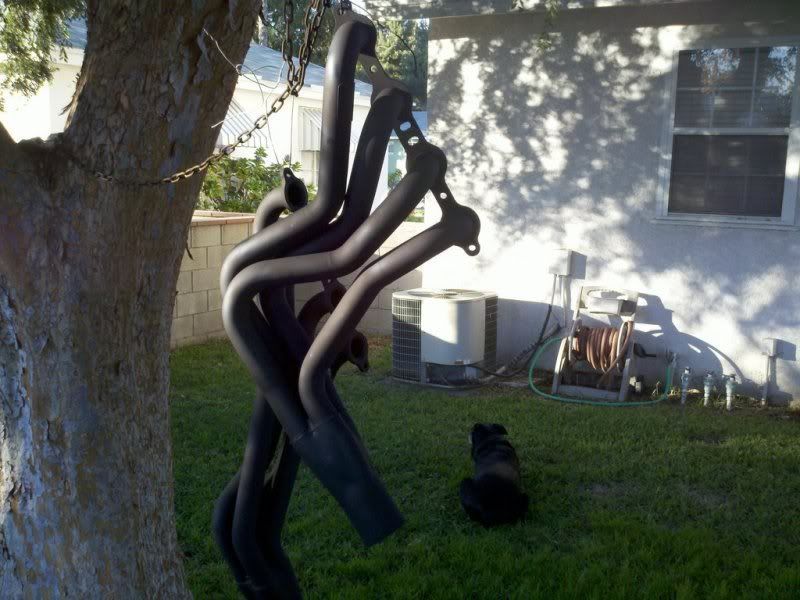
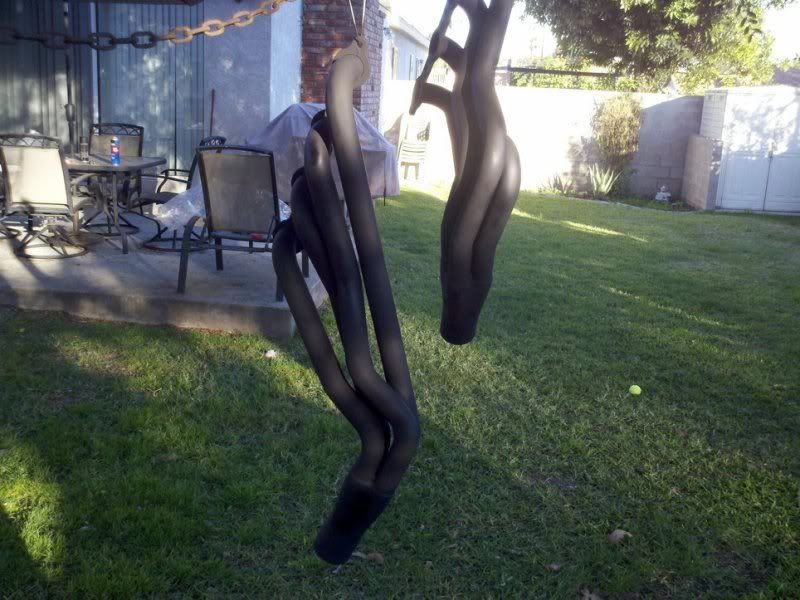

They are currently drying and I will be starting on the rest on Friday. I will continue on with more fun pictures and show people all the magnificent wonders that are involved in a header install. This is my 3rd or 4th header install. It is not too hard just stay focused and remember that the car needs to get high.
I got them in on 11/29/2010 this was first day with them out of the box
This was what I used, no this is not the proper paint prep process, this was me being super lazy and just taking the easy way, if you want better results, completely sand down, then clean with a less abrasive cleaner than brake cleaner.
The paint is VHT paint found at any O'Reillys, Autozone, Napa, Pep Boys (Insert favorite place to shop)
Now we get to sanding, this was one header sanded, well as good as I could get lol.
Now we have paint this was first few coats.
Now after two cans of paint, and about 45 mins or so later from starting of paint time. I know not the most patient painter, this stuff dries fairly quickly well, at least here it does, Right now temps are 68 degree with less than 15% humidity.
They are currently drying and I will be starting on the rest on Friday. I will continue on with more fun pictures and show people all the magnificent wonders that are involved in a header install. This is my 3rd or 4th header install. It is not too hard just stay focused and remember that the car needs to get high.
Last edited by LS1Adam84; 12-04-2010 at 02:11 PM.

 12-01-2010, 01:24 AM
#6
Not sure what the difference is on longevity but they do recommend an on or off cat baking period on the paint.
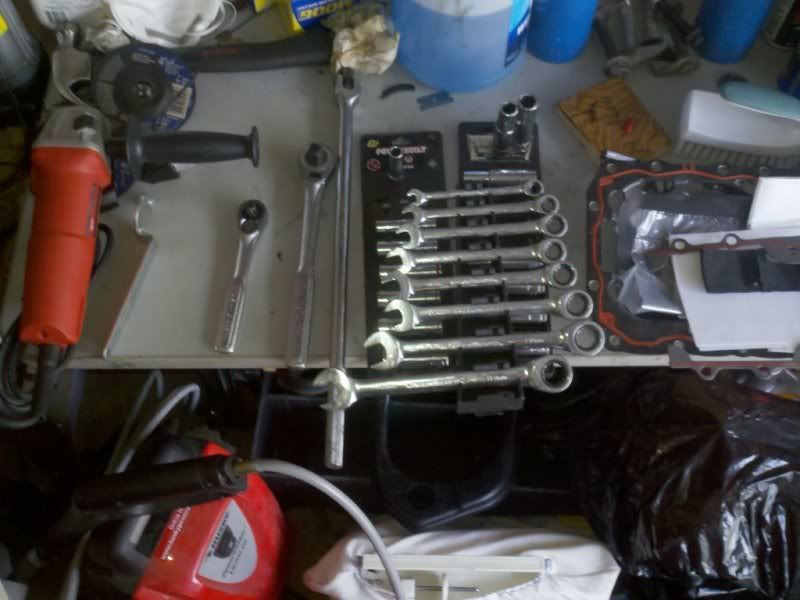
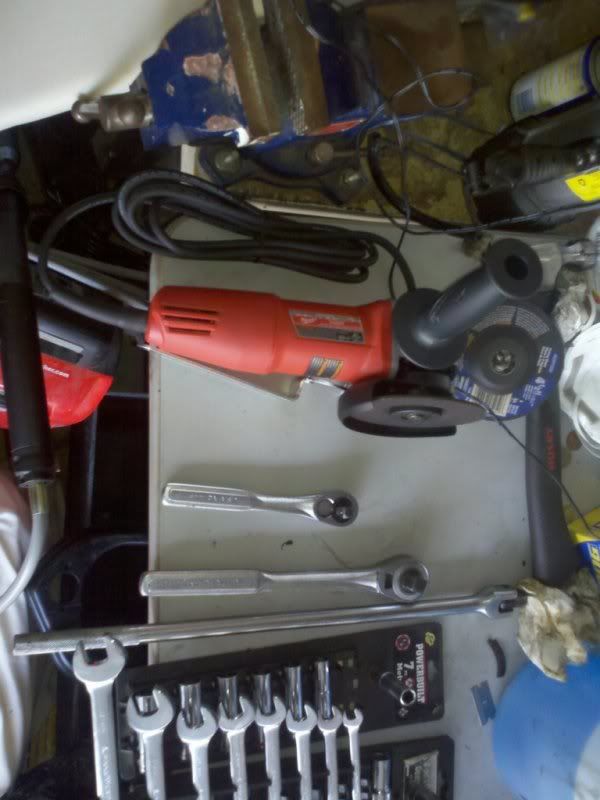
Tools Needed:
PB Blaster or Liquid wrench.
Fancy Pants Grinder, or any grinder will do
10mm combo wrench
10mm socket, deep or standard
11mm socket, deep or standard
13mm comb wrench
13mm socket deep
15mm socket (oil dip stick tube and exhaust clamp I think)
A lot of patience, this tool is good to have.
If removing spark plugs, 5/8" spark plug socket, or 5/8" socket but spark plug socket makes it easier.
First step, disconnect the battery, I do not recommend jacking the car up yet as it may be hard to reach some items up top.
After you have disconnected the battery, I suggest working on getting the AIR or EGR fittings off, the bolts I believe are 10mm and maybe a 15mm? Not sure I did not have to do this.
Once that jazz is off remove the spark plug wires, and disconnect the connector that plugs into the coil packs, there is one on each side they are rather big connectors. I will upload pics of this tomorrow.
You can remove the spark plugs now, or save it for later, I did not as mine are still good and were only on the car for about 10 months.
Remove the bolts that hold the coil packs on they are 10 mm bolts again, I will upload pics of these tomorrow. I will state that you DO NOT have to remove the coil packs, I find it really easy to work though without them in my way and I personally can get them off and on in roughly 5 mins.
I would go ahead and remove the 15mm bolt that holds the oil dip stick tube in place. This bolt is on the passenger side where the dip stick tube is.

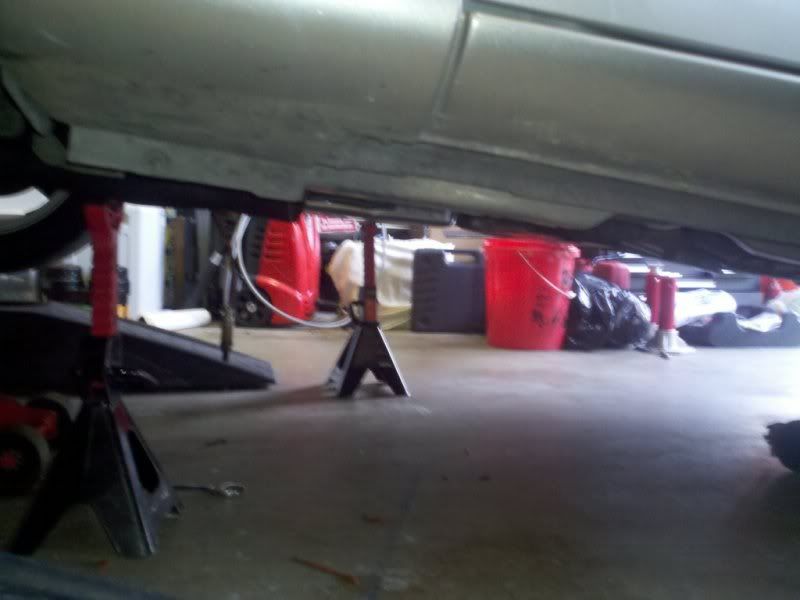
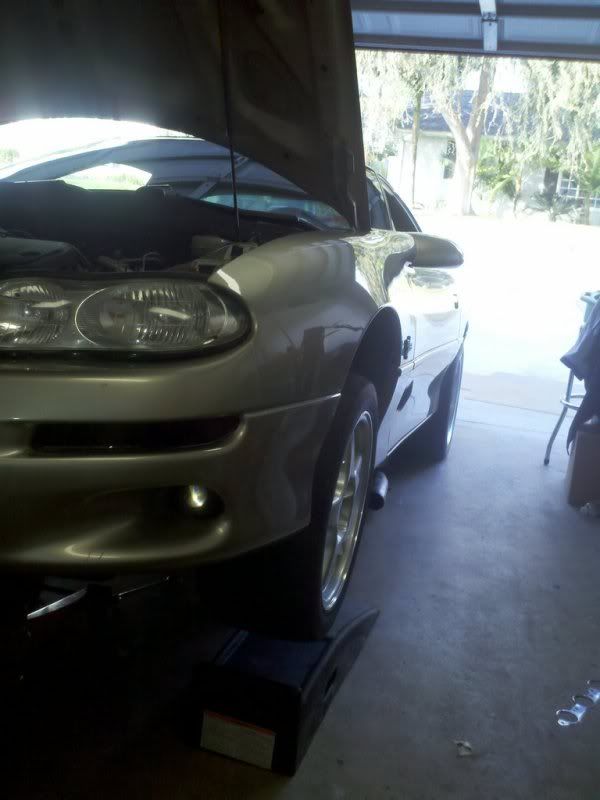
Now that the top stuff is solid, go ahead and jack the car off.... err I mean "Up" lol.
Once she is up enough for you to get under go ahead and spray the crap outta the clamp that hold the I-pipe to the y-pipe and all the bolts from the exhaust manifolds to cats, and cats to y-pipe.
Go ahead make a sandwich, look up midget ****, wait what?... Give the pb blaster or liquid wrench some time to get in there and break the stuff loose so you don't snap any bolts ideally.
Ok go ahead and start undoing bolts. DO NOT FORGET to unplug and remove the O2 sensors there are two up stream (up stream is in front of the cats in respect to exhaust flow) and two down stream (down stream is after the cats in respect to exhaust flow). I will not be going over how to rewire O2 sensors, I suggest buying the O2 sensor extensions or vette O2 sensors, if you need that part number I can look it up and add it.
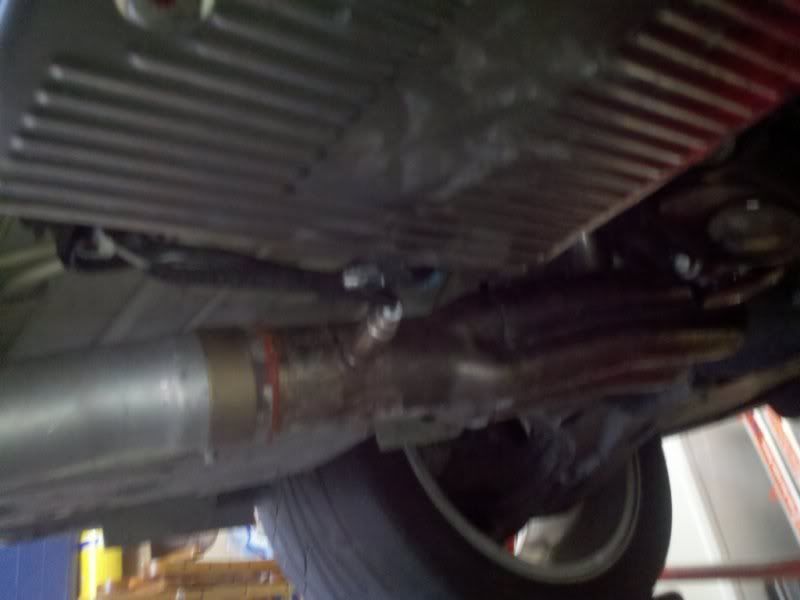
You will need to remove the cool fancy shield that is under the car by the rear of the trans this should be 13mm bolts I believe, again I do not have this on my car so I may start looking for other pictures.
Ok now go ahead and remove the bolts connecting the y-pipe to the cats. Then following that get them damn cats outta there.
I now say to find a step stool if you need it because we are going back into the engine bay to undo the 12 10mm bolts that hold your exhaust manifolds to heads. These may be kind of hard just get in there and get them out. There are 6 per side.
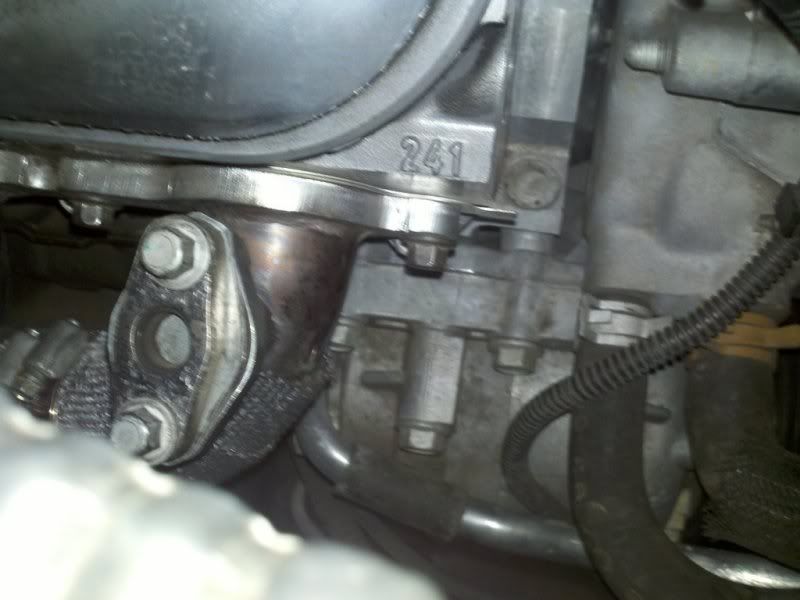
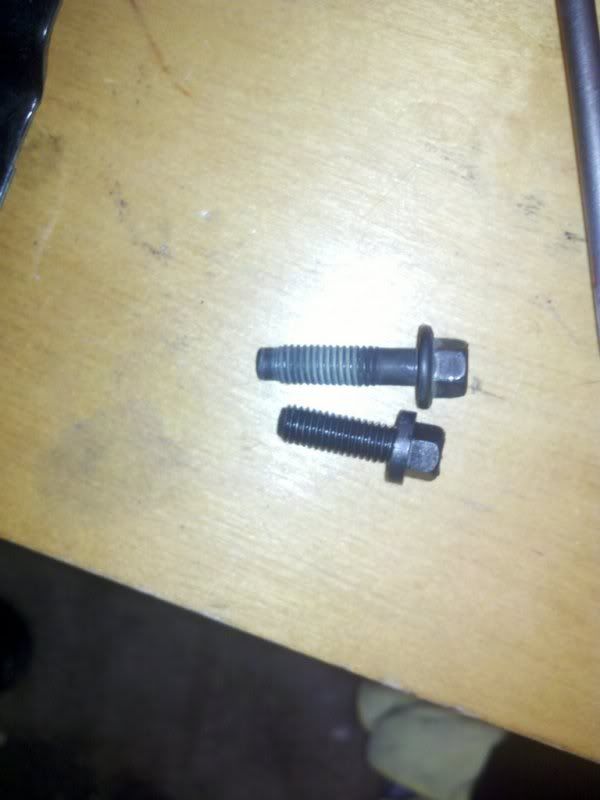
I will add this note here, use the stock exhaust manifold bolts, or buy new GM ones, I DO NOT recommend using the bolts PaceSetter sends you. They are grade 5 bolts and the ones from the factory are grade 10.9, secondly besides not having as strong of tinsel strength the PaceSetter ones are SAE and not Metric, not sure if the thread pitch is 100% and that is key when it comes to fastening something like exhaust.
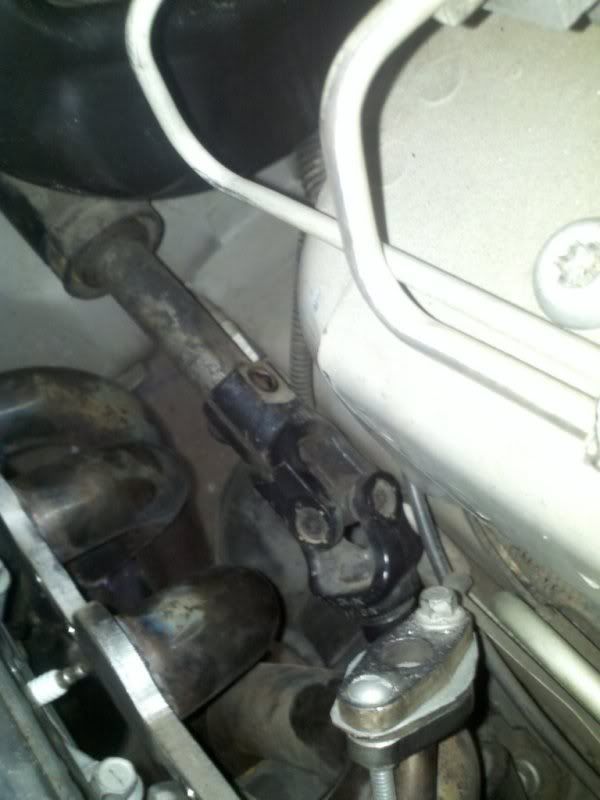
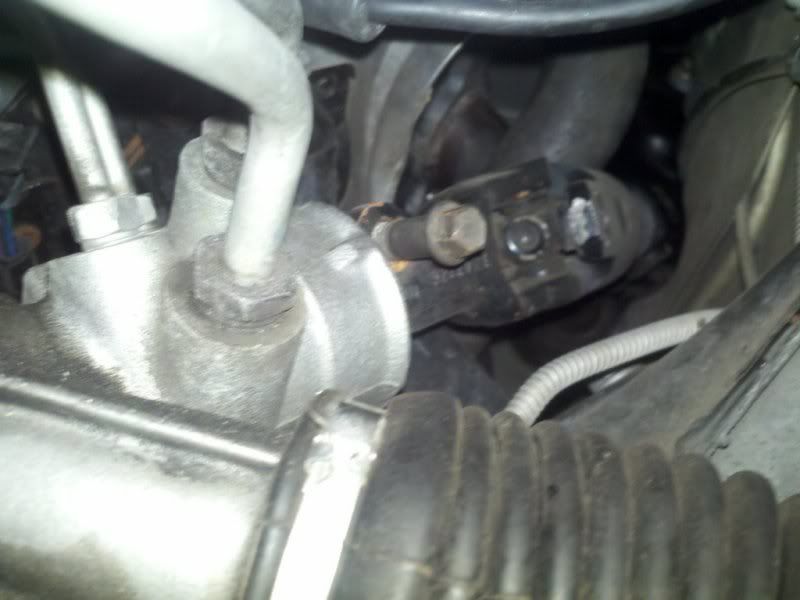
Alright you should have everything out. You may or may not need to remove the steering knuckle, I would say do this as it becomes a pain in the *** to remove when the car is high as ****.
To remove the moose knuckle.. I mean steering knuckle haha. You will want to grab that 11mm socket. there is one bolt up top I will post pic tomorrow. There is also another bolt down below where the knuckle goes into the steering rack. Once you have undone both bolts go ahead and remove the steering knuckle, this can be achieved my sliding it up and down.
Now jack your car up stupid high, like maxed out jack high, then go a little higher. Actually any good jack maxed out should be fine. if you have not completely removed your stock exhaust manifolds then go ahead and do so now.
Get your fancy new headers ready to go in, I will say start on which ever side you like, either way you are going to have to angle them up, imagine that they are laying down when properly installed, when installing make them stand up so the collector is facing the ground. You will have to turn them to get them in maybe use a little force, not a lot.
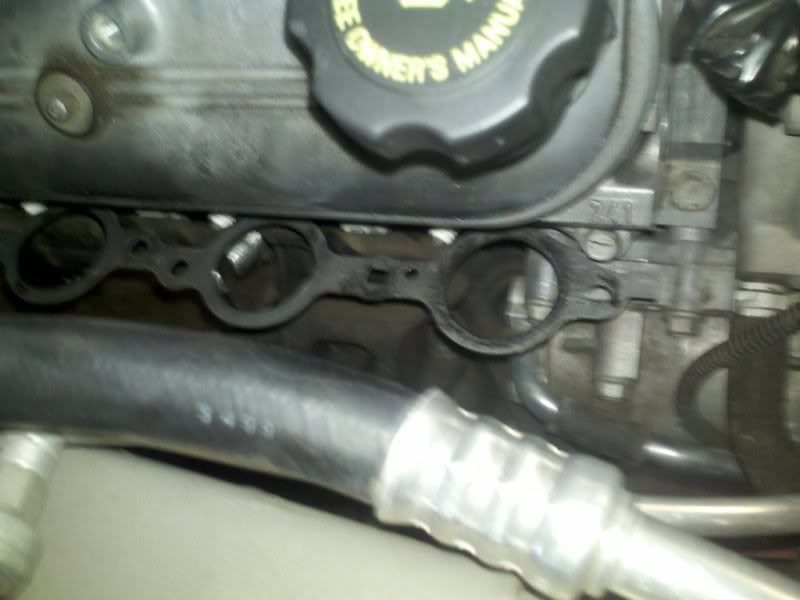
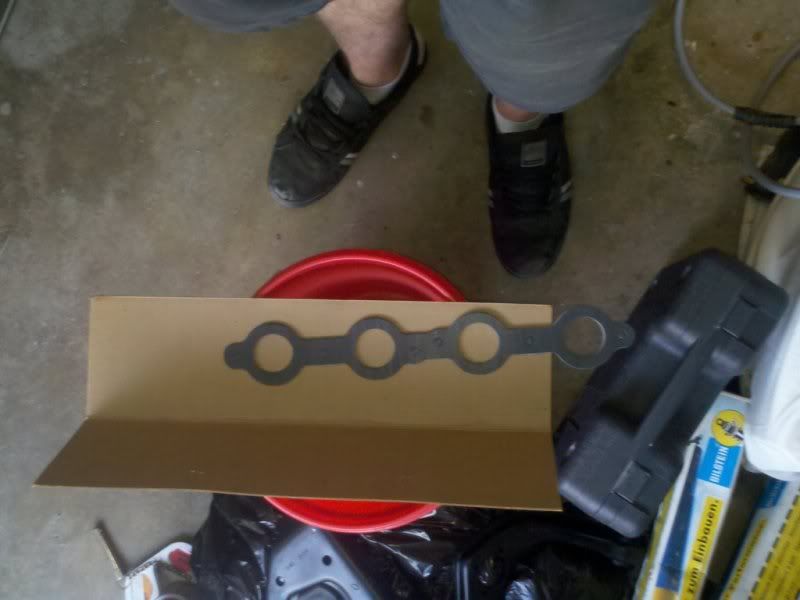
If you have friends and they think highly of you i say have them come over and be moral support and hold your new headers as you get them worked up into their resting spot. once this is done you can lower the car down to a solid working level and get the gaskets ready (AGAIN SUGGESTION TIME, I DO NOT recommend using the supplied gaskets from PaceSetter, they suck compared to the factory exhaust manifold gaskets, I recommend going to GM and ordering a set of exhaust manifold gaskets) Ok get on bolt in and work your way till all bolts are in. Do this for both sides.
Original GM style gaskets
Once you have done this go ahead and install the steering knuckle, install procedure is the the same as taking it out but reversed, like how that works?
Now go ahead and bolt down the headers, the bolts should be torqued in two passes, first at 11 lb/ft then 18 lb/ft. If you are not a torque maniac you can also tighten them "good n tight".
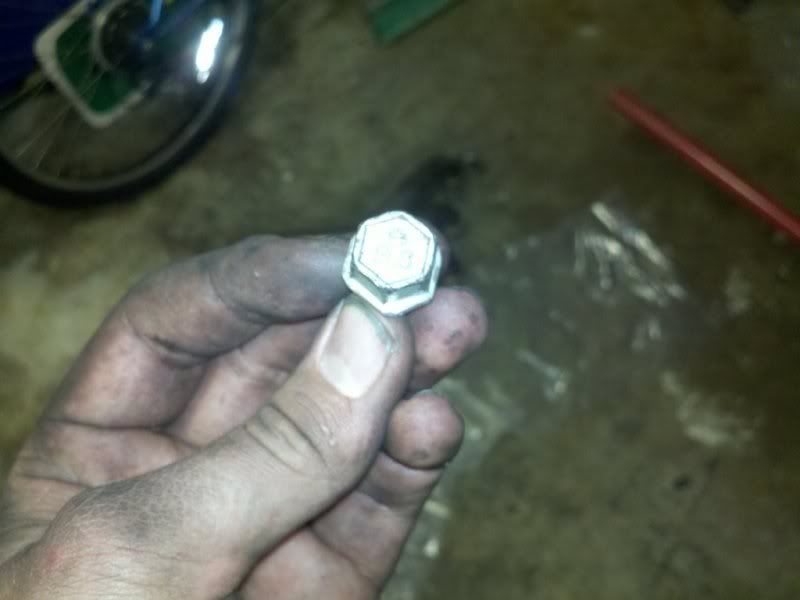
Now for the Dipstick tube you will need to grind the bolt, pretty much grind it down to the head of the bolt.
Now reinstall everything you took off, you can also now put on your fancy new y-pipe, this you will have to figure out how to route the piping. Not going to be too hard to figure out. Install your nice O2 sensors. Tighten all those happy pipes down below up, then lower the car, put the new spark plugs in if you chose to get new ones, plug spark plug wires in, put coil packs back on, I recommend only using the front three bolts to re-install, makes it super easy to remove in the future and I have had no issues running the front three, most people I know have only the front three on each side.
plug the coil pack plugs back in on both sides. Check everything to make sure all is plugged in and everything is tightened. Now once it is all tight and buttoned up, start that roaring beast.
If you have any questions I do not mind answering them, some items require you to use the art of persuasion to get the parts to see things your way.
Now go get it tuned to make sure you are not running too lean, remember lean is mean.
Tools Needed:
PB Blaster or Liquid wrench.
Fancy Pants Grinder, or any grinder will do
10mm combo wrench
10mm socket, deep or standard
11mm socket, deep or standard
13mm comb wrench
13mm socket deep
15mm socket (oil dip stick tube and exhaust clamp I think)
A lot of patience, this tool is good to have.
If removing spark plugs, 5/8" spark plug socket, or 5/8" socket but spark plug socket makes it easier.
First step, disconnect the battery, I do not recommend jacking the car up yet as it may be hard to reach some items up top.
After you have disconnected the battery, I suggest working on getting the AIR or EGR fittings off, the bolts I believe are 10mm and maybe a 15mm? Not sure I did not have to do this.
Once that jazz is off remove the spark plug wires, and disconnect the connector that plugs into the coil packs, there is one on each side they are rather big connectors. I will upload pics of this tomorrow.
You can remove the spark plugs now, or save it for later, I did not as mine are still good and were only on the car for about 10 months.
Remove the bolts that hold the coil packs on they are 10 mm bolts again, I will upload pics of these tomorrow. I will state that you DO NOT have to remove the coil packs, I find it really easy to work though without them in my way and I personally can get them off and on in roughly 5 mins.
I would go ahead and remove the 15mm bolt that holds the oil dip stick tube in place. This bolt is on the passenger side where the dip stick tube is.
Now that the top stuff is solid, go ahead and jack the car off.... err I mean "Up" lol.
Once she is up enough for you to get under go ahead and spray the crap outta the clamp that hold the I-pipe to the y-pipe and all the bolts from the exhaust manifolds to cats, and cats to y-pipe.
Go ahead make a sandwich, look up midget ****, wait what?... Give the pb blaster or liquid wrench some time to get in there and break the stuff loose so you don't snap any bolts ideally.
Ok go ahead and start undoing bolts. DO NOT FORGET to unplug and remove the O2 sensors there are two up stream (up stream is in front of the cats in respect to exhaust flow) and two down stream (down stream is after the cats in respect to exhaust flow). I will not be going over how to rewire O2 sensors, I suggest buying the O2 sensor extensions or vette O2 sensors, if you need that part number I can look it up and add it.
You will need to remove the cool fancy shield that is under the car by the rear of the trans this should be 13mm bolts I believe, again I do not have this on my car so I may start looking for other pictures.
Ok now go ahead and remove the bolts connecting the y-pipe to the cats. Then following that get them damn cats outta there.
I now say to find a step stool if you need it because we are going back into the engine bay to undo the 12 10mm bolts that hold your exhaust manifolds to heads. These may be kind of hard just get in there and get them out. There are 6 per side.
I will add this note here, use the stock exhaust manifold bolts, or buy new GM ones, I DO NOT recommend using the bolts PaceSetter sends you. They are grade 5 bolts and the ones from the factory are grade 10.9, secondly besides not having as strong of tinsel strength the PaceSetter ones are SAE and not Metric, not sure if the thread pitch is 100% and that is key when it comes to fastening something like exhaust.
Alright you should have everything out. You may or may not need to remove the steering knuckle, I would say do this as it becomes a pain in the *** to remove when the car is high as ****.
To remove the moose knuckle.. I mean steering knuckle haha. You will want to grab that 11mm socket. there is one bolt up top I will post pic tomorrow. There is also another bolt down below where the knuckle goes into the steering rack. Once you have undone both bolts go ahead and remove the steering knuckle, this can be achieved my sliding it up and down.
Now jack your car up stupid high, like maxed out jack high, then go a little higher. Actually any good jack maxed out should be fine. if you have not completely removed your stock exhaust manifolds then go ahead and do so now.
Get your fancy new headers ready to go in, I will say start on which ever side you like, either way you are going to have to angle them up, imagine that they are laying down when properly installed, when installing make them stand up so the collector is facing the ground. You will have to turn them to get them in maybe use a little force, not a lot.
If you have friends and they think highly of you i say have them come over and be moral support and hold your new headers as you get them worked up into their resting spot. once this is done you can lower the car down to a solid working level and get the gaskets ready (AGAIN SUGGESTION TIME, I DO NOT recommend using the supplied gaskets from PaceSetter, they suck compared to the factory exhaust manifold gaskets, I recommend going to GM and ordering a set of exhaust manifold gaskets) Ok get on bolt in and work your way till all bolts are in. Do this for both sides.
Original GM style gaskets
Once you have done this go ahead and install the steering knuckle, install procedure is the the same as taking it out but reversed, like how that works?
Now go ahead and bolt down the headers, the bolts should be torqued in two passes, first at 11 lb/ft then 18 lb/ft. If you are not a torque maniac you can also tighten them "good n tight".
Now for the Dipstick tube you will need to grind the bolt, pretty much grind it down to the head of the bolt.
Now reinstall everything you took off, you can also now put on your fancy new y-pipe, this you will have to figure out how to route the piping. Not going to be too hard to figure out. Install your nice O2 sensors. Tighten all those happy pipes down below up, then lower the car, put the new spark plugs in if you chose to get new ones, plug spark plug wires in, put coil packs back on, I recommend only using the front three bolts to re-install, makes it super easy to remove in the future and I have had no issues running the front three, most people I know have only the front three on each side.
plug the coil pack plugs back in on both sides. Check everything to make sure all is plugged in and everything is tightened. Now once it is all tight and buttoned up, start that roaring beast.
If you have any questions I do not mind answering them, some items require you to use the art of persuasion to get the parts to see things your way.
Now go get it tuned to make sure you are not running too lean, remember lean is mean.
Last edited by LS1Adam84; 12-04-2010 at 02:21 PM.
Trending Topics


 12-09-2010, 11:02 AM
#17

That paint isn't going to last, so don't expect it to.
The ONLY way to get any kind of high temp coating to stick to headers is to have it baked on @ 300-500 degrees. I've painted many seats of headers over the years with every kind of coating you can think of. If you don't bake it on, it's not going to stick.
Good luck.
The ONLY way to get any kind of high temp coating to stick to headers is to have it baked on @ 300-500 degrees. I've painted many seats of headers over the years with every kind of coating you can think of. If you don't bake it on, it's not going to stick.
Good luck.


