When you click on links to various merchants on this site and make a purchase, this can result in this site earning a commission. Affiliate programs and affiliations include, but are not limited to, the eBay Partner Network.
That block would hold 850rwhp all day long. You could do an F1C for example, and really have headroom, but you lose some lowend. Which may not be a bad thing. The F1D would give you more headroom, but still act a lot like what you have now.
I was just talking to Bob at Brute Speed about this about 2 months ago. Tony said I should just see what I produce with the new combo first. Bolting on a new blower would be cake if I want to upgrade later.
I had talked to Bob about the F1A and the F1A-94 which is there newest model. He said I would be better off waiting for a 6 bolt head setup before jumping to F1A-94 but he said the F1A will produce about 4 more lbs of boost up top and at minimum will produce about what I have now 10# or so. He didn't mention any others so I will have to bug him a little more. I really want to see what the new top end does to the setup. Right now it's suffocating lol.
I can take some more of how I routed it close up and post later. You can see the pump mounted on the passenger side and then I mounted the catch can where the battery used to be. I thought about moving this in the fender well to increase the length of hose from the vacuum pump to the catch can which would help condense more oil. And also keep the can cooler which would help also. So far I get very little oil smell so I left it alone... For now
Also, the pump in this pic is from GZ. I sold this to a buddy and bought Mighty Mouses race can because I like it and it's black
As for the routing. GZ sells the kit with a 12an line and fittings which hook up to a fitting that goes to your oil cap. Greg said this was plenty for my setup. But, Instead of that I decided to make 2 - 10an lines from each valve cover to a T and then to the vacuum pump. On the driver side I had a bung welded into the valve cover in the back by the firewall. On the passenger side I used the oil cap fitting (which I'm going to change to a bung in the back, I don't like the way the oil cap fitting seals and it's annoying to deal with) but I ran the line back toward the firewall to meet up with the T. That way it was out of the way. Then I put an elbow on the T in order for everything to run without kinking anywhere. I'll take a few pics but there is endless ways to do it.
If you have any issues when you're doing it, whenever you get to it, just PM me.
I got all my lines for everything from Larry @ TechAFX. I wanted black line and wanted Teflon for fuel but wanted everything to match so just used it for everything. It's hard to work with but oh well. I just got all the lines and fittings from Larry and made my own. He will even make them for you if you pre measure. I actually had him make me custom lines for my vacuum pump. Again I wanted them black and mounted everything a little different than Julio does. As for the gauge. The T that I bought I got with an 1/8 npt port on it for gauges. Think I got that one on eBay.
Thanks for the detailed reply. That sounds sweet. Especially with everything black.
I already have the sportsman pump with the oil fill connection. Not too hot on it either. Just thinking a little ways down the road to maybe re-route as you did. Here's a motor shot.
Nice build, looking forward to seeing the results yielded from the new top end and exhaust. Any plans to max out the D1 head unit?
Good luck.
Thanks! I'm really excited to see too.
Yes, I def plan on maxing out this unit depending on how the car does. I've got a few pulleys sitting here but I want to get this combo together first and to the dyno for tuning and make sure there's no issues and then to the track a few times. Then I will mess with the supercharger combo.
Thanks for the detailed reply. That sounds sweet. Especially with everything black.
I already have the sportsman pump with the oil fill connection. Not too hot on it either. Just thinking a little ways down the road to maybe re-route as you did. Here's a motor shot.
Again, awesome setup!
No problem.
Yeah I just don't like the way it seals up. It looks like a really cool piece of hardware when you get it but doesn't live up to it.
Looks like a solid build. I wouldn't bother with a fast I take for boost however. Your block will be fine for a F series blower.
Thanks. I am using an LS6 now. I get mixed reviews when asking about upgrading to ported FAST 102 but I got one pretty inexpensive and had Mamo port it. I was going to do a victor jr intake with intake elbow but Tony talked me out of it. He said more torque with the equal length runners on the FAST and no room under the hood. I'm going to change the hood now just to help eliminate heat production and easier to work on but it will also provide more room if I want to switch.
I'll probably upgrade the blower but I'd like to see how it performs with just the top end swap first. Then upgrade. But we'll see if I can hold off or not
Ok, So I think I'm going to squeeze another track day in tomorrow. Weather was awesome today so hopefully it holds tomorrow. Just finished changing the oil and loaded the car back on the trailer. My wife said she saw this coming when I had the plug wire mishap on my last visit to the track. :/ So hopefully all goes well and I get some better times. I should have some time to mess with the suspension while I'm there too :burn
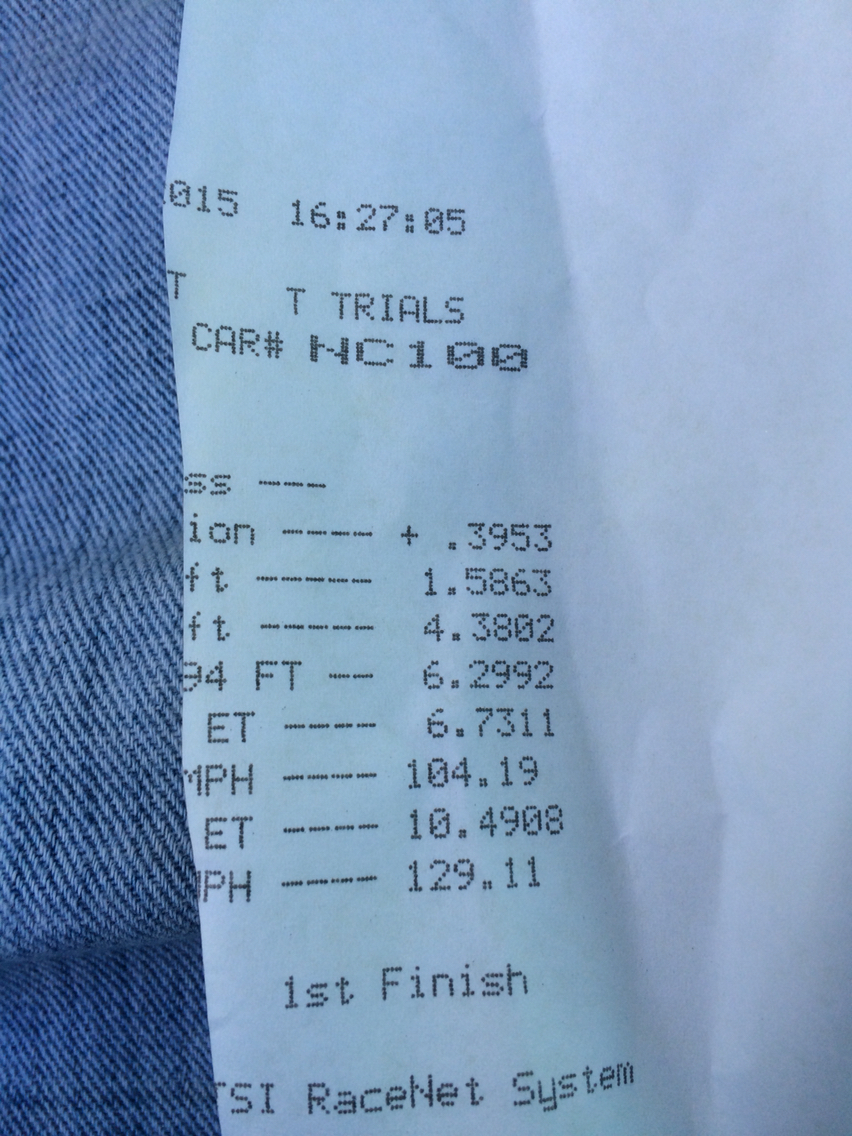
Awesome day for the track. Tons of pretty fast cars out today. Beat my best on my first run out today. Now waiting for an oil cleanup. Never fails. Doesn't look too bad.
10.49 @ 129
-no spin (track is nice n sticky)
-launched about 3000
-pulled tires an inch or two
From where you are I would guess maybe 700+ with the new setup. Maybe nipping at a single digit?
Thanks! It was a fun day. Only got 3 runs in but all were close. My other 2 runs were 10.50s. I am trying to work on launching the car. The track was crazy sticky today too. They did a good job on it. I definitely need to get the suspension dialed in but I think that was the last track day before the upgrades. I want to get started soon here.
I figured I'd post an update. I got about 4 hours in on the car. Got it weighed so I had a starting point. Sitting at 3451# now with the slicks and skinnies on. I'm not sure where I'll end up but should be lighter with the seats and new rear end and a few weight mods also.
I pulled the rear end out completely and getting ready to pull the gas tank for the new sump tank from Behind Bars Racecars. The rear is going in my other build now and the beast will be waiting for its new rear from Midwest Chassis.
Also pulled most of the exhaust. The headers are loose and y pipe is still attached. I forgot about that. I should've waited and pulled the y pipe off the headers first. Now they're being a pain cause I can't get any leverage
Can't wait to get the new Kooks setup on. I've heard it's much easier to work with. This one was ok but a lot of tweaking with everything under the car.
Also got the Procharger pulled off and the intercooler piping pulled. I'm still kicking around the idea of doing a 4" intercooler setup like I've seen on Tech before. Looks like a sweet setup.
Got the intake all unbolted and ready to pull off, valve covers off, rockers off, pushrods out and most of the fluid drained. Just waiting to drain the gas tank to unhook the fuel system from the intake. The garage always smells so nice after that so I've been holding off until I have to.
Next step will be pulling the heads, then deeper into the cam install. I don't know if I'm going to pull the oil pump or not. I bought a ported LS6 pump from Tony but I have the 2 piece front engine timing cover so I don't think Ill even have to access below in order to swap the cam out. It will be my first time doing a cam swap so I'll learn as I go
So I'm in it deep now. Just need some more time like everybody else lol
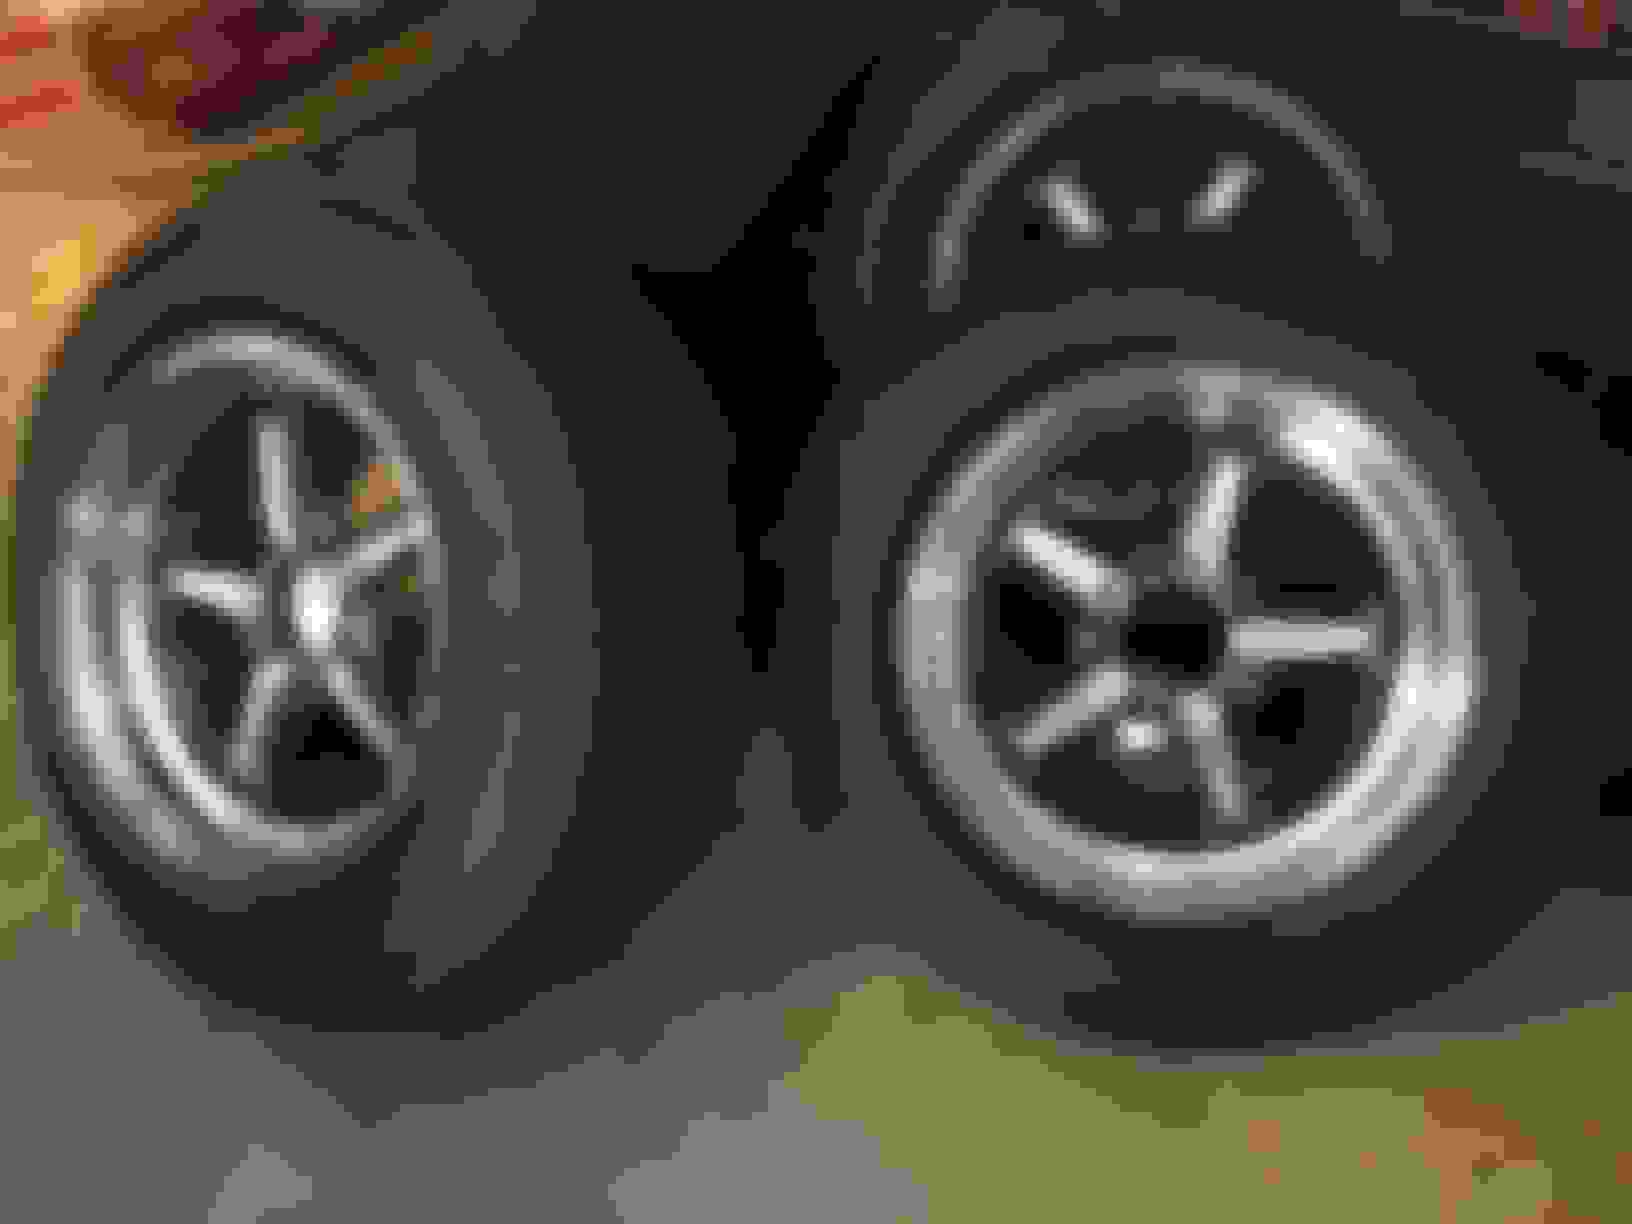
Also, I got my Streetlites mounted with the slicks and ET streets. They look good.
Ok so I got everything apart. I was going to do the cam swap today but I decided it would be too big a PIA using this fancy 2 part timing cover. I'm just going to pull the whole cover so I can make sure I do it right. I asked a couple buddies and they said this 2 piece setup seems silly almost.
I'm getting closer though. Hopefully do cam in the next couple days. Then I need to give Tony my block measurements for the gaskets and I should be able to start back assembling.
While I can see the firewall I'm gonna pull the dash and redo the wiring next. Lots of fun
Those type of covers are meant for fine tuning the cam advance more than pulling the actual cam. I don't even think you could get the cam gear out. If you could that chain should be replaced.
Those type of covers are meant for fine tuning the cam advance more than pulling the actual cam. I don't even think you could get the cam gear out. If you could that chain should be replaced.
Thanks for the info. I didn't realize that. I just loosened the whole cover. I need to pull the damper now to pull it off and I can change the oil pump too while I'm at it and start to button this up.
As for the timing chain. Mine is brand new. Only 250 miles on it and about 15 track passes. I've heard some guys say they change them each time they change the cam but I figured I wouldn't have to since this one is basically new.

 11-11-2015, 05:36 PM