Cleaning Deck Surface for New Head Gaskets
 09-08-2012, 04:11 PM
#1
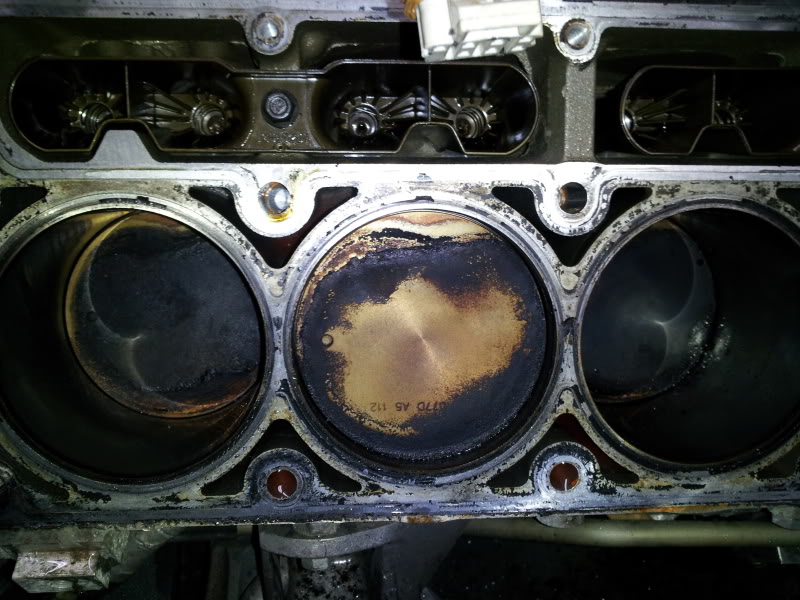
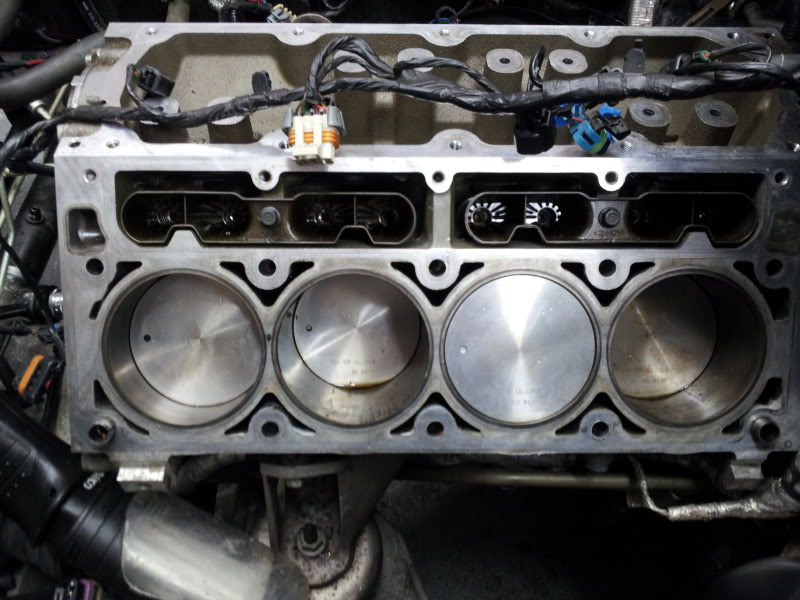
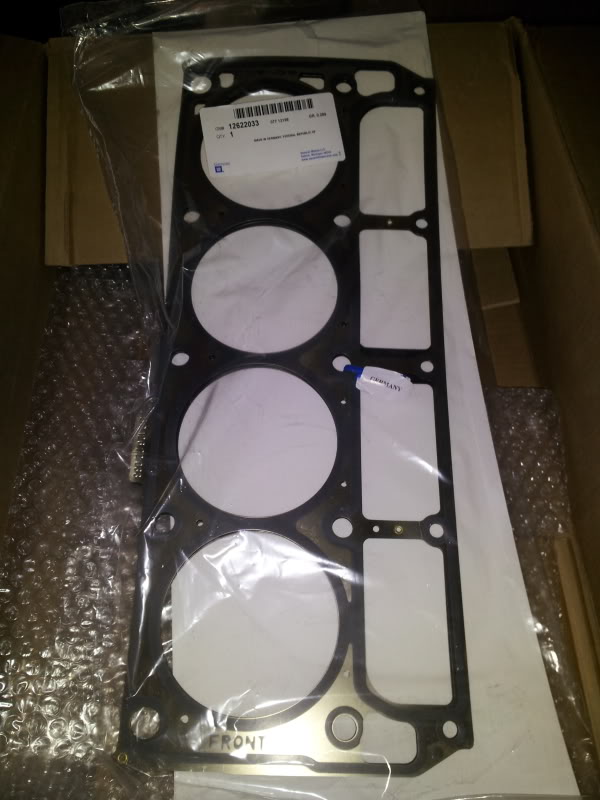
I have a few questions here. And I know similar questions have been asked as i have used the search function on this forum and the Corvette forum; however i need a few definitive answers. I am getting read to check the PTV clearance on my LS2 engine. My 243 heads have just been refreshed and milled .004. I am using LS9 head gaskets. I am trying to get the deck of the block clean, but this is turning out to be a bear of a job. In addition I am getting frustrated because I feel like gasket material, carbon, and maybe even a few specs of aluminum are getting not only into the engine, but on my brand new cam, and (especially the carbon) caught in between my rings and piston!!!
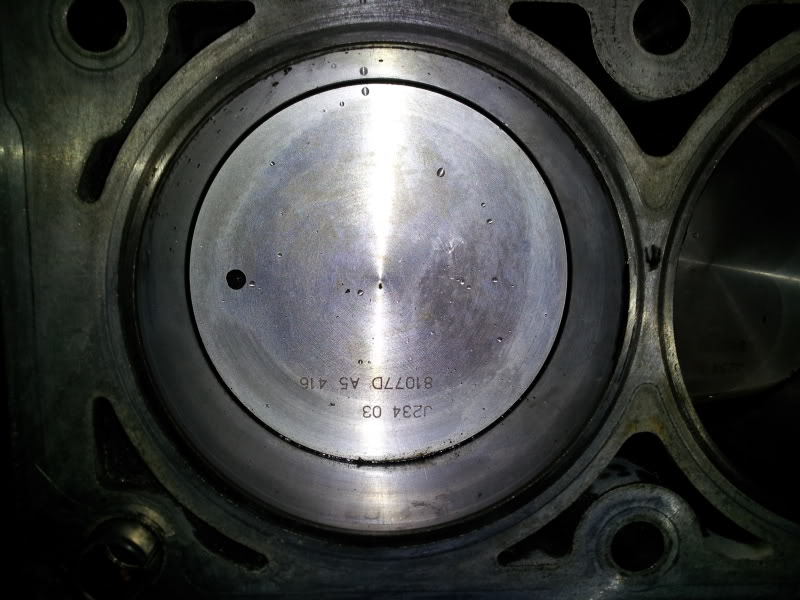
First question is how do I clean between the piston and rings... its mostly carbon; is it safe to let the stuff just "burn off," or do I need to actually get it all out from between the piston and cylinder walls?
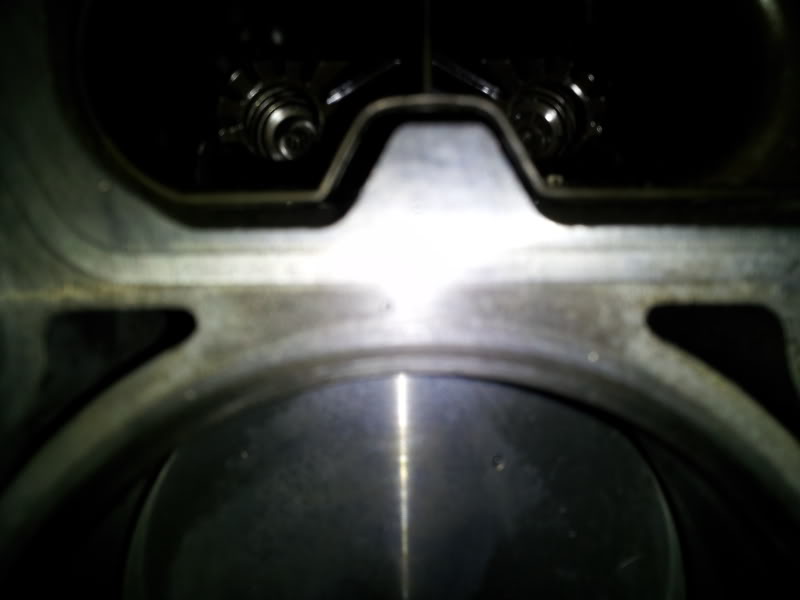
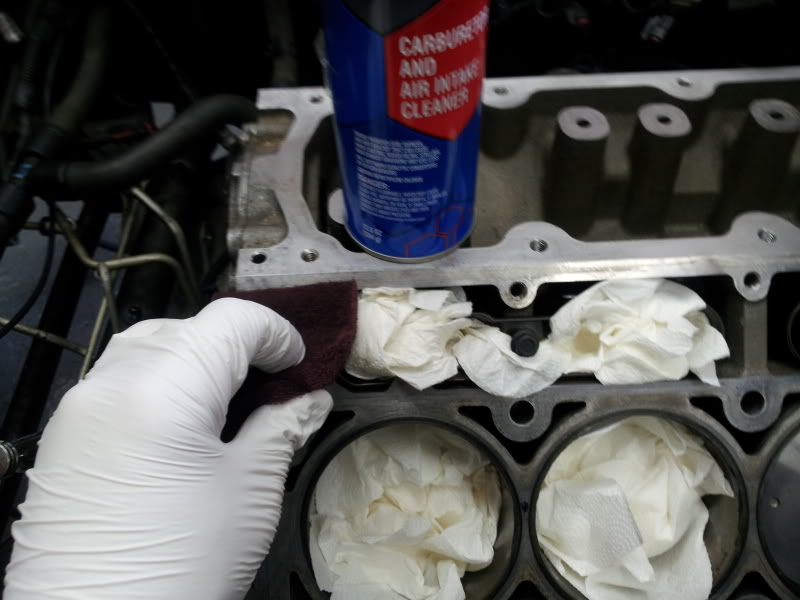
Second question, I have spent more than 5 hours using these razors blades and carburetor cleaner on the deck trying to get it clean.

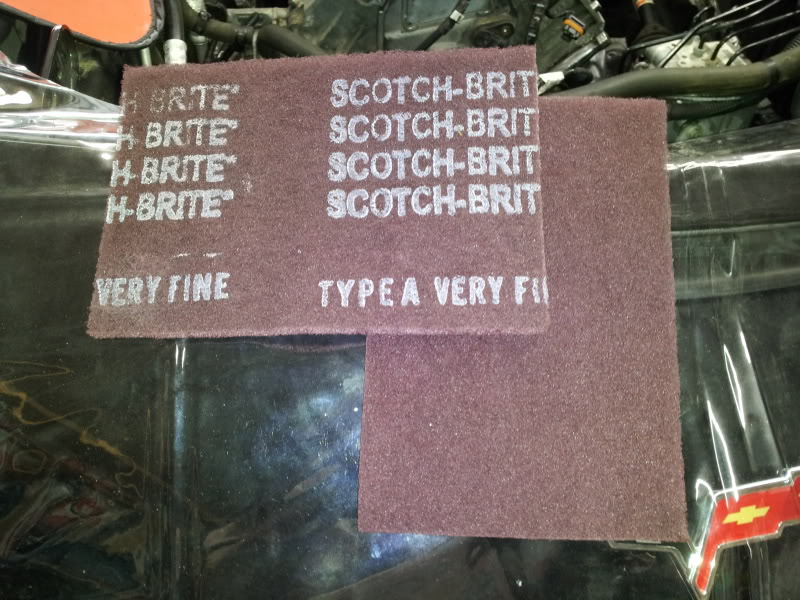
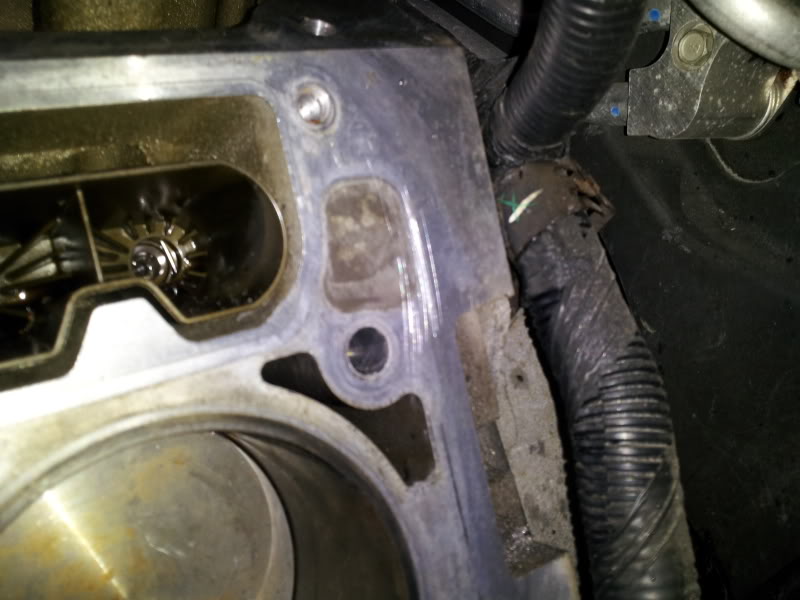
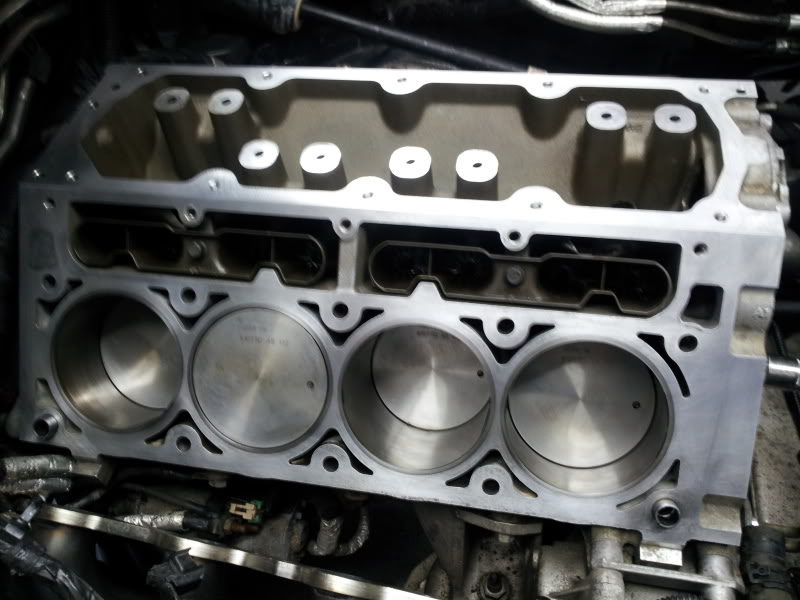
I tried the ice scraper, that's not any better. I am still trying to figure out what my goal is here. It looks pretty good but I can still feel a "glue" feel in some areas and can still see the outline of the old gaskets, I can't imagine this is satisfactory?????!?!?! I am thinking of using maroon scotch brite on the deck to clean it up, but at the same time an skeptical of doing so because i have read a few posts that suggest there are scales machined into the block to hold the gaskets in place and promote better sealing, I do not want to remove these if that is the case.
Finally, I may have scratched the deck in a couple of places... not real bad, but a little. Can't really even catch a nail on it, is this ok?
I need some tips, tricks, and advice guys... I DEFINITELY DO NOT WANT TO HAVE TO DO THIS AGAIN!!!!
Thanks,
DG
First question is how do I clean between the piston and rings... its mostly carbon; is it safe to let the stuff just "burn off," or do I need to actually get it all out from between the piston and cylinder walls?
Second question, I have spent more than 5 hours using these razors blades and carburetor cleaner on the deck trying to get it clean.
I tried the ice scraper, that's not any better. I am still trying to figure out what my goal is here. It looks pretty good but I can still feel a "glue" feel in some areas and can still see the outline of the old gaskets, I can't imagine this is satisfactory?????!?!?! I am thinking of using maroon scotch brite on the deck to clean it up, but at the same time an skeptical of doing so because i have read a few posts that suggest there are scales machined into the block to hold the gaskets in place and promote better sealing, I do not want to remove these if that is the case.
Finally, I may have scratched the deck in a couple of places... not real bad, but a little. Can't really even catch a nail on it, is this ok?
I need some tips, tricks, and advice guys... I DEFINITELY DO NOT WANT TO HAVE TO DO THIS AGAIN!!!!
Thanks,
DG
 09-08-2012, 04:19 PM
#2
TECH Regular

Join Date: Aug 2010
Location: houston, texas
Posts: 462
Likes: 0
Received 0 Likes
on
0 Posts
i put paper towels in the lifter area and coolant passages. then blow out all of the material from around pistons with compressed air if available. i also use buffing pads on an air grinder to clean the deck of the block. the scratches on the deck wont matter. i feel bad for you if you dont have an air compressor because it is going to take a lot longer. maybe someone has a small portable one you can borrow.
09-08-2012, 05:10 PM
#3
i put paper towels in the lifter area and coolant passages. then blow out all of the material from around pistons with compressed air if available. i also use buffing pads on an air grinder to clean the deck of the block. the scratches on the deck wont matter. i feel bad for you if you dont have an air compressor because it is going to take a lot longer. maybe someone has a small portable one you can borrow.
I do have an air compressor,... I don't know why I did not think of that.
I wont use a grinder on the deck, that just doesn't seem like a good idea, but I am wondering if I am safe using those maroon pads?
DG
09-09-2012, 02:10 AM
#6
TECH Fanatic
iTrader: (8)

Join Date: Nov 2009
Location: phx the cactus patch
Posts: 1,095
Likes: 0
Received 13 Likes
on
13 Posts

You can use scotch-brite pads with no worries ,,,,,,,,,,,like already stated put paper towels or rags in the areas You don't want crap to get into and use equall pressure and time all the way around so it will stay even . Aluminum can and usually is a PITA to clean up . Be very careful using any blades as They can and usually will gouge into aluminum pretty easily . So just take You're time and it will be fine . If You have or if not go to home depot and buy a straight edge that is as close to 20" as You can find , then check the deck making sure the straight edge is as close to 90deg from the deck as possible ,,,,hold a flashlight or a lamp behind and You can see any high spots once You learn how to use and what to look for .

The following users liked this post:
Abramin theMorning (12-01-2020)
09-09-2012, 04:23 PM
#9
On The Tree
iTrader: (1)
Join Date: Sep 2008
Location: Houston/spring
Posts: 114
Likes: 0
Received 0 Likes
on
0 Posts
Just did head swap and used the green scotch brite pads and brake cleaner, took about four hours to get clean. Car had 143k on the clock when I did it! I tucked rags in the tray slots and I haven't had any issues!
09-09-2012, 05:23 PM
#10

I scraped my decks with razor blades, then I used light sandpaper to finish it off. I spent about 2 hours tops on both sides and mine were 10 times worse than yours.
Then I used SeaFoam to wipe it all down. Then I took my wet vac and sucked all the little particles and debris from the pistons and rings and everywhere else.
Done.
.
Then I used SeaFoam to wipe it all down. Then I took my wet vac and sucked all the little particles and debris from the pistons and rings and everywhere else.
Done.
.
The following users liked this post:
00pooterSS (12-30-2019)
09-09-2012, 06:16 PM
#11

Your already done but if you need to ever do it again try a 3M Bristle disc. Its a plastic disc that you use on a power drill or air grinder. This is what we use on Marine/Navy Aircraft as well as on thin gauge aluminum. Trust me you are not screwing your block up as long as you don't stay in the same spot for about a year!
The following users liked this post:
Abramin theMorning (12-01-2020)
 09-10-2012, 10:30 AM
#13
Launching!
iTrader: (1)

Join Date: Apr 2012
Location: NC
Posts: 222
Likes: 0
Received 0 Likes
on
0 Posts
Brake cleaner and razor to take big chunks off
then use use some towel to wipe up and the follow with 3m scuff pad
Finish up with a roloc disc on the grinder and wipe down again
This is what I ended up with:

then use use some towel to wipe up and the follow with 3m scuff pad
Finish up with a roloc disc on the grinder and wipe down again
This is what I ended up with:
09-10-2012, 12:47 PM
#14
Ok,
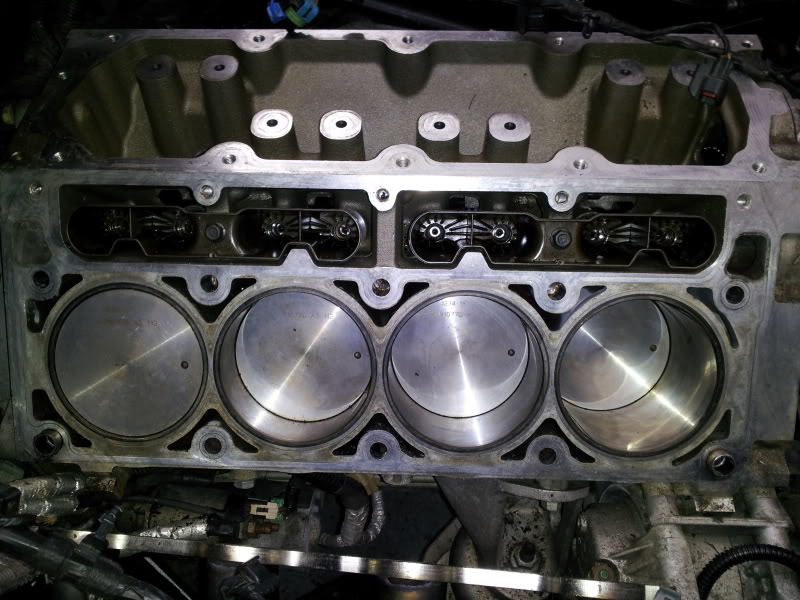
I decided to have at it with the "very fine" scotch brite and the carb and brake parts cleaner. This is an additional 2 hours of work. I think I am ready to go at this point. I also spent time soaking the block over and over again with brake parts cleaner, then wiped it down with transmission fluid, then hit it with brake parts cleaner again. Then I sprayed out every orifice i could get in, including the ring area, with my air compressor and vacuumed the pistons out with my shop vac. The only issue/concern I have at the moment is that I coated the cam in engine assembly lube to help it slide in, and I noticed a few particles of scotch brite on the cam lobes, last thing I want to do is wipe the cam lobes out. I am thinking of running a couple of quarts of engine oil down the valley and lifter area... any thoughts on that?
DG
09-10-2012, 09:05 PM
#15
After a few negative posts (finally) on CF forum I tried a series of search entries on google. Scotch Brite contain aluminum oxide particles that are 40 microns small. These particles leave the pad and get into the engine. They eat bearings for breakfast. So now I need to figure out how to get these parts clean, and how to flush this engine.
Really wish i didn't do this and/or found these threads first!
DG
Really wish i didn't do this and/or found these threads first!
DG
09-11-2012, 01:07 AM
#16

I had never heard of bristle discs before your post. I'm going to be pulling my heads again soon and bristle discs look like they can save me a lot of time. Great tip, thanks!
Your already done but if you need to ever do it again try a 3M Bristle disc. Its a plastic disc that you use on a power drill or air grinder. This is what we use on Marine/Navy Aircraft as well as on thin gauge aluminum. Trust me you are not screwing your block up as long as you don't stay in the same spot for about a year!
09-11-2012, 08:38 PM
#17
After a few negative posts (finally) on CF forum I tried a series of search entries on google. Scotch Brite contain aluminum oxide particles that are 40 microns small. These particles leave the pad and get into the engine. They eat bearings for breakfast. So now I need to figure out how to get these parts clean, and how to flush this engine.
Really wish i didn't do this and/or found these threads first!
DG
Really wish i didn't do this and/or found these threads first!
DG
09-12-2012, 03:00 PM
#18
Bristle disk also contains abrasive particles. Shop air will force particles into crevices. Most people are lacking knowledge with good shop practices and cleanliness control.
Easy to make macho claims on simple tasks, even document it with pictures and post it on forums.
Bottom line is - how long will your built last!!!
Easy to make macho claims on simple tasks, even document it with pictures and post it on forums.
Bottom line is - how long will your built last!!!
09-12-2012, 05:00 PM
#19
Bristle disk also contains abrasive particles. Shop air will force particles into crevices. Most people are lacking knowledge with good shop practices and cleanliness control.
Easy to make macho claims on simple tasks, even document it with pictures and post it on forums.
Bottom line is - how long will your built last!!!
Easy to make macho claims on simple tasks, even document it with pictures and post it on forums.
Bottom line is - how long will your built last!!!
So many comments yet not one helpful "safe" suggestion yet. You can't blame those of us with less experience for trying. Especially since we are all trying to do it correctly. Its hard to with the limited information there is out there, and most of us aren't born with all the answers unfortunately.
DG
09-12-2012, 07:16 PM
#20
Bristle disk also contains abrasive particles. Shop air will force particles into crevices. Most people are lacking knowledge with good shop practices and cleanliness control.
Easy to make macho claims on simple tasks, even document it with pictures and post it on forums.
Bottom line is - how long will your built last!!!
Easy to make macho claims on simple tasks, even document it with pictures and post it on forums.
Bottom line is - how long will your built last!!!