ERL 427 SuperDeck Build (All Motor)
 09-17-2015, 11:42 AM
#61
TECH Regular
Thread Starter

Also got the secondary oil pressure sensor fitted using an adapter in place of the oil gallery plug and a little elbow from Home Depot. Tucked in nicely so should have no clearance issues.
 09-28-2015, 11:18 PM
#63
TECH Regular
Thread Starter
Just a little update. Engine is sitting in the car. Got the transmission mated up to the block tonight. Tomorrow I'll get the lines and shifter hooked up then bleed the clutch. Hoping everything functions good to that point. If all is well then it's just a matter of installing accessories, intake, finishing harness connections, connecting exhaust... Well you get the picture. With any luck I'll be firing it up in the next week or two!
10-01-2015, 10:44 PM
#65
TECH Regular
Thread Starter
Originally Posted by Dutchman427
I enjoyed reading your thread man. Car will definitely be wicked! Good luck with the rest of your build.
10-03-2015, 02:20 PM
#67
 10-03-2015, 11:35 PM
#68
TECH Regular
Thread Starter
Nothing wrong with other ways of doing it. I just felt like those ports were there and rather than plugging them I may as well plumb them for virtually the same cost.
10-06-2015, 11:55 PM
#69
TECH Regular
Thread Starter
Well folks, it's together and tomorrow is the big day to turn it over and see how she runs. I spun it a bit tonight and the battery was low but I was able to build about 25 PSI oil pressure with a slow crank so feel confident she'll have good pressure tomorrow when fired.
I've got a bunch more pics to post and some stories about various challenges and solutions. I'll try to get to that later this week if everything goes well tomorrow.
I've got a bunch more pics to post and some stories about various challenges and solutions. I'll try to get to that later this week if everything goes well tomorrow.
10-11-2015, 08:31 PM
#70
TECH Regular
Thread Starter
Ok so it fired up immediately. Running rough as the tune needs a lot of work. I ran it for about 15 minutes bringing it up to temp and checking for leaks, verifying fluid levels, bleeding cooling system, and burning off headers. Car made good oil pressure right away thanks to my prelube. It's running lean right now. I took the car for a short 15 minute drive again the next day to see where I am on the tune and help ring seat. Kept it varied between 2000-4000 rpm on and if the throttle. Still lean.
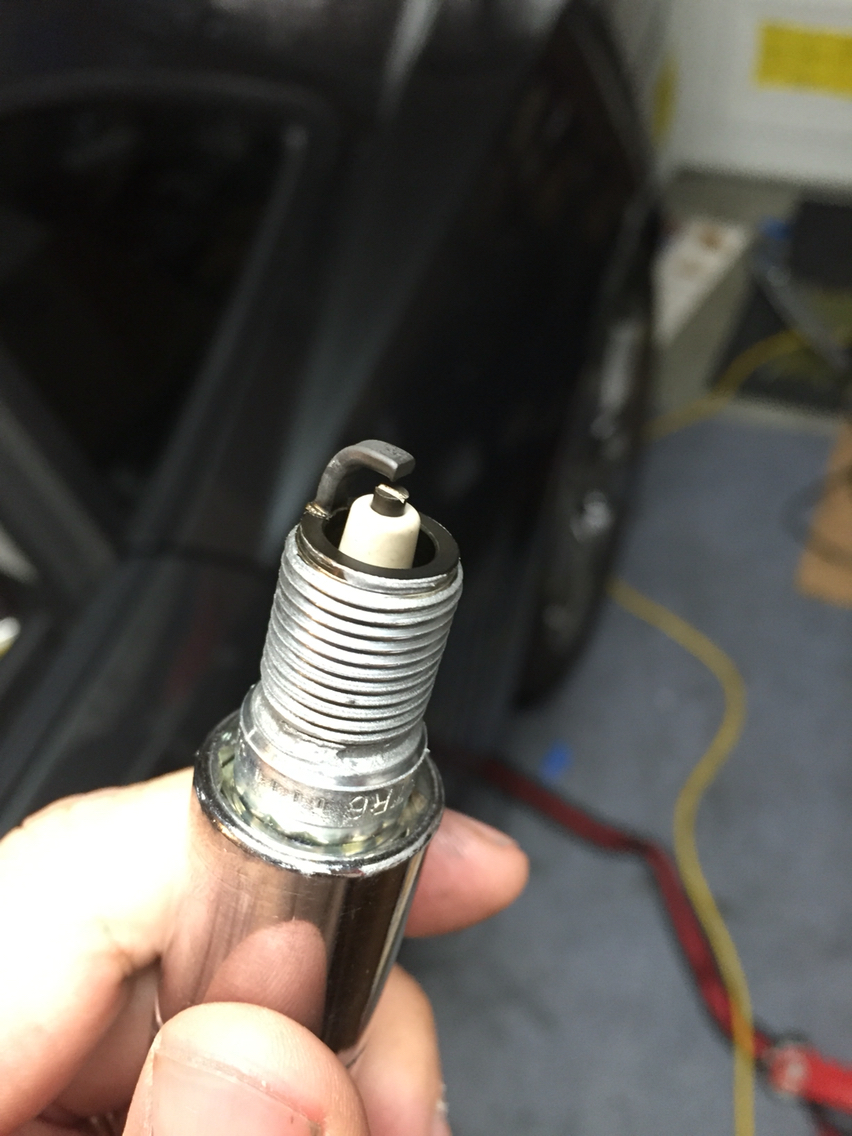
Pulled plugs today to make sure everything is ok. Plugs look fine so that's good. Also got my wide bands to log into EFI Live with the rest of the important PIDs so that's going to be very helpful.
The rest of the time has been spent tying up loose ends which will continue for the next couple weeks. Some photos below of my latest work.
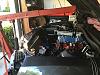
Who says you have to pull the hood to put an engine in a 5th Gen Camaro? 😎

Sitting pretty.

ATI Super Damper. Don't forget to put the A/C pull on the hub first. Oh crap I forgot to put the A/C pulley on first!
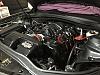
Looking like a running engine.
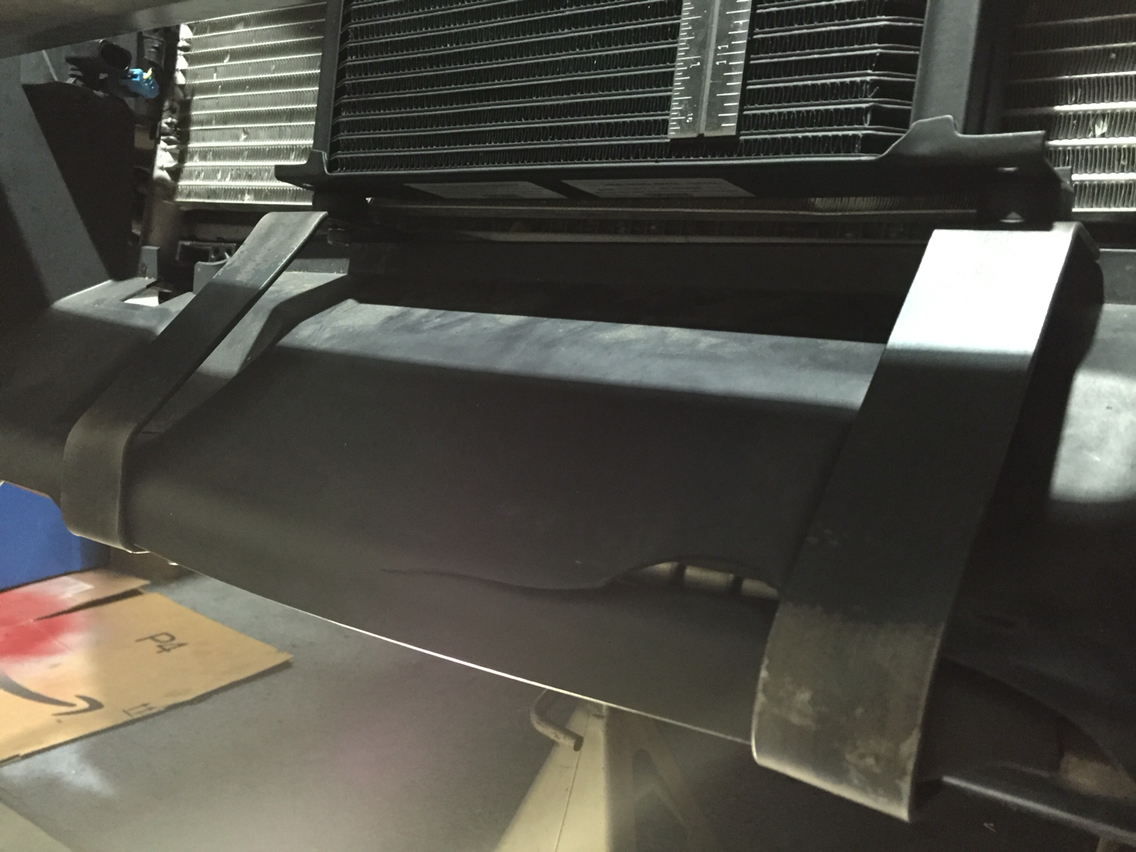
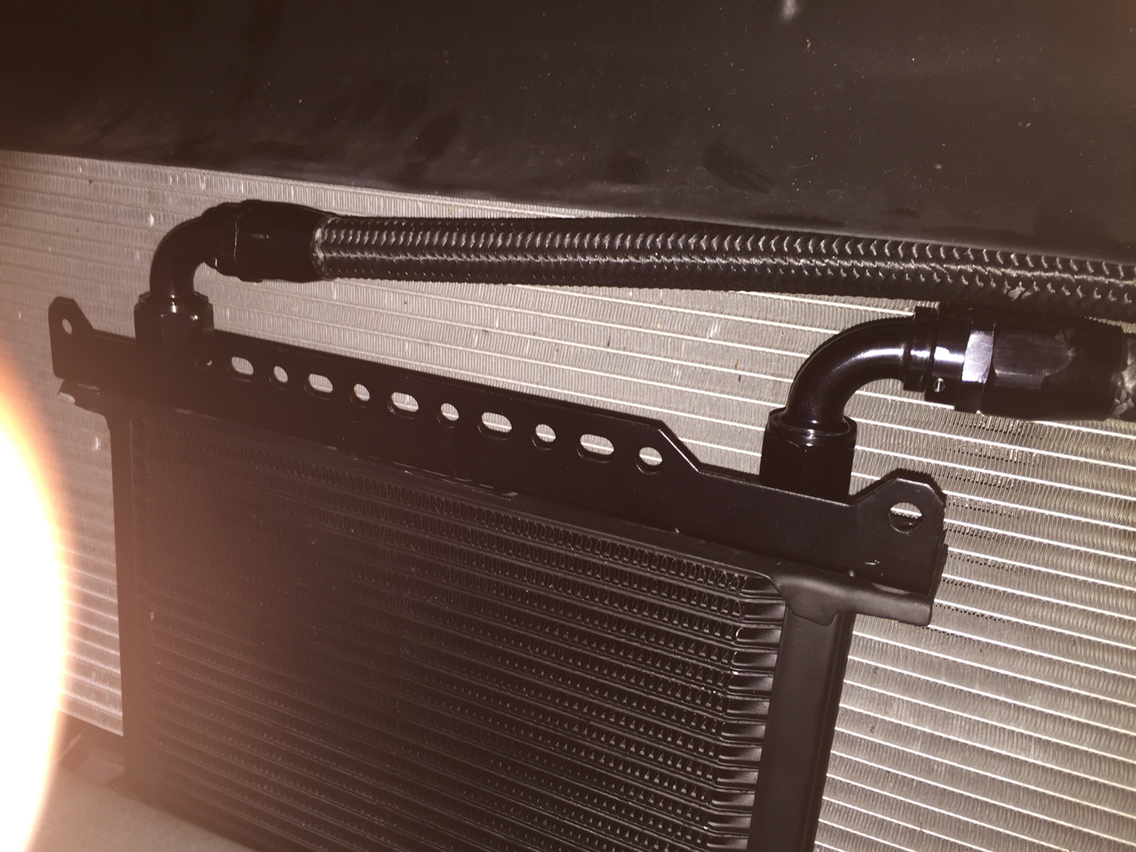
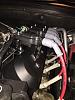
Oil cooler getting mocked up.
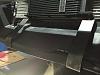
Original mounting plan wouldn't work so had to improvise. Not too bad for some flat stock from the scrap pile beat into shape with a sledge on a vice. I really need a finger break press!
All plumbed and ready to roll.
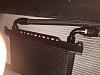
Damn, headers are touching the lines. Thankfully I put enough slack to switch fitting positions as one was a 90 and one was a 120.
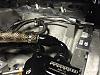
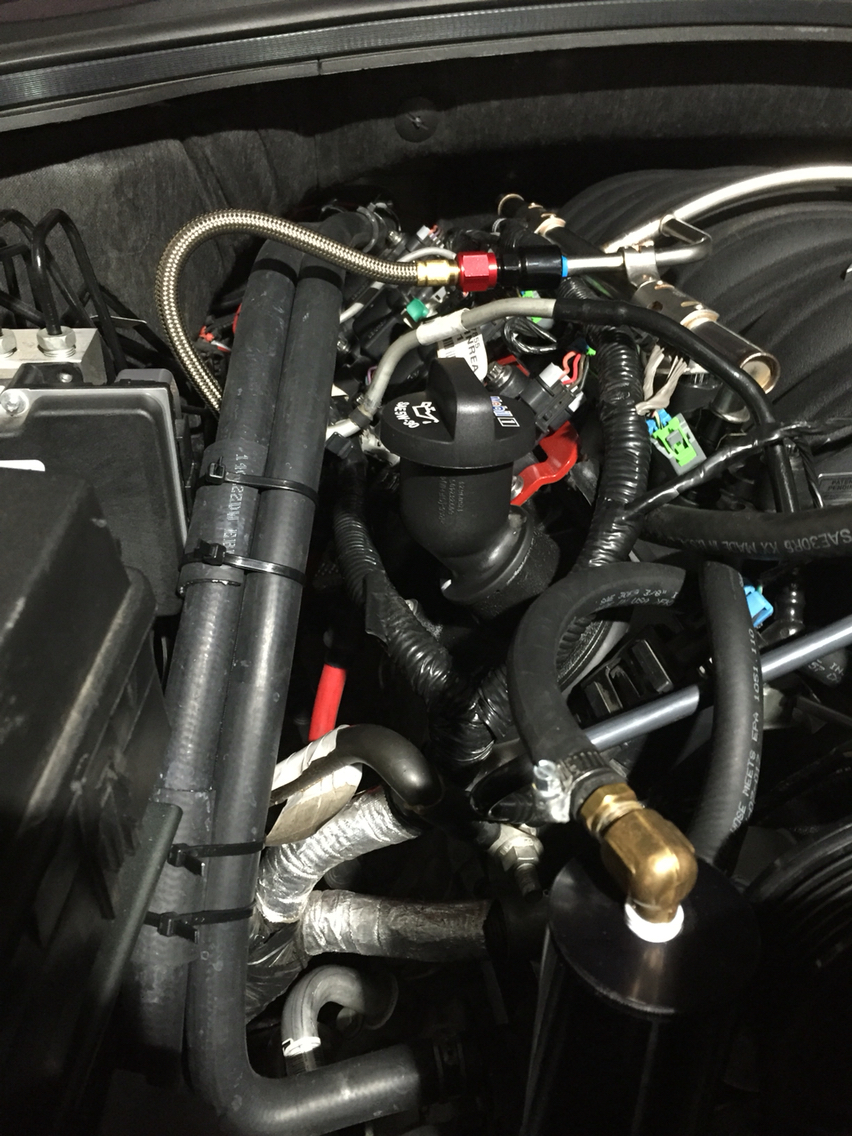
Rerouted the heater lines off the intake manifold. Also flipped the fuel rail and used Russell dual line adapters and a NOS -6 fuel line. A little too long so probably going to either fab a shorter line or get a Corvette line.
Pulled plugs today to make sure everything is ok. Plugs look fine so that's good. Also got my wide bands to log into EFI Live with the rest of the important PIDs so that's going to be very helpful.
The rest of the time has been spent tying up loose ends which will continue for the next couple weeks. Some photos below of my latest work.
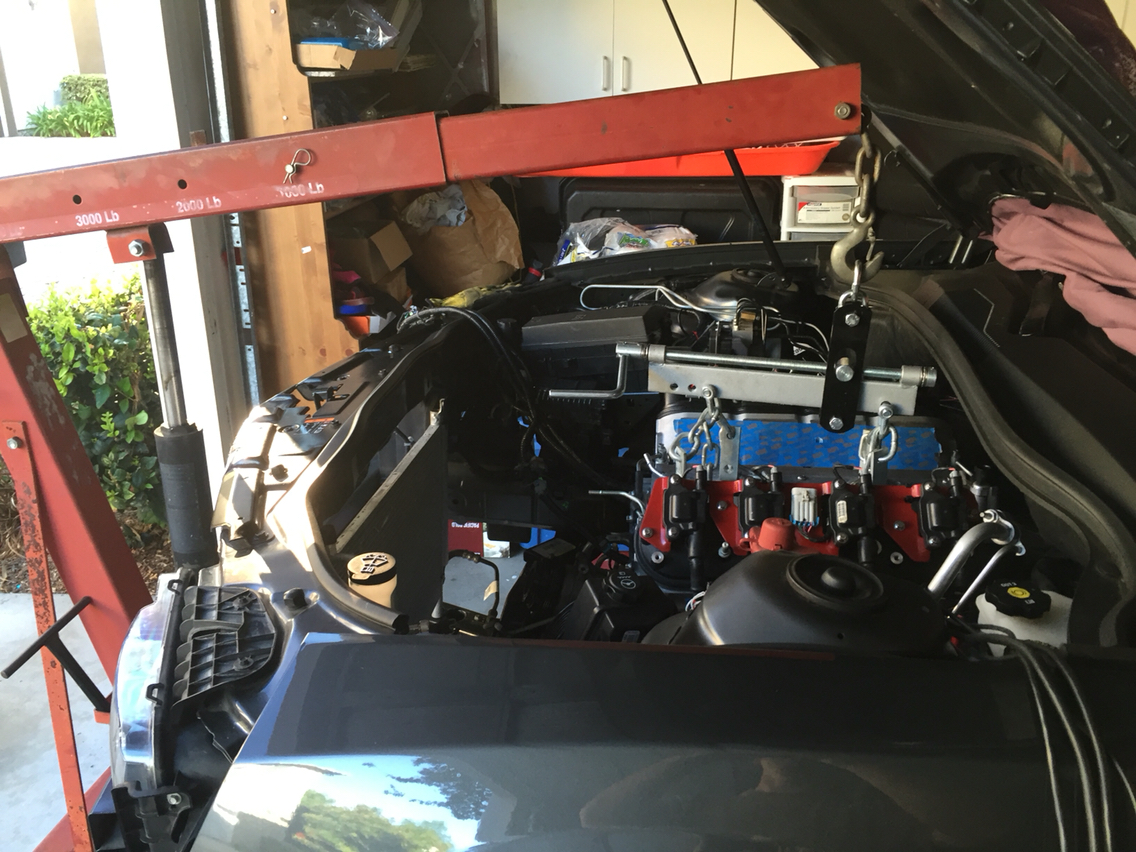
Who says you have to pull the hood to put an engine in a 5th Gen Camaro? 😎

Sitting pretty.
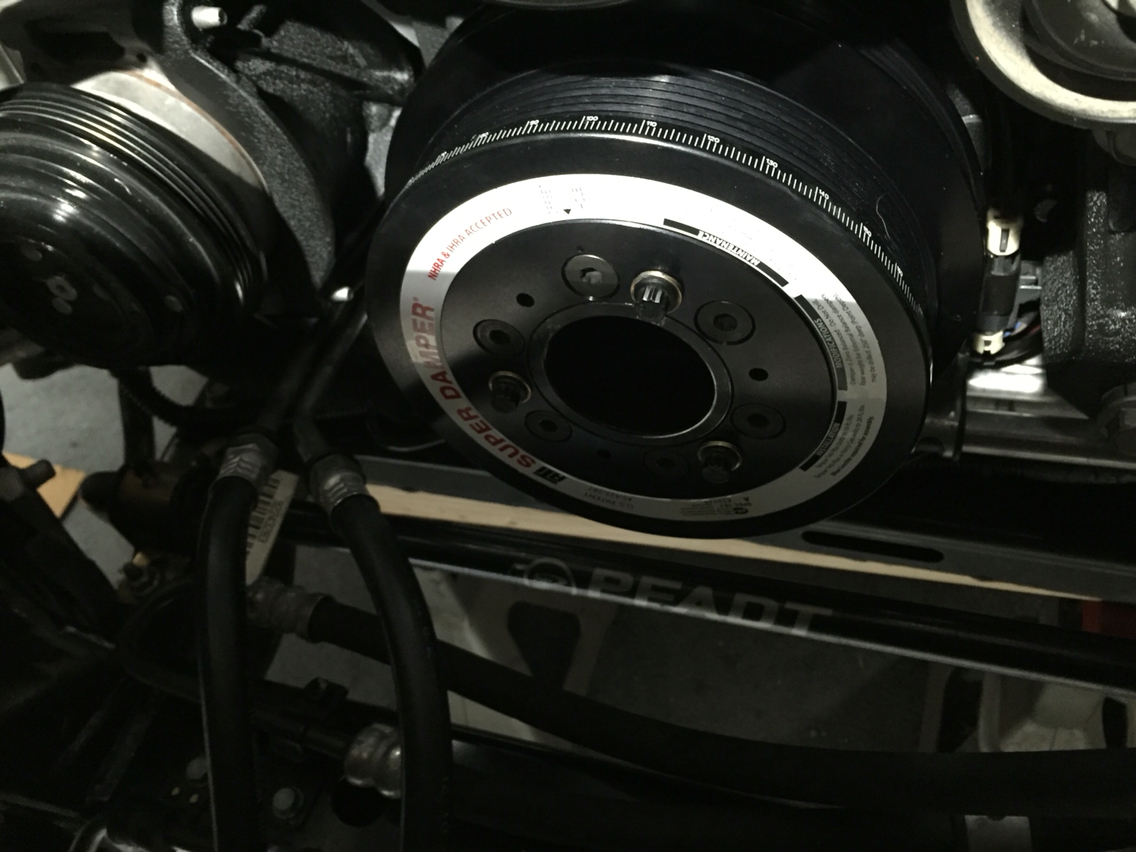
ATI Super Damper. Don't forget to put the A/C pull on the hub first. Oh crap I forgot to put the A/C pulley on first!
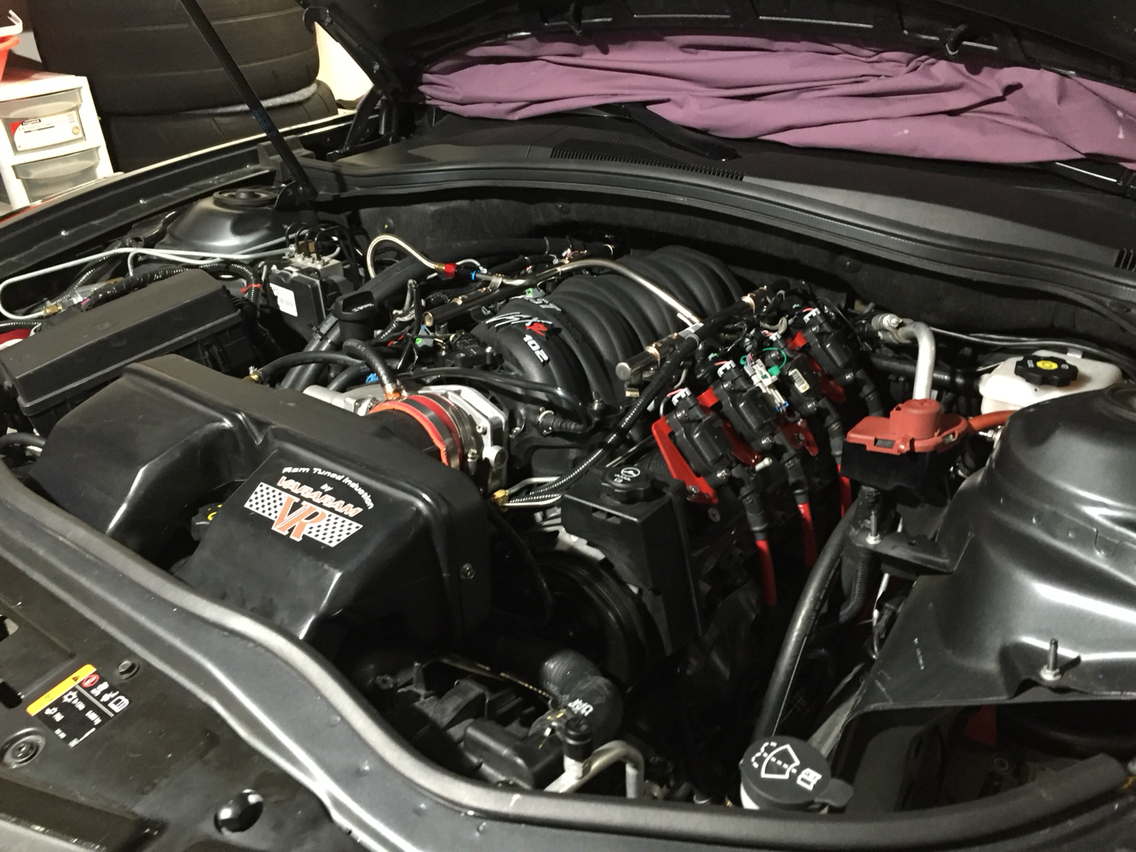
Looking like a running engine.
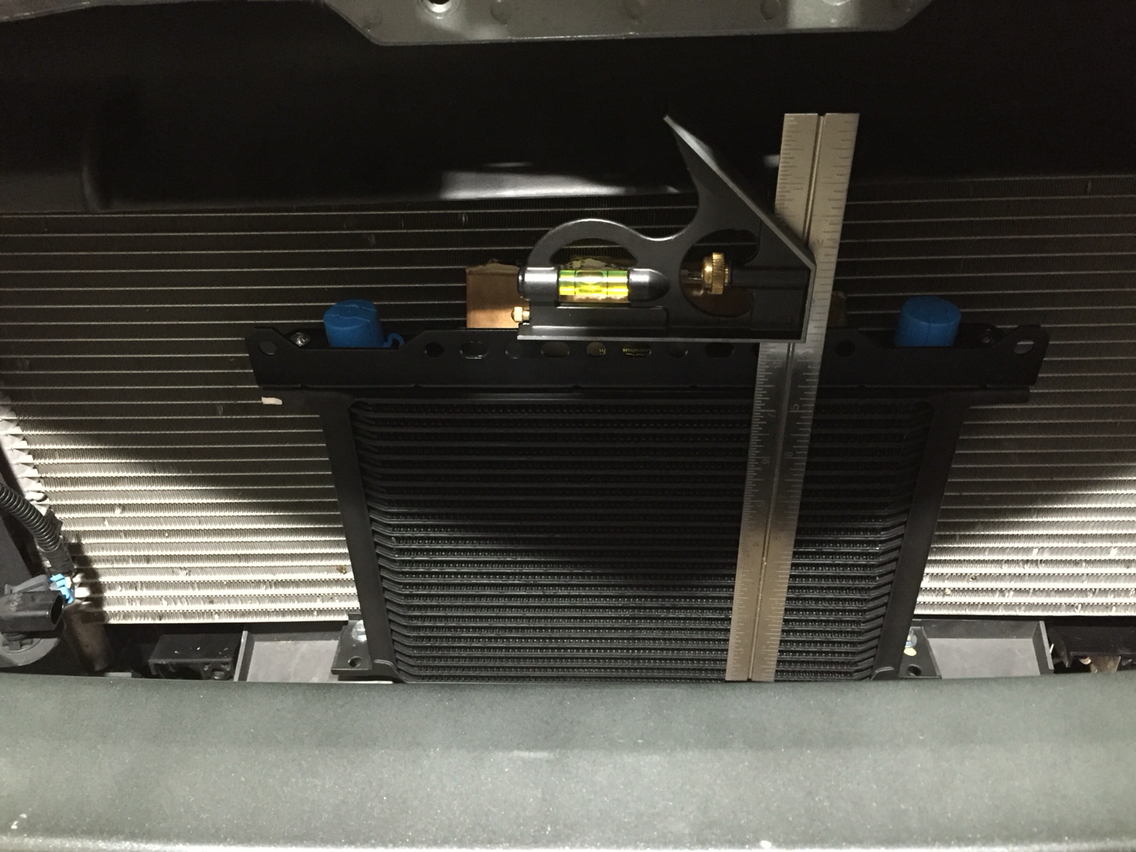
Oil cooler getting mocked up.
Original mounting plan wouldn't work so had to improvise. Not too bad for some flat stock from the scrap pile beat into shape with a sledge on a vice. I really need a finger break press!
All plumbed and ready to roll.
Damn, headers are touching the lines. Thankfully I put enough slack to switch fitting positions as one was a 90 and one was a 120.
Rerouted the heater lines off the intake manifold. Also flipped the fuel rail and used Russell dual line adapters and a NOS -6 fuel line. A little too long so probably going to either fab a shorter line or get a Corvette line.
10-11-2015, 08:38 PM
#71
TECH Regular
Thread Starter
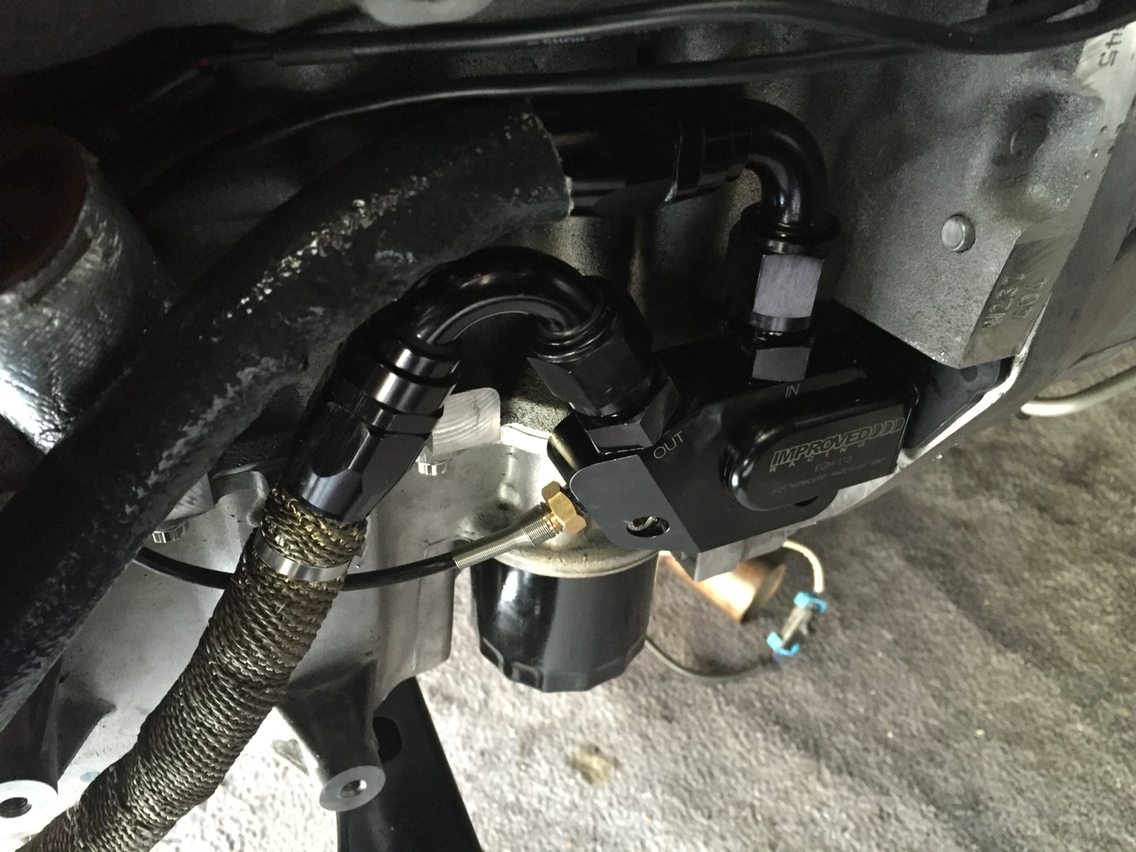
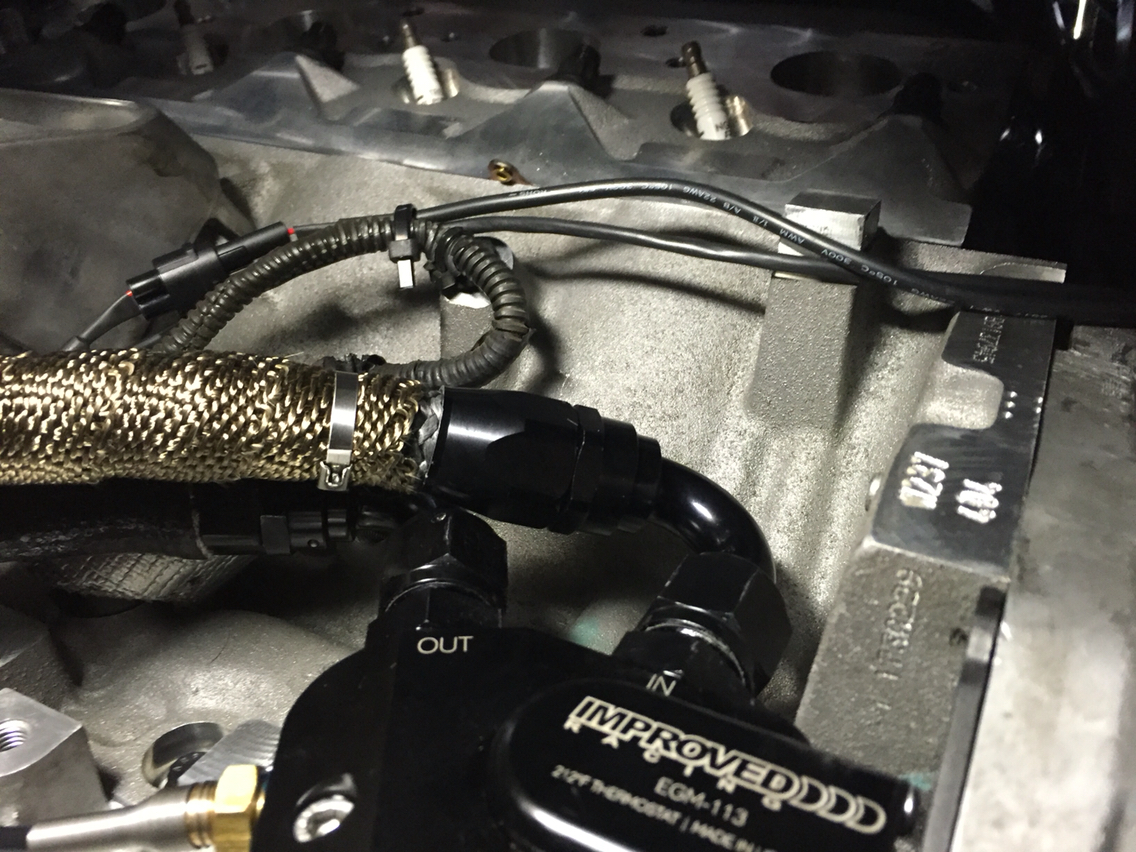
Here's the oil cooler adapter with the fittings flipped for better clearance on the headers.

Screen shot of the first fire up scan. Everything looks to be in order. No concerns so far.
Checked plugs this evening and everything is looking
Now let's get to work on the tune so we can get this bad boy on the rollers for a check of the POWAH!

Last edited by tadams72; 10-11-2015 at 08:54 PM.
10-11-2015, 08:55 PM
#72
TECH Regular
Thread Starter
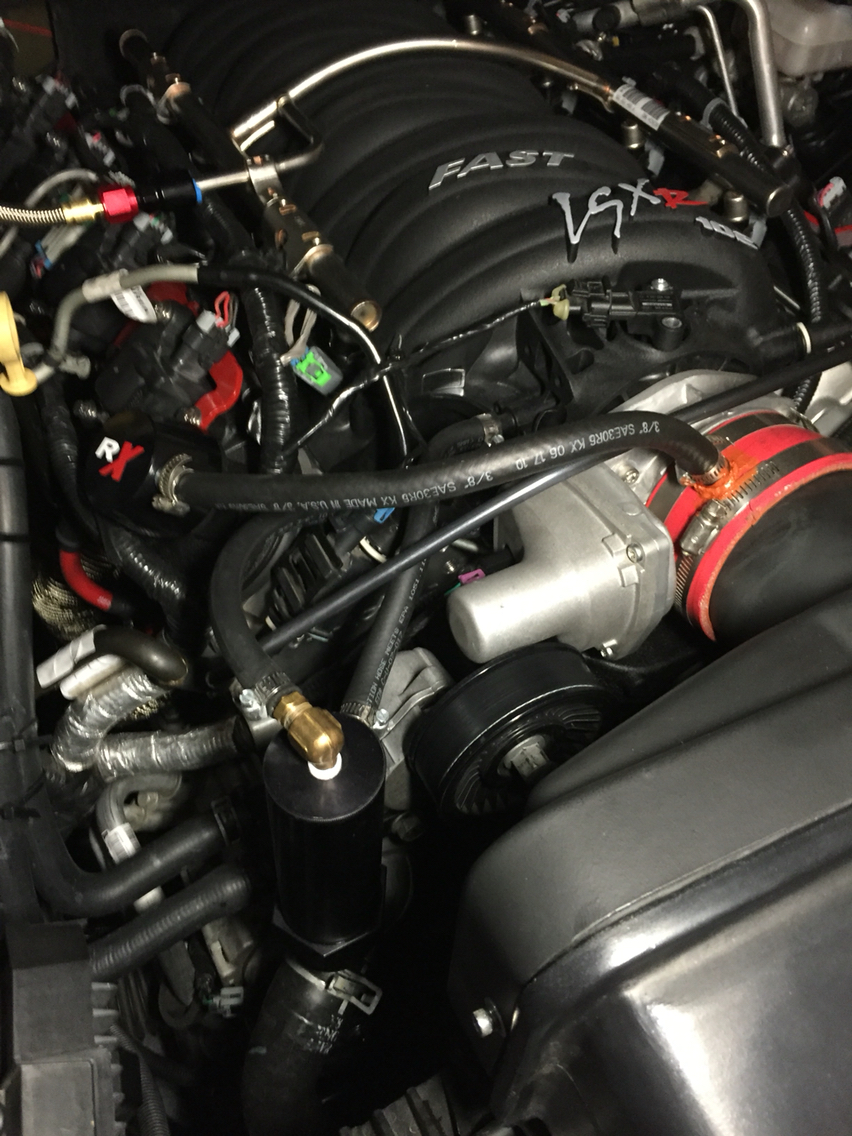
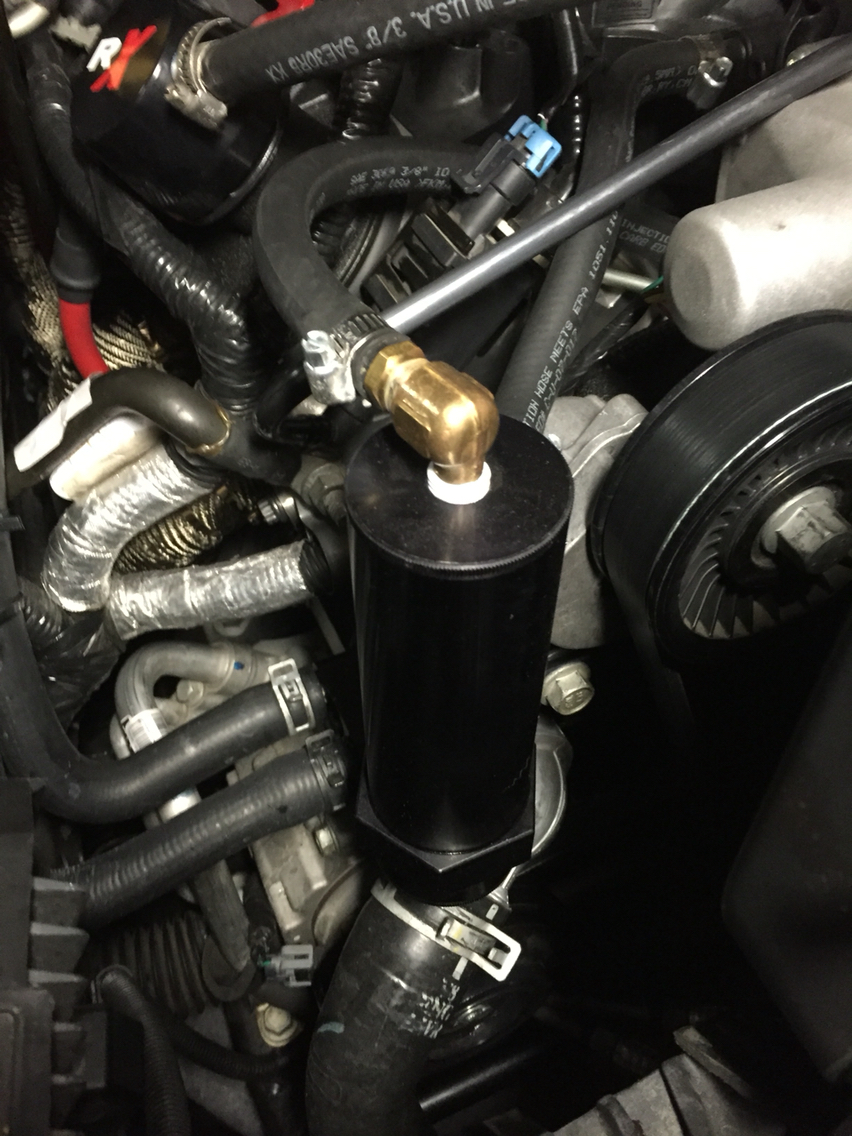

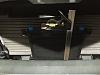
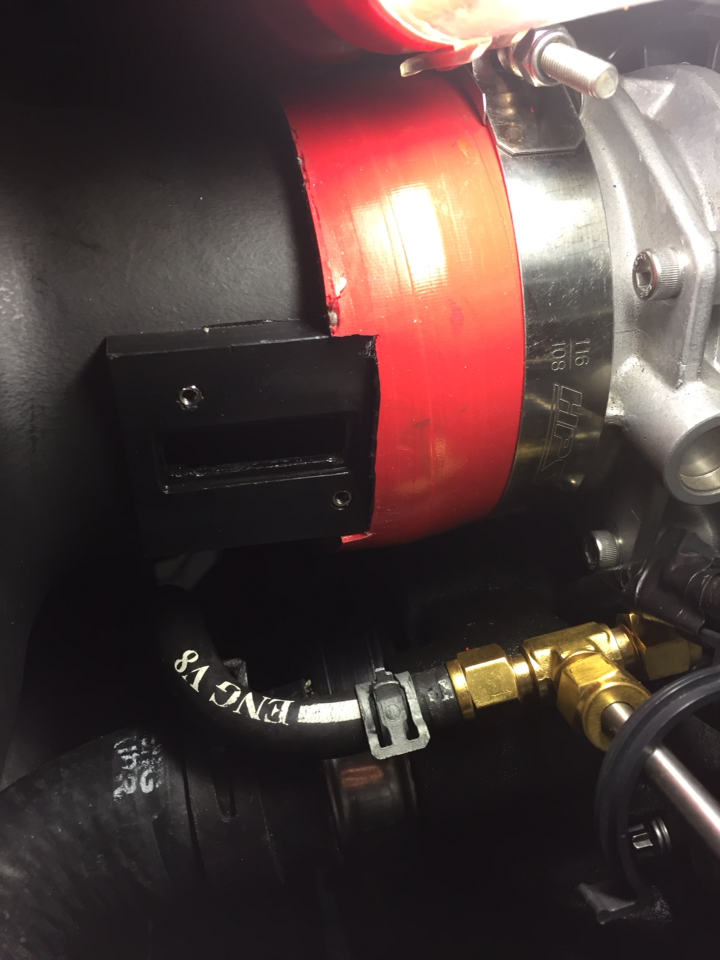
Norris Catch Can and REV Extreme Clean Side Catch. Hopefully between the two it'll keep the oil out of the intake. Would like to move to vacuum pump but not in the budget at the moment.
10-13-2015, 11:13 AM
#75
TECH Regular
Thread Starter
 10-13-2015, 11:19 AM
#76
TECH Regular
Thread Starter
Ok, after searching high and low, asking for input a million times, and generally just getting anxious, I decided to go ahead with a mail order tune from Pat G. For those in the know, he is a highly regarded tuner and cam specialist, among other things. Tony Mamo and I discussed various options for tuning and based upon my timeline and desire to break-in the engine and flush out any possible issues before I hit the rollers, this was the best course of action.
Pat was very reasonable on price, service, and timeline. Really looking forward to seeing how well he is able to tame the beast so I can start breaking it in. With any luck, there will be some video footage of a well running 427 ready for posting by this weekend.
Pat was very reasonable on price, service, and timeline. Really looking forward to seeing how well he is able to tame the beast so I can start breaking it in. With any luck, there will be some video footage of a well running 427 ready for posting by this weekend.
10-18-2015, 06:35 PM
#77
TECH Regular
Thread Starter
And it continues...
Got the tune back and it was quite a bit better. Took the car out and it's still stumbling on the throttle. Go back and start looking at the data log and see a significant lean condition on bank 2. Pat sees it as well so start troubleshooting things outside the tune. Pulled the plugs and they look fine. Pull the Taylor Pro-tect wires and all of them read 20 ohms except one that read 1700 ohms. That's a problem. I push on the boots a bit and read it again and it's down to 20 ohms.
So here is what I noticed, the TFS heads are slightly taller overall as compared to the LS3 factory head. This added height caused the plug wires to be slightly stretched to connect. I think this gave me a misfire on one or more cylinders and was the stumble I was getting. So on to putting the stock plug wires back on (they are slightly longer) and the car fires up and purrs like a kitten (sort of). While I have it running I start checking for the source of an oil leak I had noticed previously. Car gets up to temp and then starts stumbling and dies.
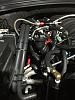
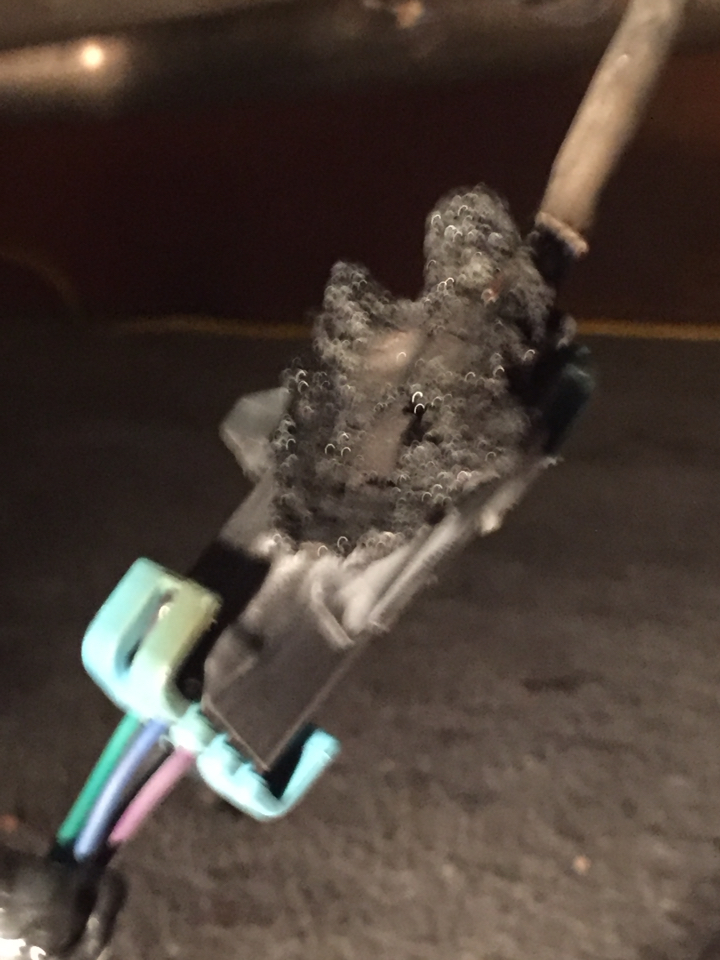
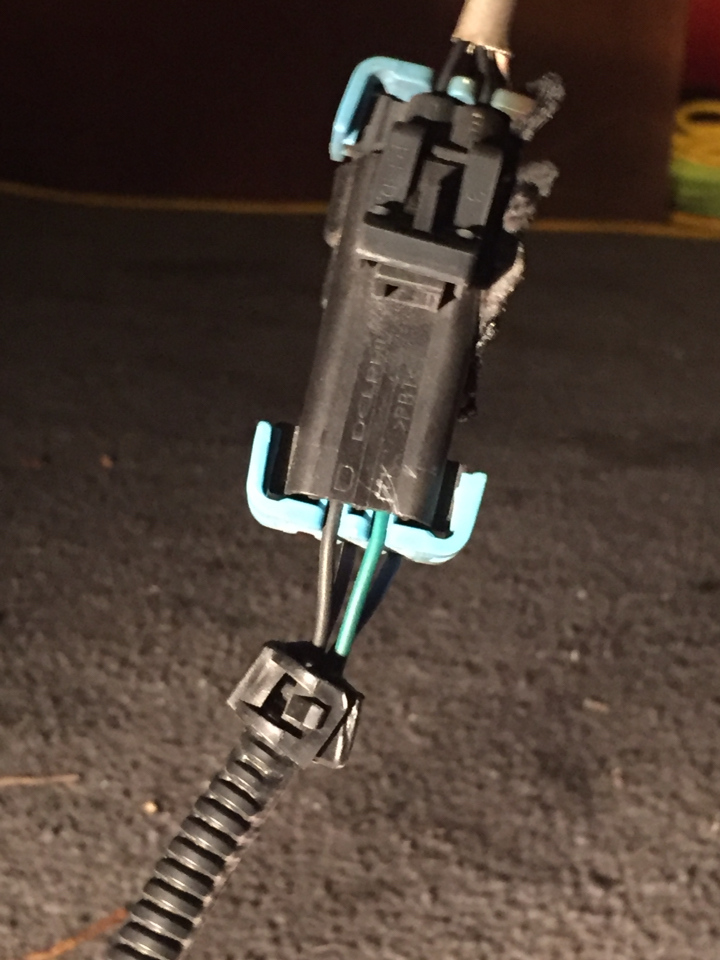
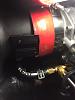
Source of the problem?

Bank 2 NBO2 sensor laying on the header. New sensor and extension ordered. I'll try this again on Wednesday.
By the way, I had two oil leaks and a coolant leak. Oil leaks were at the oil temp sensor and oil pressure sensor ports. Both were sealed using Hylomar Aerograde sealant. I think the issue was not using enough and not letting it air dry long enough before installing. I ended up using Teflon tape on all of the fittings but one were I felt the Hylomar would perform better. So I was not as stingy with it and I let it set for quite awhile before I assembled the fittings. If this doesn't work, I'll have to try and locate a 16mm copper crush washer for that spot.
The coolant leak was out of the water neck. I assembled it dry and that was a mistake. After draining four quarts of new dexcool I cleaned the area and reassembled using some Permatex Ultra-grey on the mating surfaces.
More to follow later in the week. After seeing the latest dyno numbers on Tony Mamo's new build, really looking forward to getting this done, broke in and on the rollers and track.
Got the tune back and it was quite a bit better. Took the car out and it's still stumbling on the throttle. Go back and start looking at the data log and see a significant lean condition on bank 2. Pat sees it as well so start troubleshooting things outside the tune. Pulled the plugs and they look fine. Pull the Taylor Pro-tect wires and all of them read 20 ohms except one that read 1700 ohms. That's a problem. I push on the boots a bit and read it again and it's down to 20 ohms.
So here is what I noticed, the TFS heads are slightly taller overall as compared to the LS3 factory head. This added height caused the plug wires to be slightly stretched to connect. I think this gave me a misfire on one or more cylinders and was the stumble I was getting. So on to putting the stock plug wires back on (they are slightly longer) and the car fires up and purrs like a kitten (sort of). While I have it running I start checking for the source of an oil leak I had noticed previously. Car gets up to temp and then starts stumbling and dies.
Source of the problem?
Bank 2 NBO2 sensor laying on the header. New sensor and extension ordered. I'll try this again on Wednesday.
By the way, I had two oil leaks and a coolant leak. Oil leaks were at the oil temp sensor and oil pressure sensor ports. Both were sealed using Hylomar Aerograde sealant. I think the issue was not using enough and not letting it air dry long enough before installing. I ended up using Teflon tape on all of the fittings but one were I felt the Hylomar would perform better. So I was not as stingy with it and I let it set for quite awhile before I assembled the fittings. If this doesn't work, I'll have to try and locate a 16mm copper crush washer for that spot.
The coolant leak was out of the water neck. I assembled it dry and that was a mistake. After draining four quarts of new dexcool I cleaned the area and reassembled using some Permatex Ultra-grey on the mating surfaces.
More to follow later in the week. After seeing the latest dyno numbers on Tony Mamo's new build, really looking forward to getting this done, broke in and on the rollers and track.
10-18-2015, 10:38 PM
#79
TECH Regular
Thread Starter
Originally Posted by blk00ss
I would order some real plug wires. Firecores.
12-18-2015, 07:54 PM
#80
TECH Regular
Thread Starter
Well it's been a minute since I made an update. The reason is I had some significant problems getting it running. I chased every gremlin in the book. Thought it was a bad O2 sensor. Nope. Thought it was a bad plug wire. Nope. I checked coils, injectors, pushrod length, changed lifters, and on and on. Was ready to pull the motor. In fact, I tore it down and only had to drop the transmission to have it out when I noticed a slight shiny spot on a rocker tip. Looked a little closer and noticed it was on several rocker tips. All on the exhaust rocker on the valve side. So I took a look at the valve covers. Guess what I found. A corresponding rub mark on the casting nub on the underside of the valve cover.
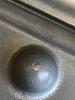
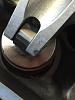
So what happened? I had Yella Terra Rockers on the TFS GenX 255 heads. I was not able to get a good wipe pattern on the valve stem with the supplied pedestals and shims so I went back to Yella Terra and had them send pedestals .100" taller. Seems this taller pedestal was just enough to make the thick cover gaskets not raise the valve cover enough. So the the valve cover was holding the rocker down and bleeding off the cylinders. This nub corresponded with every cylinder I was seeing a compression problem. I was not seeing it because every time I did a compression check cold I had the covers off.
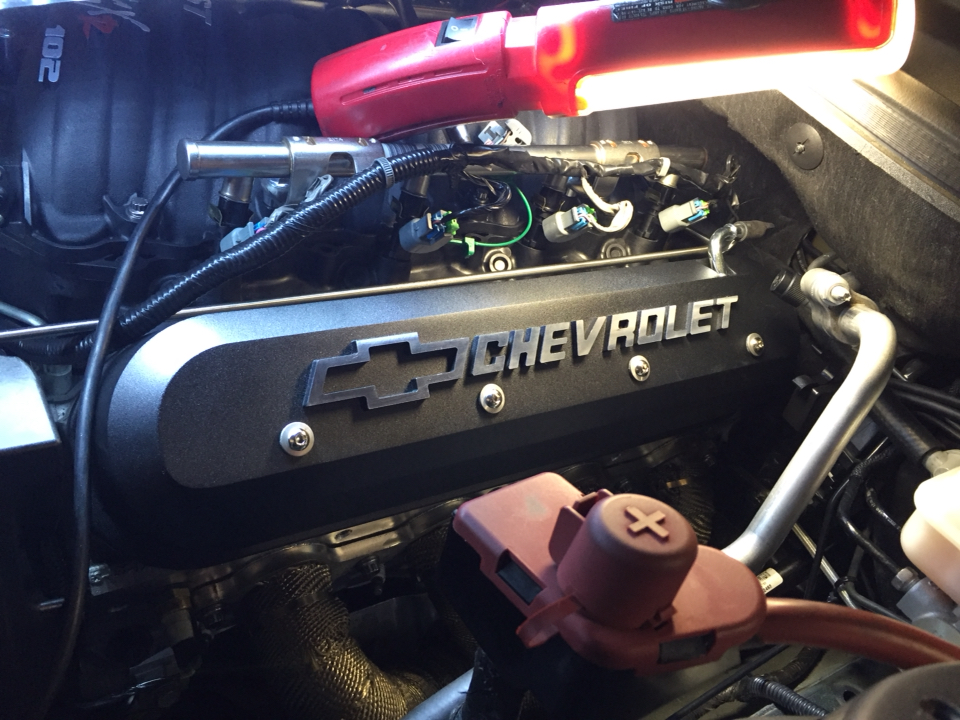
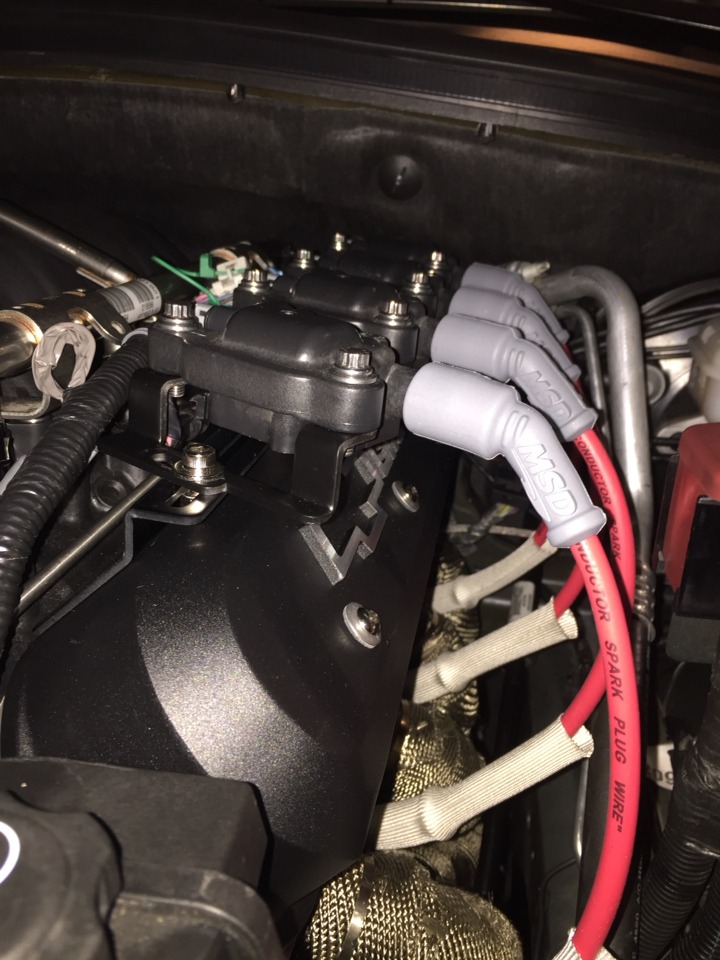
Anyhow, once I figured this out I picked up some Proform Tall Valve Covers, cool bracket kit and MSD wires for an 8.1 (longer at 13"). Gave me all the clearance I needed.

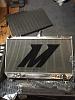
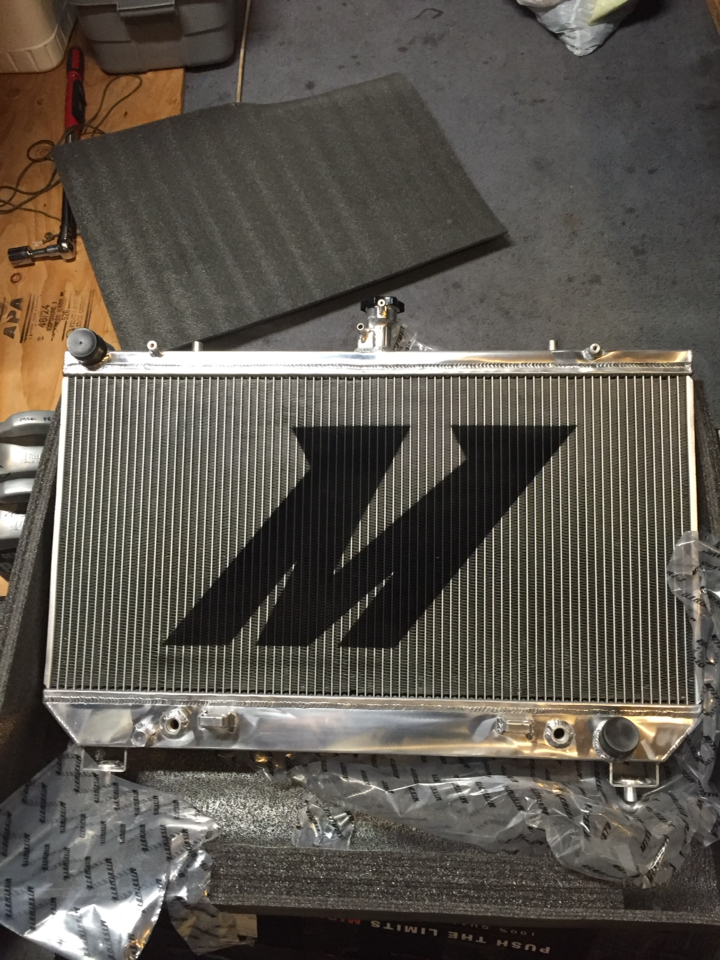
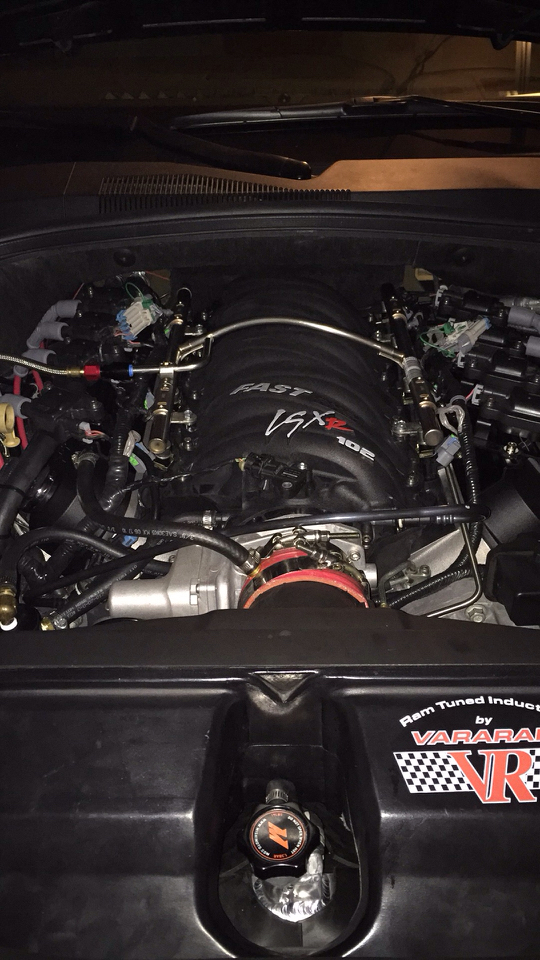
I also had the radiator out one too many times. The drain plug started leaking so made the move to a Mishimoto dual core radiator. Fit was a little tight with the Vararam CAI but I got it sorted.
So now I'll start the break in and tie up various loose ends before I hit the dyno. Goal was 550 RWHP with a table top torque curve capable of revving to 7000. Honestly think it will be well over this though.

Travis
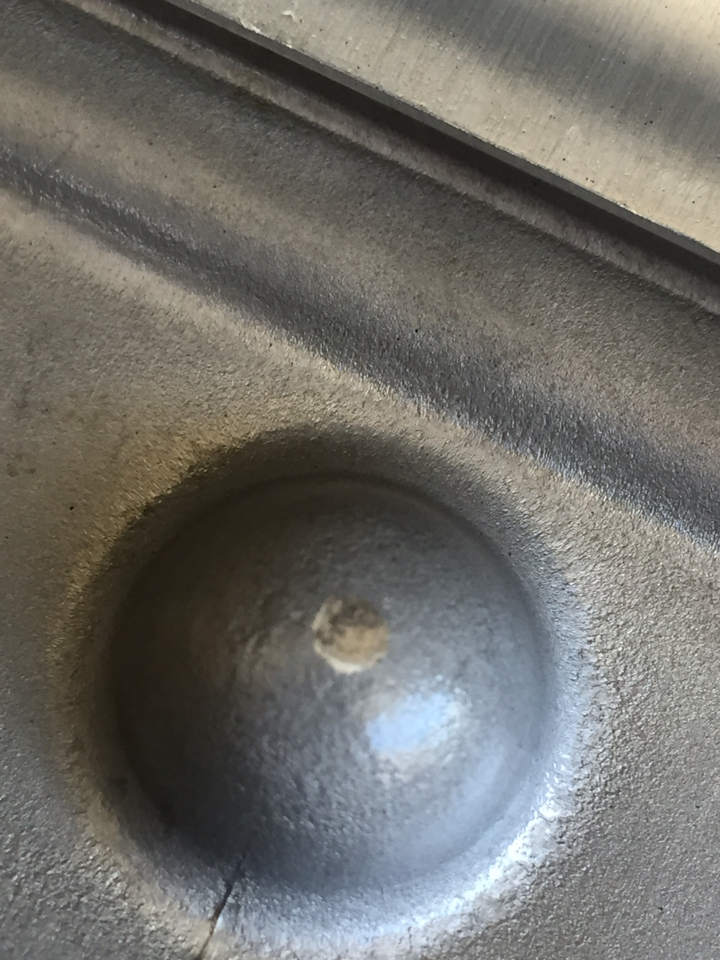

So what happened? I had Yella Terra Rockers on the TFS GenX 255 heads. I was not able to get a good wipe pattern on the valve stem with the supplied pedestals and shims so I went back to Yella Terra and had them send pedestals .100" taller. Seems this taller pedestal was just enough to make the thick cover gaskets not raise the valve cover enough. So the the valve cover was holding the rocker down and bleeding off the cylinders. This nub corresponded with every cylinder I was seeing a compression problem. I was not seeing it because every time I did a compression check cold I had the covers off.
Anyhow, once I figured this out I picked up some Proform Tall Valve Covers, cool bracket kit and MSD wires for an 8.1 (longer at 13"). Gave me all the clearance I needed.
I also had the radiator out one too many times. The drain plug started leaking so made the move to a Mishimoto dual core radiator. Fit was a little tight with the Vararam CAI but I got it sorted.
So now I'll start the break in and tie up various loose ends before I hit the dyno. Goal was 550 RWHP with a table top torque curve capable of revving to 7000. Honestly think it will be well over this though.
Travis