Valve Spring install HELP!!!!
 05-05-2009, 11:23 PM
#1
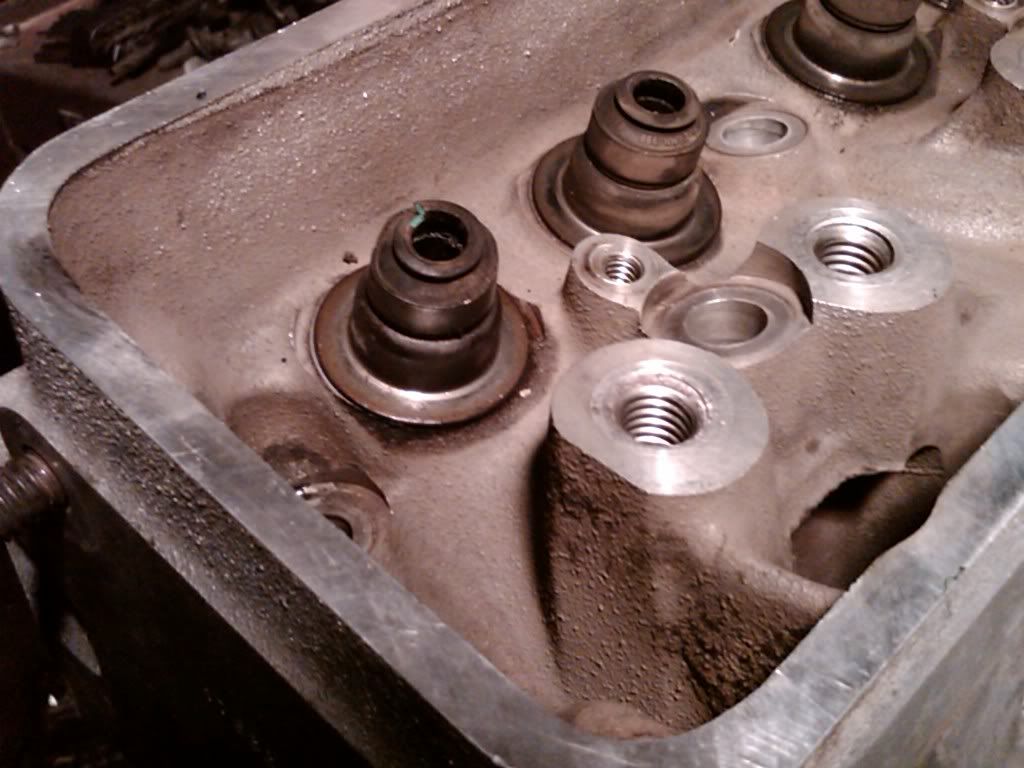
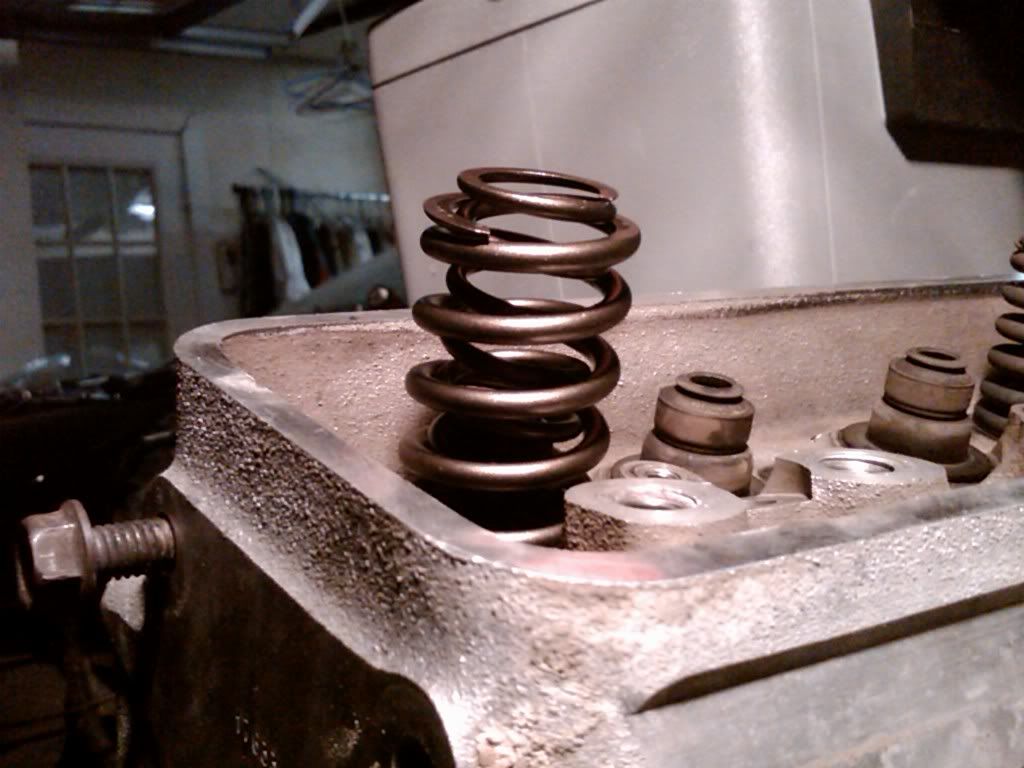
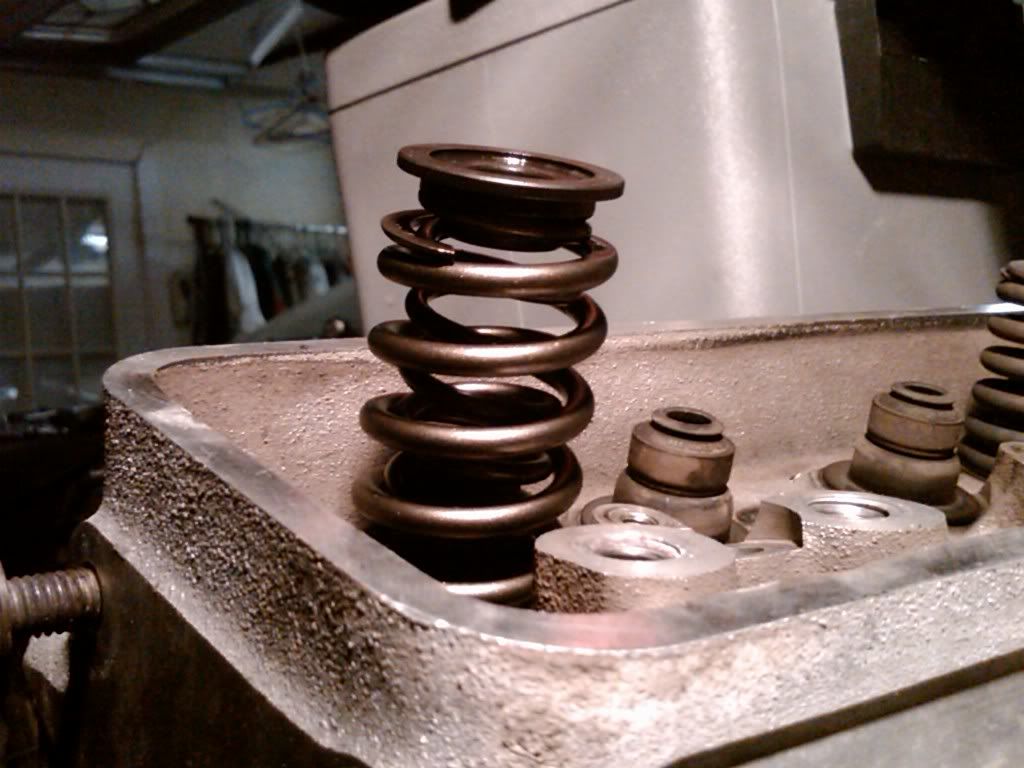
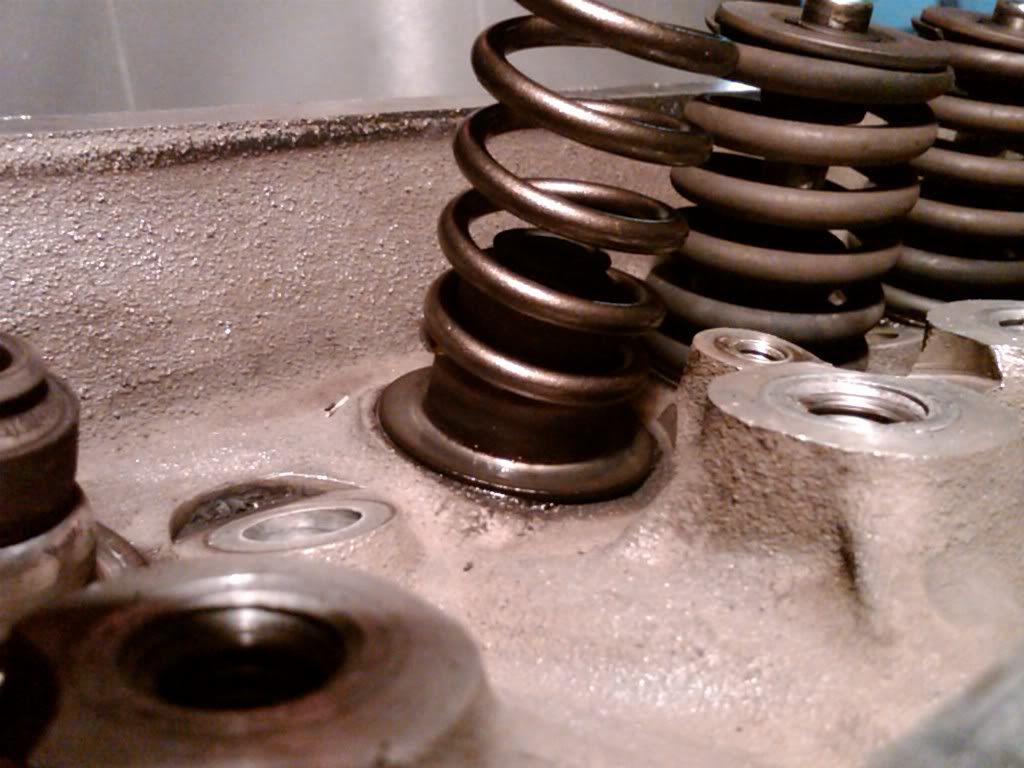
well im finally getting around to removing to OE spring and installing my beehive comp spring and i ran into a problem. I'm not sure of the technical term here but the piece that sits up against the head and between the valve stem seal isn't allowing my inner spring to sit all the way down. Do i just remove it completely, leave it and allow the inner spring to rest on it and compress it down on it, or do i need to order some more parts????
I have never done valve train so I'm new at this.
Any help welcome
I have never done valve train so I'm new at this.
Any help welcome

 05-06-2009, 01:25 AM
#3
TECH Regular
Join Date: Oct 2008
Location: Bahrain
Posts: 431
Likes: 0
Received 0 Likes
on
0 Posts
its called Valve Spring Locator, and yes u need to replace that with hardened steel shims and then check for installed valve hight and set according to ur cam manufacturer recomendation,
here is an example of what u need: http://store.summitracing.com/partde...5&autoview=sku
here is an example of what u need: http://store.summitracing.com/partde...5&autoview=sku
05-06-2009, 01:36 AM
#4

are you sure those are 918's (beehives)?
they are a single spring
most "dual" springs (like the ones in your pics) need the valve guides machined down for a smaller valve stem seal to clear.
Replace all valve stem seals and get Crane 10308-1 spring kit. Otherwise have your heads machined and get one of many many aftermarket springs. Beyond valve stem machining, get the spring pockets machined down so you can run springs with a 1.8" installed height using a spring locator.
05-06-2009, 02:59 PM
#7
http://store.summitracing.com/partde...0&autoview=sku
This is the link and it says dual springs. No machining required not actually sure on what particular springs they are. I got a lot of help from StealthFormula. He is the one that dirrected me one which ones to order for my application
This is the link and it says dual springs. No machining required not actually sure on what particular springs they are. I got a lot of help from StealthFormula. He is the one that dirrected me one which ones to order for my application
Trending Topics
05-06-2009, 03:32 PM
#8
http://store.summitracing.com/partde...0&autoview=sku
This is the link and it says dual springs. No machining required not actually sure on what particular springs they are. I got a lot of help from StealthFormula. He is the one that dirrected me one which ones to order for my application
This is the link and it says dual springs. No machining required not actually sure on what particular springs they are. I got a lot of help from StealthFormula. He is the one that dirrected me one which ones to order for my application
05-06-2009, 03:34 PM
#9
Ya it only shows a single spring in the picture but they are a dual spring per valve, im sure you already know this. So did you remove the spring locator, put in the provided shims, and then the new valve seals and then just put the new springs on ?
05-06-2009, 03:41 PM
#10
No, I removed the old spring, retainer, and locks, removed the old valve seal w/ a pair of pliers, removed the stock spring locator (seat), layed the shim down, put the stock seat back down, tapped the new valve seal (felpro replacements) on with a deep socket and the little plastic tube over the valve stem, dropped the spring down, layed the new retainer on the springs, compressed the spring with my spring compressor, slide the new locks in place, decompressed the spring, and finally I gave the top of the valve step a few whacks with a rubber hammer to ensure that everything was locked.
05-06-2009, 03:45 PM
#12
Your seals and seats should look like this, at least mine did:
http://shbox.com/ci/ci161.jpg
Install of new seal (shim layed on head, stock seat over shim, then tap on the valve seal):
http://shbox.com/ci/ci171.jpg
This is a very helpful writeup of a spring swap:
http://shbox.com/ci/valve_spring_swap.html
http://shbox.com/ci/ci161.jpg
Install of new seal (shim layed on head, stock seat over shim, then tap on the valve seal):
http://shbox.com/ci/ci171.jpg
This is a very helpful writeup of a spring swap:
http://shbox.com/ci/valve_spring_swap.html
05-06-2009, 04:38 PM
#20
TECH Fanatic
Join Date: Jan 2004
Location: Kingfisher Oklahoma
Posts: 1,157
Likes: 0
Received 0 Likes
on
0 Posts

The stock and shouldered seat shown are not to be used if the spring is stock diameter you can use a l-98 spring seat (from alum headed vettes ) or buy the propper seat. the inner spring should not touch the seat except on the bottom.
As said in the 2nd post a hardened steel shim (looks like a big washer) wil lwork as well, and as said the installed height needs to be checked and shimmed to propper height.
If you assemble it the way you have it now you will have 16 bent pushrods.
As said in the 2nd post a hardened steel shim (looks like a big washer) wil lwork as well, and as said the installed height needs to be checked and shimmed to propper height.
If you assemble it the way you have it now you will have 16 bent pushrods.