
Motor Mounts LS1...??? HELP???
 07-06-2009, 04:25 PM
#1
12 Second Club
Thread Starter
Join Date: Feb 2007
Location: Fairfield, Cali
Posts: 150
Likes: 0
Received 0 Likes
on
0 Posts
So I got the driver side done.. now im doing the passenger side and I gotta a little problem....My question is:
1) Can I change the motor mount one this side without having to disconnect the A/C Lines to the compressor? Can I just unbolt the bracket push it foward a little without having to break the system??
1) Can I change the motor mount one this side without having to disconnect the A/C Lines to the compressor? Can I just unbolt the bracket push it foward a little without having to break the system??

 07-06-2009, 10:20 PM
#3
https://ls1tech.com/forums/generatio...r-written.html
07-07-2009, 11:21 AM
#5
12 Second Club
Thread Starter
Join Date: Feb 2007
Location: Fairfield, Cali
Posts: 150
Likes: 0
Received 0 Likes
on
0 Posts
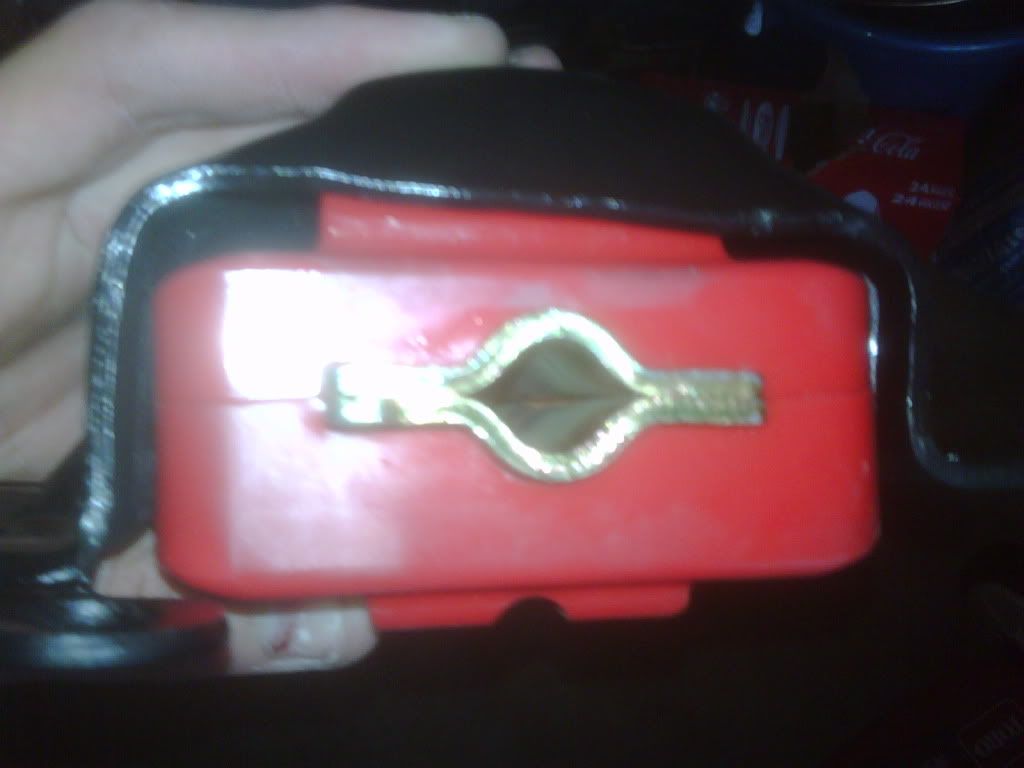
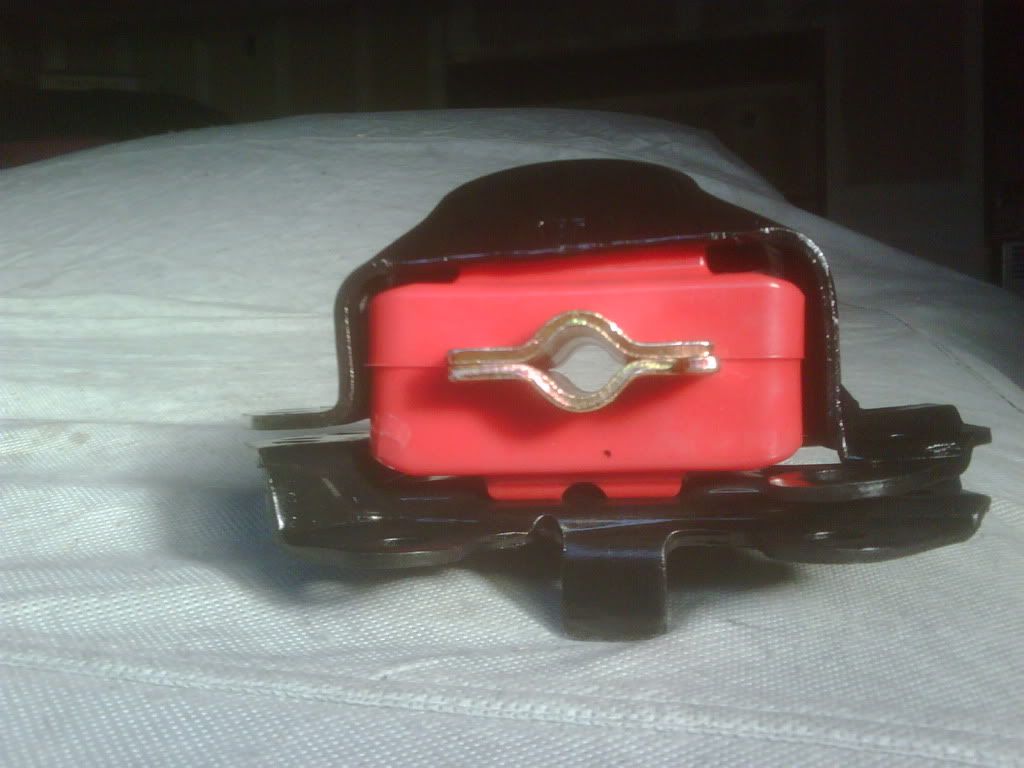
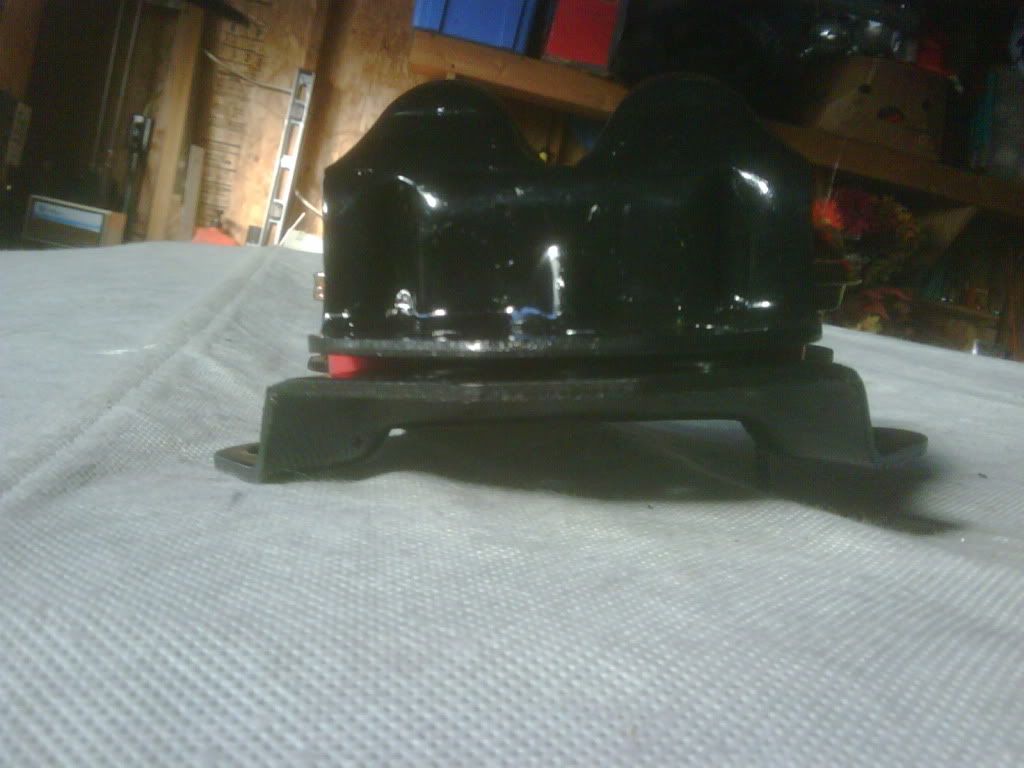
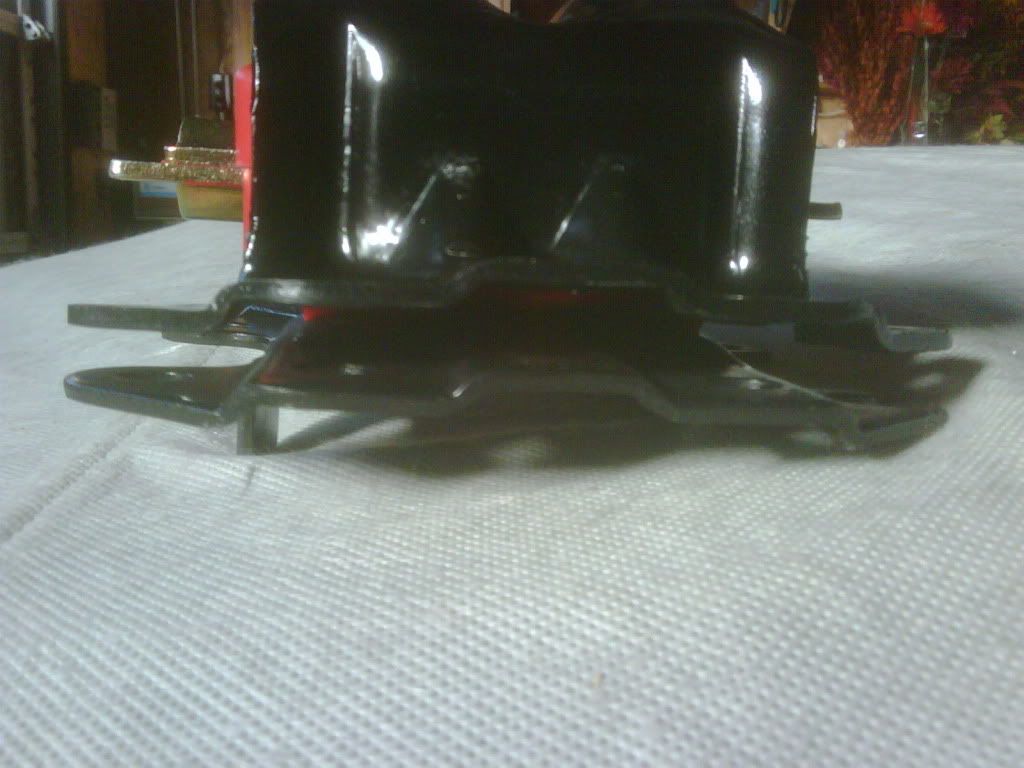
Awesome guys thanks for the info.. One quick question tho.. When you have the new poly mount in the clamshell does it have about a 1/8 in. of gap or does you're guys sit flush with the clamshells?
Cuz I have mine in but there's that little gap and I called poly and they said they didn't know if there should be a gap or sit flush with the clamshells??? Anyone know??? I can take pics if you need them..
Cuz I have mine in but there's that little gap and I called poly and they said they didn't know if there should be a gap or sit flush with the clamshells??? Anyone know??? I can take pics if you need them..
07-07-2009, 02:00 PM
#6
Awesome guys thanks for the info.. One quick question tho.. When you have the new poly mount in the clamshell does it have about a 1/8 in. of gap or does you're guys sit flush with the clamshells?
Cuz I have mine in but there's that little gap and I called poly and they said they didn't know if there should be a gap or sit flush with the clamshells??? Anyone know??? I can take pics if you need them..
Cuz I have mine in but there's that little gap and I called poly and they said they didn't know if there should be a gap or sit flush with the clamshells??? Anyone know??? I can take pics if you need them..
Trending Topics
07-07-2009, 09:38 PM
#8
12 Second Club
Thread Starter
Join Date: Feb 2007
Location: Fairfield, Cali
Posts: 150
Likes: 0
Received 0 Likes
on
0 Posts
if you look at the pic you can see one side of the mount sits flush and the other is almost all the way in..!! Do I just need to press it in more?? So the other side can sit flush..

