EXTERIOR DETAIL: '99 Miata with a rough life
 09-02-2009, 12:15 PM
#1
LS1TECH Sponsor
Thread Starter
iTrader: (6)

Join Date: Mar 2007
Location: TX
Posts: 593
Likes: 0
Received 0 Likes
on
0 Posts
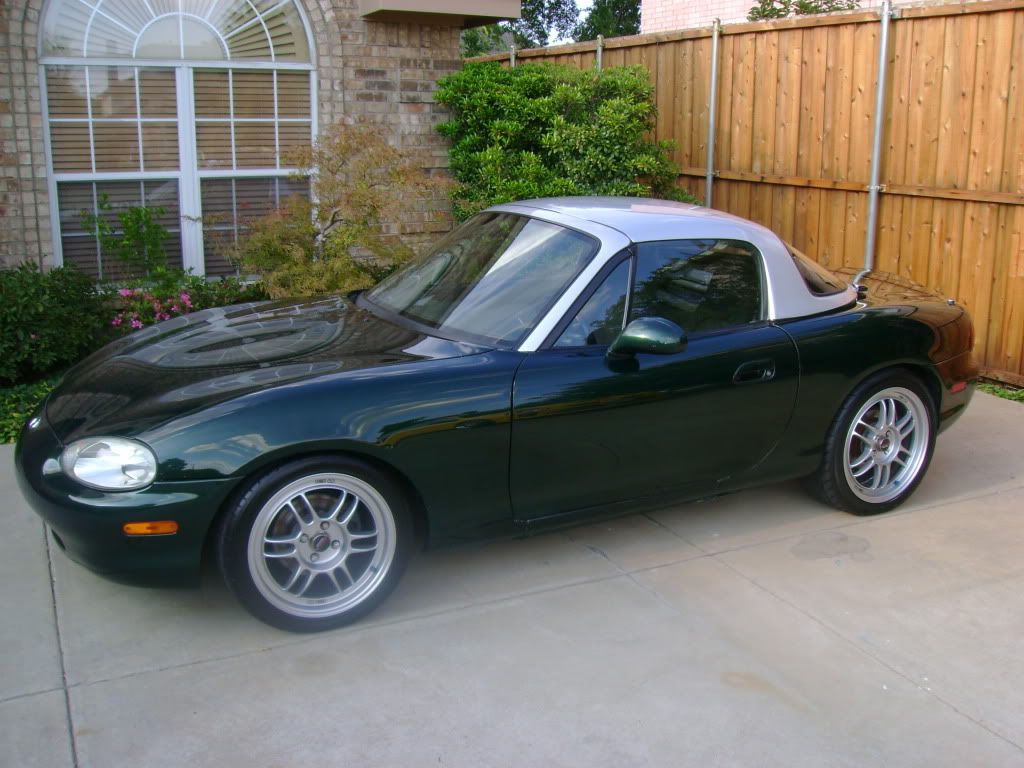
I saw this car for the first time late night at our local weekly GTG here. The owner asked me if I could restore any shine to surface. After a short demo to show him what was possible, he asked me if I could schedule to do the rest of the car later. Several days later, he dropped the car late night for finishing the next day.
This '99 now has 113K miles and it looked every bit of it. Not to mention, it was totaled by an 18 wheeler previously. The owner donated it to a local community college for use in their paint and body courses. During its year-long stay, students had an opportunity to cut off the damaged panels, reinstall new ones and finish the with assorted body work and paint needs. Now pretty much gutted throughout, it now exists as a weekend driver/track use car.
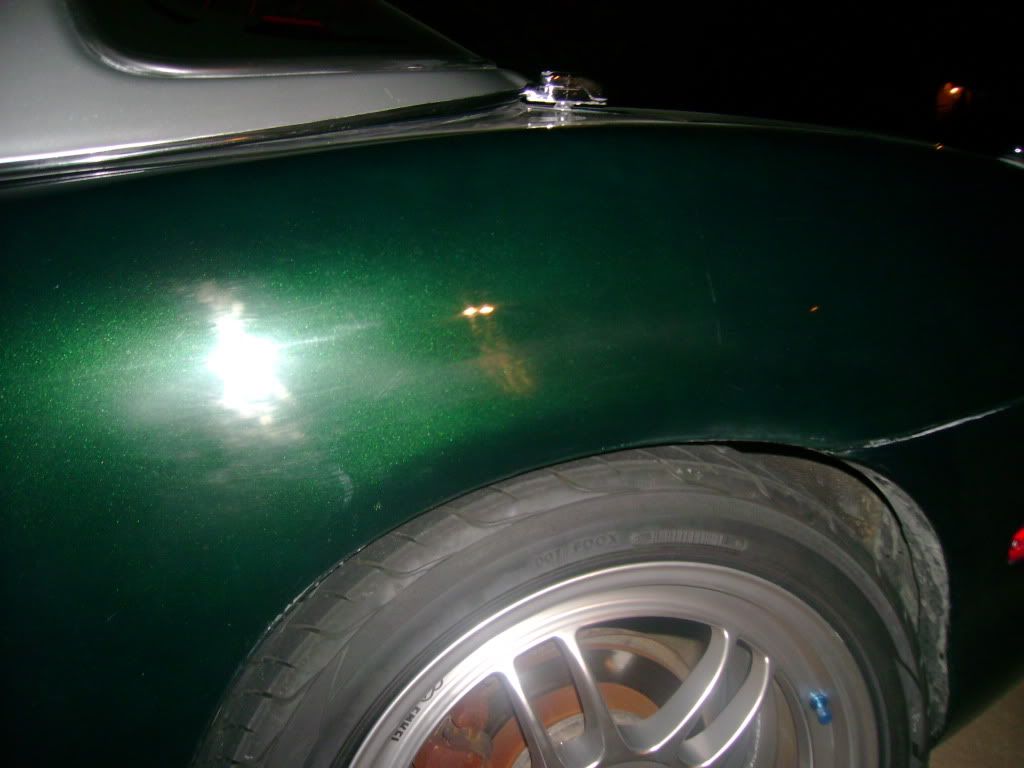
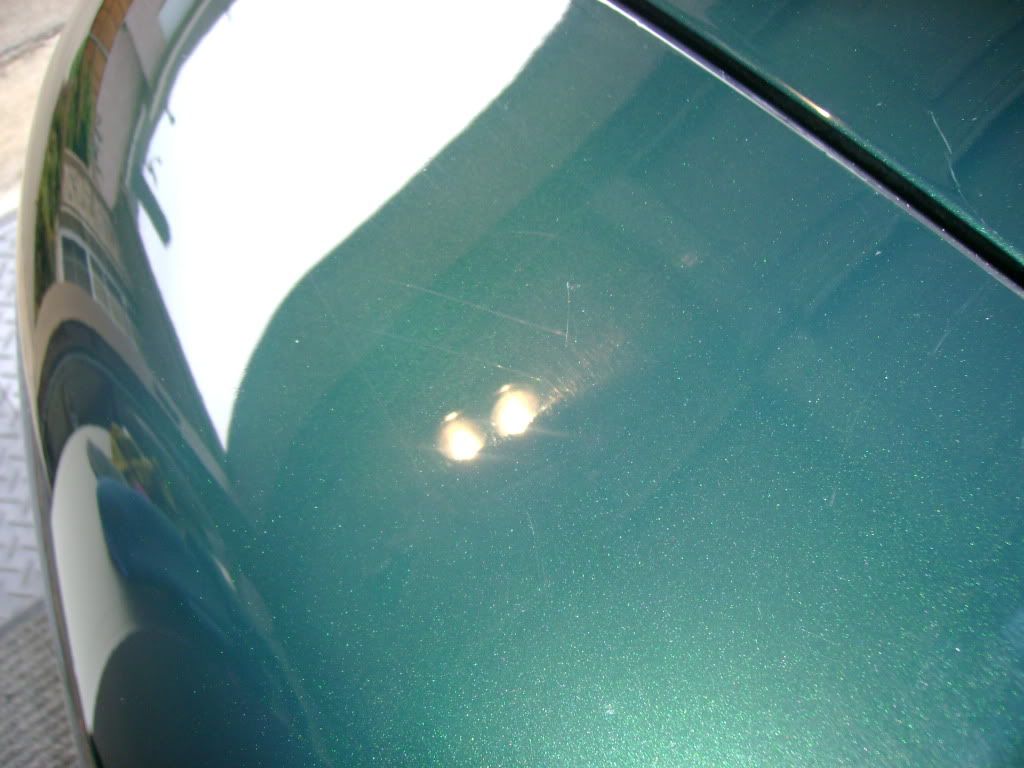
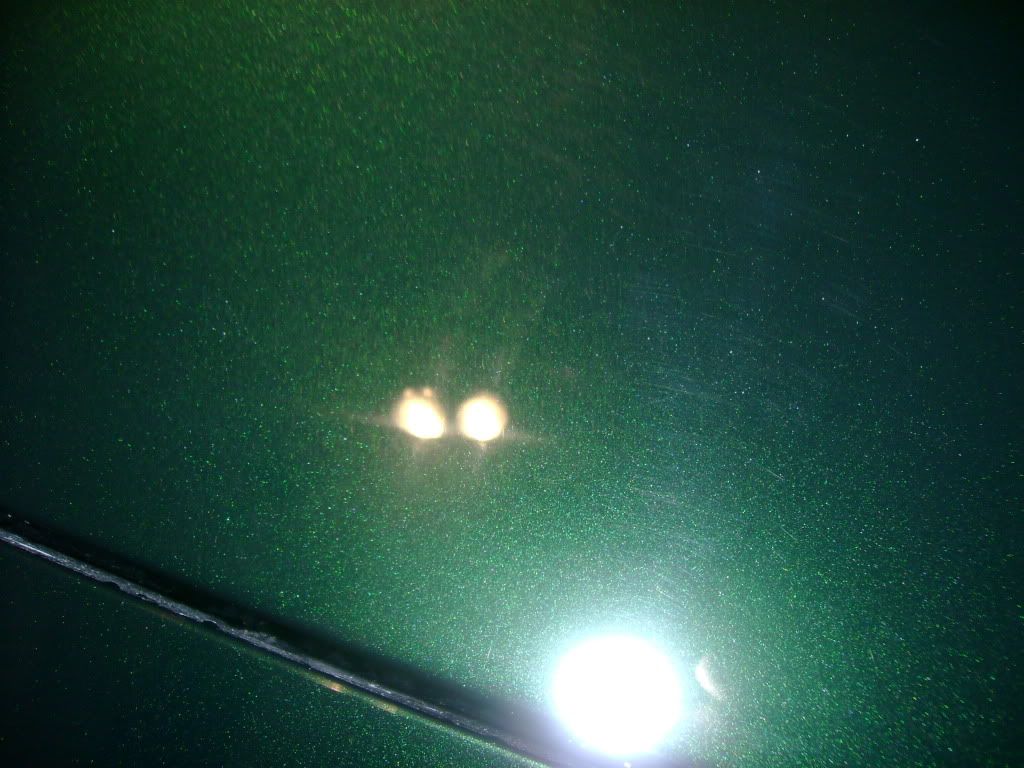
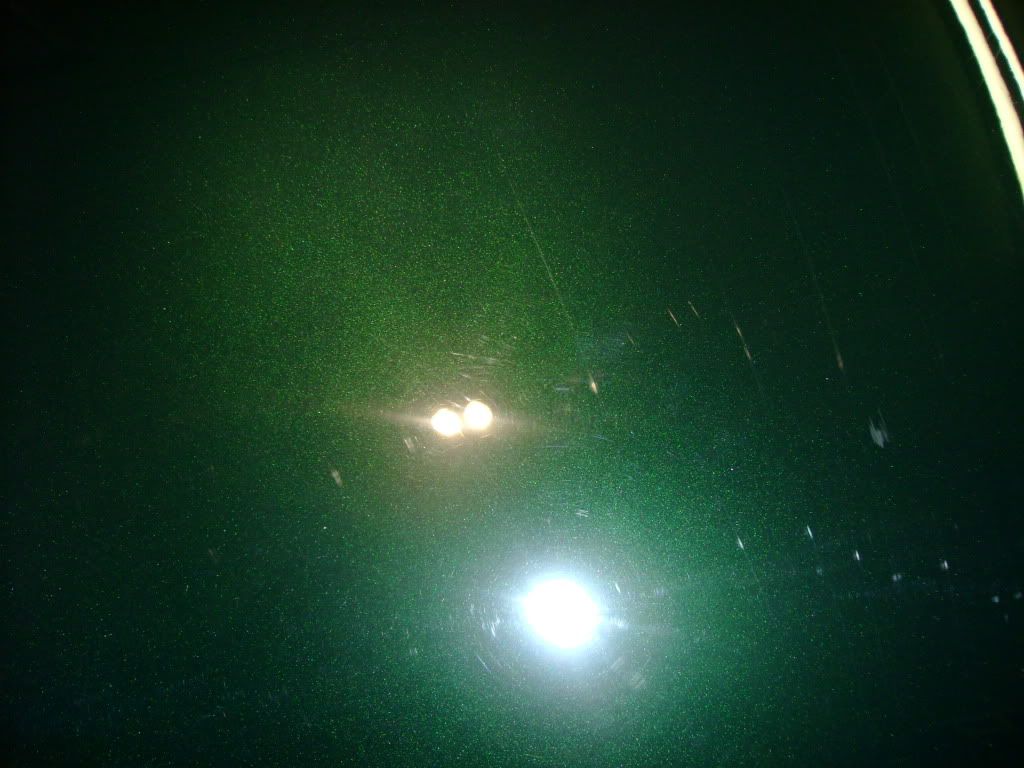
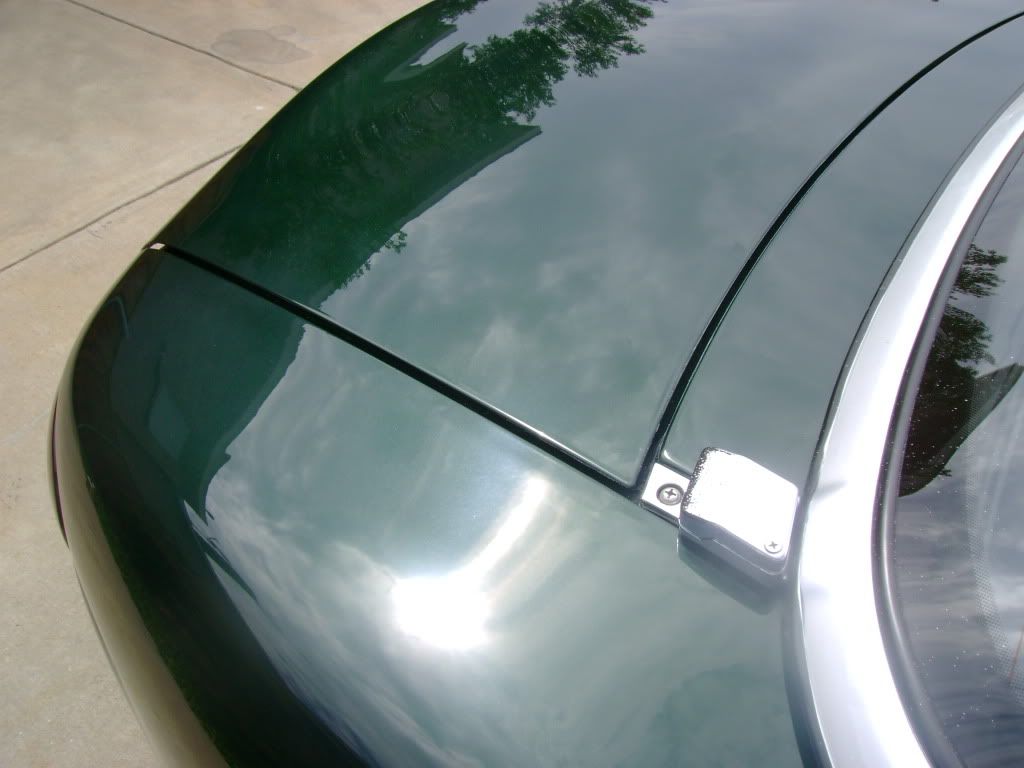
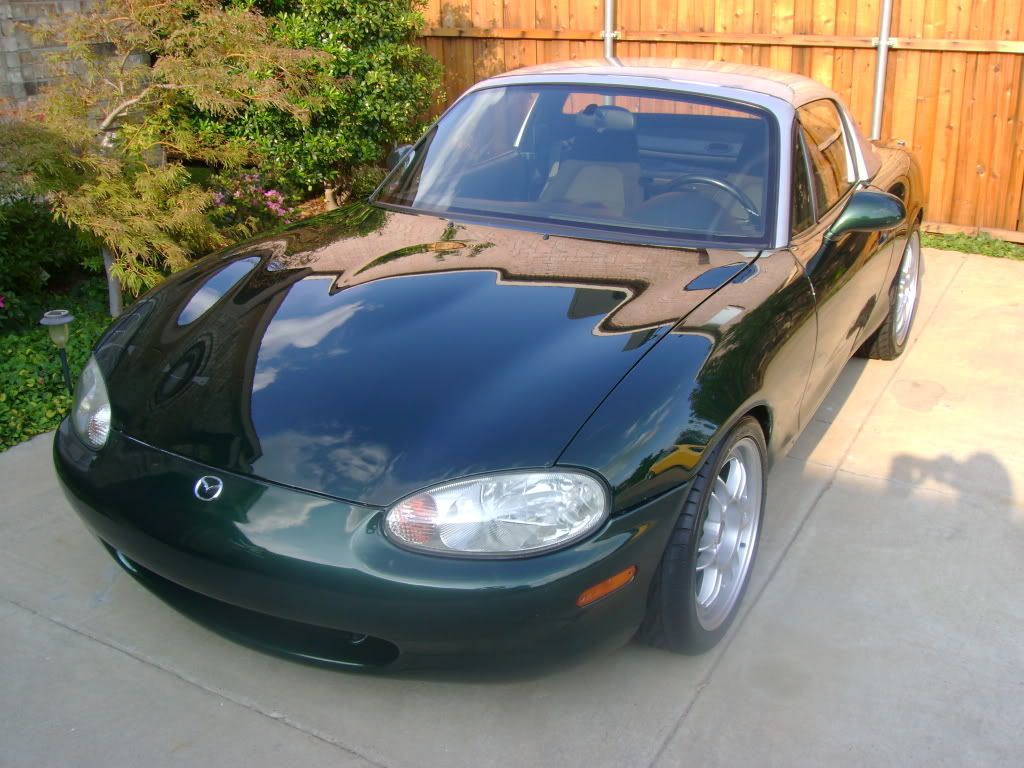
After a chance to view the car the next morning, it is evident that this is not a show car. Many of the panel's edge show the rough finish and tape lines from its repaint. The directional sanding lines are visible under the clear coat. However, this gave me opportunity to test many different product combinations for their effect on the surface.
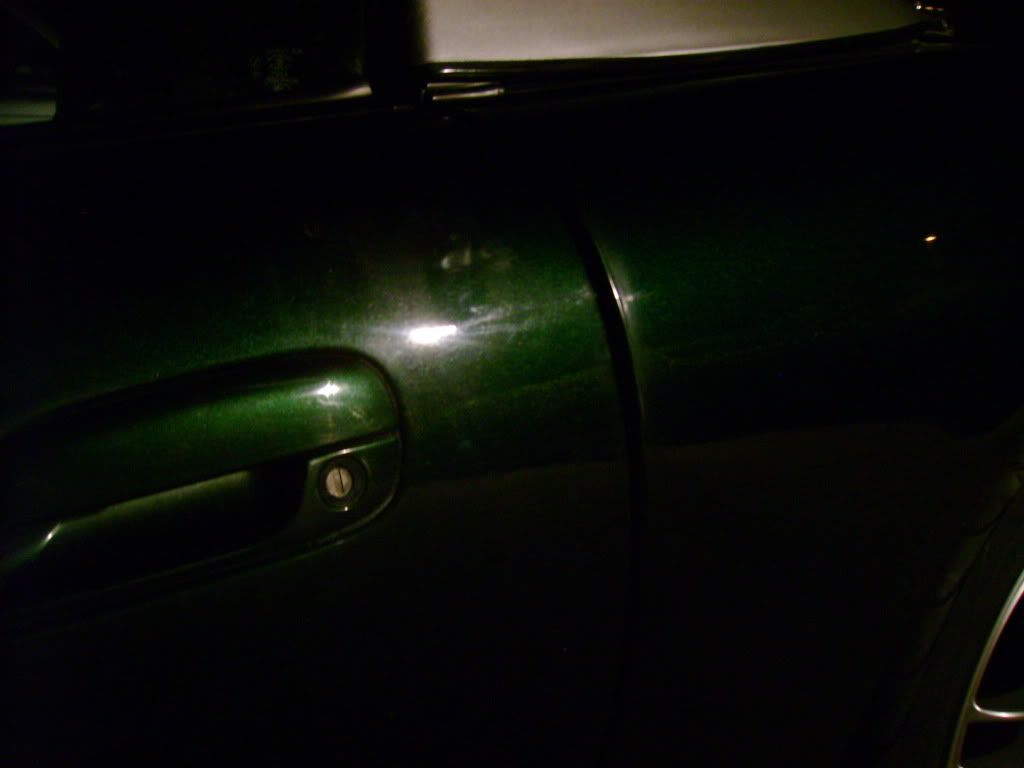
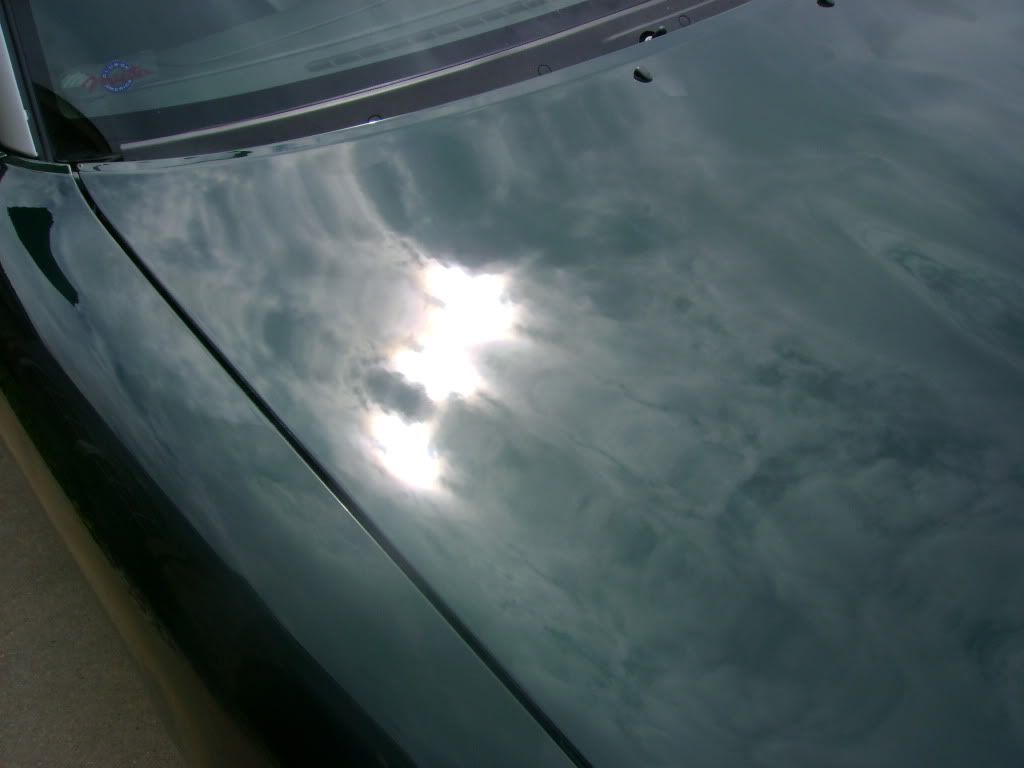
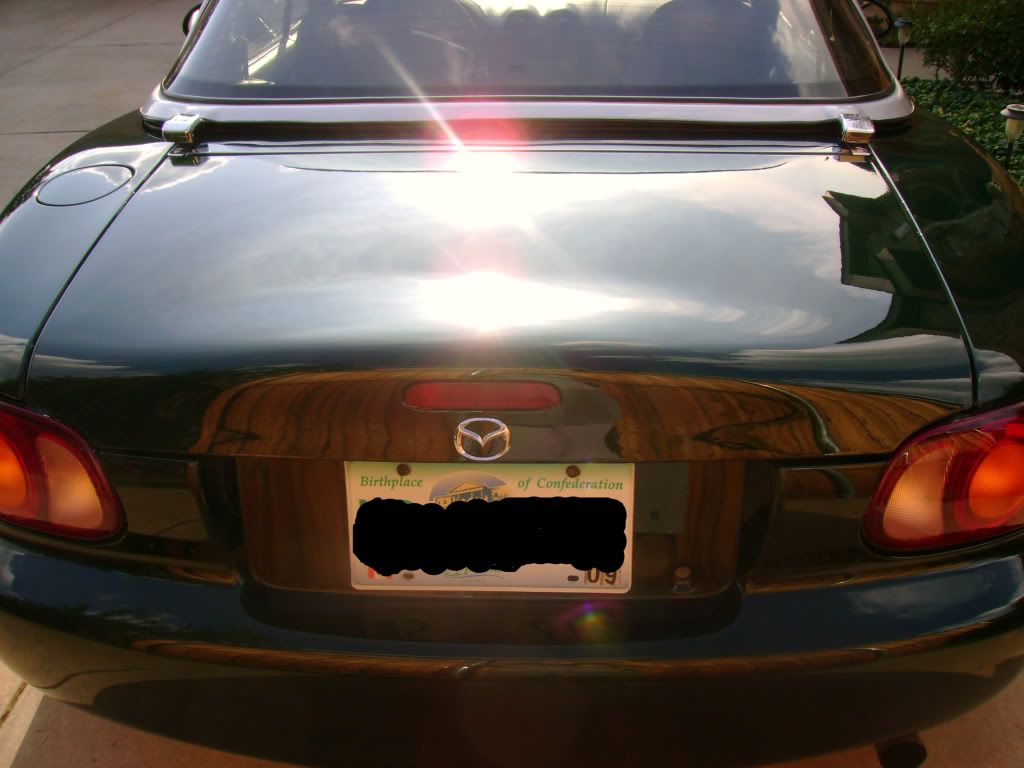
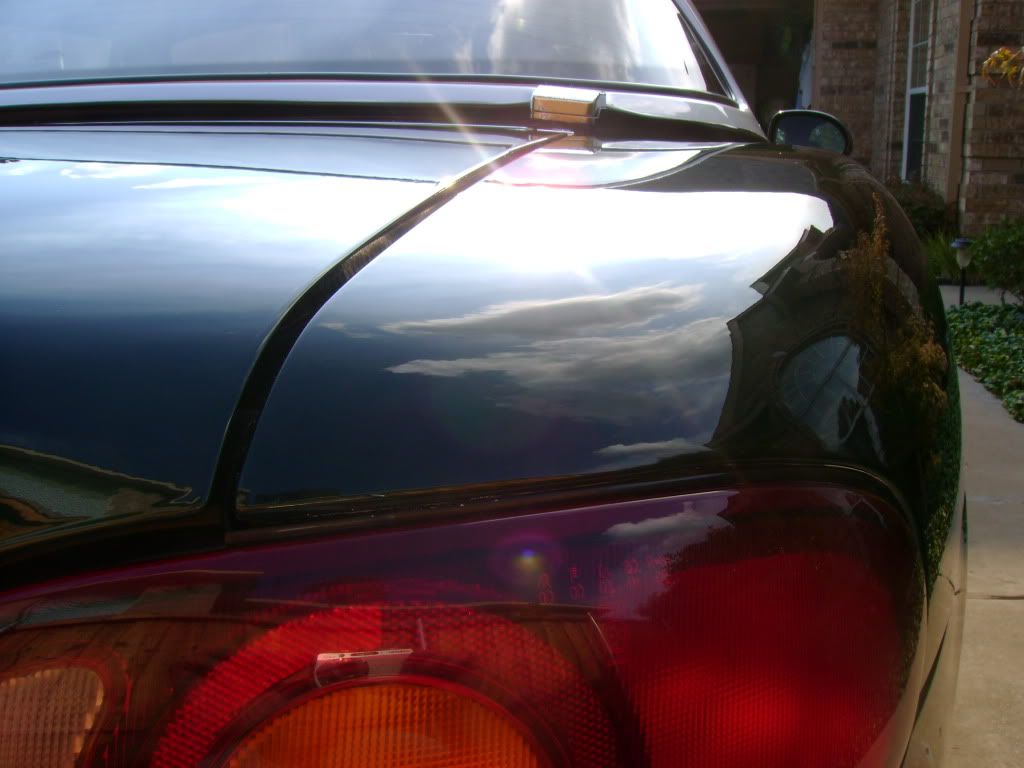
After a thorough rinse/first wash, I started with the clay bar process. Colored overspray was everywhere including all of the glass. I expected this to be the case since it was a teaching tool for the year. After the clay bar was finished, I re-rinsed all of the surfaces before drying. ZERO water beading shows I have removed contaminants and protection down the paint.
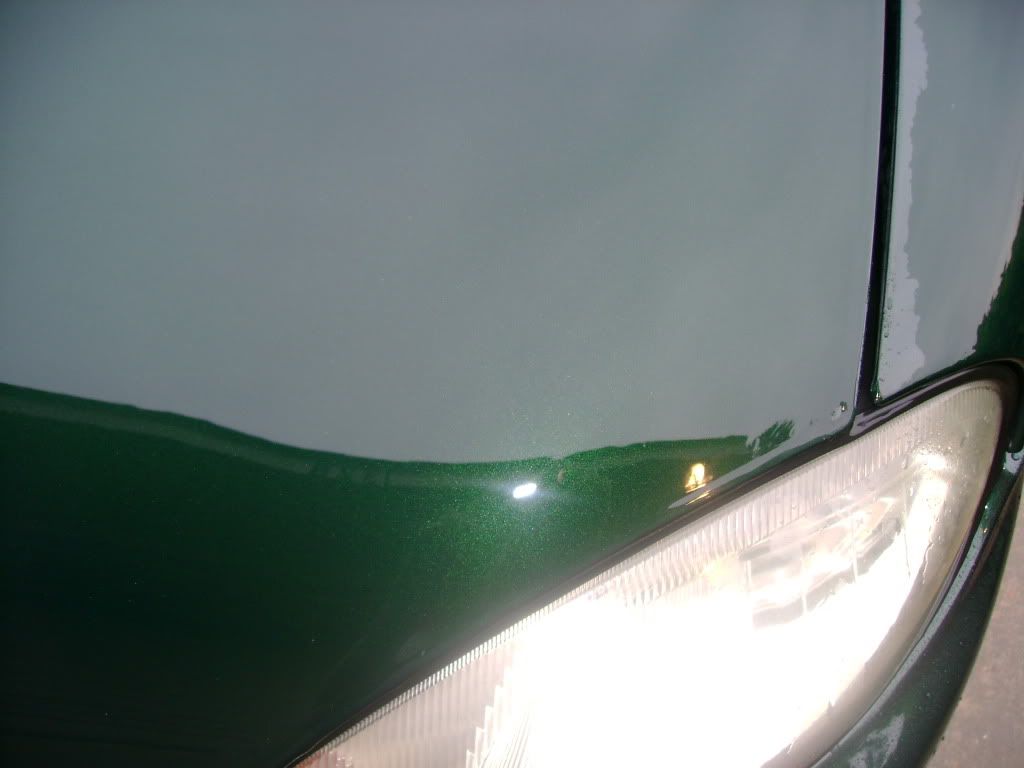
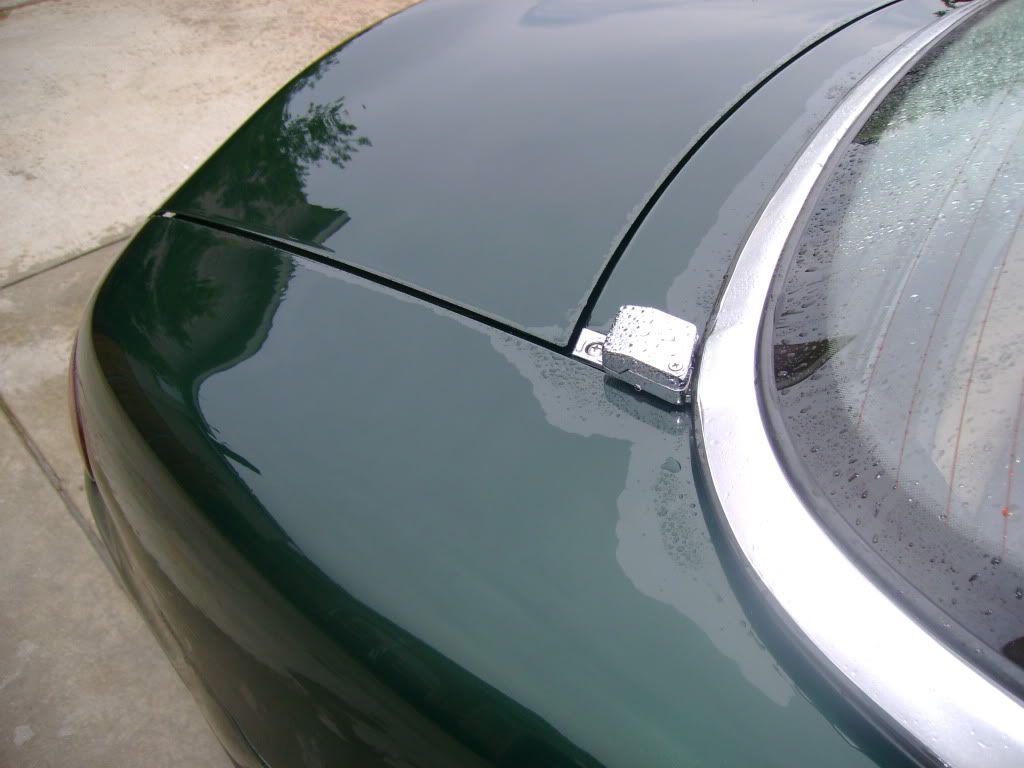
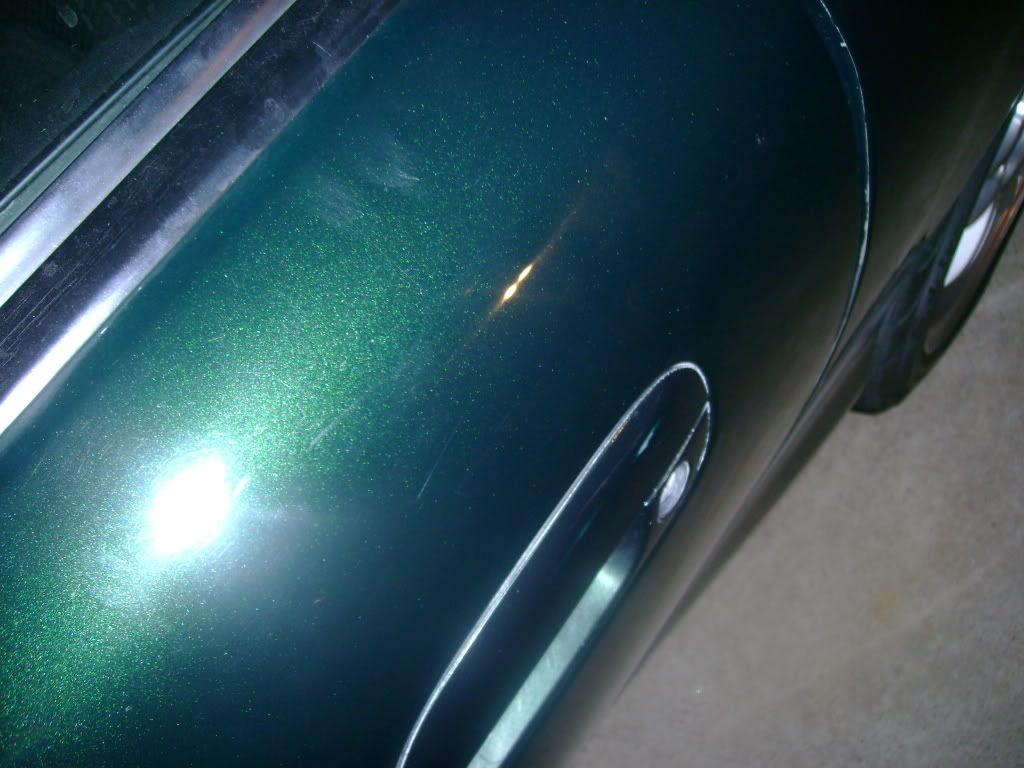
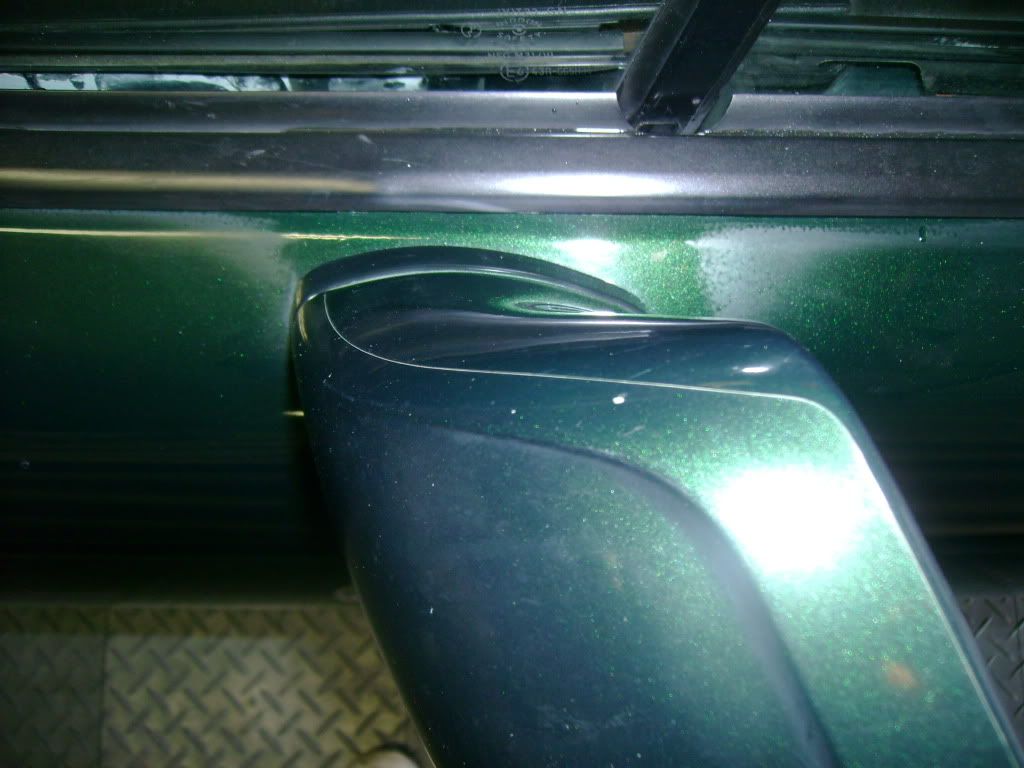
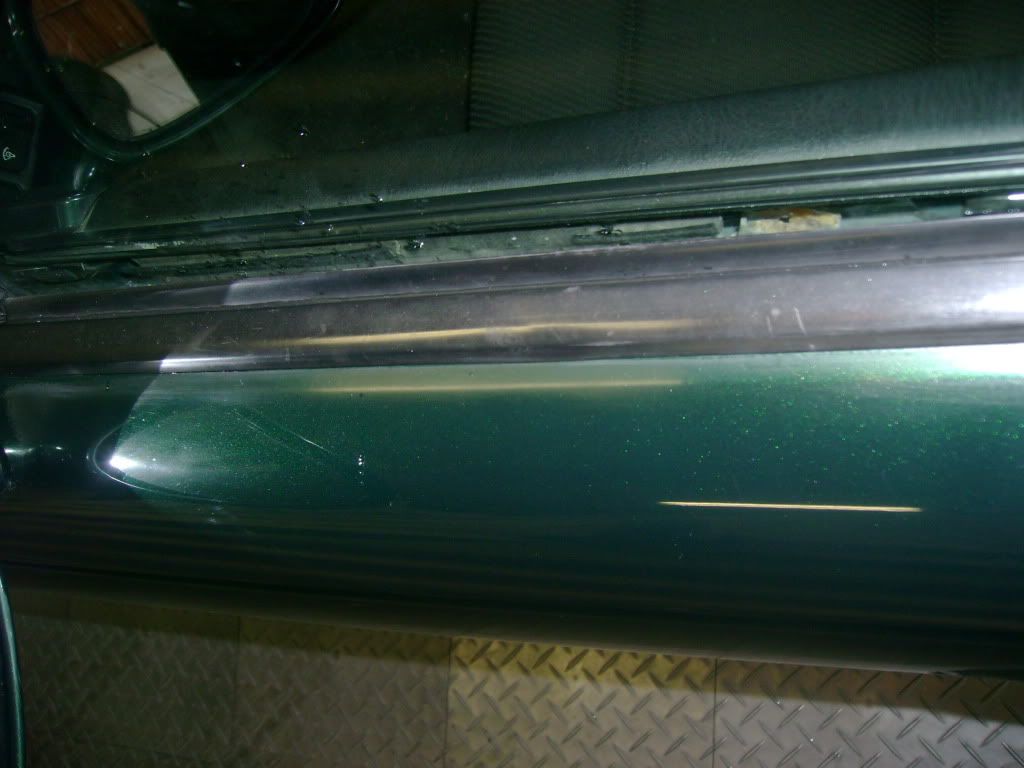
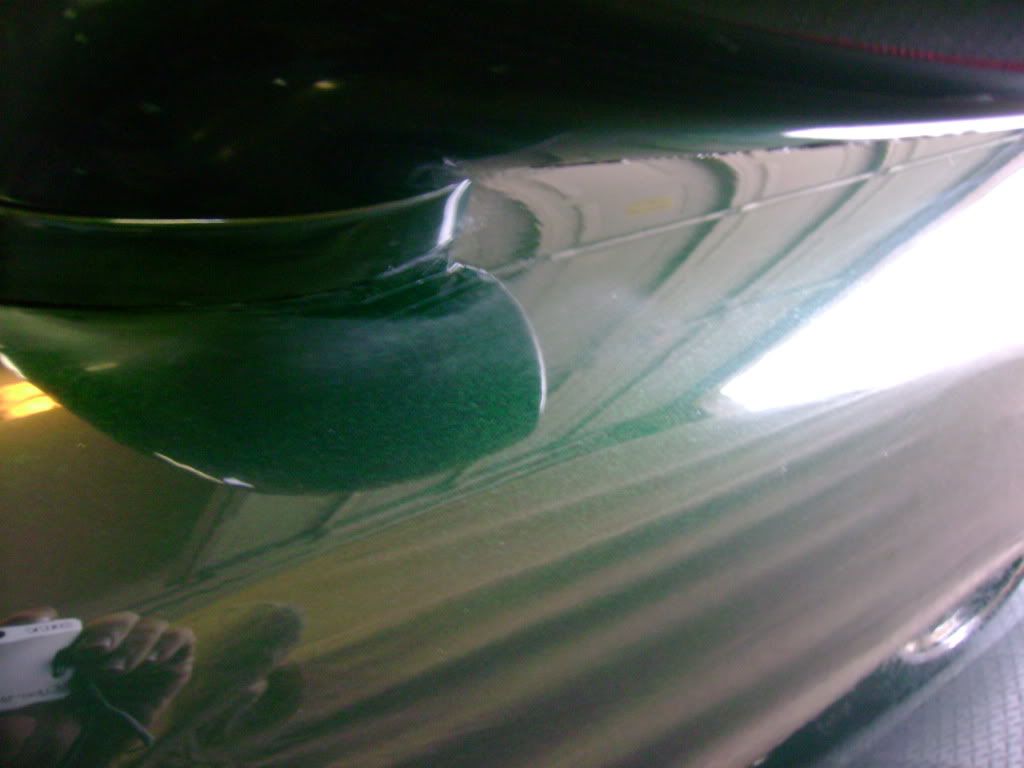
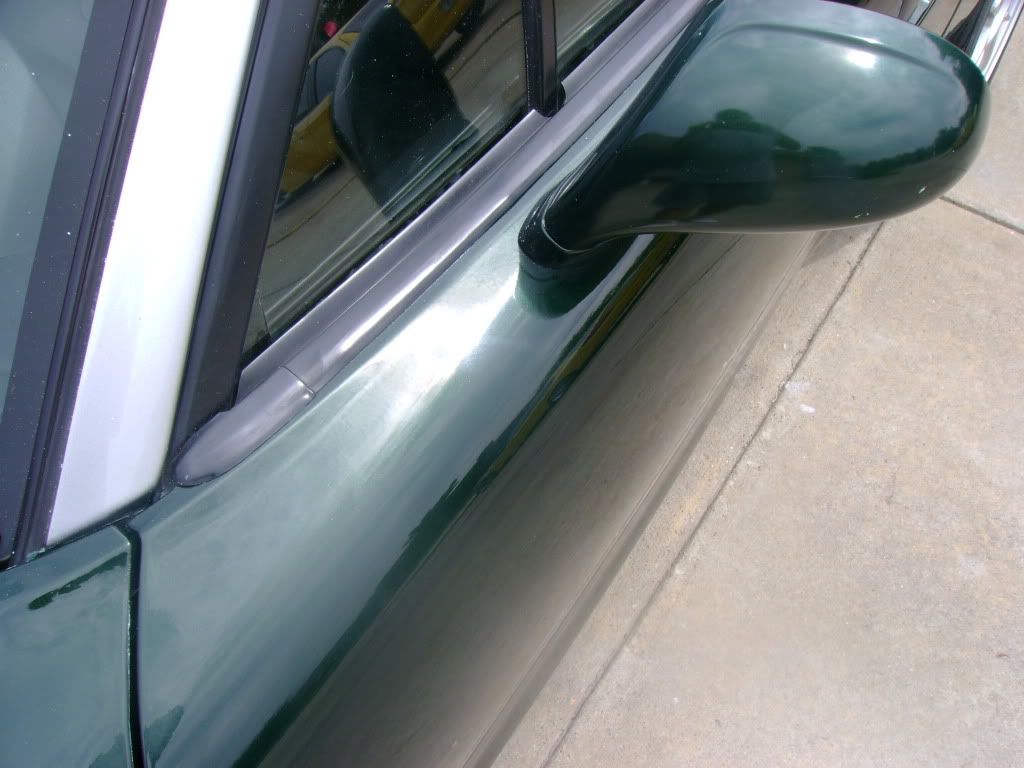
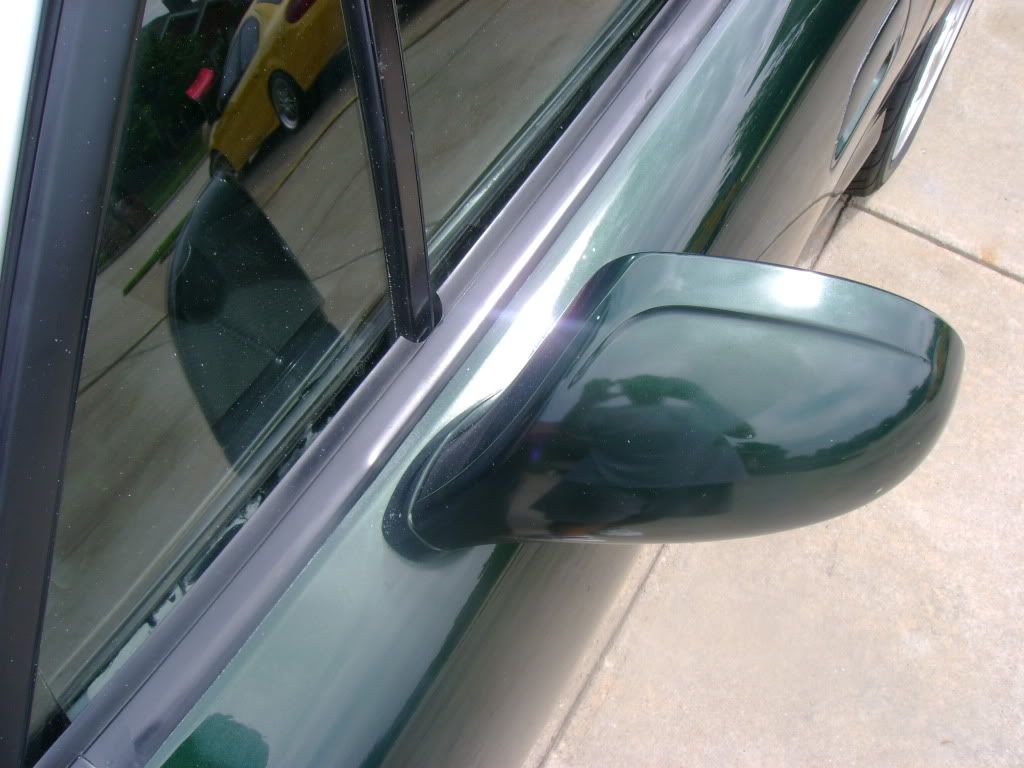
After drying, all of the scratches and remaining wet sanding haze is pretty evident. Around the mirror bases, emblems and along the black rubber window trim, you can see the most noticeable haze.
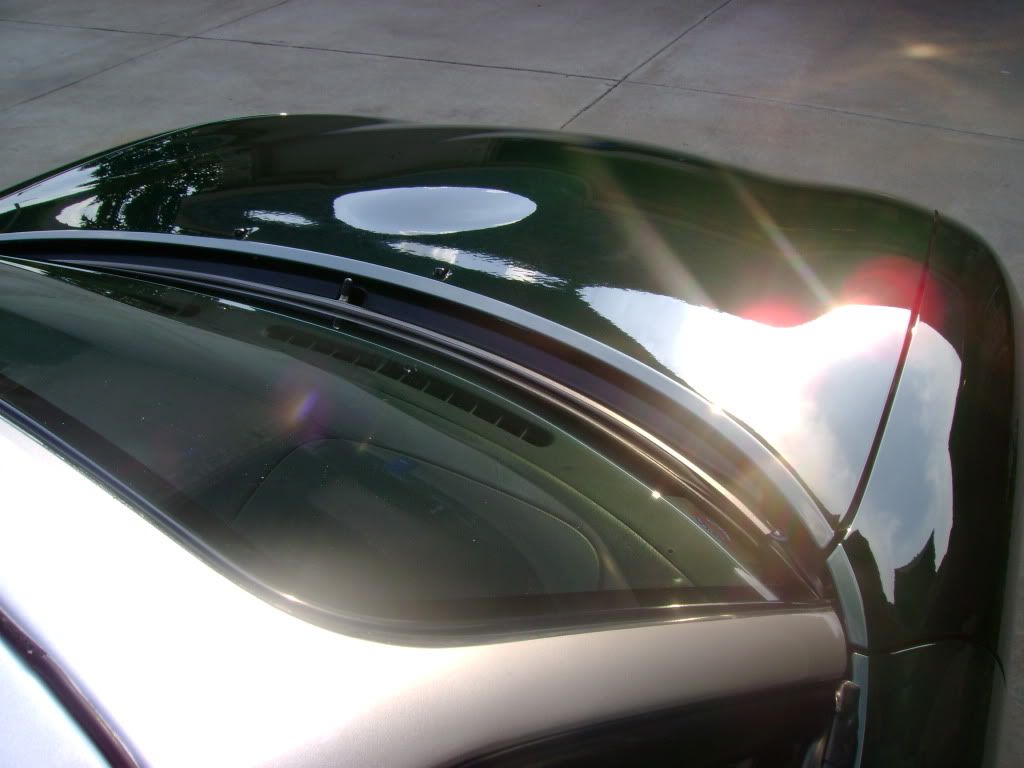
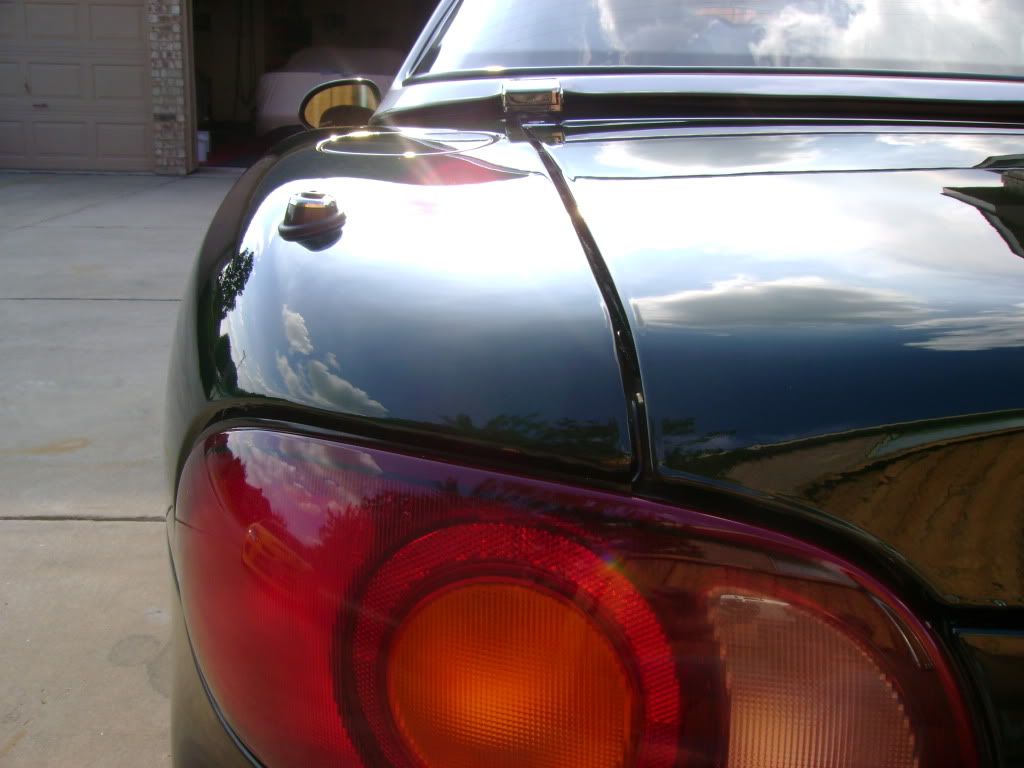
Starting with the Meguiars M105/purple pad, I wanted to see the effect of this combination on the surface. Extremely fast working although it breaks down on the surface very quickly. For follow up passes, I added a quarter sized drop of our Swirl Cutter to extend the working time. A spray bottle of water also came in handy to minimize the dusting. After compounding, there will little to no micro-marring. A follow up using both Meguiars M205 and TC-8Swirl Cutter/LC black finessing pad took care of that.
We have Meguiars M105 now available at $26.69:
http://www.tropi-care.com/Meguiars_M...und_p/m105.htm
Rated to remove 1200 grit and finer scratches from the surface. I used it by hand using a small orange pad foam remnant to remove several fine scratches/wetsanding haze from hard to reach areas. It also worked effectively with the yellow and orange pads too.
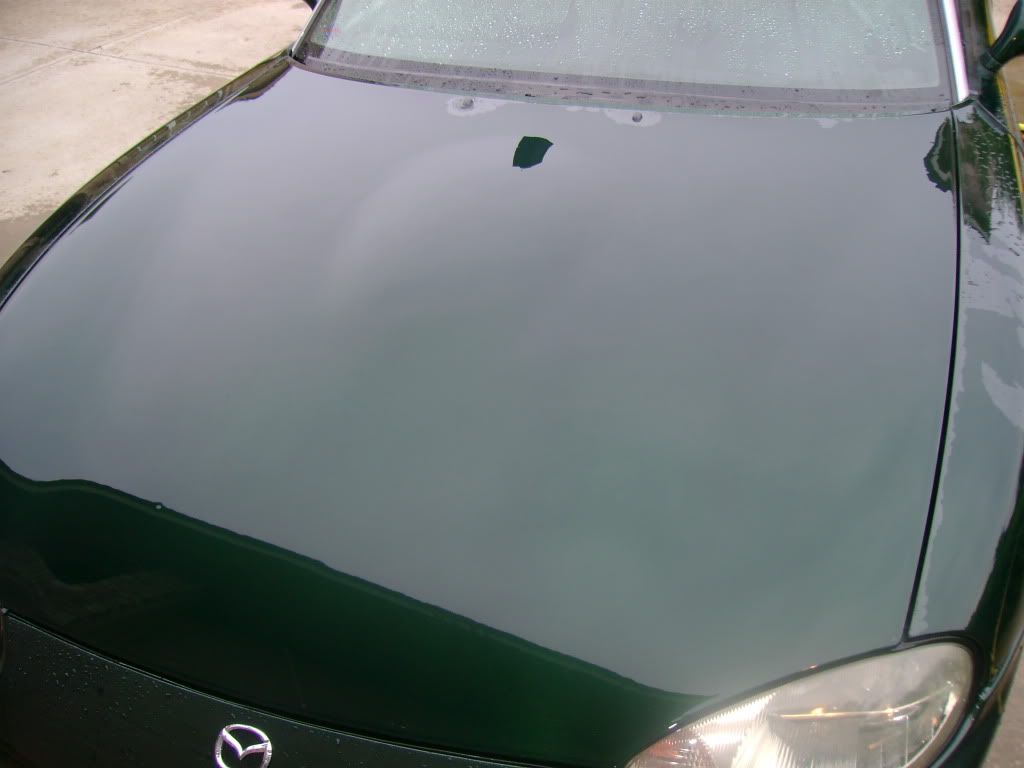
After compounding and polishing was completed for the day, I finished with our TC-2B "Crystal Black" Carnauba Creme/blue LC hand foam polish applicator pad:

Questions/comments welcomed.
This '99 now has 113K miles and it looked every bit of it. Not to mention, it was totaled by an 18 wheeler previously. The owner donated it to a local community college for use in their paint and body courses. During its year-long stay, students had an opportunity to cut off the damaged panels, reinstall new ones and finish the with assorted body work and paint needs. Now pretty much gutted throughout, it now exists as a weekend driver/track use car.
After a chance to view the car the next morning, it is evident that this is not a show car. Many of the panel's edge show the rough finish and tape lines from its repaint. The directional sanding lines are visible under the clear coat. However, this gave me opportunity to test many different product combinations for their effect on the surface.
After a thorough rinse/first wash, I started with the clay bar process. Colored overspray was everywhere including all of the glass. I expected this to be the case since it was a teaching tool for the year. After the clay bar was finished, I re-rinsed all of the surfaces before drying. ZERO water beading shows I have removed contaminants and protection down the paint.
After drying, all of the scratches and remaining wet sanding haze is pretty evident. Around the mirror bases, emblems and along the black rubber window trim, you can see the most noticeable haze.
Starting with the Meguiars M105/purple pad, I wanted to see the effect of this combination on the surface. Extremely fast working although it breaks down on the surface very quickly. For follow up passes, I added a quarter sized drop of our Swirl Cutter to extend the working time. A spray bottle of water also came in handy to minimize the dusting. After compounding, there will little to no micro-marring. A follow up using both Meguiars M205 and TC-8Swirl Cutter/LC black finessing pad took care of that.
We have Meguiars M105 now available at $26.69:
http://www.tropi-care.com/Meguiars_M...und_p/m105.htm
Rated to remove 1200 grit and finer scratches from the surface. I used it by hand using a small orange pad foam remnant to remove several fine scratches/wetsanding haze from hard to reach areas. It also worked effectively with the yellow and orange pads too.
After compounding and polishing was completed for the day, I finished with our TC-2B "Crystal Black" Carnauba Creme/blue LC hand foam polish applicator pad:
Questions/comments welcomed.
Last edited by Steve@Tropi-Care; 09-02-2009 at 03:08 PM.
 09-02-2009, 12:28 PM
#2
LS1TECH Sponsor
Thread Starter
iTrader: (6)
Join Date: Mar 2007
Location: TX
Posts: 593
Likes: 0
Received 0 Likes
on
0 Posts
Some final observations:
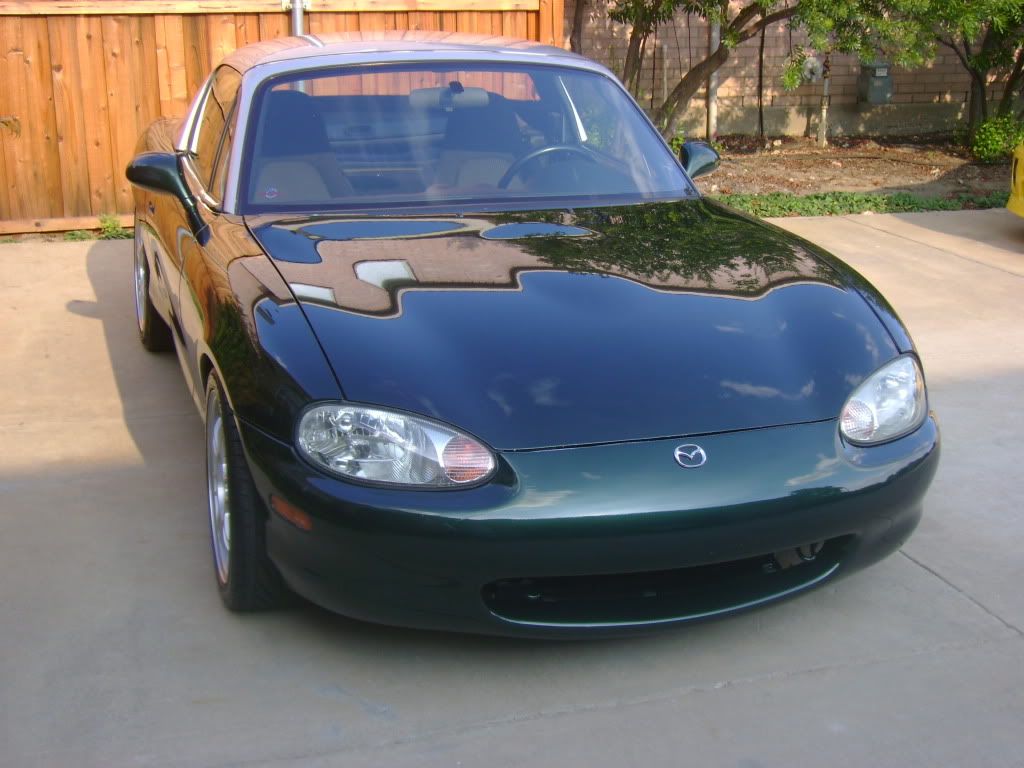
This was a good project example as the owner thought about having it repainted. Many times a good compounding/polishing is all that is needed to restore the beauty back on the surface.
There is no harm in experimenting with different product/pad combinations to see their effects on the surface.
For some projects, however long it takes to get the desired effect.
Last edited by Steve@Tropi-Care; 09-02-2009 at 03:13 PM.


