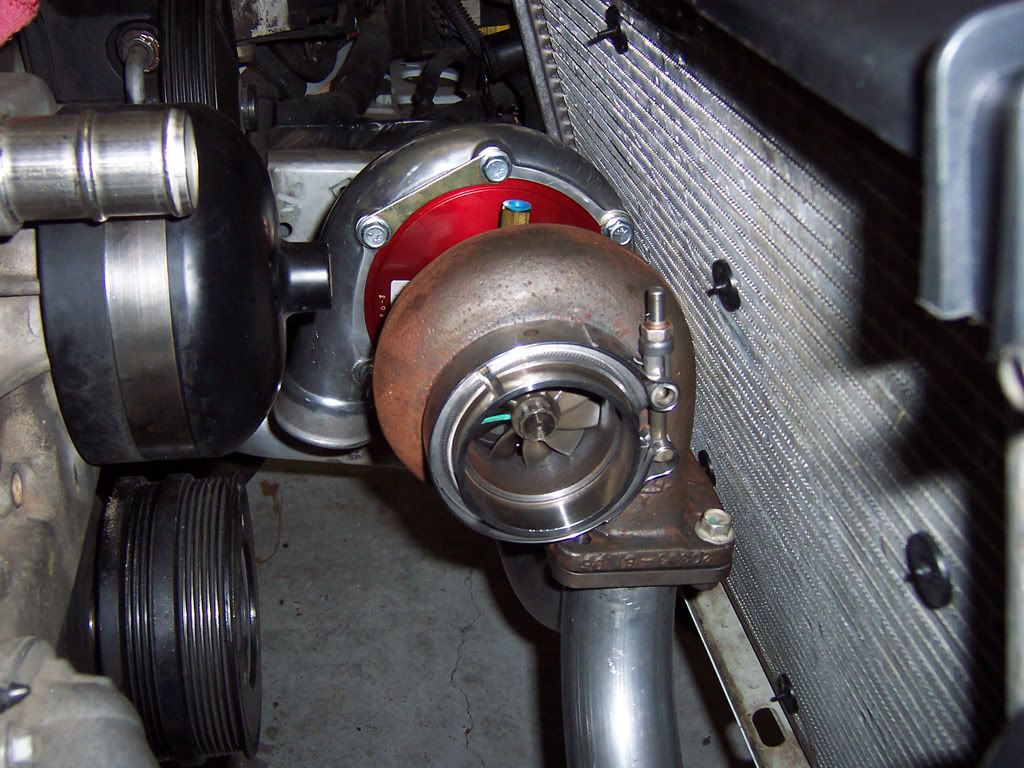
Homebuilt Frontmount TC76 Truck Manifold Build
 09-02-2009, 08:01 PM
#1

Car is a stock 104k shortblock 1999 TransAm M6. Prior setup up was a budget heads/cam/bolton that ran a best of 11.46 @ 122 on motor and a 10.74 @ 128 on a 75 shot (484 rwhp) for the occasional street race.
Goal for this build is 550-575 rwhp on pump gas and 10.1-10.3's at 133+
Also this has to be EXTREMELY budget minded. i didnt want to sacrifice on the BOV, wastegate, and turbo because i want this project to support a forged motor down the line, but i got some great deals on some parts and im building everything myself in my one car garage.
Major parts list run down:
- Stock 104k shortblock
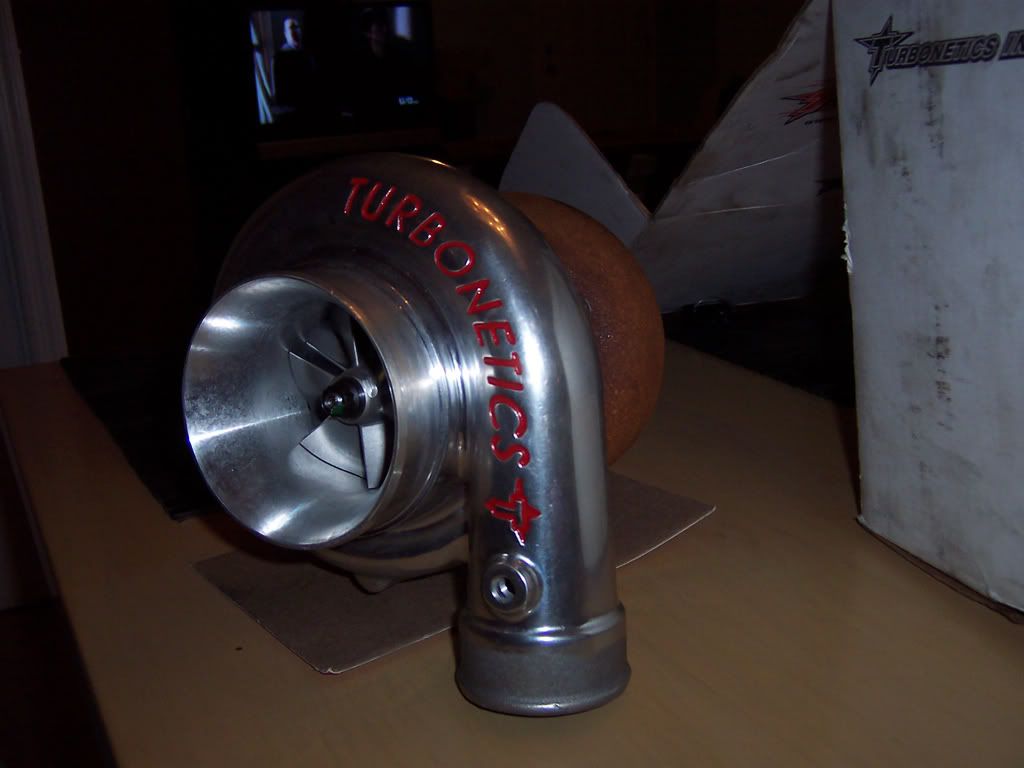
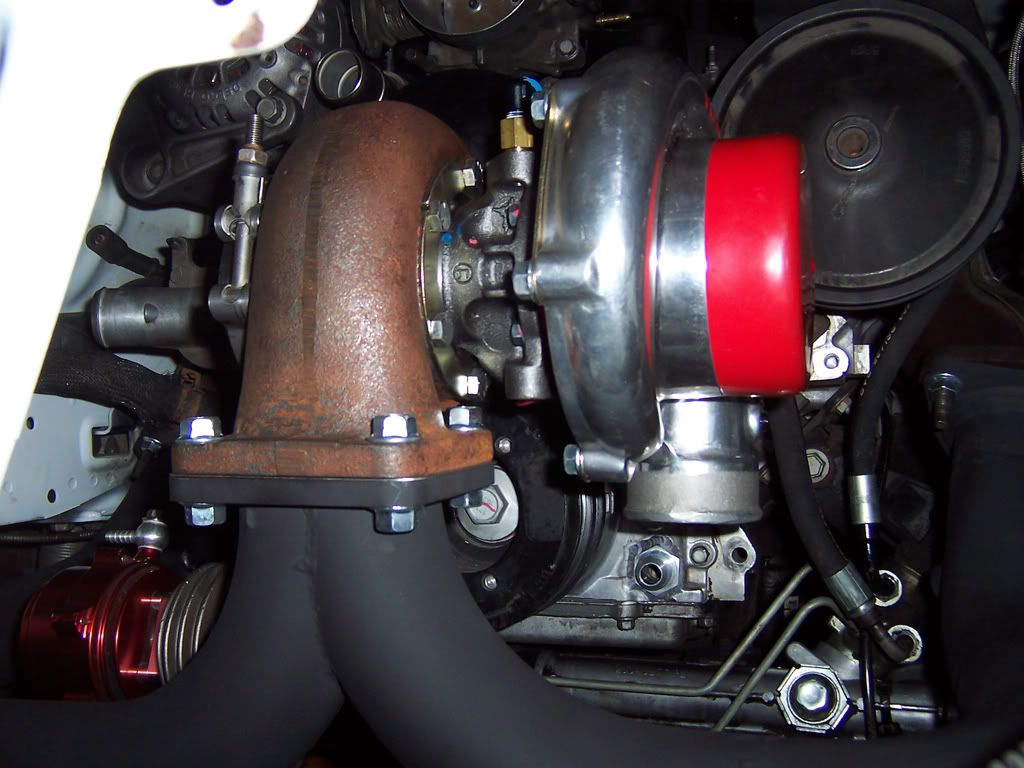
- TC76 .96AR
- Stock 317's with Patriot Duals
- LS6 cam
- 60# injectors and walbro 255 with a hot wire kit
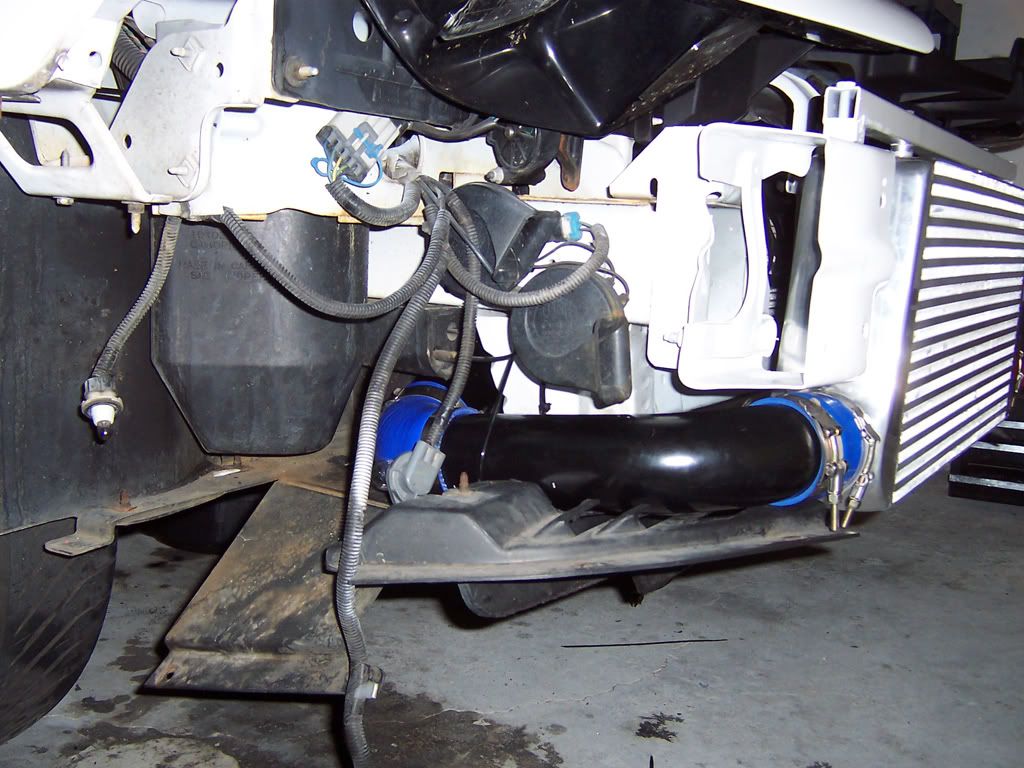
- Ebay 4" core intercooler and cold side kit
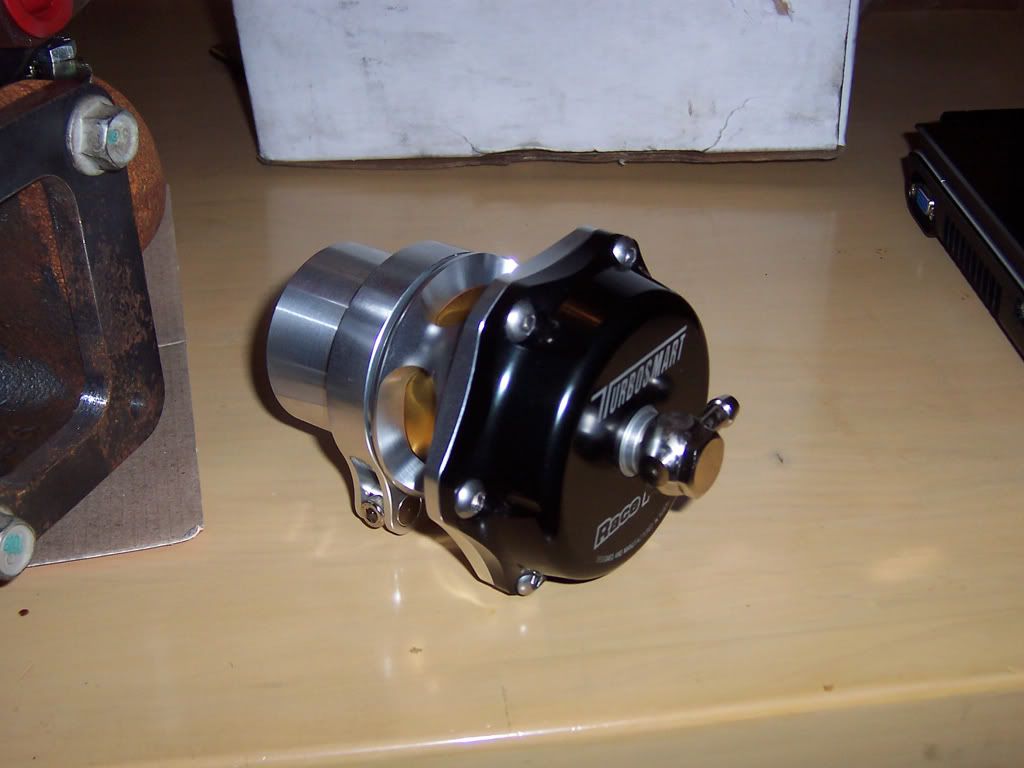
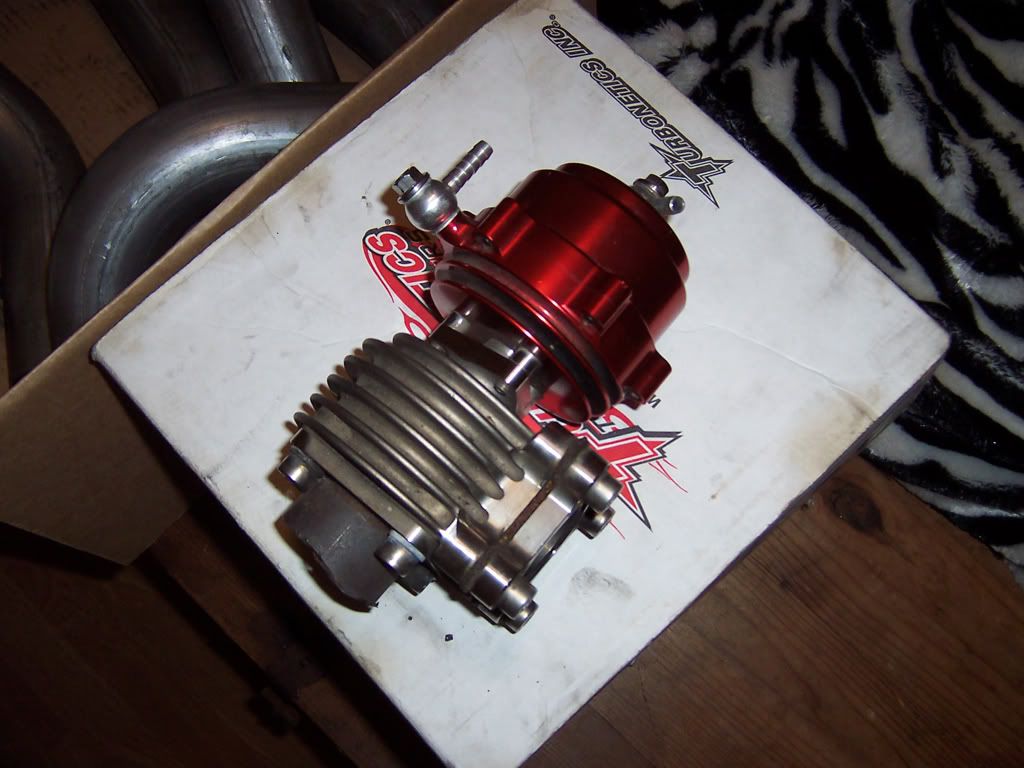
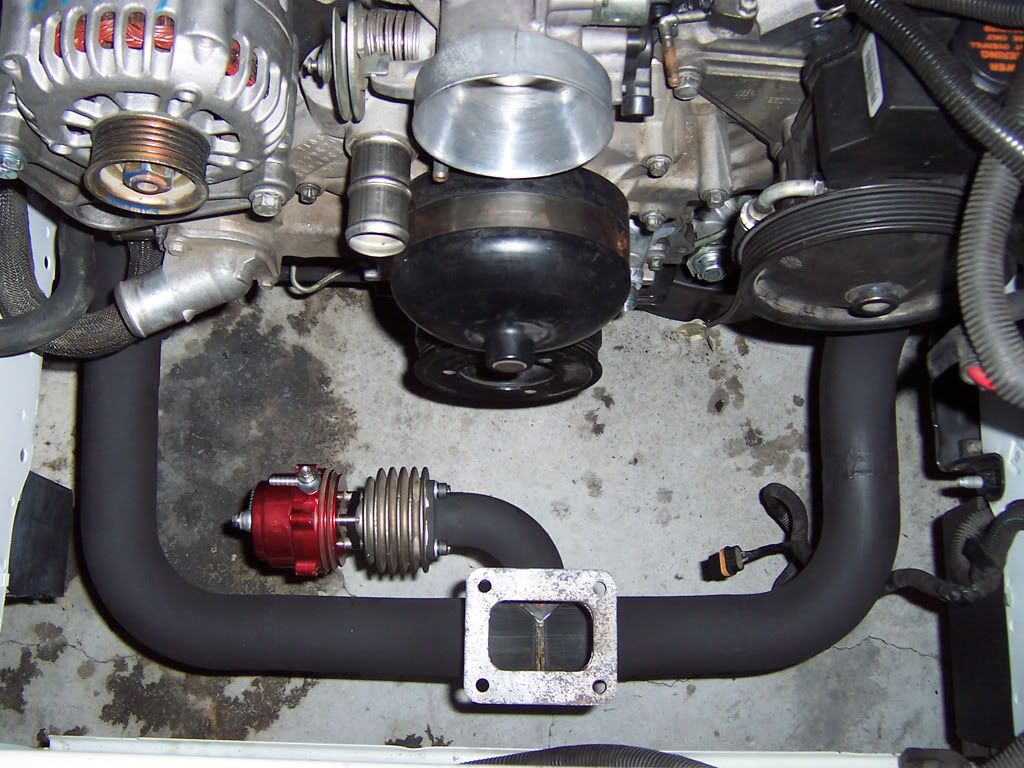
- Tial 46mm wastegate and TurboSmart Raceport 50mm BOV
Everyone loves pictures:
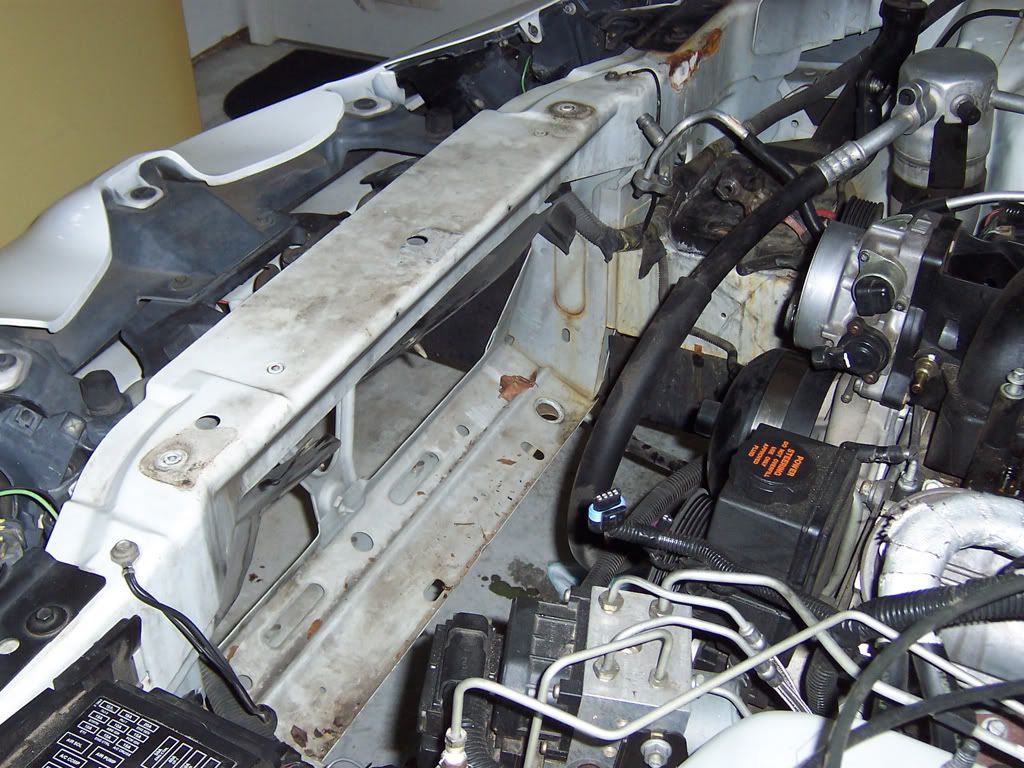
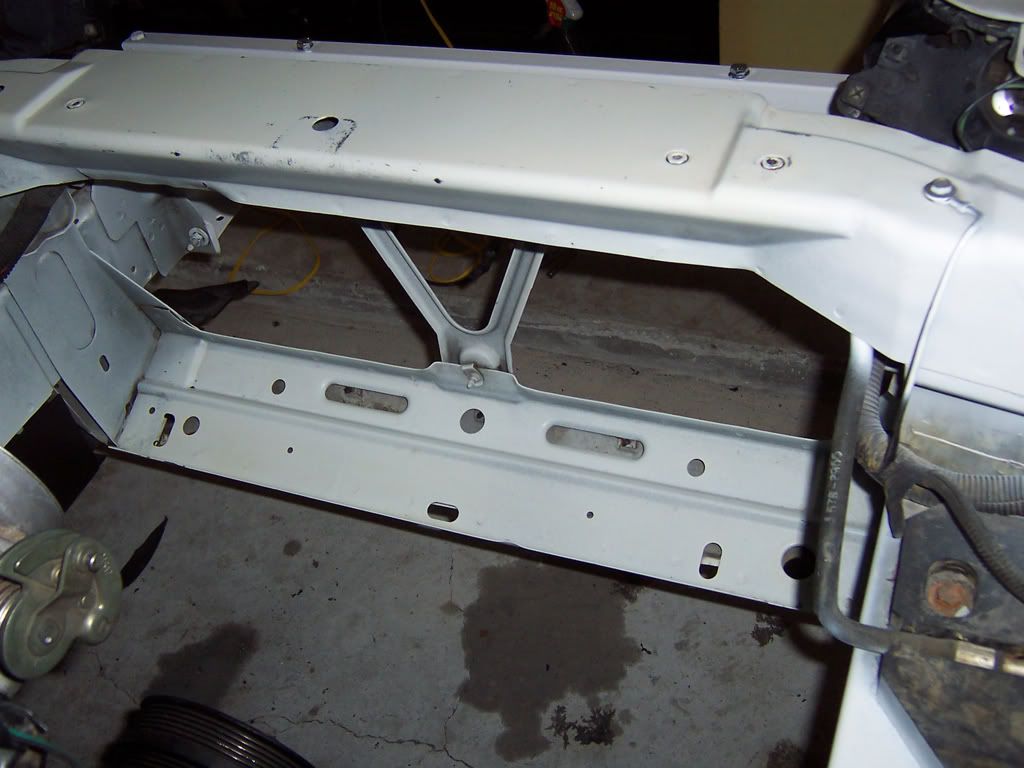
front torn apart
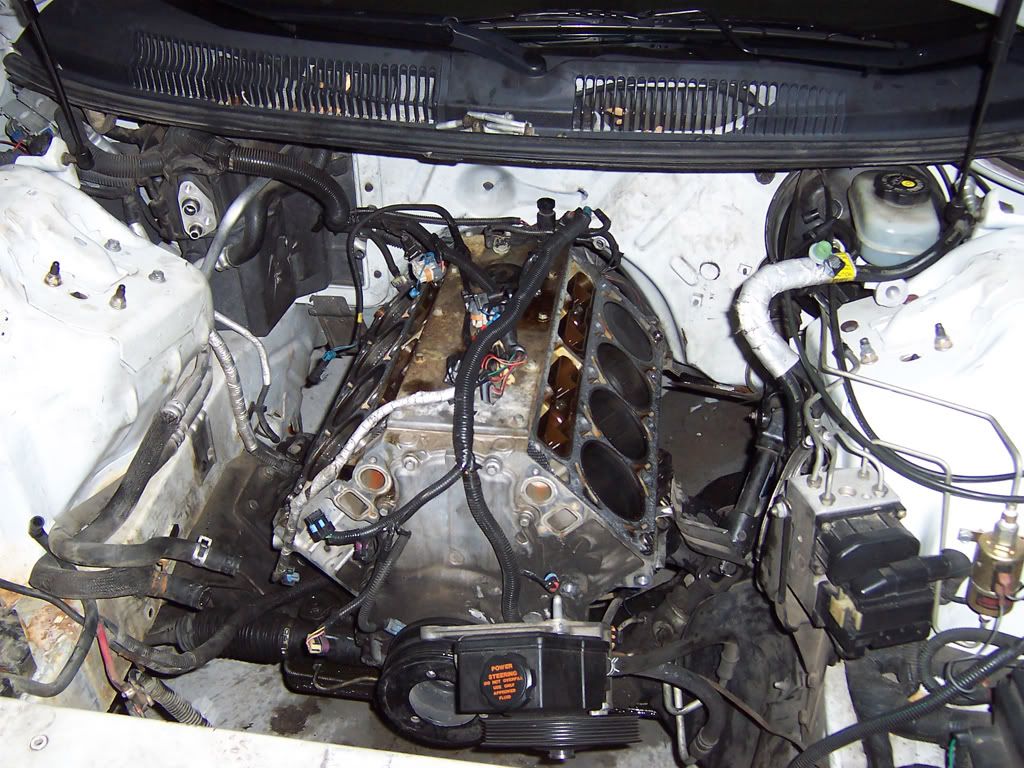
motor torn down
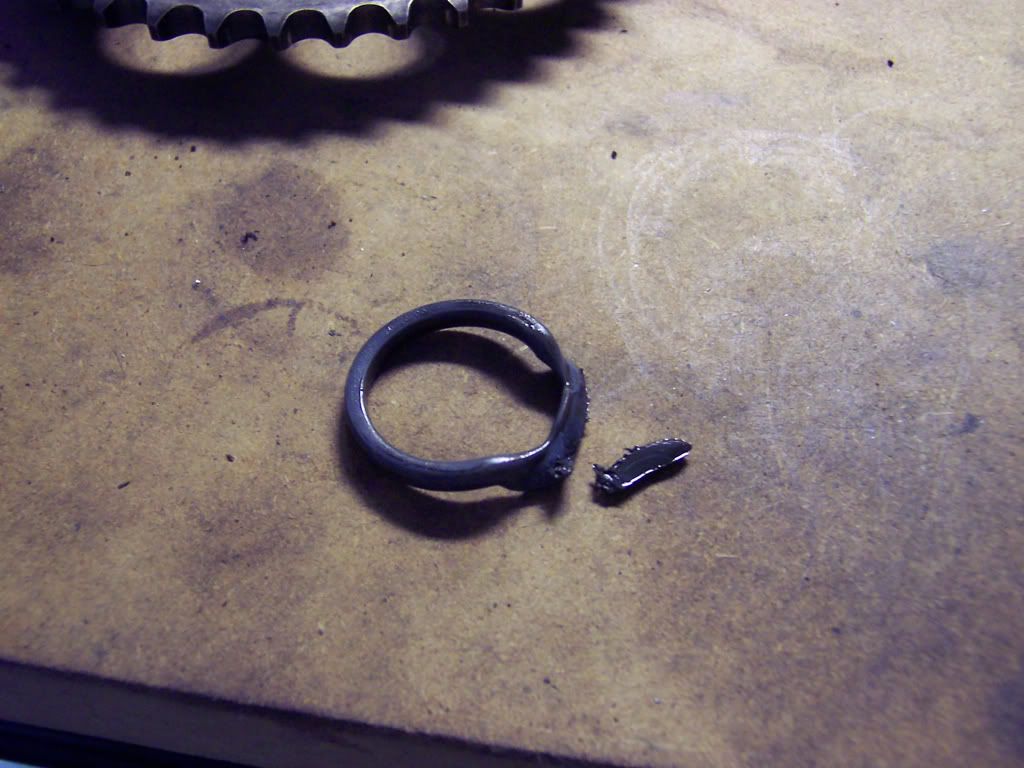
one of many OH **** moments, turns out for the past 4-5 years ive been running around with a just quite pinched enough oil pump o-ring, glad i spotted it to fix it now
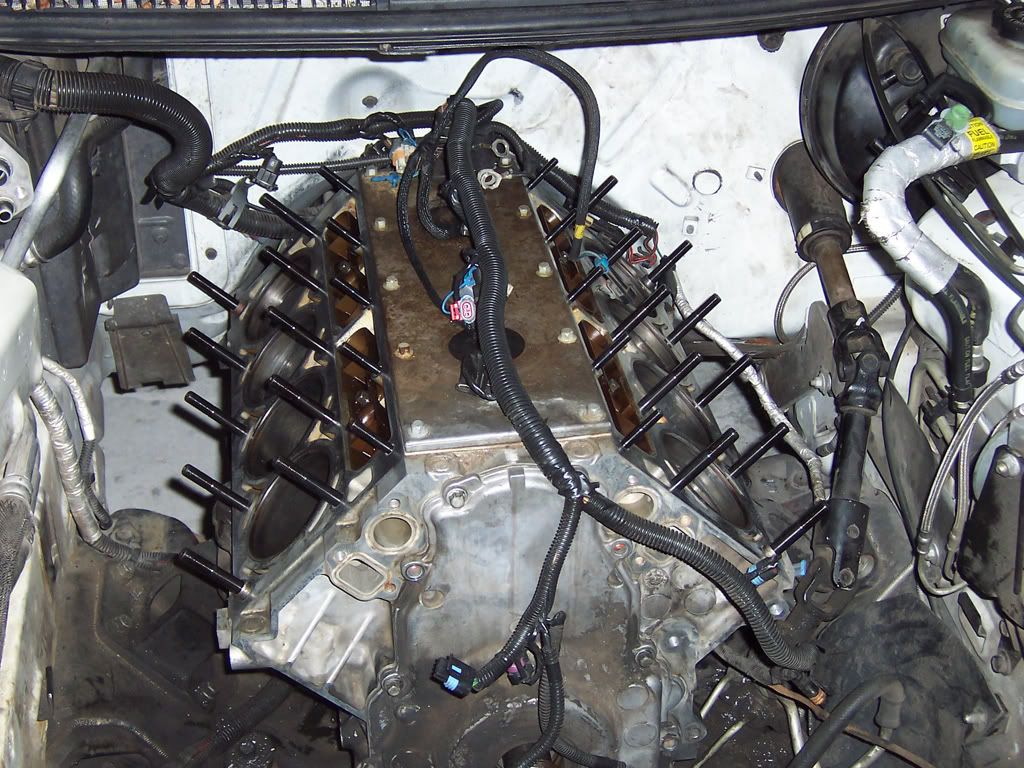
looking like a porcupine.
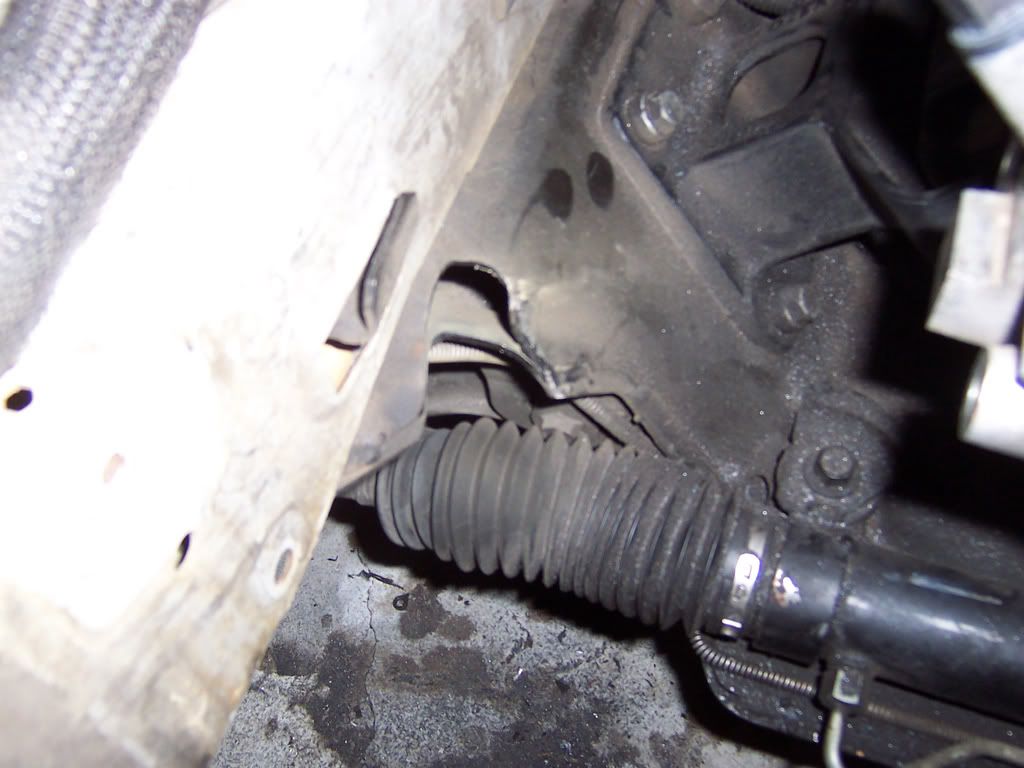
ground down k member for manifold fitment
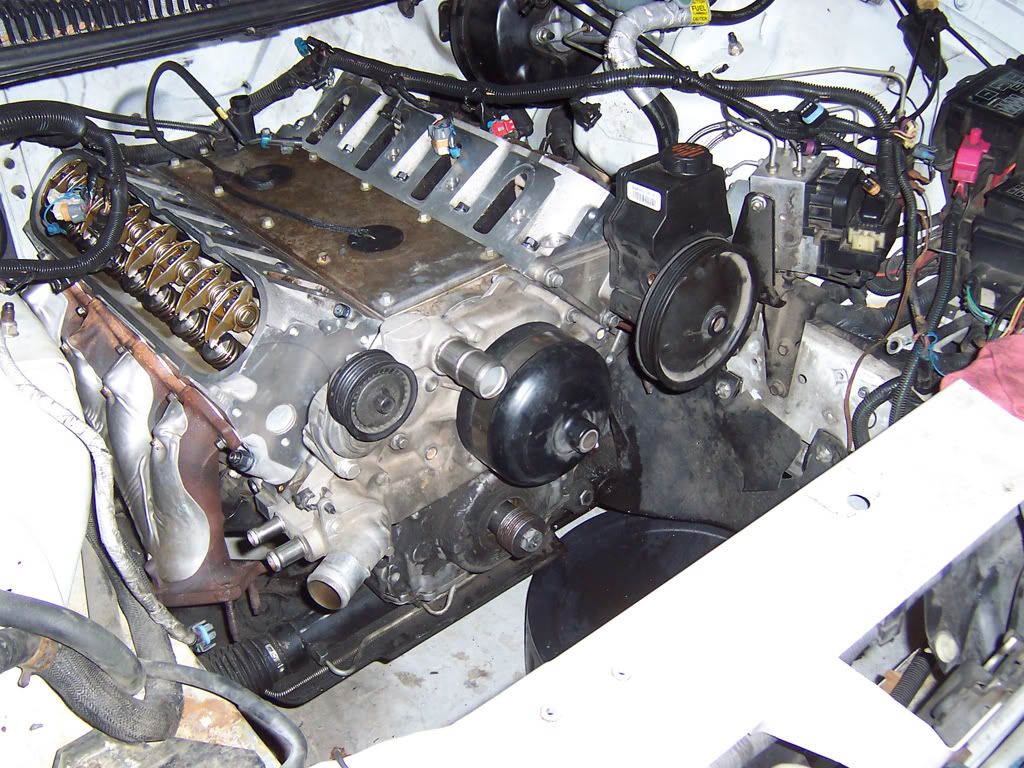
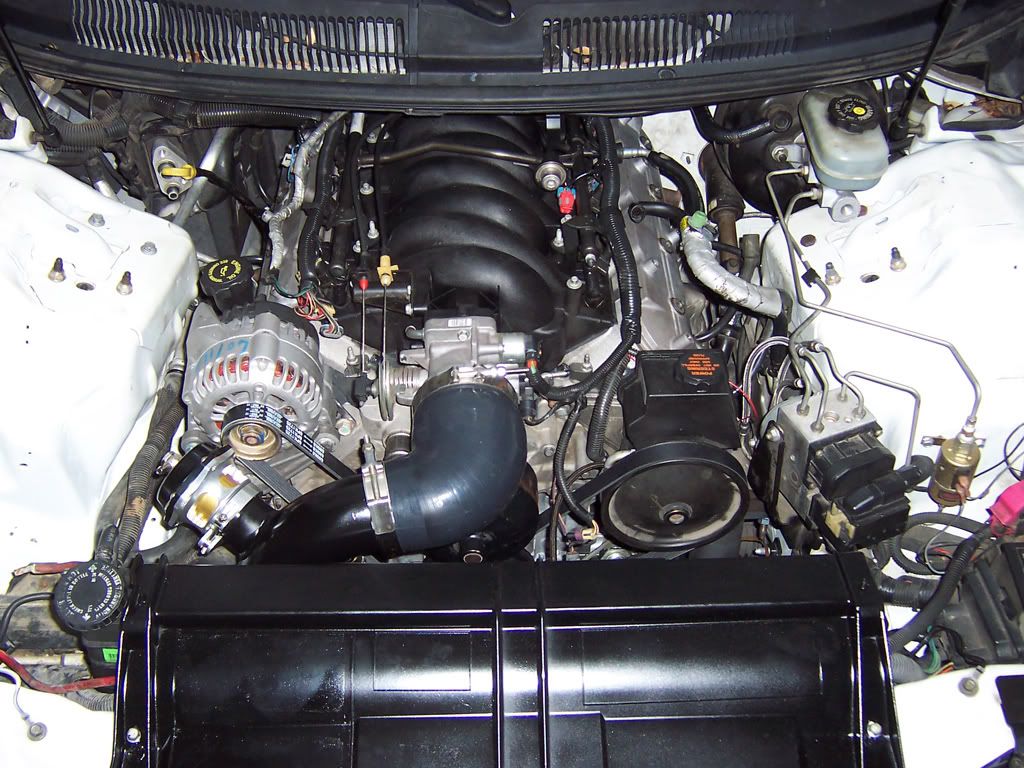
motor basically together
Goal for this build is 550-575 rwhp on pump gas and 10.1-10.3's at 133+
Also this has to be EXTREMELY budget minded. i didnt want to sacrifice on the BOV, wastegate, and turbo because i want this project to support a forged motor down the line, but i got some great deals on some parts and im building everything myself in my one car garage.
Major parts list run down:
- Stock 104k shortblock
- TC76 .96AR
- Stock 317's with Patriot Duals
- LS6 cam
- 60# injectors and walbro 255 with a hot wire kit
- Ebay 4" core intercooler and cold side kit
- Tial 46mm wastegate and TurboSmart Raceport 50mm BOV
Everyone loves pictures:
front torn apart
motor torn down
one of many OH **** moments, turns out for the past 4-5 years ive been running around with a just quite pinched enough oil pump o-ring, glad i spotted it to fix it now
looking like a porcupine.
ground down k member for manifold fitment
motor basically together
Last edited by Tally TransAm; 09-02-2009 at 08:51 PM.

 MORE MORE MORE
09-02-2009, 08:08 PM
MORE MORE MORE
09-02-2009, 08:08 PM
#3
little bit of part ****
made an intercooler mount our of some bar stock and the stock bumper support
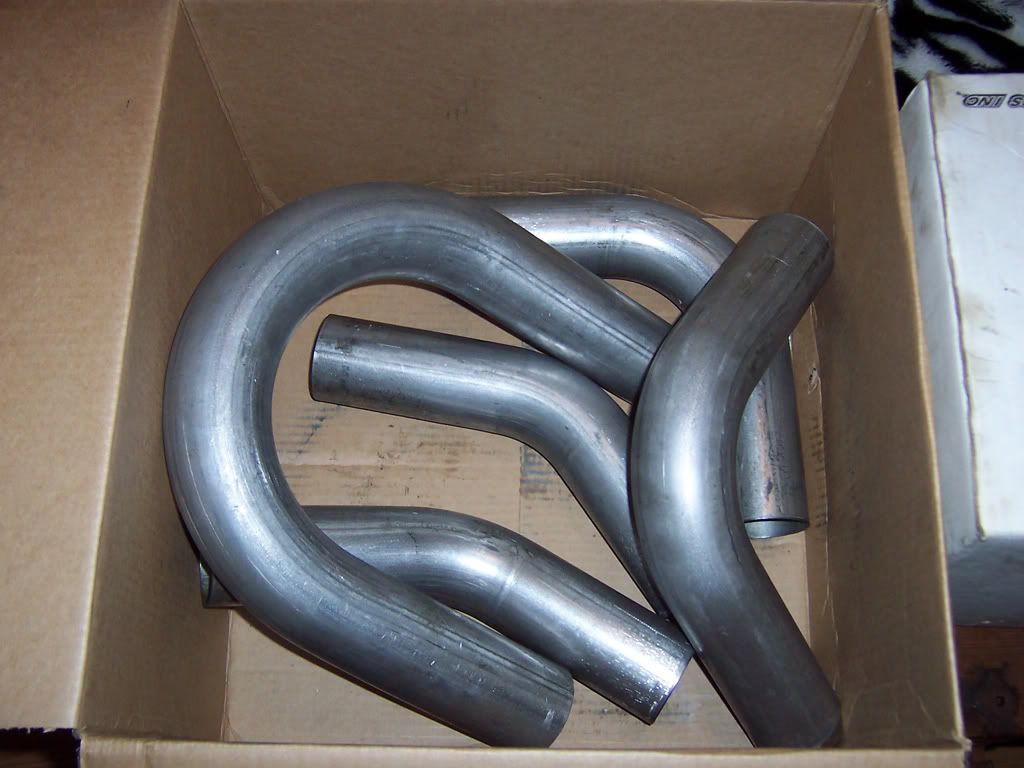
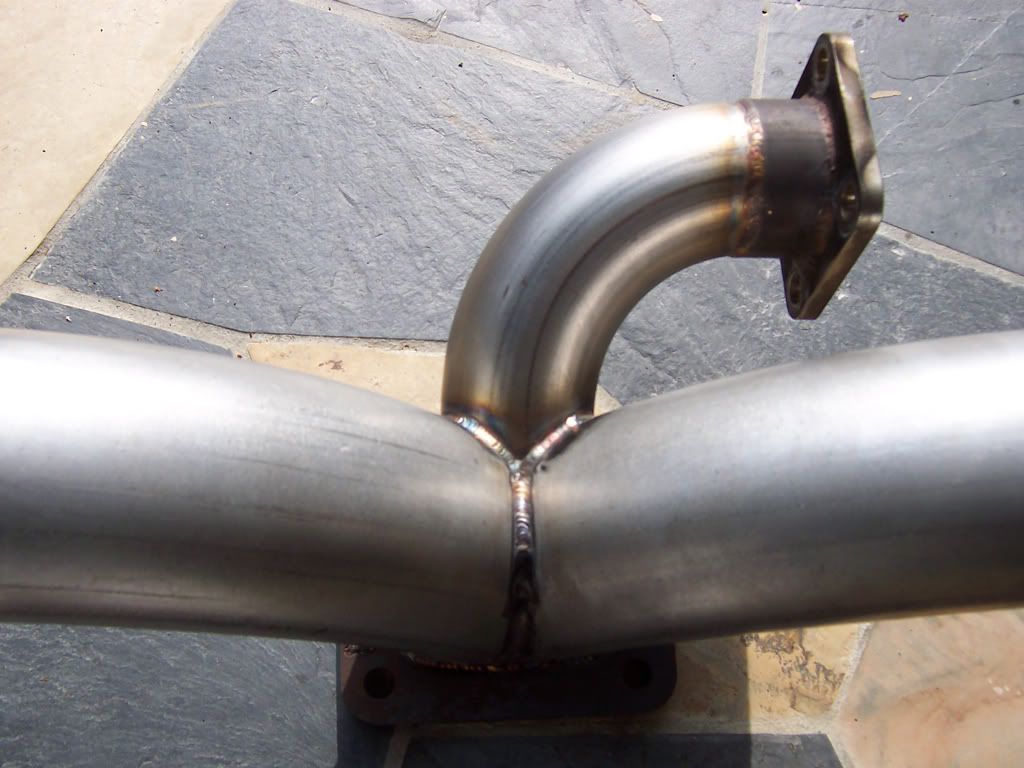
photoline of crossover progress
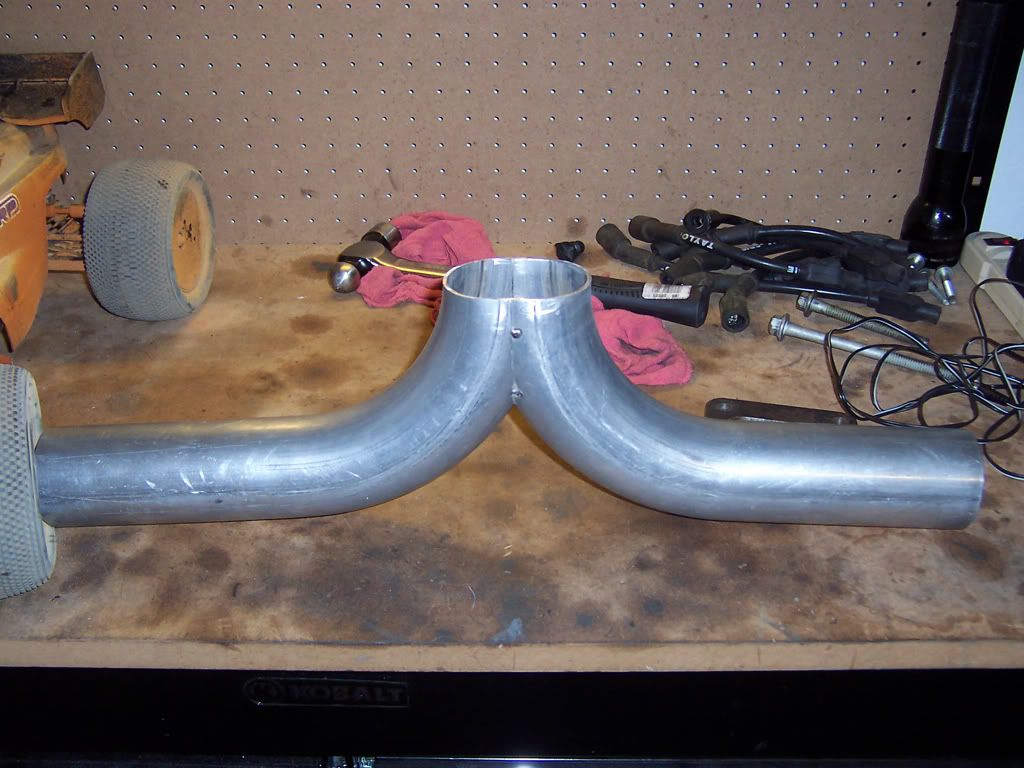
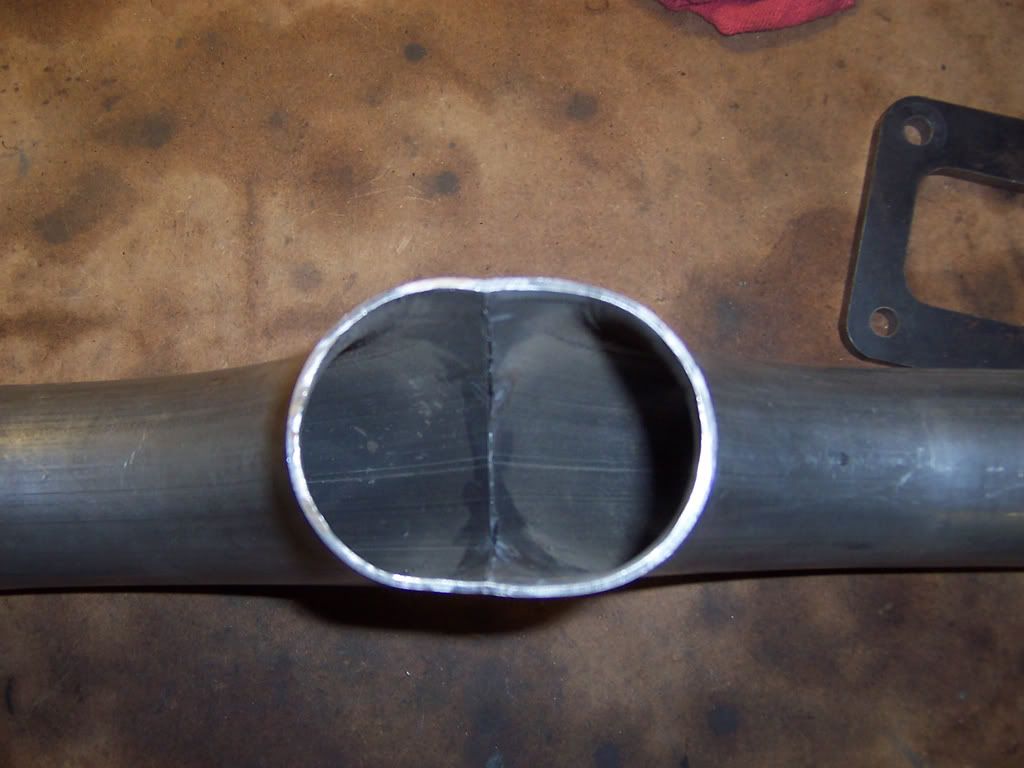
go ahead and laugh
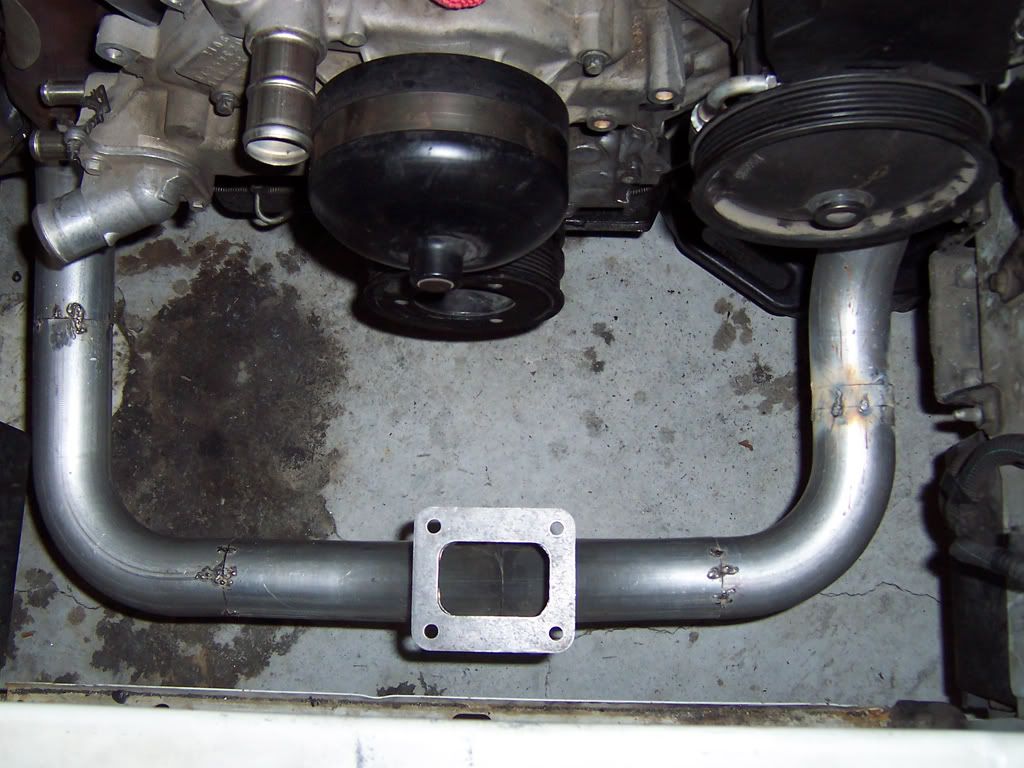
i definitely did NOT weld this hehe, credit goes to a buddy
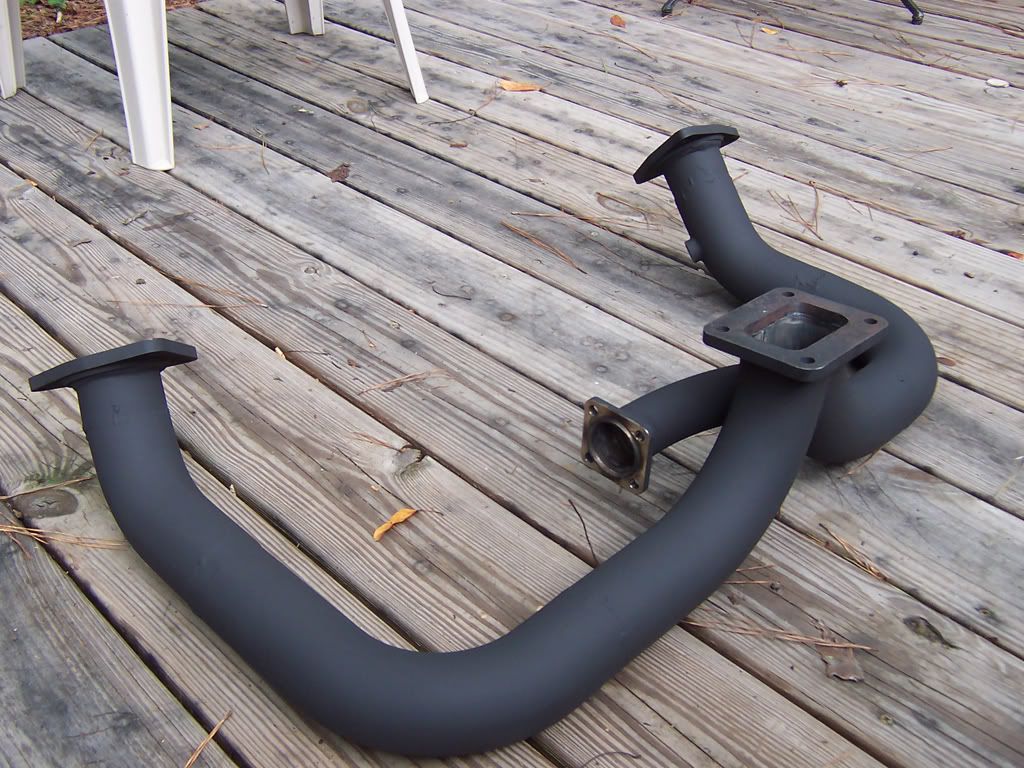
finished
made an intercooler mount our of some bar stock and the stock bumper support
photoline of crossover progress
go ahead and laugh
i definitely did NOT weld this hehe, credit goes to a buddy
finished
Last edited by Tally TransAm; 09-02-2009 at 08:19 PM.
09-02-2009, 08:36 PM
#5
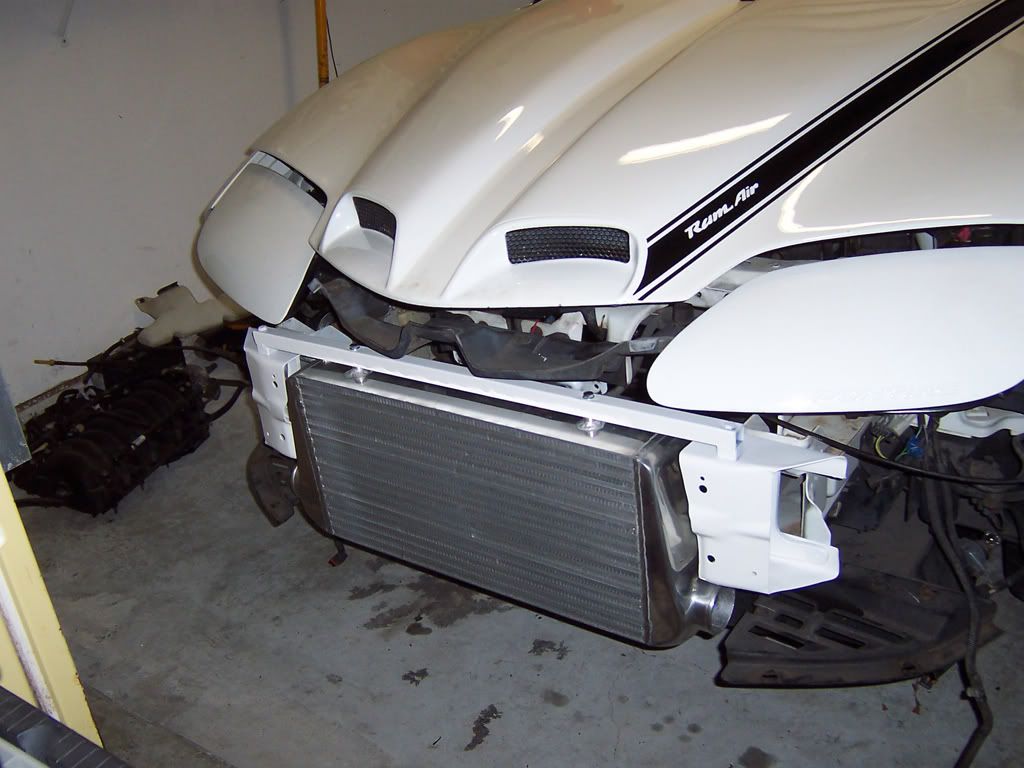
radiator and fan setup:
dual derale 12"s rated at 2200 a piece i think
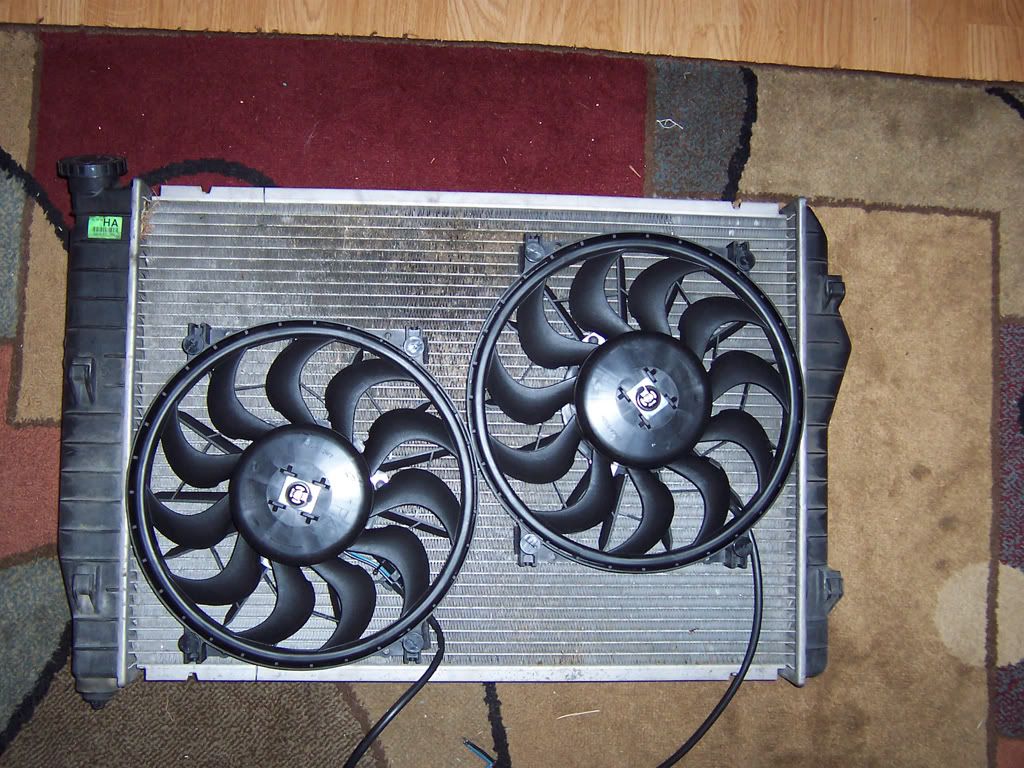
pulled the condenser and put a small notch in the top support to make room for the upper fan. then used the old LT1 radiator shroud off my suncoast setup, redrilled the holes to pull the radiator as far forward as possible and bolted everything up
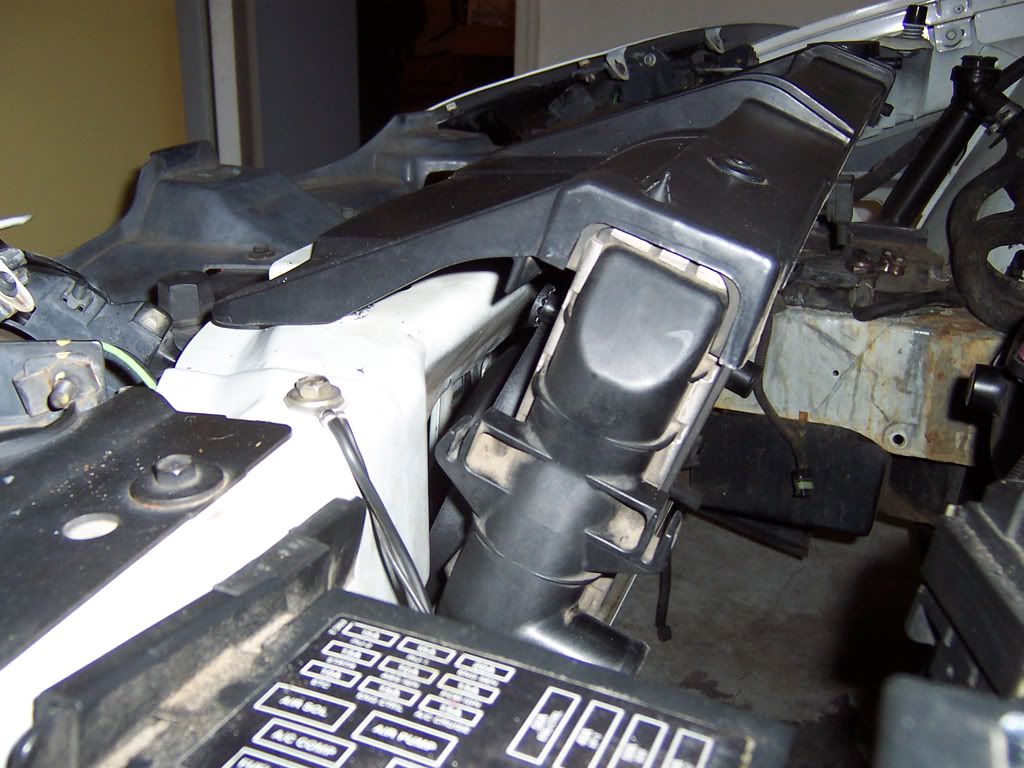
and who would have thought on the first test fit it would fit
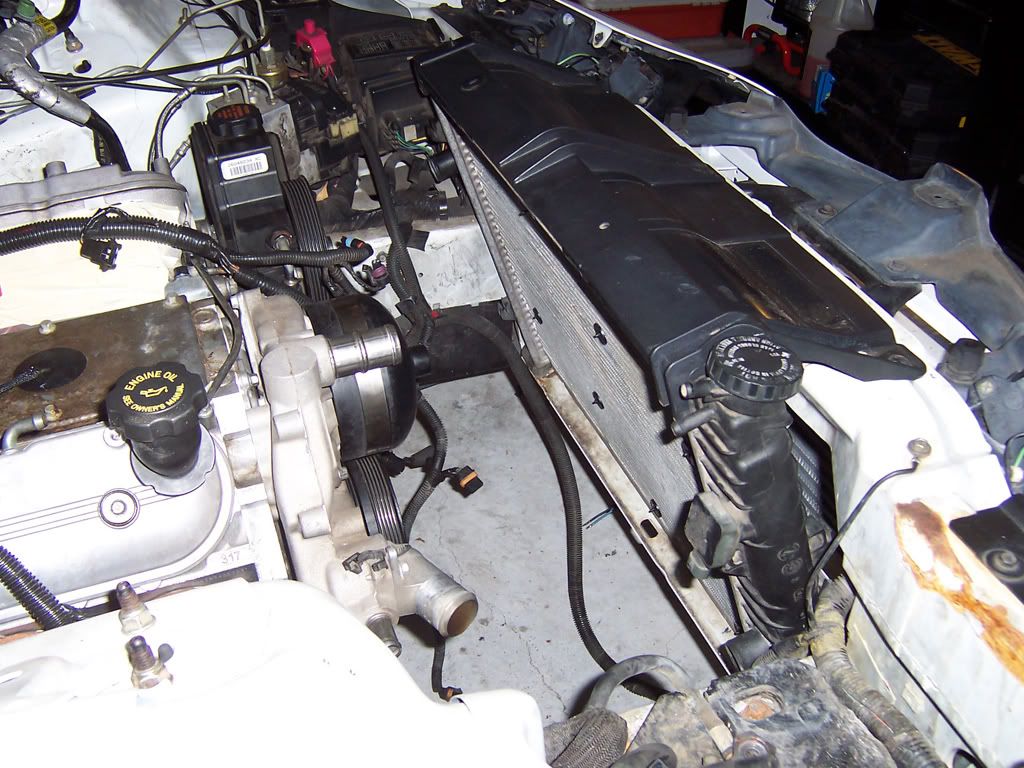
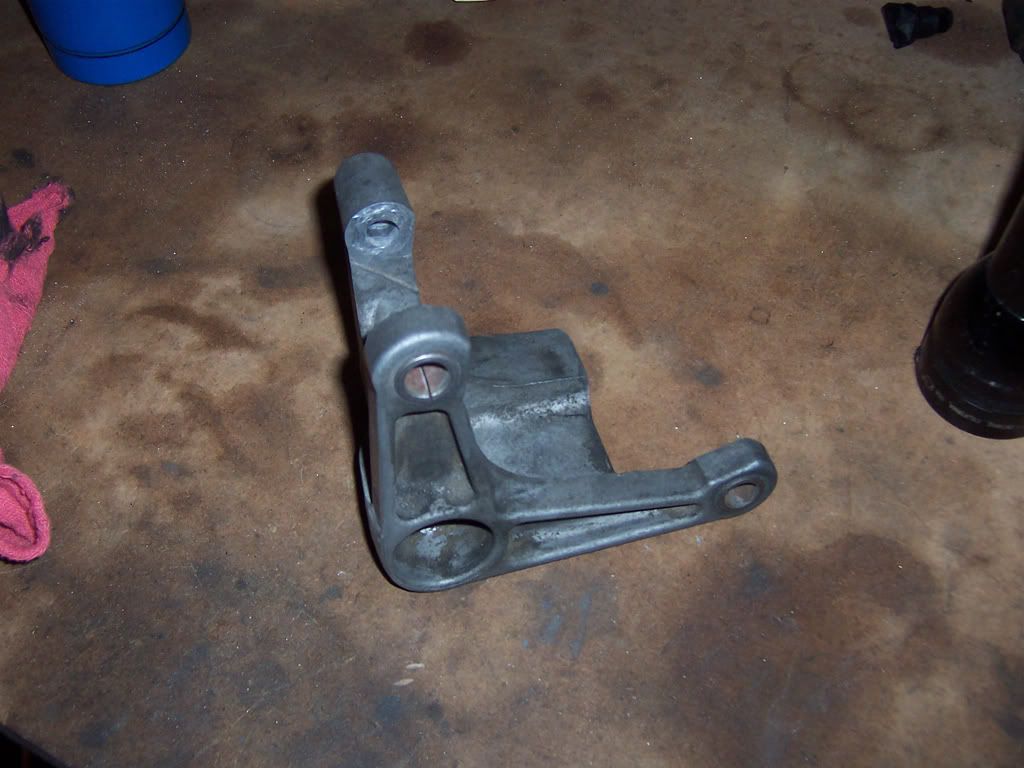
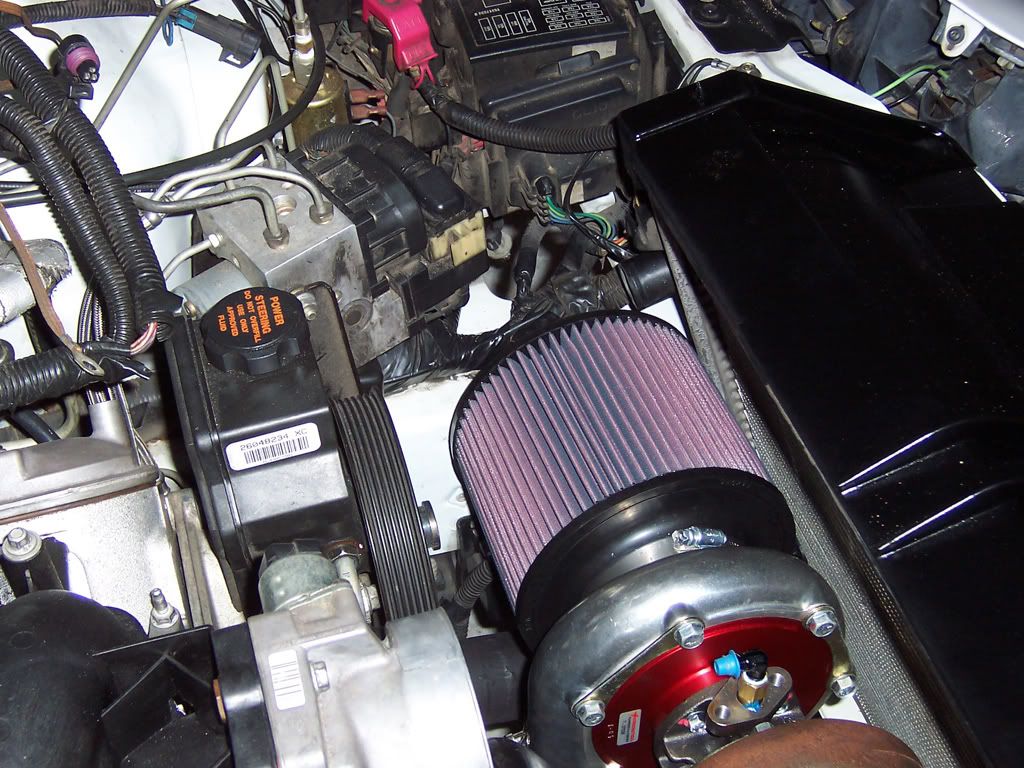
modded the stock alt mount to reuse
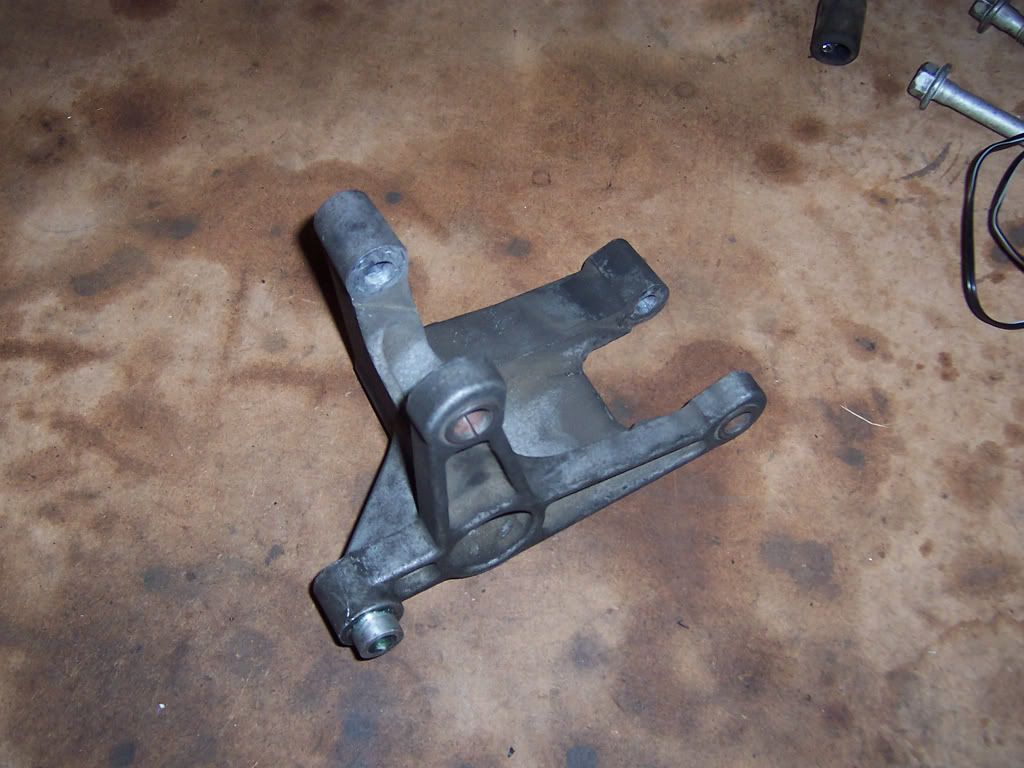

important note i do not have a stock alternator on the car. long story short i have an alt off a mid 90's chevy truck. i lost my alt at 8 pm driving through a small town in NW florida and the napa (which was closed) didnt have one for a camaro or t/a. took the old one out with some mini tool kit a friend driving with us had. the guy was awesome and let me just go though boxes til i found one with the same mounting locations. hook it up and its been on ever since
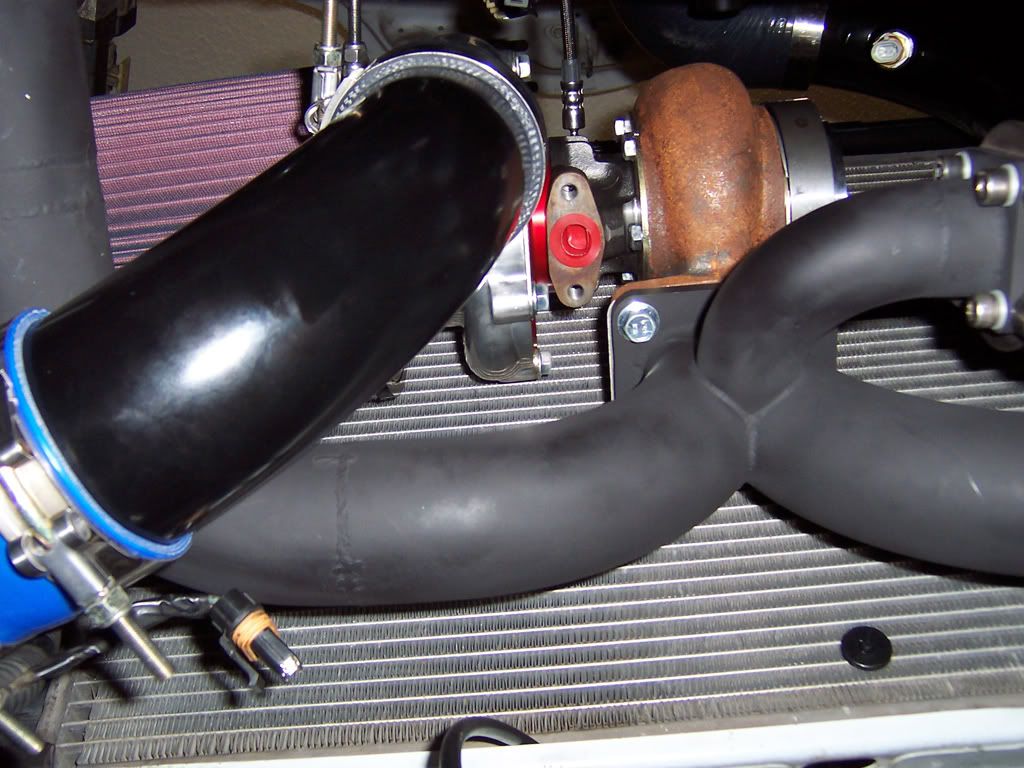
putting everything together
you can see the oil drain angle here into the front of the timing cover. i can tell you this will not work with a stock pulley


still have left to do:
- reinstall front bumper
- install oil breather tank
- run lines from BOV and wastegate to intake
- take rear out to have gears installed, new rod ends on control arms will be installed at the same time
- make down pipe
- extend IAT and Alt wiring
- buy wideband (innovate lc1) and gauges (boost and fuel pressure)
- install turbo drain
- hotwire fuel pump to alt via relay
- tuning
So what do you think?
dual derale 12"s rated at 2200 a piece i think
pulled the condenser and put a small notch in the top support to make room for the upper fan. then used the old LT1 radiator shroud off my suncoast setup, redrilled the holes to pull the radiator as far forward as possible and bolted everything up
and who would have thought on the first test fit it would fit
modded the stock alt mount to reuse
important note i do not have a stock alternator on the car. long story short i have an alt off a mid 90's chevy truck. i lost my alt at 8 pm driving through a small town in NW florida and the napa (which was closed) didnt have one for a camaro or t/a. took the old one out with some mini tool kit a friend driving with us had. the guy was awesome and let me just go though boxes til i found one with the same mounting locations. hook it up and its been on ever since
putting everything together
you can see the oil drain angle here into the front of the timing cover. i can tell you this will not work with a stock pulley
still have left to do:
- reinstall front bumper
- install oil breather tank
- run lines from BOV and wastegate to intake
- take rear out to have gears installed, new rod ends on control arms will be installed at the same time
- make down pipe
- extend IAT and Alt wiring
- buy wideband (innovate lc1) and gauges (boost and fuel pressure)
- install turbo drain
- hotwire fuel pump to alt via relay
- tuning
So what do you think?
Last edited by Tally TransAm; 09-02-2009 at 08:56 PM.
09-02-2009, 09:26 PM
#6
TECH Enthusiast
iTrader: (9)
Join Date: Oct 2005
Location: Greenville, Raleigh NC
Posts: 702
Likes: 0
Received 0 Likes
on
0 Posts

I am loving it, getting me excited to work on mine this weekend, side note PM if needed, where did you get the silicone parts from specifically the one going to the TB? And how did you mount your new MAP? same whole or left that one and ran a vacuum line?
Trending Topics

 09-03-2009, 07:24 AM
#15
TECH Veteran
iTrader: (17)
Join Date: Mar 2009
Location: Indy
Posts: 4,220
Likes: 0
Received 0 Likes
on
0 Posts
damn that looks good man, im gonna have to loose the ac and buy a new radiator to start my build. Freaking GTO, no damn room in the front, i could keep the stuff, but itll be easier to do it on my own without ac and a smaller rad.
great work man, keep it up. cant wait to see some numbers!!!
great work man, keep it up. cant wait to see some numbers!!!
09-03-2009, 10:12 AM
#16
Man that looks good and your lucky you have a friend that can weld like that. It seems like you kept a pretty good buget too. That LT1 radiator setup was pretty cool so you didnt have to chop up the support bracket to get the turbo in their.
 09-03-2009, 12:43 PM
#20
