
has anyone removed this stuff to save weight see pic
 01-27-2010, 04:04 PM
#1
Banned Village Idiot LS1BLKSS
Thread Starter

Join Date: Jan 2010
Location: Cali
Posts: 152
Likes: 0
Received 0 Likes
on
0 Posts
don't know whats it called lol its all over the car i took a chunk out and it was "kinda" heavy, its like a seal or what is it? looks like bondo


 01-27-2010, 04:36 PM
#3
Banned Village Idiot LS1BLKSS
Thread Starter
Join Date: Jan 2010
Location: Cali
Posts: 152
Likes: 0
Received 0 Likes
on
0 Posts
 01-27-2010, 04:49 PM
#5

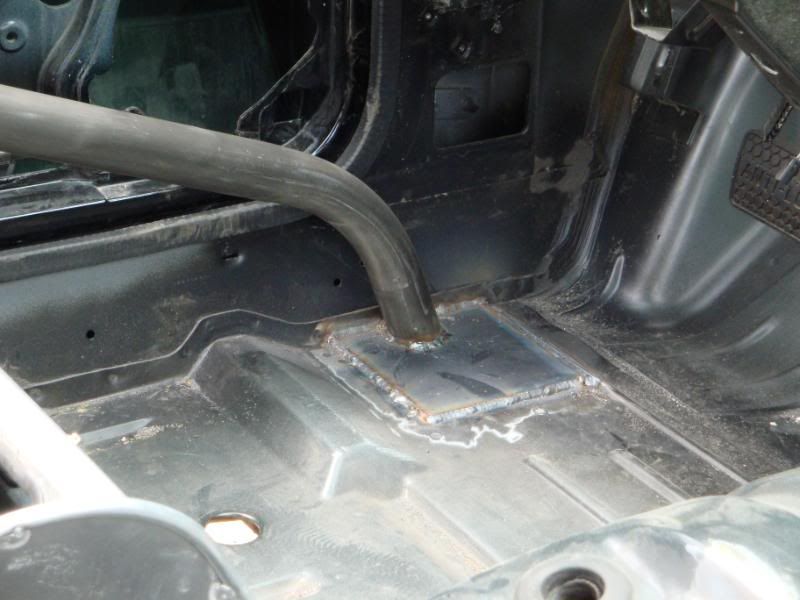
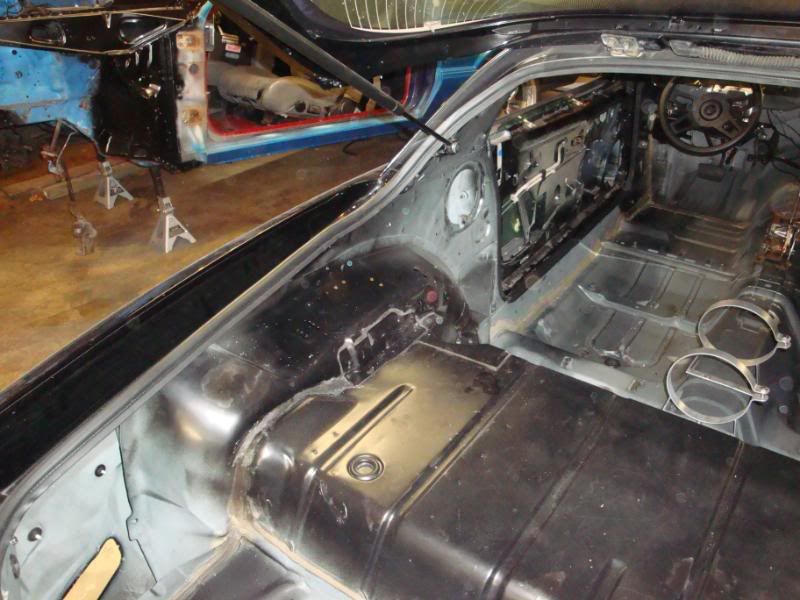
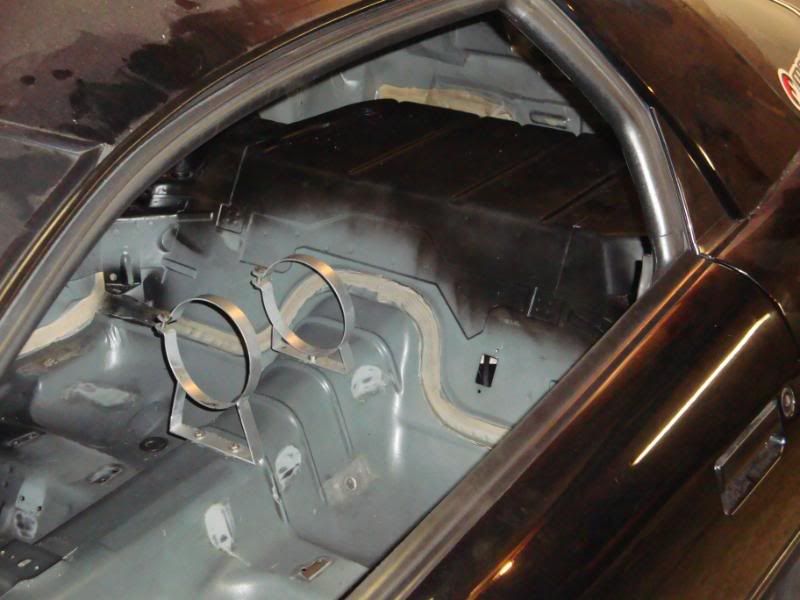
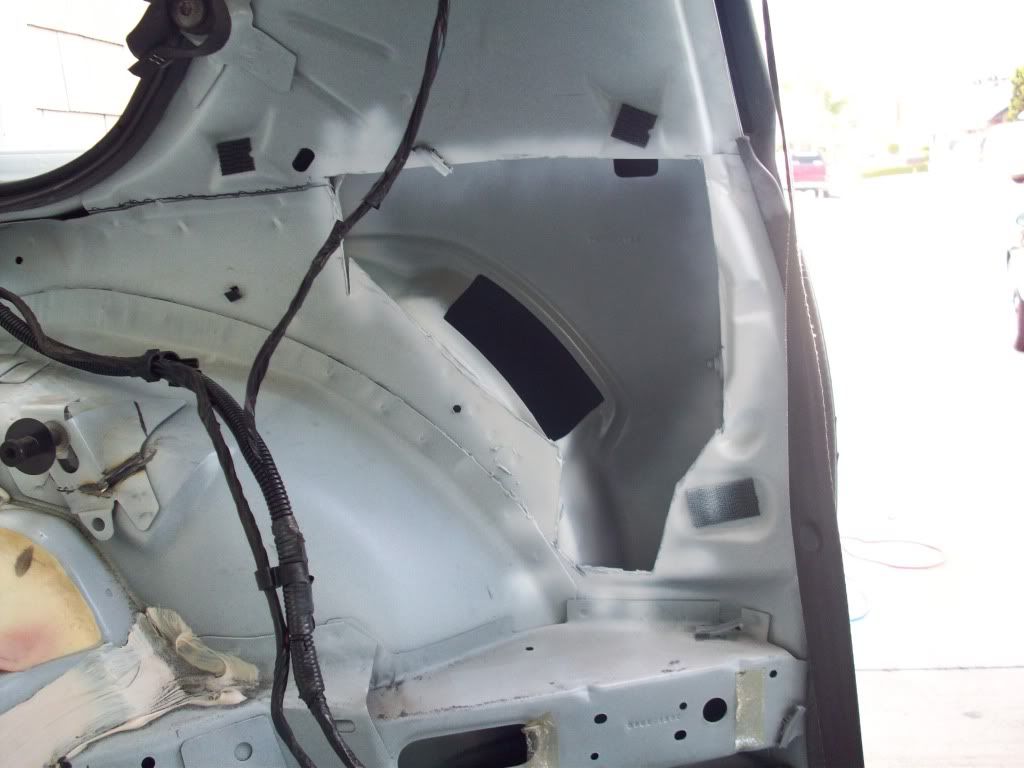
the brass things ure talking about if for your fuel pump, as for the seam sealer i removed all mine in the entire car i.e. rear (pictured) hatch area, along the sides up to the front, under the dask etc. etc. Its not very heavy as its just some foam crap but the end result is a LOT cleaner looking interior!! I did that to mine them semi-glossed black some of it and it looks pretty decent actually. Heres some pics from along the side and rear...
01-27-2010, 05:06 PM
#6
ya that stuff is like a foam, and not that heavy. when you remove it yourll have the light primer that looks bad. like ther other guys said. Ive only seen it oversprayed the body color. What color is your car, is it a early LT1 or somthing, has the car been redon? it looks weird that your sealer is not painted?
now there is a bunch of brackets that weigh a lot more
now there is a bunch of brackets that weigh a lot more
01-27-2010, 05:13 PM
#7
Banned Village Idiot LS1BLKSS
Thread Starter
Join Date: Jan 2010
Location: Cali
Posts: 152
Likes: 0
Received 0 Likes
on
0 Posts
ya that stuff is like a foam, and not that heavy. when you remove it yourll have the light primer that looks bad. like ther other guys said. Ive only seen it oversprayed the body color. What color is your car, is it a early LT1 or somthing, has the car been redon? it looks weird that your sealer is not painted?
now there is a bunch of brackets that weigh a lot more
now there is a bunch of brackets that weigh a lot more
Trending Topics
01-27-2010, 05:16 PM
#8
Banned Village Idiot LS1BLKSS
Thread Starter
Join Date: Jan 2010
Location: Cali
Posts: 152
Likes: 0
Received 0 Likes
on
0 Posts
im trying to take all the brackets out as well the ones that are next to the rear speaker are a bitch to remove i just cut them a lil, i tried to remove the spot welds but there is a ton on those
01-27-2010, 05:17 PM
#9
dont use a sanding disk, it will clog it up pretty fast. I used a wire wheel attachment. Flings the **** EVERYWHERE but takes it off pretty damn fast! I just drilled out all the spot welds and afterwards if you paint the floor they blend in. Then some carpet of um and youll never know there there. But for me its got no wipers anyways so no water for my car eaither way
01-27-2010, 05:18 PM
#10
Banned Village Idiot LS1BLKSS
Thread Starter
Join Date: Jan 2010
Location: Cali
Posts: 152
Likes: 0
Received 0 Likes
on
0 Posts
also made the hole where the rear speaker used to be a lil bigger to save weigh... didn't save much but i think it was like 3 pounds lol
01-27-2010, 05:46 PM
#12
I had good luck with a really thin putty knife. Just useing it to "cut" the big sections out that were in easy to get to corners. very clean and removed alot fast. But dosn't get "on top" edge on the lap joint and corners you wnat to remove if your welding close and it will melt. wire wheel gets in there.... and put a blanket over the dash!! ya it shoots ****... I did my 6point with the dash in, and just some little grinding prep.. shoot a lot of **** in the streering wheel, vents, and above the sun visors. took alot of time to clean then later.
01-27-2010, 08:52 PM
#14

Been doing quite a bit of cutting on my car lately too. I have gotten about 75% of the seam sealer out of it. I just used a regular grinding disc to get the thick of it and I'll use a wire cup to get the rest.
I also cut out the speaker panels out along with some other dead weight.
I also cut out the speaker panels out along with some other dead weight.
01-27-2010, 10:21 PM
#16
12 Second Club
01-28-2010, 11:02 AM
#17
Banned Village Idiot LS1BLKSS
Thread Starter
Join Date: Jan 2010
Location: Cali
Posts: 152
Likes: 0
Received 0 Likes
on
0 Posts
01-28-2010, 11:11 AM
#18

I'm going to just get a hole saw and get to that interior panel where the speaker was. Couple different sizes so I can try to get a good bit of it out. That way there's still a little support there, going to do it after the minitub is done.
someday when I redo the cage to a 25.x I'll probably convert to a hardtop at the same time, at that point I'll hole saw under the roof like I've seen a few people doing now. That's alot of work though for the return. Hardtop, will save a good bit though over the t top weight I think.
someday when I redo the cage to a 25.x I'll probably convert to a hardtop at the same time, at that point I'll hole saw under the roof like I've seen a few people doing now. That's alot of work though for the return. Hardtop, will save a good bit though over the t top weight I think.