
6 Day Detail On the Camaro
 03-14-2010, 07:25 PM
#1
On The Tree
Thread Starter
iTrader: (14)
Join Date: Jul 2006
Location: Tulsa, OK
Posts: 191
Likes: 0
Received 0 Likes
on
0 Posts

----------DAY 1----------
So, lately the condition of the paint on my Camaro has been bothering me. It looks alright from a distance, but I have to stare at all of the little things and its time to make it better.
Obviously the car is really F'ed up...
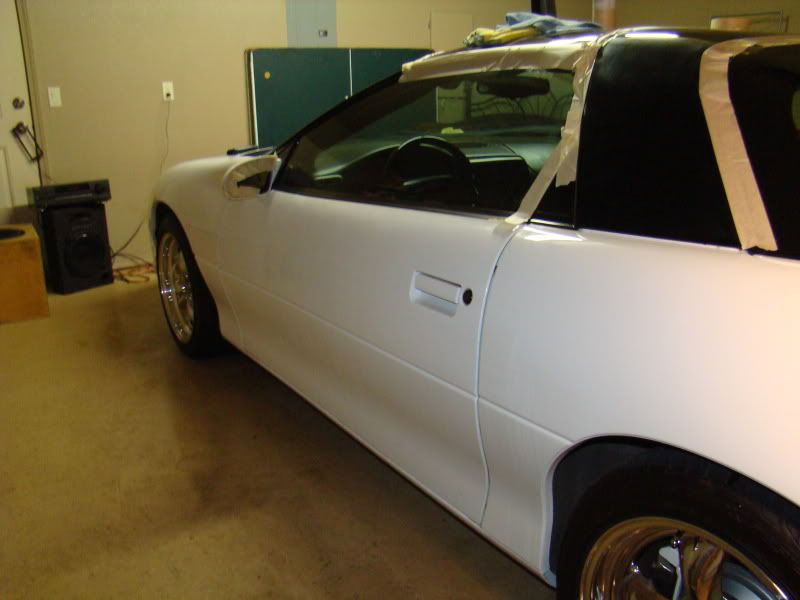
Here is the skinny. I've had most of the car repainted over the last couple years (pass fender, pass door, both quarters, bumpers, mirrors), and there are some obvious discrepancies between the new and old paint. The color match is fine, but the finish on the new stuff is quite a bit smoother overall. However, I guess my painter didn't feel like sanding below the body line where the molding is. He also didn't wet sand my mirrors or rear bumper. So, this is where I am going to start my seige on orange peel, factory stuff included too.
Here are some inspection pictures:
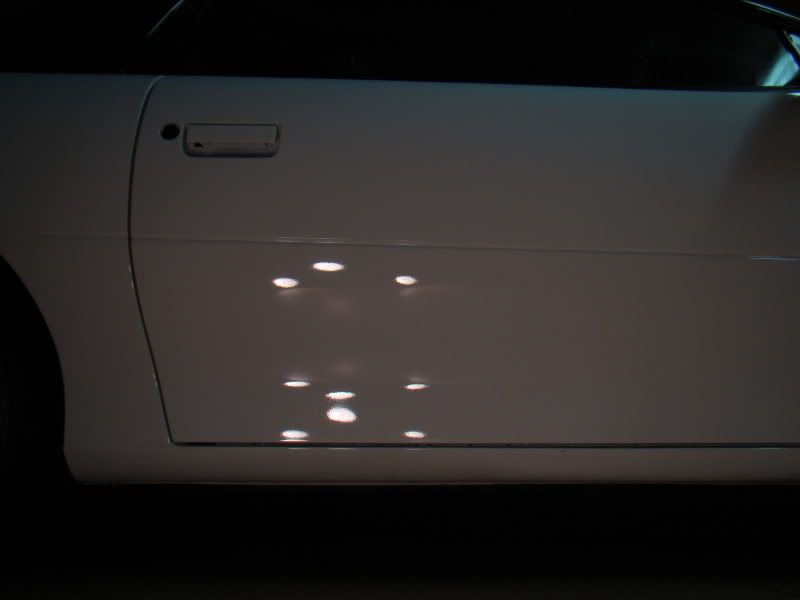
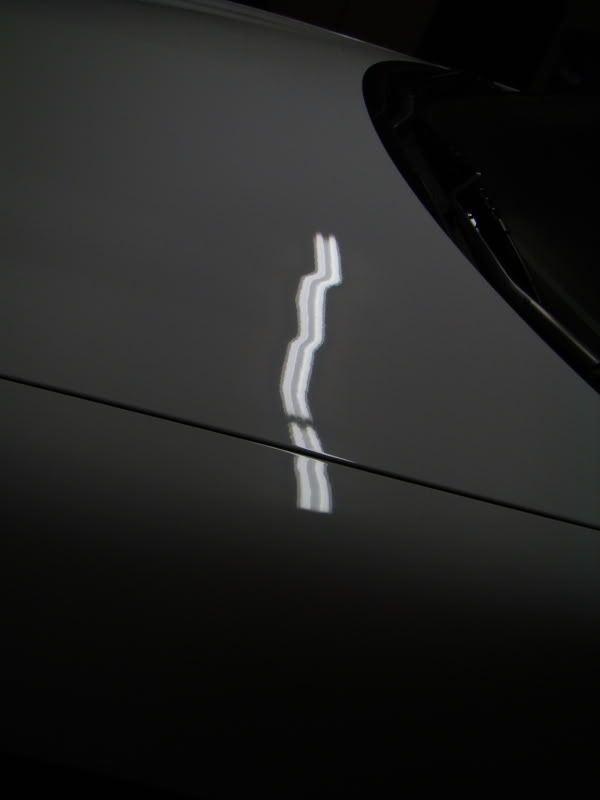
Factory orange peel on hood and drivers fender
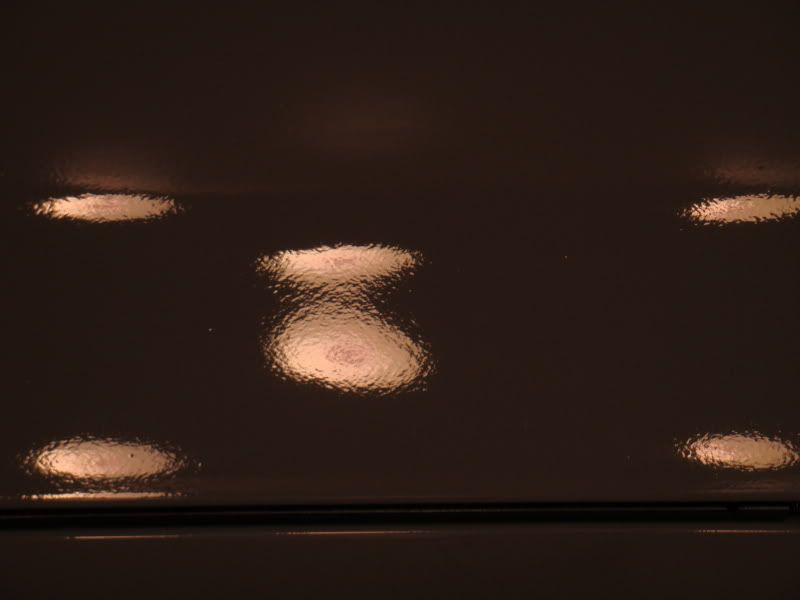
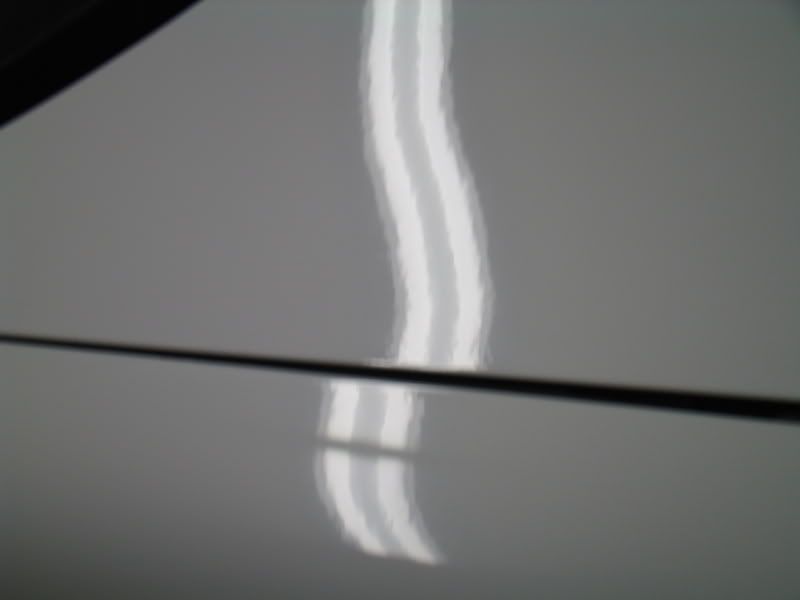
Comparison between new and factory paint
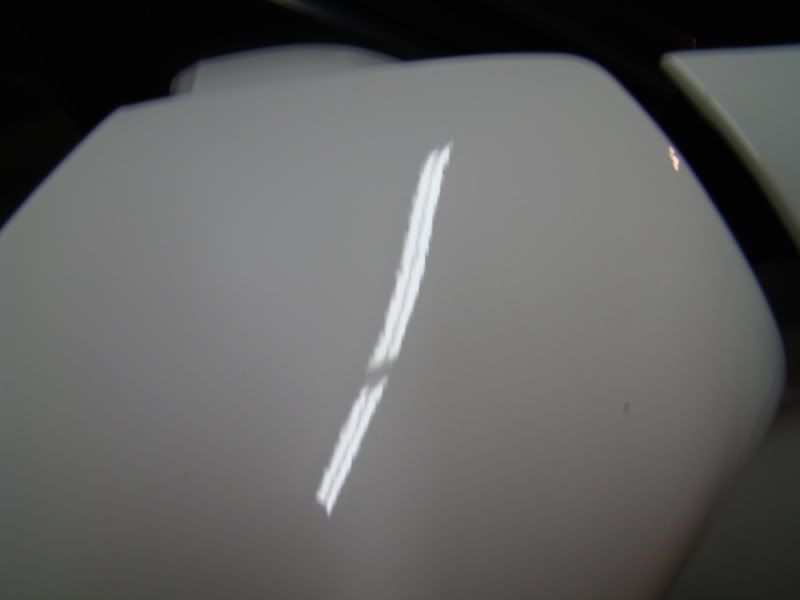
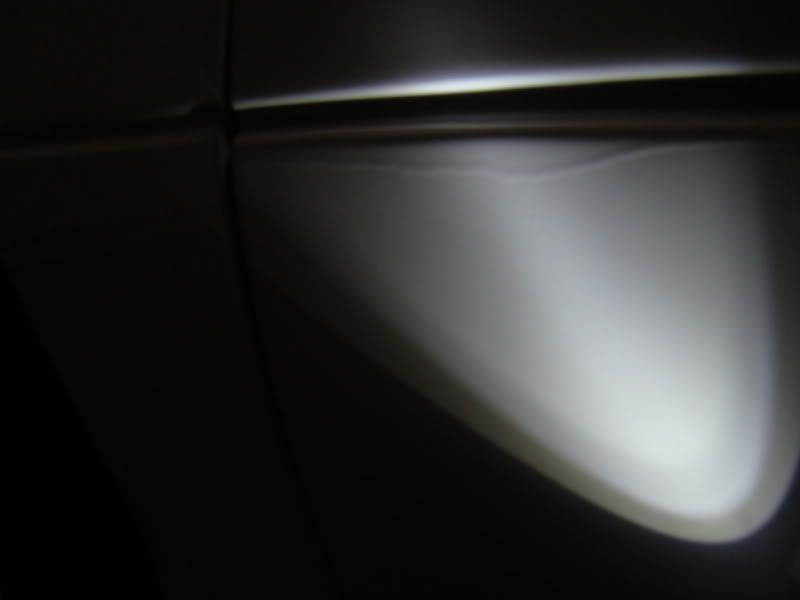
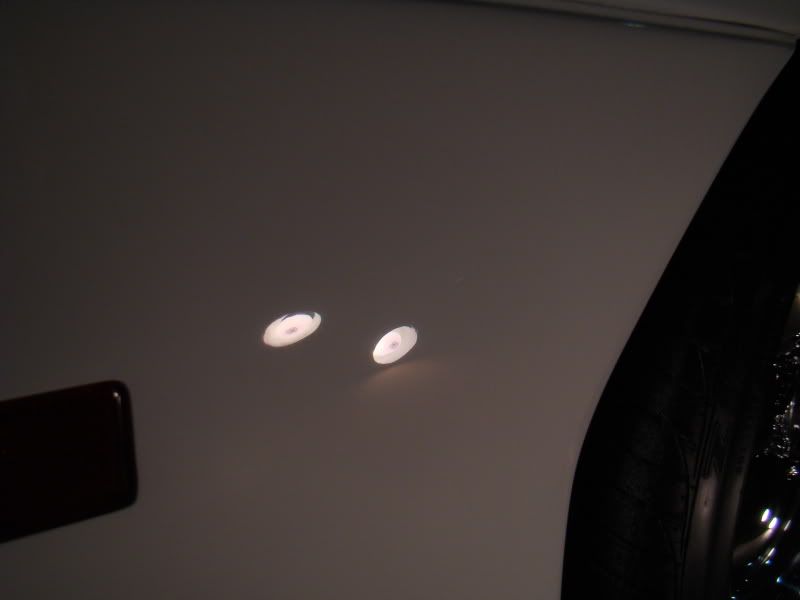
Mirror
Sail panel, there is nothing I can do about the bubbles in the paint (factory defect). A new sail panel is on my list of upcoming projects. I might go white on it, dunno tho.
Top of pass door
Bottom of pass door
Closer, eek
Nastiness
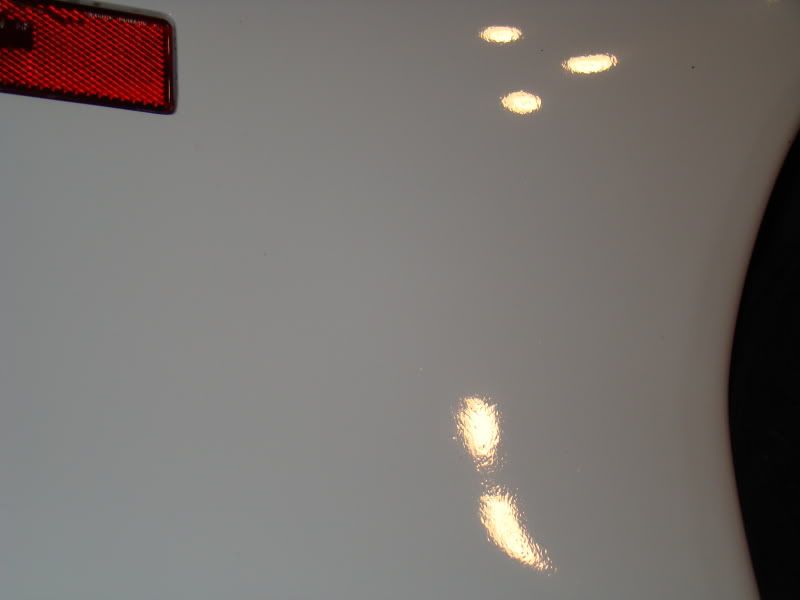
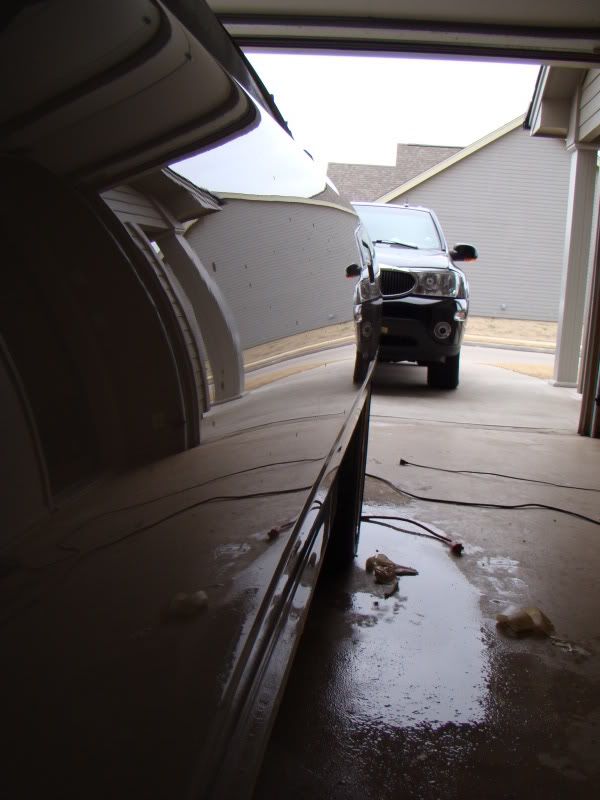
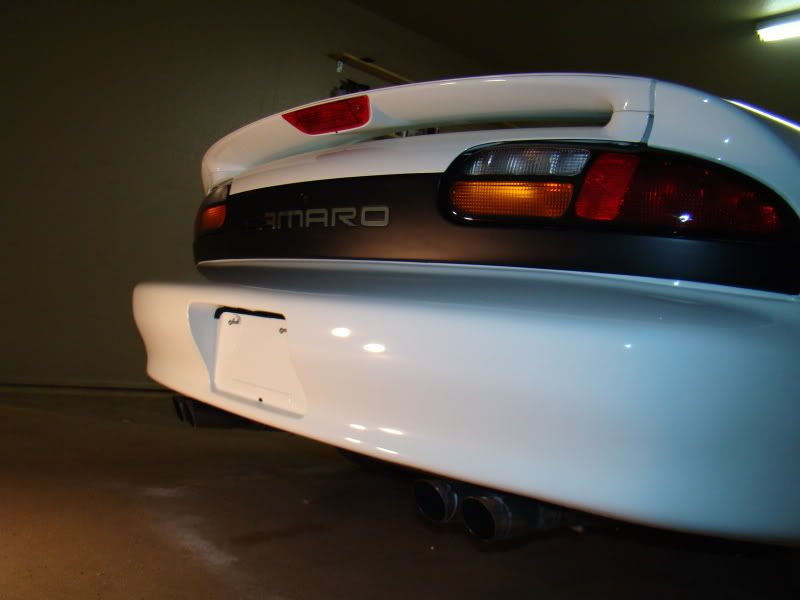
Rear bumper
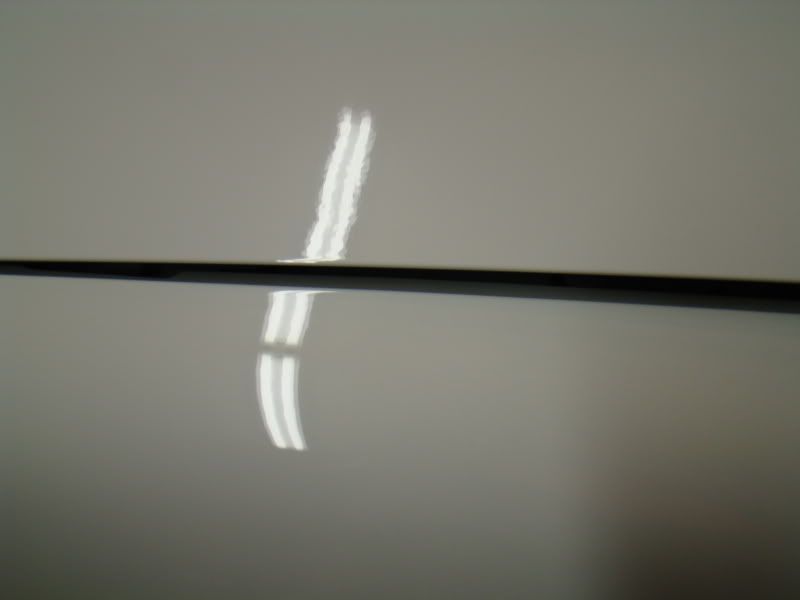
Reflection from quarter

I am using 3M paper, Meguiars 105 ultra cut, and a DeWALT rotary. The 105 is the ****, in all of the pictures below the finish is straight from the 105 on an orange pad. It is pretty amazing how nice the finish comes out with this aggressive compound. It is also DA friendly, which is the main reason I picked this stuff up.
So, I started on the bottom of the passenger door. This is my first time wet sanding, and I didn't want to go really aggressive so I am using 2500 grit. I have heavier grits, but the 2500 is cutting fast enough for me. It is a little time consuming, but better safe than sorry.
Process on the door
Polished out
Nice comparison
Did the pass mirror today as well
----------DAY 2----------
I don't have much to report today, other than wet sanding is time consuming. I started sanding on the bottom of the pass door yesterday and now I've sanded around to the drivers fender and I started on the sail panel. The factory clear is taking longer to smooth out than the new paint, even though the unsanded new paint is much rougher. So, now all I have to do is the hatch, hood, and finish the sail panel. My front bumper is pretty cracked up so I will probably just leave it alone and spray it soon.
There is no turning back now...
The sail panel is really pissing me off. I can only sand the middle of it because mine has the bubbles around the edges bad and it isn't ever going to look good. So I did a half *** sand job on it just to smooth it out a little. Here is a pic of that. This is probably the best spot on the panel and you can tell it is still a wavy.
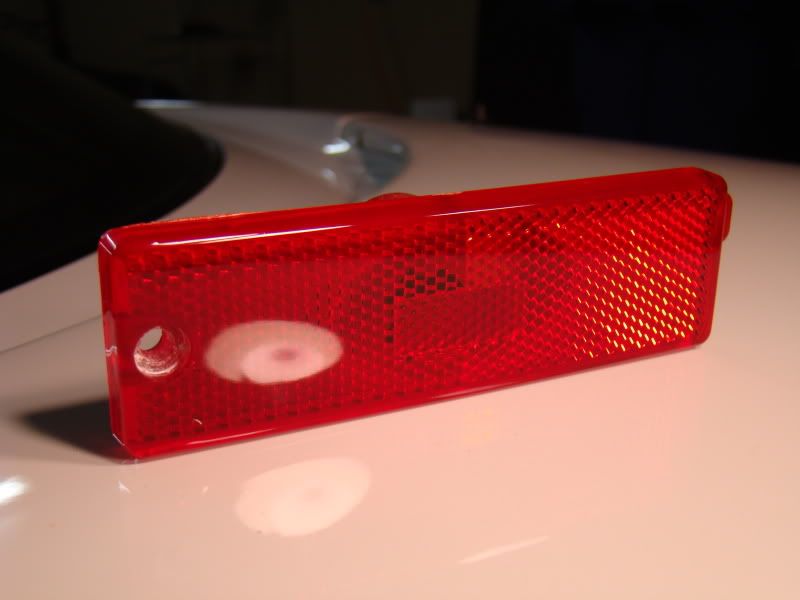
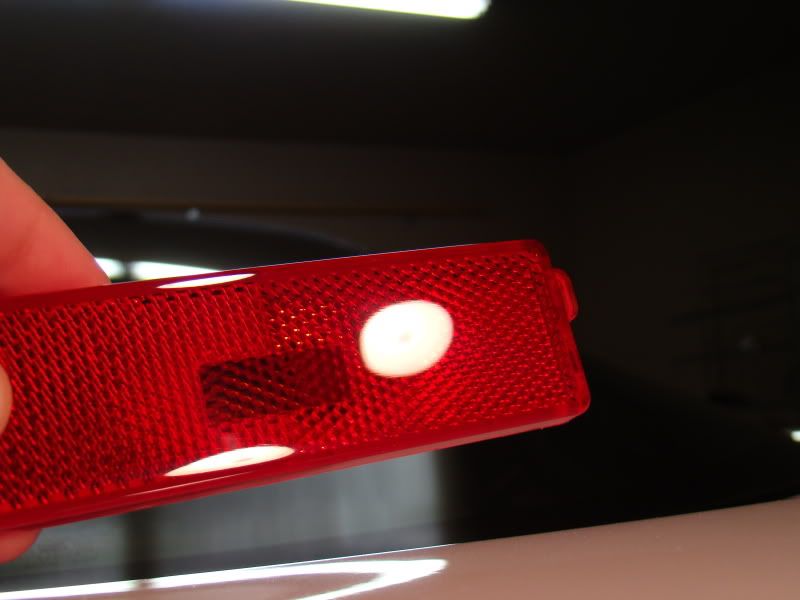
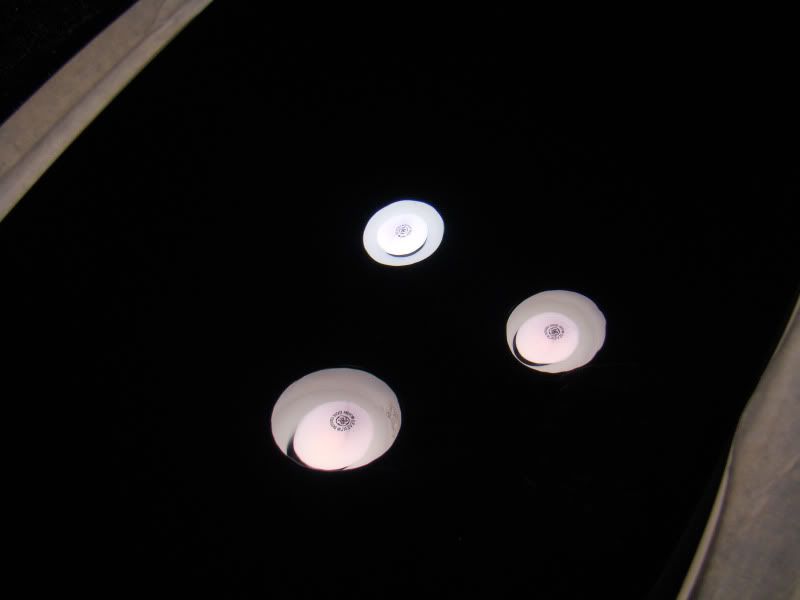
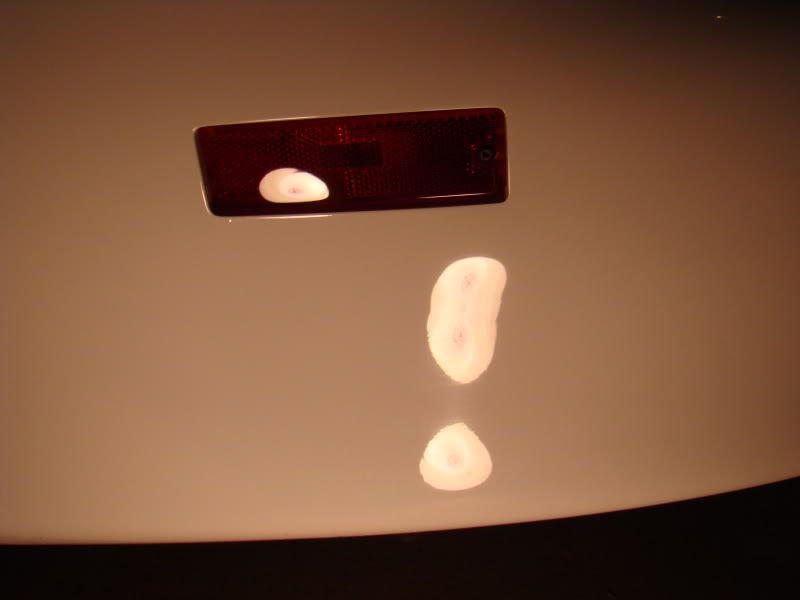
I removed my marker lights to sand the bumper and I hit them with some 2000 grit and got rid of that stupid writing all over them. I'm going to do the same to my tails and 3rd brake light. Turned out nice.
DAY 3
This is where I realized I might be going too far...
All the panels that needed it have been sanded, there are just a few areas that I will need to go back over where I didn't get everything cut down. Hopefully tomorrow I will be able to bust out the wool pad and bring it all back, and get some pretty shots.
----------DAY 4----------
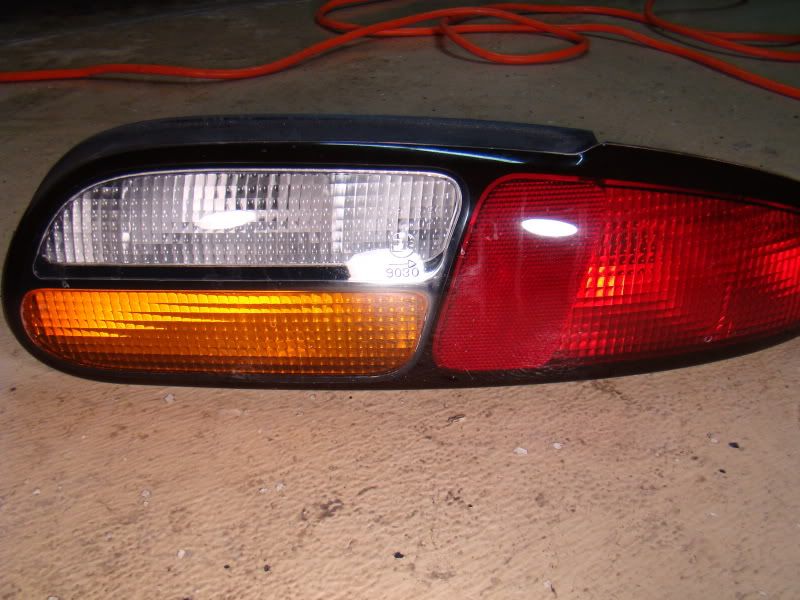
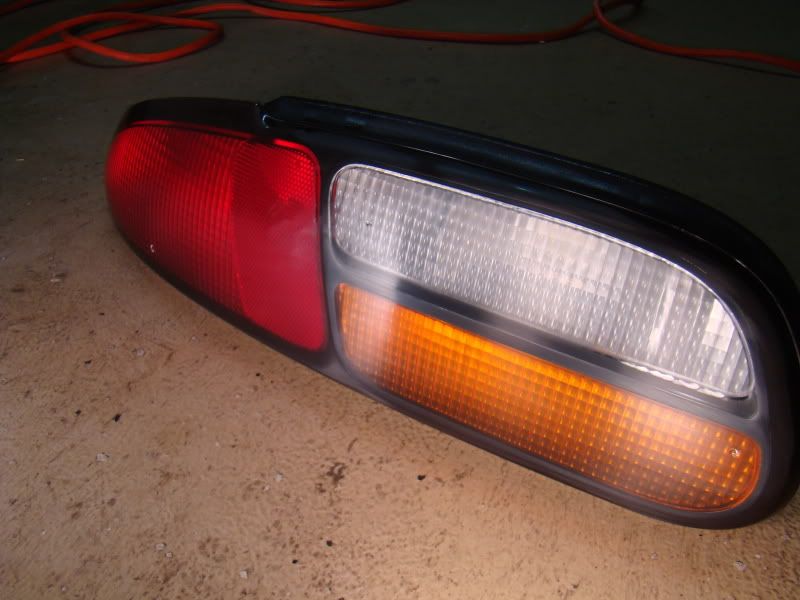
I am finally done wet sanding, I hope. I think 2k grit would have been just fine for the hard *** factory clear. I just didn't want to go too aggressive being this is my first time doing something like this. One of my buddies came over to lend me a hand so I had him pretty up my tail lights.
Wet sanded all the letters off with 2000 grit, and polished out with megs 105. I'll probably hit them with some finer polish and zaino them with the rest of the car.
Before:
After Sanding:
After Polish:

Someone was wondering how the Megs 105 would work on a PC, so I did a test section on the sail panel. This is correcting 2500 grit with an orange pad set to speed 6. It definitely took longer with the PC than with the rotary using the same pad, but it was able to buff the panel out just fine. The finish was actually a little nicer after using the PC, less micro marring, than with the rotary. So you could possibly get away with just using the 105 as a single stage polish even though it is really aggressive.
Pics:
----------DAY 5----------
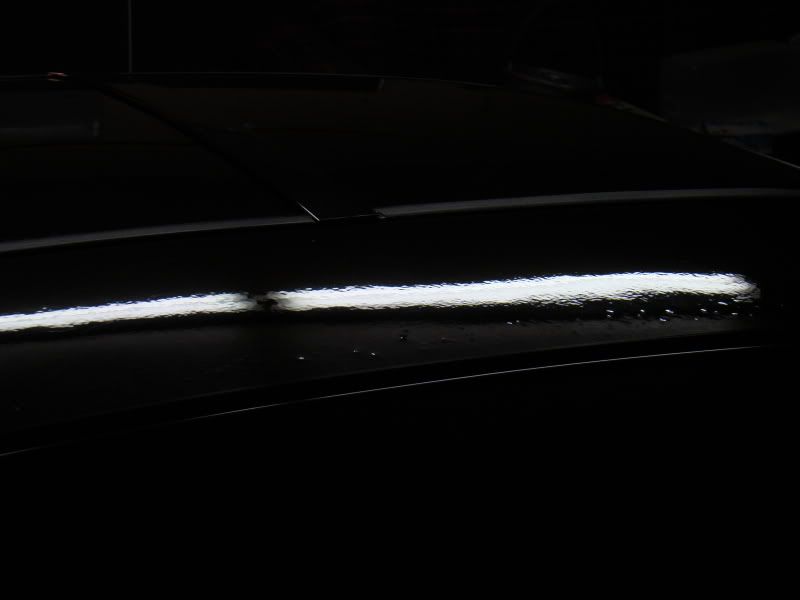
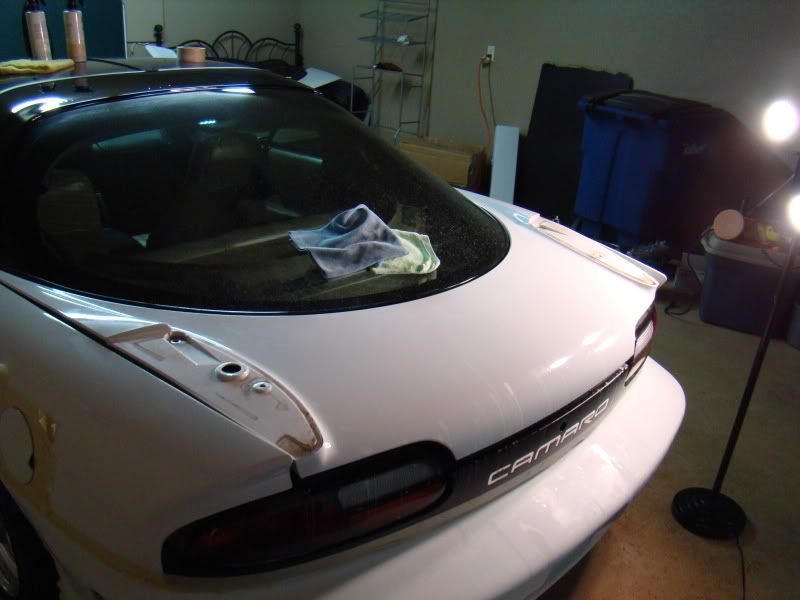
Put in about 12 hours today, got the whole car buffed out with the M105 using a Yellow pad and a Dewalt rotary, then I followed it up with Pennacle XMT 3 (intermediate swirl remover) and then 1 (ultra fine swirl remover) on orange and white pads respectively using a PC. After the polishing work was done I sealed it up with 2 coats of Z2 using the ZFX accelerator.
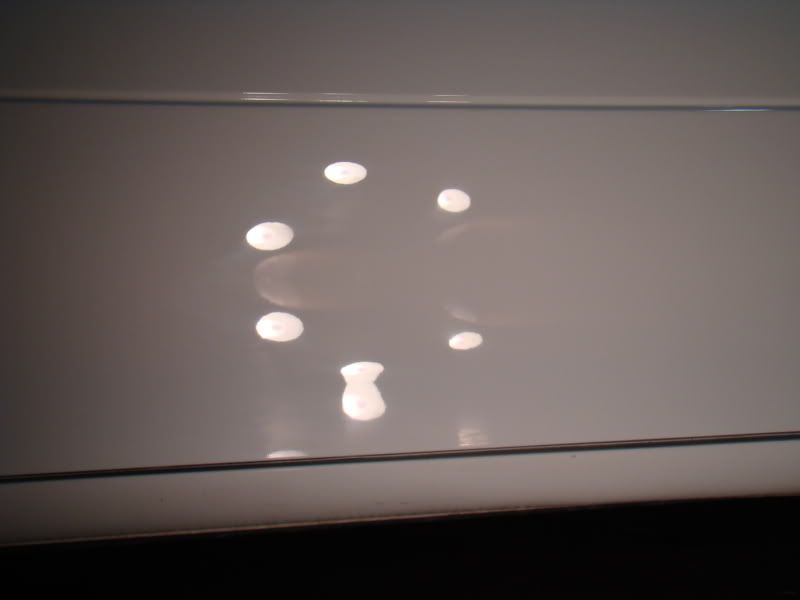
This picture is after polishing but before Zaino. This panel is factory paint that was sanded.
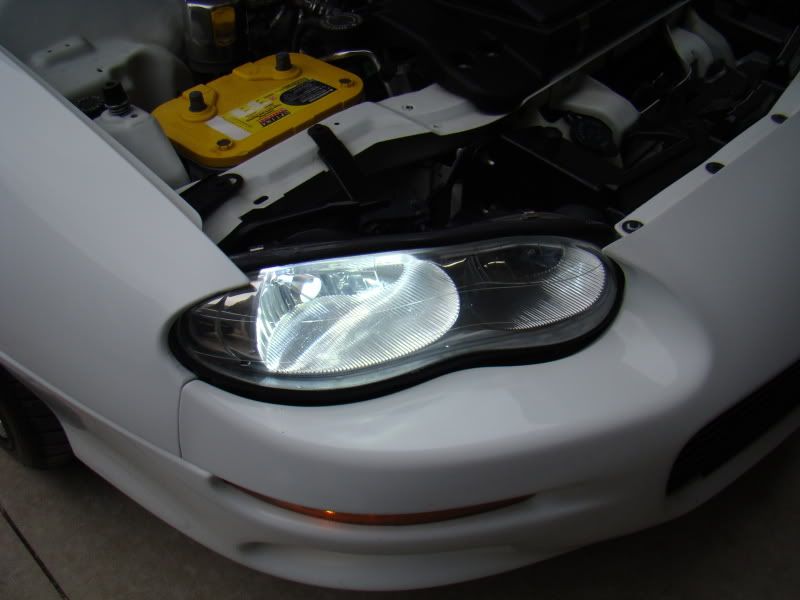
I put my friend and his woman to work again, this time sanding down my headlights.
Rear bumper, driver's side
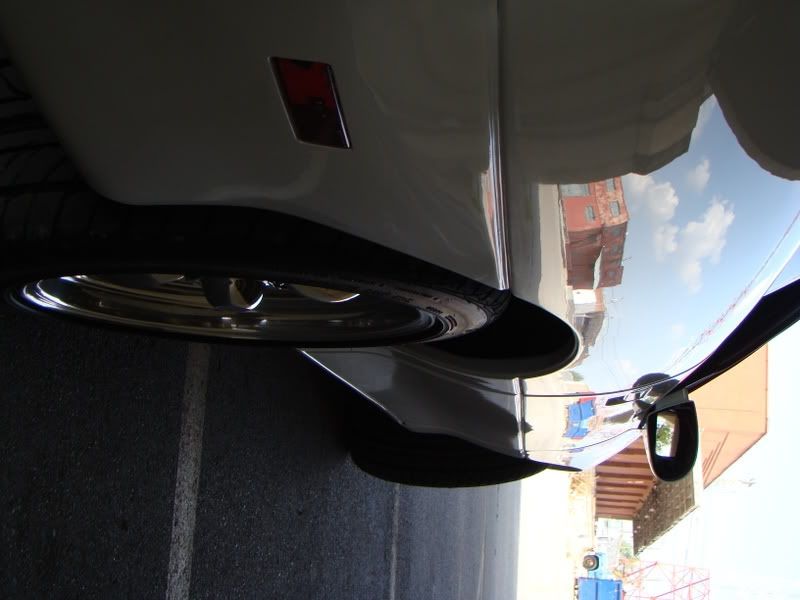
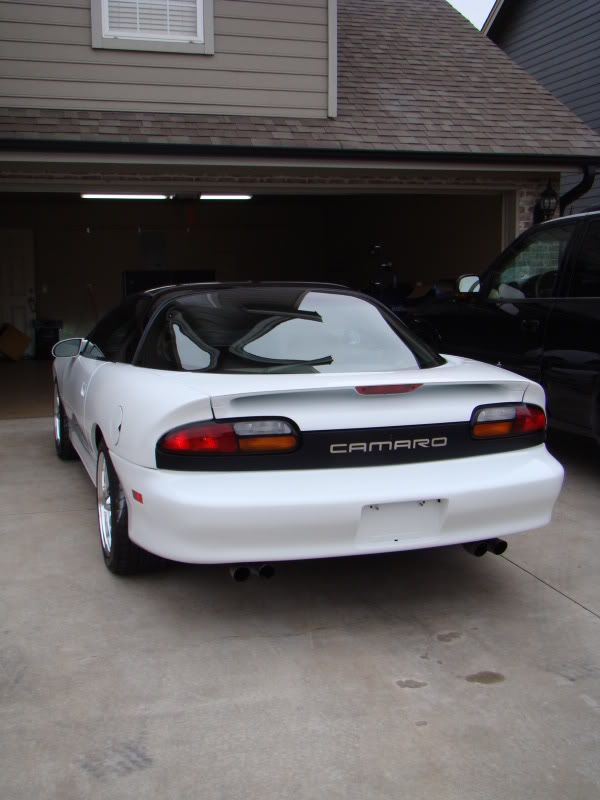
Rear bumper, passenger side (compare with picture in first post)
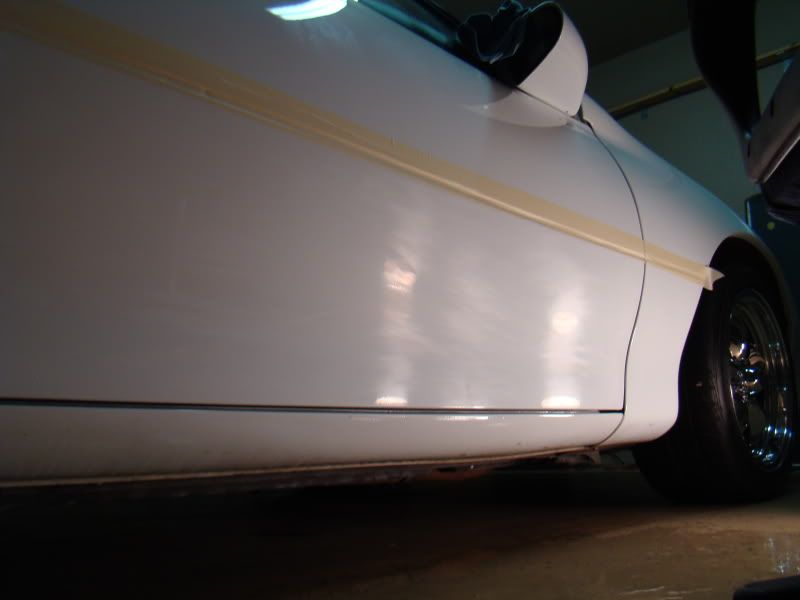
Passenger lower quarter and door, not factory paint (compare with picture in first post)
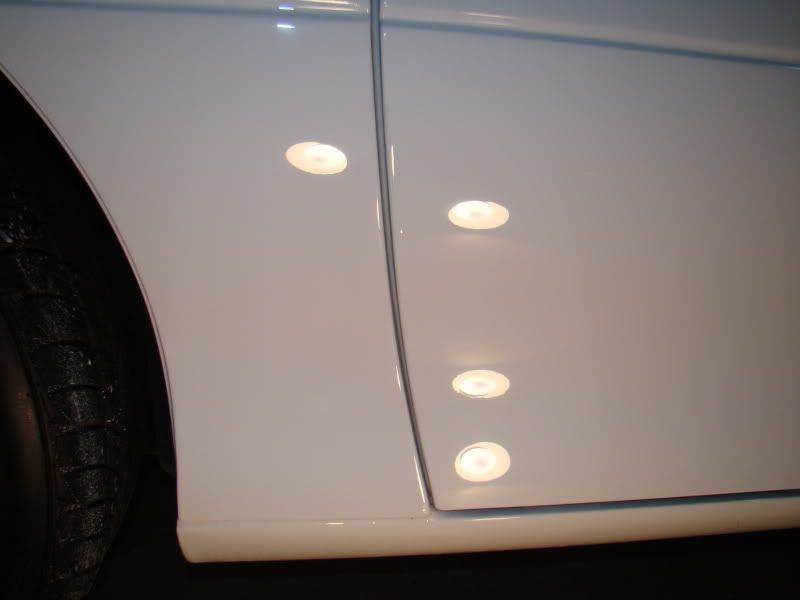
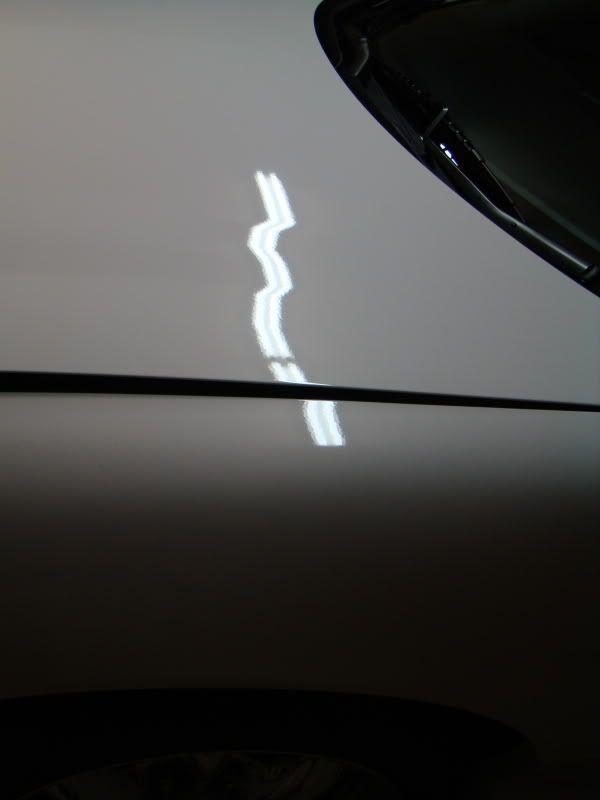
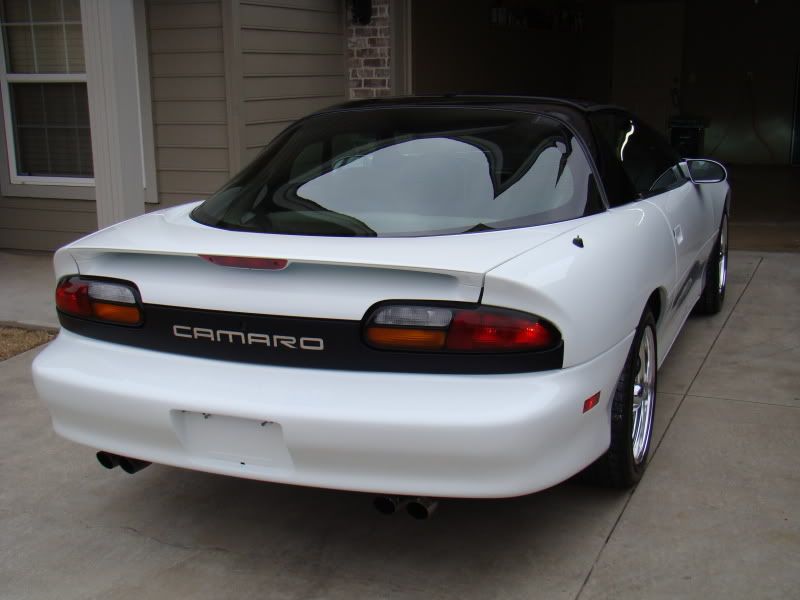
Comparison between hood and new paint on pass fender (compare with picture in first post)
(compare with picture in first post)
I didn't get the hood as flat as I wanted, but I'm pretty burned out on wet sanding so i called it good. I also stocked up on 2500 grit and 2000 grit would have been more appropriate. It is improved, so that is fine with me
I'll polish out the headlights tomorrow, notice no more nipples.

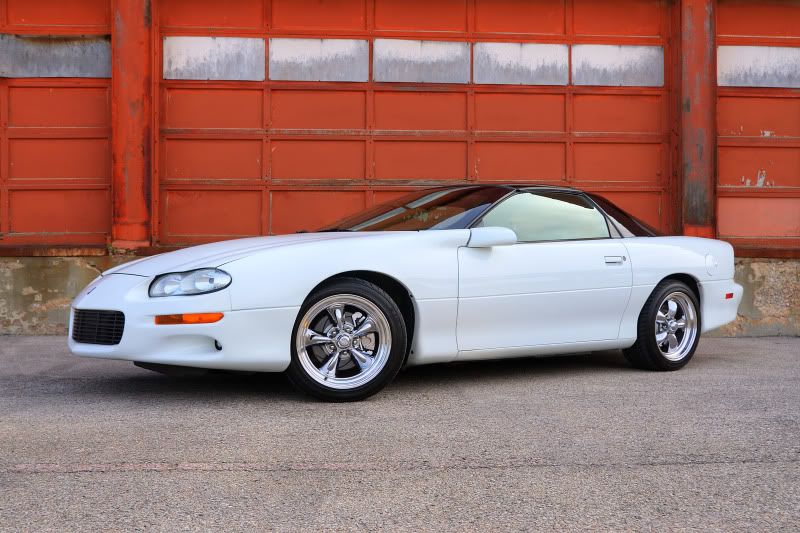
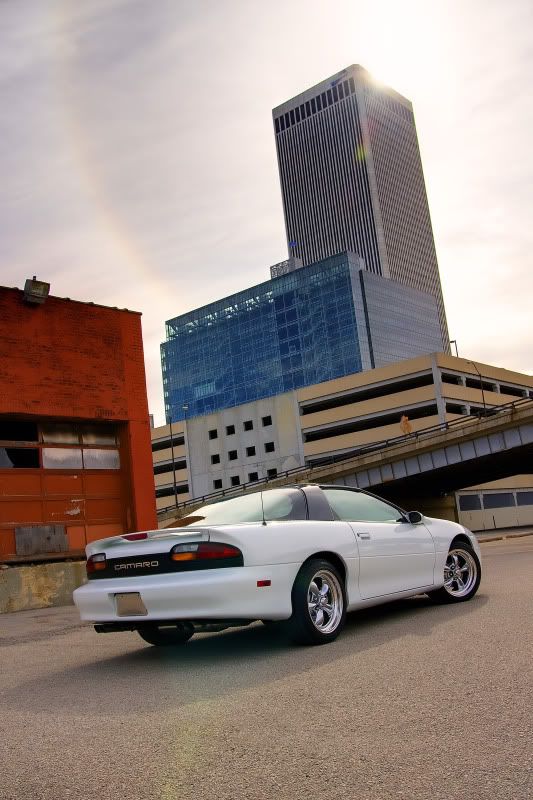
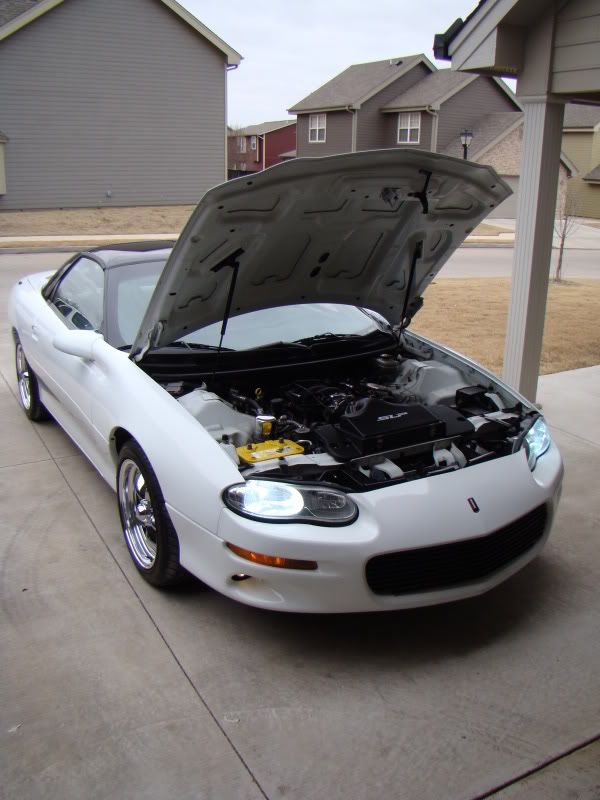
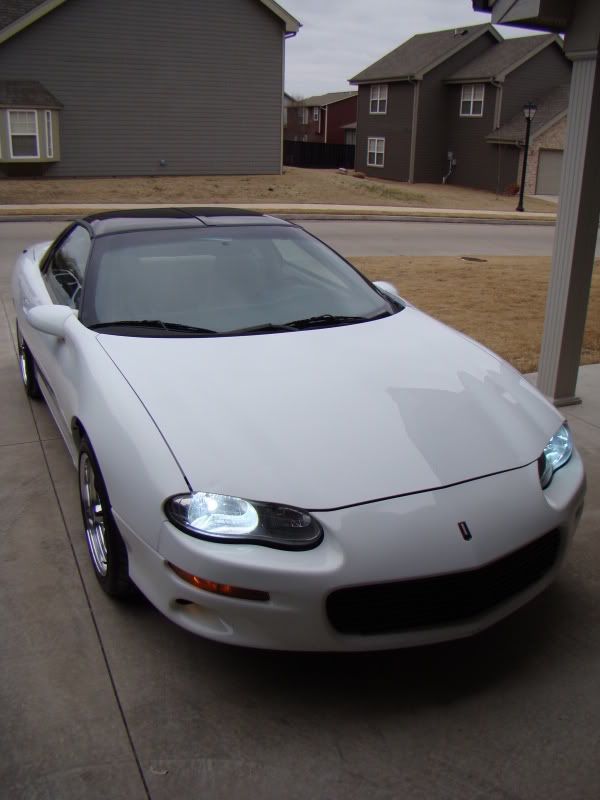
Hopefully tomorrow will be nice enough to allow me to take the car out and get some full body pictures.
So, lately the condition of the paint on my Camaro has been bothering me. It looks alright from a distance, but I have to stare at all of the little things and its time to make it better.
Obviously the car is really F'ed up...
Here is the skinny. I've had most of the car repainted over the last couple years (pass fender, pass door, both quarters, bumpers, mirrors), and there are some obvious discrepancies between the new and old paint. The color match is fine, but the finish on the new stuff is quite a bit smoother overall. However, I guess my painter didn't feel like sanding below the body line where the molding is. He also didn't wet sand my mirrors or rear bumper. So, this is where I am going to start my seige on orange peel, factory stuff included too.
Here are some inspection pictures:
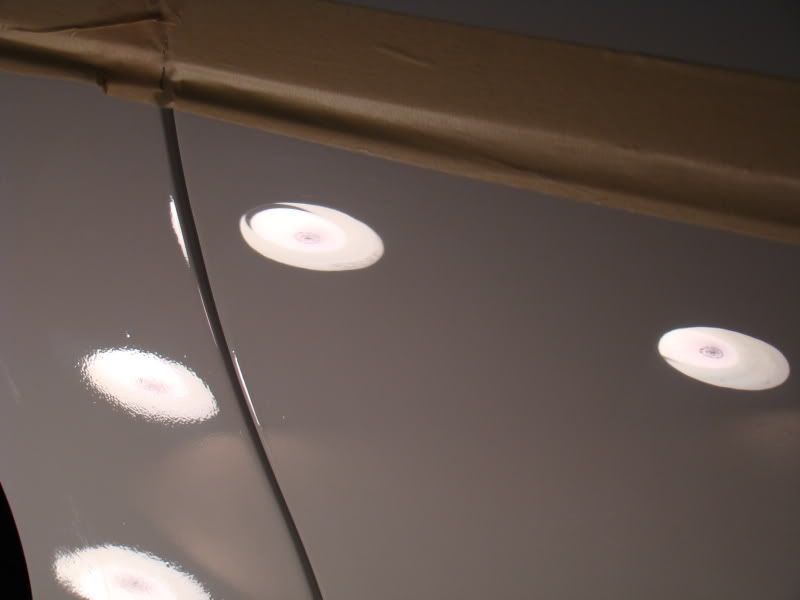
Factory orange peel on hood and drivers fender
Comparison between new and factory paint
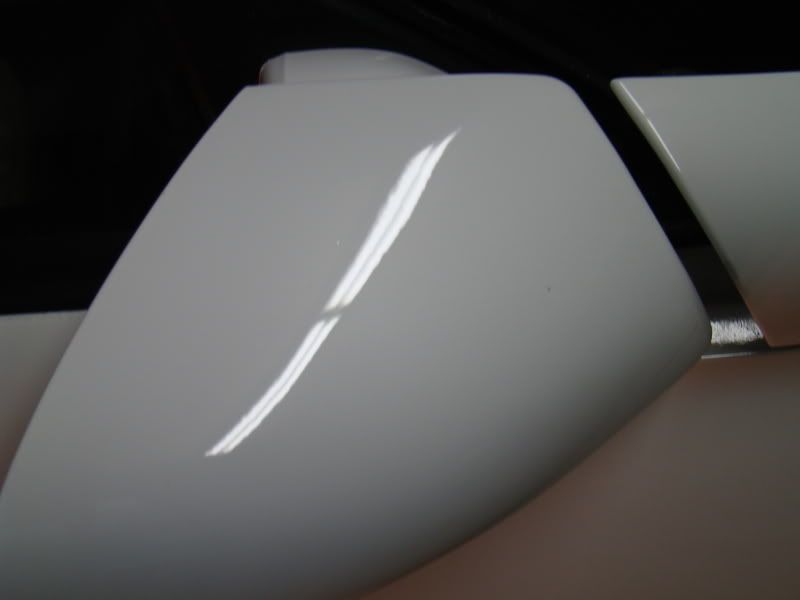
Mirror
Sail panel, there is nothing I can do about the bubbles in the paint (factory defect). A new sail panel is on my list of upcoming projects. I might go white on it, dunno tho.
Top of pass door
Bottom of pass door
Closer, eek
Nastiness
Rear bumper
Reflection from quarter
I am using 3M paper, Meguiars 105 ultra cut, and a DeWALT rotary. The 105 is the ****, in all of the pictures below the finish is straight from the 105 on an orange pad. It is pretty amazing how nice the finish comes out with this aggressive compound. It is also DA friendly, which is the main reason I picked this stuff up.
So, I started on the bottom of the passenger door. This is my first time wet sanding, and I didn't want to go really aggressive so I am using 2500 grit. I have heavier grits, but the 2500 is cutting fast enough for me. It is a little time consuming, but better safe than sorry.
Process on the door
Polished out
Nice comparison
Did the pass mirror today as well
----------DAY 2----------
I don't have much to report today, other than wet sanding is time consuming. I started sanding on the bottom of the pass door yesterday and now I've sanded around to the drivers fender and I started on the sail panel. The factory clear is taking longer to smooth out than the new paint, even though the unsanded new paint is much rougher. So, now all I have to do is the hatch, hood, and finish the sail panel. My front bumper is pretty cracked up so I will probably just leave it alone and spray it soon.
There is no turning back now...
The sail panel is really pissing me off. I can only sand the middle of it because mine has the bubbles around the edges bad and it isn't ever going to look good. So I did a half *** sand job on it just to smooth it out a little. Here is a pic of that. This is probably the best spot on the panel and you can tell it is still a wavy.
I removed my marker lights to sand the bumper and I hit them with some 2000 grit and got rid of that stupid writing all over them. I'm going to do the same to my tails and 3rd brake light. Turned out nice.
DAY 3
This is where I realized I might be going too far...
All the panels that needed it have been sanded, there are just a few areas that I will need to go back over where I didn't get everything cut down. Hopefully tomorrow I will be able to bust out the wool pad and bring it all back, and get some pretty shots.
----------DAY 4----------
I am finally done wet sanding, I hope. I think 2k grit would have been just fine for the hard *** factory clear. I just didn't want to go too aggressive being this is my first time doing something like this. One of my buddies came over to lend me a hand so I had him pretty up my tail lights.
Wet sanded all the letters off with 2000 grit, and polished out with megs 105. I'll probably hit them with some finer polish and zaino them with the rest of the car.
Before:
After Sanding:
After Polish:
Someone was wondering how the Megs 105 would work on a PC, so I did a test section on the sail panel. This is correcting 2500 grit with an orange pad set to speed 6. It definitely took longer with the PC than with the rotary using the same pad, but it was able to buff the panel out just fine. The finish was actually a little nicer after using the PC, less micro marring, than with the rotary. So you could possibly get away with just using the 105 as a single stage polish even though it is really aggressive.
Pics:
----------DAY 5----------
Put in about 12 hours today, got the whole car buffed out with the M105 using a Yellow pad and a Dewalt rotary, then I followed it up with Pennacle XMT 3 (intermediate swirl remover) and then 1 (ultra fine swirl remover) on orange and white pads respectively using a PC. After the polishing work was done I sealed it up with 2 coats of Z2 using the ZFX accelerator.
This picture is after polishing but before Zaino. This panel is factory paint that was sanded.
I put my friend and his woman to work again, this time sanding down my headlights.
Rear bumper, driver's side
Rear bumper, passenger side (compare with picture in first post)
Passenger lower quarter and door, not factory paint (compare with picture in first post)
Comparison between hood and new paint on pass fender (compare with picture in first post)
(compare with picture in first post)
I didn't get the hood as flat as I wanted, but I'm pretty burned out on wet sanding so i called it good. I also stocked up on 2500 grit and 2000 grit would have been more appropriate. It is improved, so that is fine with me
I'll polish out the headlights tomorrow, notice no more nipples.
Hopefully tomorrow will be nice enough to allow me to take the car out and get some full body pictures.
 03-14-2010, 07:25 PM
#2
On The Tree
Thread Starter
iTrader: (14)
Join Date: Jul 2006
Location: Tulsa, OK
Posts: 191
Likes: 0
Received 0 Likes
on
0 Posts
----------DAY 6----------
Finally finished...
I did some final sanding on the headlights and polished them out with the M105 (can you tell I'm in love with this stuff?).
I wish the sun would have been out, but there is nothing I can do about that. I've got a little photo shoot in the works anyway.
Finally finished...
I did some final sanding on the headlights and polished them out with the M105 (can you tell I'm in love with this stuff?).
I wish the sun would have been out, but there is nothing I can do about that. I've got a little photo shoot in the works anyway.
03-14-2010, 07:41 PM
#4

Fantastic work . This ones for all the naysayers that say its pointless to paint correct a white car.
If I was that shop , I would be embarrassed how orange peeled it was left at , wwwwow. And yea , 105 is theee **** , on some jobs I have actually finished out and have been sealent ready after 105 alone .
If I was that shop , I would be embarrassed how orange peeled it was left at , wwwwow. And yea , 105 is theee **** , on some jobs I have actually finished out and have been sealent ready after 105 alone .
03-14-2010, 07:44 PM
#5
TECH Fanatic
iTrader: (7)
Join Date: Dec 2008
Location: Jersey
Posts: 1,821
Likes: 0
Received 0 Likes
on
0 Posts
great job man. Did wetsanding and polishing the sail panel make the clear coat problem better or worse? My painter didn't wetsand my ws9 scoops so I'm gonna have to do that this tuesday. You inspired me to sand down my side markers and third brake light now lol. It's already VHT'd but **** it I'll do it again hahaha DAMN YOU!!!!
Trending Topics
03-14-2010, 08:04 PM
#8
On The Tree
Thread Starter
iTrader: (14)
Join Date: Jul 2006
Location: Tulsa, OK
Posts: 191
Likes: 0
Received 0 Likes
on
0 Posts
Sorry about your marker lights, lol, but you should be able to just spray your VHT over the sanded light and you wont need to worry about buffing them out.
03-14-2010, 08:08 PM
#10
TECH Enthusiast
Very nice! Now I'm gonna look closely at my paint, I already noticed some orange peel on the front bumper when I was taking my grill off... I don't think that's the worst of it either. 
 03-14-2010, 08:46 PM
#15
On The Tree
Thread Starter
iTrader: (14)
Join Date: Jul 2006
Location: Tulsa, OK
Posts: 191
Likes: 0
Received 0 Likes
on
0 Posts
Black will display everything that is going on with the paint very easily, where as white you will have to play with the lighting to display scratches and stuff. So, white will hide alot of stuff that dark colors wont, but it is more difficult to view your progress while correcting the paint.
03-14-2010, 08:54 PM
#16

Outstanding work my friend. As a fellow detailer I can appreciate the work you have put into this.....and with this being your first time, that's very impressive. It looks like you learned a lot in the process too....which is why it's always better and more anjoyable to do the work yourself. Again, thumbs up....looks great!