
My 68 Camaro Rebuild For SEMA
 04-05-2010, 11:46 AM
#1
Restricted User
Thread Starter

Join Date: Feb 2010
Posts: 20
Likes: 0
Received 0 Likes
on
0 Posts
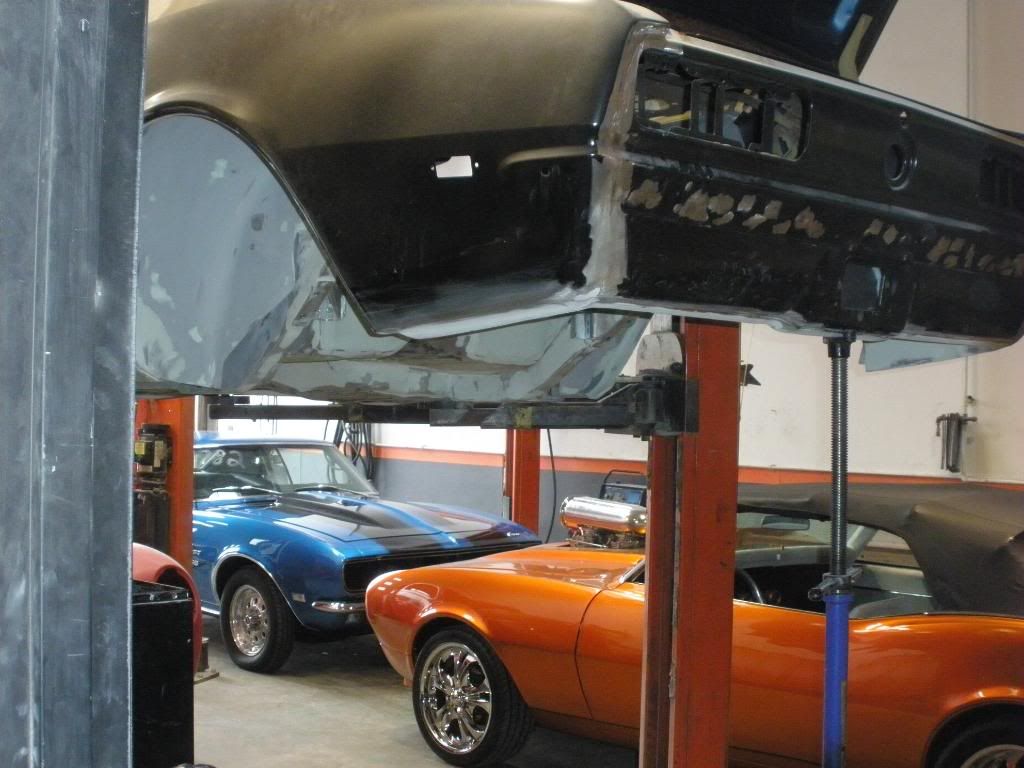
Hey guys, Just wanted to post up a few pics of one of our shops projects, Our 68 Camaro coupe. Were nuts about F-bodies here  and have a bunch of them between me, and my employees and i wanted to share a little info of a car were building to make SEMA
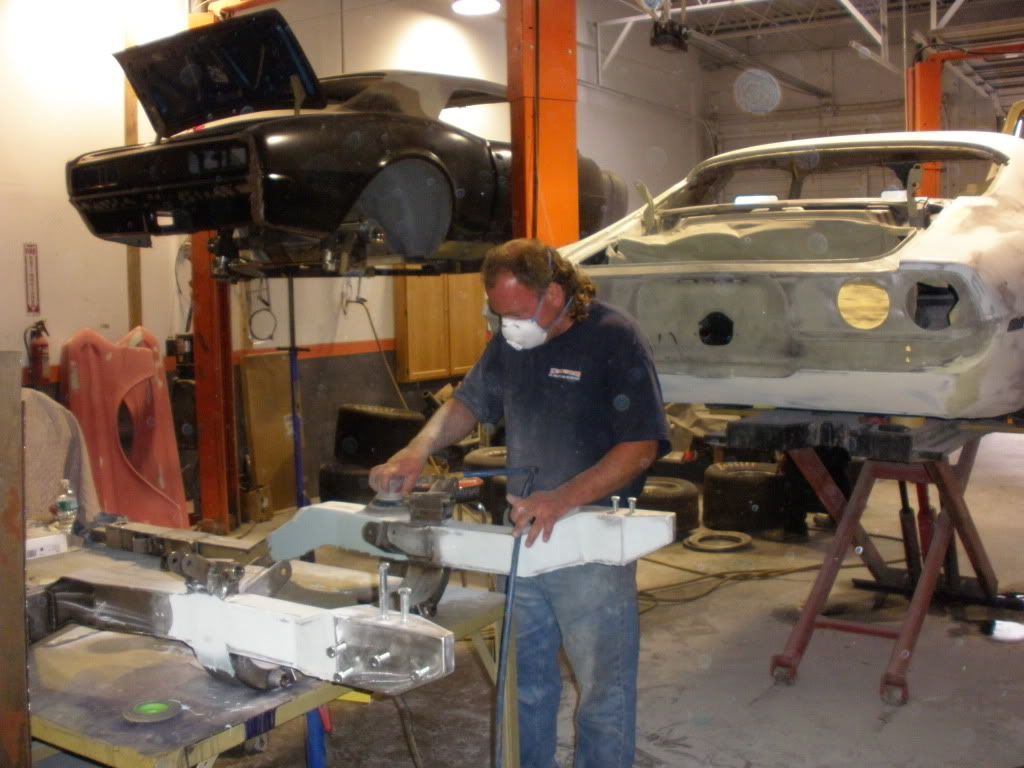
  Heres a quick shot of one of our restoration bays at our shop or camaro bays
 )
) 
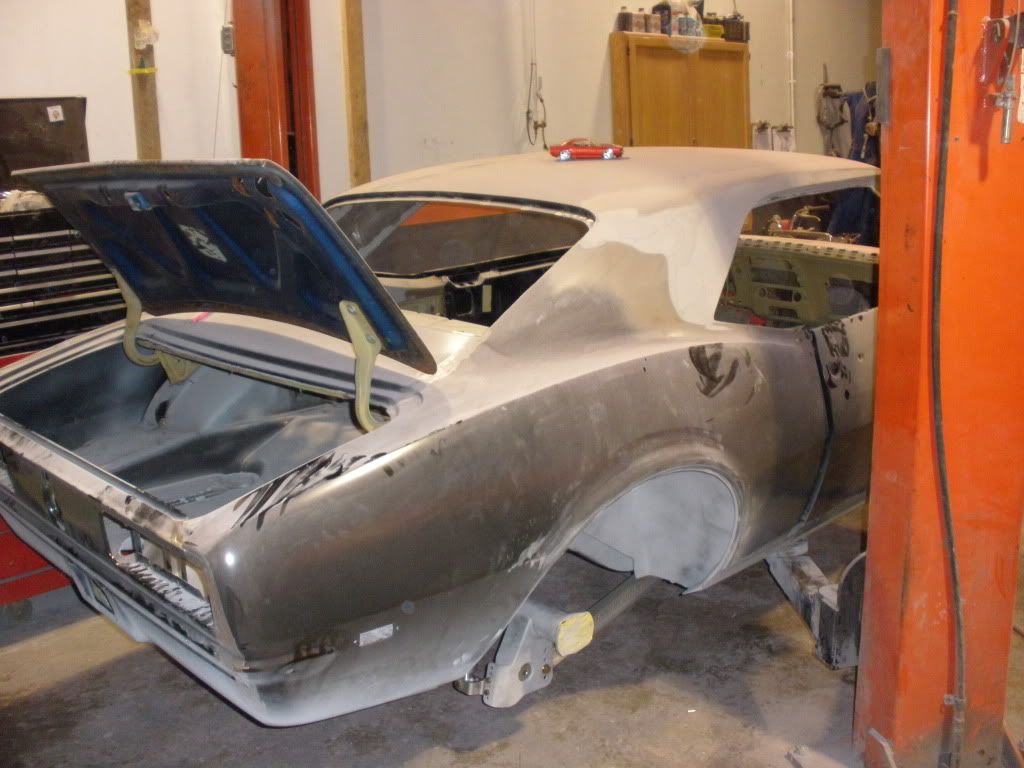
Anyway we saved this 68 from decay, The car was literally laying in the mud and had trees growing in it, it sat that way for about 15 years. After getting it back to our shop we begain surgery on the car, We replaced every panel on the car, Both Quarters, The roof, Floors, ect ect, The only original metal on the car is part of the cowl. Heres the shell With some new metal on it and smoothed and recessed fire wall.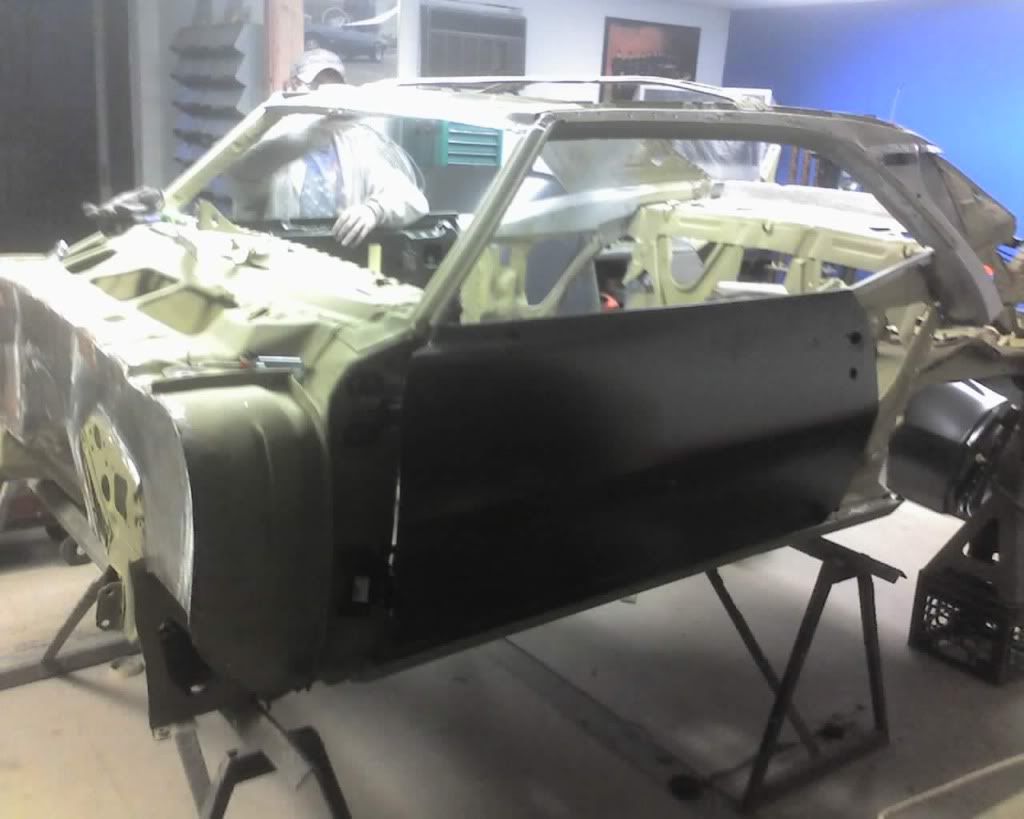
After hangin the quarters we layed the roof on the car, shaved the drip rails, And Added our Detriot Speed Deep tubs for some serious meat (sorry guys our old computer crashed, those pics are gone) and stuck the car on the lift to concentrate on the under carrage.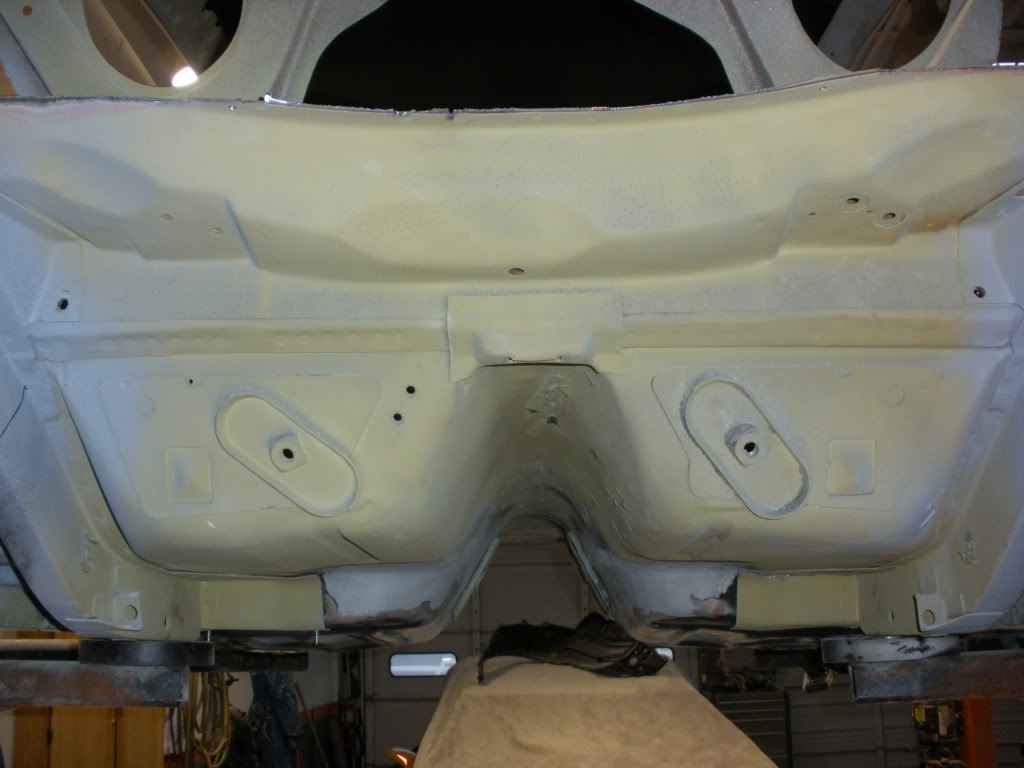
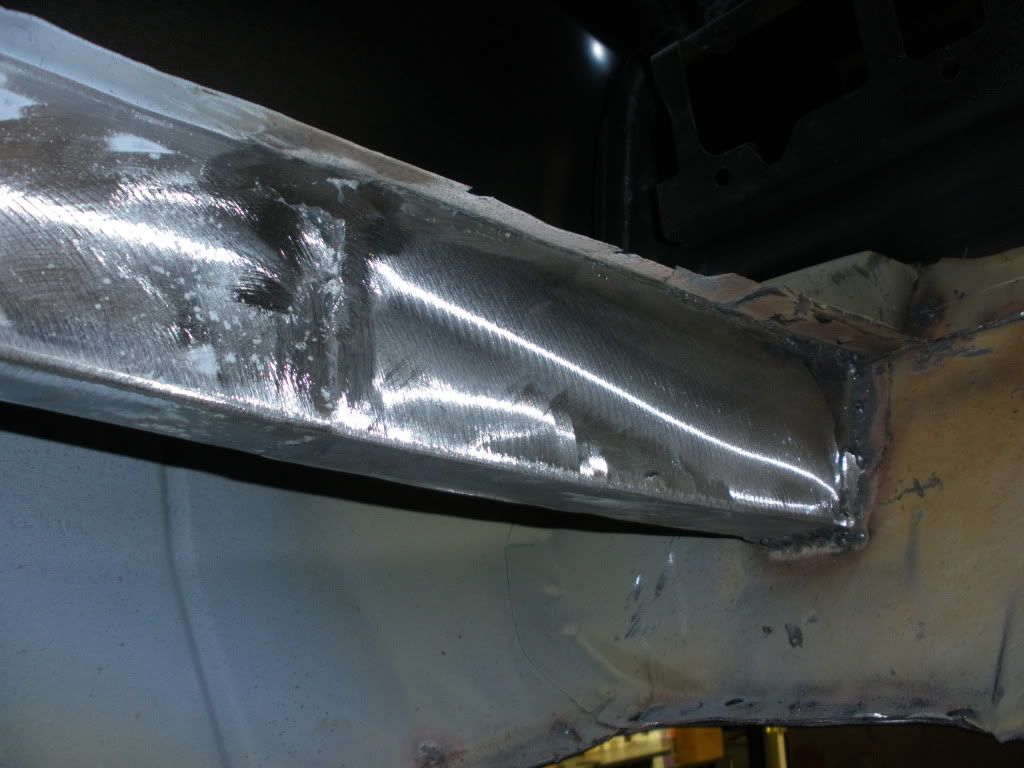
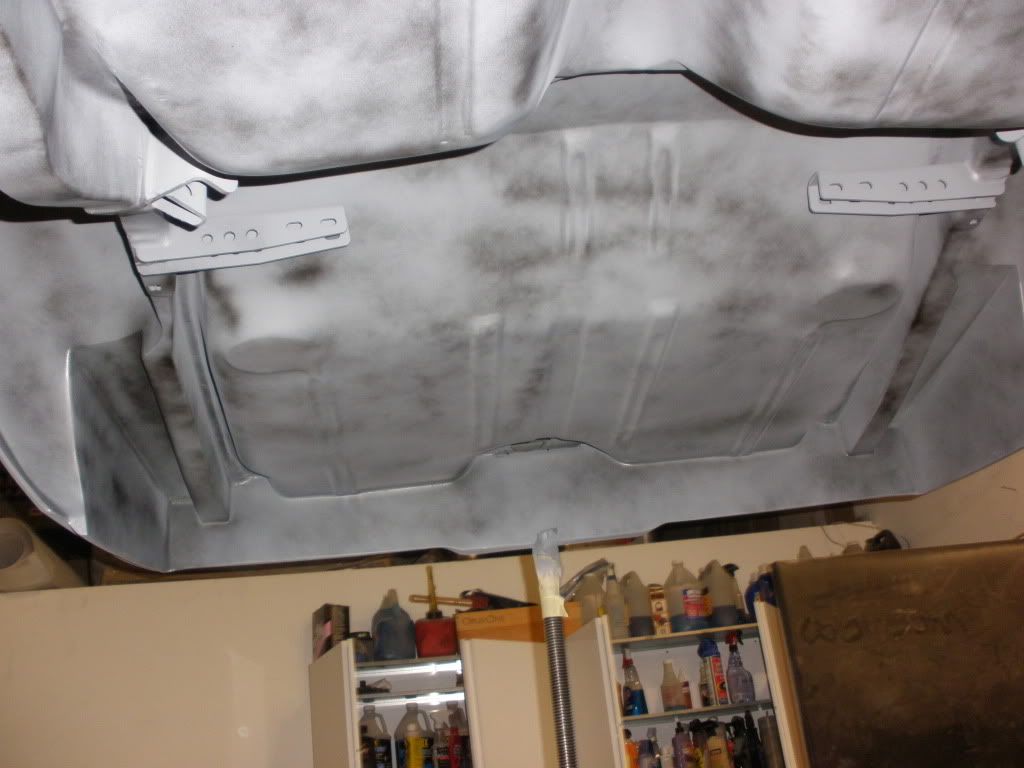
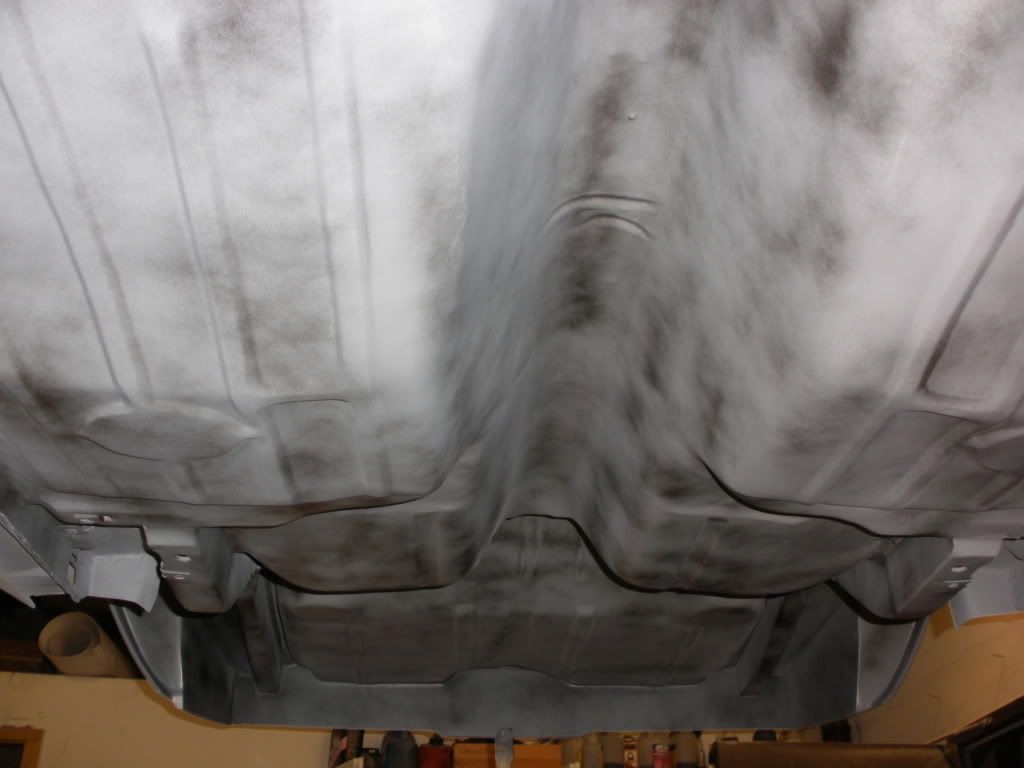
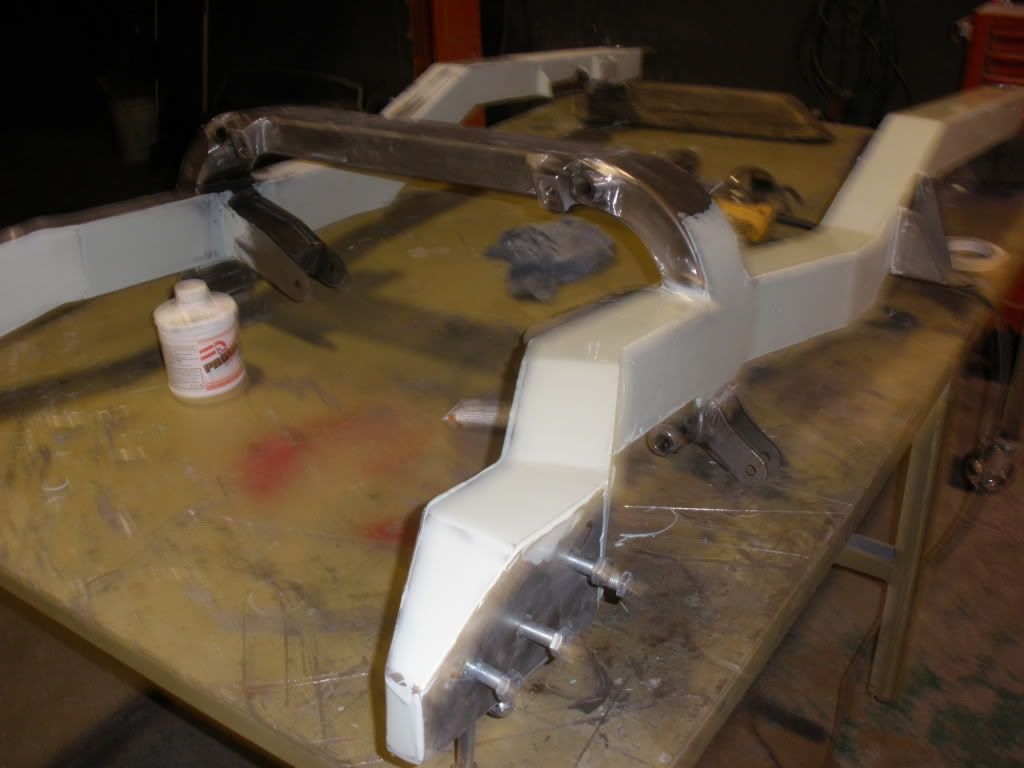
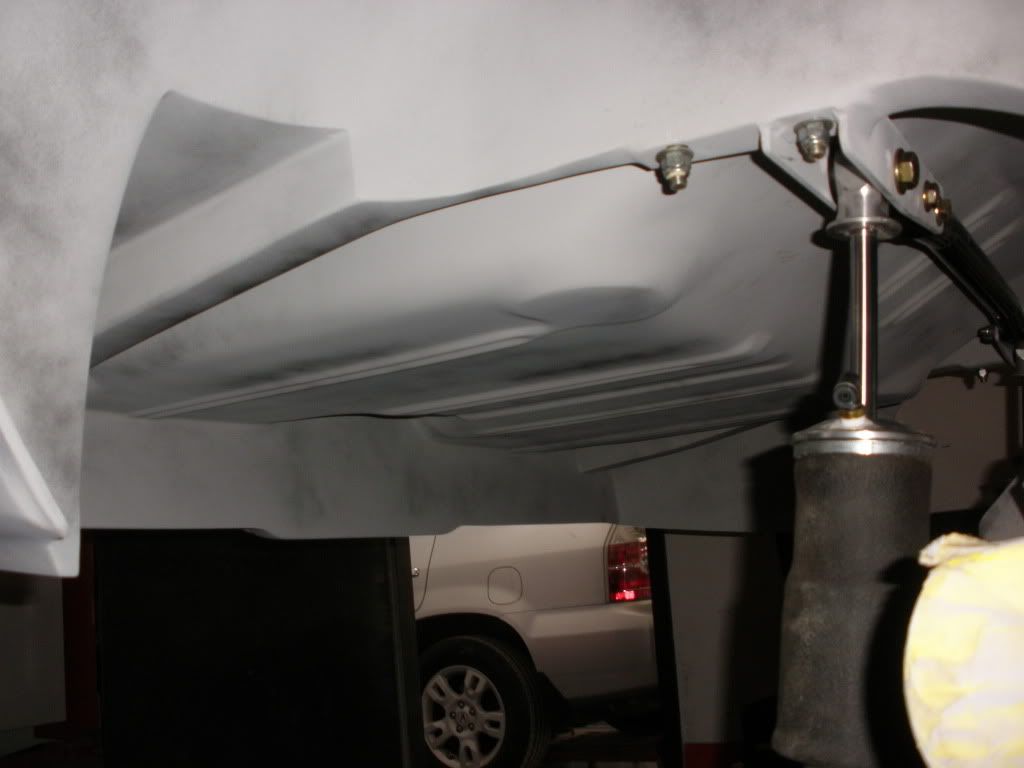
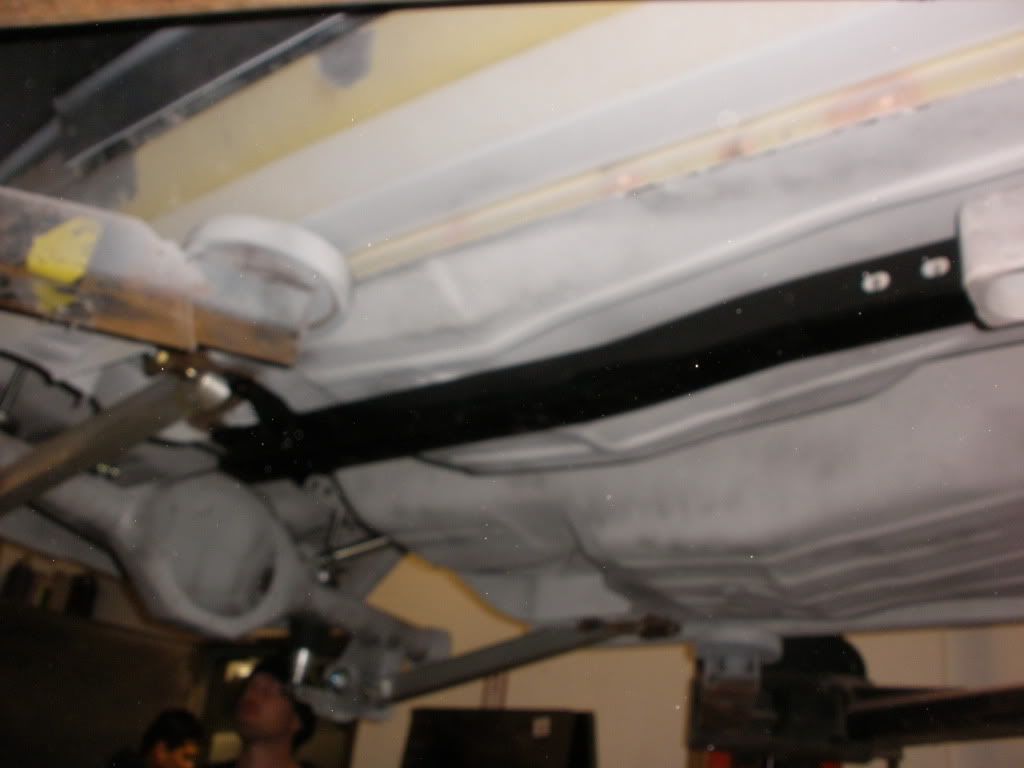
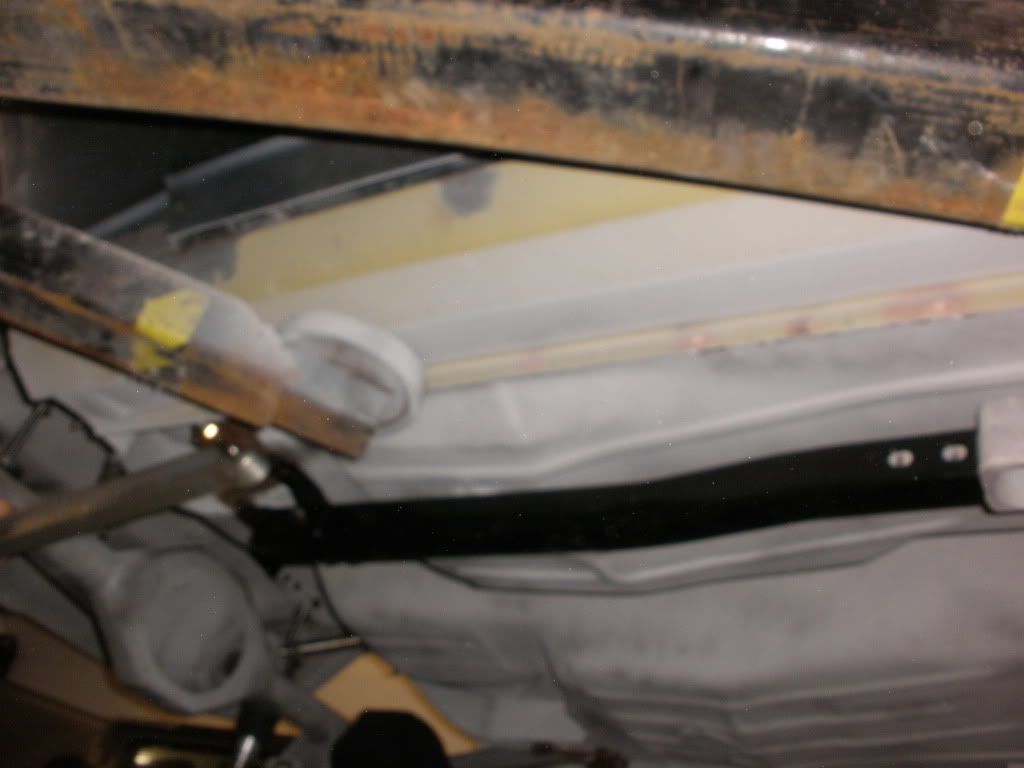
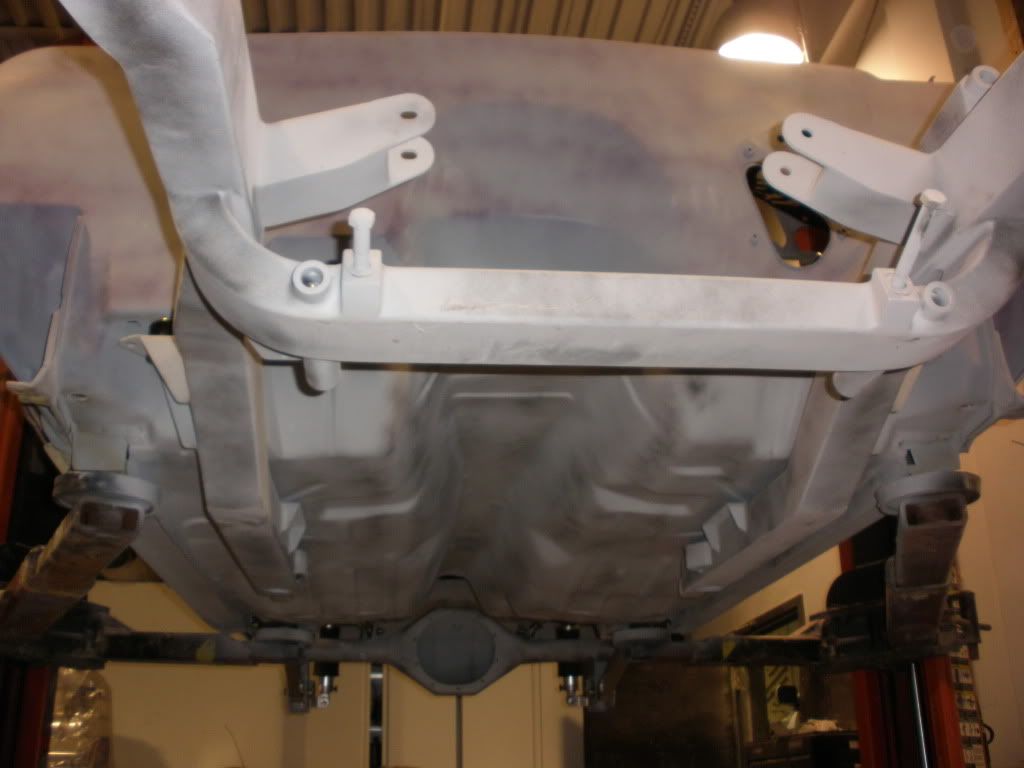
We wanted to do something diffrent with the underside of the car, and stand out at the shows, so we decided to smooth and box the whole underside of the car.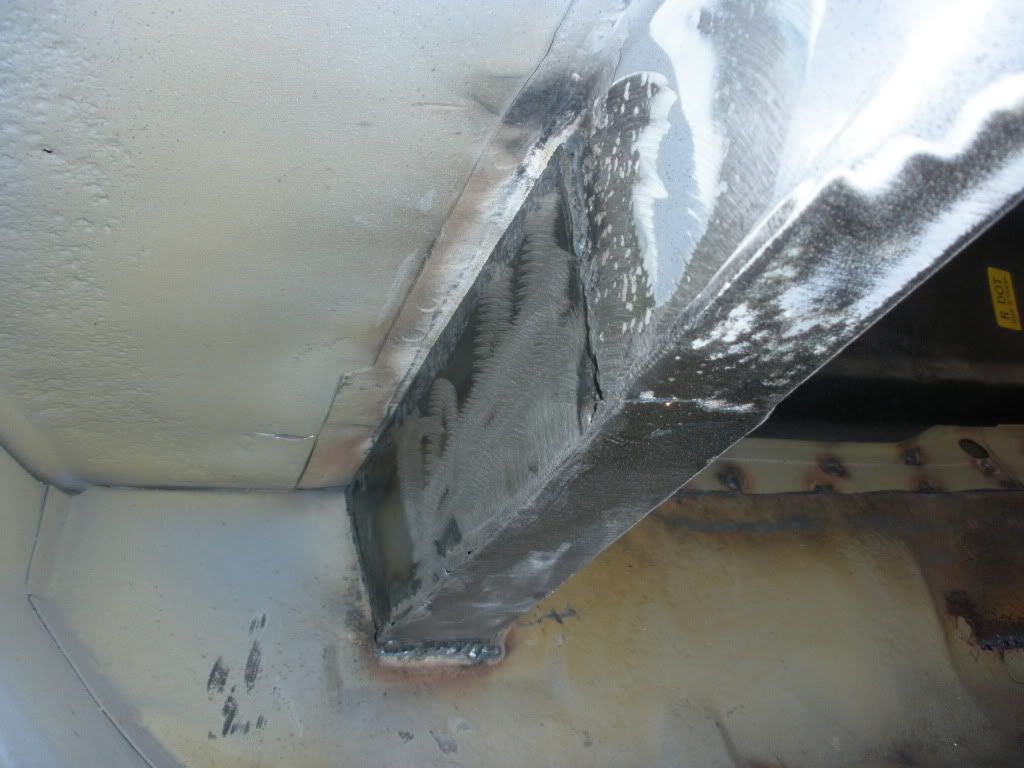
and have a bunch of them between me, and my employees and i wanted to share a little info of a car were building to make SEMA Heres a quick shot of one of our restoration bays at our shop or camaro bays ) Anyway we saved this 68 from decay, The car was literally laying in the mud and had trees growing in it, it sat that way for about 15 years. After getting it back to our shop we begain surgery on the car, We replaced every panel on the car, Both Quarters, The roof, Floors, ect ect, The only original metal on the car is part of the cowl. Heres the shell With some new metal on it and smoothed and recessed fire wall.
After hangin the quarters we layed the roof on the car, shaved the drip rails, And Added our Detriot Speed Deep tubs for some serious meat (sorry guys our old computer crashed, those pics are gone) and stuck the car on the lift to concentrate on the under carrage.
We wanted to do something diffrent with the underside of the car, and stand out at the shows, so we decided to smooth and box the whole underside of the car.
 04-05-2010, 11:47 AM
#2
Restricted User
Thread Starter
Join Date: Feb 2010
Posts: 20
Likes: 0
Received 0 Likes
on
0 Posts
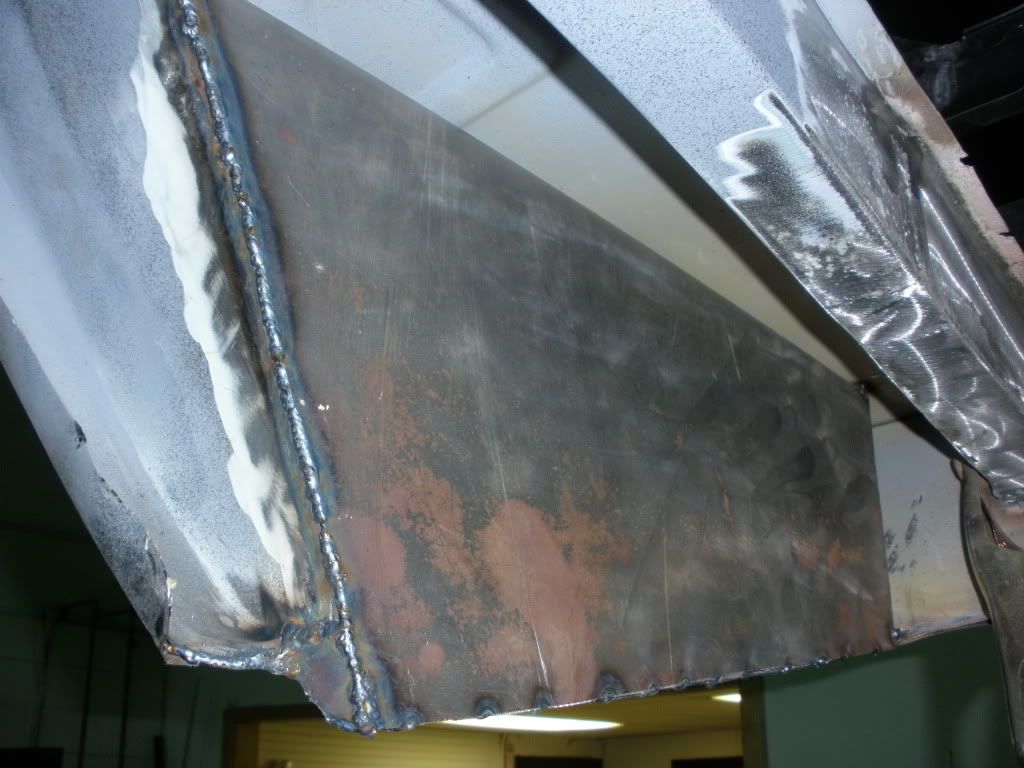
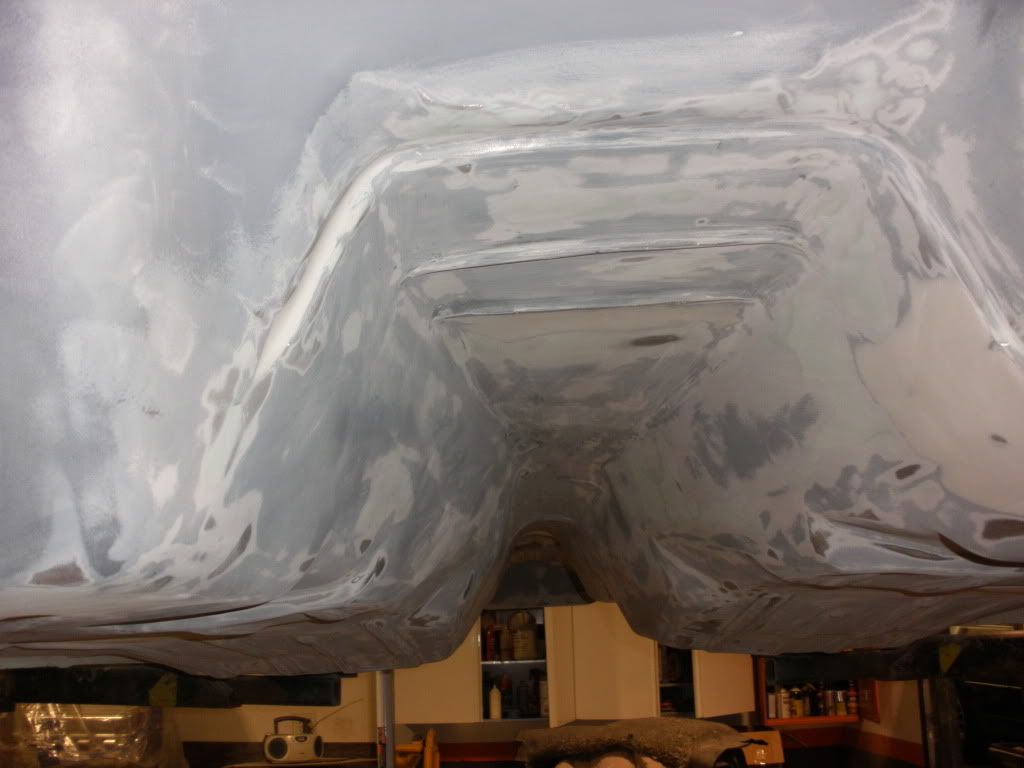
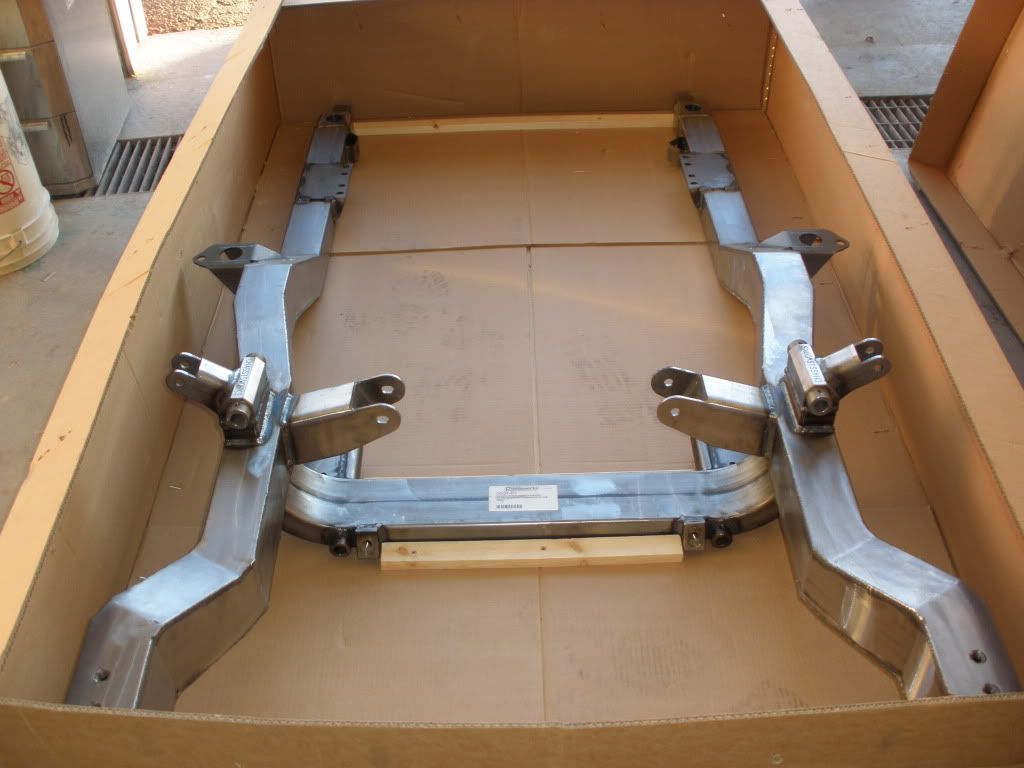
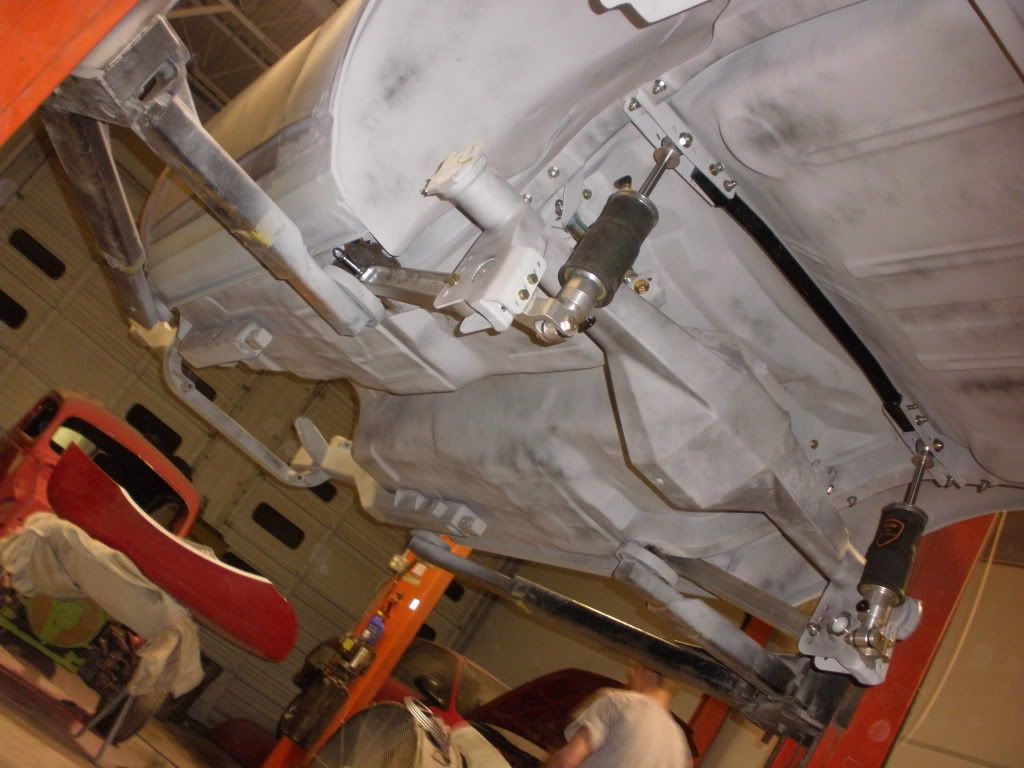
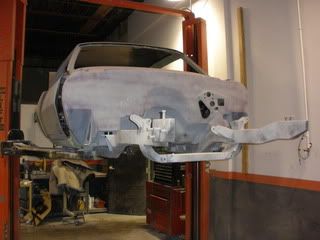
After Getting the Rear rails set, we smoothed our trunk floor and dropped it in, We also Smoothed out the inside of the rear valance, We want to make a BIG impression at SEMA and are gonna have a bunch of mirrors under this thing.
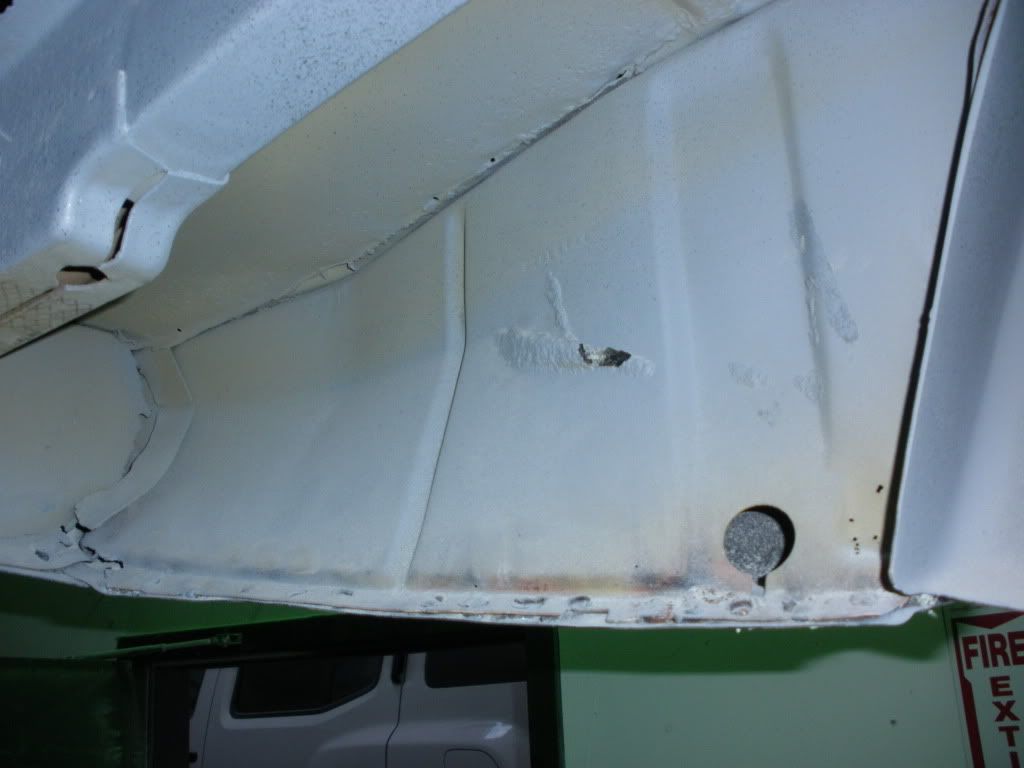
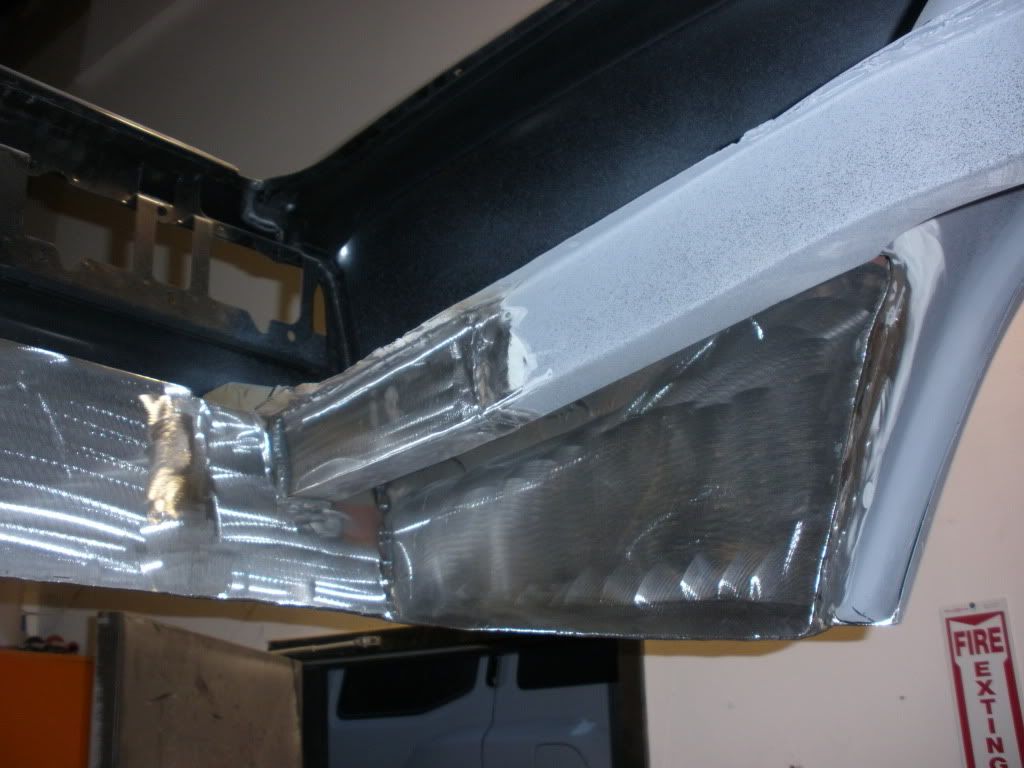
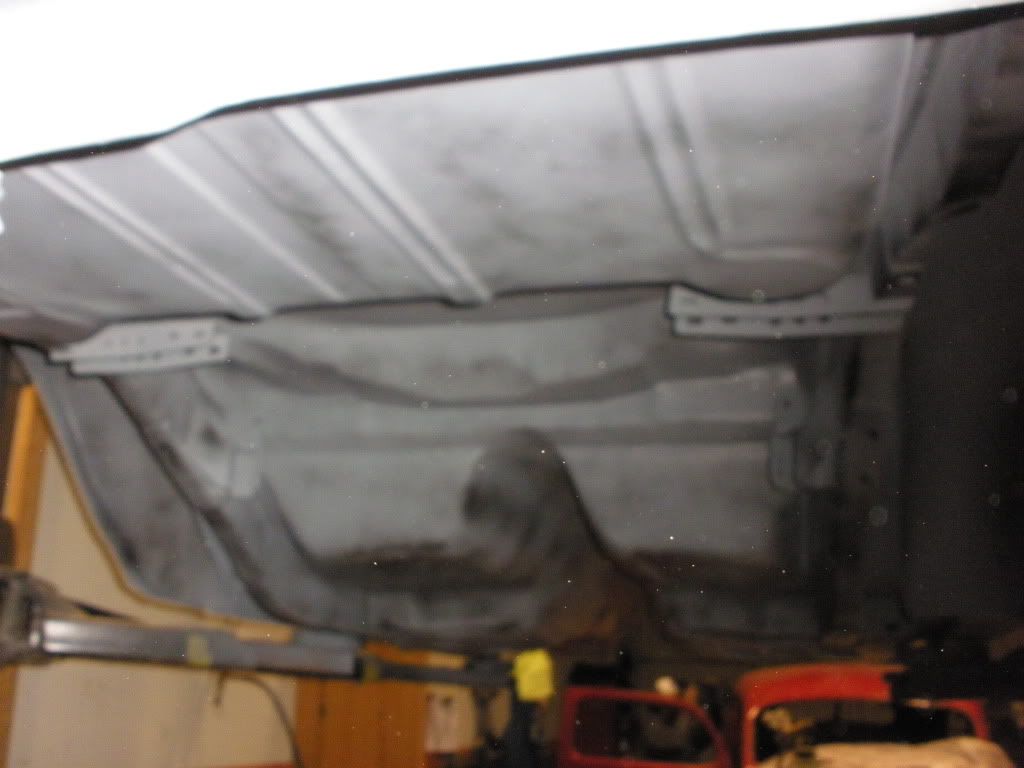
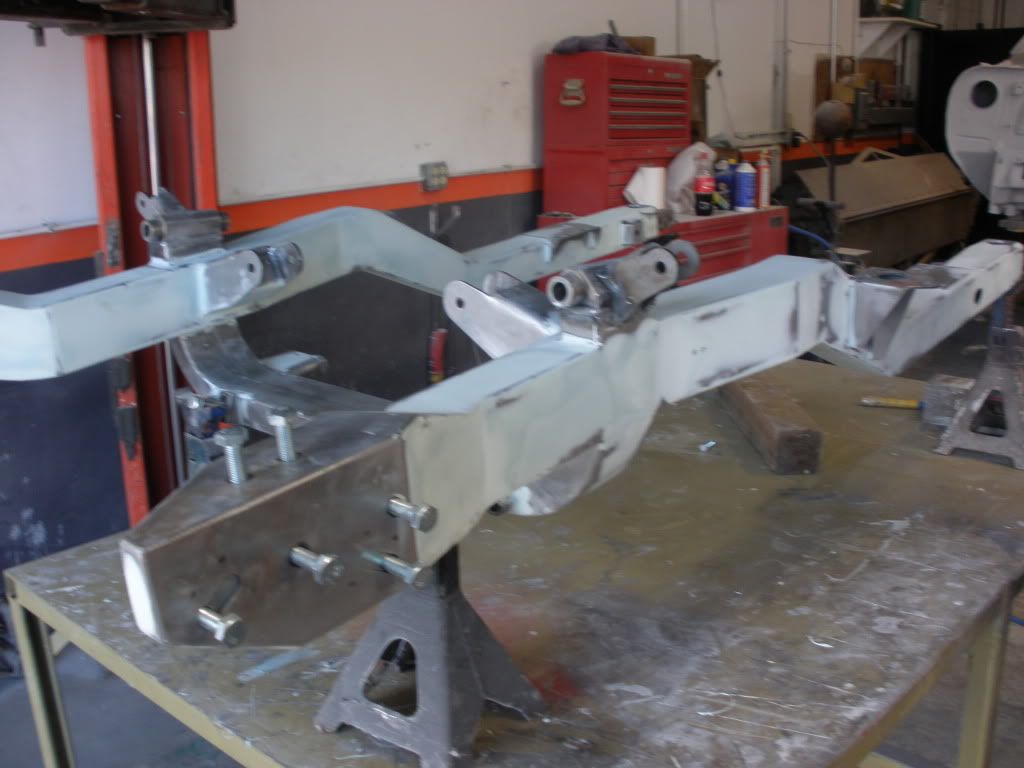
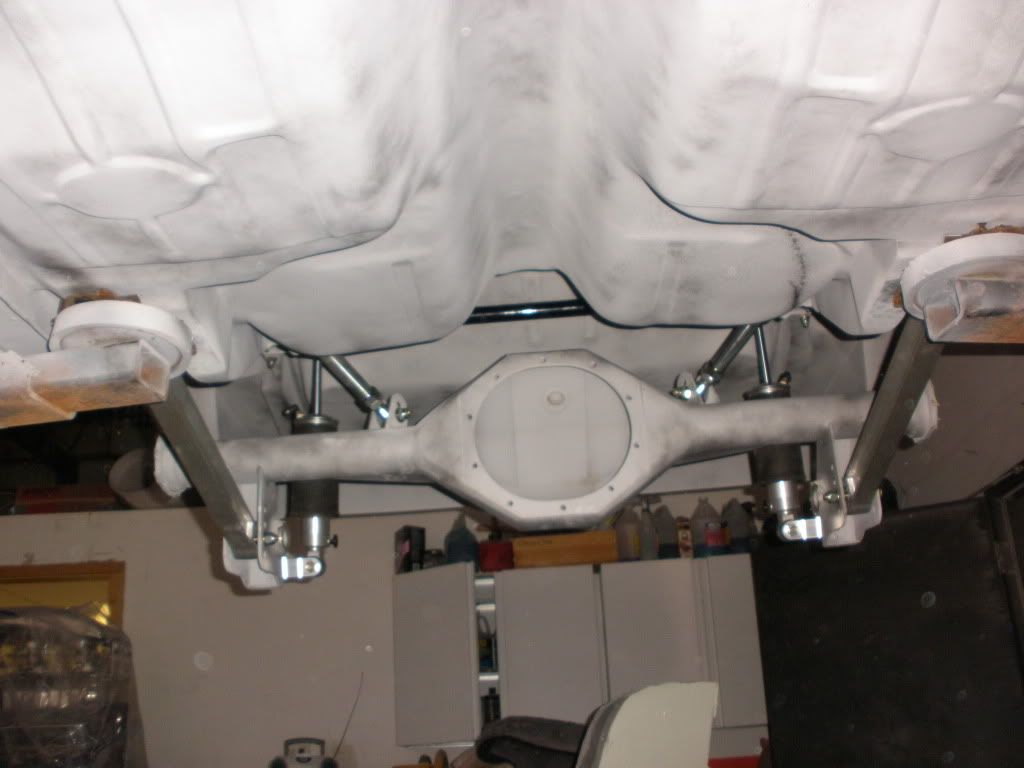
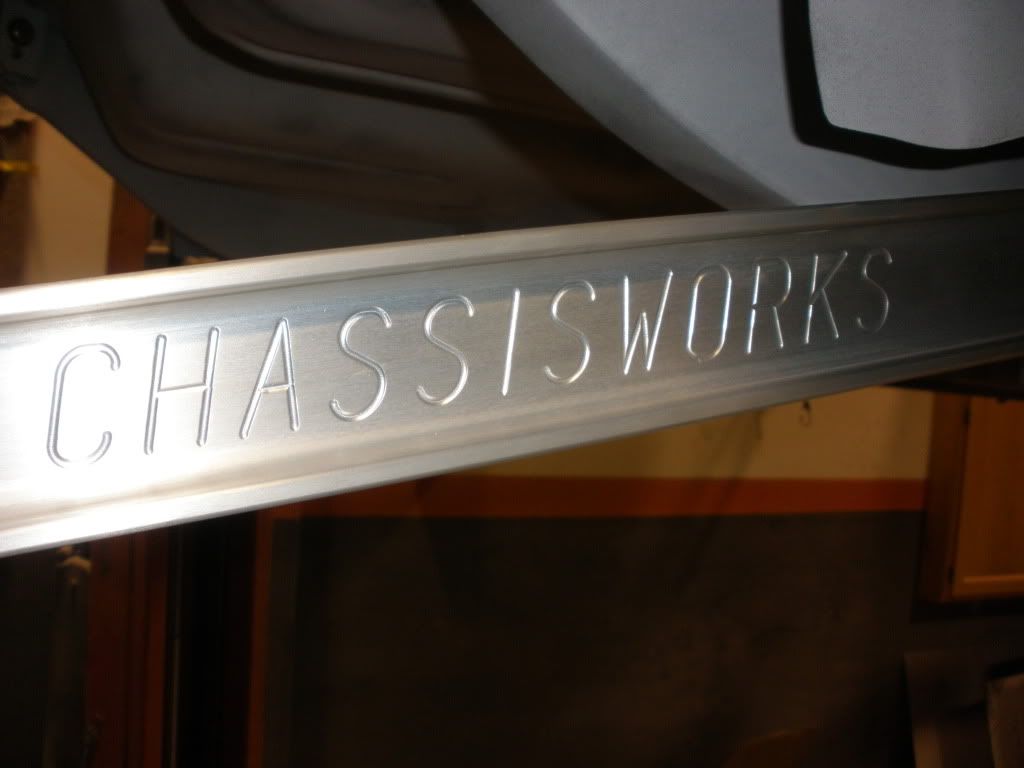
We then Continued to box in and smooth the rear of the car. We figured this would be a good time to test out our new Rear Suspension. After looking at several setups for suspension, we decieded on a full Chris Alstons Chassis works suspension, Fab 9" Rear end, Wilwood brakes, and the VariShock Setup. We were Very pleased with their pieces in both fit And Finish.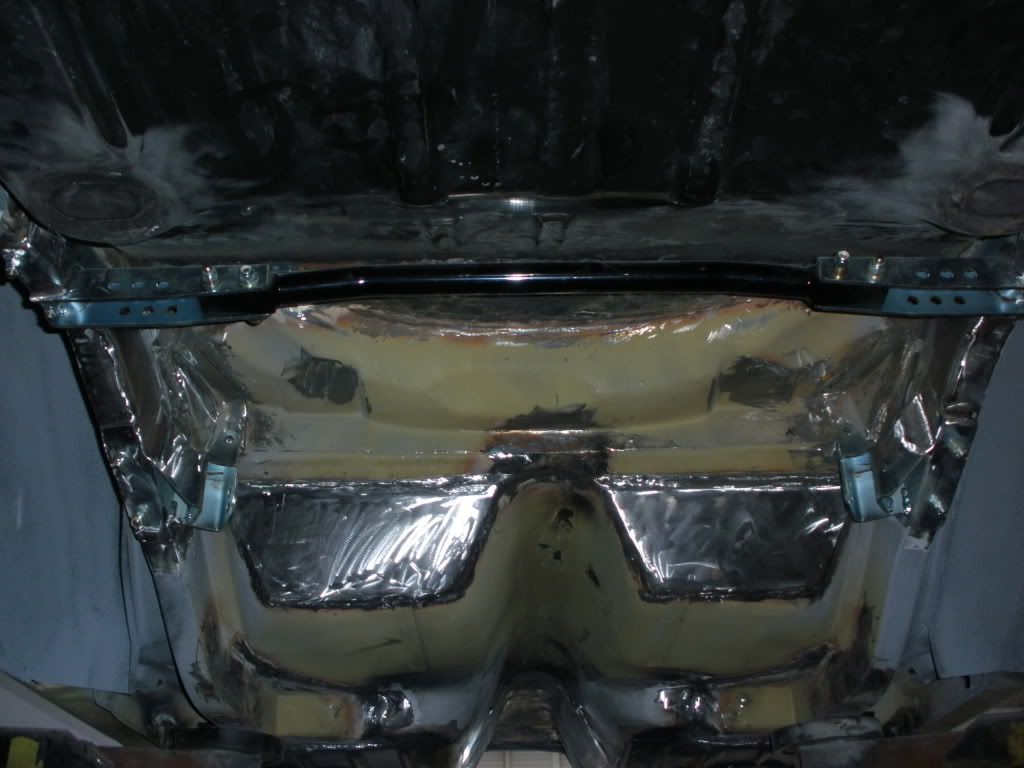
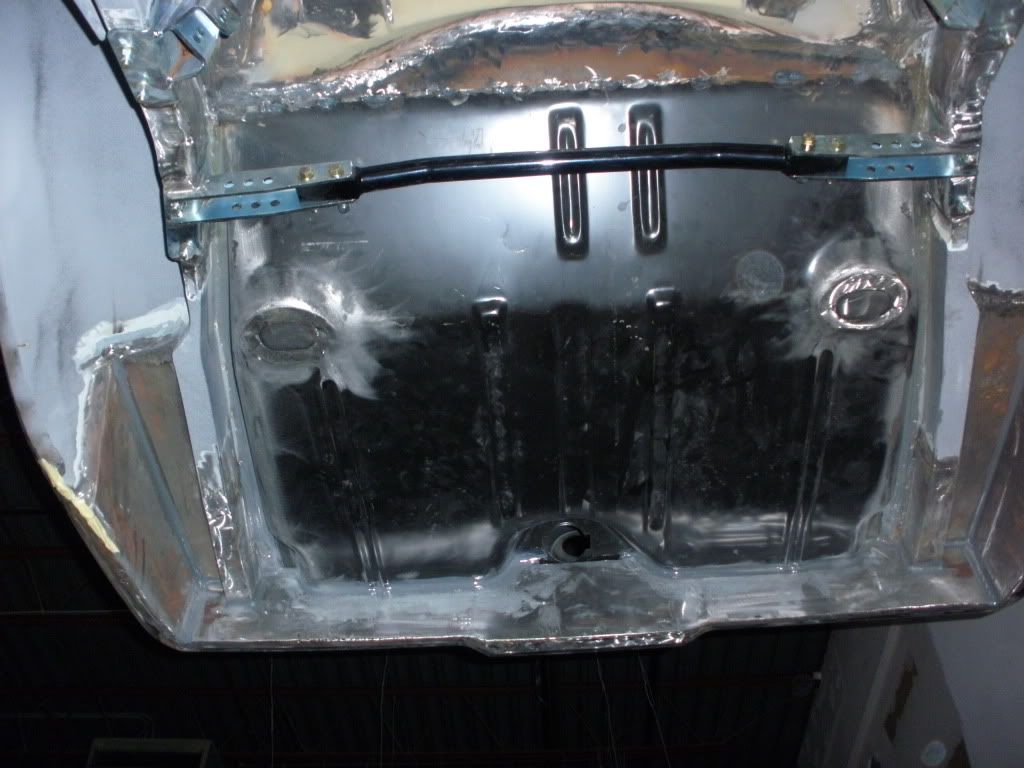
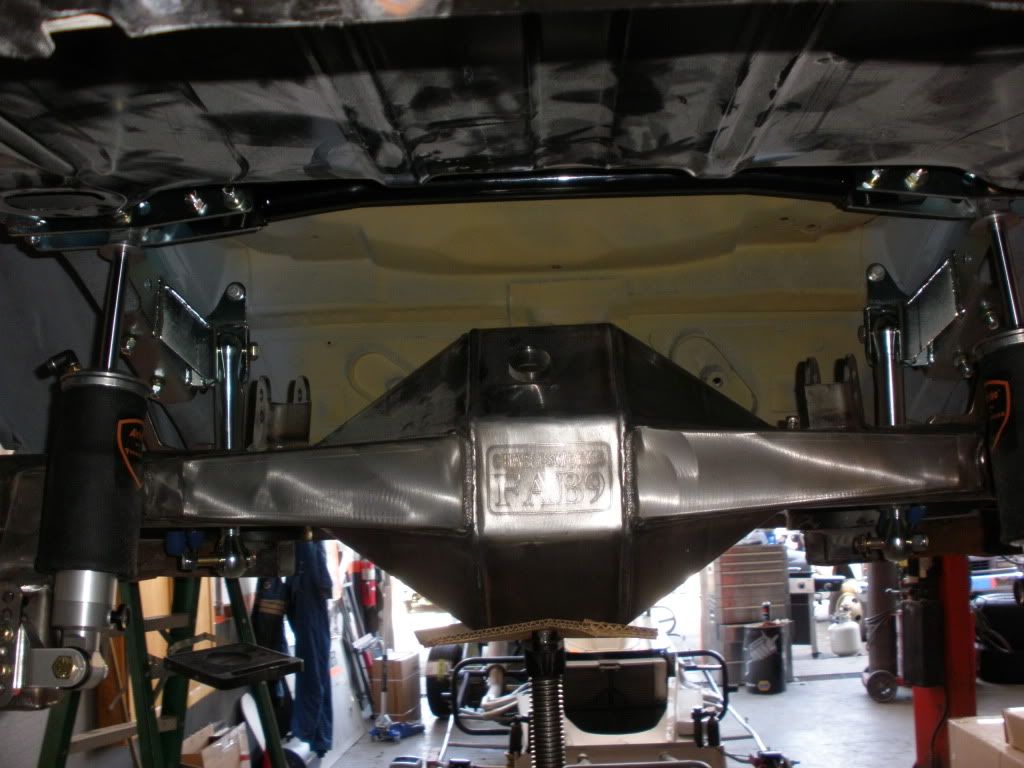

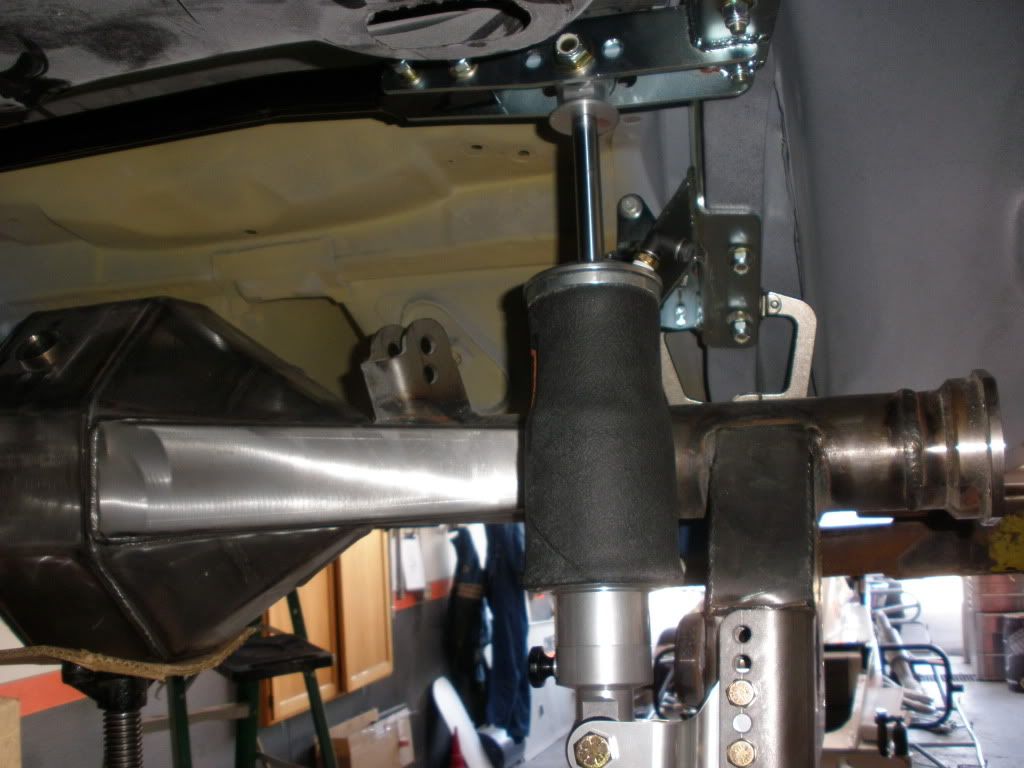
We then Continued to box in and smooth the rear of the car. We figured this would be a good time to test out our new Rear Suspension. After looking at several setups for suspension, we decieded on a full Chris Alstons Chassis works suspension, Fab 9" Rear end, Wilwood brakes, and the VariShock Setup. We were Very pleased with their pieces in both fit And Finish.


 04-05-2010, 11:50 AM
#6
Restricted User
Thread Starter
Join Date: Feb 2010
Posts: 20
Likes: 0
Received 0 Likes
on
0 Posts
I know i had this thread going before, but it got deleted because i posted my shops website in my first post, sorry about that, not trying to step on toes just thought others would like to see our work!

Trending Topics


 04-05-2010, 01:10 PM
#11
thats the most badass chassis ive seen! the whole car looks clean i would LOVE to do a 1st gen resto some day, but it seems like even for a completely rusted out POS roller you cant go under $4,000. how much did you guys pay? hell, i doubt i could get one for under 15 with minimal rust. whats the power plant going to be? hopefully a big cube LSX  oh, and are you going for a modern or classic interior? lots of questions i know
oh, and are you going for a modern or classic interior? lots of questions i know