
My late second generation camaro fuel tank mod
 05-01-2010, 12:36 AM
#1
TECH Enthusiast
Thread Starter
iTrader: (8)

Join Date: Dec 2009
Location: N. E. Arkansas
Posts: 639
Likes: 0
Received 0 Likes
on
0 Posts

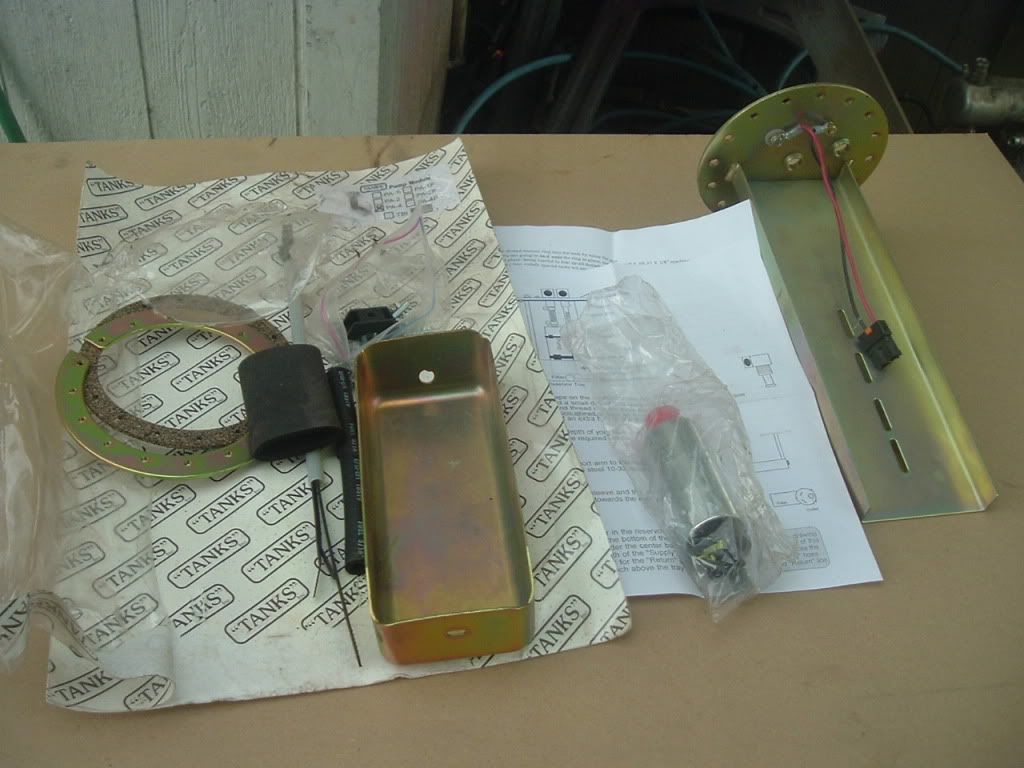
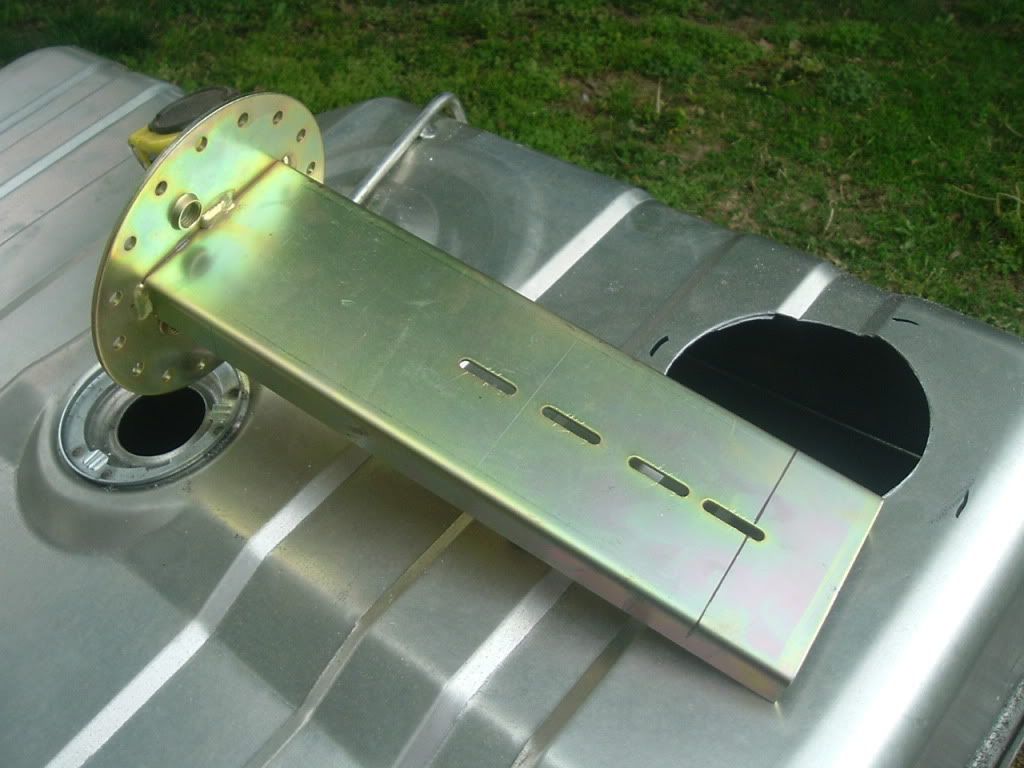
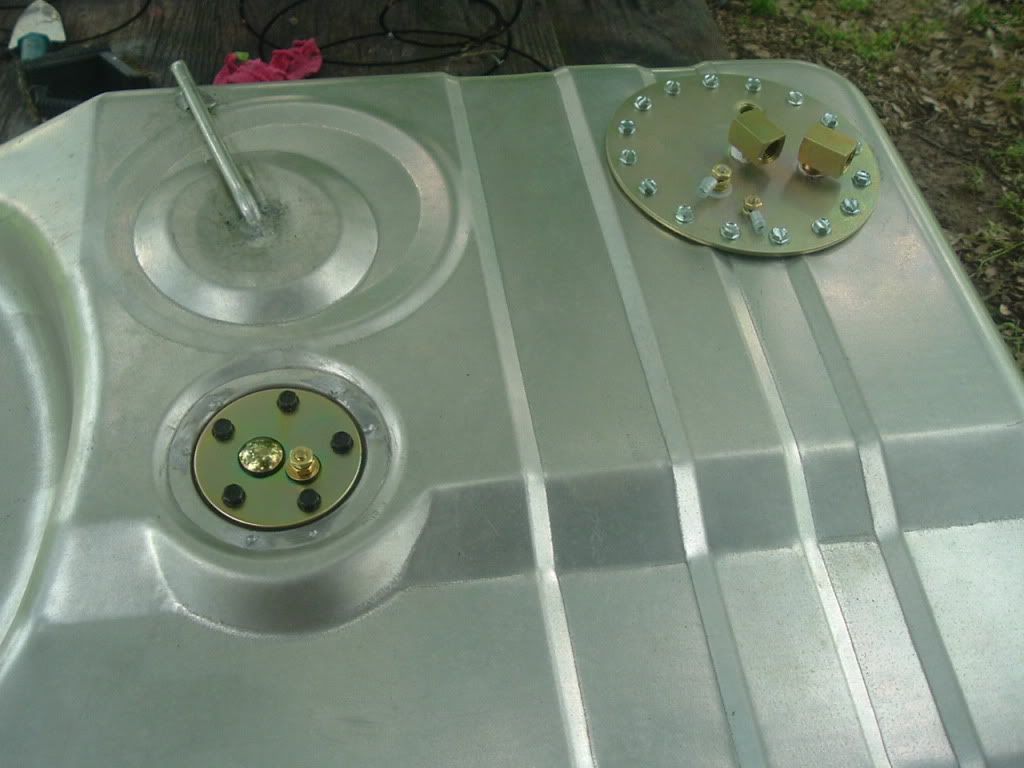
here are some pics of my gas tank modification for my 1976 Camaro with the LS1 swap since no one makes a tank for later second generation camaro. I started with a new repro tank, Tanks Inc universal fuel pump kit, and a autometer universal fuel sender

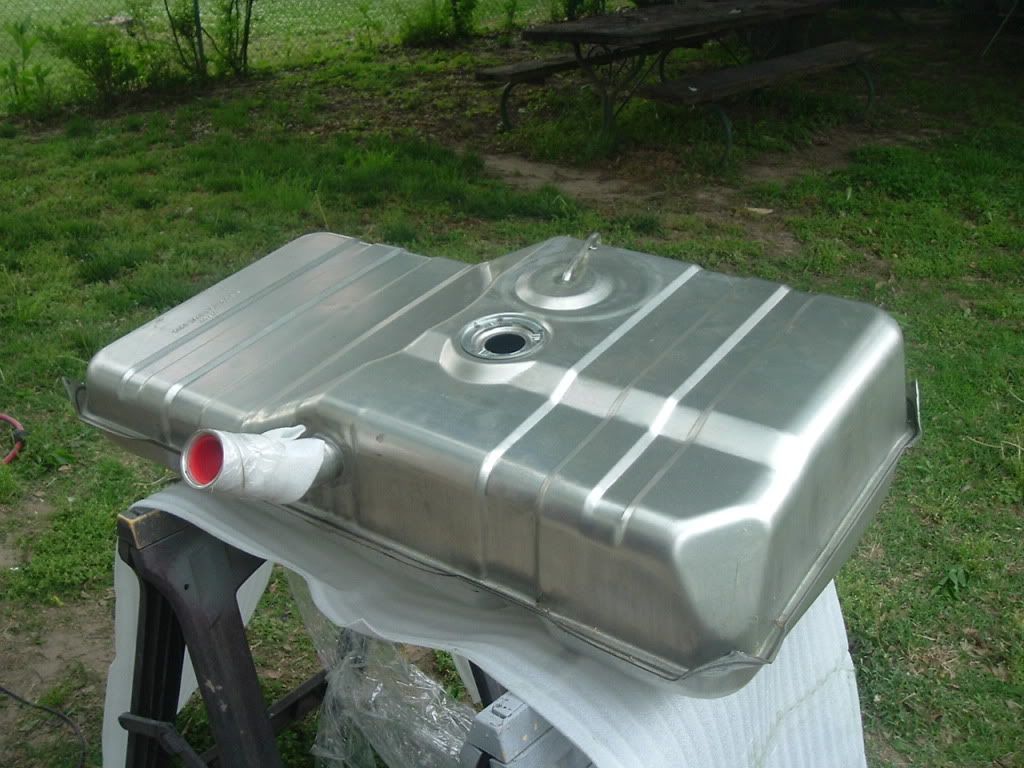
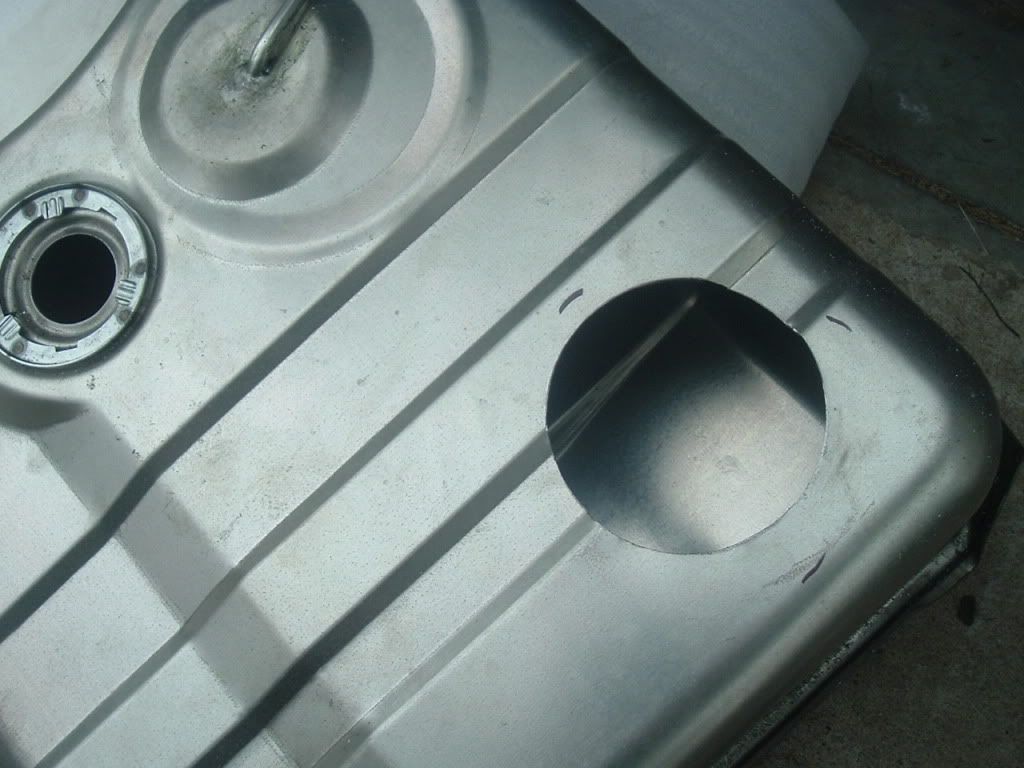
Had to drill a 4.5� hole for the fuel pump kit, I put it in the back passenger side of the top of the tank.
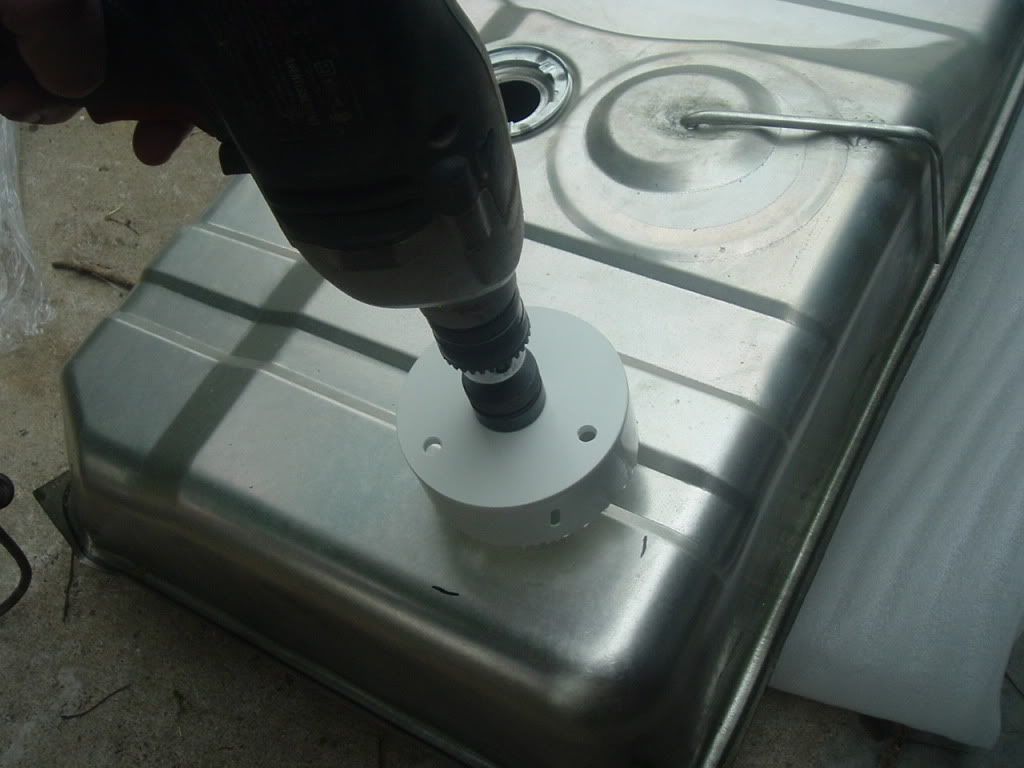
Had to drill a 4.5� hole for the fuel pump kit, I put it in the back passenger side of the top of the tank.
 05-01-2010, 12:40 AM
#2
TECH Enthusiast
Thread Starter
iTrader: (8)
Join Date: Dec 2009
Location: N. E. Arkansas
Posts: 639
Likes: 0
Received 0 Likes
on
0 Posts
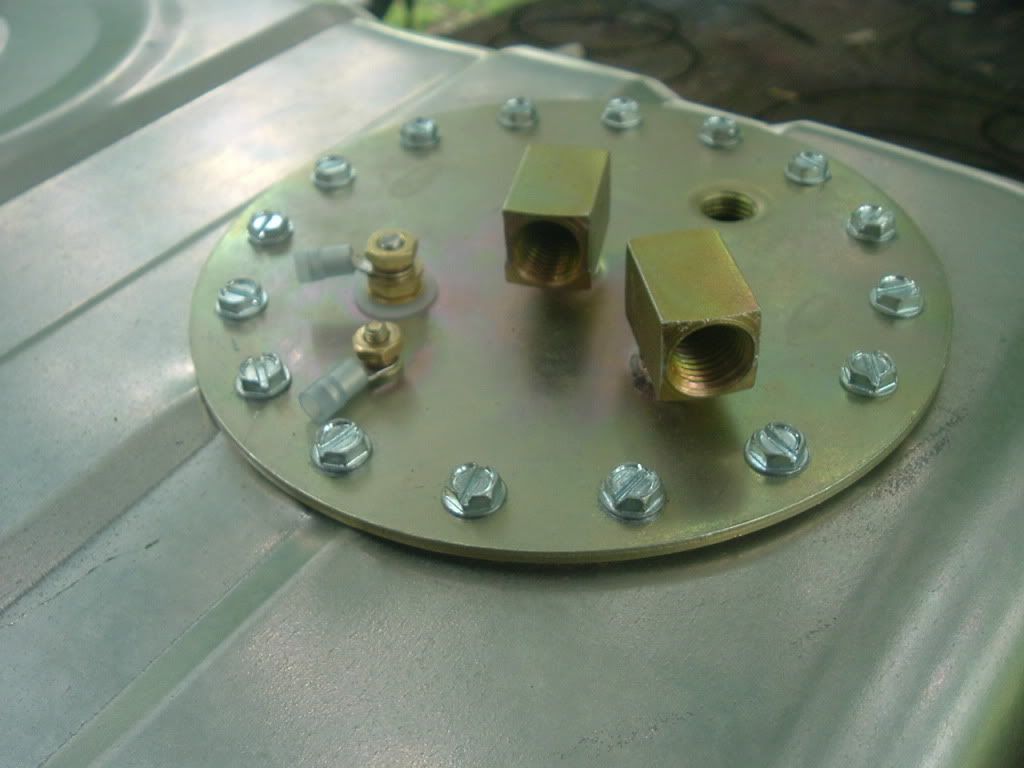
The first part of assembling the fuel pump kit is trimming the main bracket to match the depth of the tank.
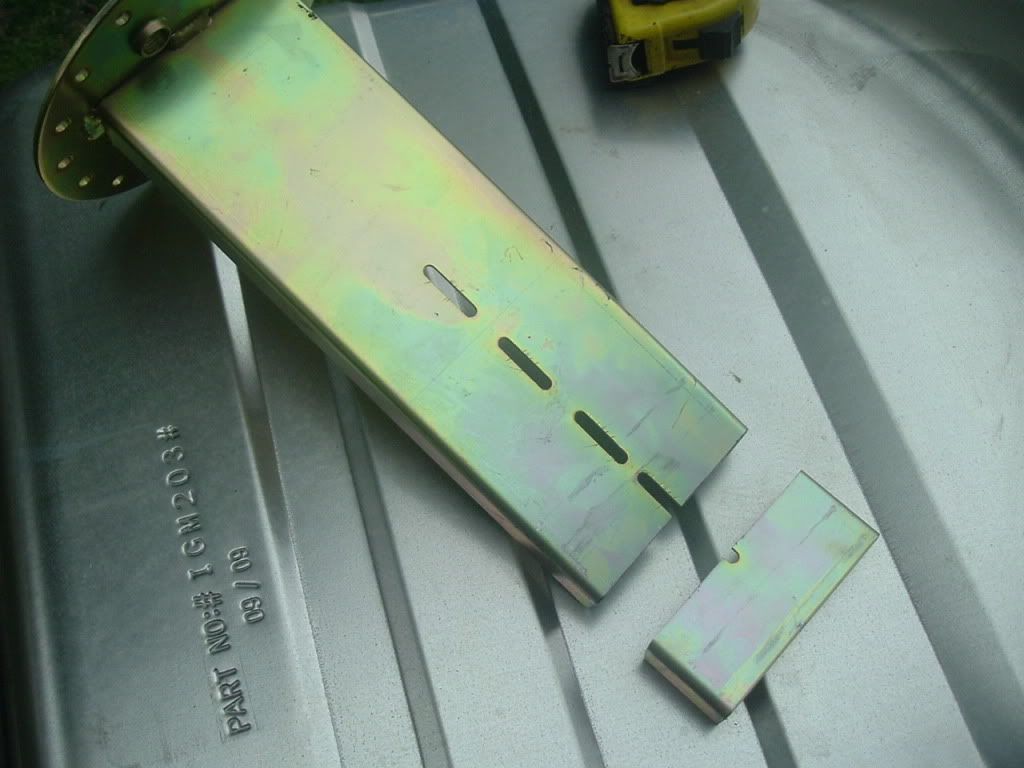
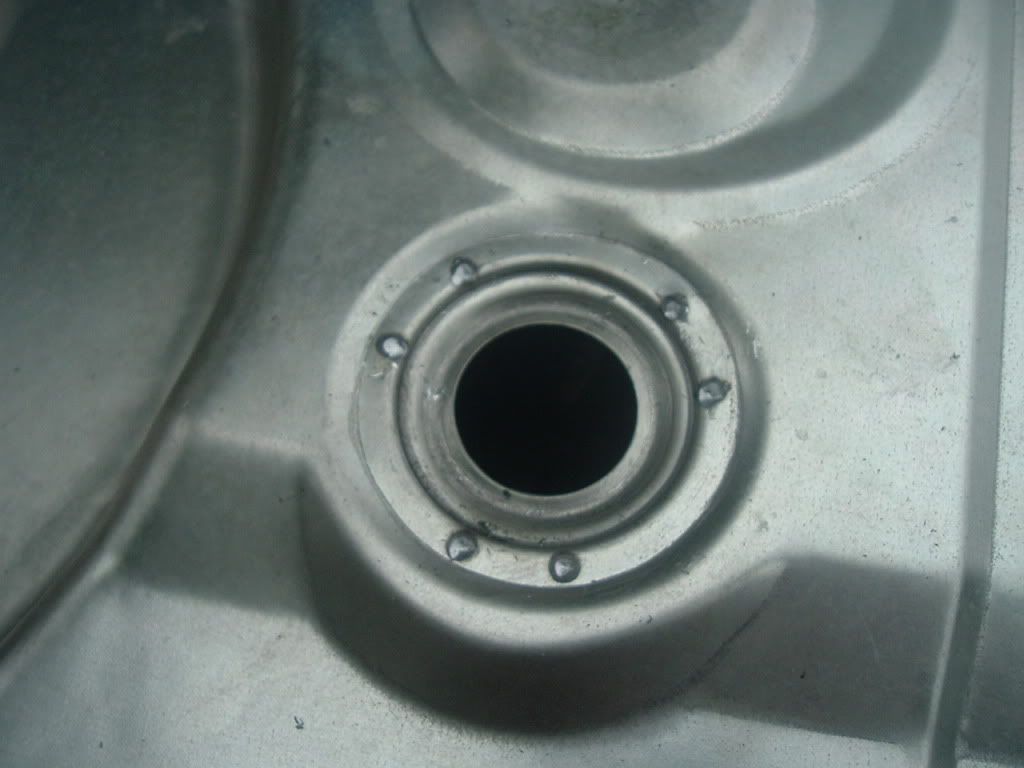
I also had to drill the holes for the mounting plate and secured the rear plate with a few rivets so it didn�t fall down when putting it all together.
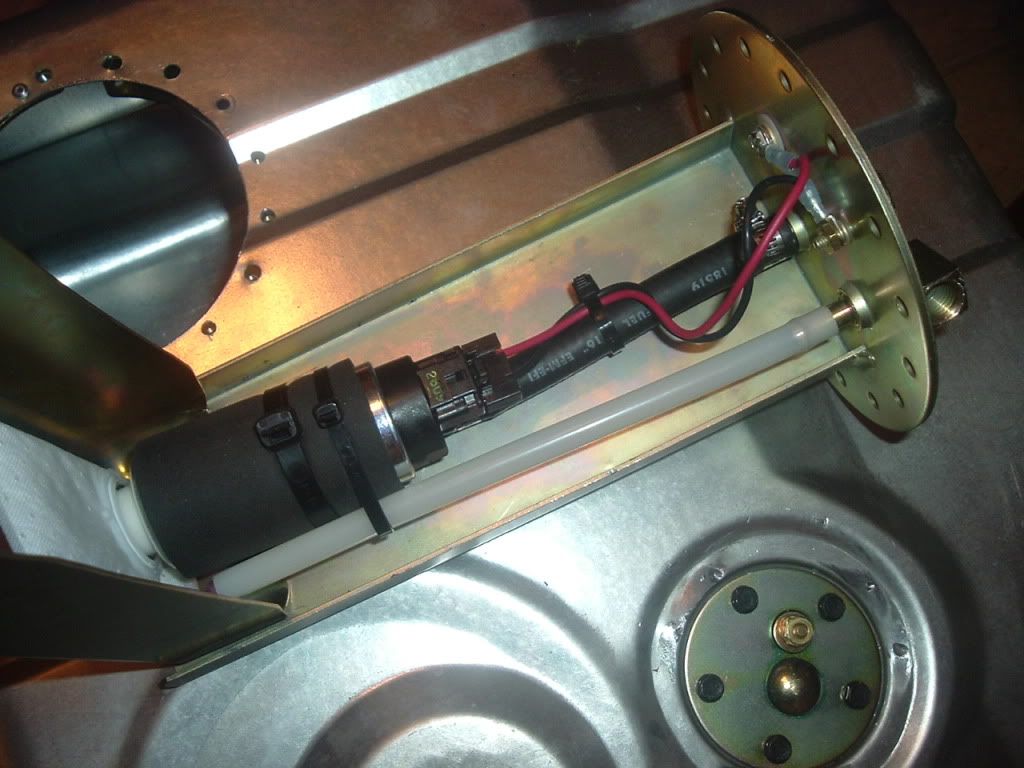
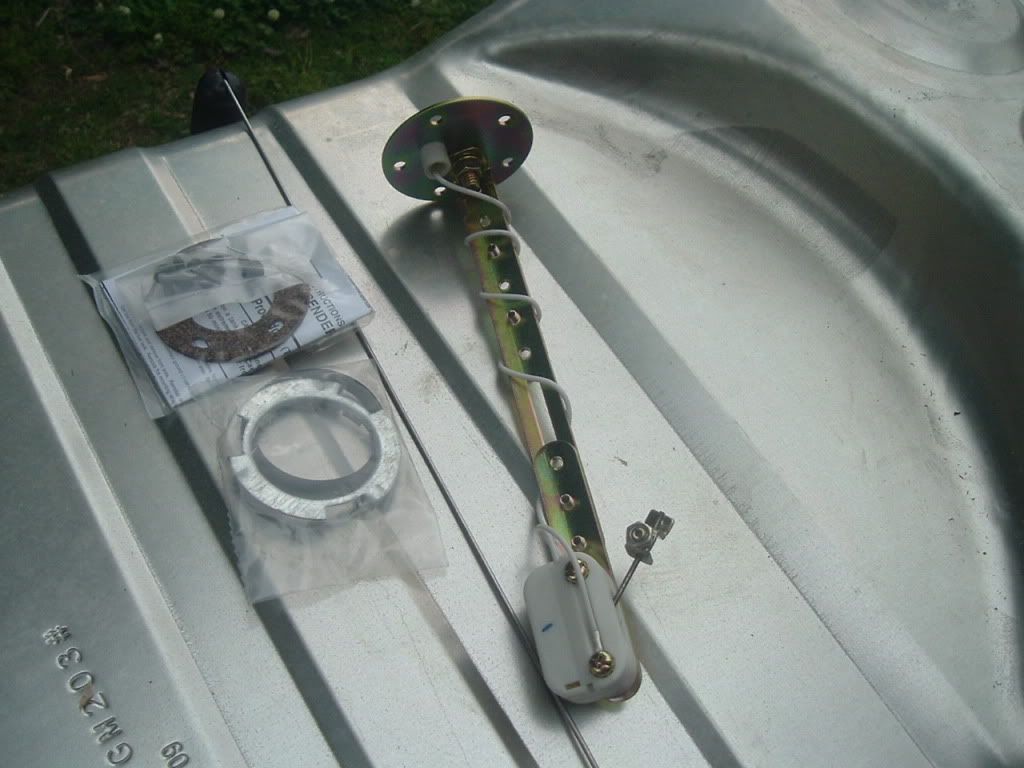
Here is a pic of the fuel pump fully assembled with the sump tray
I also had to drill the holes for the mounting plate and secured the rear plate with a few rivets so it didn�t fall down when putting it all together.
Here is a pic of the fuel pump fully assembled with the sump tray
05-01-2010, 12:40 AM
#3
TECH Enthusiast
Thread Starter
iTrader: (8)
Join Date: Dec 2009
Location: N. E. Arkansas
Posts: 639
Likes: 0
Received 0 Likes
on
0 Posts
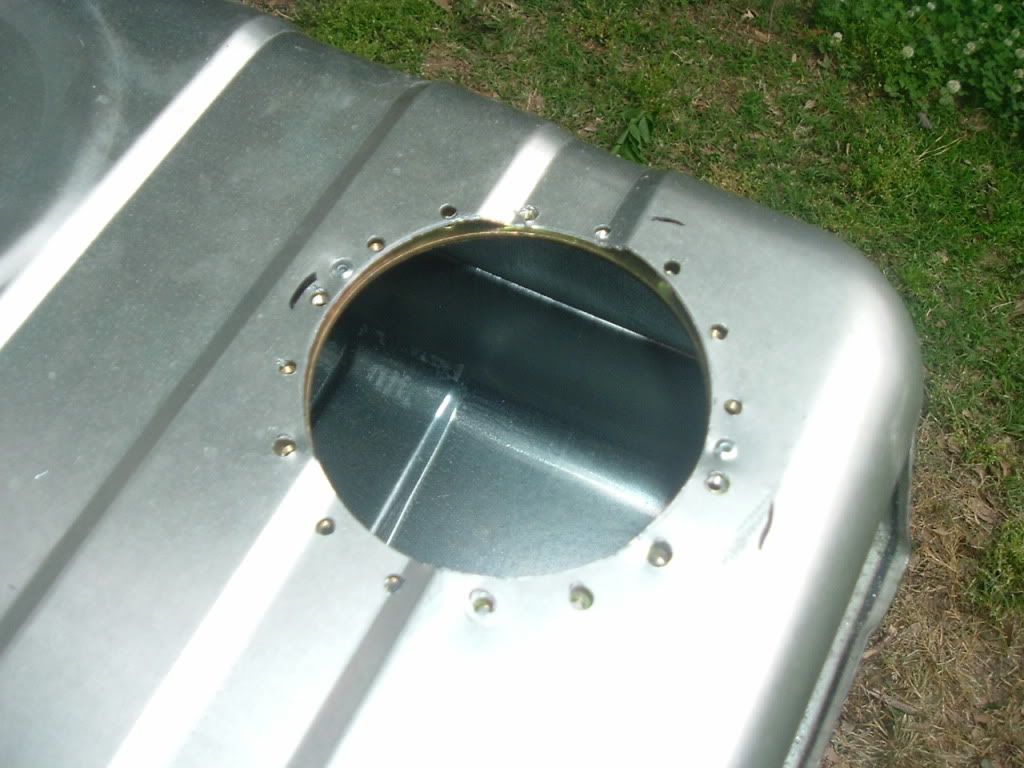
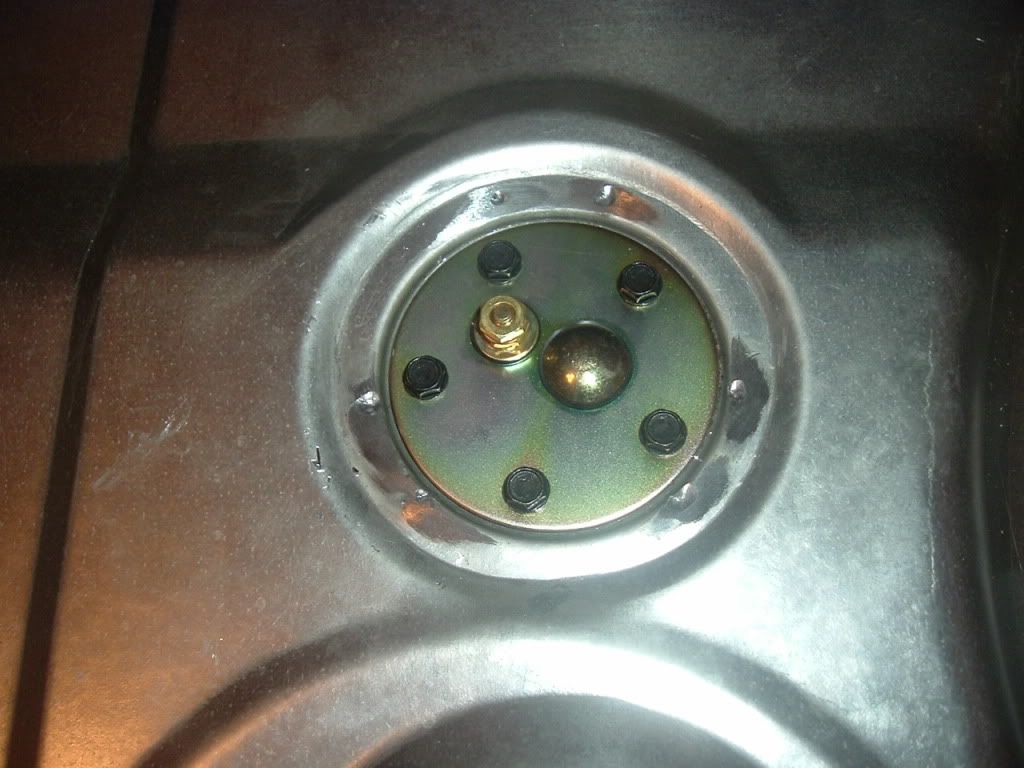
The fuel sender installation went easy as well, I used the stock sender location, but had to remove the bracket that held the stock sender in place. I also adjusted the sender to the depth of my tank per the supplied instructions.
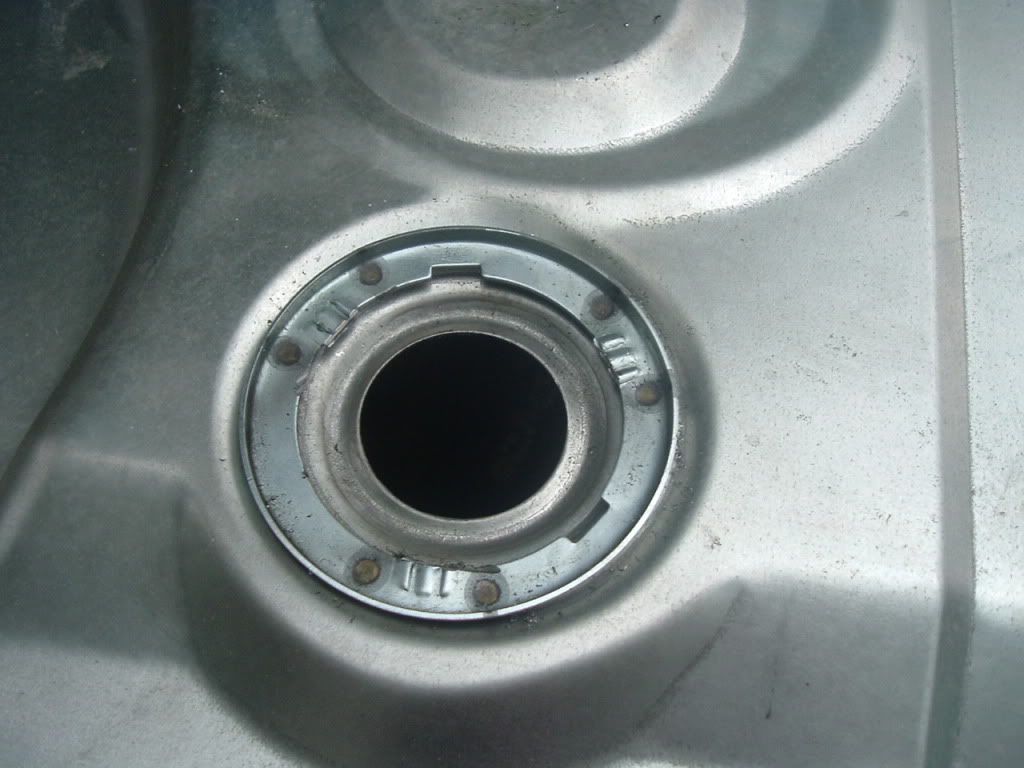
Welds cut out and bracket removed
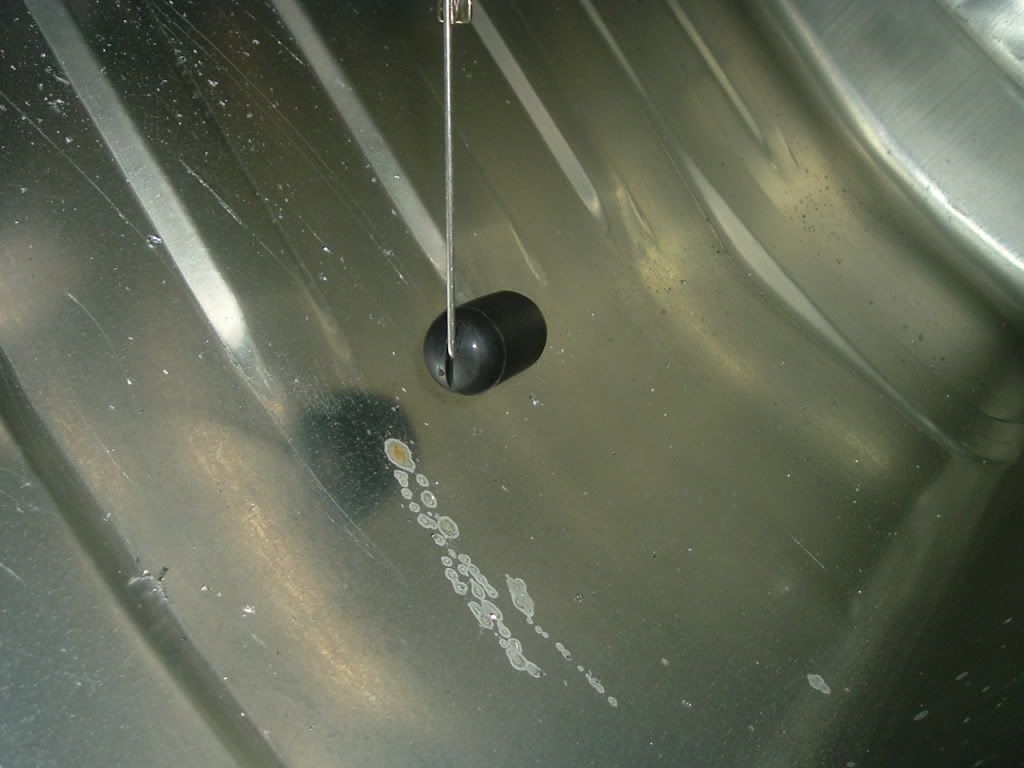
Fuel sender
Shot of inside of tank
Mounted
To have clearance for the fittings on the fuel pump I'm either going to knock the area up a little on the trunk floor or cut in a slightly raised access door....once the carpet is in place you won't even notice it.
Welds cut out and bracket removed
Fuel sender
Shot of inside of tank
Mounted
To have clearance for the fittings on the fuel pump I'm either going to knock the area up a little on the trunk floor or cut in a slightly raised access door....once the carpet is in place you won't even notice it.
 05-01-2010, 01:18 PM
#5
Staging Lane

Join Date: Apr 2009
Location: Long Beach Ca
Posts: 76
Likes: 0
Received 0 Likes
on
0 Posts
I am fabricating a similar set up, could you tell we how the positive electrical terminal in assembled to pass through? also how is the larger zip tie holding the pump secured to the main bracket? I only saw one set of holes.
thanks
thanks
05-01-2010, 01:47 PM
#6

Don't forget to touch up the drill/grind marks with cold galv./ zinc rich paint.
05-01-2010, 02:02 PM
#7
TECH Enthusiast
Thread Starter
iTrader: (8)
Join Date: Dec 2009
Location: N. E. Arkansas
Posts: 639
Likes: 0
Received 0 Likes
on
0 Posts
The kit came with a plastic spacer piece that had a u-shaped concave for the pump to rest against. I secured it to the main bracket with a single bolt and nut.....then it had a provision for the zip tie to go through it like a belt. You can see the piece in the baggie in my first pic that I posted.
Trending Topics
05-02-2010, 06:49 AM
#10
TECH Enthusiast
Thread Starter
iTrader: (8)
Join Date: Dec 2009
Location: N. E. Arkansas
Posts: 639
Likes: 0
Received 0 Likes
on
0 Posts
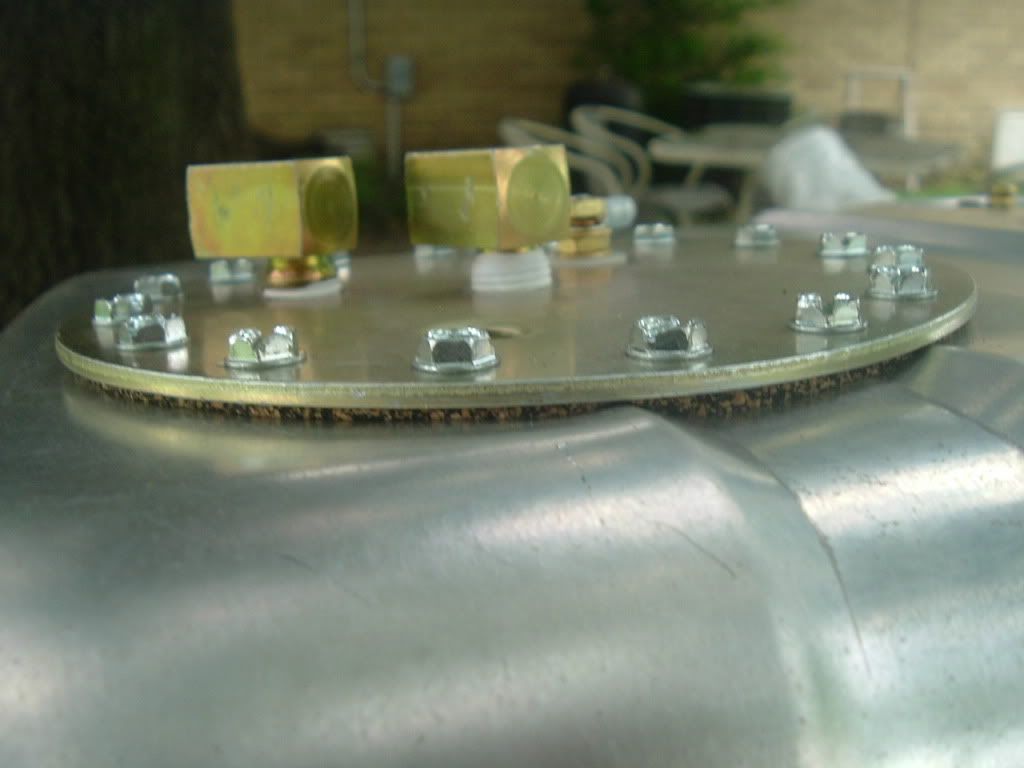
I have it assembled, it won't leak I promise
 05-02-2010, 09:02 AM
#11
On tanksinc site, they show a install. They suggest to flatten the ribs out before putting the flange inside.

 05-02-2010, 12:14 PM
#15
That electrical connection is a "Bulkhead" connector.. It is link any other electrical intank setup (after market or OEM).
I would worry about losing strength.. the tank will stay together..and the weight will be supported by the straps to hold the tank in place against the upper frame or floor pan.
I would worry about losing strength.. the tank will stay together..and the weight will be supported by the straps to hold the tank in place against the upper frame or floor pan.
 05-02-2010, 02:03 PM
#18