C5 detail
 08-31-2010, 09:26 AM
#1
TECH Enthusiast
Thread Starter
iTrader: (6)

Join Date: Mar 2003
Location: Irving Tx 75060
Posts: 612
Likes: 0
Received 0 Likes
on
0 Posts

Started on this one around 10am and finished around 6:30.
A few spots were a little more stubborn than others and had to use a few different combinations.
Washed with Meguiars soap.
Spot clayed using clay magic.
Hood and decklid called for 3M Perfect it II/ LCC yellow pad then followed up with M105/M205.
The rest was corrected with Meguiars M105 / LCC orange pad.
Followed by Meguiars M205 / LCC black pad.
Polished with SFX polish / LCC blue pad.
Sealed with SFX blazin maize / LCC blue pad.
Tires and trim dressed with SFX dressing.
Fender wells cleaned with APC then dressed with Meguiars natural finish.
Glass cleaned with Stoners crystal clear / microfiber.
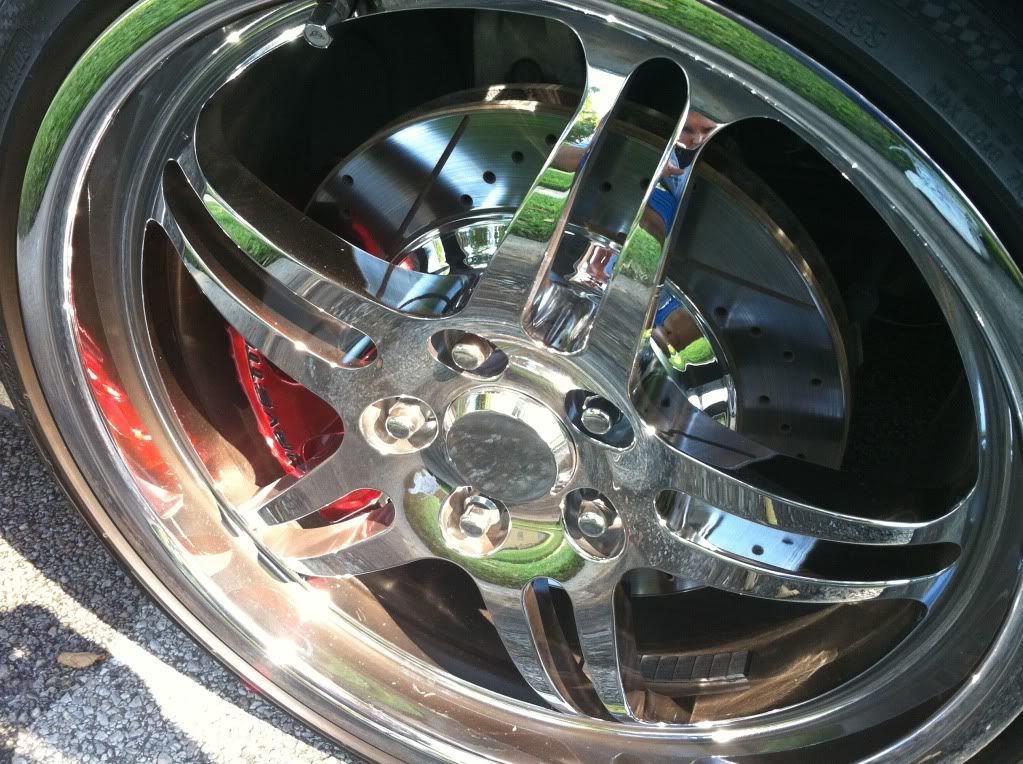
Brake dusted wheel
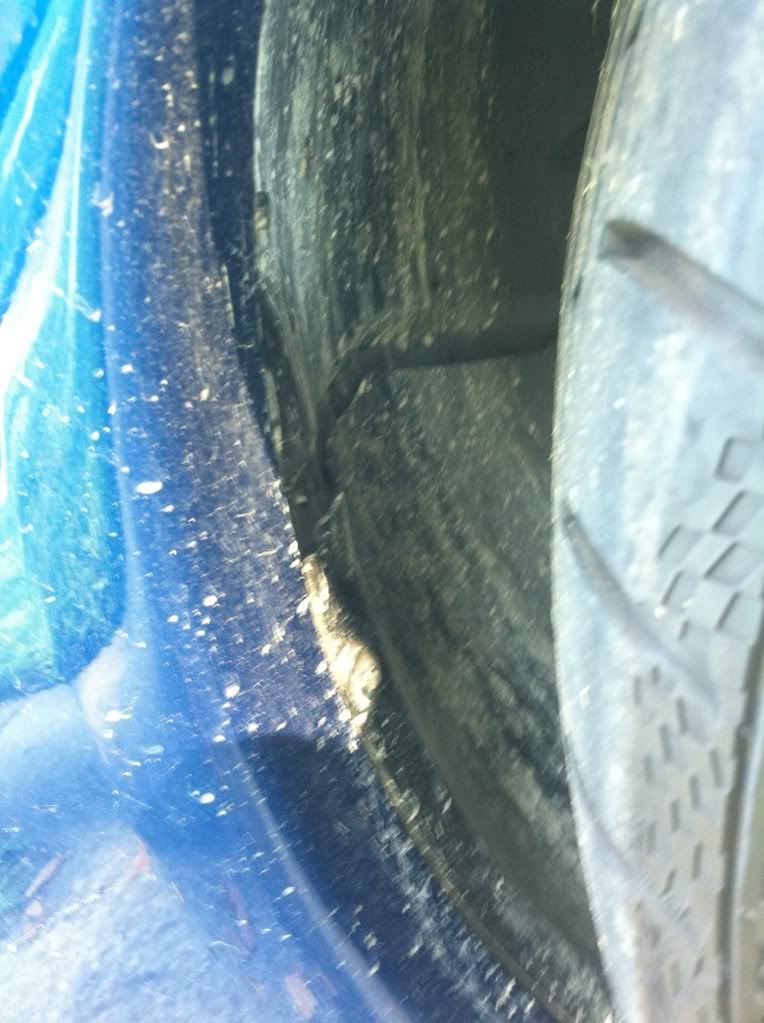
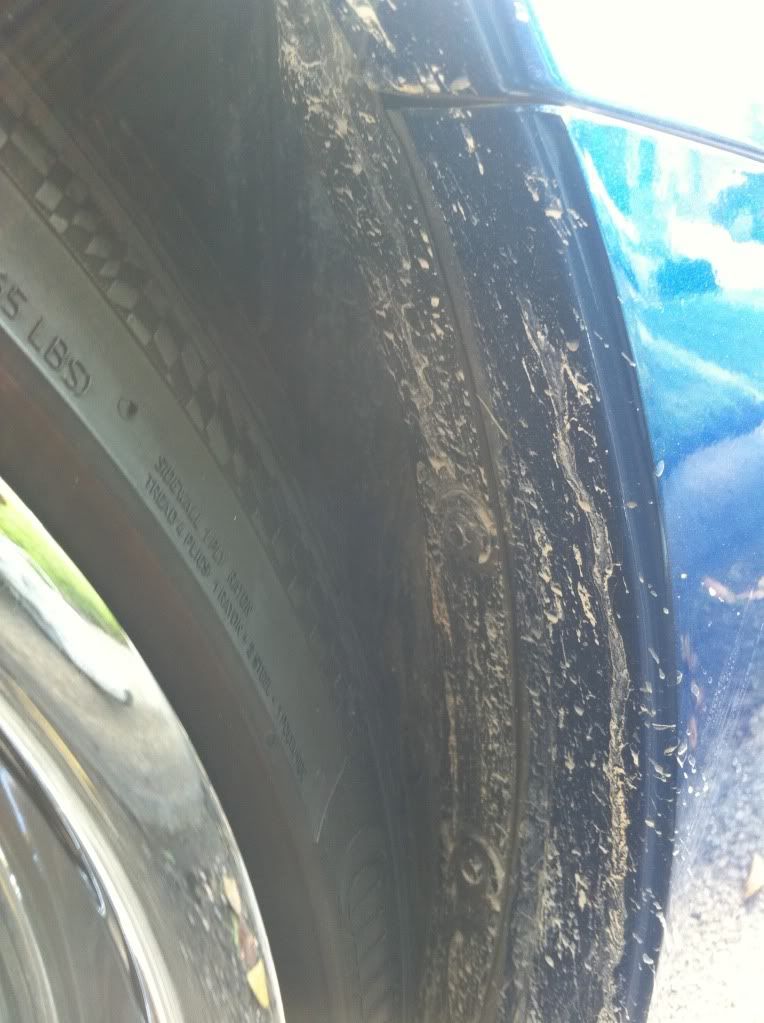
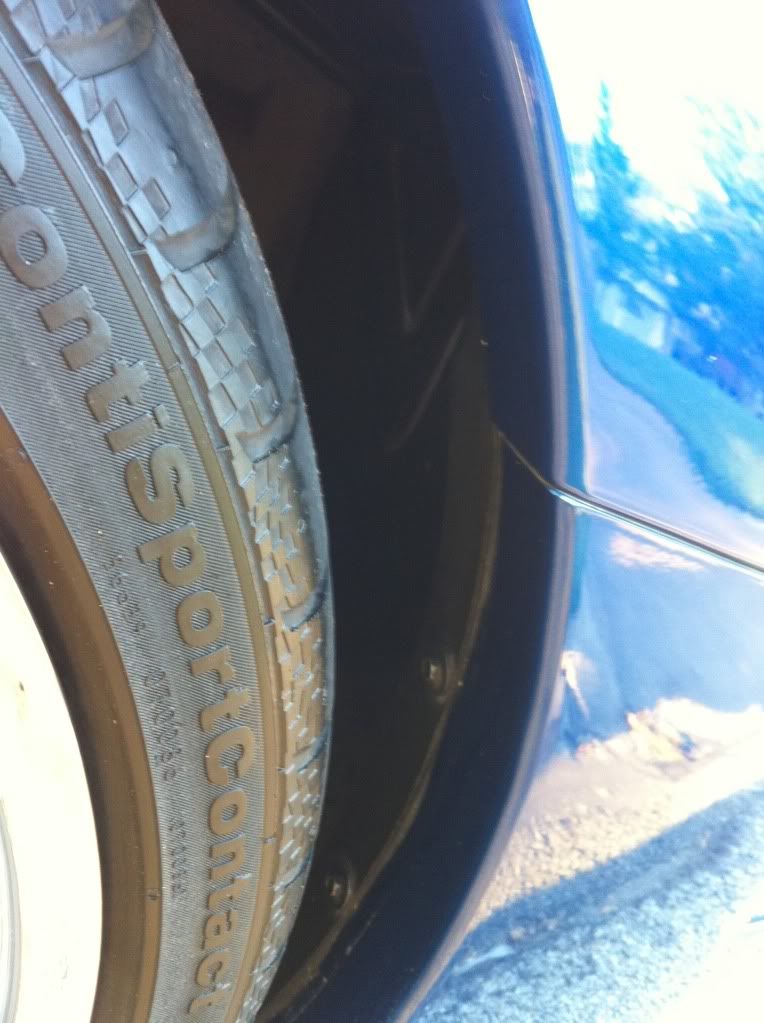
Dirty wheel well
Taped off
Swirls

Passenger door swirls
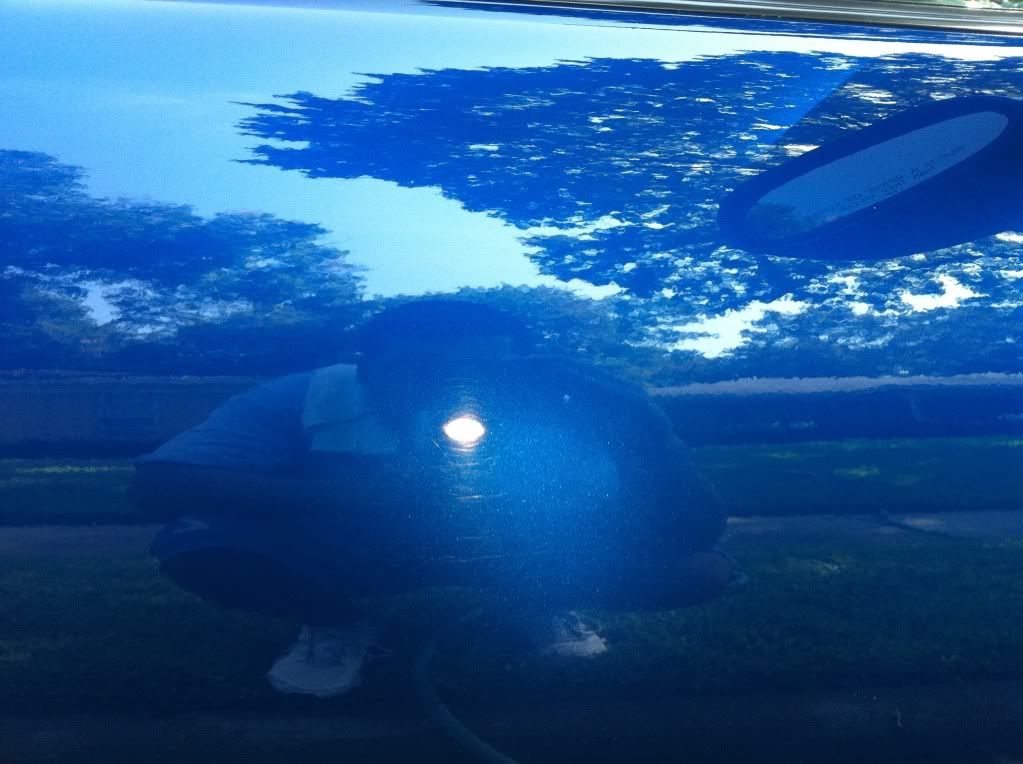
Hood swirls
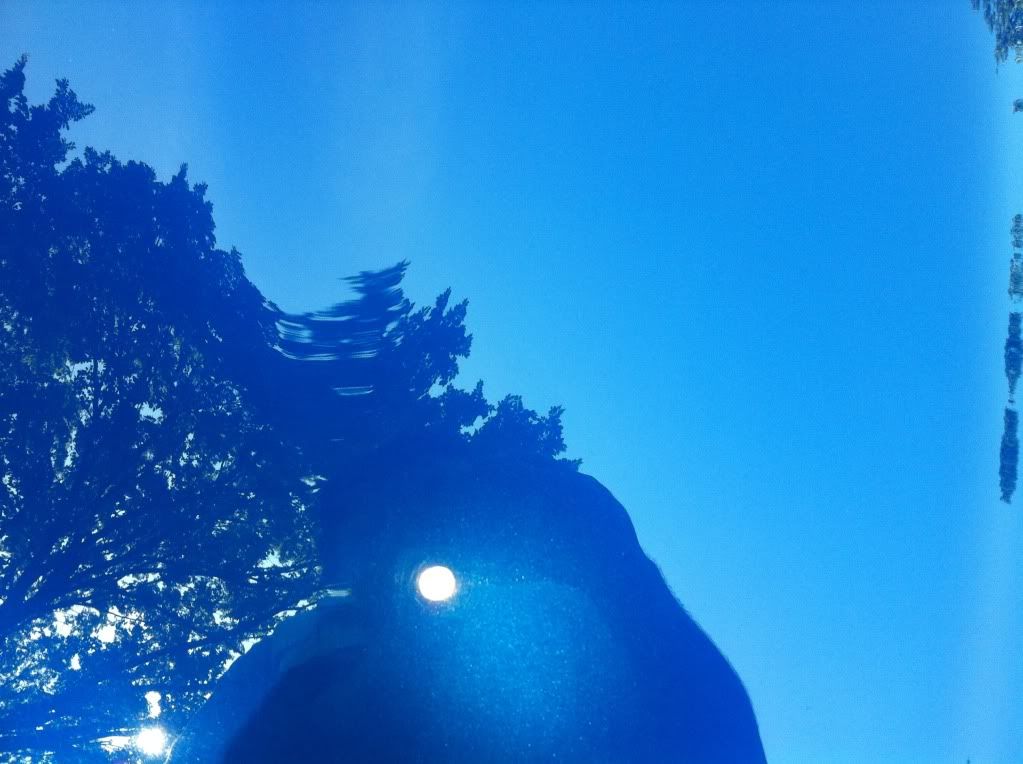
Headlight swirls
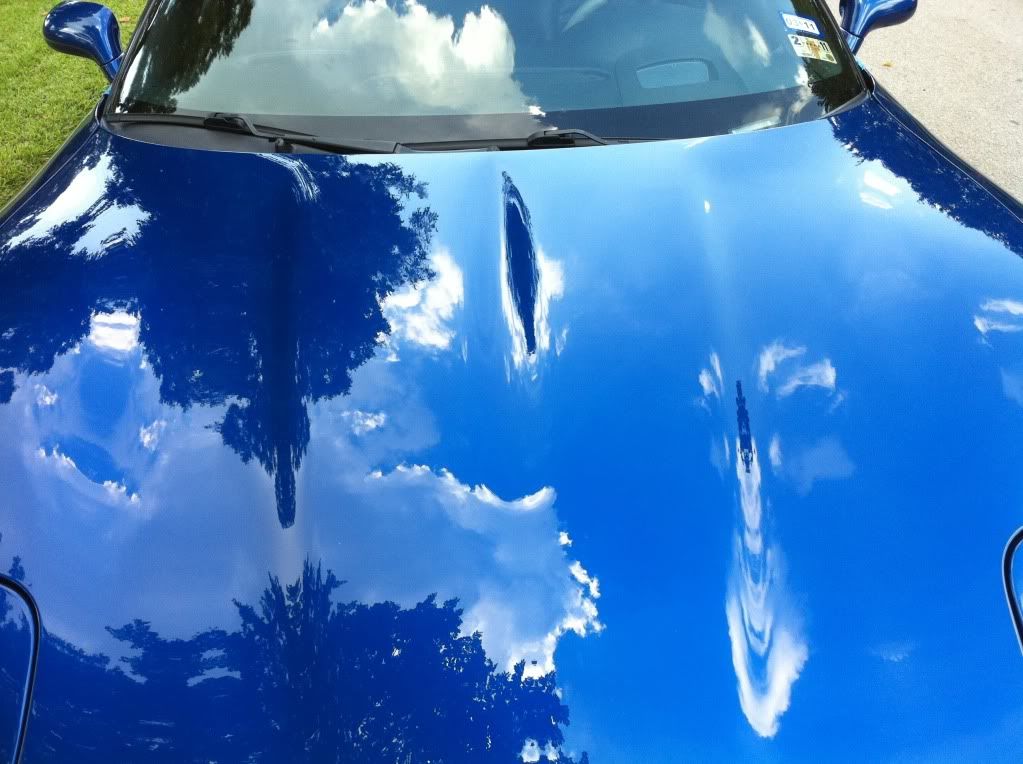
Hood swirls natural light
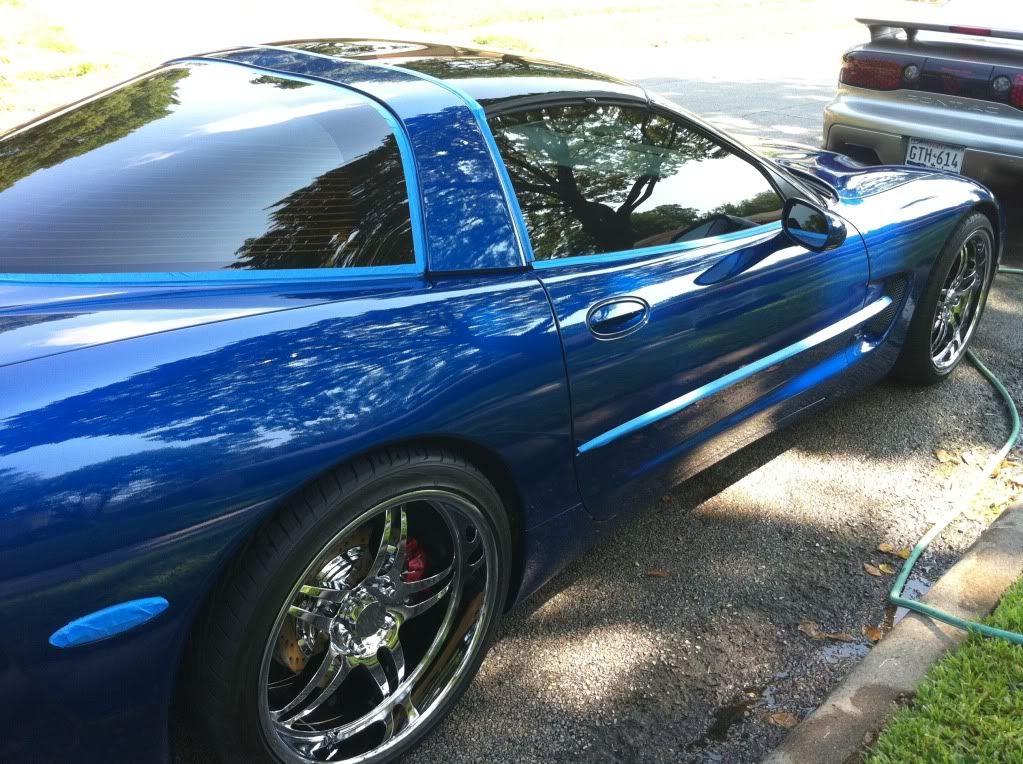
Wheel clean

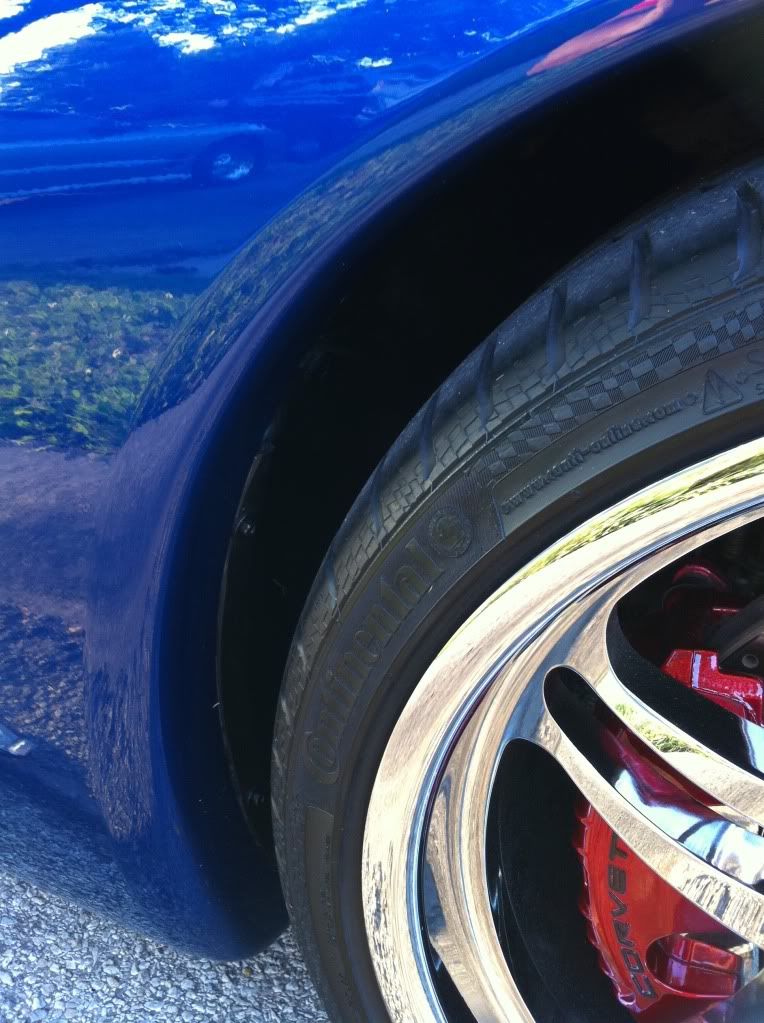
Wheel well cleaned up
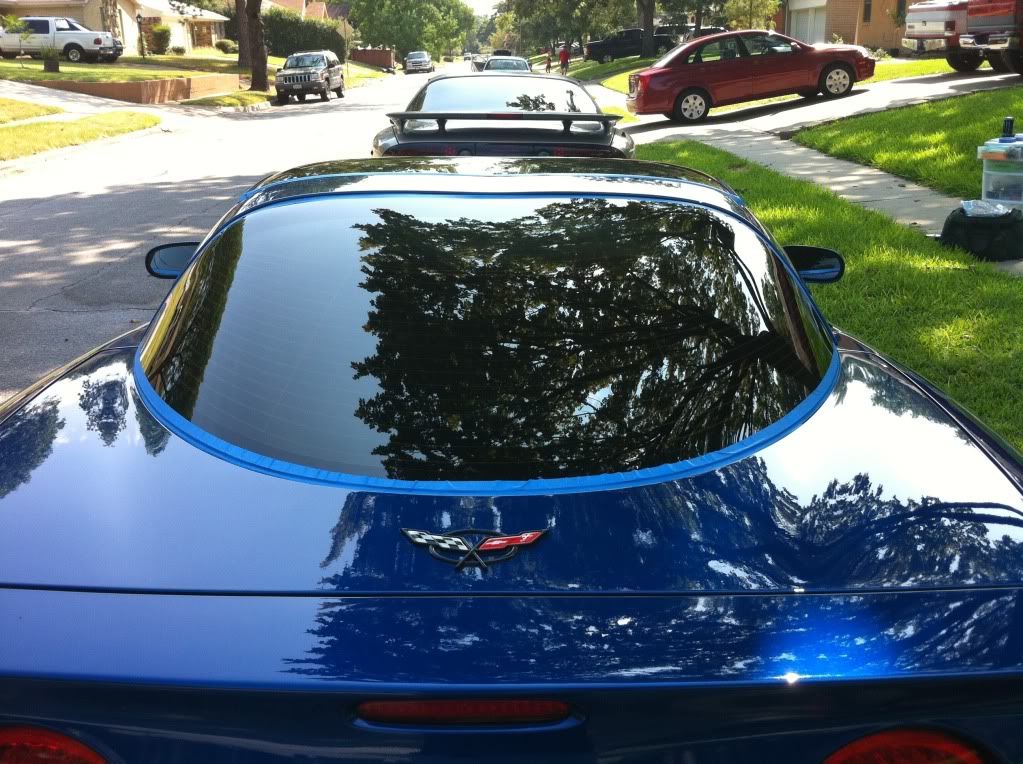
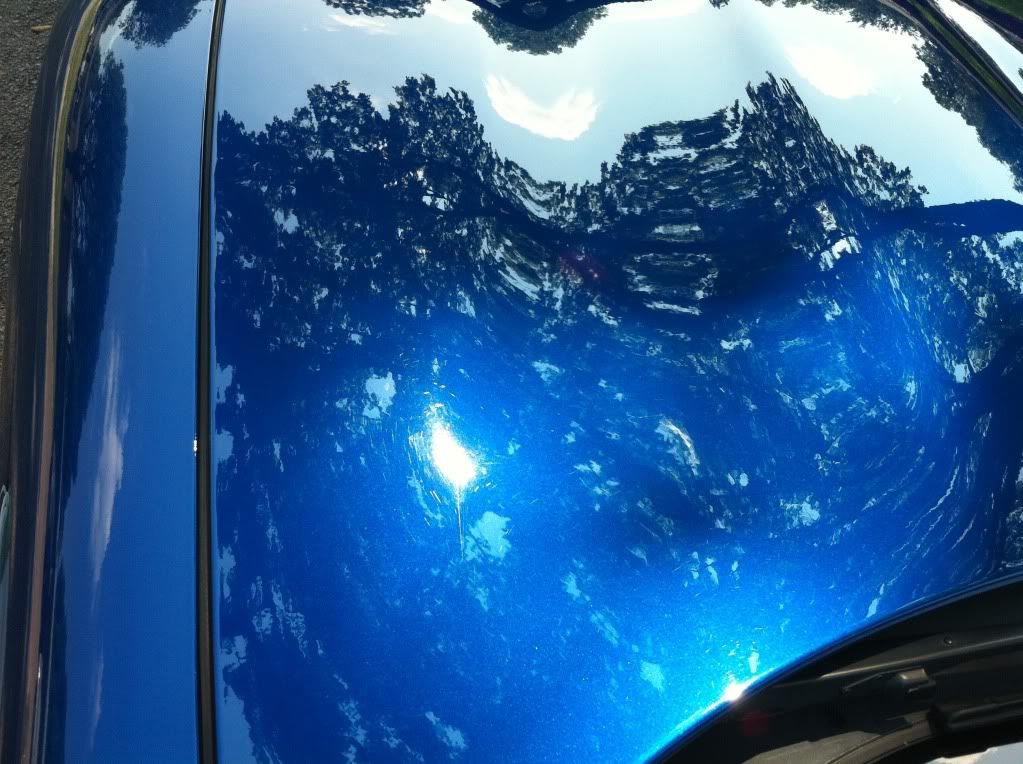
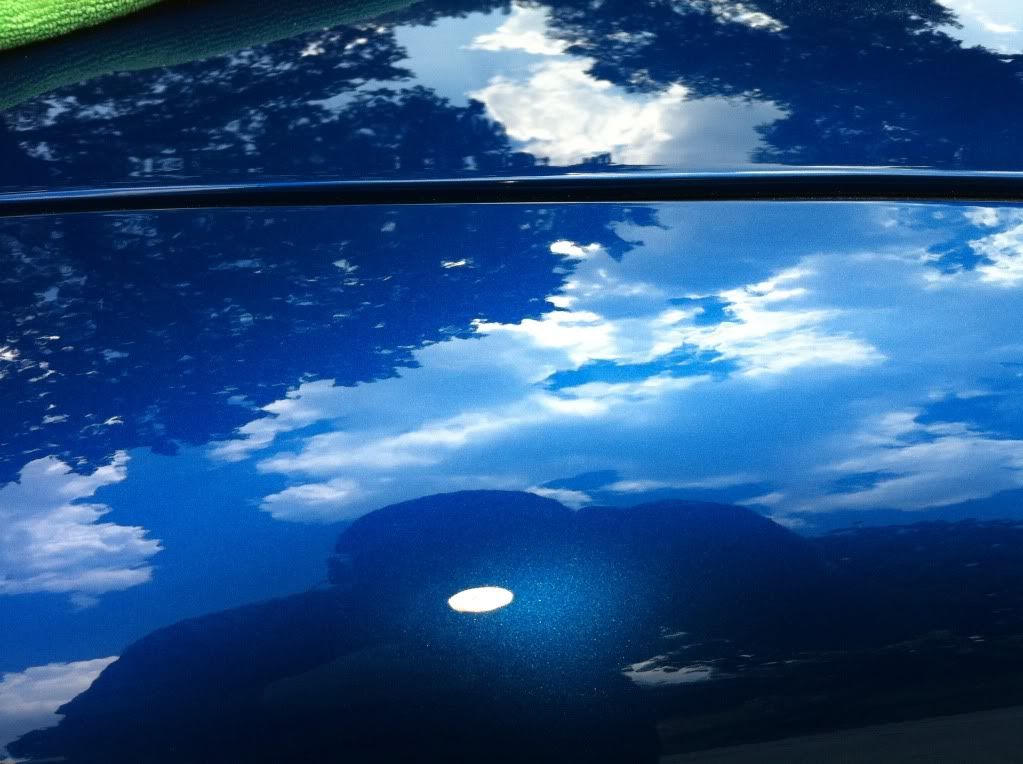
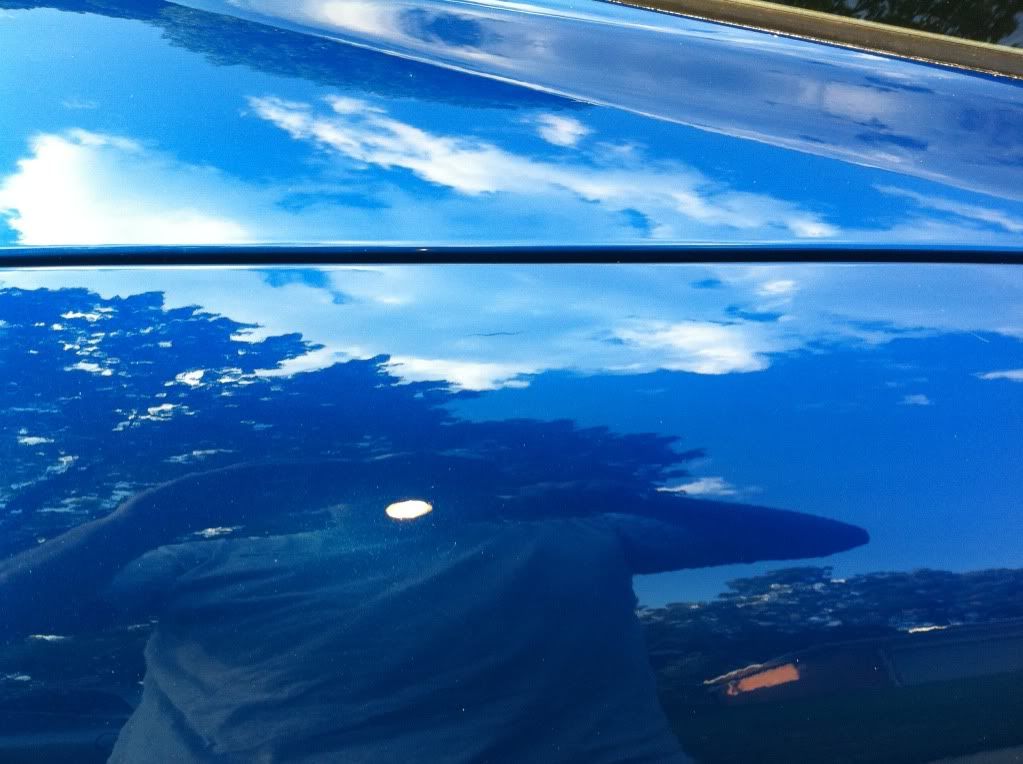
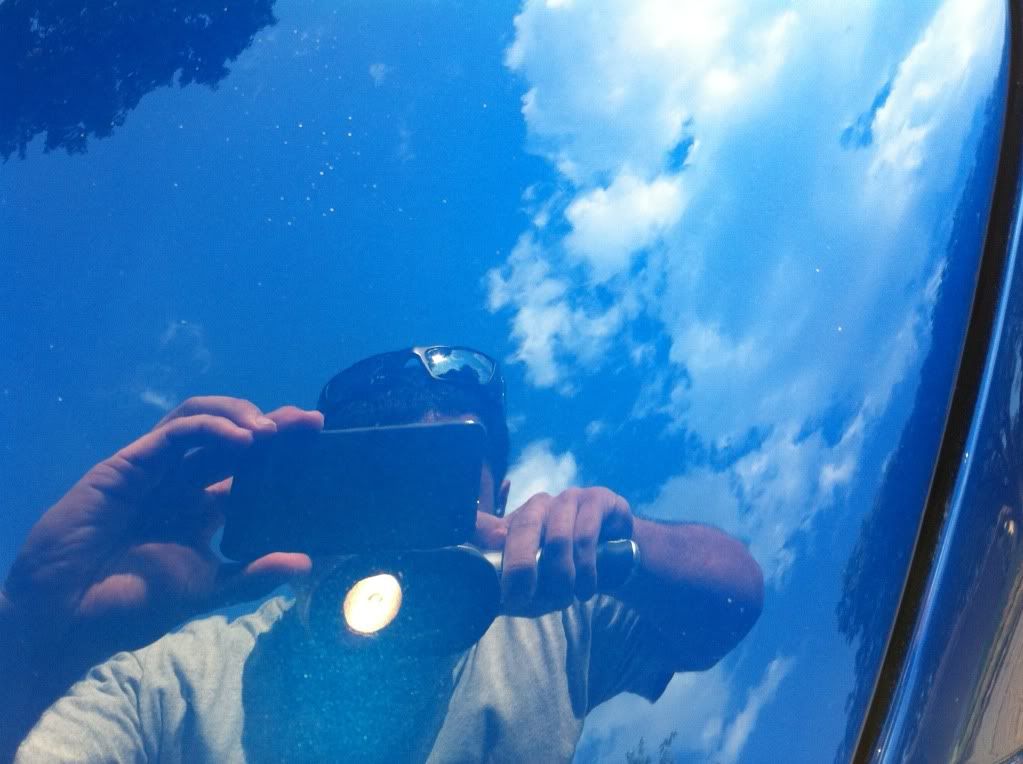
Hood glazed reflection
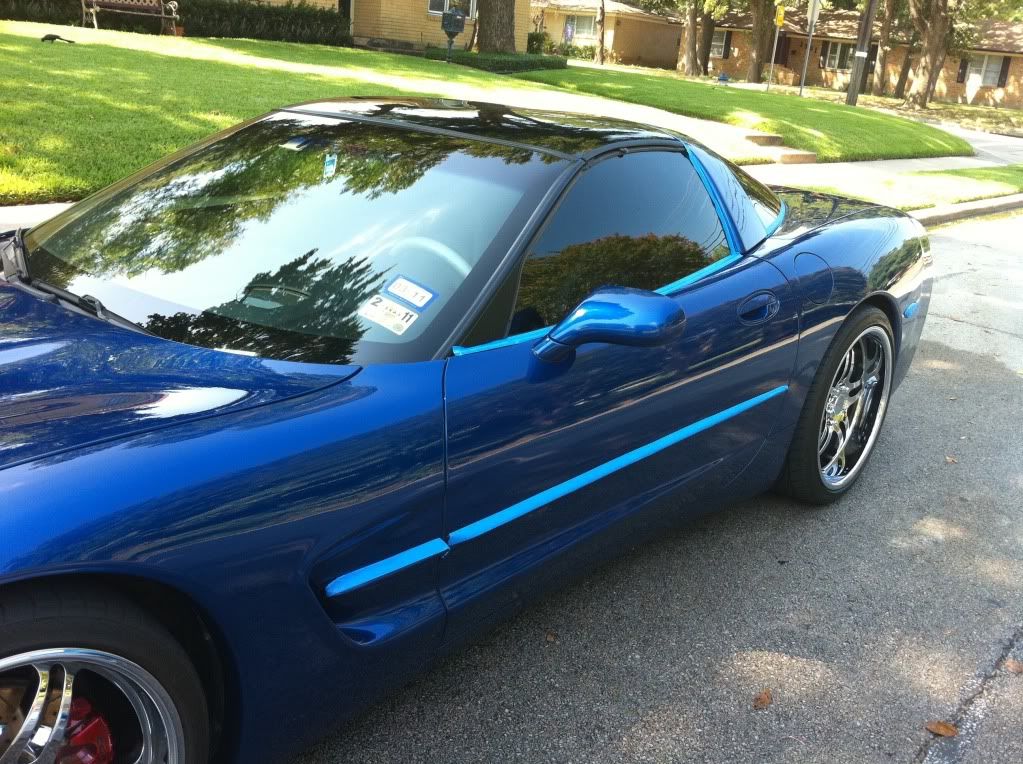
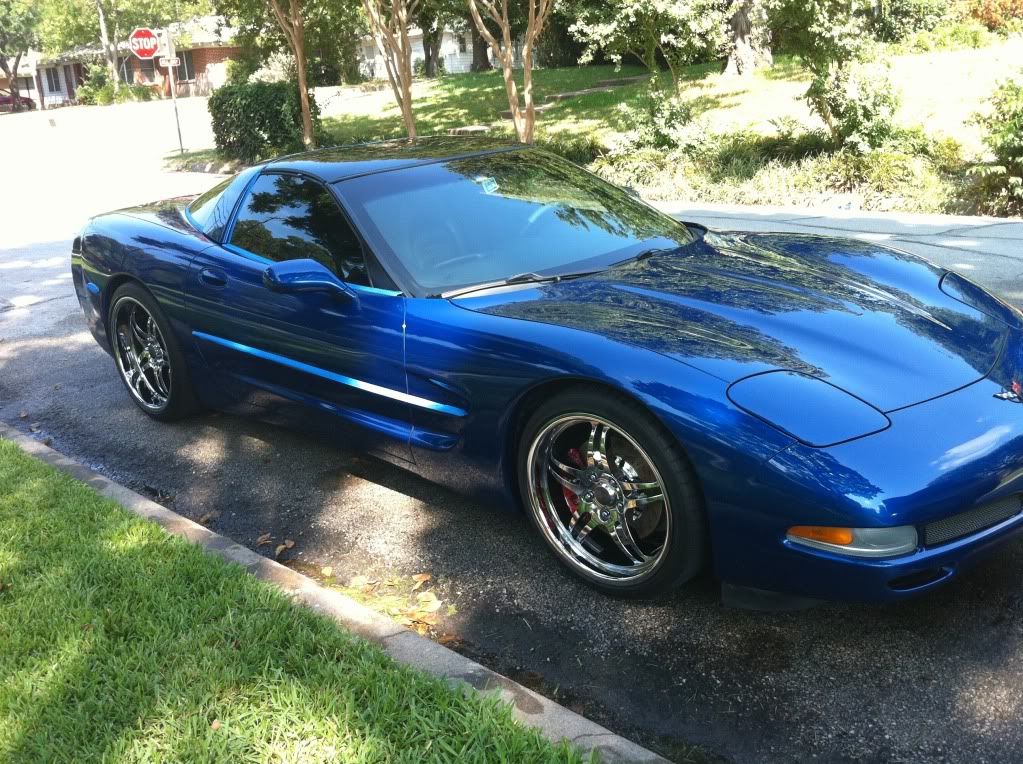
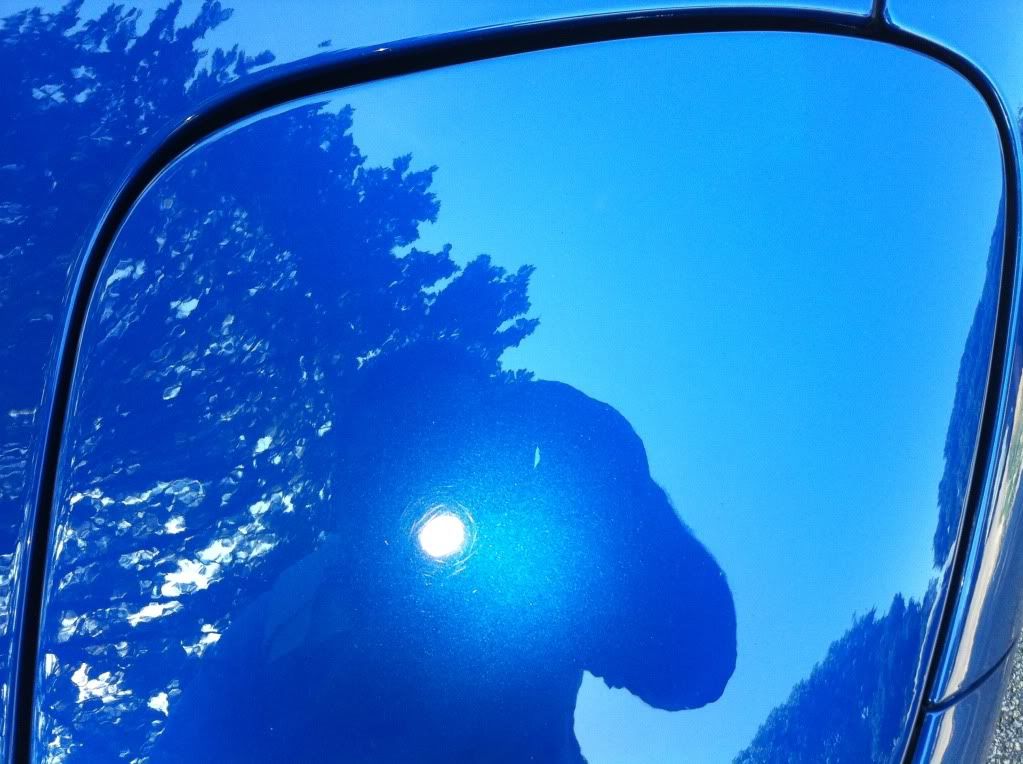
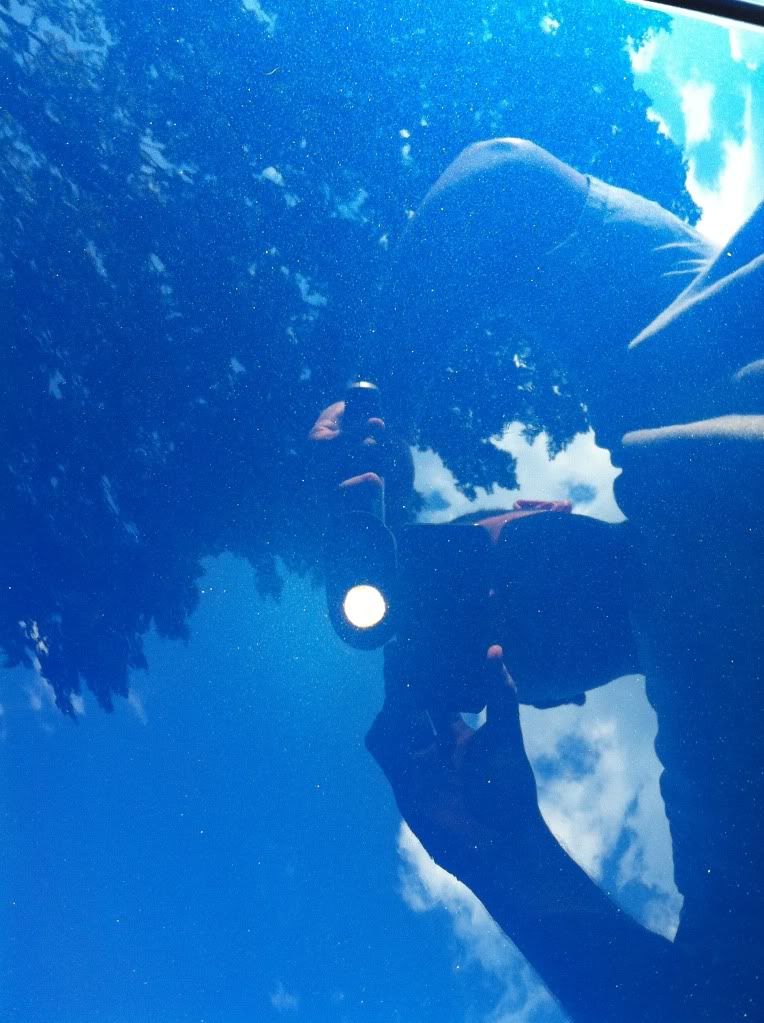
Corrected front fender
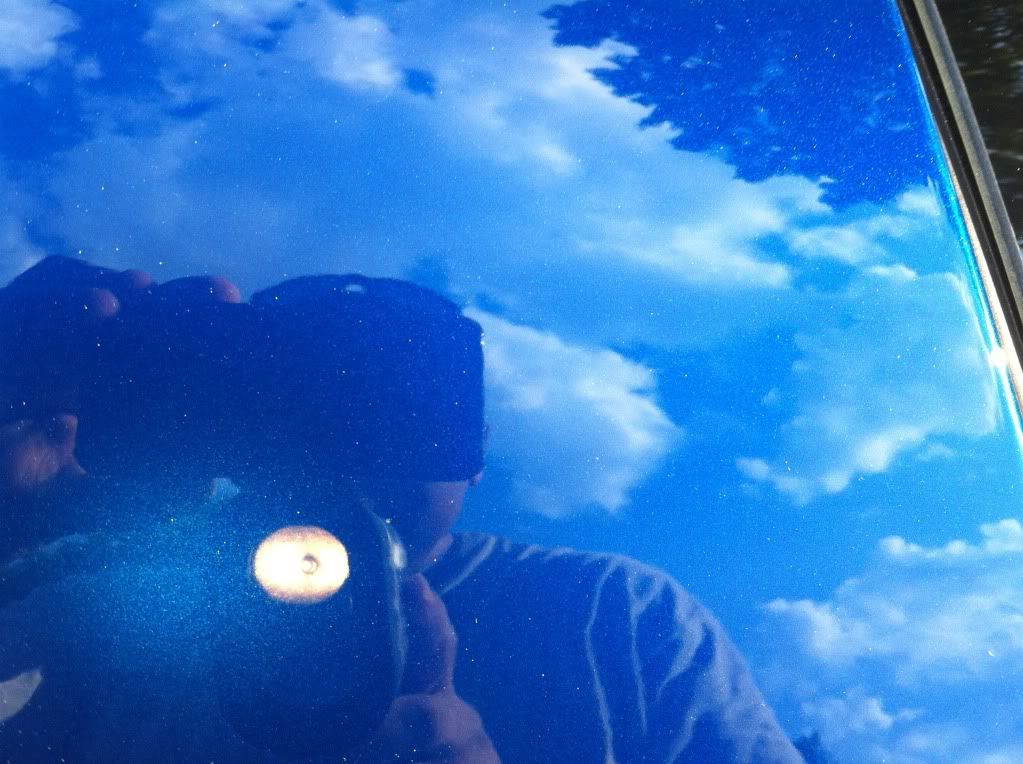
Corrected rear passenger fender
Headlight corrected
Hood corrected
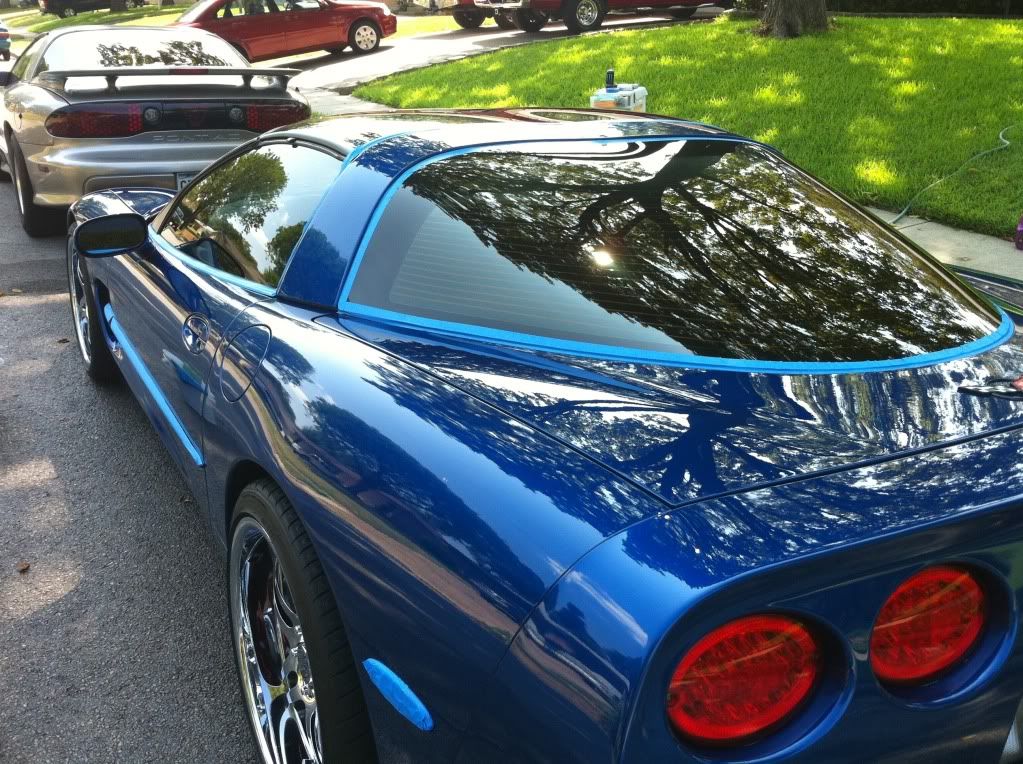
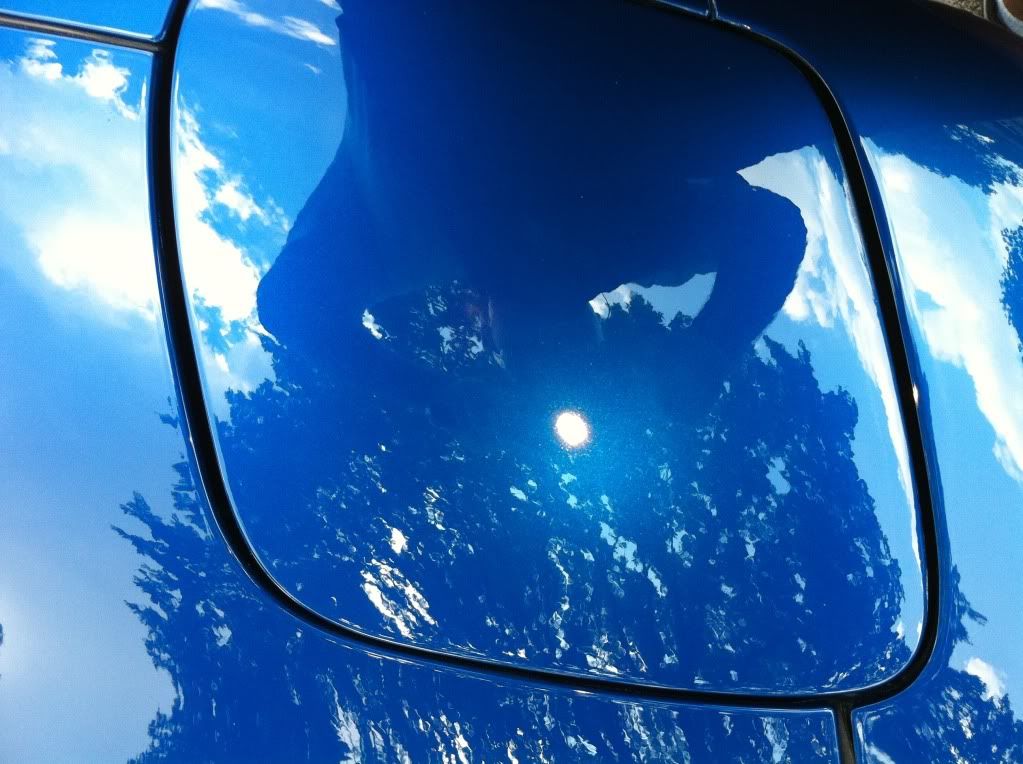
Decklid corrected
Hood corrected
Questions/comments are welcome.
A few spots were a little more stubborn than others and had to use a few different combinations.
Washed with Meguiars soap.
Spot clayed using clay magic.
Hood and decklid called for 3M Perfect it II/ LCC yellow pad then followed up with M105/M205.
The rest was corrected with Meguiars M105 / LCC orange pad.
Followed by Meguiars M205 / LCC black pad.
Polished with SFX polish / LCC blue pad.
Sealed with SFX blazin maize / LCC blue pad.
Tires and trim dressed with SFX dressing.
Fender wells cleaned with APC then dressed with Meguiars natural finish.
Glass cleaned with Stoners crystal clear / microfiber.
Brake dusted wheel
Dirty wheel well
Taped off
Swirls
Passenger door swirls
Hood swirls
Headlight swirls
Hood swirls natural light
Wheel clean
Wheel well cleaned up
Hood glazed reflection
Corrected front fender
Corrected rear passenger fender
Headlight corrected
Hood corrected
Decklid corrected
Hood corrected
Questions/comments are welcome.
 08-31-2010, 11:58 AM
#3
TECH Enthusiast
Thread Starter
iTrader: (6)
Join Date: Mar 2003
Location: Irving Tx 75060
Posts: 612
Likes: 0
Received 0 Likes
on
0 Posts
It wasn't in too bad of shape but it had some really hard etching on the hood and deck lid. Those were the trouble'd areas.
Thank you for the kind words.
Thank you for the kind words.

Trending Topics
09-08-2010, 10:52 AM
#9
Teching In
iTrader: (2)

Join Date: May 2007
Location: Tomball, Tx.
Posts: 48
Likes: 0
Received 0 Likes
on
0 Posts
i was thinking of trying the surf city garage stuff on my sti, i use their car wash and like it. i need to take this clear bra off the front first makes the car look like it has a huge scratch on the front with the wax build up.
09-08-2010, 11:00 AM
#10
TECH Enthusiast
Thread Starter
iTrader: (6)
Join Date: Mar 2003
Location: Irving Tx 75060
Posts: 612
Likes: 0
Received 0 Likes
on
0 Posts
Tape it off. I've done a few vettes and lexus' that have had them installed and just tape off the 'seam' a little further than they actually are and you'll be good to go.
09-08-2010, 11:34 AM
#11
Teching In
iTrader: (2)
Join Date: May 2007
Location: Tomball, Tx.
Posts: 48
Likes: 0
Received 0 Likes
on
0 Posts
the build up is already there, i bought it used about a month ago with the bra installed. the problem lies with the wax, dirt, and debris are in the seam and the adhesive has started to seep out at the seam and is holding it all there. so i was going to remove it and completely detail the car since its cooling off outside.