Working on...VFN 4" WS6 hood
 09-27-2010, 09:14 PM
#1

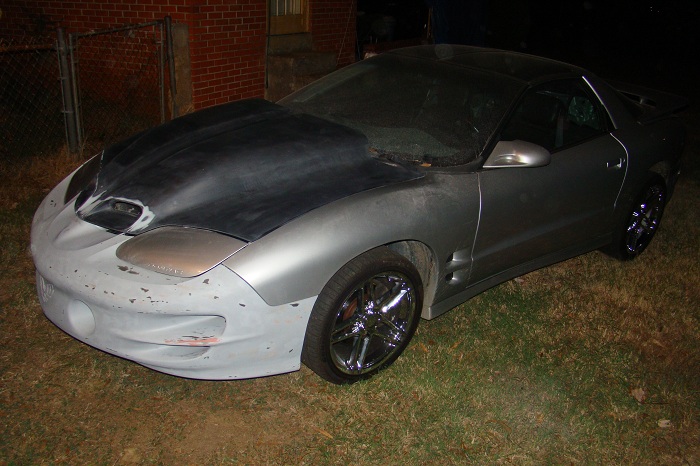
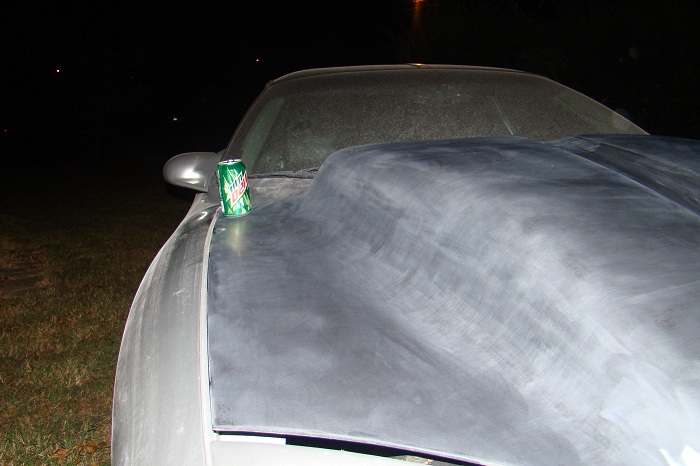
So I'm working on my VFN hood. Started by sanding the thing down to find/fix any imperfection. There's plenty of blemishes that keep me from painting it. Just had an orange peel to it and some small dimples. So the Spotting and glazing putty filled the dimples nicely. Next, I turned to the lines that go around the Ram Air openings and filled them with a light filler. It'll stay over night and I'll sand it tomorrow afternoon. Sorry, but no pics as it got dark and I couldn't get any to come out worth posting...tomorrow tho. And hopefully primer tomorrow or Wednesday.
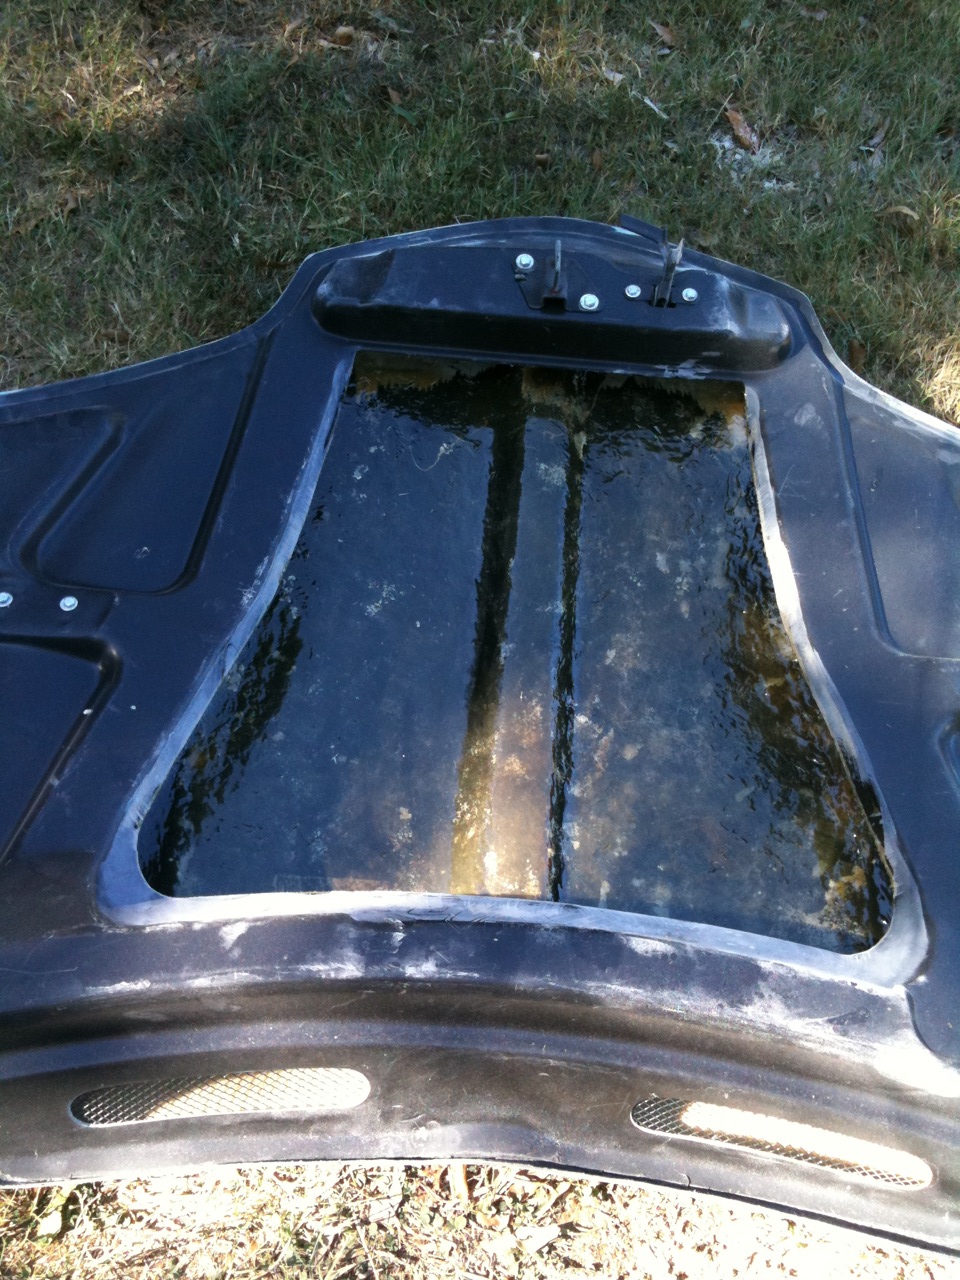
So a question, Has anyone finished the underside of a hood like this? Like added material to smooth it up for looks? Or how about added material to stiffen it up some? IDK if I should use a filler/resin slurry to coat the underside or add layers of fiberglass. Suggestion? Pics of finished underside??
So a question, Has anyone finished the underside of a hood like this? Like added material to smooth it up for looks? Or how about added material to stiffen it up some? IDK if I should use a filler/resin slurry to coat the underside or add layers of fiberglass. Suggestion? Pics of finished underside??
 09-27-2010, 11:59 PM
#2
TECH Fanatic
iTrader: (14)

Join Date: Jun 2008
Location: Wichita, KS
Posts: 1,109
Likes: 0
Received 0 Likes
on
0 Posts
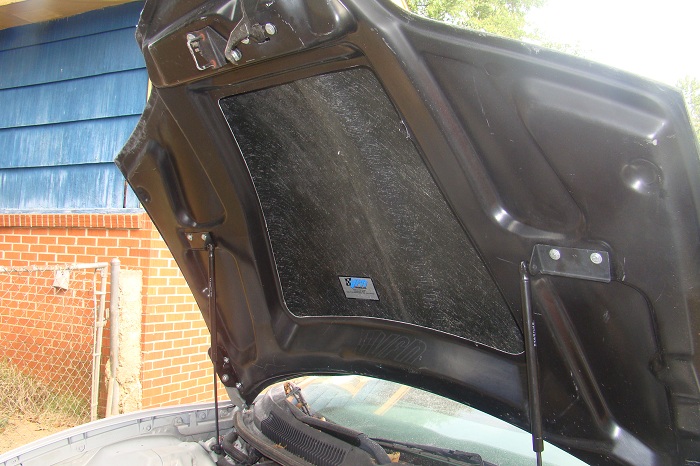
This is a different brand but might help you. the inner areas are obviously where it had the rough fiberglass texture. just sanded with 320 and scuffed everything and sprayed it. i was surprised how good it looked with the raw texture
09-28-2010, 01:33 AM
#3
That's quite a bit different from VFNs hood. VFNs has an inside layer around the perimeter and leaves the edges cut and unfinished. unlike where the one you show, the edges close in. Imagine if you took a flat Firebird hood and cut a big rectangle out of it and then glued a cowl that's wider and longer than the hole over the top...that's VFNs.
Trending Topics
 Thanks for the pics...been debating replacing my WS.9 Outlaw hood with that one.
09-29-2010, 01:11 AM
Thanks for the pics...been debating replacing my WS.9 Outlaw hood with that one.
09-29-2010, 01:11 AM
#10

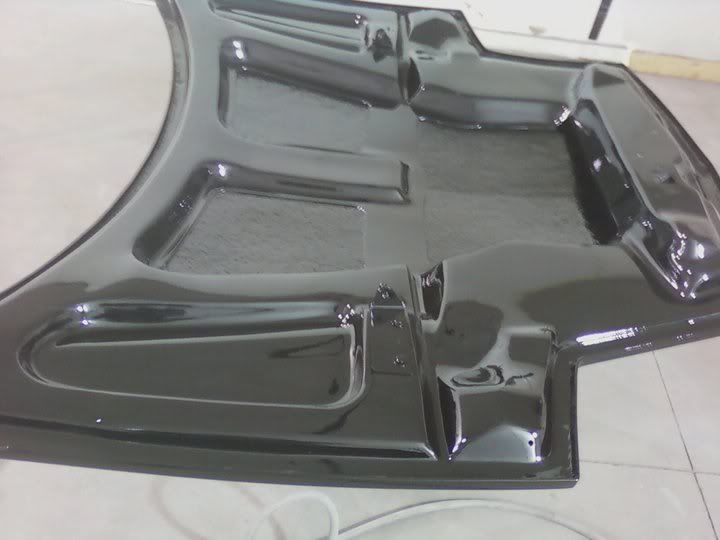
Hey I just did the exact same thing. There is a mat that is considered a "structure" material. You can get it at autobody store. VFN used to have quailty stuff. Here is some I did. I have done many for customers always alot of work.


09-29-2010, 02:24 AM
#11
TECH Fanatic
iTrader: (14)
Join Date: Jun 2008
Location: Wichita, KS
Posts: 1,109
Likes: 0
Received 0 Likes
on
0 Posts
i was referring to the center part of the underside of the hood. just the rough texture part saying it looks decent with it just painted over. but we may be on different pages here
09-29-2010, 11:11 AM
#12
It Does, goatman but look at the underside of MY hood, it's a gaping hole with raw fiberglass edges. I gotta do something to it.
Freefallen, that looks really good! Seeing your lines shaved makes me more confident in the work I'm doing on mine! I think I'm gonna make a filler/fiberglass slurry today and pour it in the hollow areas and cover that bare fiberglass inside. Might trim it some too. I'll keep pics updated!
Freefallen, that looks really good! Seeing your lines shaved makes me more confident in the work I'm doing on mine! I think I'm gonna make a filler/fiberglass slurry today and pour it in the hollow areas and cover that bare fiberglass inside. Might trim it some too. I'll keep pics updated!
Last edited by Swiat34; 09-29-2010 at 07:41 PM.
 09-29-2010, 07:34 PM
#14
As promised guys, here's some updated pics after today's progress. I'd hoped to have FAR more done but the friend that said he was gonna help bailed on me!

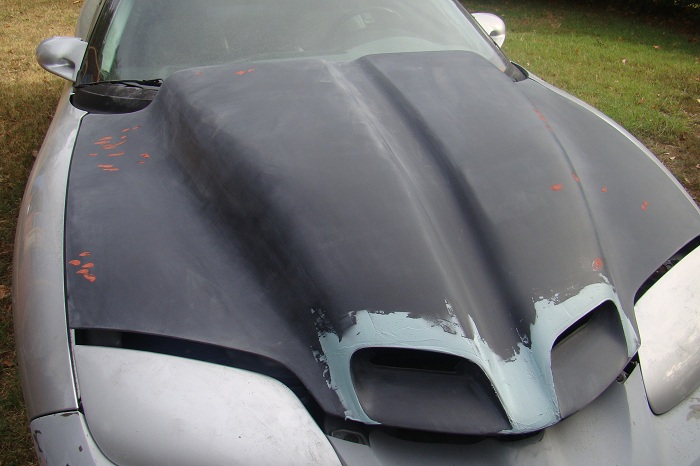
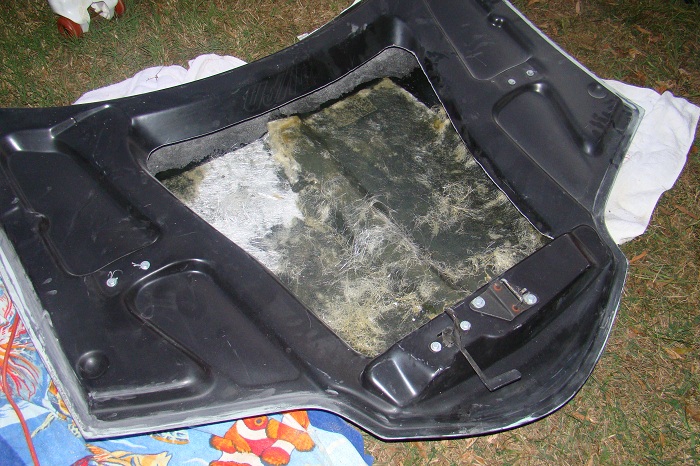
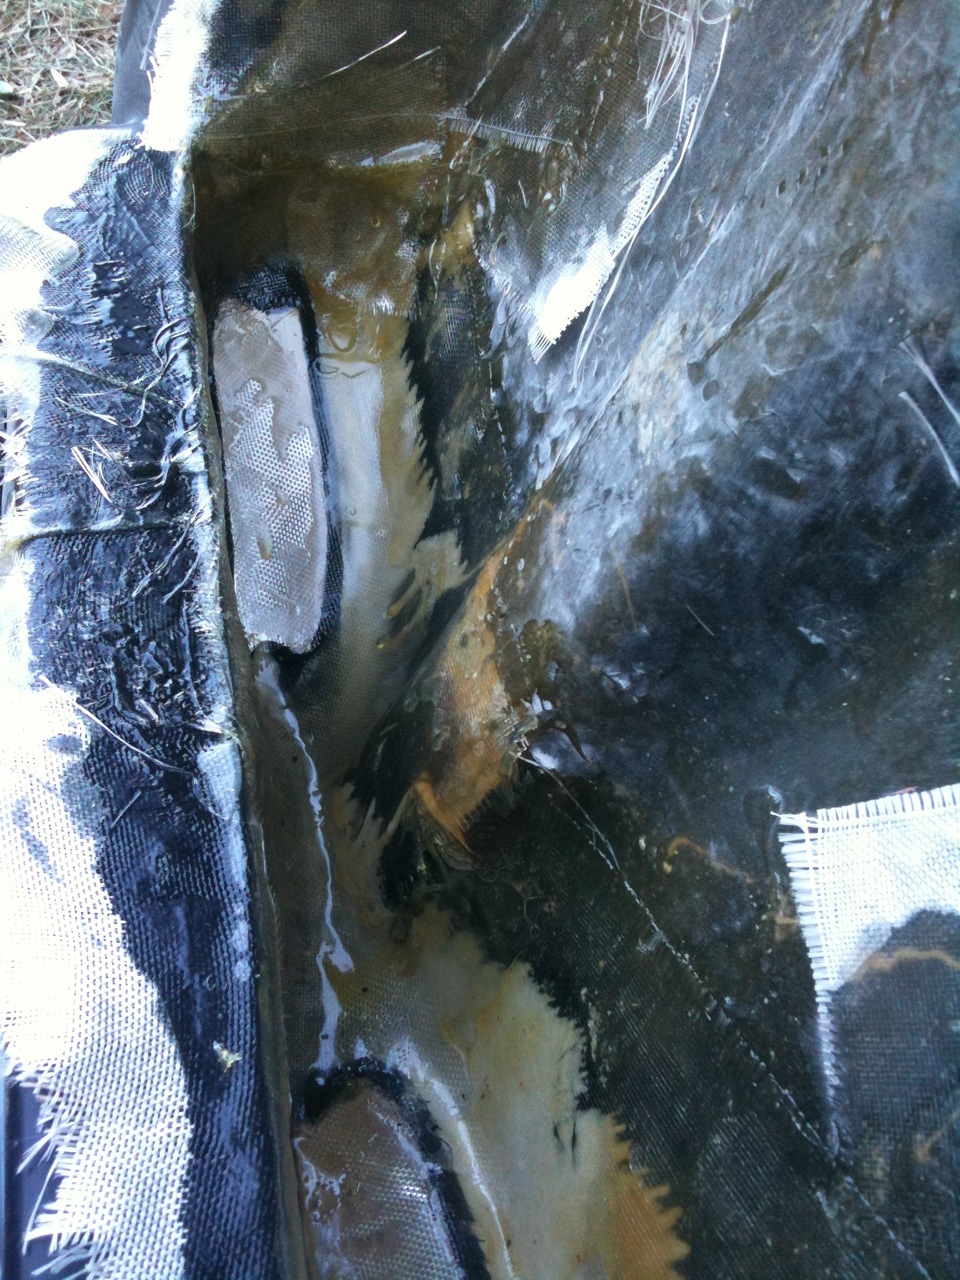
This one shows how I cut out some of the inside rim and smoothing up the left/right edges.
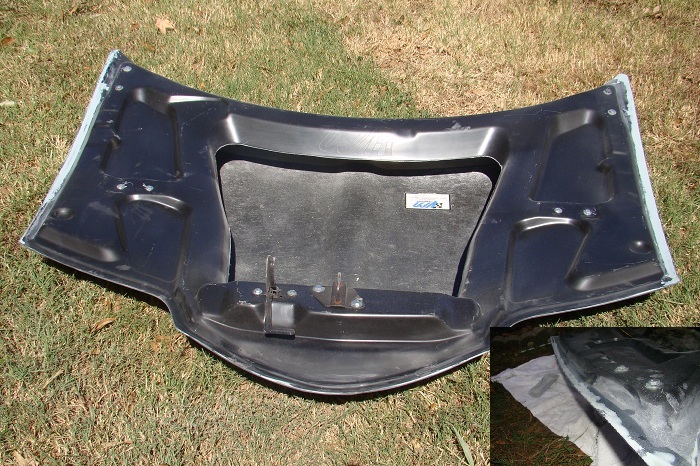
Here I'm laying down some mat to stiffen up the thing. I poured some slurry in where the hinges and where the struts mount. Later I'll pour slurry to cover the underside.
The thumbnail is the pieces I cut out of the hood.
09-29-2010, 08:43 PM
#16
No, there's a couple things you're seeing there. In some pics the hood is popped. Otherwise, my bumper is loosely mounted since I had been doing work on it as well. That whole damn bumper needs block sanding and more so I'm probably gonna ditch it and go with a E-1 bumper.
10-05-2010, 10:47 PM
#18
Mine was a oem style hood but i liked the smooth look better. Man Swiat that hole is huge. I would get the structural filler I was telling you about. The slurry will work but the mat you can build faster. If you need any guidence pm me. I just did a SS hood.

10-06-2010, 09:19 PM
#19
OK, here's todays progress. It's not much as I took my wife to Benihana in Memphis for her birthday. What I did was finish coating the mat in resin, grind the lip edges, grind the mat I added flat and add another layer of resin. The lip edge is where I'm gonna drape woven fiberglass mat curved to the cowl's inner surface. So here's a few pics!

10-07-2010, 11:30 PM
#20
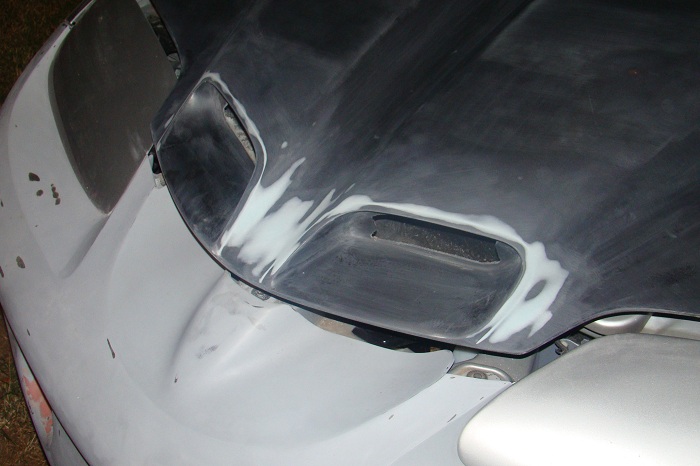
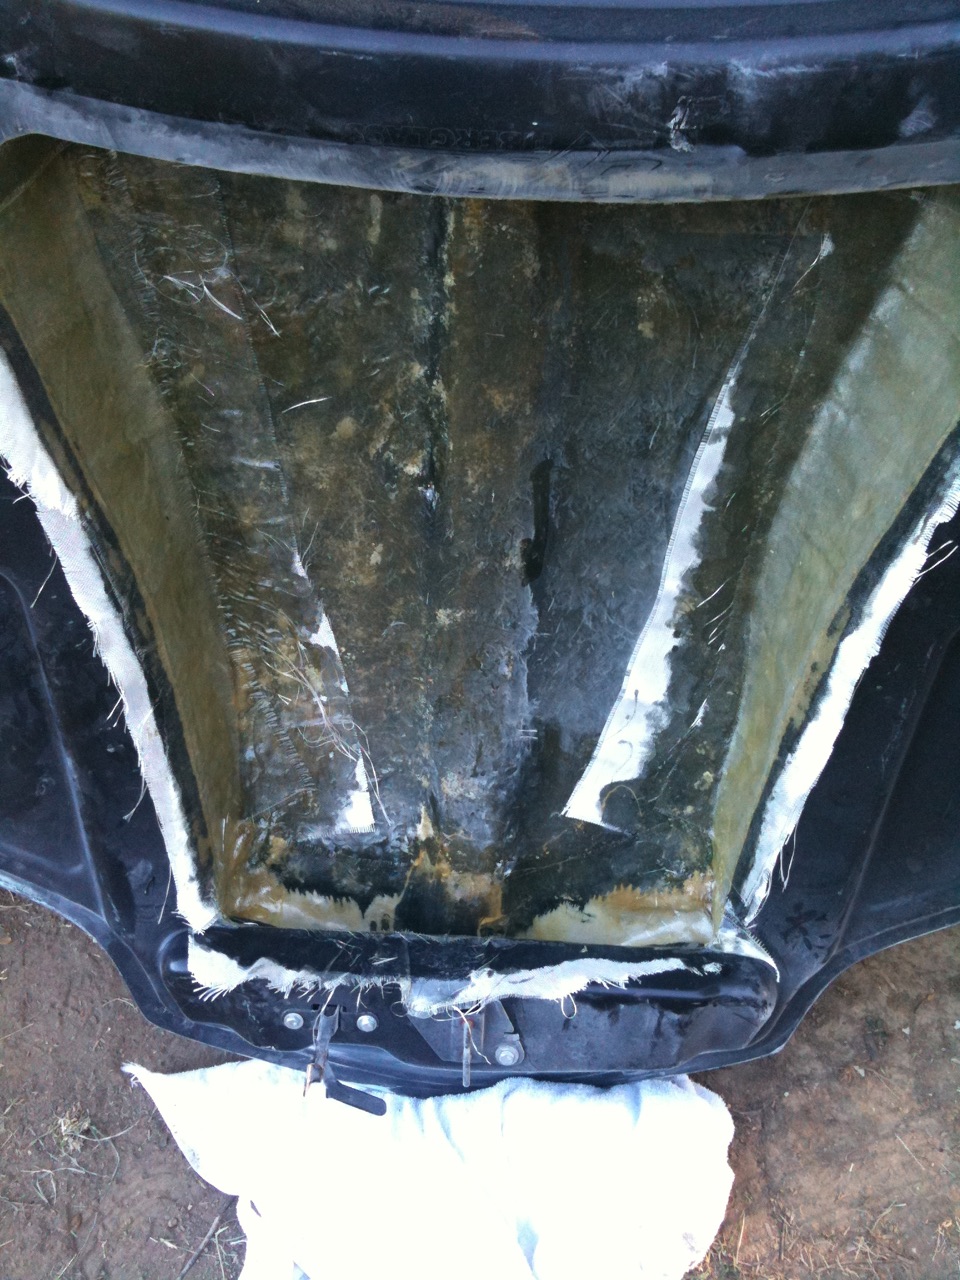
So today's updates. I added the skirting to the open edges of the hood inside. This first pic shows where I draped the fiberglass to close off the area by the ram air openings. They'll get cut back open later.
This pic is just a straight on shot. You can see the added skirting onth the left and right. The hood is balancing on it's nose in these pics BTW.
And here you see the skirt on one of the sides.
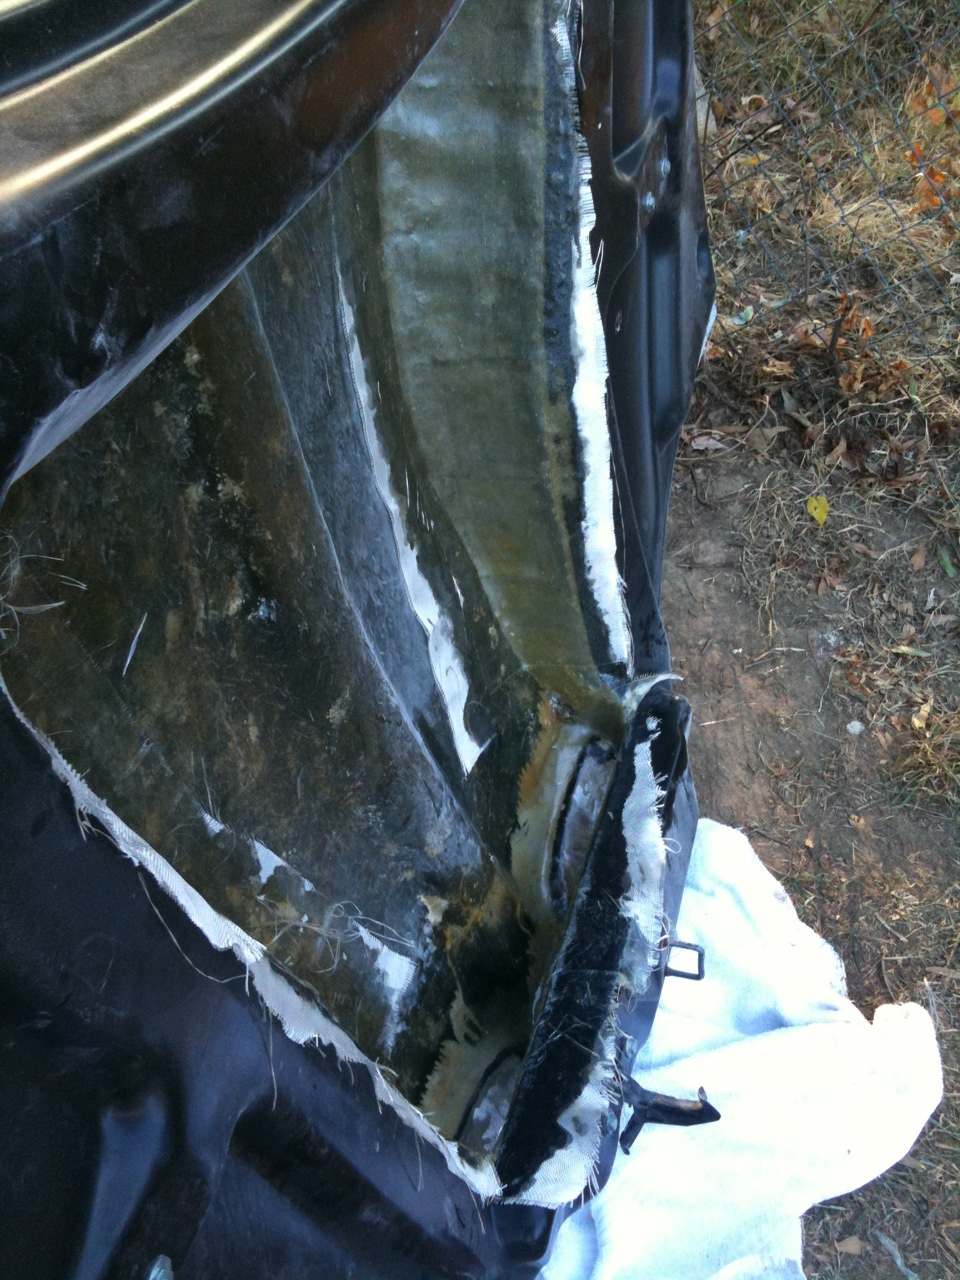
The back section will remain open to allow heat and air pressure to flow out the vents at the back of the cowl. Finally showing some progress!
This pic is just a straight on shot. You can see the added skirting onth the left and right. The hood is balancing on it's nose in these pics BTW.
And here you see the skirt on one of the sides.
The back section will remain open to allow heat and air pressure to flow out the vents at the back of the cowl. Finally showing some progress!