New Valve Covers and Coil Relocation
 05-13-2011, 02:25 PM
#1
TECH Apprentice
Thread Starter
Join Date: Dec 2006
Location: Marble Falls, TX
Posts: 311
Likes: 0
Received 0 Likes
on
0 Posts

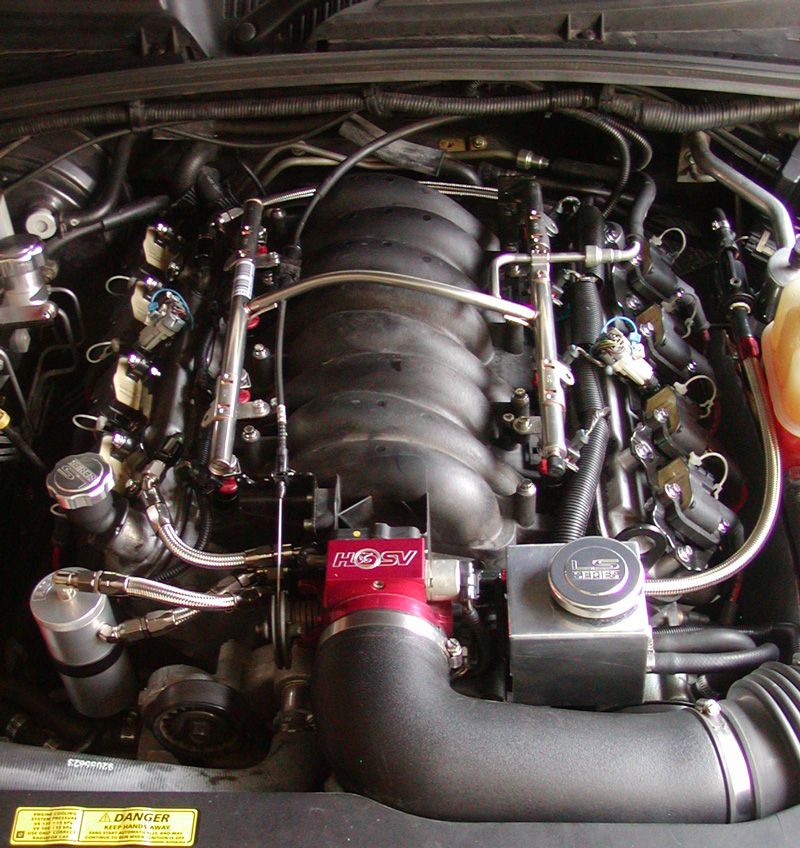
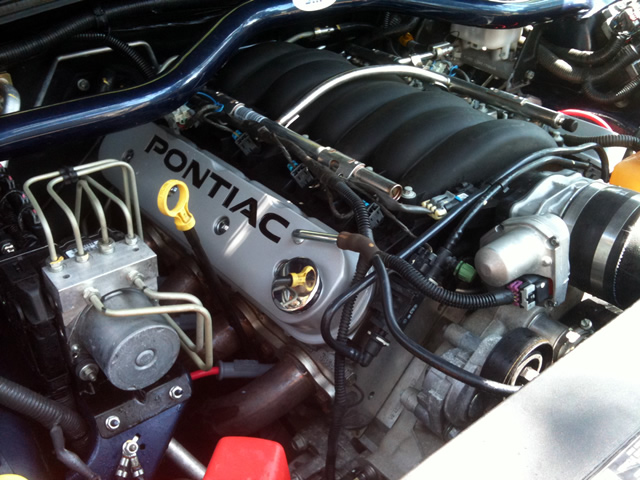
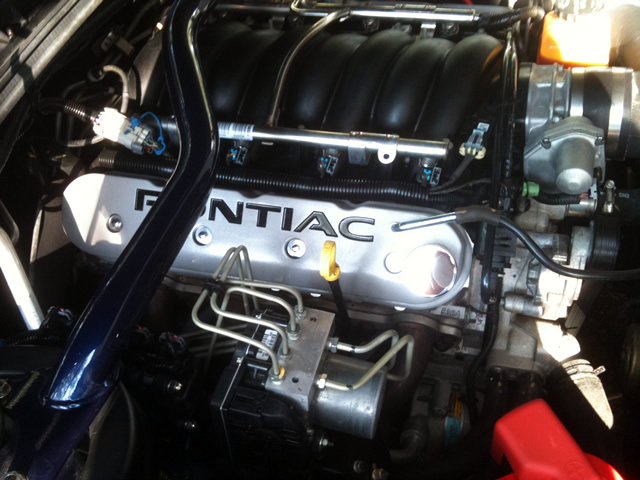
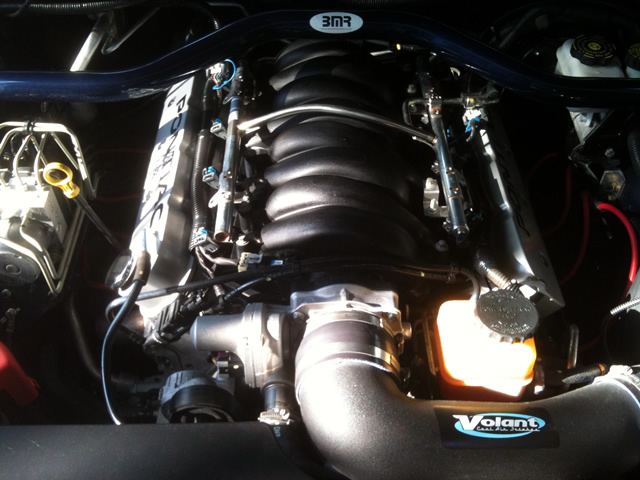
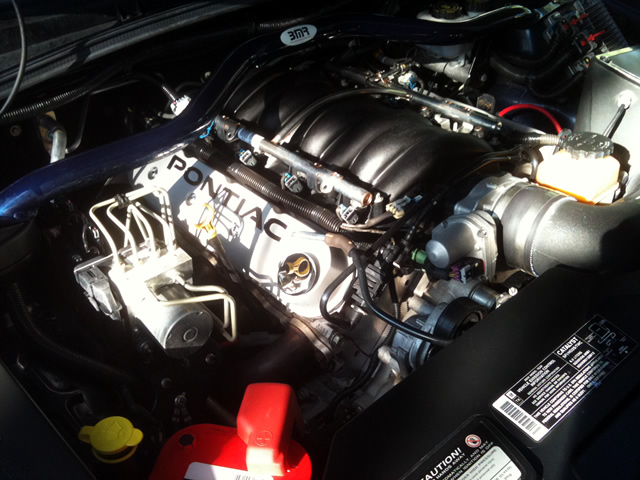
Here's my latest little project. It required fabricating coil relocation brackets and crimping my own spark plug wires:

Full write up here:
http://www.gastiresoil.com/showthread.php?t=2492

Full write up here:
http://www.gastiresoil.com/showthread.php?t=2492
Last edited by Robofuzz; 05-13-2011 at 03:09 PM.

 05-13-2011, 02:59 PM
#4
TECH Apprentice
Thread Starter
Join Date: Dec 2006
Location: Marble Falls, TX
Posts: 311
Likes: 0
Received 0 Likes
on
0 Posts

Trending Topics
05-14-2011, 06:20 PM
#8
TECH Apprentice
Thread Starter
Join Date: Dec 2006
Location: Marble Falls, TX
Posts: 311
Likes: 0
Received 0 Likes
on
0 Posts
OK - here's a few pictures after I rerouted some wiring, covered the injector harnesses in factory-style wire loom, and a quickie detail:


Last edited by Robofuzz; 05-15-2011 at 04:23 PM.
06-27-2011, 02:01 AM
#9
On The Tree
iTrader: (5)
Join Date: Jul 2008
Location: Cincinnati
Posts: 165
Likes: 0
Received 0 Likes
on
0 Posts
Eventhough im not into the pontiac stuff for our cars, i still think this turned out very nice and you did a great job.
Out of curiosity, not to sound like some nerd questioning the way you did the modification, lol.. did you ever look into pulling the loom and tape off the factory coil harness plug (harness side) and pulling it back through the harness to allow the plug to be relocated? I was thinking about moving mine to the firewall and was unsure if there were wire taps or spliced connections inside there, i figured prolly not, but you never know.
And how long are those plug wire do it yourself kits? Are those wires fairly long, ya think? Like i wonder if i could run all 8 wires to the firewall? You had success making the wires i see though, did you use the supplied wire splice setup, or use another tool? Sometimes ive heard if you have a certain type of electricians crimping tools the wires can be much easier to crimp. Who knows.
Sorry for all of the questions, just figured perhaps it was fresh on your brain, and id shoot ya some props for the patience and cleaner look.
That bmr brace looks nice too. Makes me really want to get one of those.
06-27-2011, 11:36 AM
#11
TECH Apprentice
Thread Starter
Join Date: Dec 2006
Location: Marble Falls, TX
Posts: 311
Likes: 0
Received 0 Likes
on
0 Posts
Out of curiosity, not to sound like some nerd questioning the way you did the modification, lol.. did you ever look into pulling the loom and tape off the factory coil harness plug (harness side) and pulling it back through the harness to allow the plug to be relocated? I was thinking about moving mine to the firewall and was unsure if there were wire taps or spliced connections inside there, i figured prolly not, but you never know.
Oh and good luck with installing them on the firewall. I looked at several mounting options (firewall, back of the heads, frame rails) and what I did was (IMHO) the best option.
And how long are those plug wire do it yourself kits? Are those wires fairly long, ya think? Like i wonder if i could run all 8 wires to the firewall? You had success making the wires i see though, did you use the supplied wire splice setup, or use another tool? Sometimes ive heard if you have a certain type of electricians crimping tools the wires can be much easier to crimp. Who knows.
If I were to do it again, I would buy a roll of MSD wire and the proper number of spark plug and coil connectors and boots. That would probably save about $50 on the spark plug wires.
Last edited by Robofuzz; 06-27-2011 at 11:44 AM.
06-27-2011, 11:42 AM
#12
TECH Apprentice
Thread Starter
Join Date: Dec 2006
Location: Marble Falls, TX
Posts: 311
Likes: 0
Received 0 Likes
on
0 Posts

 07-08-2011, 12:30 AM
#15
On The Tree
iTrader: (5)
Join Date: Jul 2008
Location: Cincinnati
Posts: 165
Likes: 0
Received 0 Likes
on
0 Posts
yea youre right on the firewall.. I am pretty much focked once i have a 4 inch downpipe going down the passenger side, and now that i have my regulator, catch cans, and fuel lines on the other side.
Either way, thanks for the advice! Back to the drawing board.
Either way, thanks for the advice! Back to the drawing board.
07-08-2011, 12:36 AM
#16
On The Tree
iTrader: (5)
Join Date: Jul 2008
Location: Cincinnati
Posts: 165
Likes: 0
Received 0 Likes
on
0 Posts

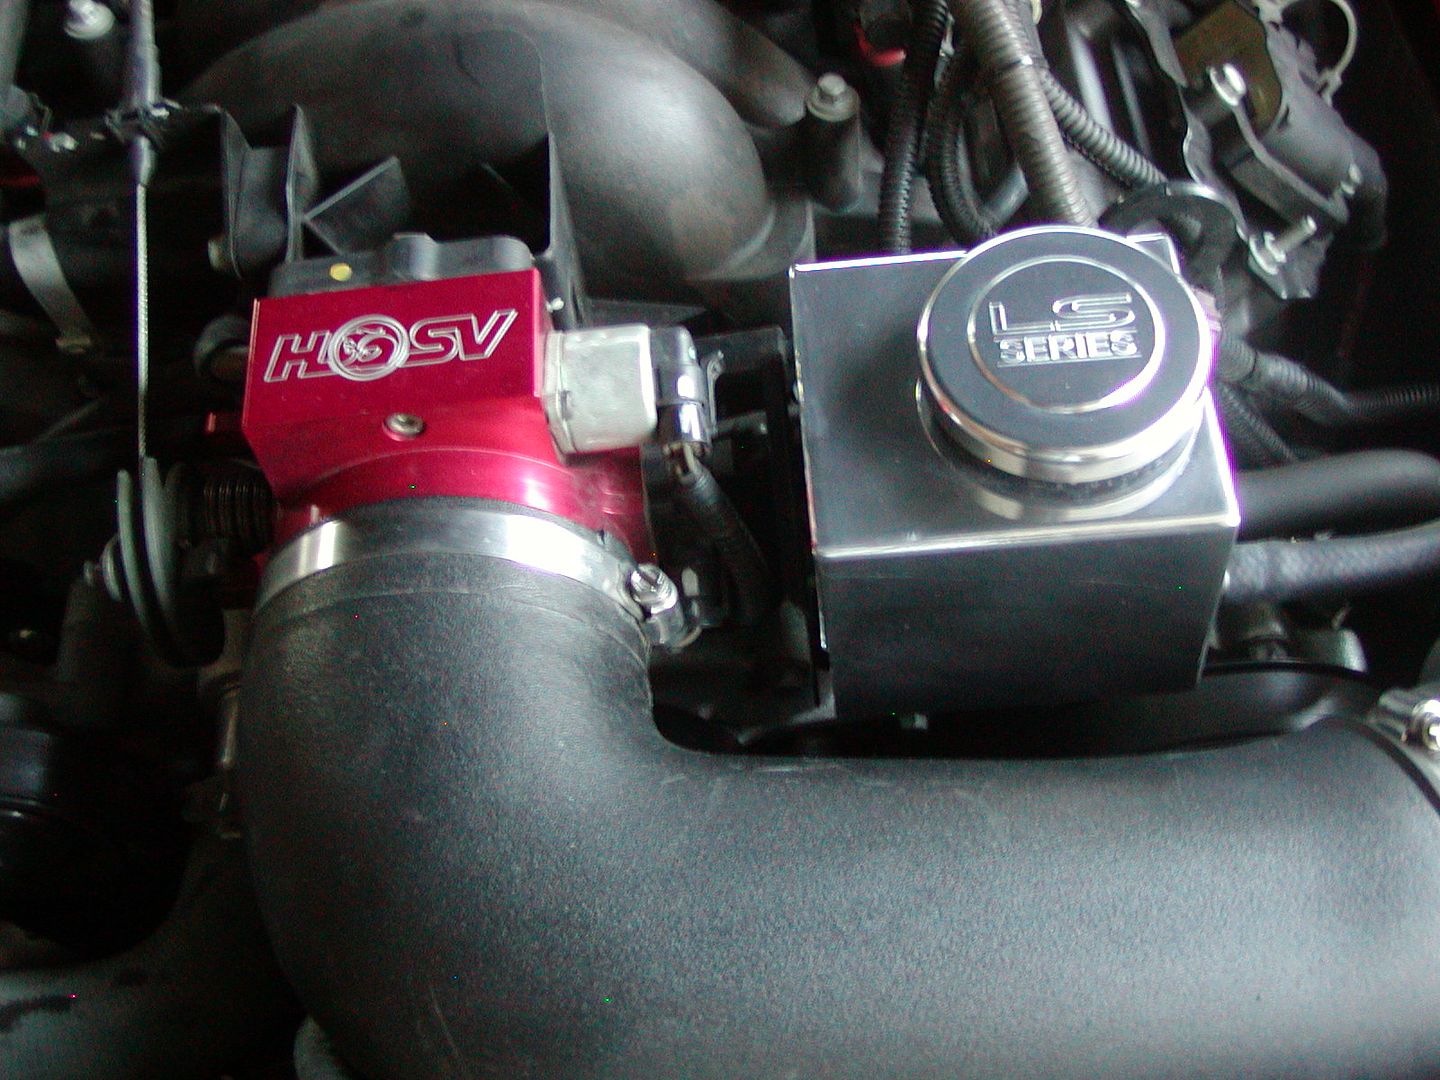
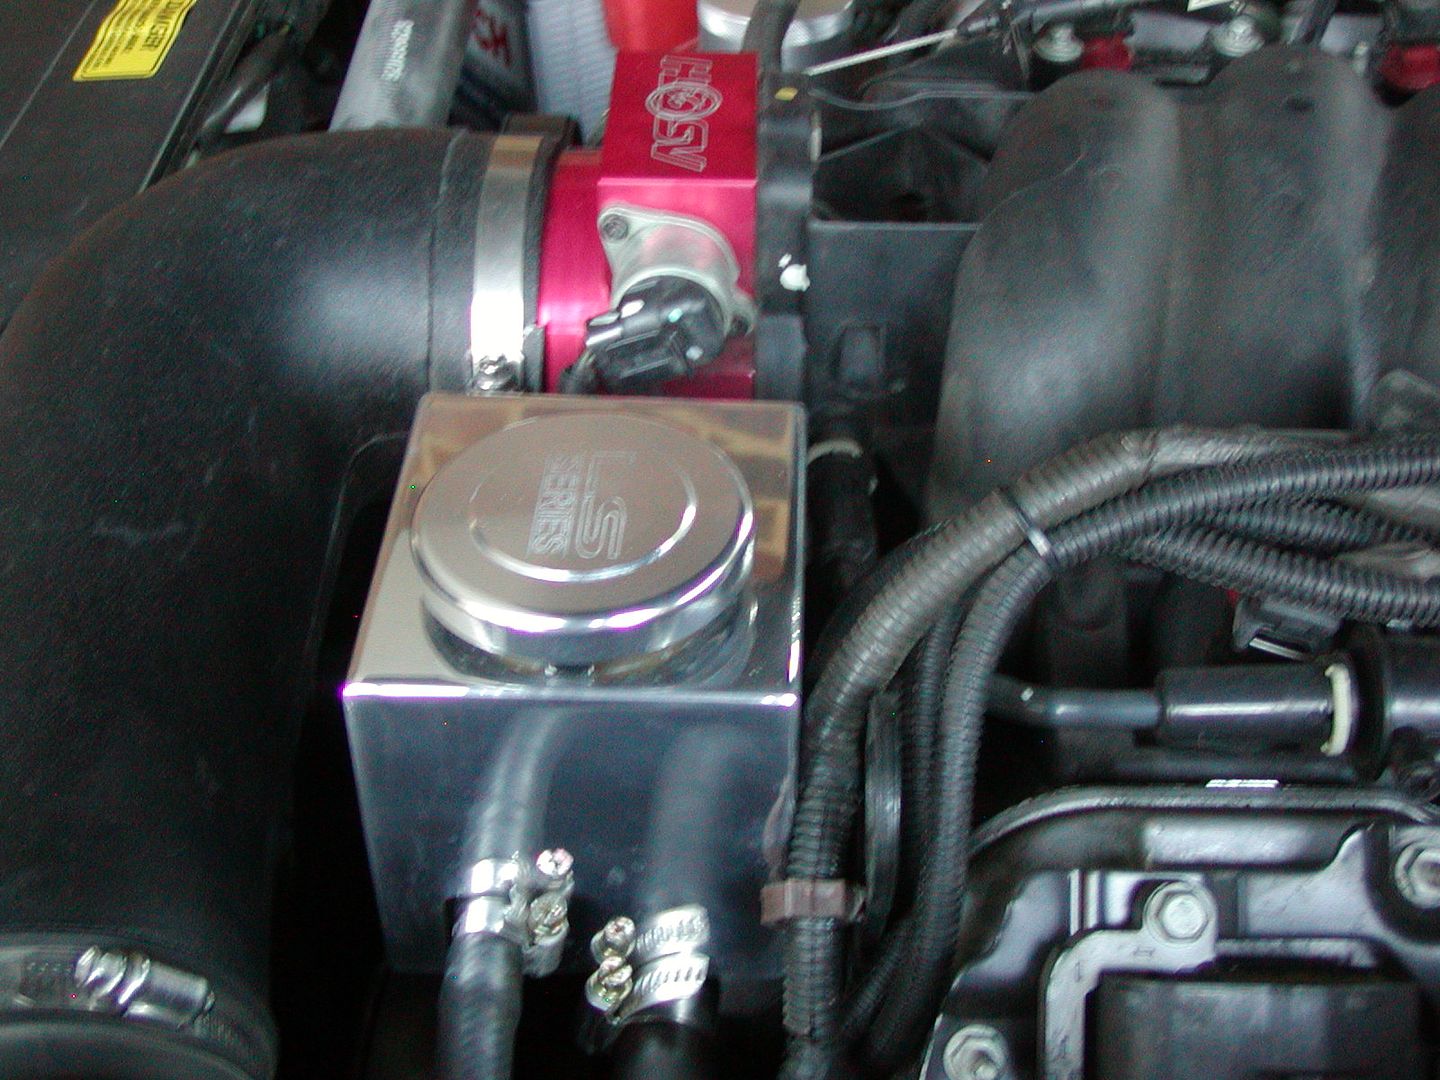
(i am in process of installing a lot of stuff, hence why there are no hoses or brackets on the breather and catch can tanks.)Just best pic i had of my urine bottle. Those things are a ******* eye sore for sure. Right there in your face also.
 07-08-2011, 01:31 PM
#18
TECH Apprentice
Thread Starter
Join Date: Dec 2006
Location: Marble Falls, TX
Posts: 311
Likes: 0
Received 0 Likes
on
0 Posts
ive got the same issue.. im ordering that pwr sheet metal one as soon as i can find out where i can get it from, if not, ill just make my own.
(i am in process of installing a lot of stuff, hence why there are no hoses or brackets on the breather and catch can tanks.)Just best pic i had of my urine bottle. Those things are a ******* eye sore for sure. Right there in your face also.
(i am in process of installing a lot of stuff, hence why there are no hoses or brackets on the breather and catch can tanks.)Just best pic i had of my urine bottle. Those things are a ******* eye sore for sure. Right there in your face also.
07-08-2011, 04:11 PM
#20
TECH Enthusiast
Join Date: May 2005
Location: Perth, Australia
Posts: 689
Likes: 0
Received 0 Likes
on
0 Posts