
5.3/T56 swap into a First Gen RX7 GS **Update 3-25-12**
 06-12-2011, 11:34 PM
#1
Teching In
Thread Starter
iTrader: (4)

Join Date: May 2011
Location: Moorhead, MN
Posts: 49
Likes: 0
Received 0 Likes
on
0 Posts
I am moving my build post to here instead of Introductions. ( old post)
Quick review I had a chance to pick up a 2000 5.3L LM7 with harness for $150 so the project just steam rolled from there to trailoring my Project RX7 from my parents farm to Moorhead so I can work on it all the time. I have been doing a bunch of research on this project and sadly there is not much specific info on swapping a Gen III SBC into a First gen RX7 SA or FB. So I am taking info for basic LS swaps and older SBC swaps and RX7 purist pages as well. By purist I mean the types that would gut me and stick my head on a spike for doing this, lol. I had plans of running a newer 13b S5 N/A engine in this car but lost interest a while ago. We all know that V8 power is so much more fun!

The run down so far:
Drivetrain
5.3L LM7 from '00 Silverado with 60K Toasted #8 rod bearing journal, looks like debris was the cause
T56 from '02 Firebird with 124K
Ford Explorer 8.8 3.73 with Trac Lok
Hooker LS to SBC adapter plates
Solid Engine mounts Trans-Dapt Polyurethane Engine mounts
Modified Truck pan
Modified Truck Harness
LS1 Harmonic Balancer
Truck Alternator with custom low mount
Stock Subfame with added steel and V8 mount brackets welded on
Custom Transmission Crossmemeber
Cooling
Jegs universal Radiator 24x19 #555-52006
Hayden 16" electric fan, no shroud
New LS1 Water pump
Stock Thermostat
Fan programmed for 195* turn-on
Air/fuel
Walboro 190 inline pump (upgrading to 255)
Specter 4" cone filter
MAF delete
Truck Intake
Exhaust
Headman Block hugger LS headers (looking for better fit)
LS3 Camaro Exhaust Manifolds! Perfect FIT!
2.5" Stainless duals to Magnaflow Mufflers and turn downs
LS1 Intake Manifold is in the works
And a few pics...

First time setting the V8 in there
Looks like I need a LS1 or LS6 intake
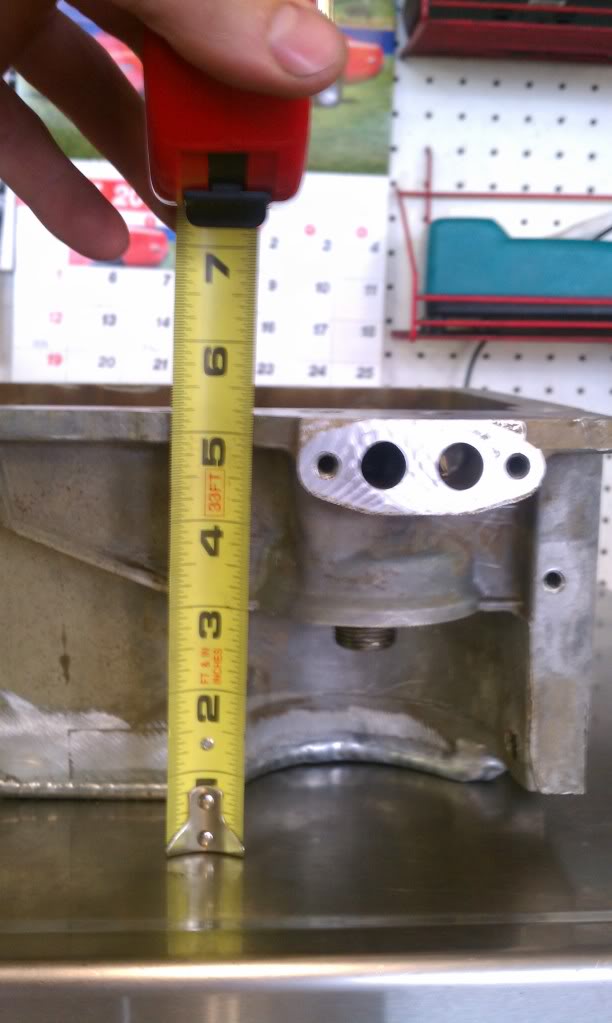
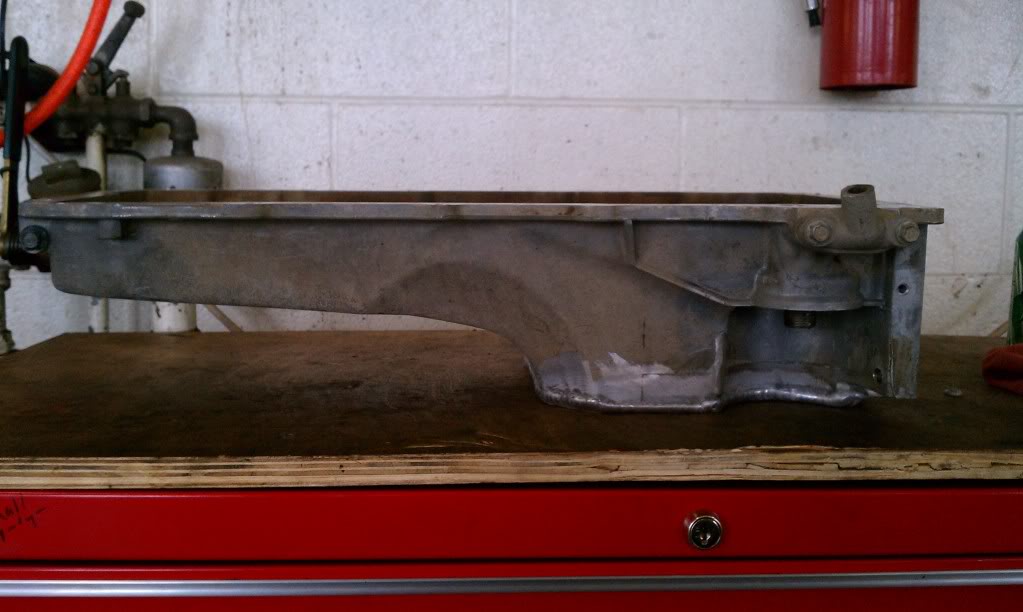
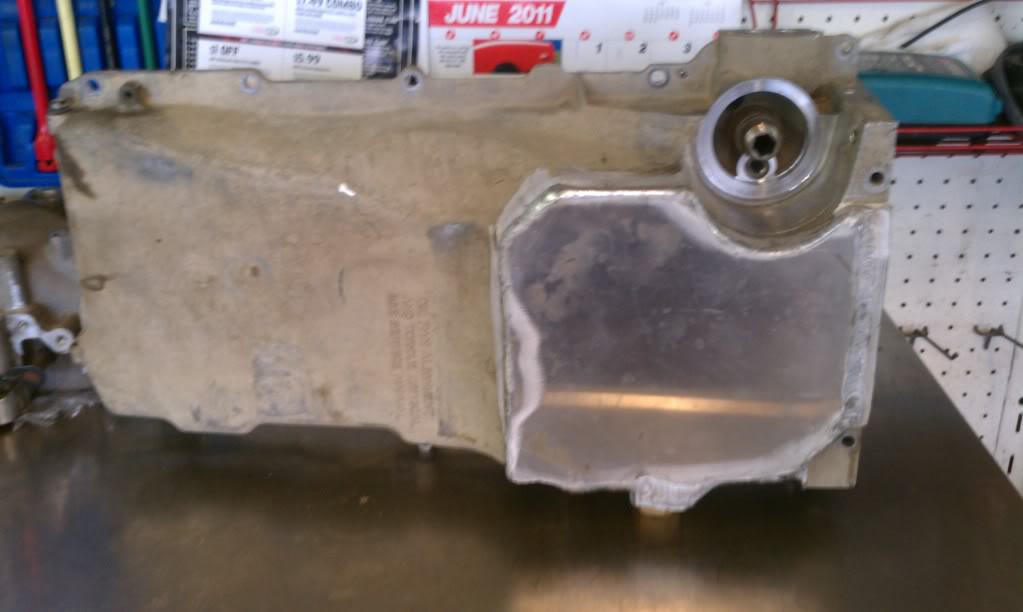
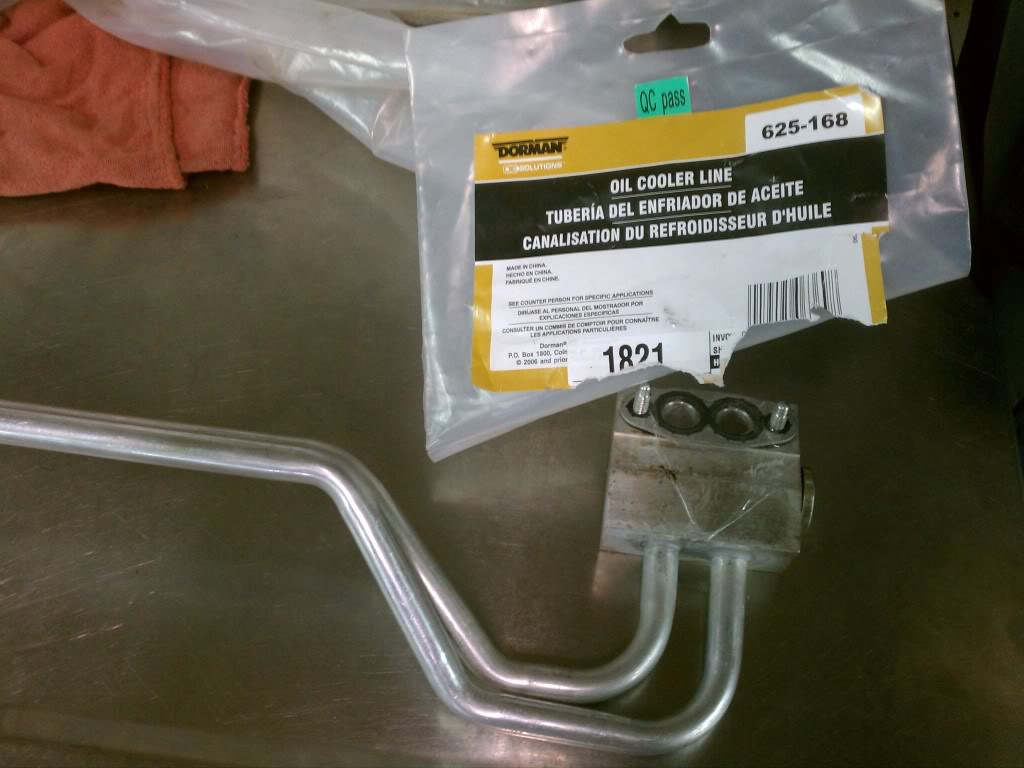
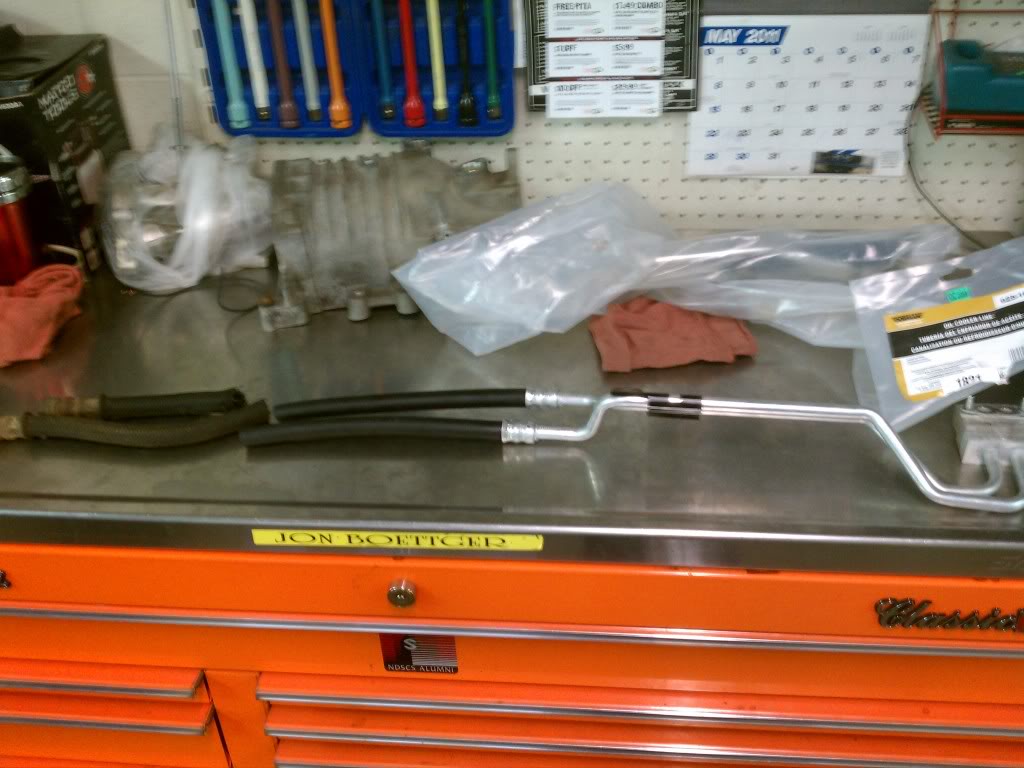
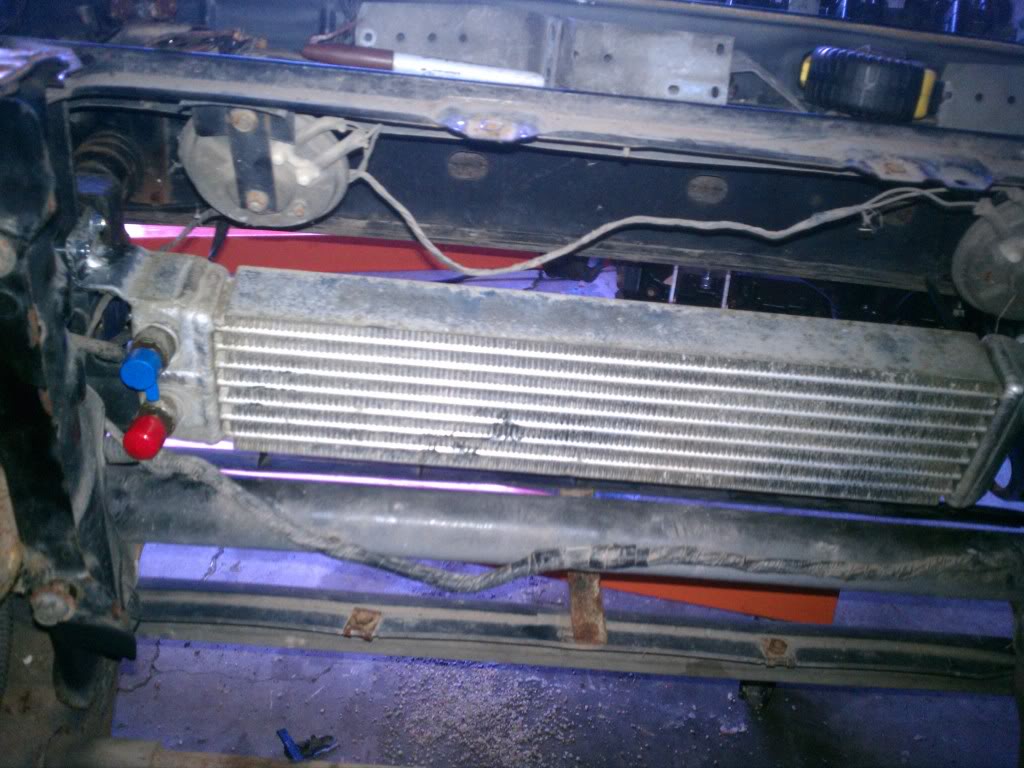
I had the Truck oil pan cut down, removed 3" from the bottom of it for some needed ground clearance. I cut and shorted the Stock pick-up tube to go with. Installed stock RX7 oil cooler, picked up some Dorman Oil cooler lines and spliced hoses together.
Next up is fabbing some engine mounts as soon as my T56 shows up. Plus tons more after that so check back for progress.
Quick review I had a chance to pick up a 2000 5.3L LM7 with harness for $150 so the project just steam rolled from there to trailoring my Project RX7 from my parents farm to Moorhead so I can work on it all the time. I have been doing a bunch of research on this project and sadly there is not much specific info on swapping a Gen III SBC into a First gen RX7 SA or FB. So I am taking info for basic LS swaps and older SBC swaps and RX7 purist pages as well. By purist I mean the types that would gut me and stick my head on a spike for doing this, lol. I had plans of running a newer 13b S5 N/A engine in this car but lost interest a while ago. We all know that V8 power is so much more fun!
The run down so far:
Drivetrain
5.3L LM7 from '00 Silverado with 60K Toasted #8 rod bearing journal, looks like debris was the cause
T56 from '02 Firebird with 124K
Ford Explorer 8.8 3.73 with Trac Lok
Hooker LS to SBC adapter plates
Solid Engine mounts Trans-Dapt Polyurethane Engine mounts
Modified Truck pan
Modified Truck Harness
LS1 Harmonic Balancer
Truck Alternator with custom low mount
Stock Subfame with added steel and V8 mount brackets welded on
Custom Transmission Crossmemeber
Cooling
Jegs universal Radiator 24x19 #555-52006
Hayden 16" electric fan, no shroud
New LS1 Water pump
Stock Thermostat
Fan programmed for 195* turn-on
Air/fuel
Walboro 190 inline pump (upgrading to 255)
Specter 4" cone filter
MAF delete
Truck Intake
Exhaust
Headman Block hugger LS headers (looking for better fit)
LS3 Camaro Exhaust Manifolds! Perfect FIT!
2.5" Stainless duals to Magnaflow Mufflers and turn downs
LS1 Intake Manifold is in the works
And a few pics...
First time setting the V8 in there
Looks like I need a LS1 or LS6 intake
I had the Truck oil pan cut down, removed 3" from the bottom of it for some needed ground clearance. I cut and shorted the Stock pick-up tube to go with. Installed stock RX7 oil cooler, picked up some Dorman Oil cooler lines and spliced hoses together.
Next up is fabbing some engine mounts as soon as my T56 shows up. Plus tons more after that so check back for progress.
Last edited by SSjon; 05-20-2013 at 10:07 PM.

 06-13-2011, 02:02 AM
#3
Launching!
iTrader: (1)
Join Date: Sep 2009
Location: san diego ca.
Posts: 256
Likes: 0
Received 0 Likes
on
0 Posts
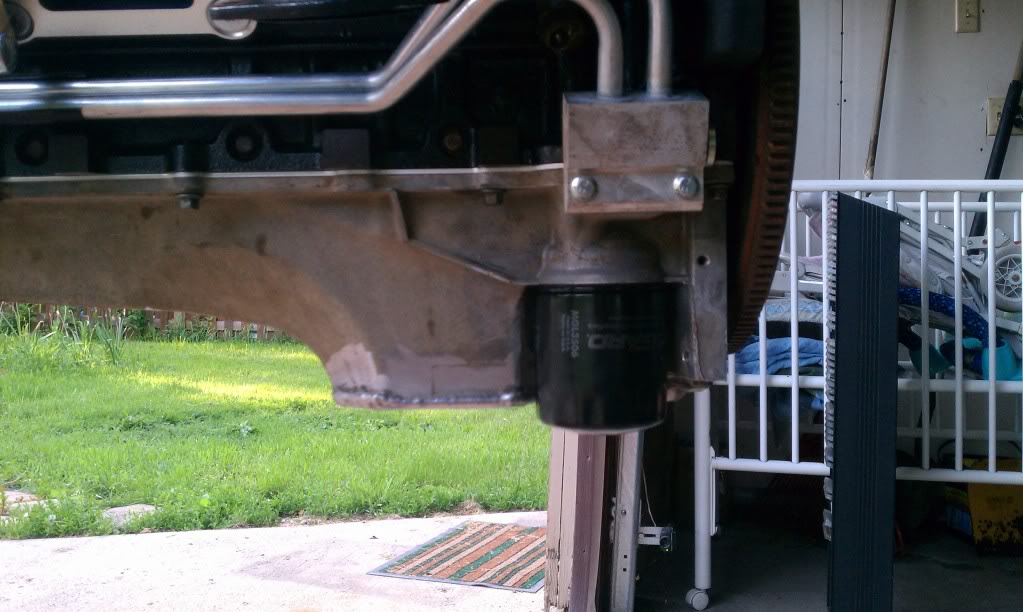
How will you drain the oil when it comes time for an oil change? Wonder how many quarts that thing will hold. I cut mine about 1.5" and I wanna say it holds around 5 1/2 quarts or so. I bet the filter will still hang down beyond the bottom of the pan. Welds look good.
 06-14-2011, 10:46 PM
#7
Teching In
Thread Starter
iTrader: (4)
Join Date: May 2011
Location: Moorhead, MN
Posts: 49
Likes: 0
Received 0 Likes
on
0 Posts
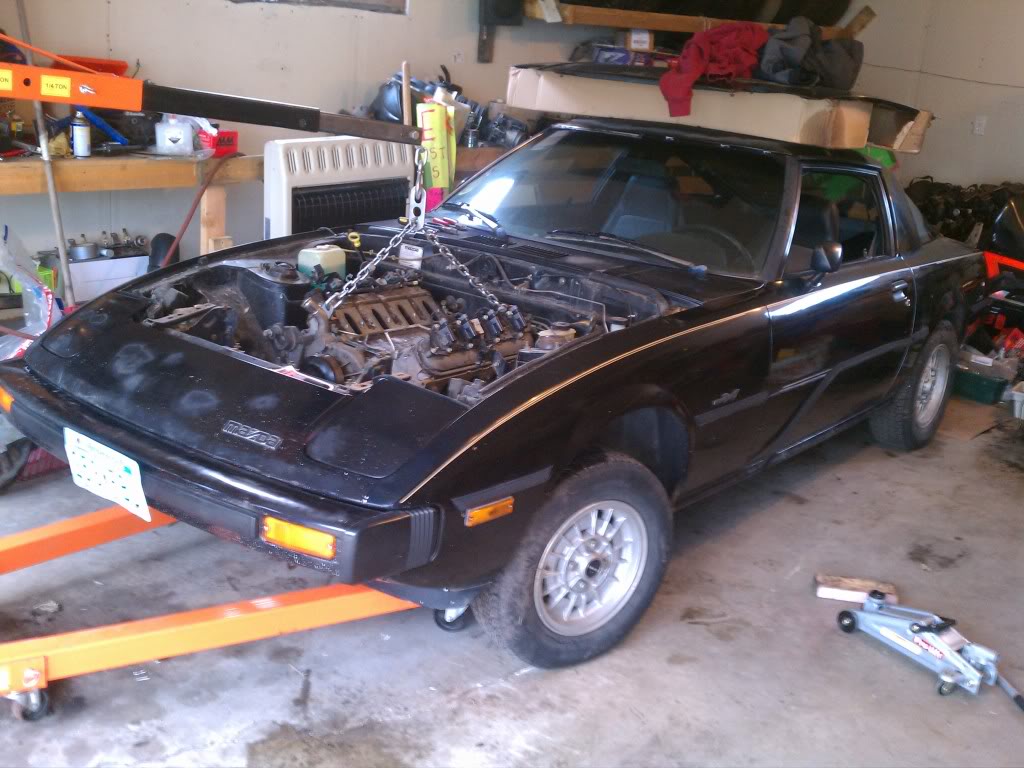
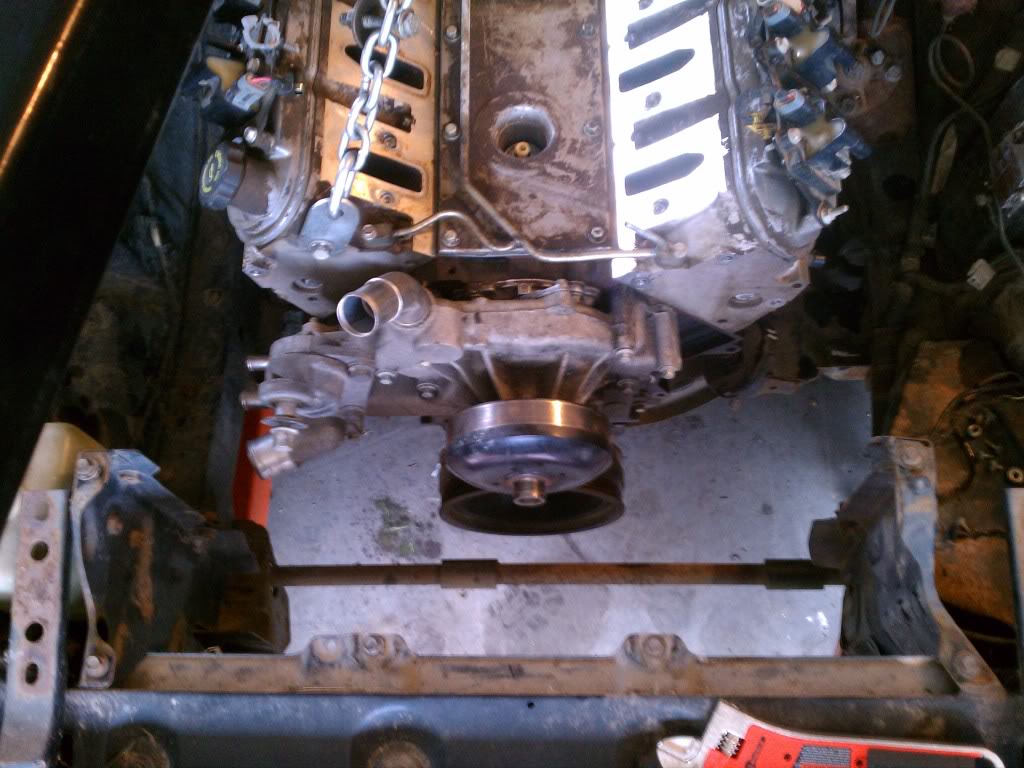
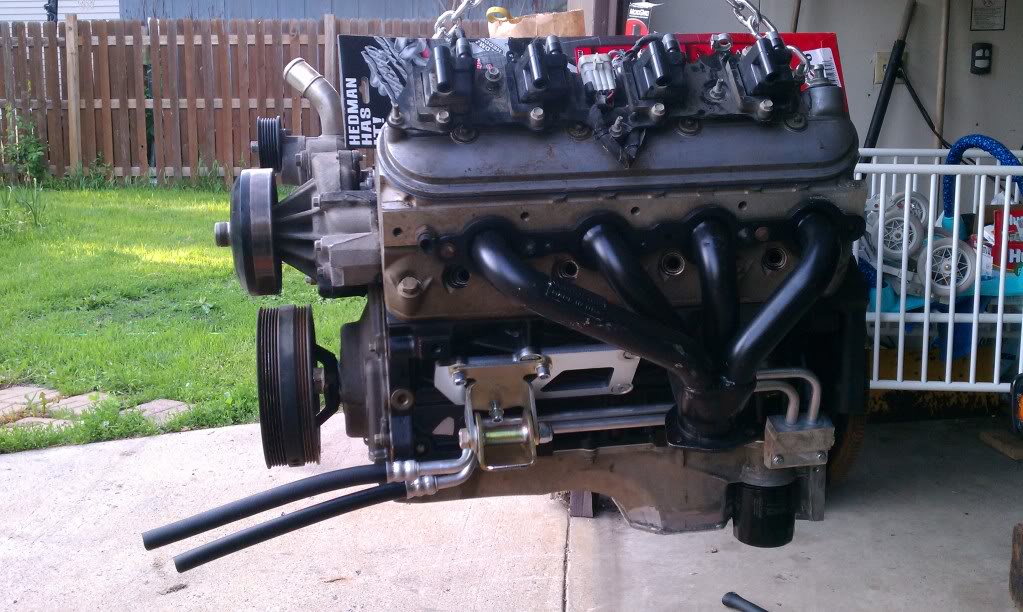
Ok, I have been killing time waiting for my transmission to show up. It was supposed to be here Monday but the shipping company blames engine failure and what not so tomorrow looks to be the day. I took the engine to a machine shop to have a broken off exhaust bolt removed, rear one on the left bank, seems pretty common. Bolted up both Headman Block Hugger headers, not happy with the crappy paint job on them. It will all burn off eventually and I will wrap them or have them ceramic coated eventually. Oil pan is bolted up, clears modified oil pick-up by almost 1/2", is this enough? I never measured stock clearance. I also made sure to line up the back of the pan with the bell housing using a straight edge.
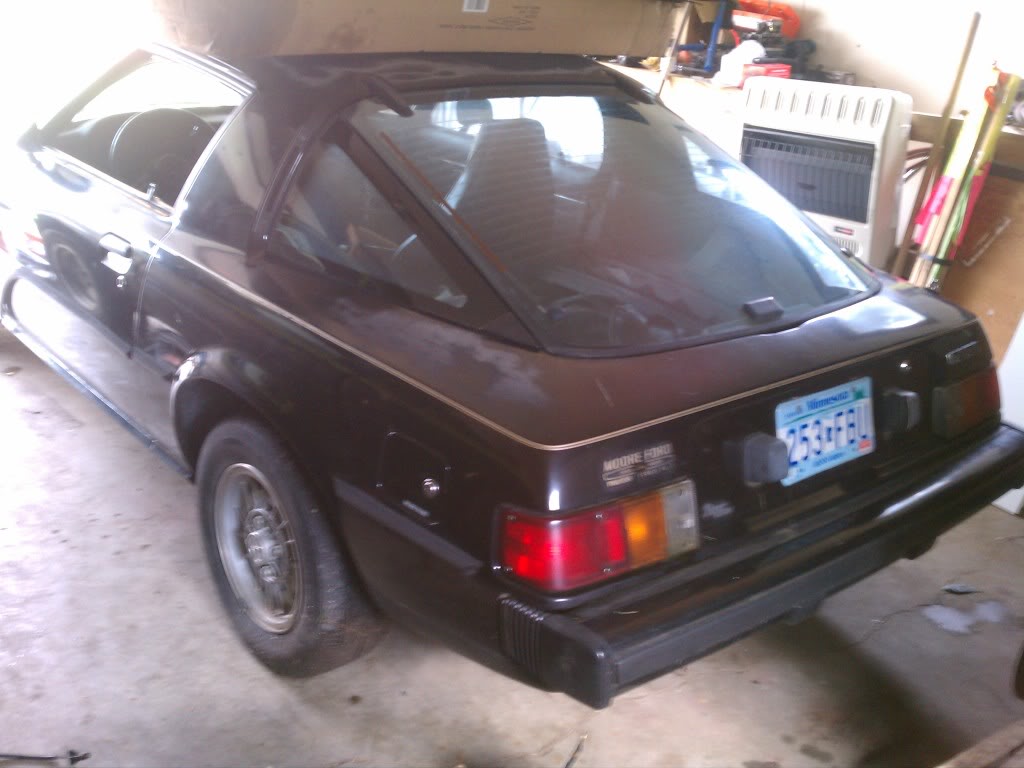
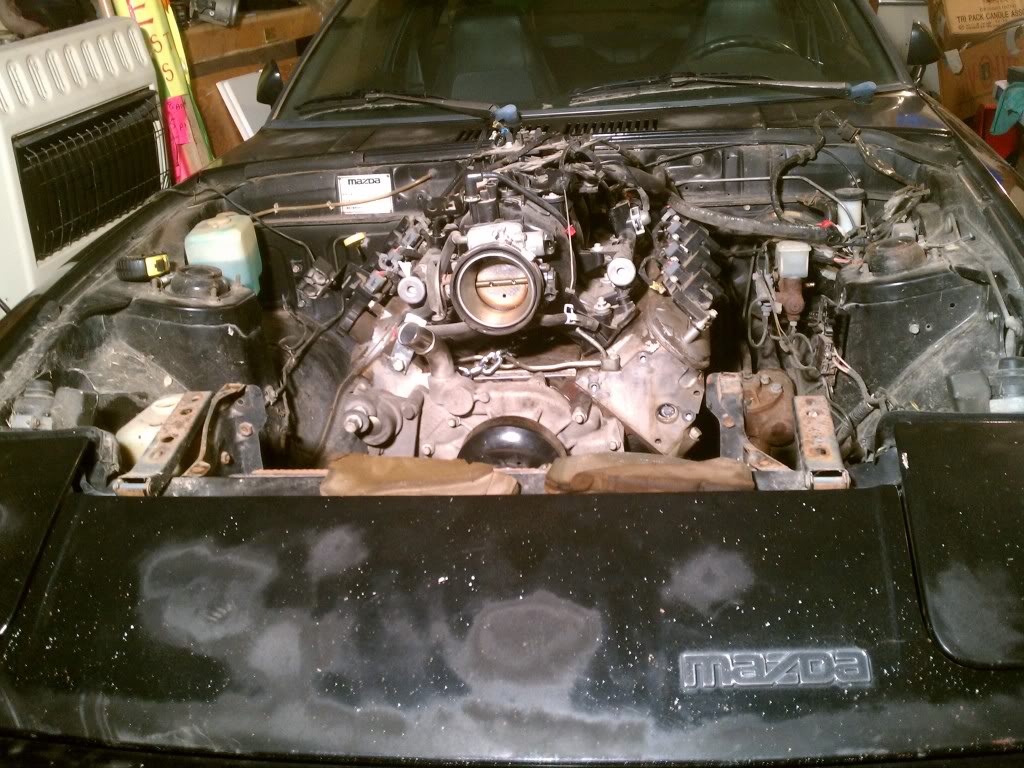
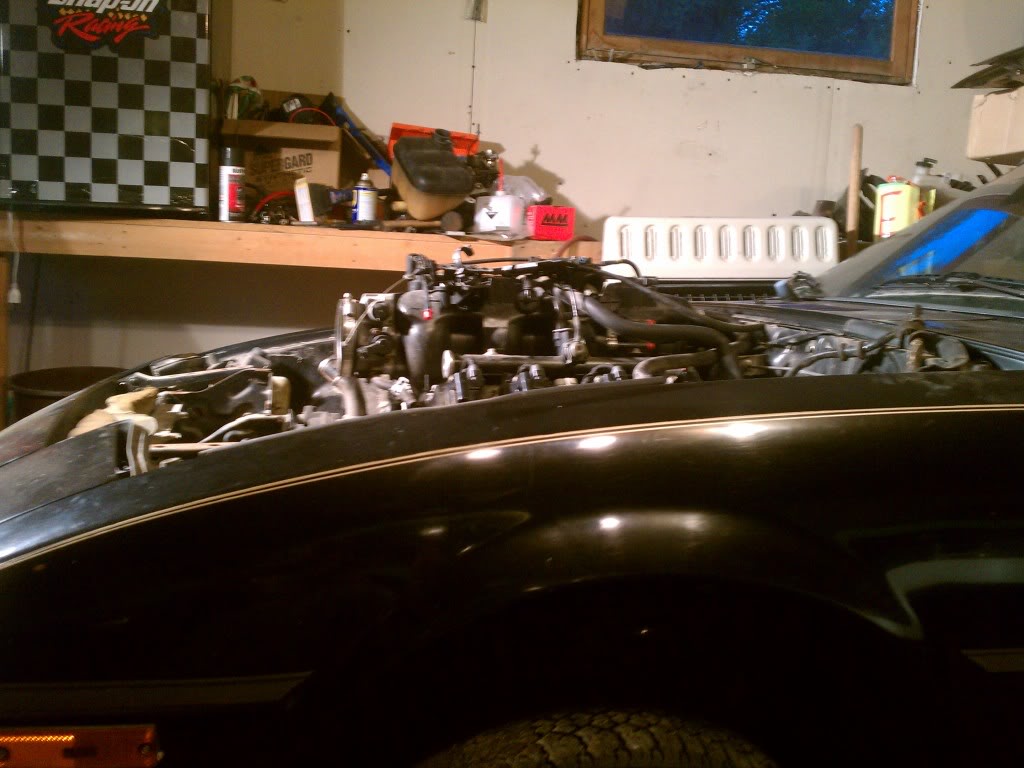
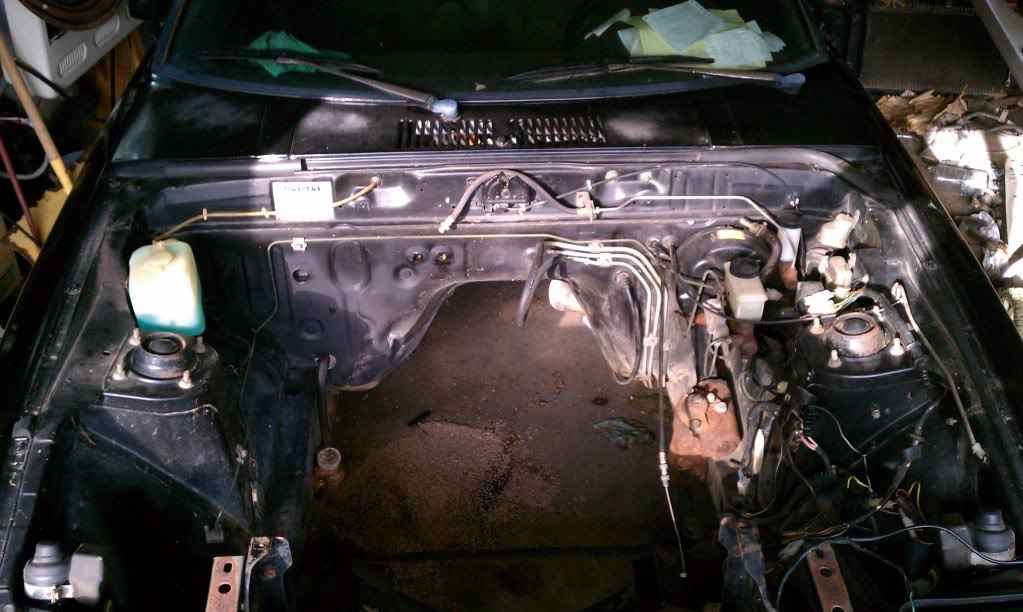
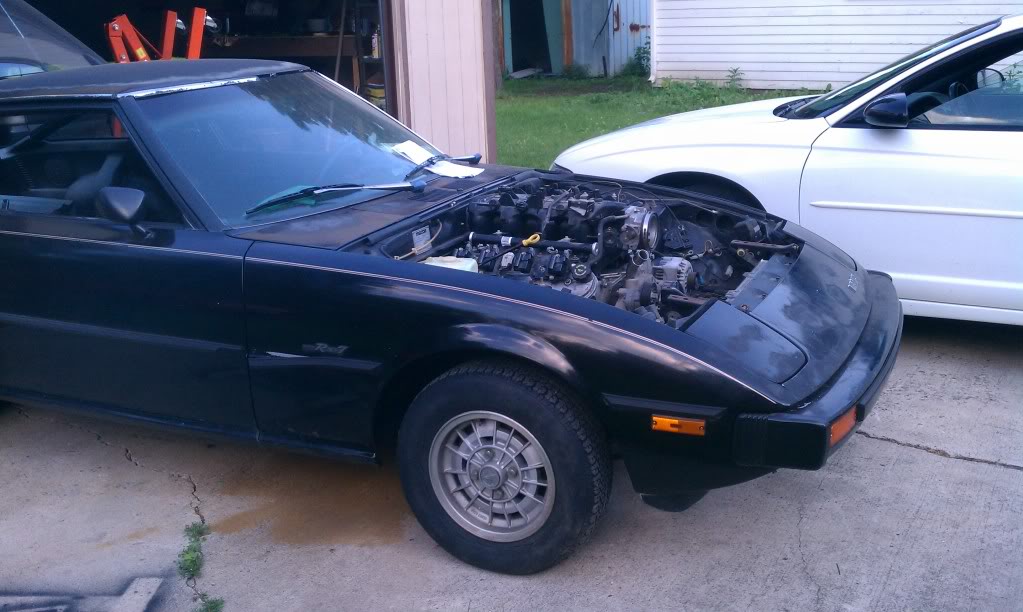
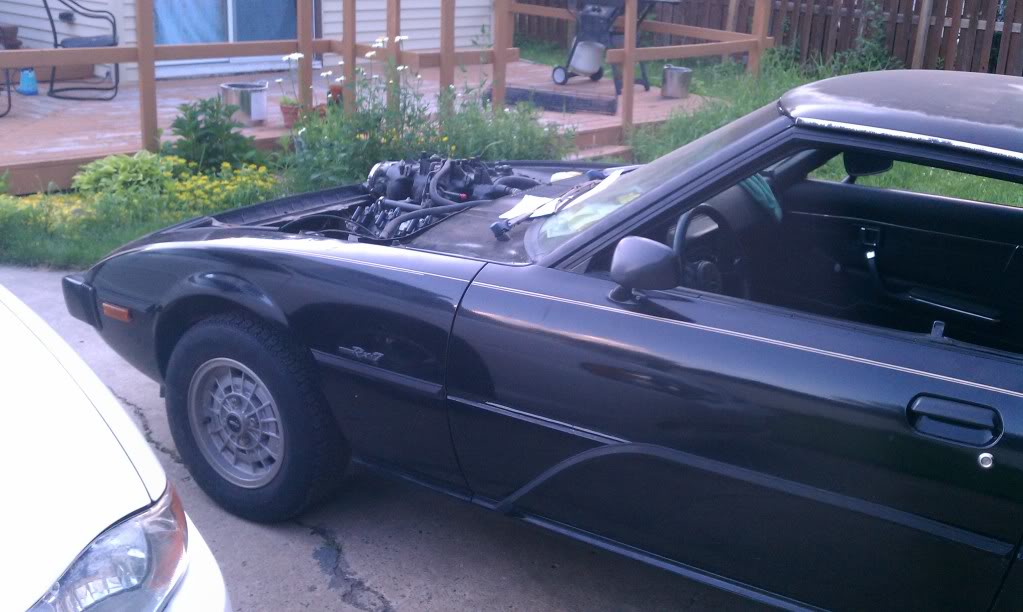
And I rolled it out of the garage to pressure wash the engine bay, plus gave the rest of the car a quick wash.
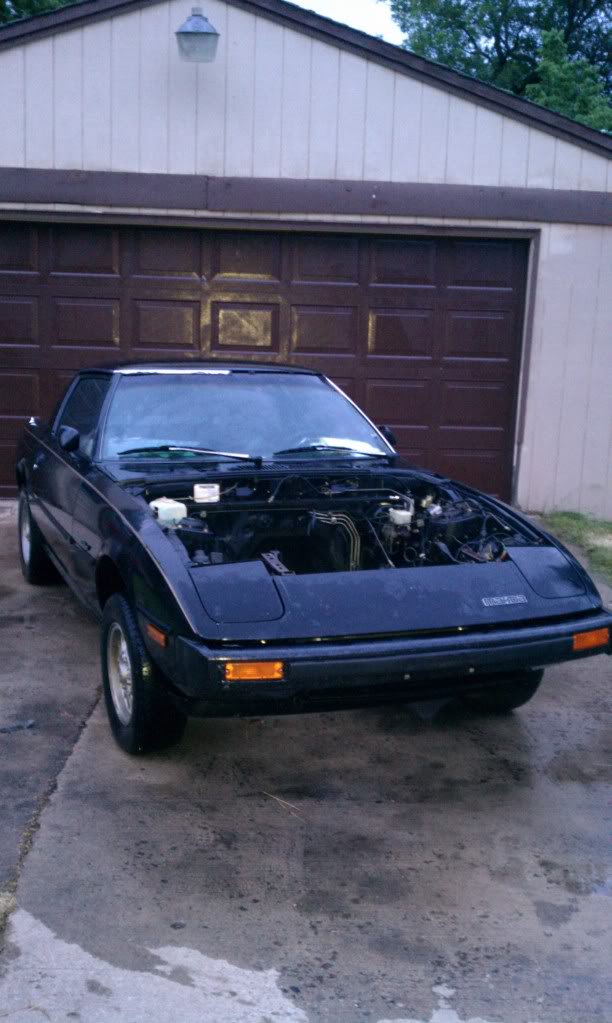
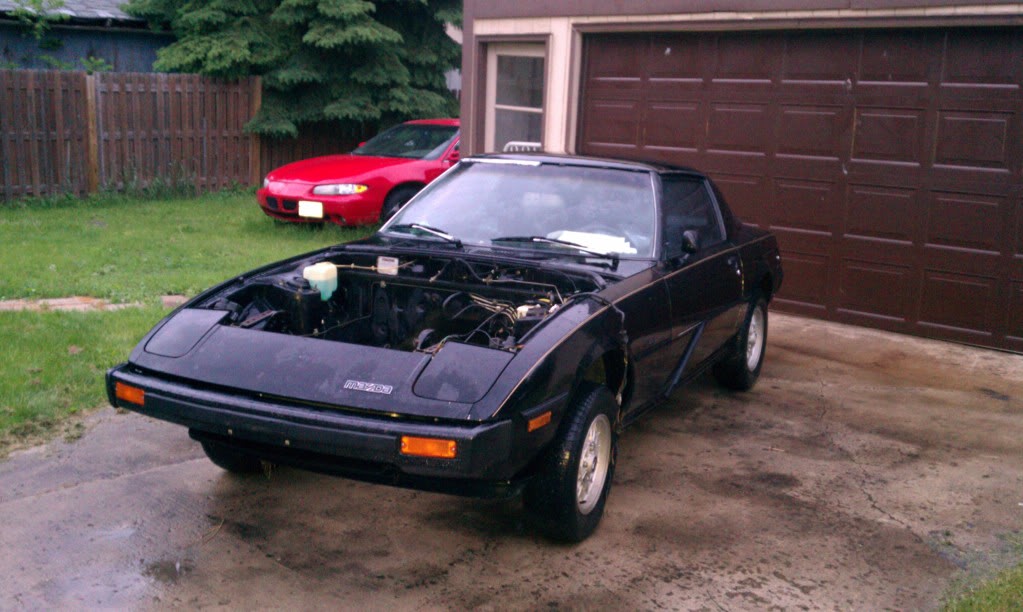
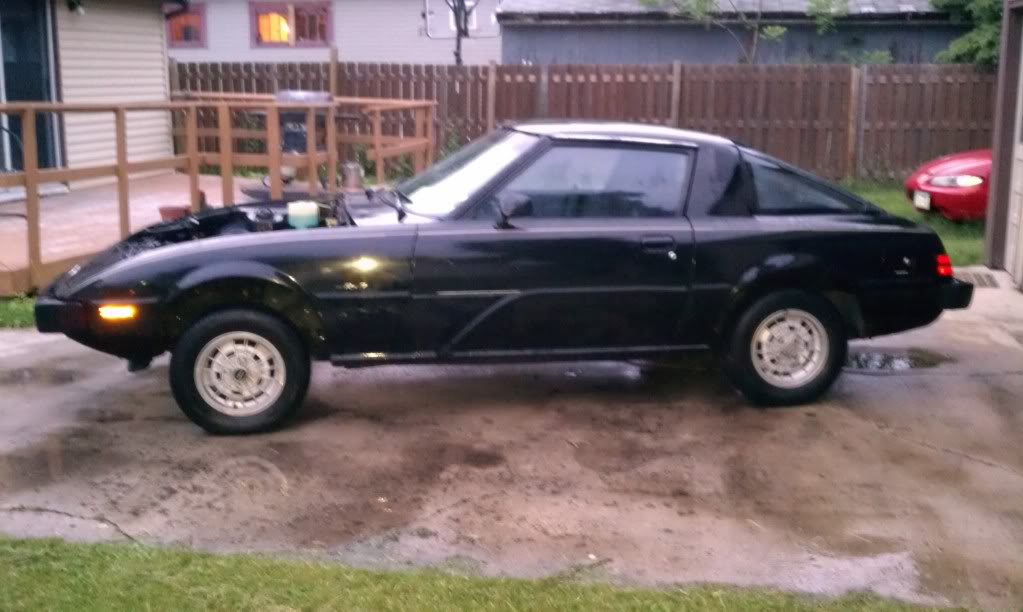
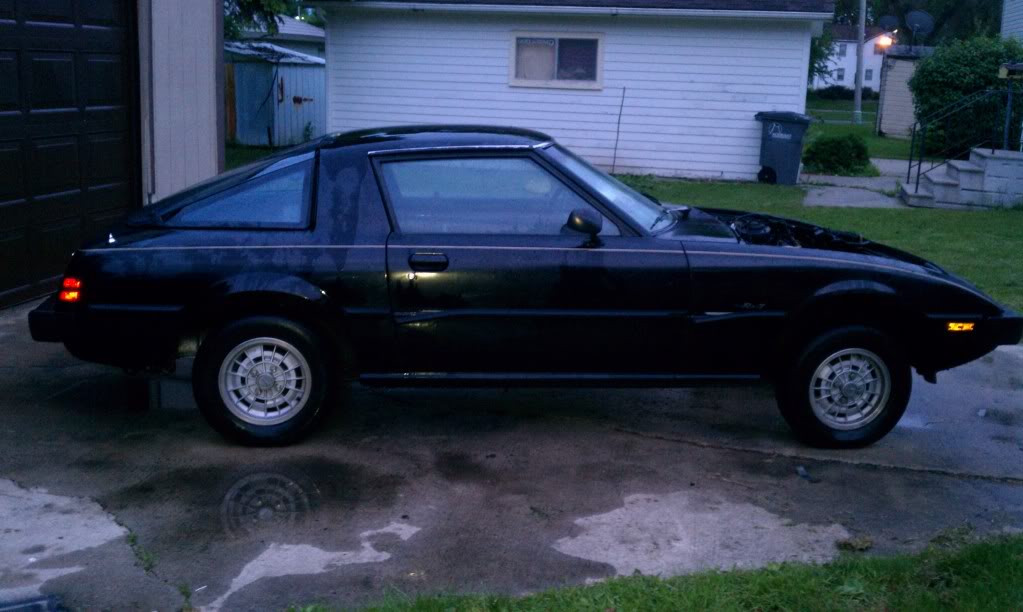
It sucks the the trim is falling off, I will replace it eventually, along with all door moldings and weatherstripping.
And I rolled it out of the garage to pressure wash the engine bay, plus gave the rest of the car a quick wash.
It sucks the the trim is falling off, I will replace it eventually, along with all door moldings and weatherstripping.
Trending Topics
06-15-2011, 10:56 AM
#9
Teching In
Thread Starter
iTrader: (4)
Join Date: May 2011
Location: Moorhead, MN
Posts: 49
Likes: 0
Received 0 Likes
on
0 Posts
I have not looked into that much yet. Except for new struts and shocks, replace all tie rod ends and steering linkage. Keeping the stock steering gear box for now.
06-15-2011, 11:09 PM
#11
Teching In
Thread Starter
iTrader: (4)
Join Date: May 2011
Location: Moorhead, MN
Posts: 49
Likes: 0
Received 0 Likes
on
0 Posts
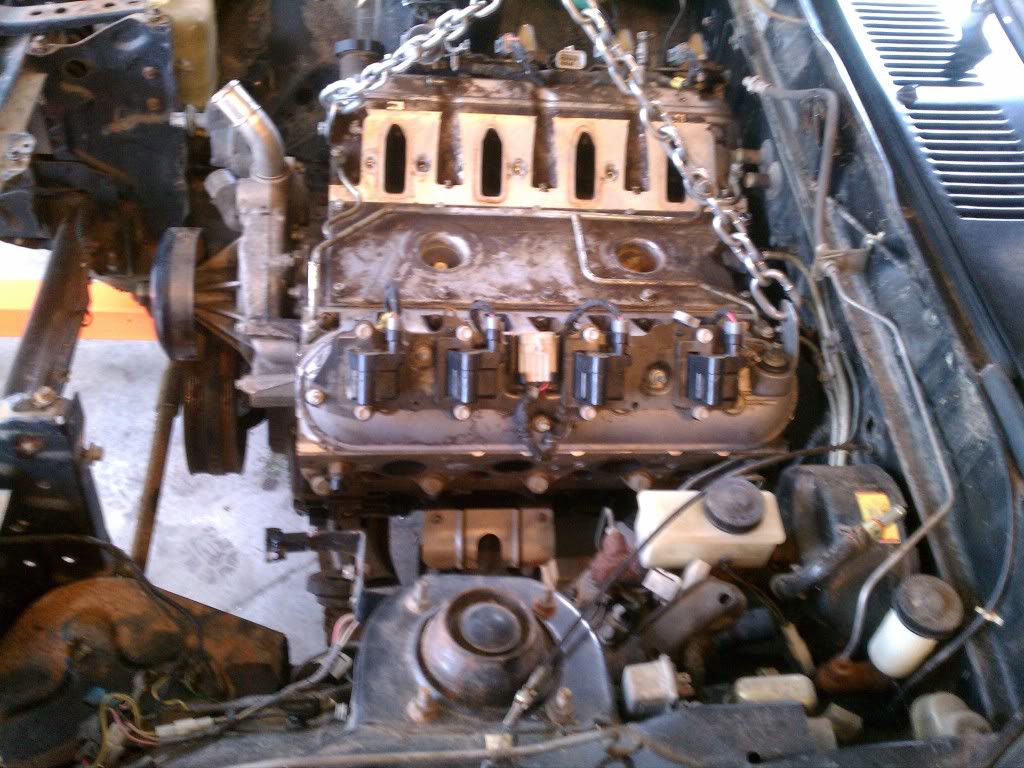
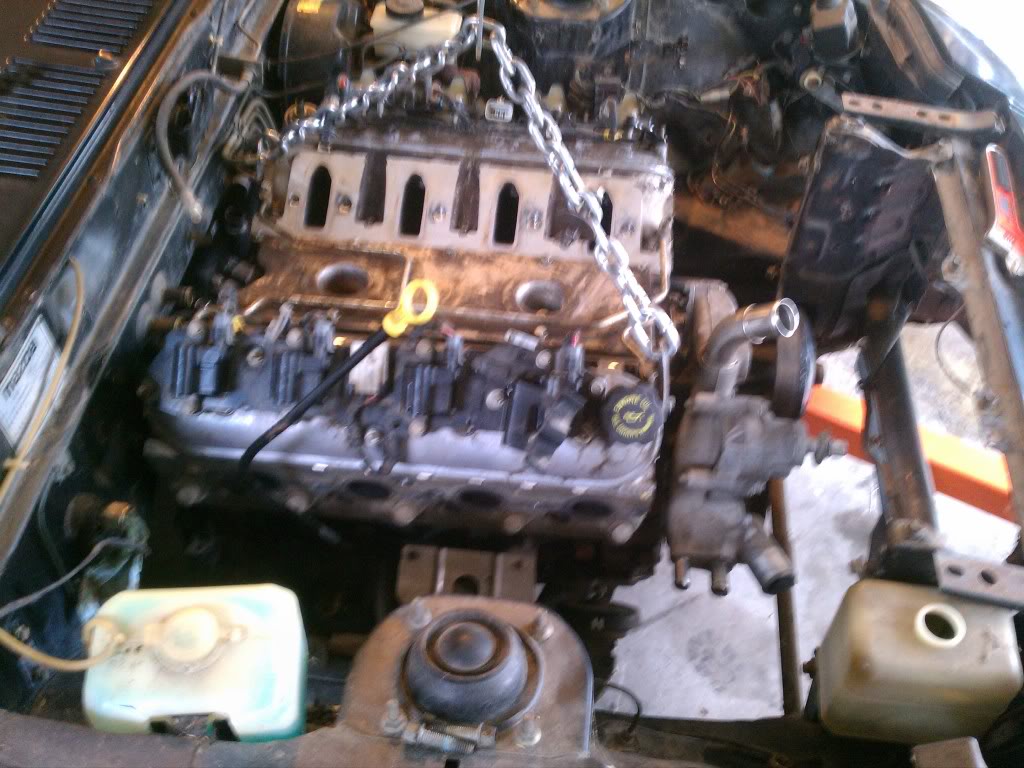
The beast finally showed up haha
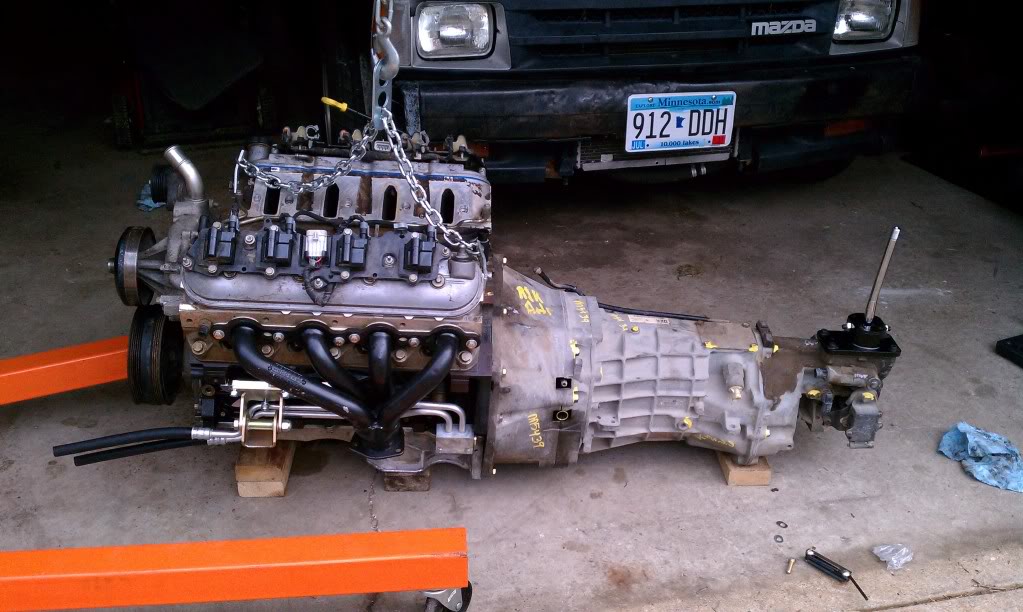
Everything going in for the first time, kinda tricky to do all by myself.
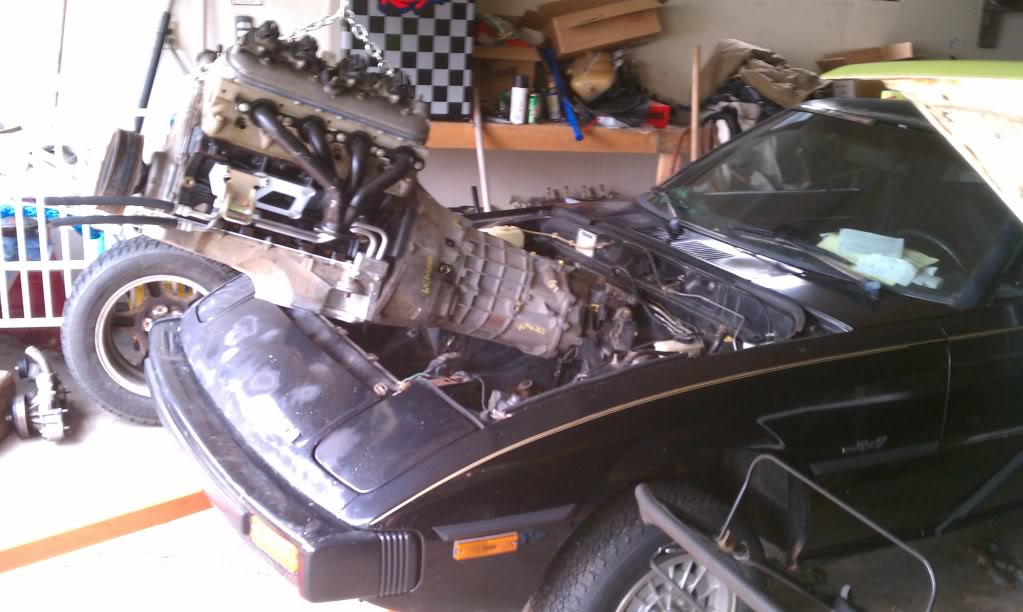
I had it almost all the way in then I had to pull it back out to clearance the tunnel.
Almost got it all cut off, ran out of cut off wheels for the 4" grinder. That thing eats them like warm chocolate chip cookies!
Everything going in for the first time, kinda tricky to do all by myself.
I had it almost all the way in then I had to pull it back out to clearance the tunnel.
Almost got it all cut off, ran out of cut off wheels for the 4" grinder. That thing eats them like warm chocolate chip cookies!
06-16-2011, 09:21 AM
#12
TECH Apprentice
iTrader: (10)
Join Date: Aug 2008
Location: Winnipeg, Manitoba
Posts: 310
Likes: 0
Received 0 Likes
on
0 Posts
If you wanted, Diamond racing makes wheels in 4x110 bolt pattern in many sizes. Then you can run some decent offsets!
Or...do a 5bolt swap with a GSL or GSL-SE knuckles and FC hubs and re-drill your GS rear for Turbo II brakes all-round!
Or...do a 5bolt swap with a GSL or GSL-SE knuckles and FC hubs and re-drill your GS rear for Turbo II brakes all-round!
06-16-2011, 12:34 PM
#15
Teching In
Thread Starter
iTrader: (4)
Join Date: May 2011
Location: Moorhead, MN
Posts: 49
Likes: 0
Received 0 Likes
on
0 Posts
TTLS1GP : thanks I will look into that.
blkjck: thanks I am loving this project and trying to do as clean and nice install as I can.
rockoosi1: I believe that with the added cooler and lines it will be at least a 5 qt system, should be good
blkjck: thanks I am loving this project and trying to do as clean and nice install as I can.
rockoosi1: I believe that with the added cooler and lines it will be at least a 5 qt system, should be good
06-21-2011, 10:25 PM
#16
Teching In
Thread Starter
iTrader: (4)
Join Date: May 2011
Location: Moorhead, MN
Posts: 49
Likes: 0
Received 0 Likes
on
0 Posts
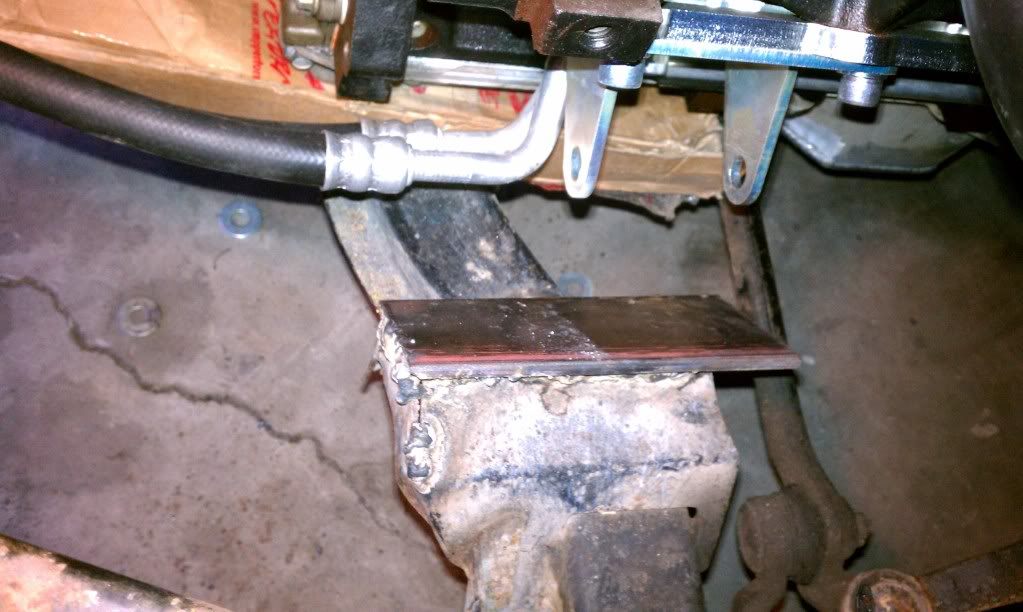
Progress has been slow, but there has been some. I have clearanced the tunnel for the beefy trans and welded some plates to the stock lower sub-frame to build engine mounts from. The left header is tight but clears the steering gear box by 1/8" and will be ok with solid mounts.
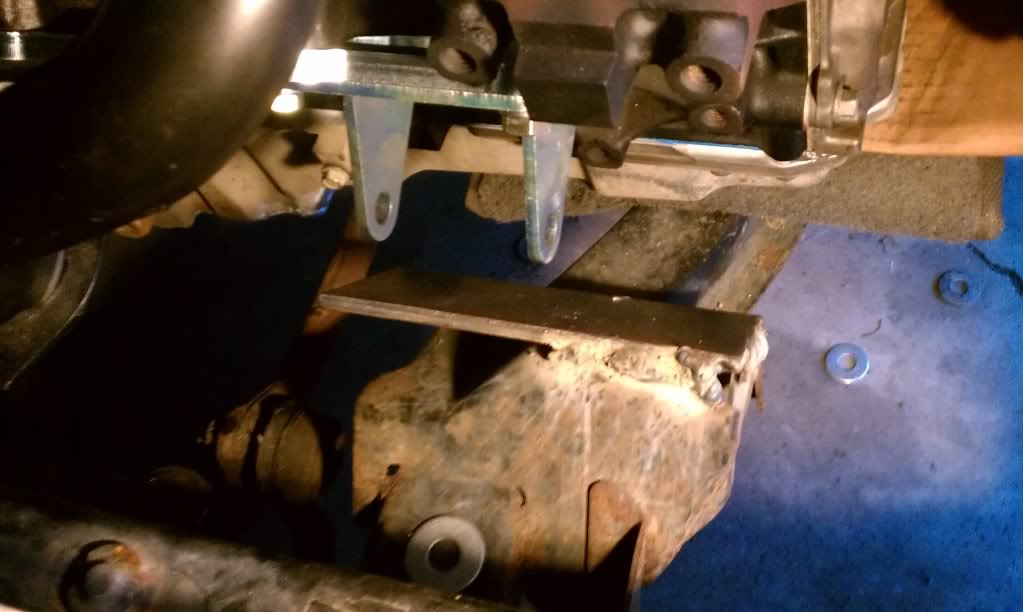
Left mount bracket
Right mount bracket is not complete yet, still some extra bracing to weld in
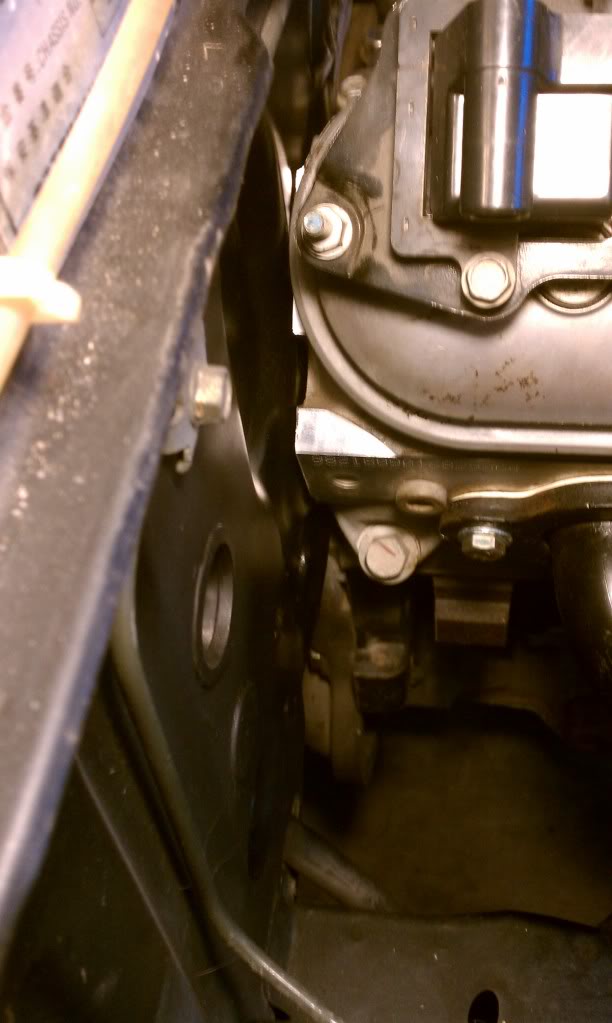
Header clearance
Yep it's that tight to the firewall
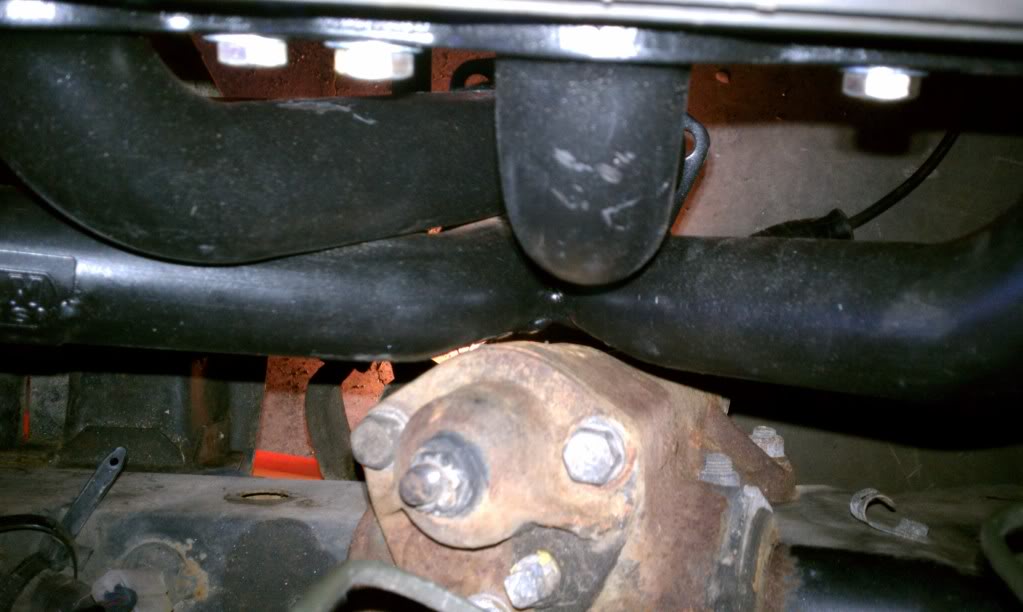
Steering Center link need some modification, it hits the oil pan right before the lock on each side
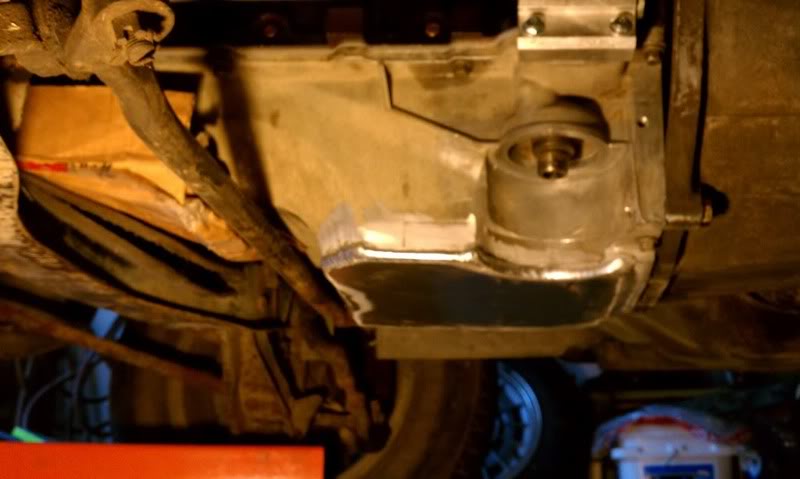
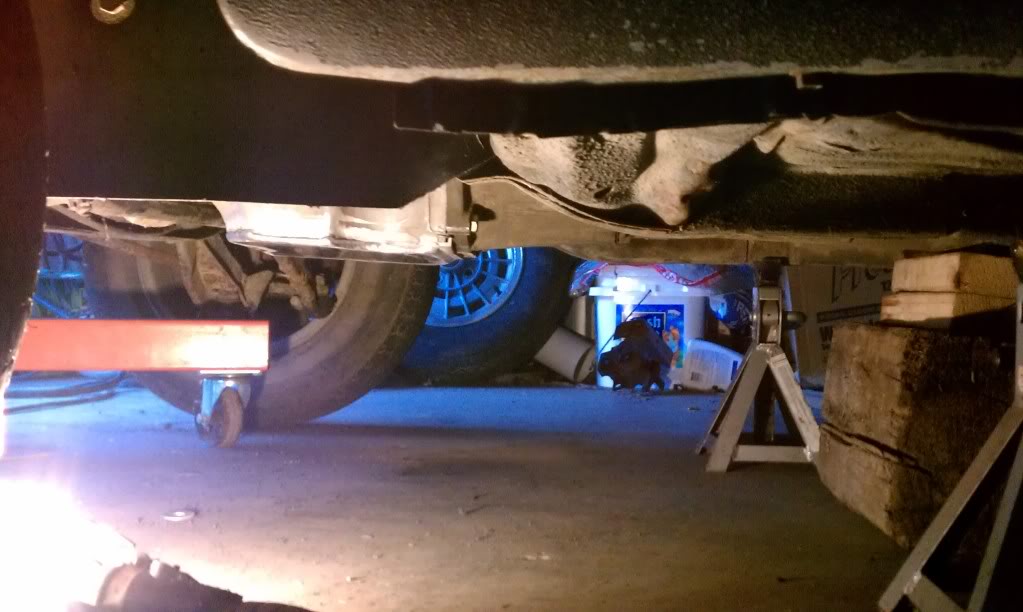
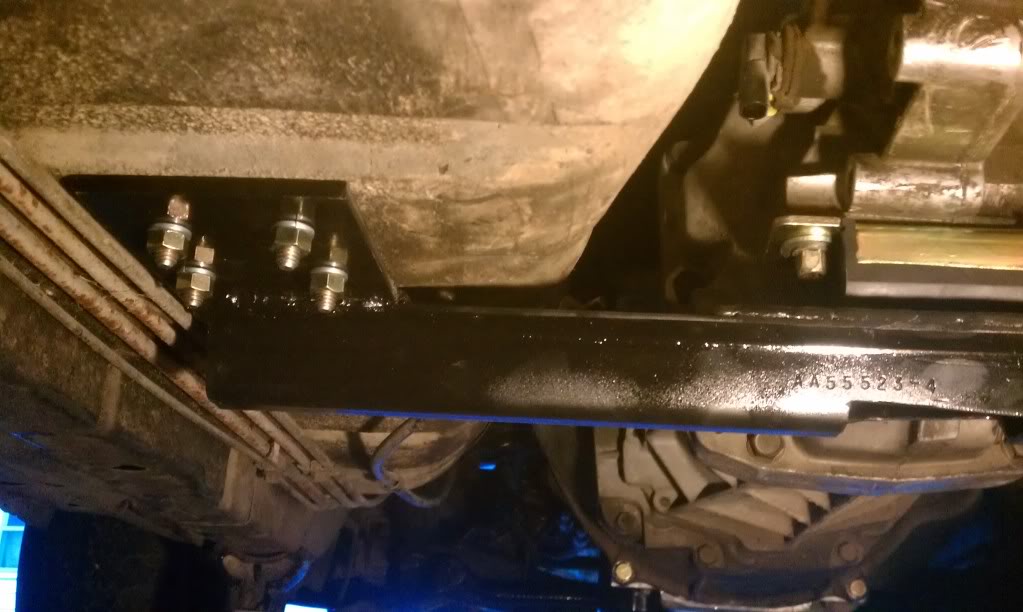
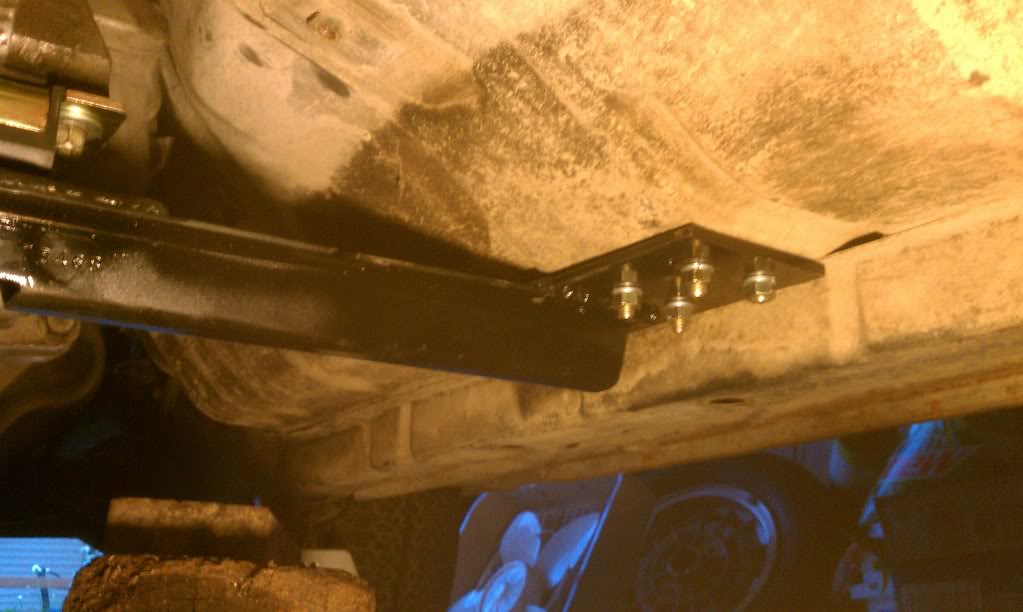
Bottom side clearance
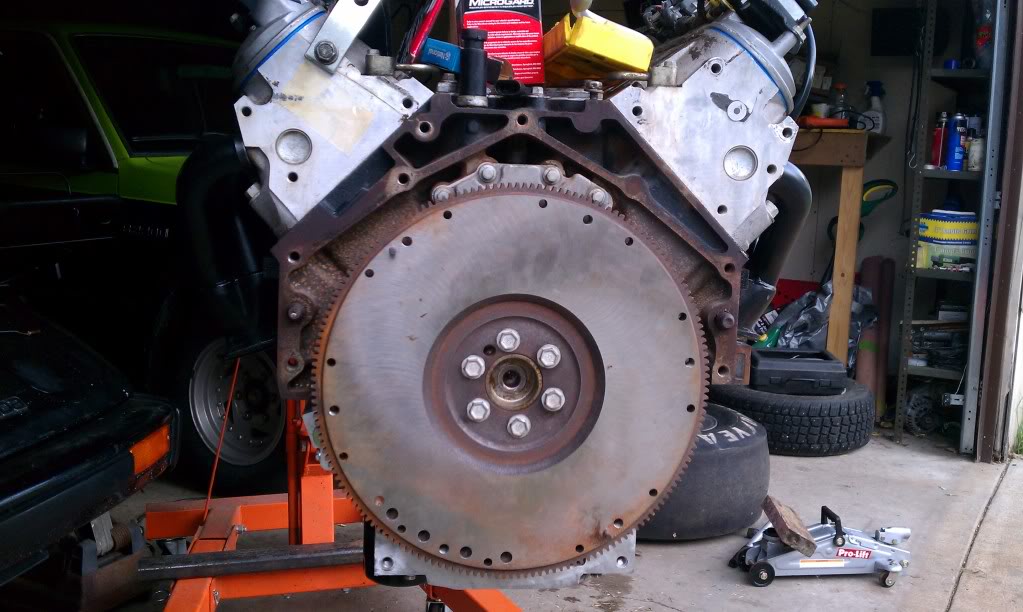
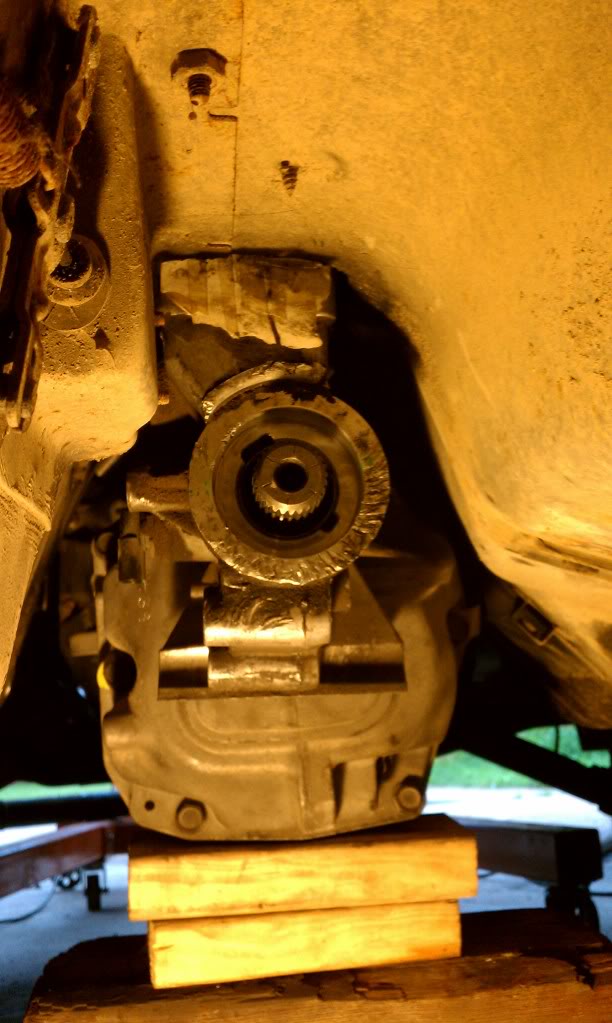
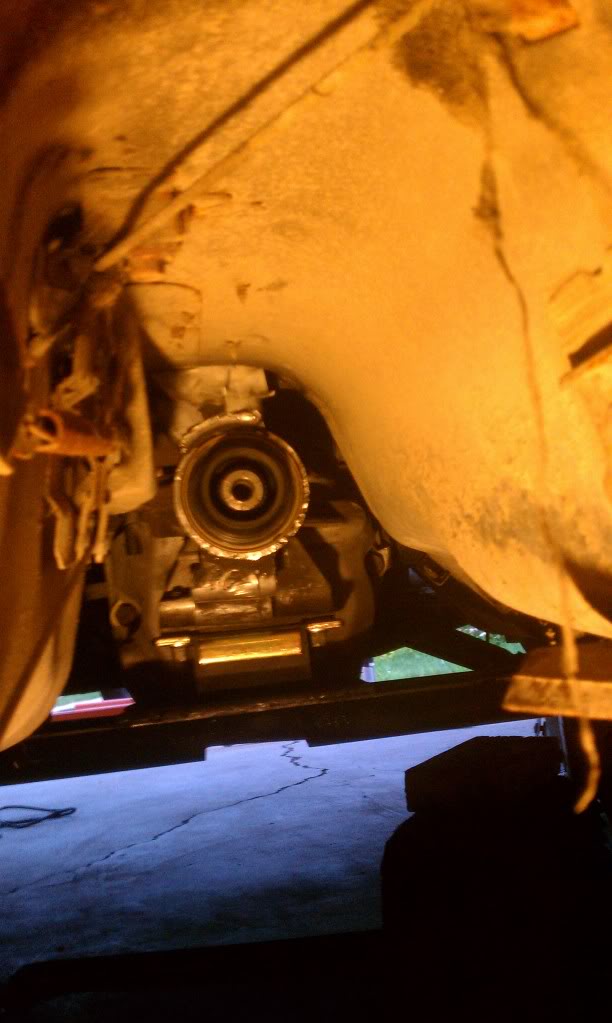
Not sure what happened to the tailshaft, it was all chewed up like that when I got it from the Junk-yard.
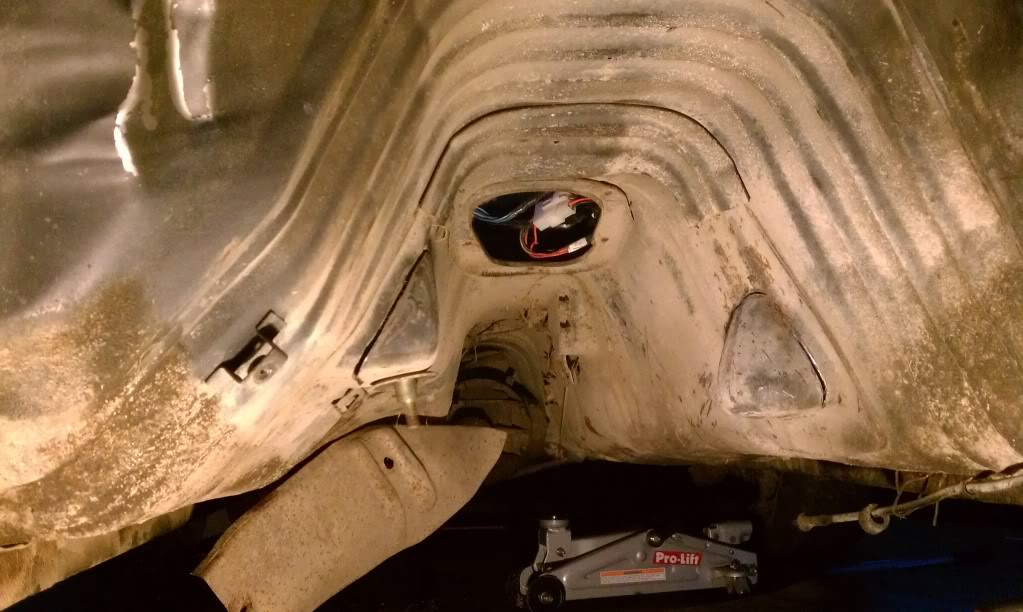
Shifter hole had to get cut open 3" back

Left mount bracket
Right mount bracket is not complete yet, still some extra bracing to weld in
Header clearance
Yep it's that tight to the firewall
Steering Center link need some modification, it hits the oil pan right before the lock on each side
Bottom side clearance
Not sure what happened to the tailshaft, it was all chewed up like that when I got it from the Junk-yard.
Shifter hole had to get cut open 3" back
08-18-2011, 07:11 PM
#18
Teching In
Thread Starter
iTrader: (4)
Join Date: May 2011
Location: Moorhead, MN
Posts: 49
Likes: 0
Received 0 Likes
on
0 Posts
You got it
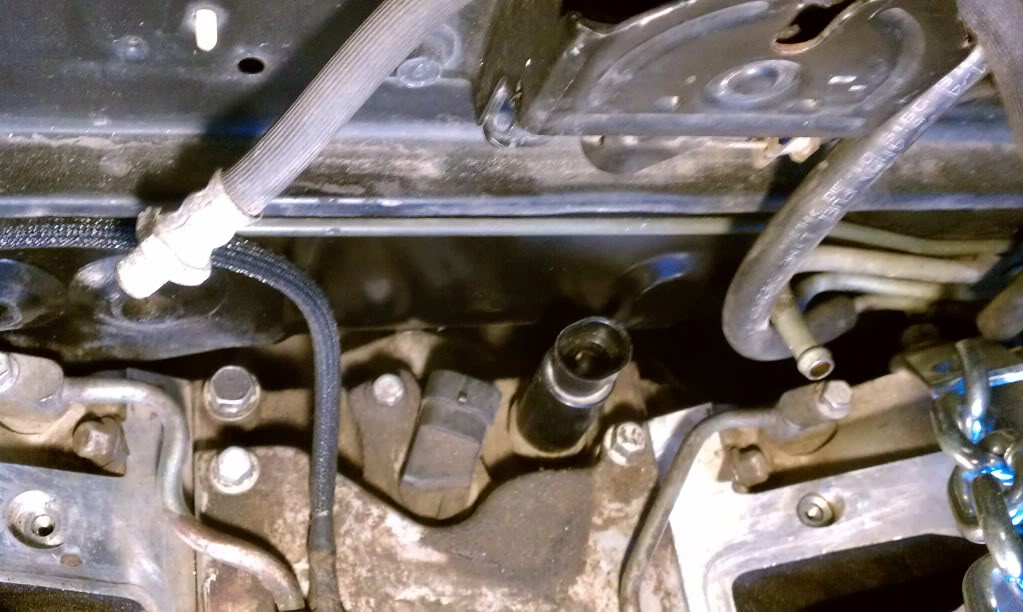
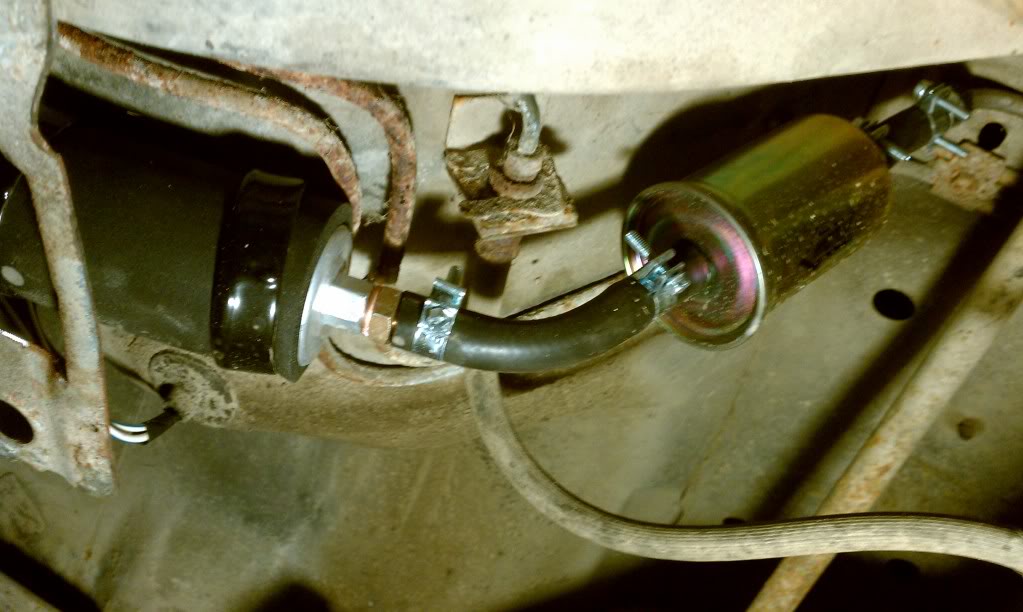
I have made pretty good progress since last update. Fuel pump and filter are plumed in, same location as stock electric pump and filter. I am running the stock 3/8" steel lines, and stock return line. Fuel pump is a Walboro 195lph.
I finished the subframe with solid engine mount brackets welded on.
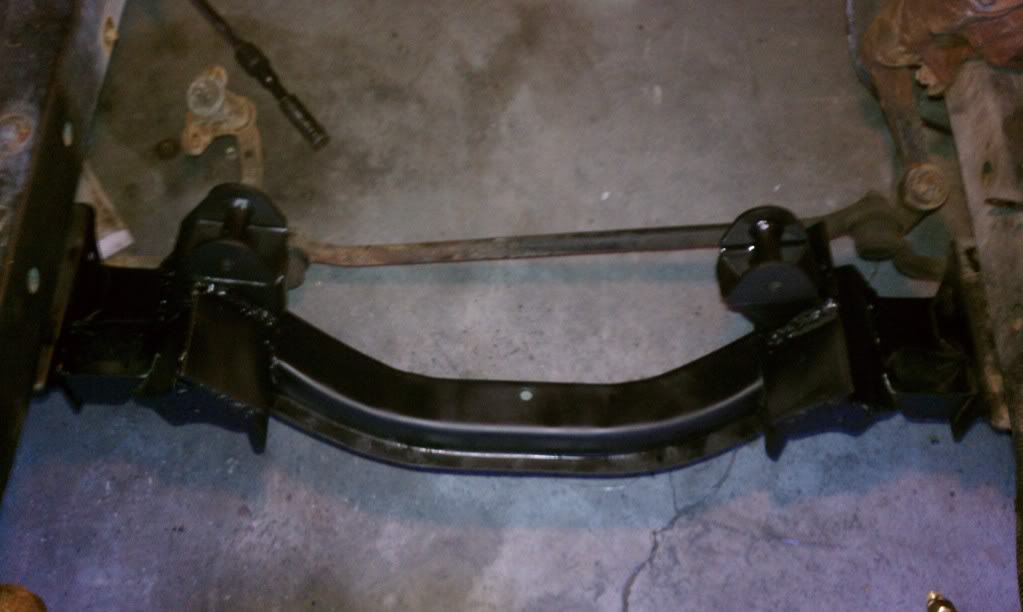
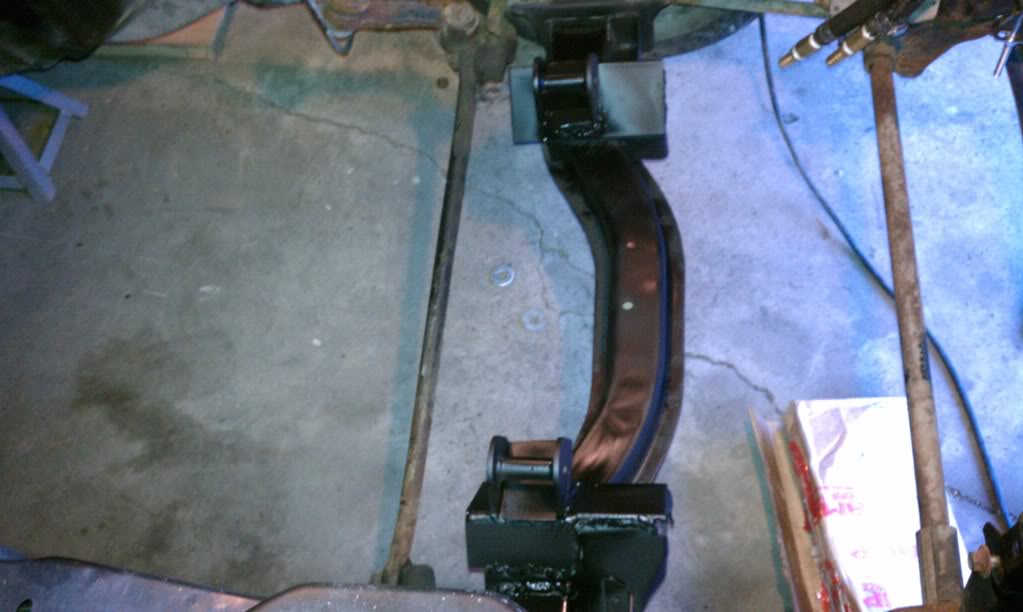
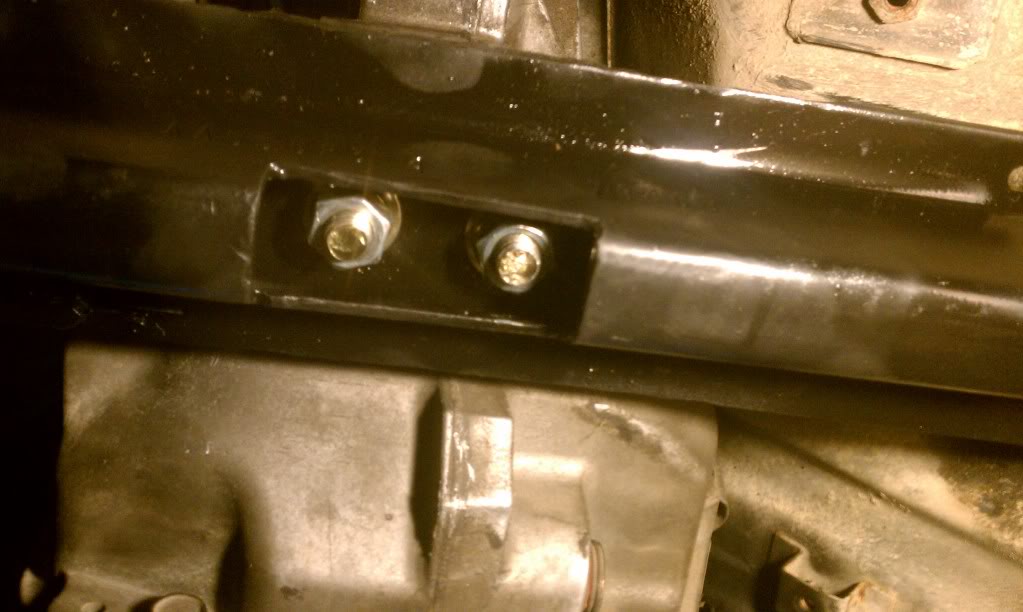
Transmission subframe is also fabbed up from raw materials.
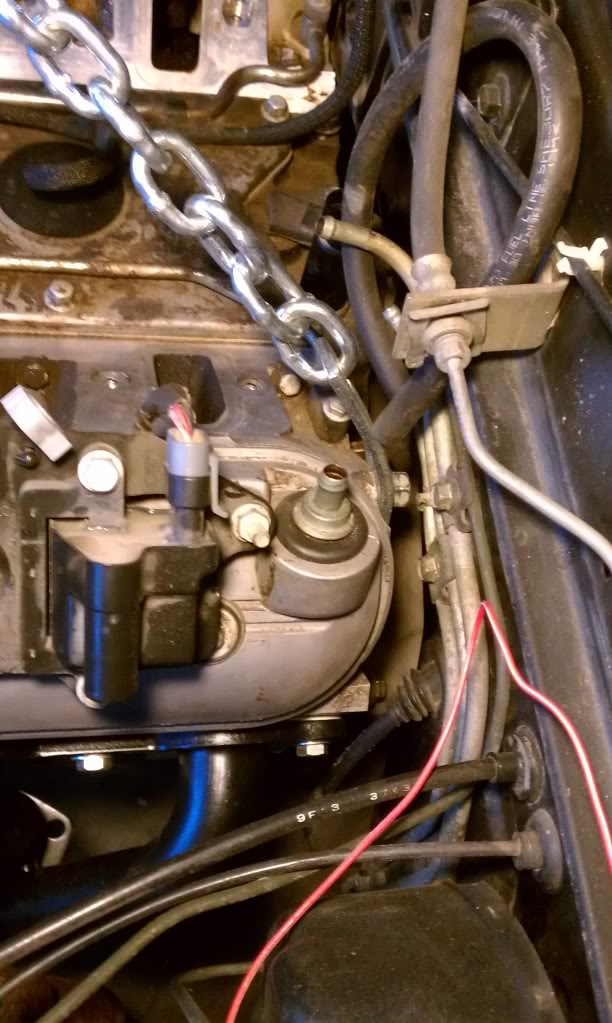
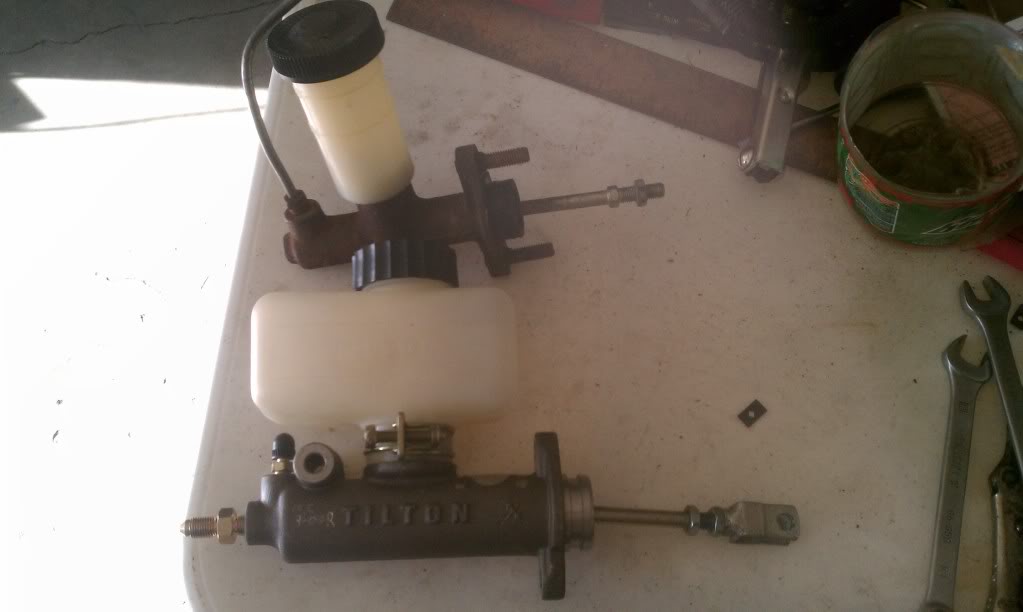
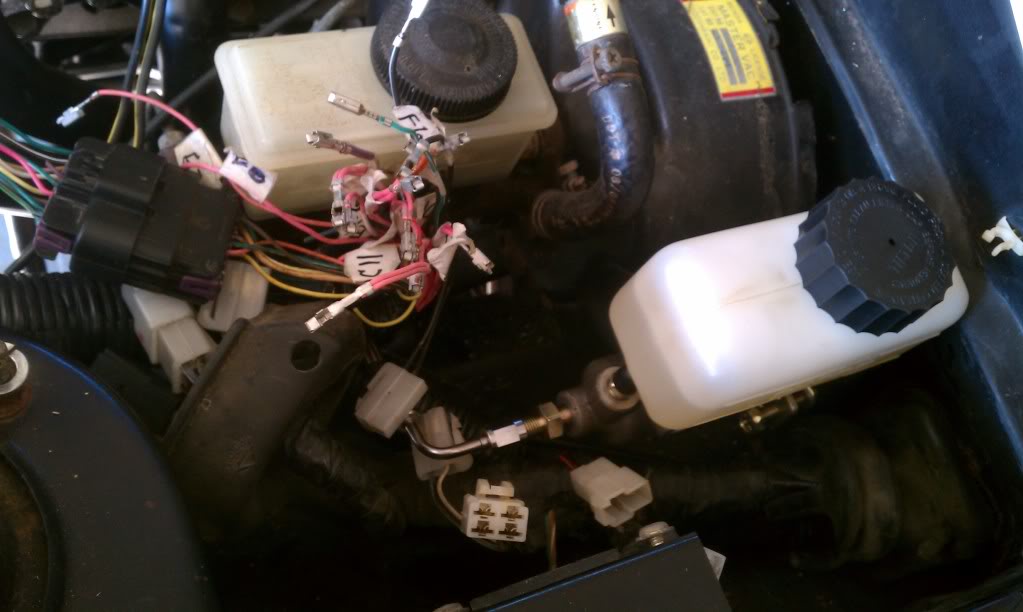
I installed the new Clutch Master cylinder, just needed to cut the hole from 1" out to 1 3/8" God Bless Harbor freight for having a step drill bit the perfect size for only $12
new and old
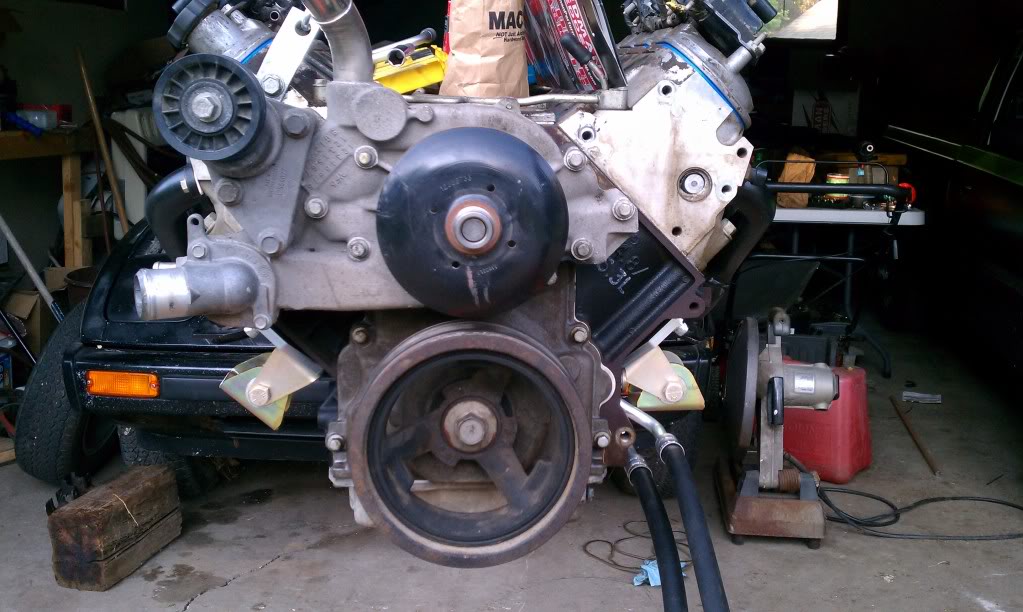
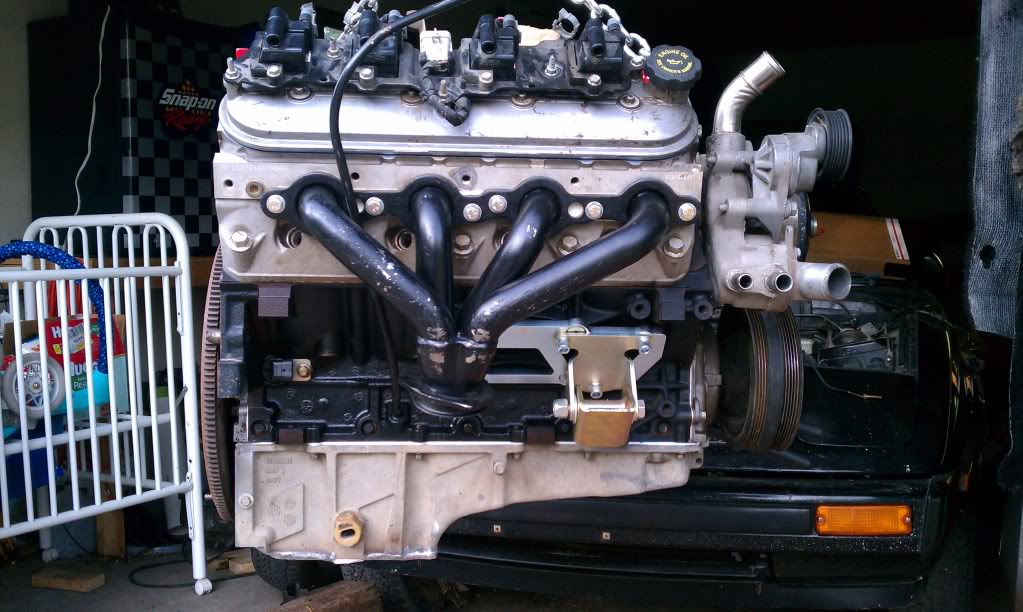
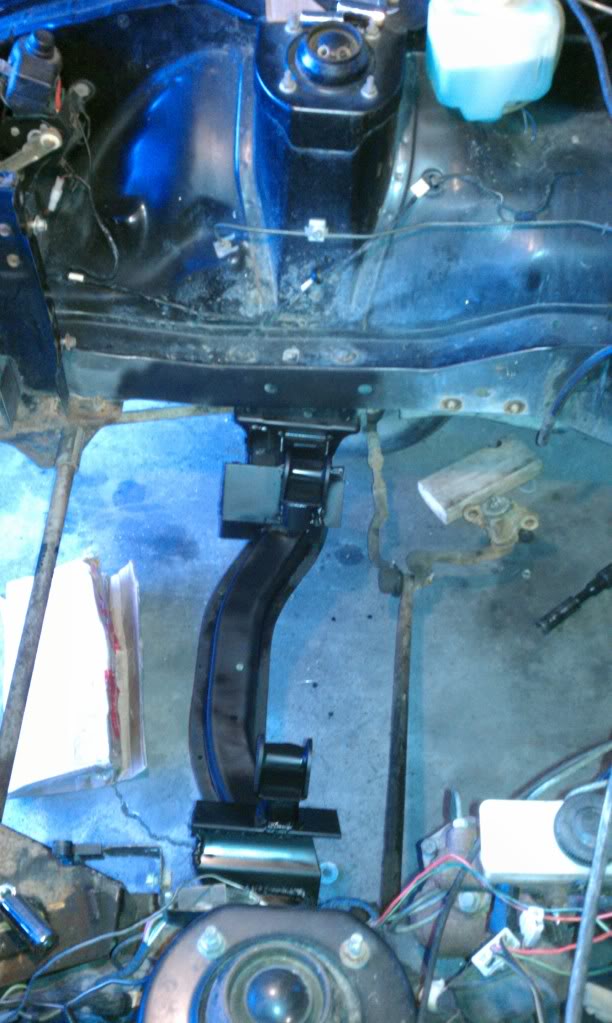
And here is sits, engine installed with truck intake and accessories.
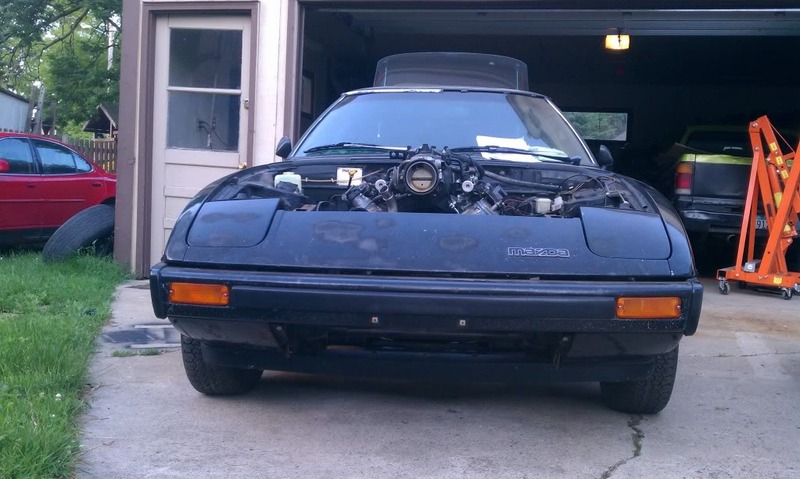
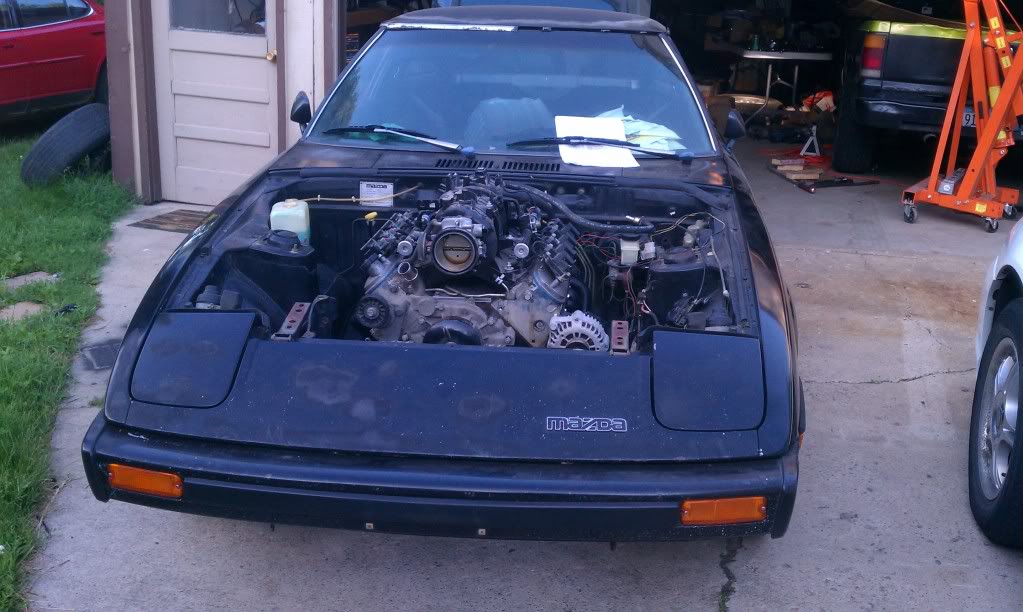

Truck accessories with custom Alt mount and idler.
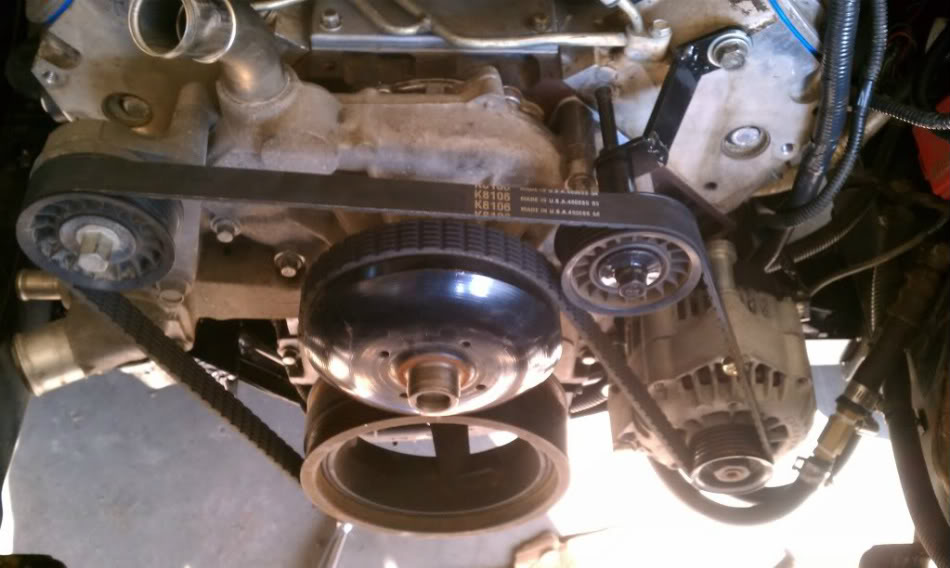
Fits the firewall really tight, I had to unbolt the hood latch. Good thing the truck intake, water pump, crank pulley are only temporary.

Another note, my block hugger headers are not a great fit with my whole steering system! I am planning on changing out to the Clipster headers.
http://www.speedwaymotors.com/1955-5...ers,14264.html
I will order them up when enough funds come my way. Right now to drive the car I need a fusebox, PCM tune, driveshaft, starter, battery.
I have made pretty good progress since last update. Fuel pump and filter are plumed in, same location as stock electric pump and filter. I am running the stock 3/8" steel lines, and stock return line. Fuel pump is a Walboro 195lph.
I finished the subframe with solid engine mount brackets welded on.
Transmission subframe is also fabbed up from raw materials.
I installed the new Clutch Master cylinder, just needed to cut the hole from 1" out to 1 3/8" God Bless Harbor freight for having a step drill bit the perfect size for only $12
new and old
And here is sits, engine installed with truck intake and accessories.
Truck accessories with custom Alt mount and idler.
Fits the firewall really tight, I had to unbolt the hood latch. Good thing the truck intake, water pump, crank pulley are only temporary.
Another note, my block hugger headers are not a great fit with my whole steering system! I am planning on changing out to the Clipster headers.
http://www.speedwaymotors.com/1955-5...ers,14264.html
I will order them up when enough funds come my way. Right now to drive the car I need a fusebox, PCM tune, driveshaft, starter, battery.
