My Stealthbox Project (fiberglass)
 07-15-2011, 12:24 AM
#1
12 Second Club
Thread Starter
iTrader: (3)
Join Date: Nov 2007
Location: Albany, GA
Posts: 88
Likes: 0
Received 0 Likes
on
0 Posts

It took more work and money than I expected, but it's finally done. It was a learning experience - my first time working with fiberglass. It wasn't the easiest thing, but it wasn't the most difficult either. If you're considering doing this yourself, plan to spend around $150. Take your time, think about what you're doing, study the guides on this site, and you'll be fine. Don't get frustrated. At one point, I almost threw mine across the yard! Scroll down and you'll know when I was at that point  Feel free to ask any questions!
I followed blackened's Fiberglass Stealth Sub Box Walkthrough
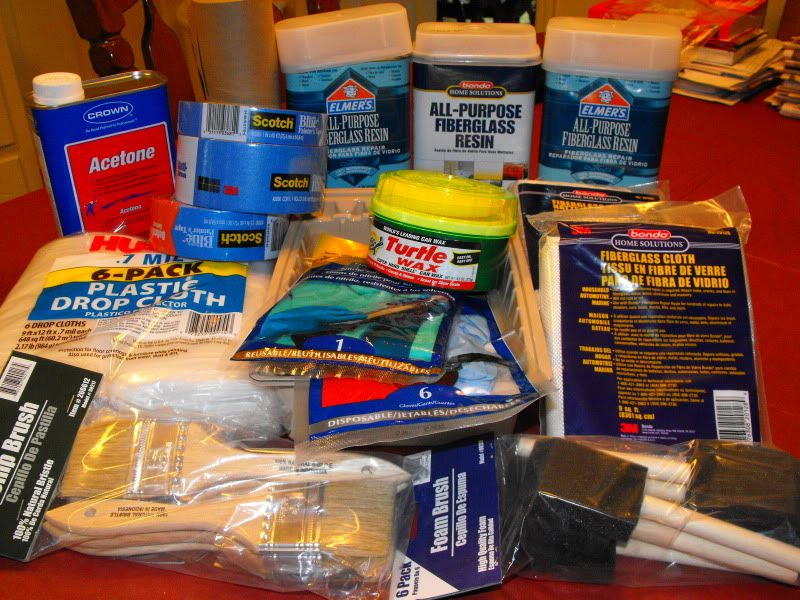
The supplies I started with. I used alot more than this, though. I don't understand how some people are doing this for $50. These supplies alone were $90.
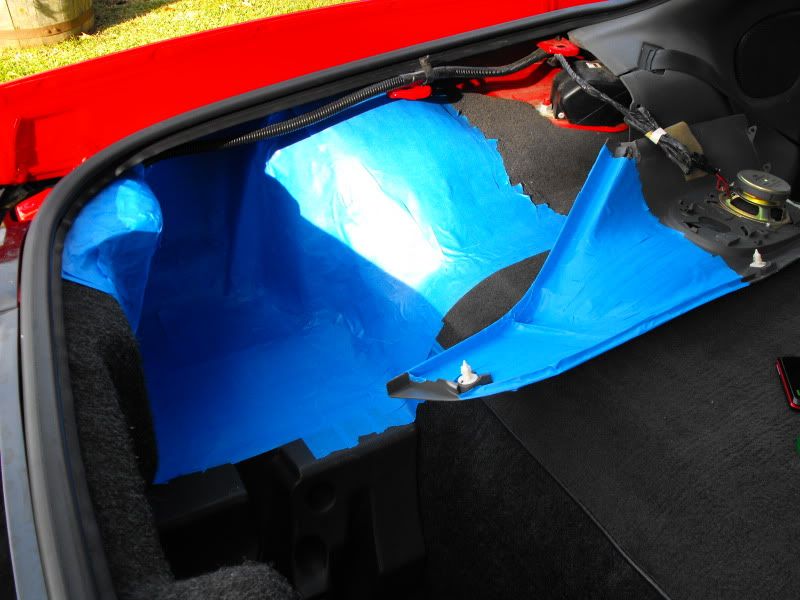
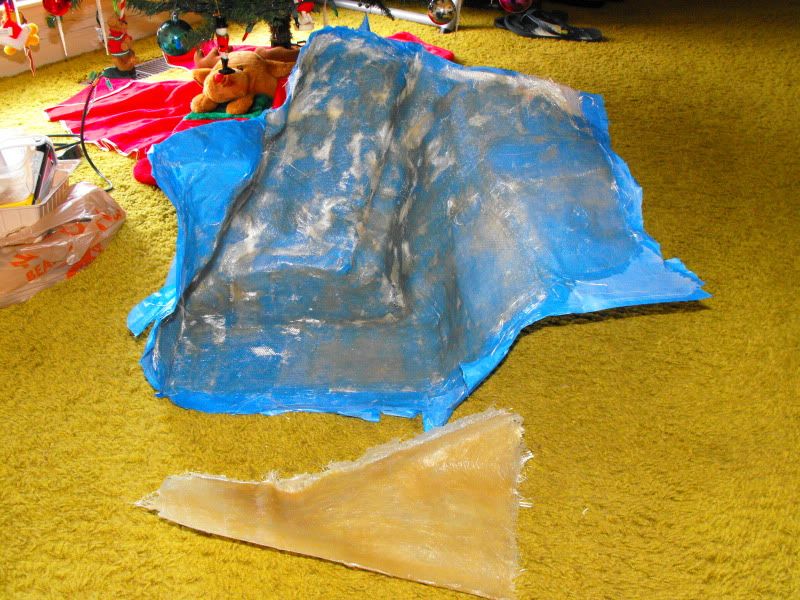
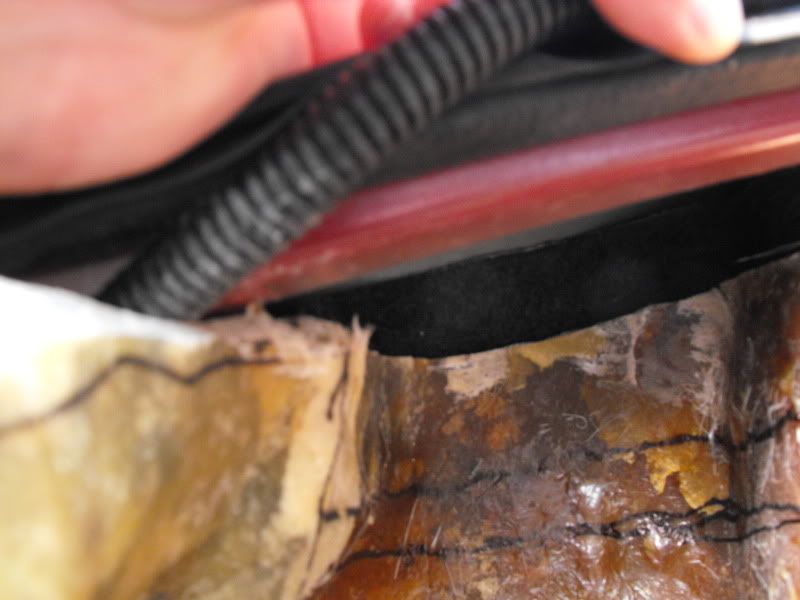
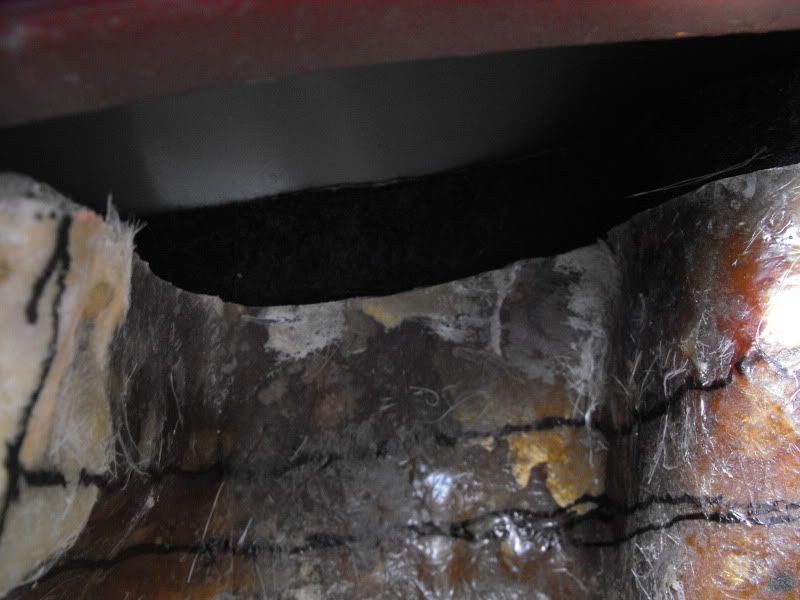
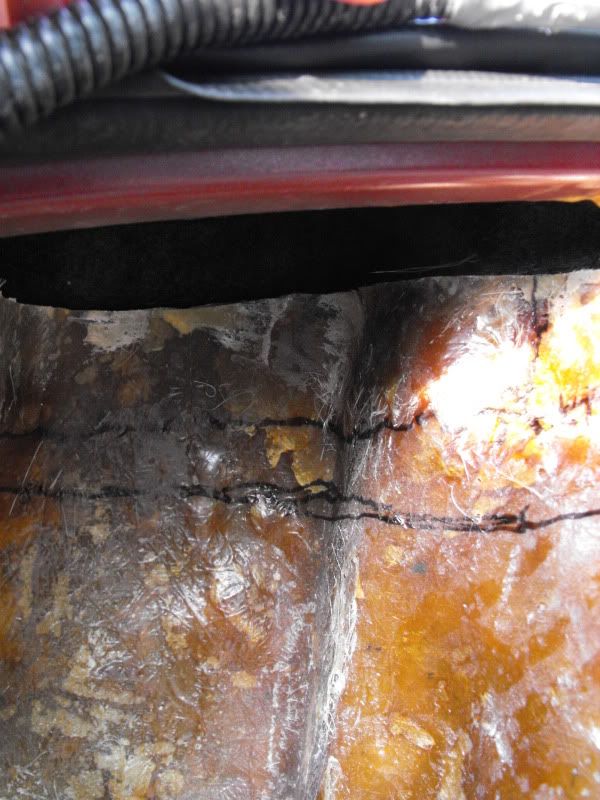
I taped the areas to be fiberglassed. Use plenty of tape! You don't want resin on your carpet!
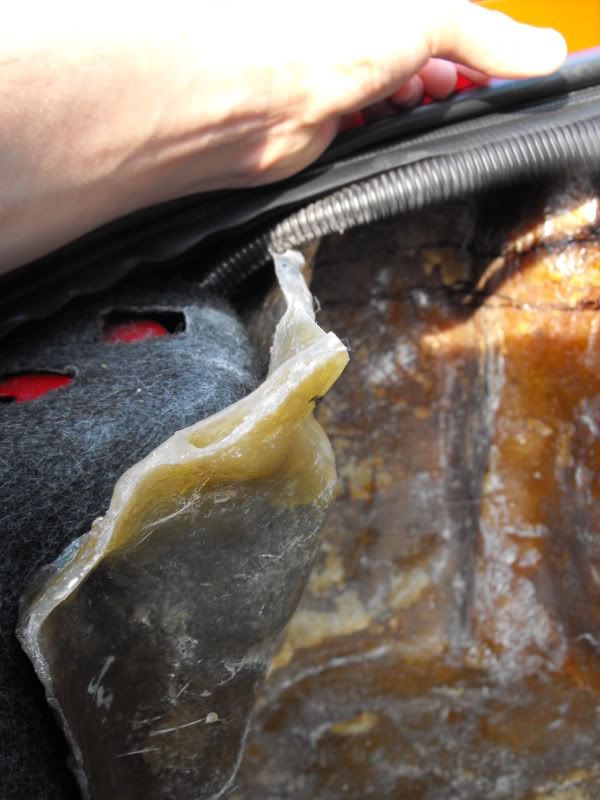
I waxed the tape, so that it would easily peel away from the fiberglass later on.
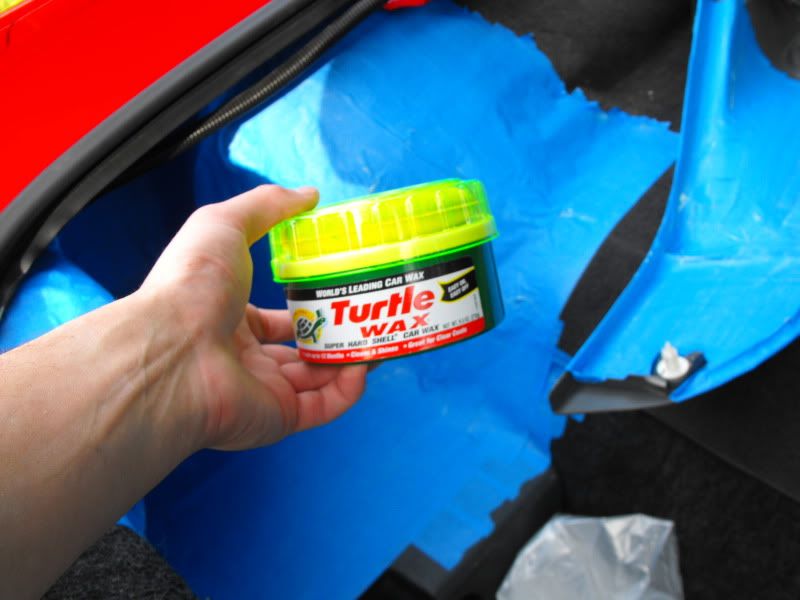
Waxed tape.
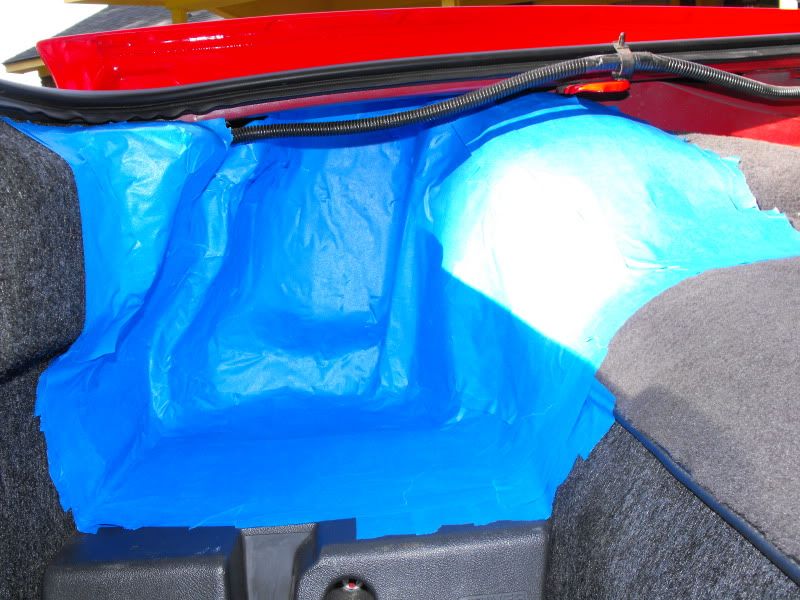
Definitely don't want fiberglass resin where it doesn't belong!
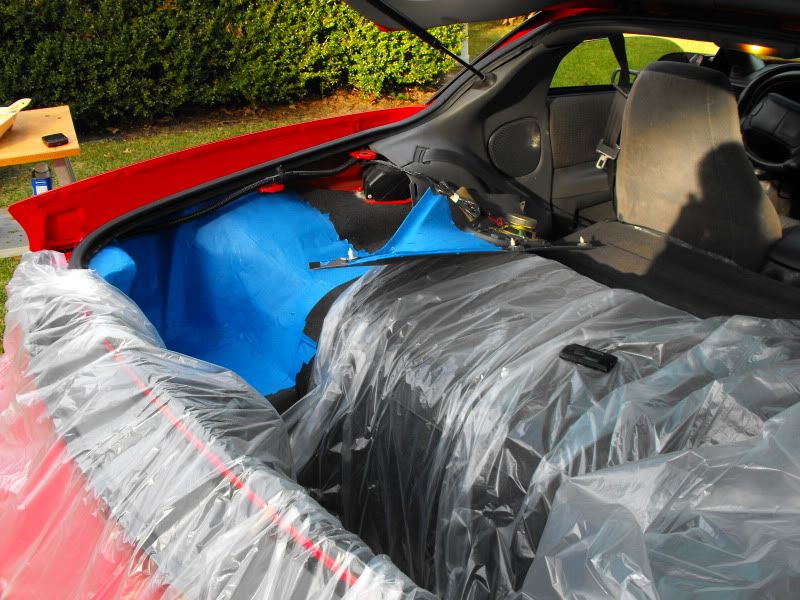
For the first layer or two, I used fiberglass cloth instead of mat. Cloth is easier to work with
Decided it would be a good idea to protect the quarter panel also...
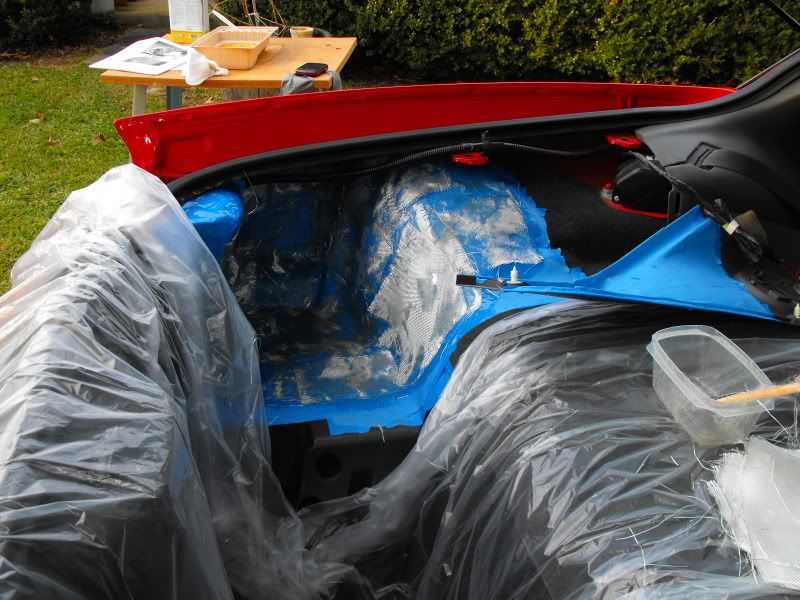
2 or 3 layers in
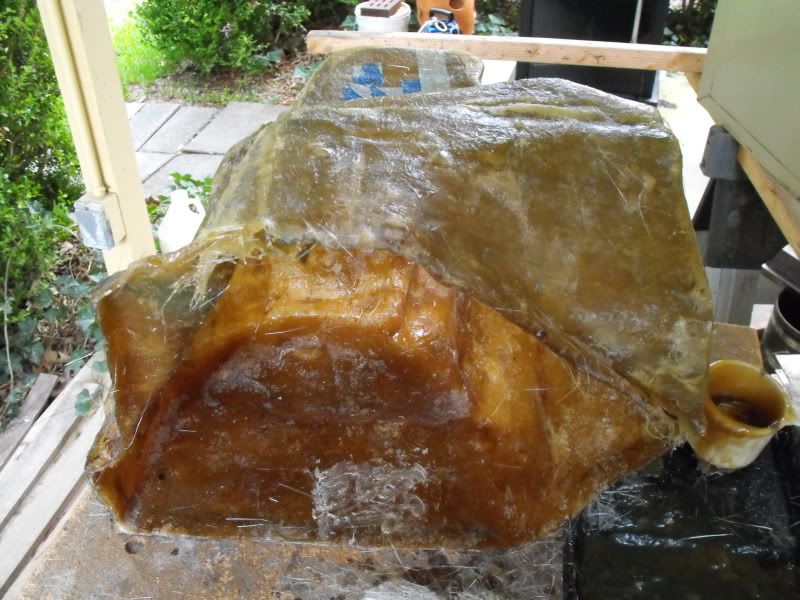
At this point, it was strong enough to take out of the car. Yes, that's a Christmas tree. No, it didn't take me half a year to do this! I took some time off from it.
Tape removed. The wax did its job.
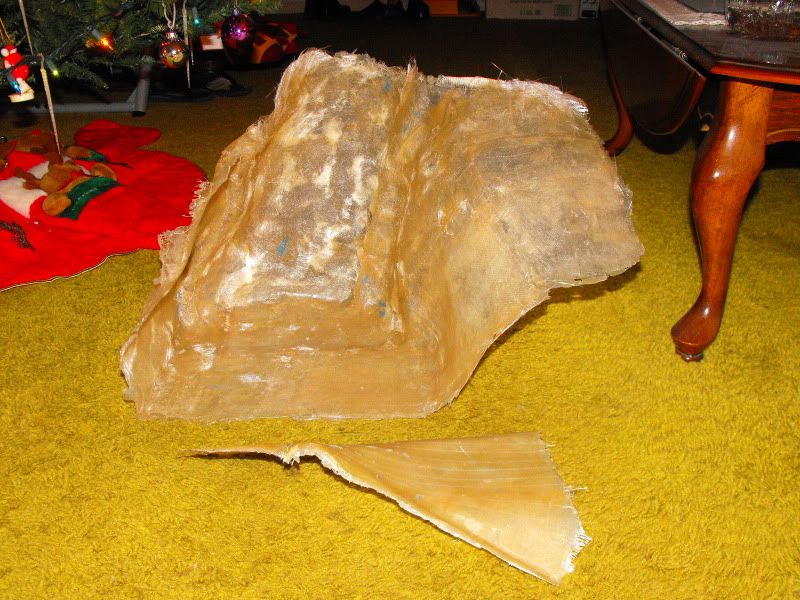
3 or 4 layers
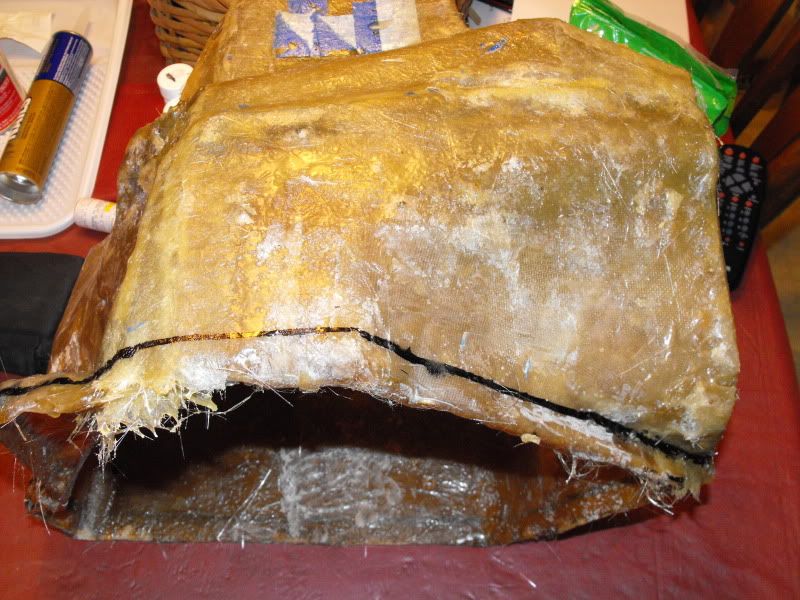
The black line shows where I'll be cutting it later on. I intentionally made it a little too big so that I could cut it and have a nice, clean edge to attach the front board to.
As you may have noticed in the previous pictures, I cut this piece off. But then realized maybe I shouldn't have. So I put it back in the car, taped it up, and re-did it. Turns out, it wasn't needed afterall, and I cut it off again. But this shows I'm capable of making repairs in fiberglass - a skill I would need later in the project...
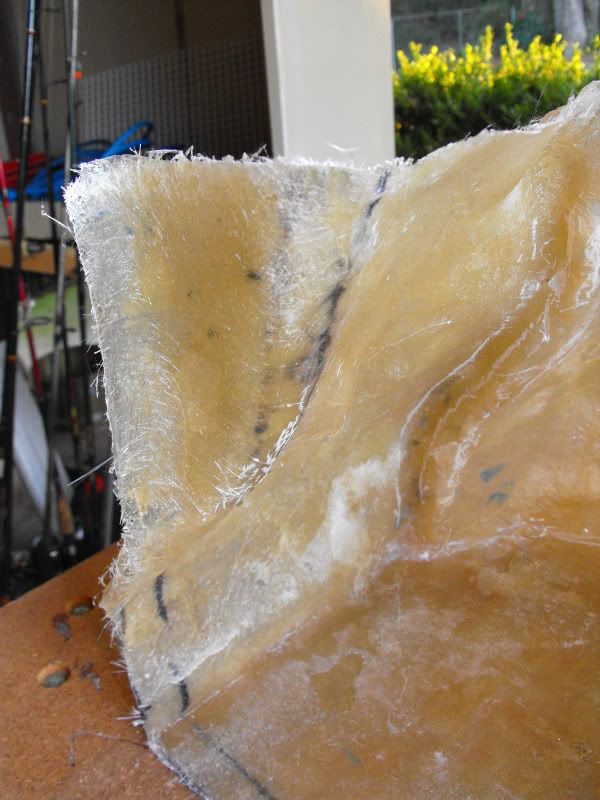
7 layers. Like Taco Bell.
Cleaned it up a little. After every layer, I used a Dremel with either a cutoff wheel or a grinder (depending on what I needed) to get rid of jagged edges and places where the fiberglass bubbled. If you don't do this, you'll have high spots all over the place.

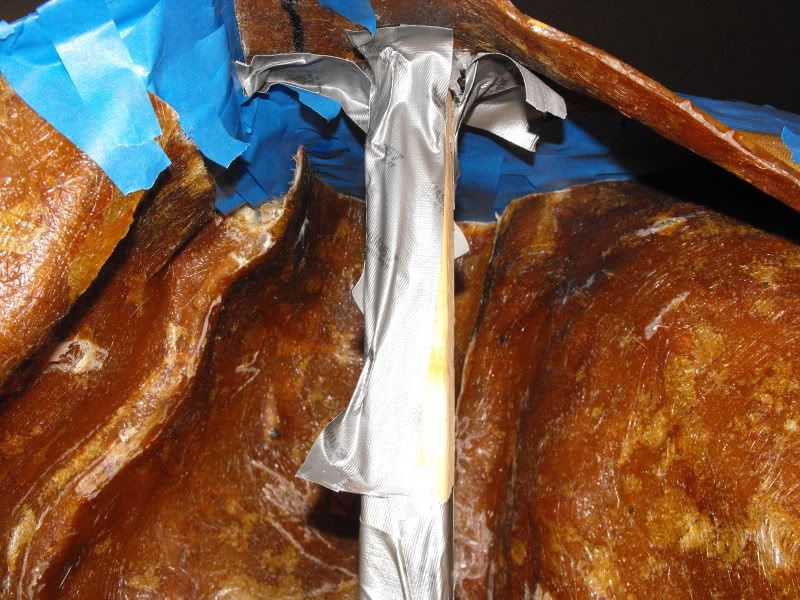
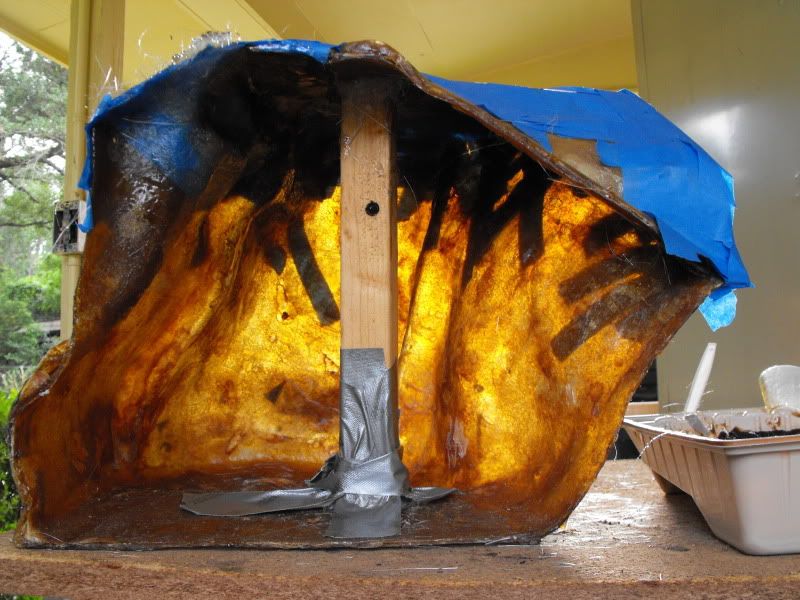
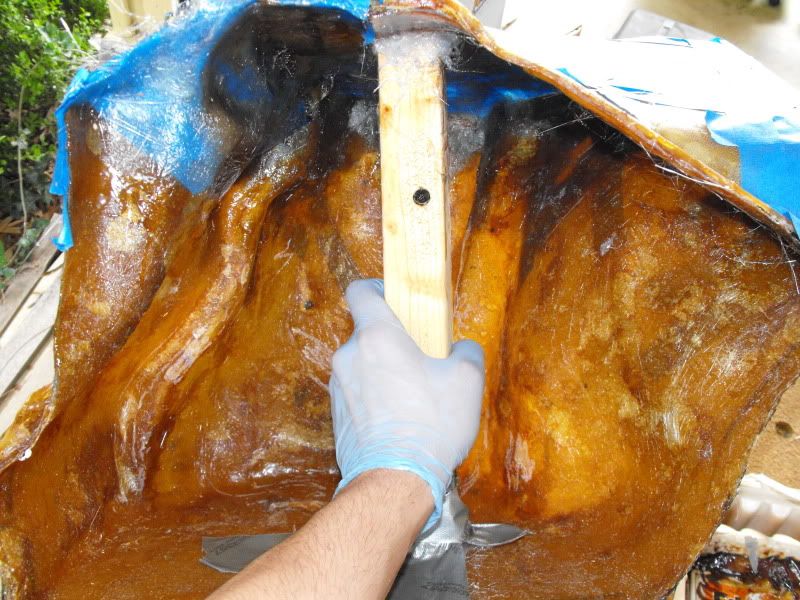
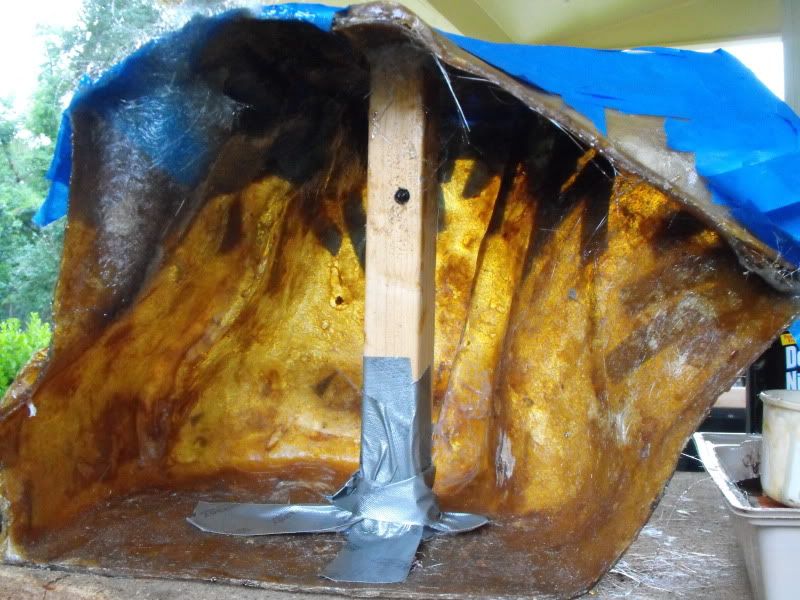
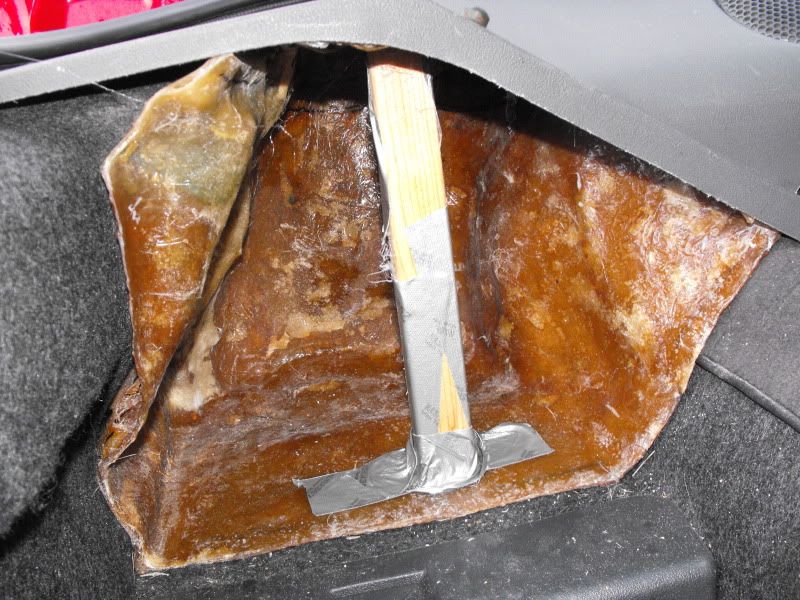
Now, the fun part (<----sarcasm). I used hot glue and duct tape (because no project doesn't require duct tape!) and this piece of wood to hold the top piece in place so I could tape and glass the gap between the two.
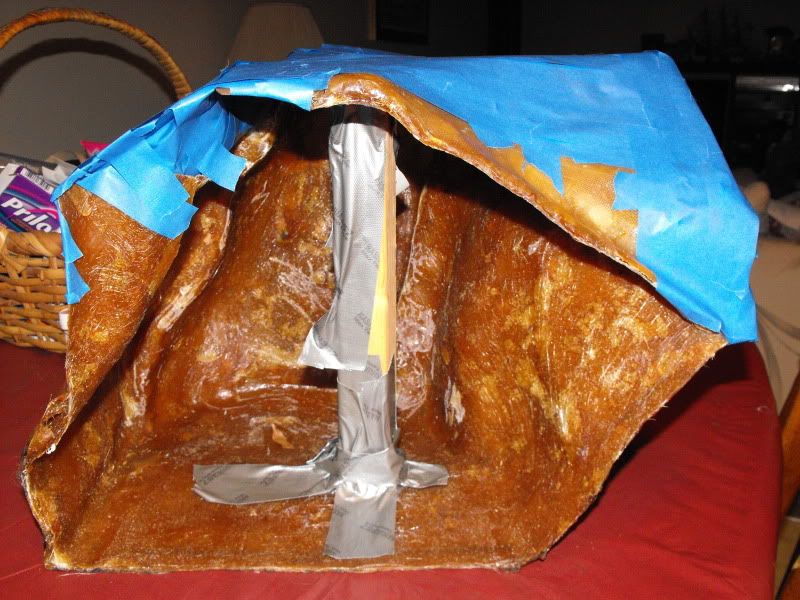
All taped up.
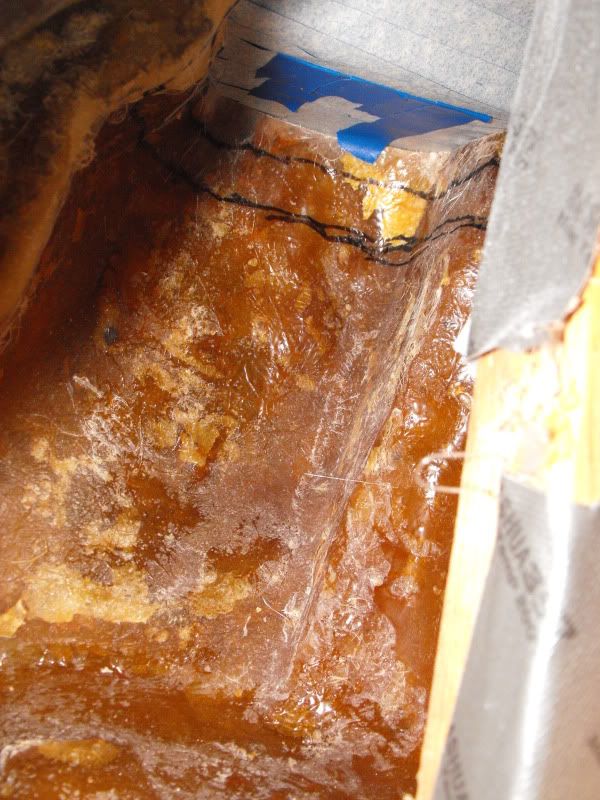
See the gap? Time to glass it.
1 layer of fiberglass in the gap
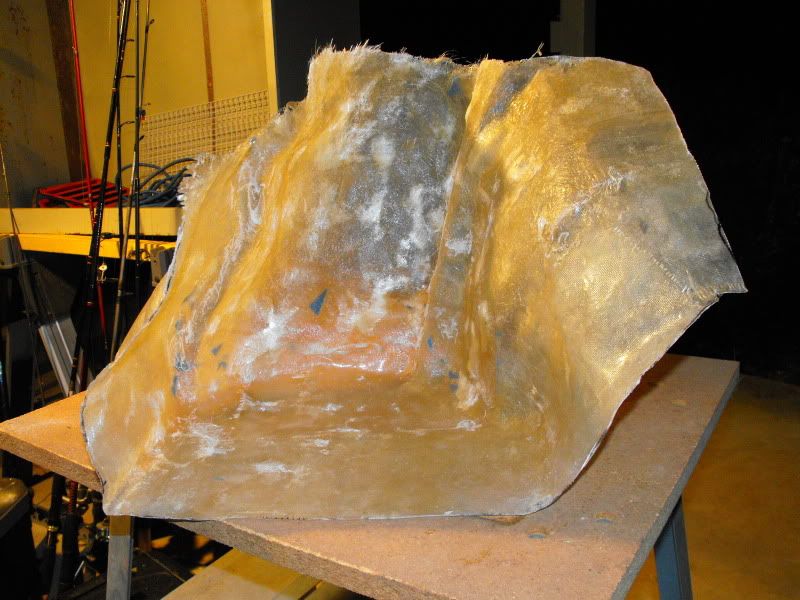
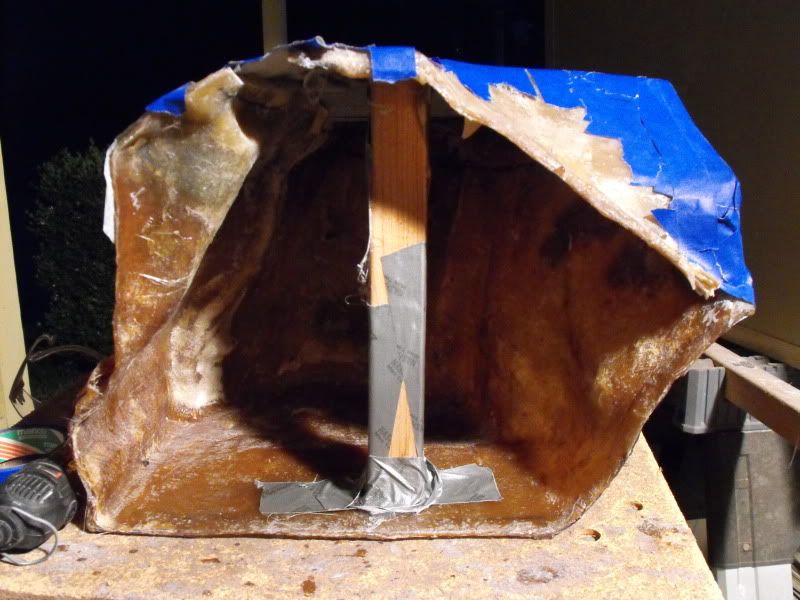
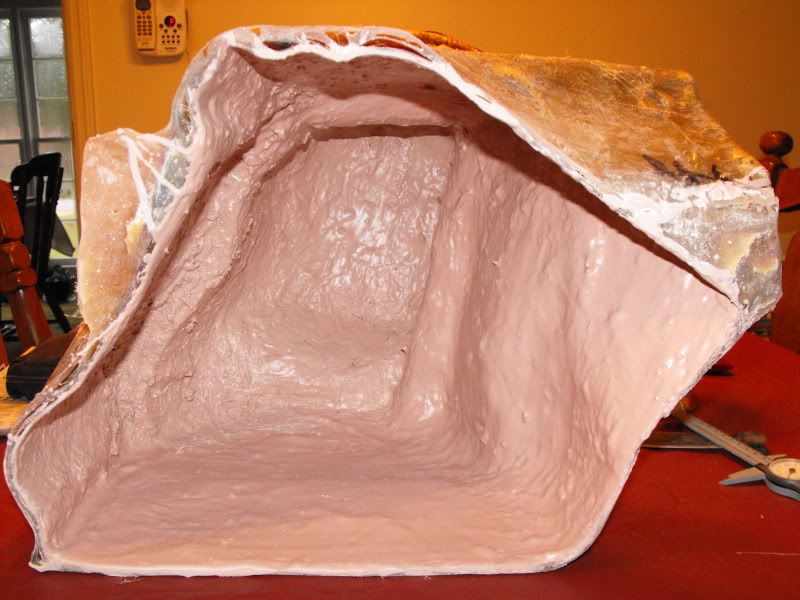
After a couple layers, it's strong enough to pick up.
It has a few layers now
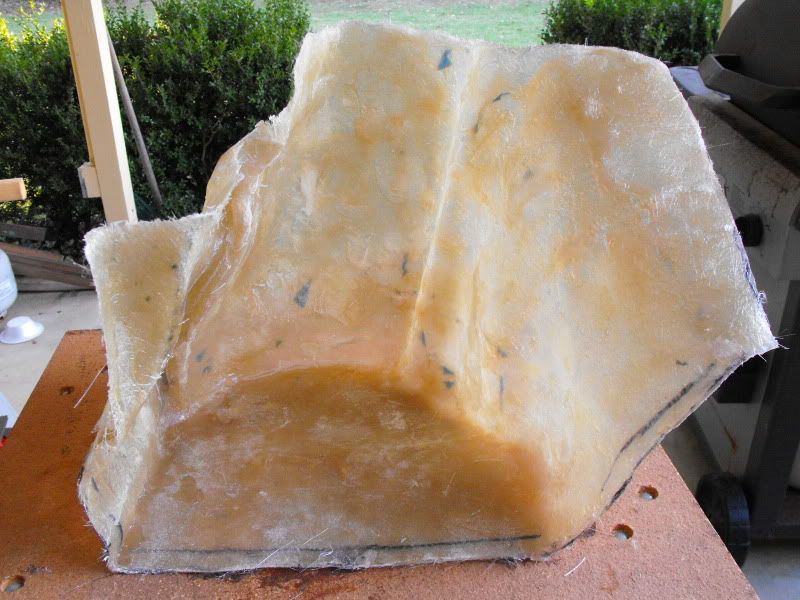
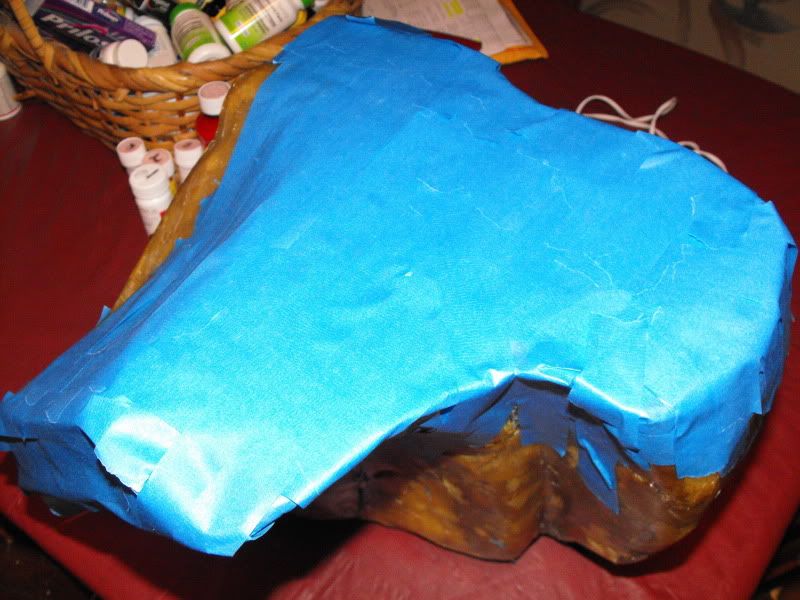
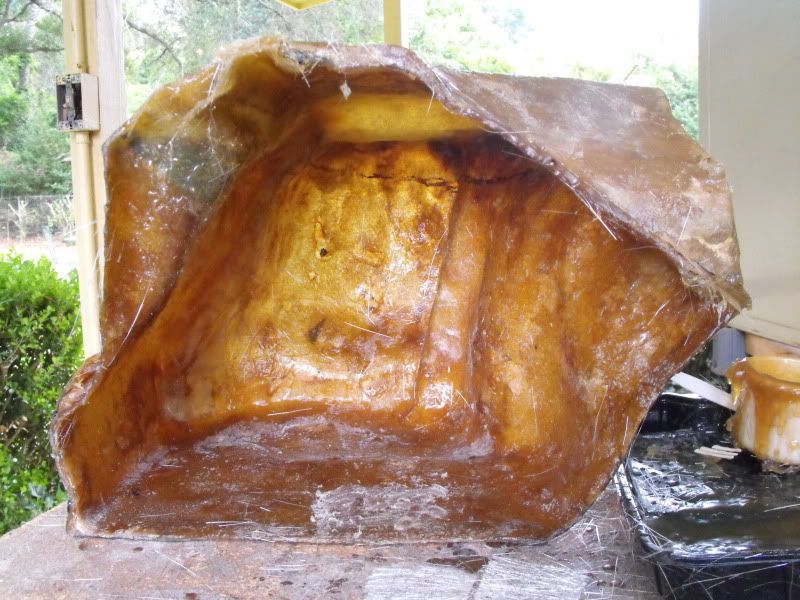
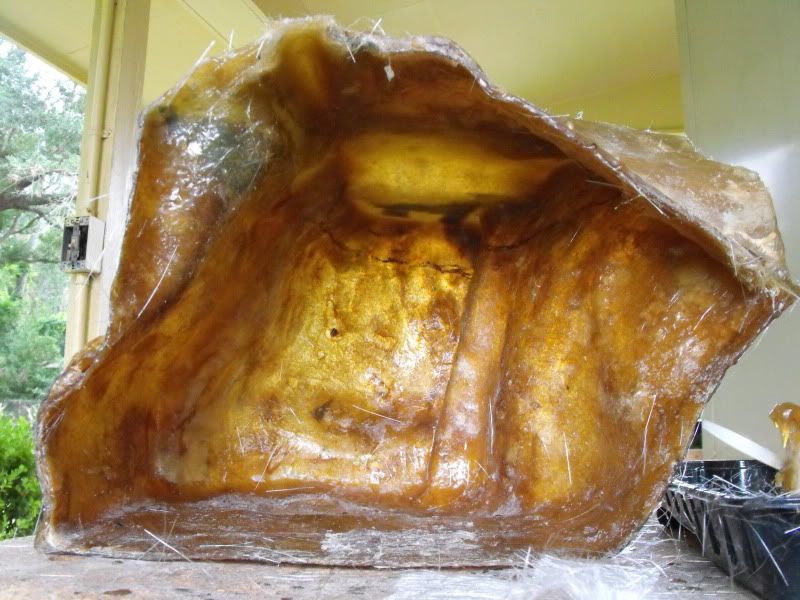
Getting close!
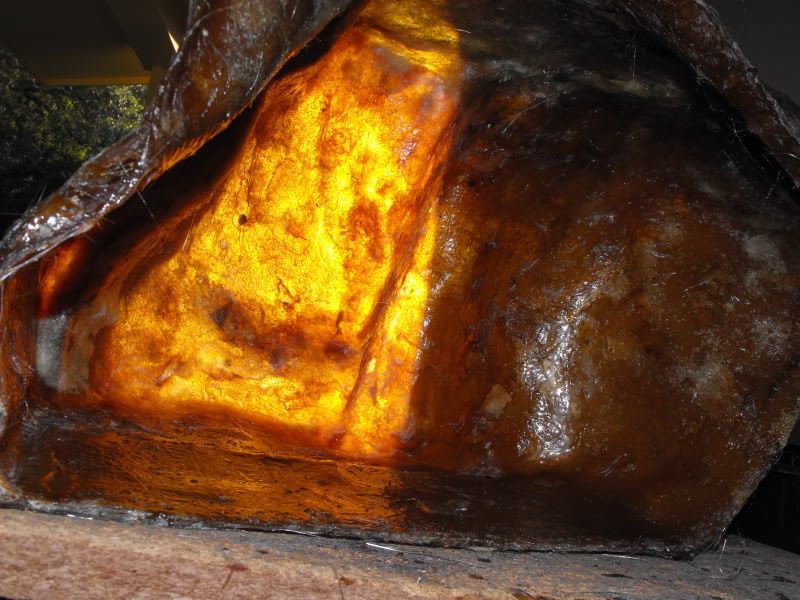
Am I done glassing? I thought so...
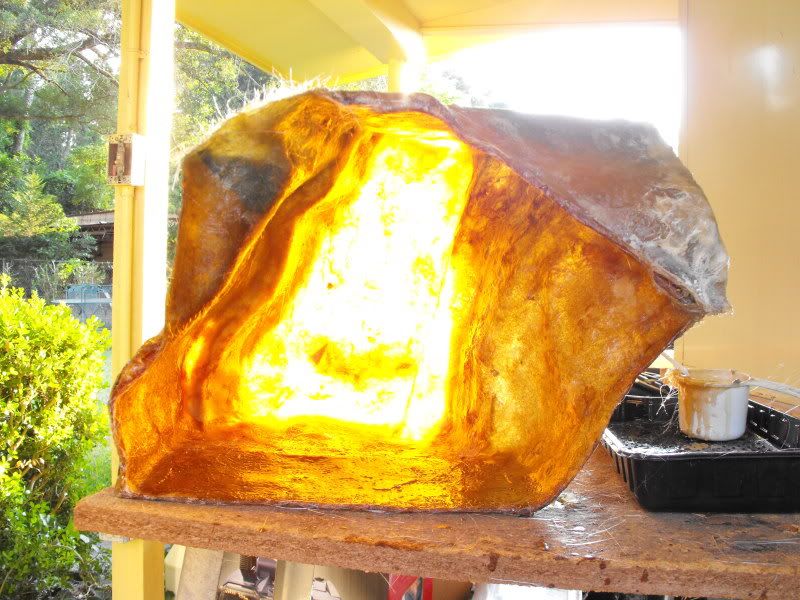
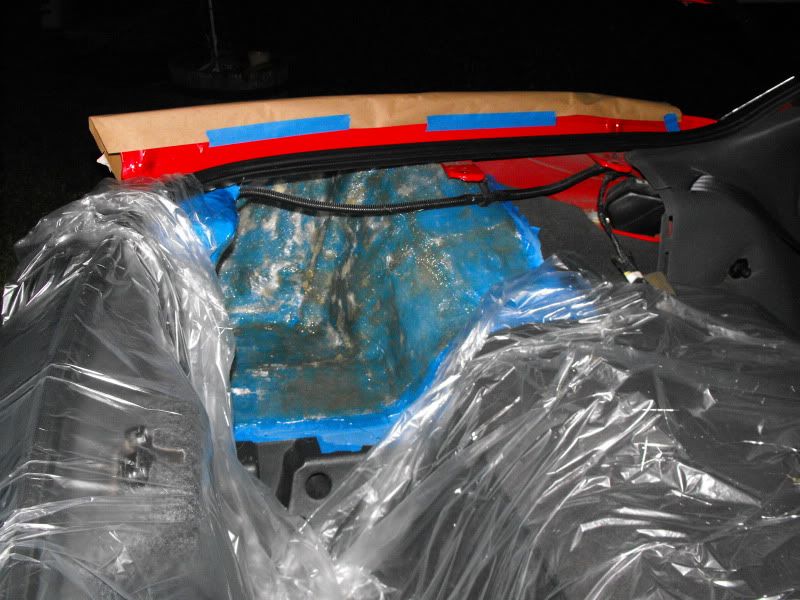
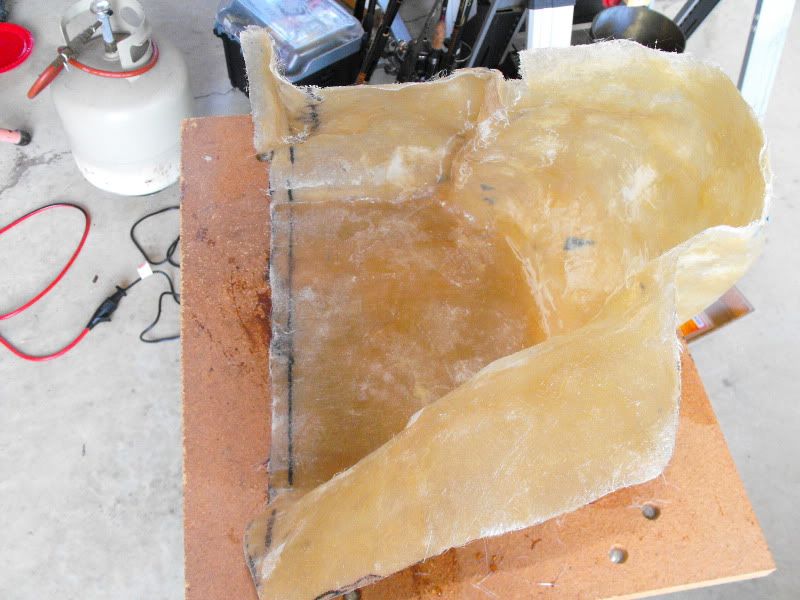
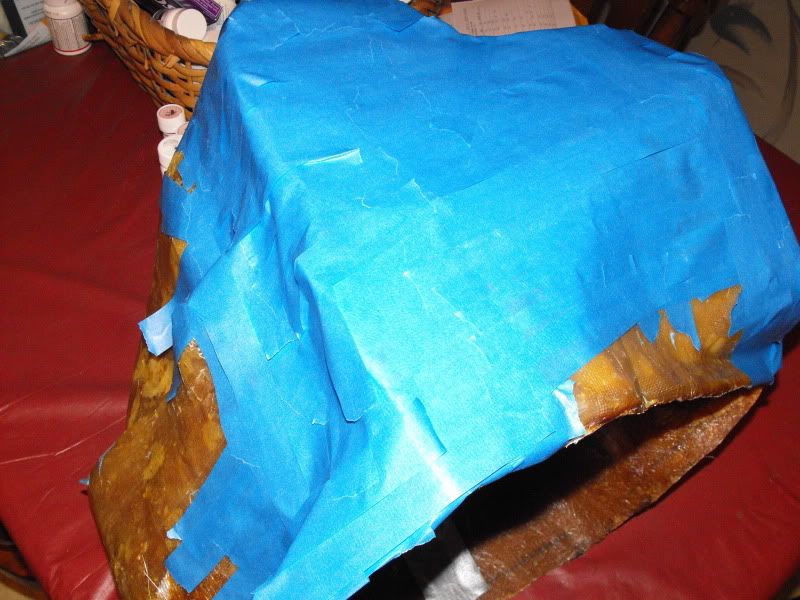
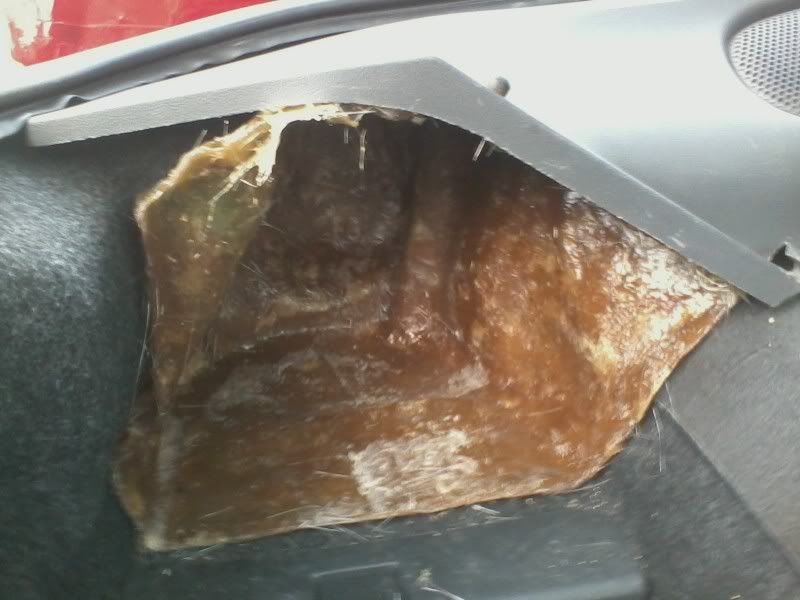
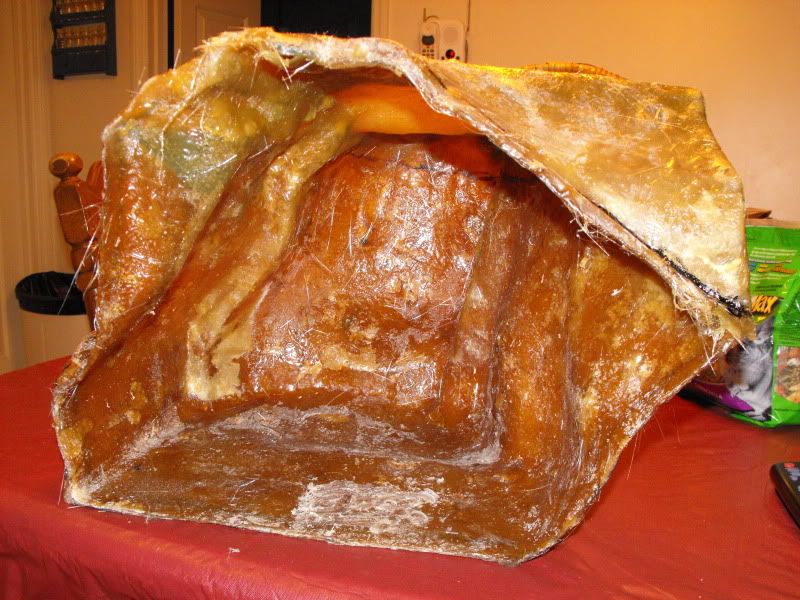
This picture shows how tall it is in the back. I did a test-fitting and discovered I made it TOO tall. It was hitting part of the car's body. I had to cut off the entire top and redo it. Bummer. I was able to reuse the trim piece though, so it wasn't a total loss.
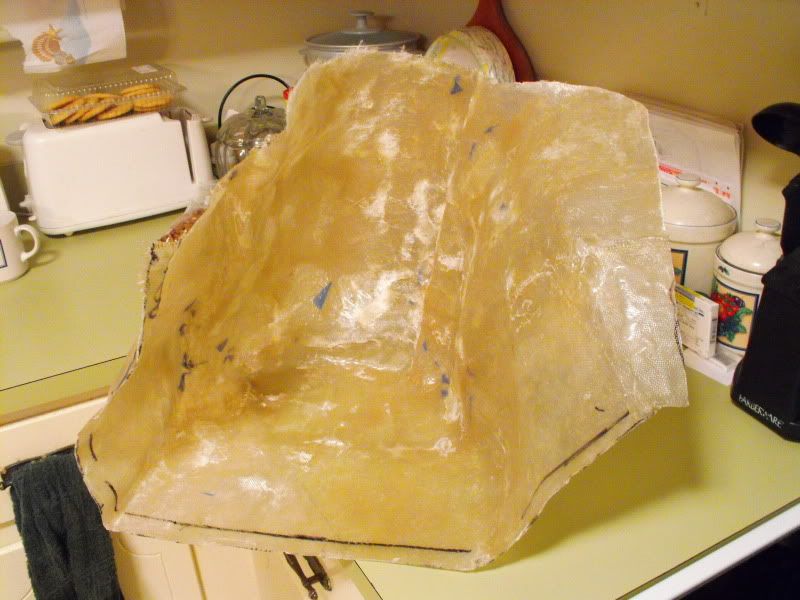
Trimming...
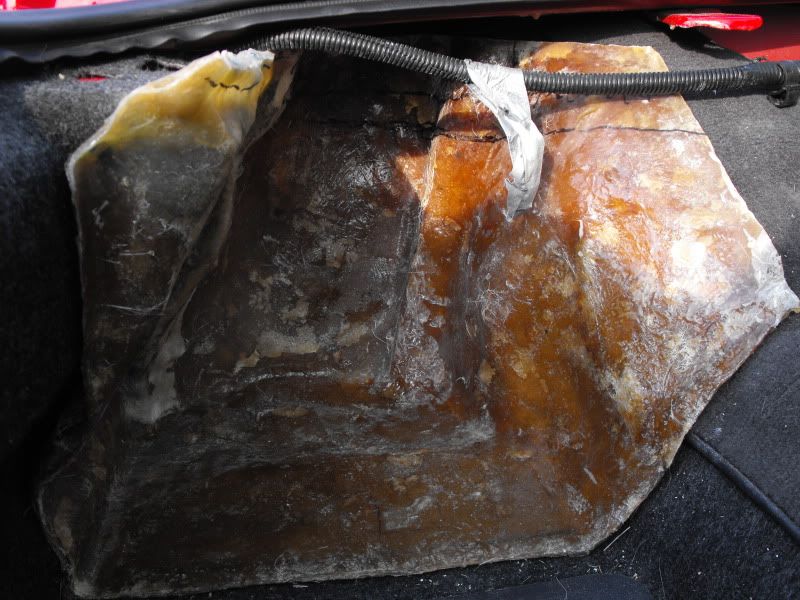
Plenty of clearance here
Gotta trim a little more there
I'm glad I didn't trim all the way down to the line. I would have lost a ton of airspace
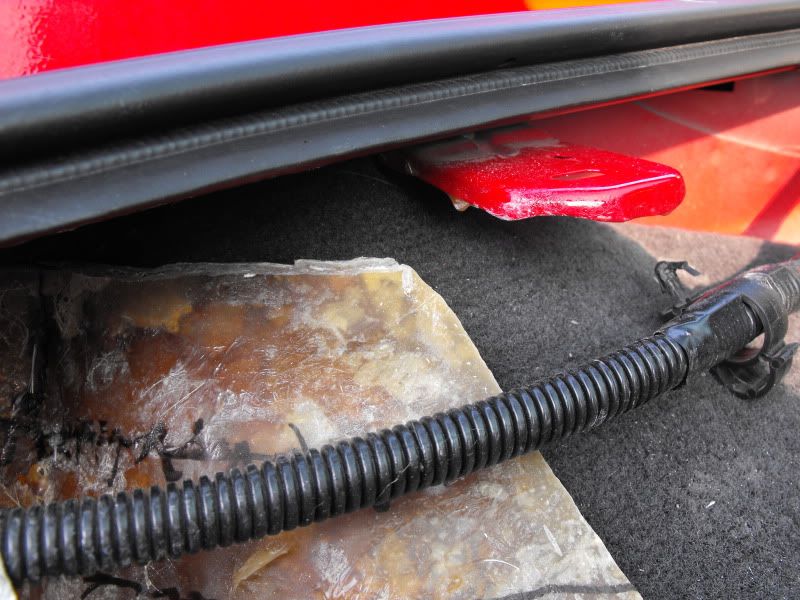
Clearance + airspace!
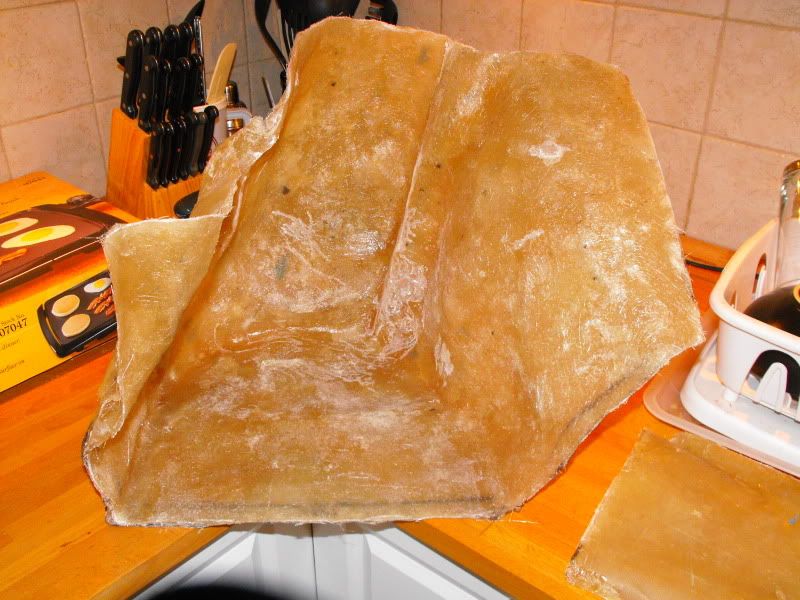
Looking good there
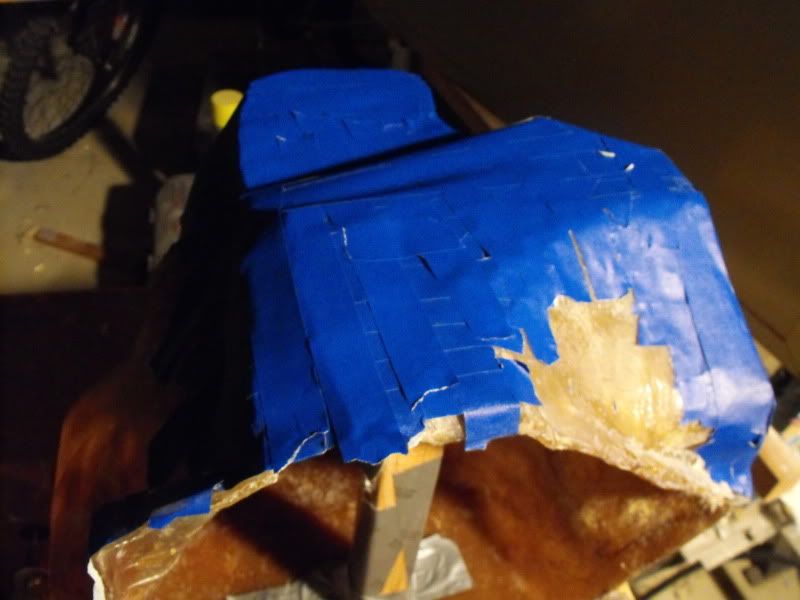
Time for the fun part again...
Taped the gap
See how much lower it is in the back now?
Before glassing, I did a test-fit again and everything cleared
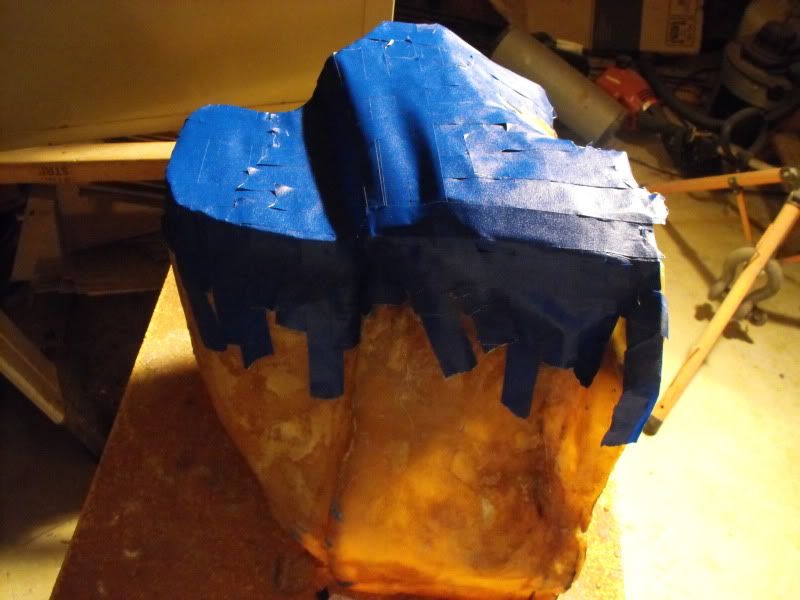
About to glass the gap. Again.
Feel free to ask any questions!I followed blackened's Fiberglass Stealth Sub Box Walkthrough
The supplies I started with. I used alot more than this, though. I don't understand how some people are doing this for $50. These supplies alone were $90.
I taped the areas to be fiberglassed. Use plenty of tape! You don't want resin on your carpet!
I waxed the tape, so that it would easily peel away from the fiberglass later on.
Waxed tape.
Definitely don't want fiberglass resin where it doesn't belong!
For the first layer or two, I used fiberglass cloth instead of mat. Cloth is easier to work with
Decided it would be a good idea to protect the quarter panel also...
2 or 3 layers in
At this point, it was strong enough to take out of the car. Yes, that's a Christmas tree. No, it didn't take me half a year to do this! I took some time off from it.
Tape removed. The wax did its job.
3 or 4 layers
The black line shows where I'll be cutting it later on. I intentionally made it a little too big so that I could cut it and have a nice, clean edge to attach the front board to.
As you may have noticed in the previous pictures, I cut this piece off. But then realized maybe I shouldn't have. So I put it back in the car, taped it up, and re-did it. Turns out, it wasn't needed afterall, and I cut it off again. But this shows I'm capable of making repairs in fiberglass - a skill I would need later in the project...
7 layers. Like Taco Bell.
Cleaned it up a little. After every layer, I used a Dremel with either a cutoff wheel or a grinder (depending on what I needed) to get rid of jagged edges and places where the fiberglass bubbled. If you don't do this, you'll have high spots all over the place.
Now, the fun part (<----sarcasm). I used hot glue and duct tape (because no project doesn't require duct tape!) and this piece of wood to hold the top piece in place so I could tape and glass the gap between the two.
All taped up.
See the gap? Time to glass it.
1 layer of fiberglass in the gap
After a couple layers, it's strong enough to pick up.
It has a few layers now
Getting close!
Am I done glassing? I thought so...
This picture shows how tall it is in the back. I did a test-fitting and discovered I made it TOO tall. It was hitting part of the car's body. I had to cut off the entire top and redo it. Bummer. I was able to reuse the trim piece though, so it wasn't a total loss.
Trimming...
Plenty of clearance here
Gotta trim a little more there
I'm glad I didn't trim all the way down to the line. I would have lost a ton of airspace
Clearance + airspace!
Looking good there
Time for the fun part again...
Taped the gap
See how much lower it is in the back now?
Before glassing, I did a test-fit again and everything cleared
About to glass the gap. Again.
Last edited by cnw8891; 07-15-2011 at 01:18 AM.
 07-15-2011, 12:24 AM
#2
12 Second Club
Thread Starter
iTrader: (3)
Join Date: Nov 2007
Location: Albany, GA
Posts: 88
Likes: 0
Received 0 Likes
on
0 Posts
Got a few layers in there
Test-fitting went well
Almost there
Tired of fiberglassing!
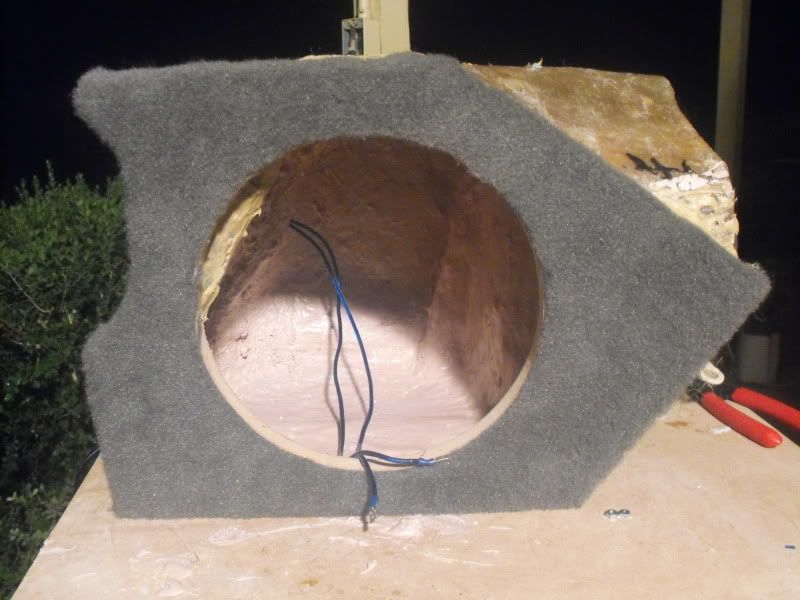
Finished fiberglassing!
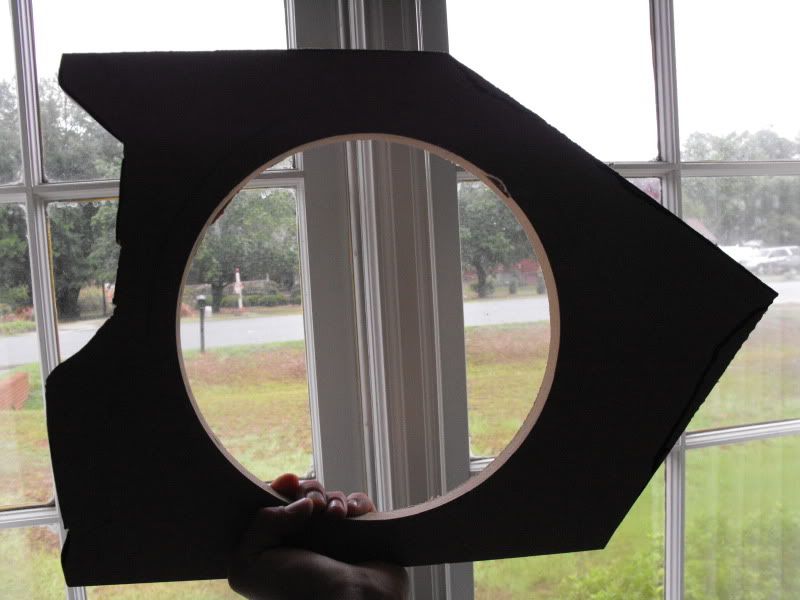
The black line shows where I'll be cutting and attaching the wood
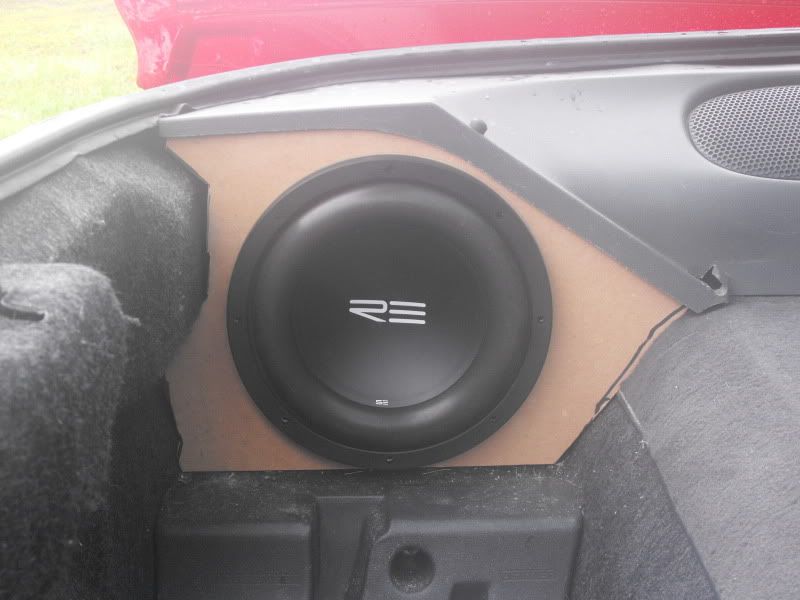
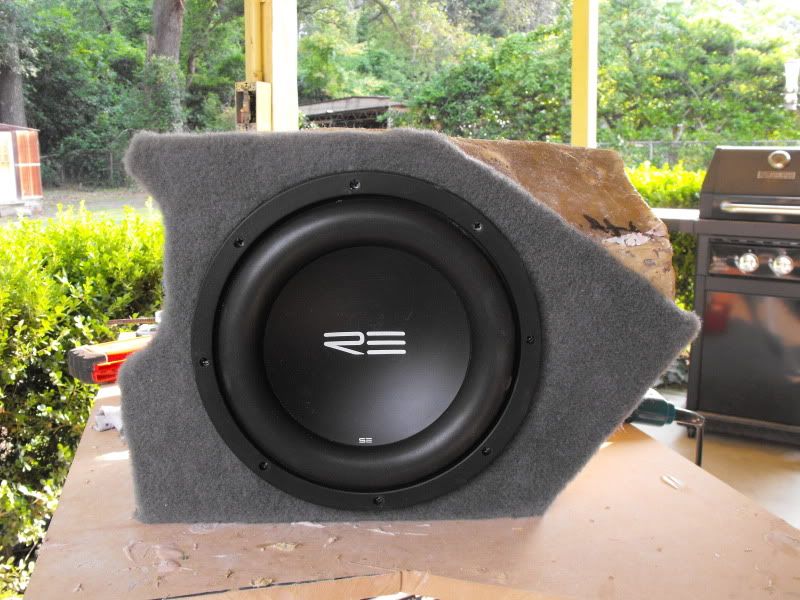
Here's my front. 3/4" MDF. The cut is a little jagged on the left side but after putting the carpet is on, it's unnoticeable.
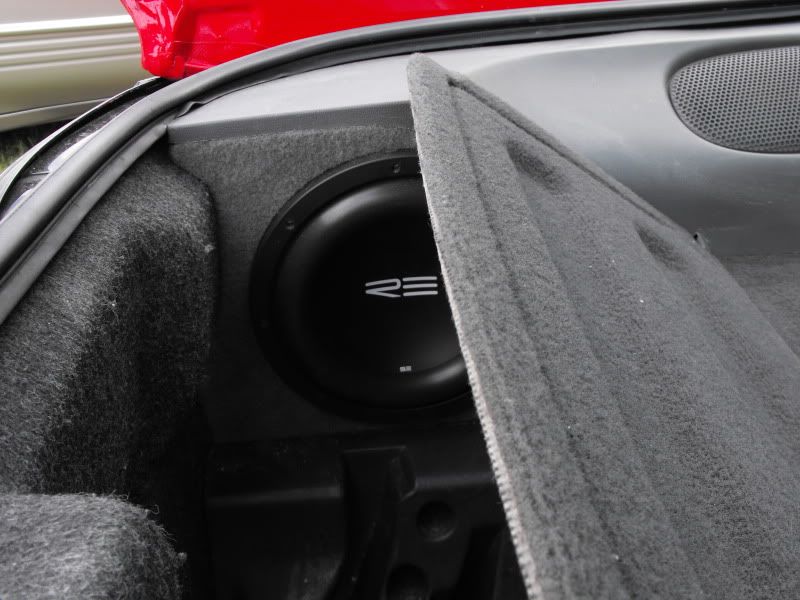
Test-fitting the sub
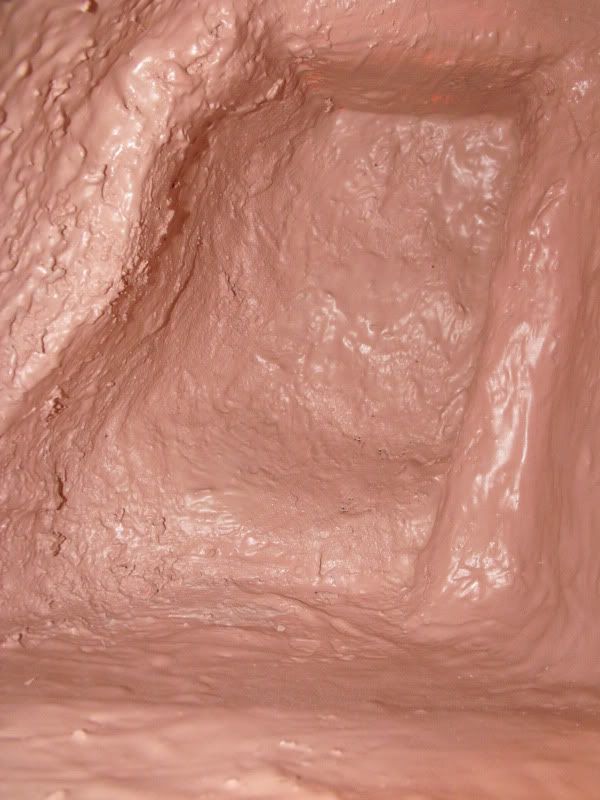
I added a layer of bondo mixed with a little fiberglass resin. This adds strength and minimizes the chance of there being any pinholes in the fiberglass
Looks weird in there
Board attached! That wasn't easy at all. I used L-brackets and Liquid Nails.
Success!
Sounds great!
Test-fitting went well
Almost there
Tired of fiberglassing!
Finished fiberglassing!
The black line shows where I'll be cutting and attaching the wood
Here's my front. 3/4" MDF. The cut is a little jagged on the left side but after putting the carpet is on, it's unnoticeable.
Test-fitting the sub
I added a layer of bondo mixed with a little fiberglass resin. This adds strength and minimizes the chance of there being any pinholes in the fiberglass
Looks weird in there
Board attached! That wasn't easy at all. I used L-brackets and Liquid Nails.
Success!
Sounds great!

 07-15-2011, 04:02 AM
#7
TECH Senior Member
iTrader: (96)
Join Date: Aug 2007
Location: Turnin' Wrenches Infractions: 005
Posts: 24,240
Likes: 0
Received 79 Likes
on
70 Posts
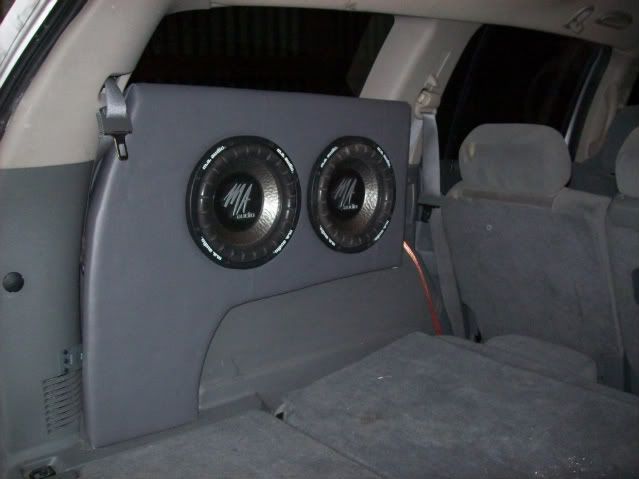
Ah yes, the joys of learning to build a fiberglass molded speaker box. The next one will be tons easier. One tip, go to an auto body supply store and buy your resin by the gallon. You over-pay for those quart size containers. And another thing, you can put the fiberglass straight to wood. It will soak in and bond. There isn't one screw (or liquid nails for that matter) holding the box below together. Here's a box I did in the old lady's truck. The idea was to keep the third seat usable and use the two 10s I already had. The entire rear/bottom and top is glass:
Trending Topics
 07-16-2011, 03:31 AM
#9
12 Second Club
Thread Starter
iTrader: (3)
Join Date: Nov 2007
Location: Albany, GA
Posts: 88
Likes: 0
Received 0 Likes
on
0 Posts
Yeah, it was alot of work. I'm glad I did it though. I know alot of people are hesitant to start one of these, but I did it and had good results in the end and that's worth the extra $ that it cost. As everybody else has said, it would be easier the 2nd time. A friend of mine may want one soon, so we'll see if that's true.
Thanks lethal bird and TruBloodTransAm!
whytryz28, if you do a good job with the box and cut the circle for the 12 just right you'll probably be ok as long as your sub doesn't have a huge mounting depth. I had to grind away a little on the left side of my box to get the basket to clear.
Thanks lethal bird and TruBloodTransAm!
whytryz28, if you do a good job with the box and cut the circle for the 12 just right you'll probably be ok as long as your sub doesn't have a huge mounting depth. I had to grind away a little on the left side of my box to get the basket to clear.


