

 05-03-2016, 01:02 PM
Last edit by: IB Advertising
See related guides and technical advice from our community experts:
Browse all: Chevrolet Camaro or Pontiac Firebird Interior Guides
- Camaro 2010 � 2015: How to Replace Headlights <br>Step by step instructions for do-it-yourself repairs.
- Camaro and Firebird How to Clean Foggy Headlights<br>Step by step instructions for do-it-yourself repairs.
Browse all: Chevrolet Camaro or Pontiac Firebird Interior Guides

Cloudy Headlights ?
01-12-2012, 08:36 AM
#1
On The Tree
Thread Starter
Join Date: Jan 2012
Location: Norfolk, VA
Posts: 171
Likes: 0
Received 0 Likes
on
0 Posts
With every Camaro I have ever owned, this always seems to become an issue... Headlight fog... I was just wondering how to master this re-occurring problem. I have seen plenty of beautiful Camaro's on here and a huge factor of their appearance was the fact that they all had crystal clear headlights. How do they do it? Are they aftermarket? Stock? Is there a solution that will shine them up???
Today I will be trying to "master" this problem and soon here I will be headed to the hardware store to pick up some wet sandpaper... I was just wondering what type I should get without it being too rough or light on attempting to use my elbow grease in the process!
Thank you! And any POSITIVE feedback is greatly appreciated!
 01-12-2012, 08:50 AM
#2

Yes I have done it multiple times. You will need 800, 1000, and 2000 sand paper, a bucket of soapy water, and wet sand them. From there you will need a good scratch/swirl remover, and a sealant. I used Adams not sure what you could get locally but I am sure more people will chime it. But I used that method with about 5 min on each grit and came out amazing. Good luck
01-12-2012, 08:55 AM
#3
Launching!
Join Date: Aug 2008
Location: Alabama
Posts: 203
Likes: 0
Received 0 Likes
on
0 Posts
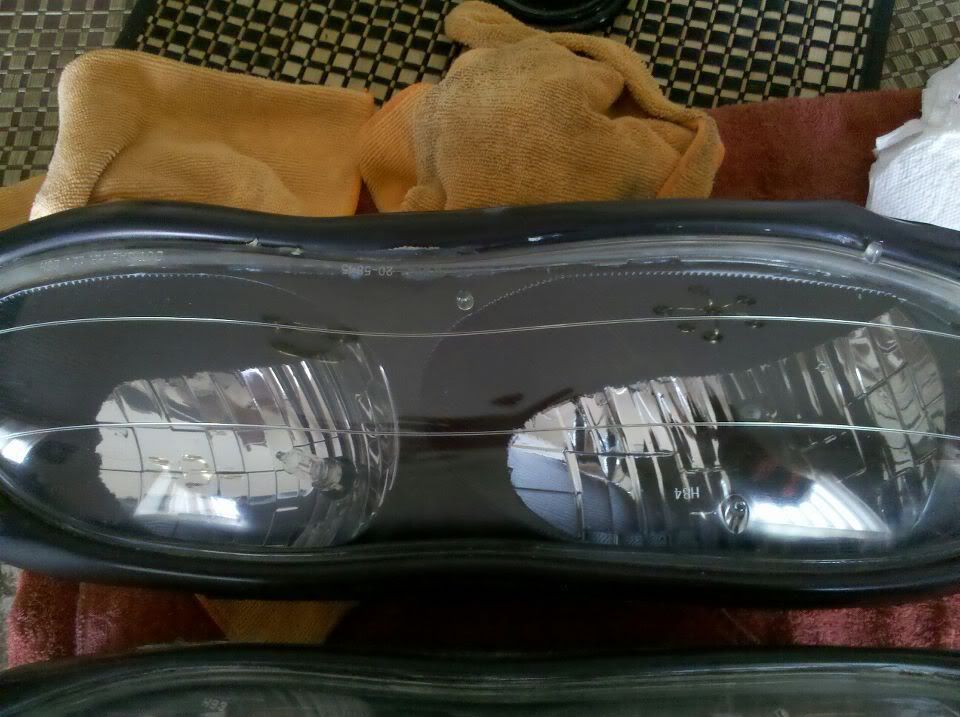
I resurfaced mine twice with not very good results. Maybe i wasnt that good at it, but i ended up just getting aftermarket lights and was very happy with the results. When I was sanding my old headlights the "nipples" on the lense got in the way of the sander. They looked better, but not brand new, and there was still some condensation on the inside of the lense. To just get some good aftermarket lights would be my recommendation.
Given, after time the aftermarkets will cloud up too. I remedied that by trading my camaro for a trans am.
Given, after time the aftermarkets will cloud up too. I remedied that by trading my camaro for a trans am.
01-12-2012, 10:20 AM
#6
Launching!
iTrader: (8)
Join Date: Aug 2010
Location: Memphis
Posts: 291
Likes: 0
Received 0 Likes
on
0 Posts
Look in the "Ask A Proffessional Detailer" thread and he tells you how to fix this and keep it looking good. Also, if you get a T/A youll be fighting these damn flip up headlights all the time... Ill polish my lights every month if itd mean I didnt have to have flip up lights haha
01-12-2012, 10:59 AM
#7
Launching!
Join Date: Aug 2008
Location: Alabama
Posts: 203
Likes: 0
Received 0 Likes
on
0 Posts
Look in the "Ask A Proffessional Detailer" thread and he tells you how to fix this and keep it looking good. Also, if you get a T/A youll be fighting these damn flip up headlights all the time... Ill polish my lights every month if itd mean I didnt have to have flip up lights haha
Trending Topics
01-12-2012, 11:08 AM
#8
I use 800, 1000, 2000, and 4000 and wet sand the hell out of them. Then I get a buffing wheel and a drill with some Meguiars PlastX on it and go to town. This method has worked great for me
 01-12-2012, 05:26 PM
#11
On The Tree
iTrader: (8)
Join Date: Apr 2008
Location: Albuquerque, NM
Posts: 163
Likes: 0
Received 0 Likes
on
0 Posts
My headlights were really foggy and couldn't see thru them that much.
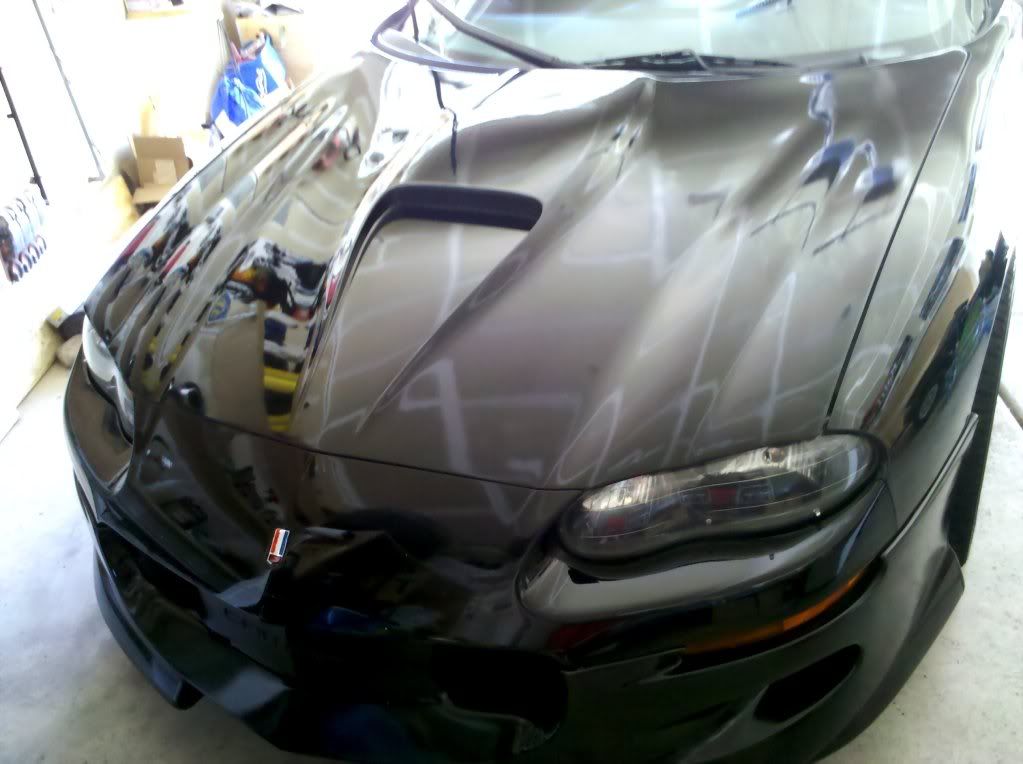
I used the turtle was headlight restoration kit. The key with this kit is to take your time with the first step of sanding that they provide. Then do the same with the rest. Everything took me about 30 to max 40 minutes per headlight. When i applied the clarifier that they provide so you can buff the headlight to a clear finish i used a buffer with a whool pad and did a couple passes. After buffing i sealed it with Meguiars Ultimate Liquid wax and these were the results. Damn headlights look like new.
click
Last edited by SickZ28; 01-12-2012 at 05:36 PM.
01-12-2012, 06:32 PM
#12
On The Tree
Thread Starter
Join Date: Jan 2012
Location: Norfolk, VA
Posts: 171
Likes: 0
Received 0 Likes
on
0 Posts
Good news Sick, thanks! I had bought it today already and didnt know if it was worth the $8.... But then said ahhh wtf, why not??? It's only 8 bux! Gonna take my time on it tomorrow and do a good job!
01-13-2012, 09:55 AM
#13
On The Tree
iTrader: (8)
Join Date: Apr 2008
Location: Albuquerque, NM
Posts: 163
Likes: 0
Received 0 Likes
on
0 Posts
Anytime brotha, but yeah deff take your time with the first step rubber sand paper, thats what will determine how good your finish product would be. Don't follow the instructions on how long you should rub as all applications can differ. Just rub until you feel satisfied and your noticing results. The headlights will be crystal clear after you use the clarifier and wax to seal the plastic. I applied the clarifier about 2 or 3 times for maximum results with the whool pad.
I'm deff happy with the results as my headlights are crystal clear just like new and the best part is that i didn't have to waste 2 bills on an aftermarket headlight. lol, just a bit of your time and bam. Satisfaction of doing things on your own cannot be earn elsewhere.
I'm deff happy with the results as my headlights are crystal clear just like new and the best part is that i didn't have to waste 2 bills on an aftermarket headlight. lol, just a bit of your time and bam. Satisfaction of doing things on your own cannot be earn elsewhere.
01-13-2012, 11:03 AM
#14
Staging Lane
Join Date: Sep 2005
Posts: 51
Likes: 0
Received 0 Likes
on
0 Posts
I did this process to my '00 tarus that I bought for $800 when I lived in Puerto Rico. They started off looking like they came out of a junkyard and looked brand new when done.
1k wet sand with soapy water, take your time
2k wet sand with soapy water, take your time
Meguires plastic X, keep buffing with a terry cloth untill all goo is gone, don't turn the towel until you're out of goo.
I would be careful using a buffer, you could burn the plastic easily. I chose to do it by hand, but a machine could be used on a low setting. Make sure you use a different soapy water cup for different grits of paper or you could get big grit in the little grit paper. Make sure you soak the paper till it's soft too, or your sanding won't be even. Rinse the headlights off between steps and dry them a bit before using the Plastic X. One bottle of Plastic X will probably do 20 cars using this process.
01-13-2012, 03:33 PM
#15
On The Tree
iTrader: (8)
Join Date: Apr 2008
Location: Albuquerque, NM
Posts: 163
Likes: 0
Received 0 Likes
on
0 Posts
^ true in regards to the buffer. When i used the whool pad on my headlights i had it at 1,000RPM and i never continued to buff after the the clarifier was gone and dried, i continued applying clarifier until achieving satisfaction. Once the headlight looked completely clear as the clarifier was being worked into the headlight i stopped and wiped and applied my coat of wax. Walla.
Let us know how the headlights came out.
Let us know how the headlights came out.
01-15-2012, 09:16 AM
#17
On The Tree
Thread Starter
Join Date: Jan 2012
Location: Norfolk, VA
Posts: 171
Likes: 0
Received 0 Likes
on
0 Posts
Will do Sick! Hopefully I will be removing them off today and giving it a shot! The good part about all of this is my drivers side isnt even that bad... And my passengers "almost's looks" brand New... So this job really shouldn't take too long.... Just wanted it done before I "try" and attempt the Whistler Mod! lol...
Any advice on the Whistler Mod?!? Should I wait to have an extra pair of headlights handy before I go and $&%# this one up lol??? Or is it really not that hard of a DIY??????
Before and after pics of both attempted mods on the way!!! I'm excited but nervous about the DIY at the same time! Lmao... Here goes nothing!!!
Any advice on the Whistler Mod?!? Should I wait to have an extra pair of headlights handy before I go and $&%# this one up lol??? Or is it really not that hard of a DIY??????
Before and after pics of both attempted mods on the way!!! I'm excited
but nervous about the DIY at the same time! Lmao... Here goes nothing!!!
01-15-2012, 09:19 AM
#18
On The Tree
Thread Starter
Join Date: Jan 2012
Location: Norfolk, VA
Posts: 171
Likes: 0
Received 0 Likes
on
0 Posts
^ true in regards to the buffer. When i used the whool pad on my headlights i had it at 1,000RPM and i never continued to buff after the the clarifier was gone and dried, i continued applying clarifier until achieving satisfaction. Once the headlight looked completely clear as the clarifier was being worked into the headlight i stopped and wiped and applied my coat of wax. Walla.
Let us know how the headlights came out.
Let us know how the headlights came out.