[How-To] GXP Fender Vent LEDs
 03-06-2012, 08:05 PM
#1

After seeing someone with red LEDs in their fender vents somewhere online I decided I was going to do them myself and make a write-up if anyone wanted to do it also.
So to begin the items you will need:
>14-18awg wire: 4 strips, I'd say a yard and a half length for each will be good.
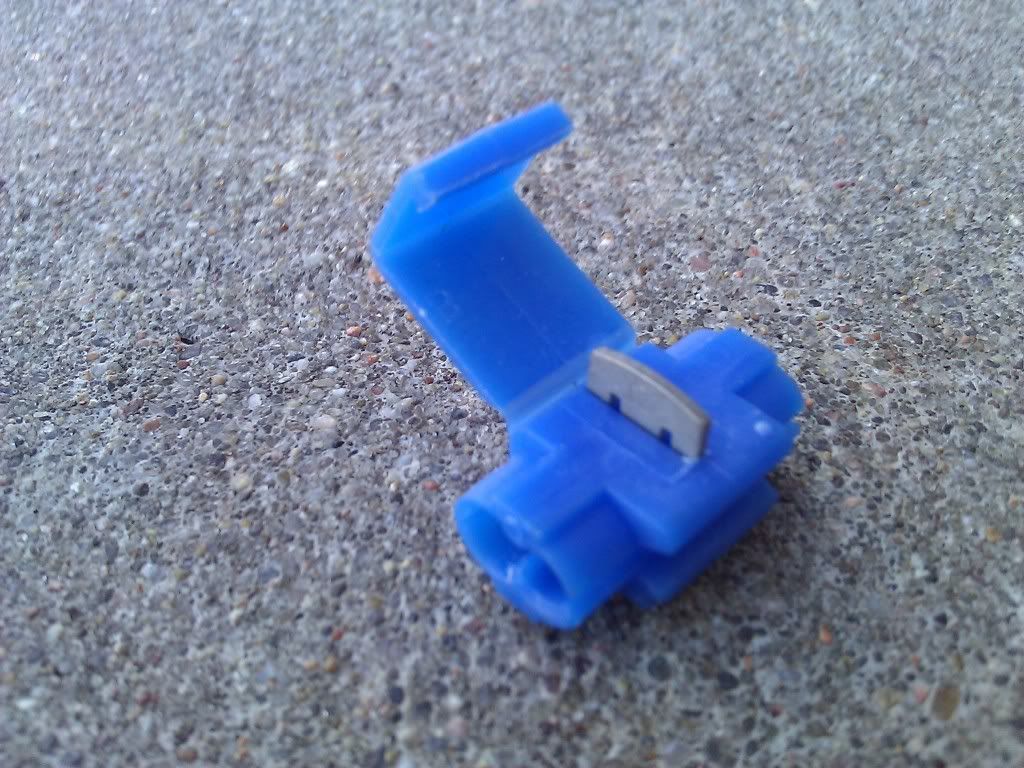
>14-18awg wire taps: A box of them was $.97
>194 wiring harness socket: I found them on eBay for $6
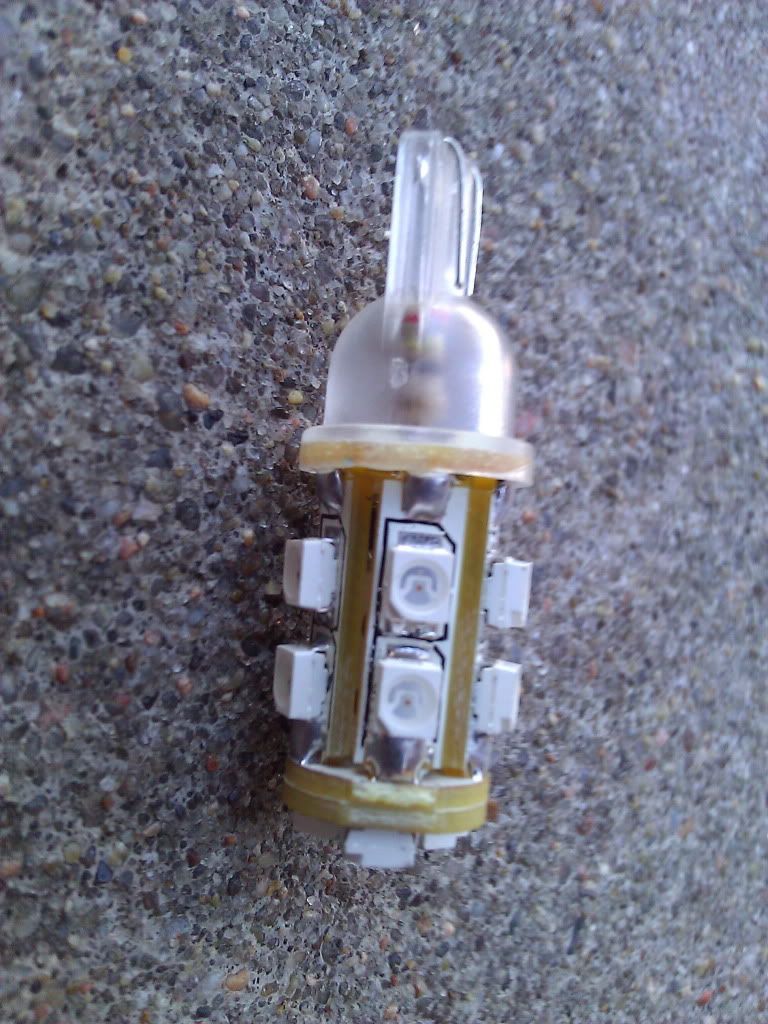
>194_13_SMT_R: I ordered these off of http://www.v-leds.com, they were about $10 after shipping
>Fluorescent light cover: Can get from any hardware store
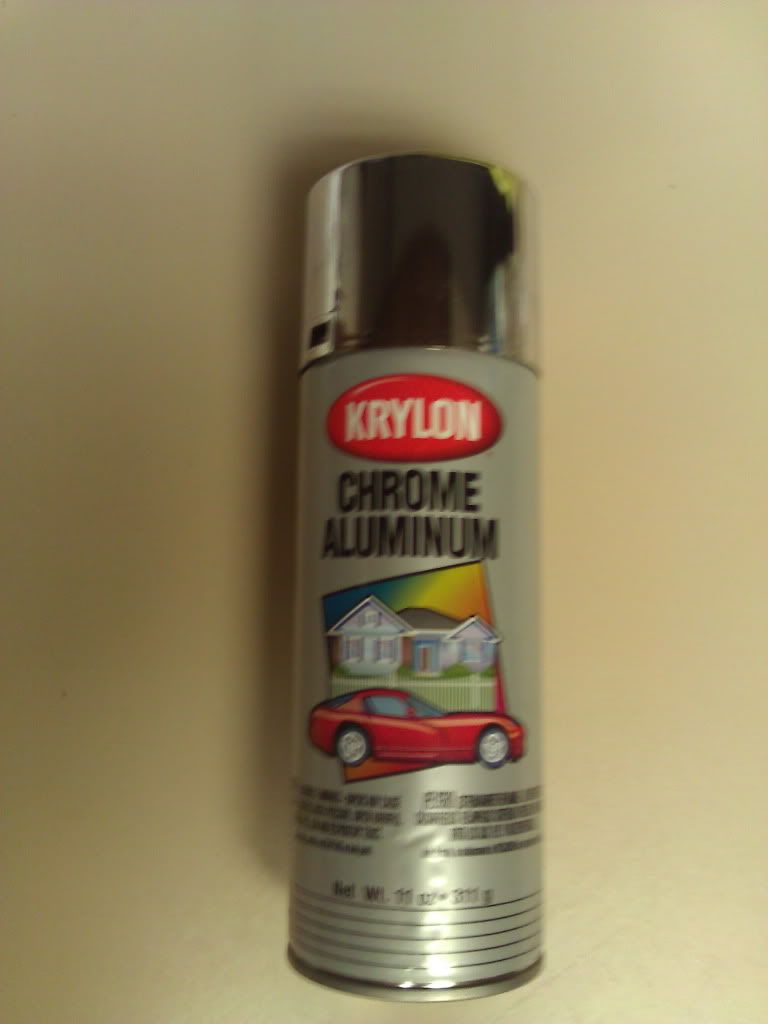
>Krylon Chrome Aluminum Spray Paint
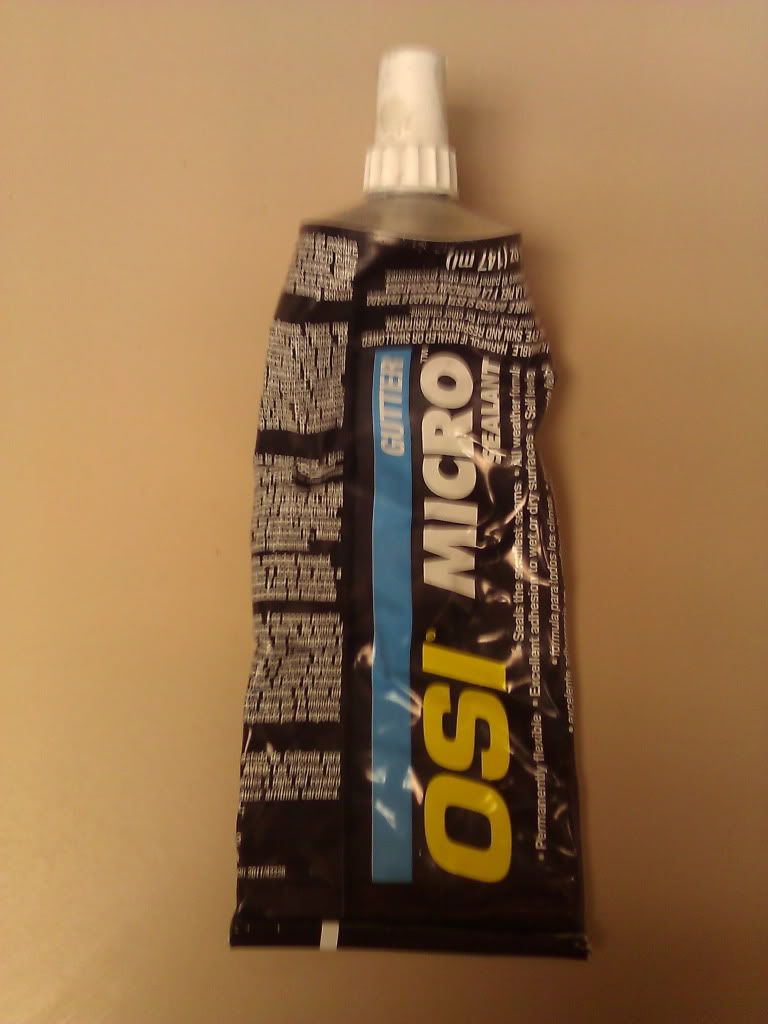
>OSI Gutter Micro Sealant
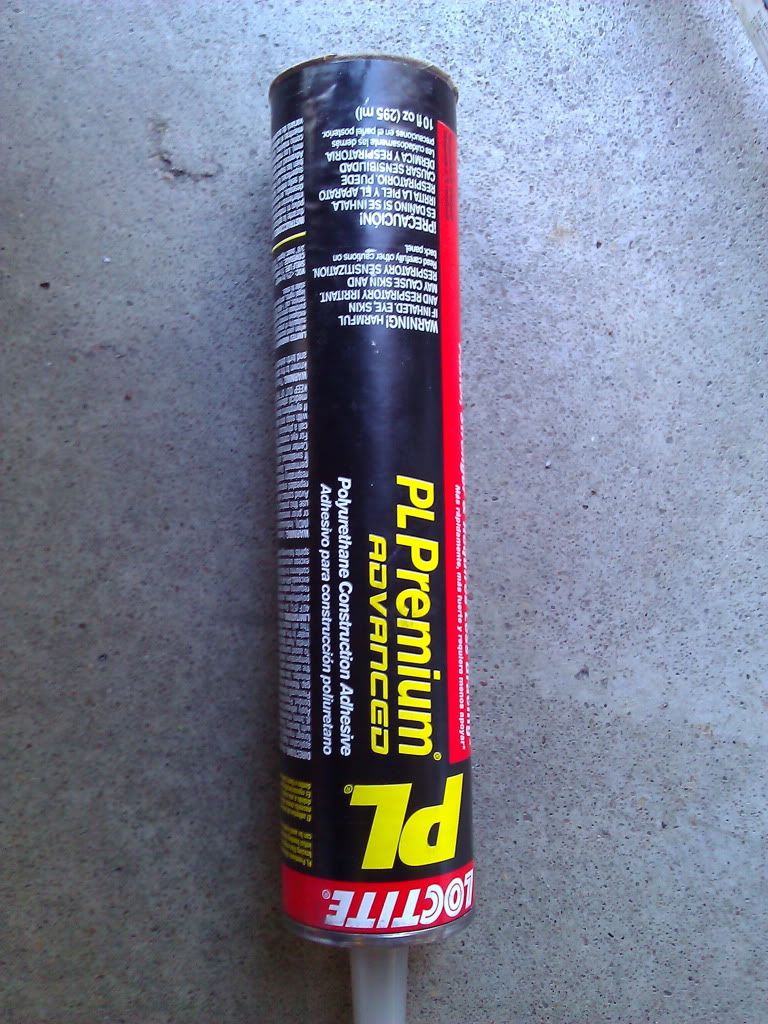
>Loctite PL Premium
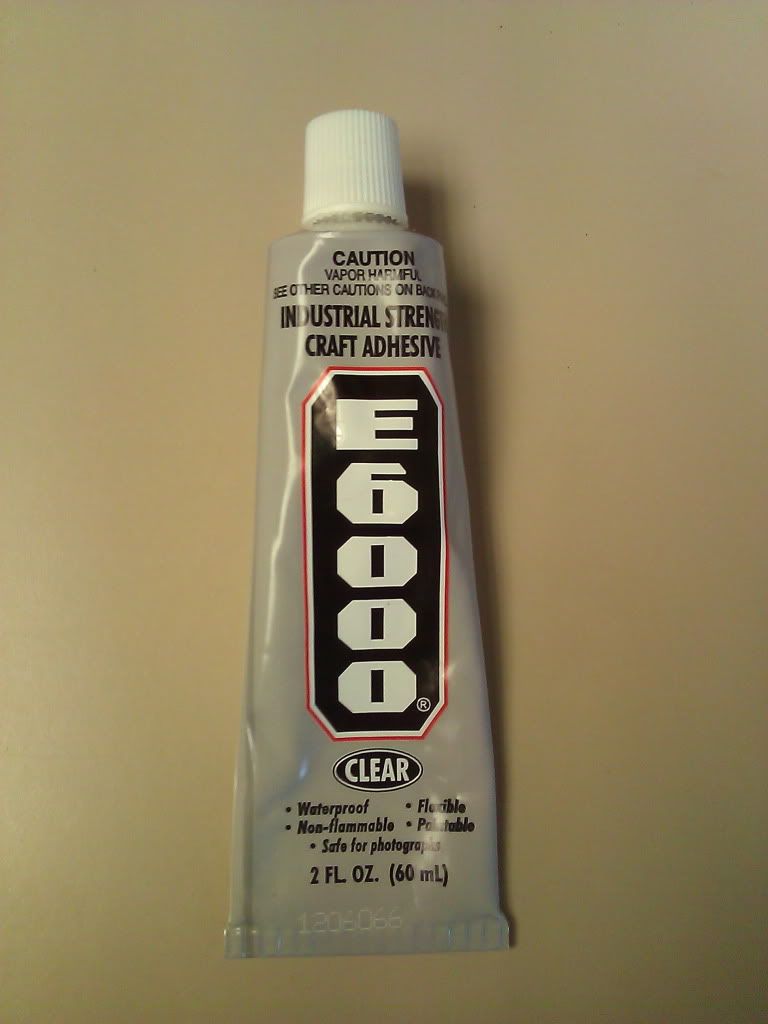
>E6000 Industrial Strength Craft Adhesive
*You can use different methods as to stick the LEDs into the fender vents but I found these to work the best and weren't too expensive.*
First thing you're going to want to do is pop out the fender vents. If you don't know how to do this you can look up JP GXP's guide here: https://ls1tech.com/forums/ls4-perfo...-write-up.html
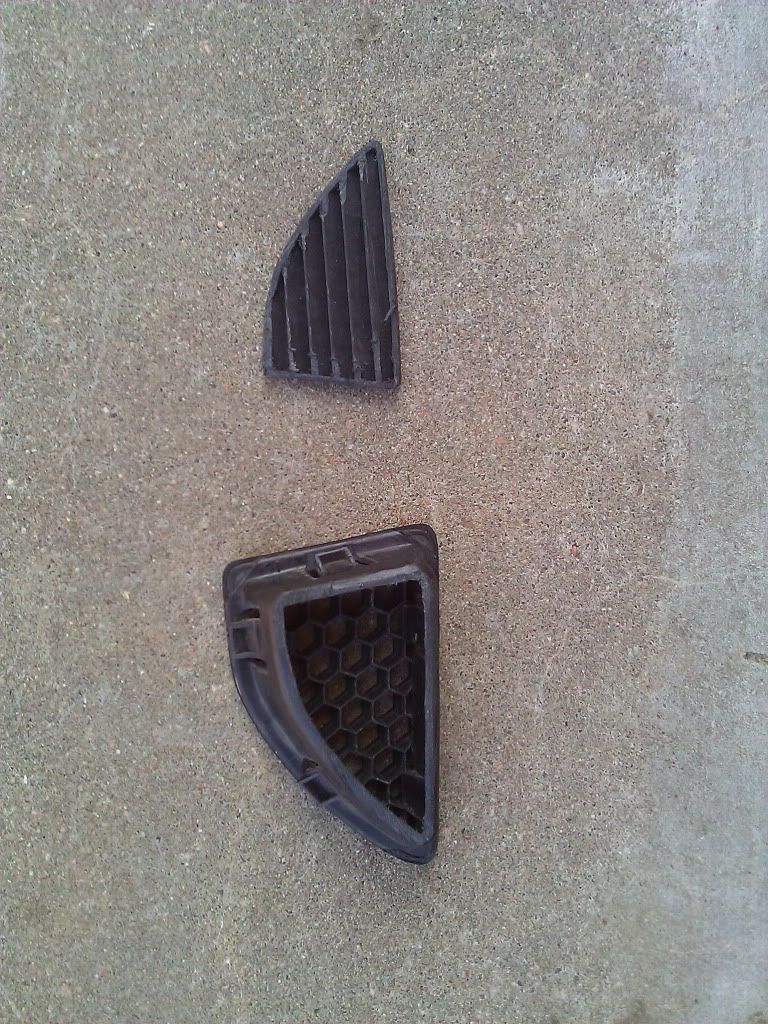
Next up you're going to want to cut the fins off the back of the fender vents so light can shine through. I put them in a vice and used an exacto saw to give a nice cut that was quick.
Now you're going to want to trace out the fender vents onto the fluorescent light cover and cut them out. I used a razor blade and a square to cut them nicer. They are very brittle so take your time in doing this. I used a file to smooth out the edges.
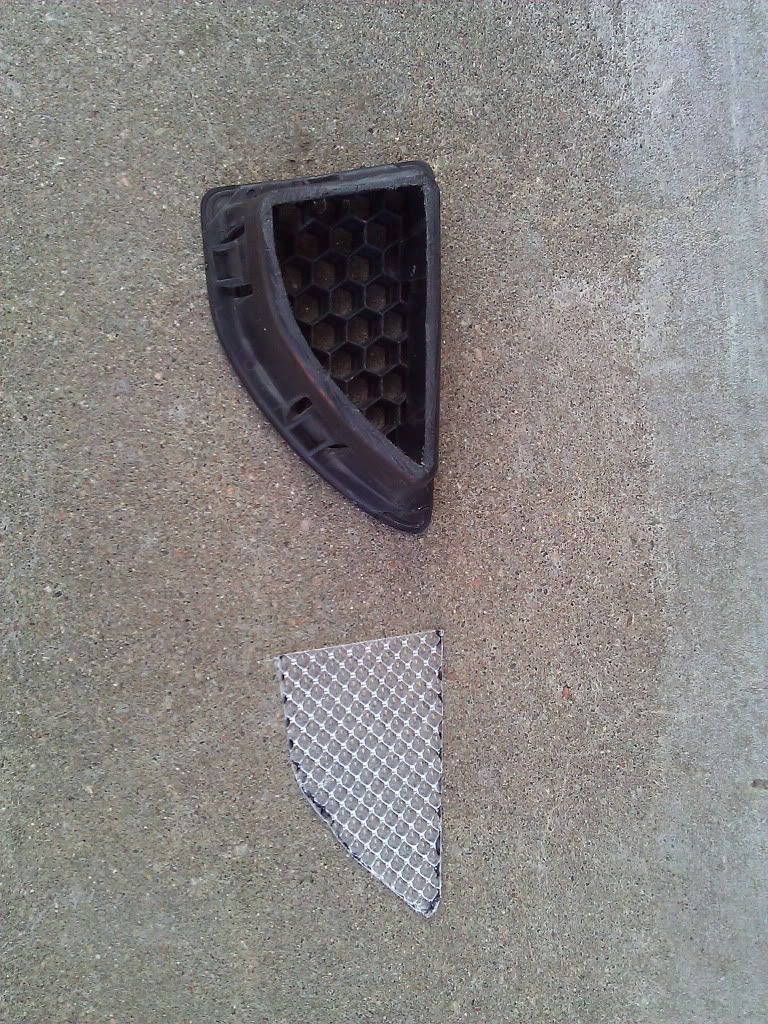
Next you're going to want to use the E6000 Craft Adhesive and glue the fluorescent light covers onto the fender vents. This serves two main purposes. Diffuse the light so you don't have bright spots and to keep water out. For added strength I later put the Loctite PL Premium around it.
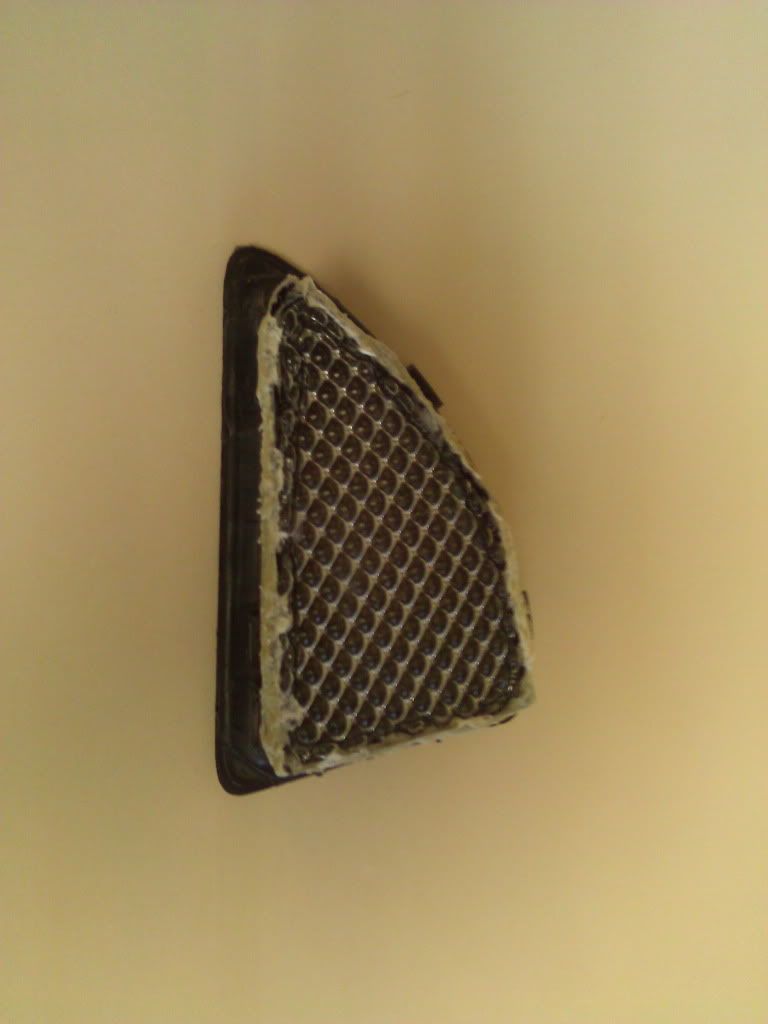
The fender vents are pretty dull so to add a little reflection to them I carefully spray painted them with the Krylon Chrome Aluminum.
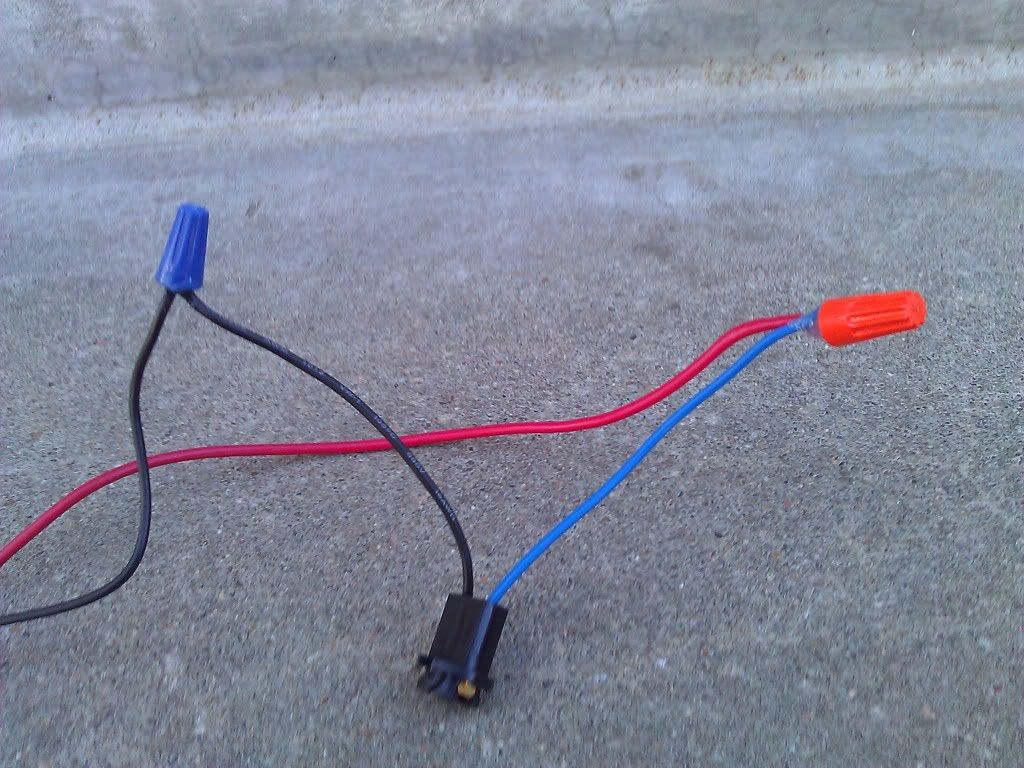
Now comes wiring, I basically soldered on some 16awg wire onto the sockets and then put a wire nut on them and put some OSI Gutter Micro Sealant into the wire nuts so they were water resistant.
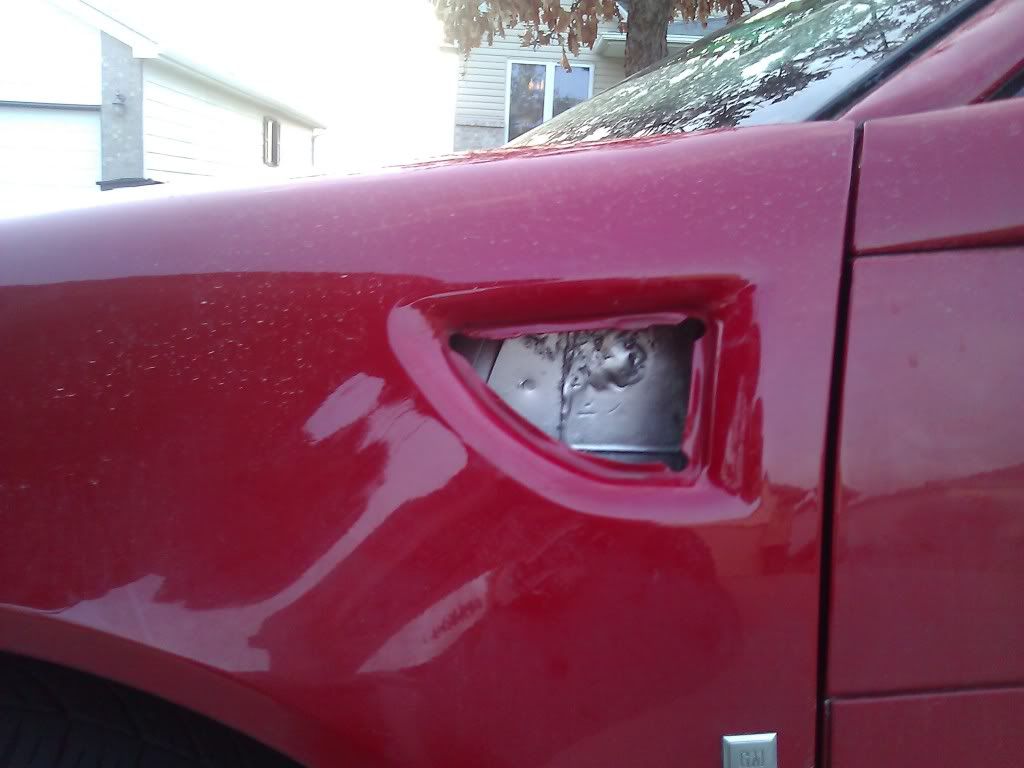
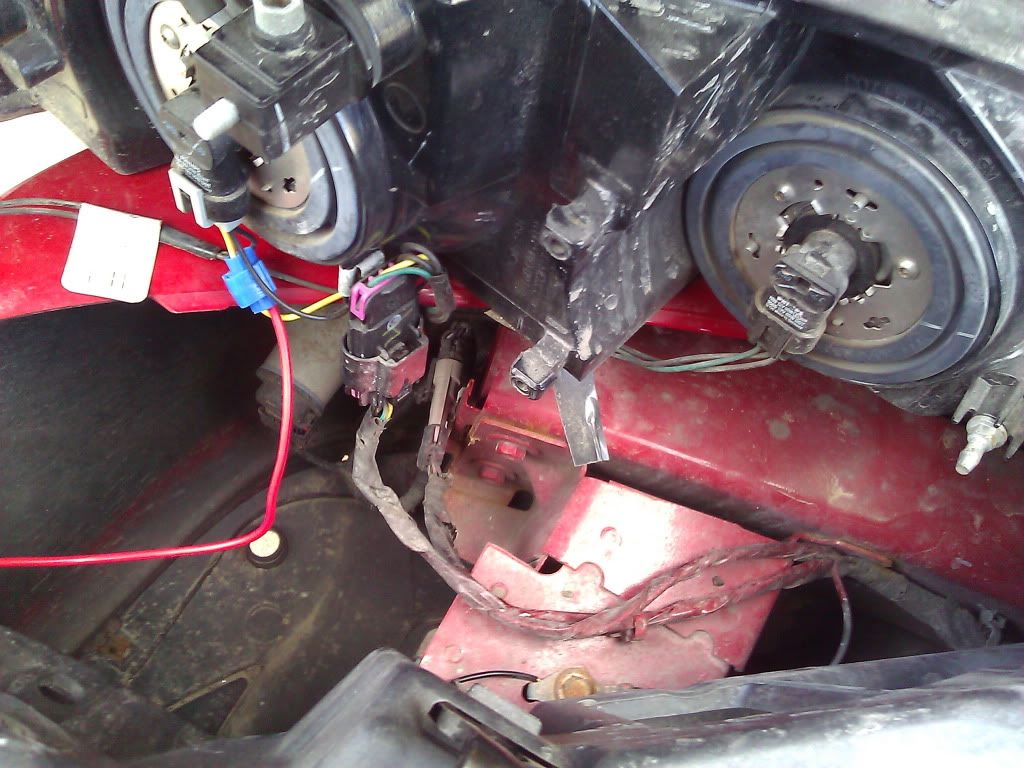
Next step is to remove your headlights. There is one nut you have to remove. Pull those out and you're ready to run the wires. Now to run the wires I just taped them to a coat hanger I stretched out and pulled them through from the fender vents to the light openings.
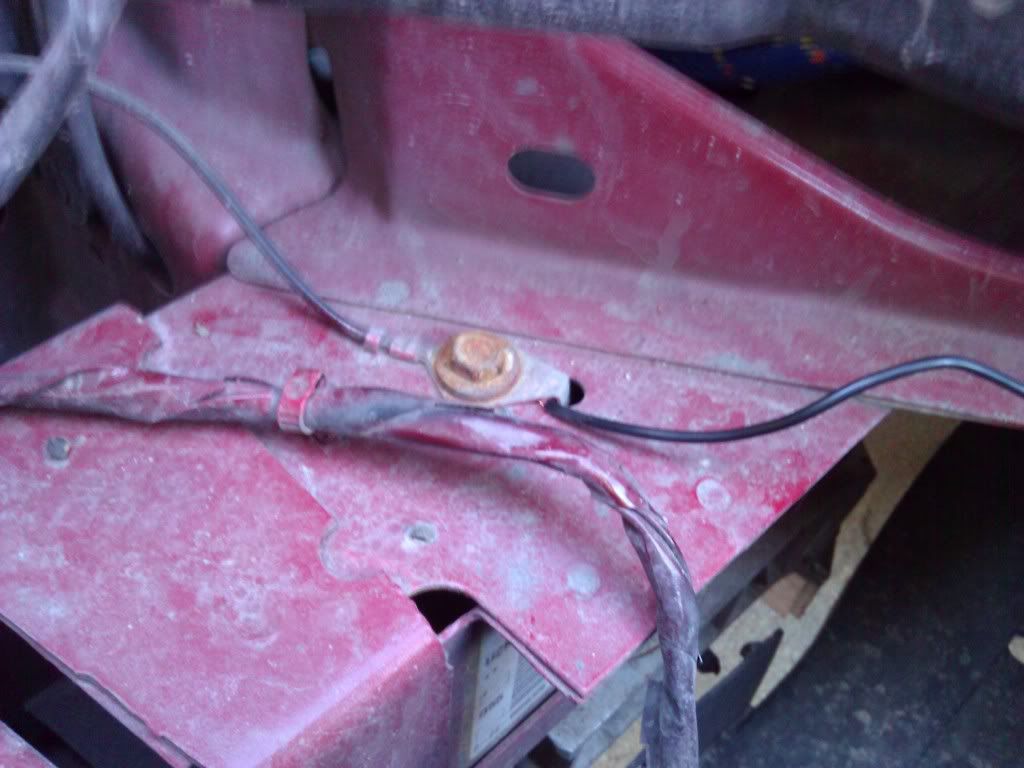
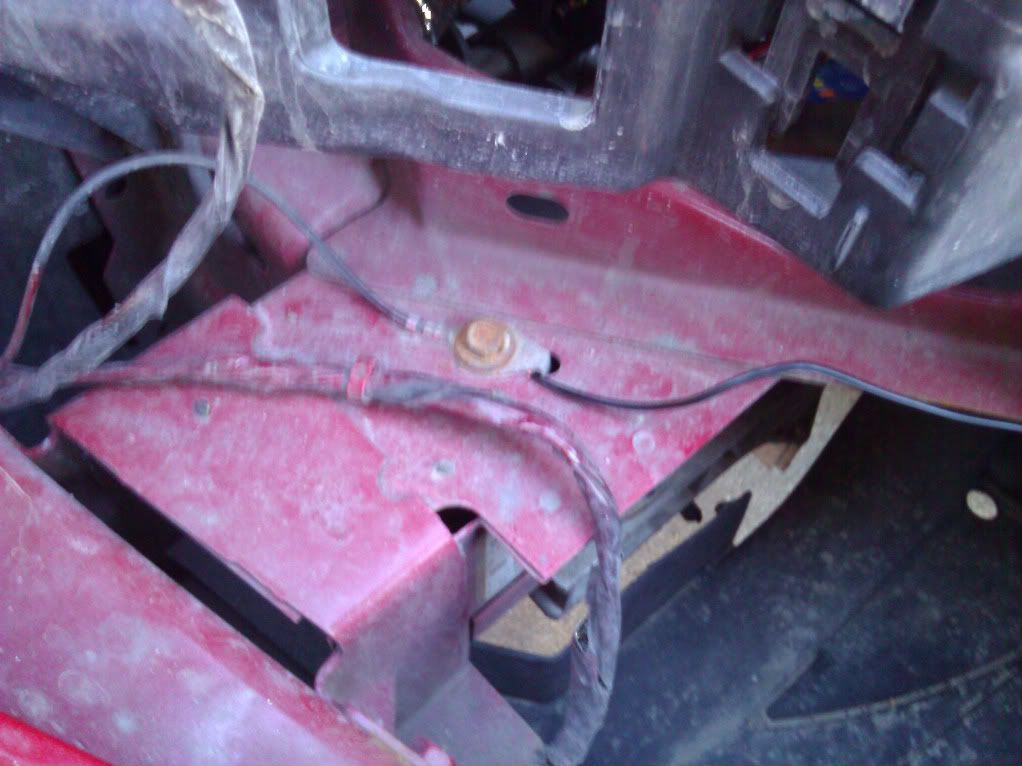
For the ground I just used the existing ground located right below the headlights.
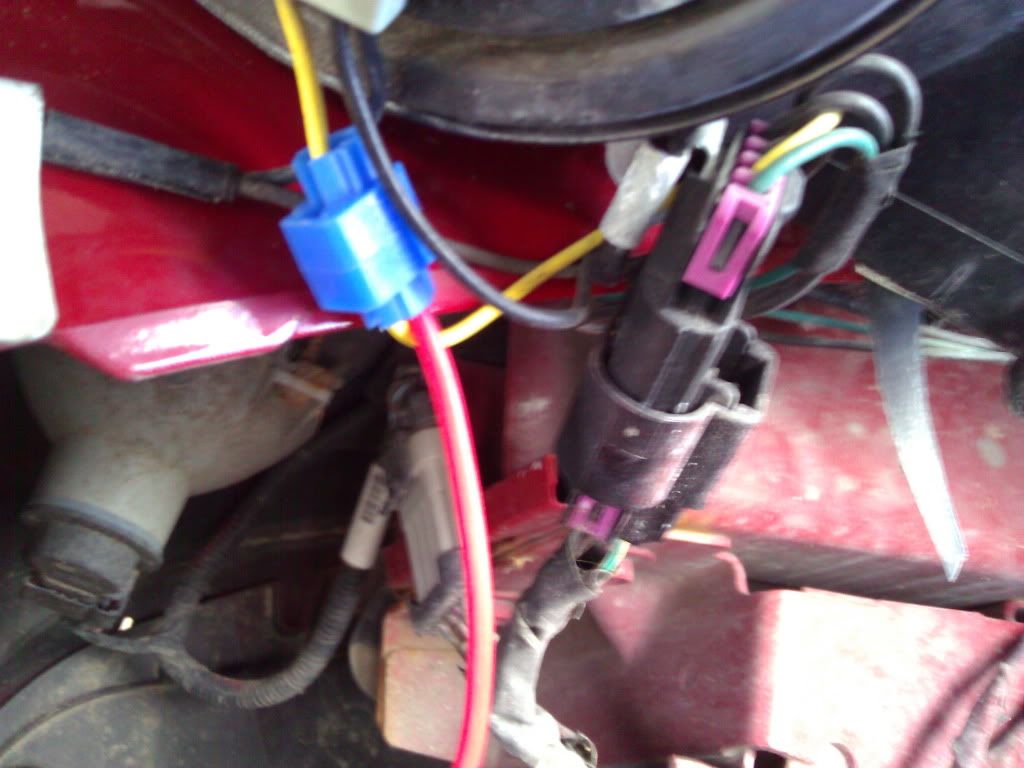
Now for the positives you're going to want to tap into the middle light. There's a yellow wire there and you just slip it into the wire tap, put the positive wire from the socket in it, and pinch down the metal piece with some pliers.
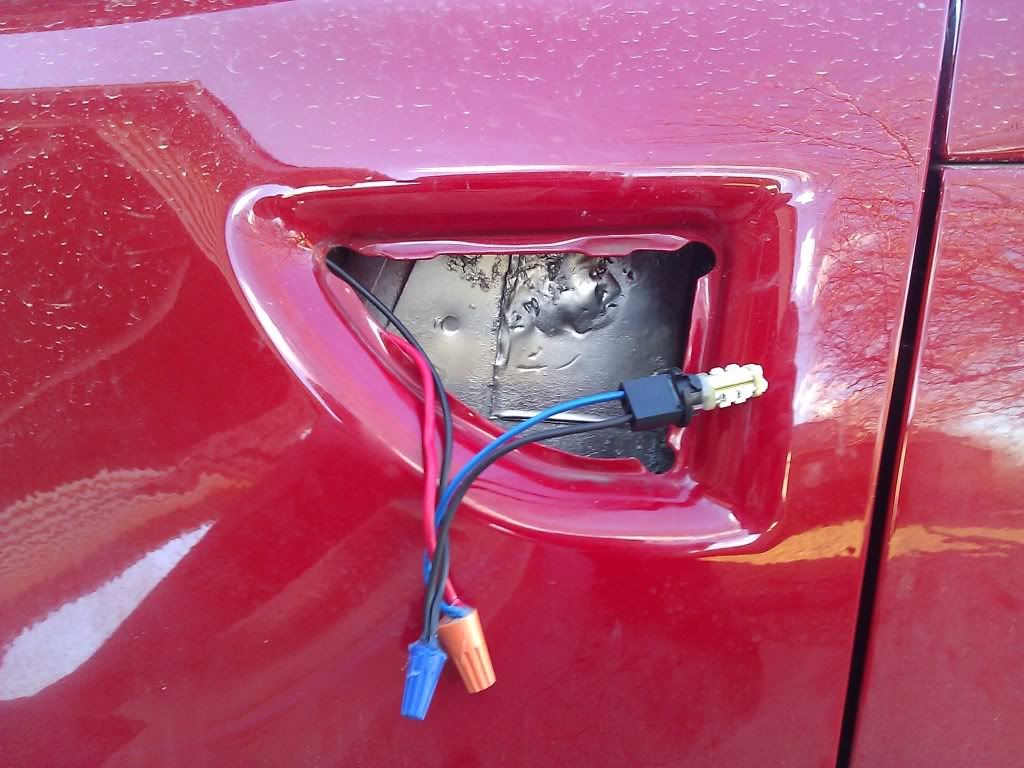
Make sure your LEDs work before putting back in your headlights! It'll save you time if you did something wrong.
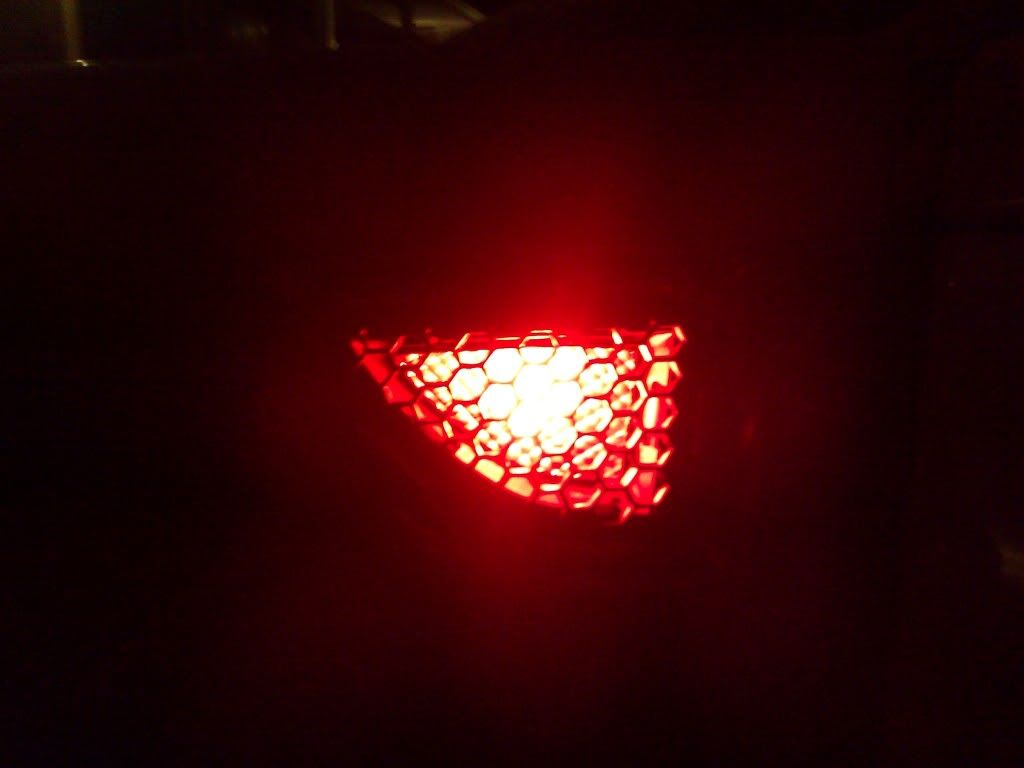
Now you should be here:
Note: This next step is a Pain in the a**. You have limited room to position your hands inside the fender vent. You may need another person to help if you get the Loctite all over your hands, you're going to stick to EVERYTHING.
All I did from here was glob on A LOT of the Loctite PL Premium onto the flat part of the socket, stuck it so the LED would sit in the middle of the fender vent and taped it down while the Loctite dried. After a day that was all dry, so I put more of that OSI Gutter Micro Sealant where the LED bulb met the socket so it wasn't exposed to water. If everything's glued in and dry, the LEDs are working, go a head and put your vents back in.
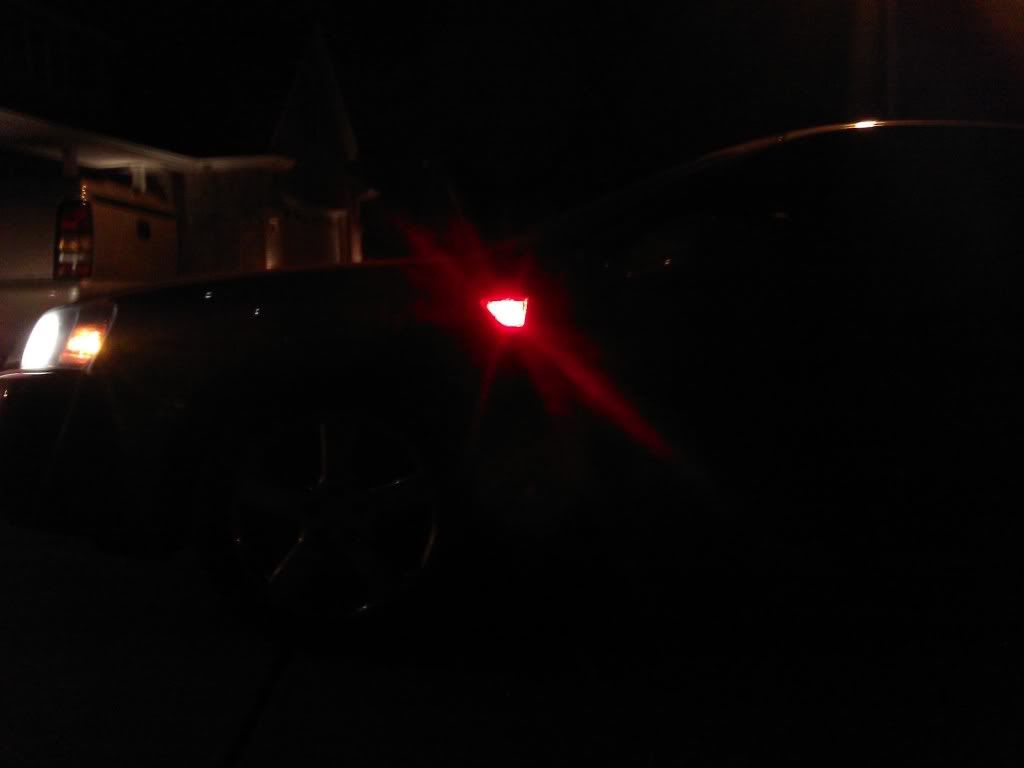
Mine look like this after they were all done:
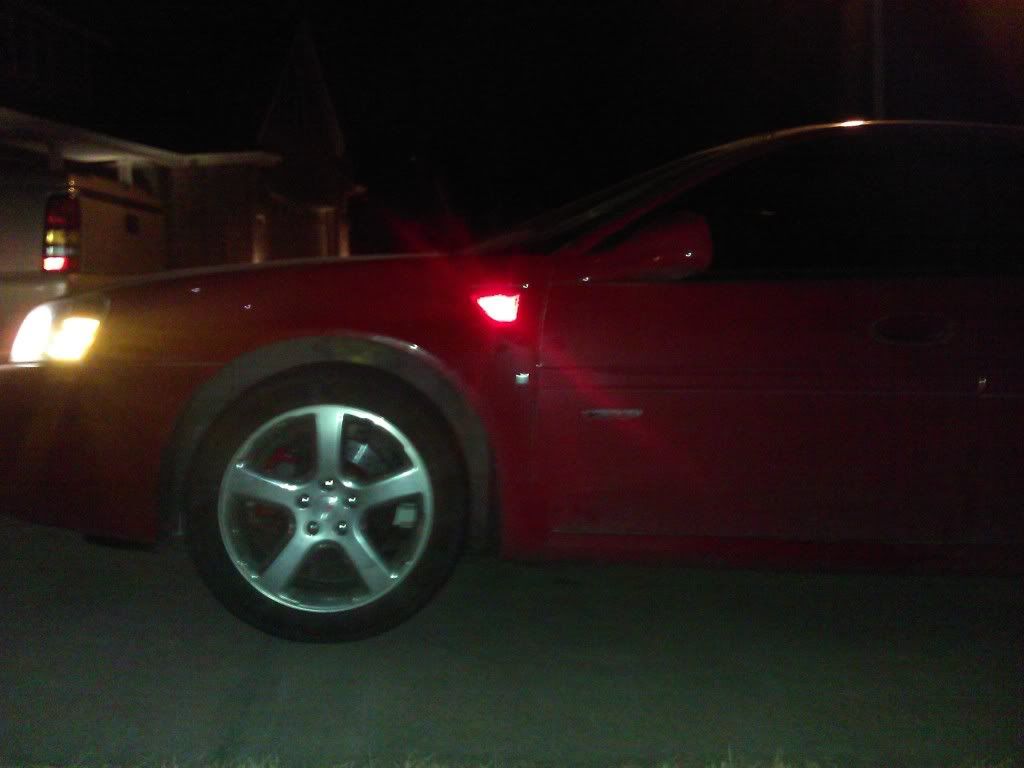
Looks brighter in the picture than in person. I think it's just the perfect amount of brightness, enough to get attention from other drivers but not enough to distract them or look horrid.
Good luck on your LED install and ask away if you have questions!
So to begin the items you will need:
>14-18awg wire: 4 strips, I'd say a yard and a half length for each will be good.
>14-18awg wire taps: A box of them was $.97
>194 wiring harness socket: I found them on eBay for $6
>194_13_SMT_R: I ordered these off of http://www.v-leds.com, they were about $10 after shipping
>Fluorescent light cover: Can get from any hardware store
>Krylon Chrome Aluminum Spray Paint
>OSI Gutter Micro Sealant
>Loctite PL Premium
>E6000 Industrial Strength Craft Adhesive
*You can use different methods as to stick the LEDs into the fender vents but I found these to work the best and weren't too expensive.*
First thing you're going to want to do is pop out the fender vents. If you don't know how to do this you can look up JP GXP's guide here: https://ls1tech.com/forums/ls4-perfo...-write-up.html
Next up you're going to want to cut the fins off the back of the fender vents so light can shine through. I put them in a vice and used an exacto saw to give a nice cut that was quick.
Now you're going to want to trace out the fender vents onto the fluorescent light cover and cut them out. I used a razor blade and a square to cut them nicer. They are very brittle so take your time in doing this. I used a file to smooth out the edges.
Next you're going to want to use the E6000 Craft Adhesive and glue the fluorescent light covers onto the fender vents. This serves two main purposes. Diffuse the light so you don't have bright spots and to keep water out. For added strength I later put the Loctite PL Premium around it.
The fender vents are pretty dull so to add a little reflection to them I carefully spray painted them with the Krylon Chrome Aluminum.
Now comes wiring, I basically soldered on some 16awg wire onto the sockets and then put a wire nut on them and put some OSI Gutter Micro Sealant into the wire nuts so they were water resistant.
Next step is to remove your headlights. There is one nut you have to remove. Pull those out and you're ready to run the wires. Now to run the wires I just taped them to a coat hanger I stretched out and pulled them through from the fender vents to the light openings.
For the ground I just used the existing ground located right below the headlights.
Now for the positives you're going to want to tap into the middle light. There's a yellow wire there and you just slip it into the wire tap, put the positive wire from the socket in it, and pinch down the metal piece with some pliers.
Make sure your LEDs work before putting back in your headlights! It'll save you time if you did something wrong.
Now you should be here:
Note: This next step is a Pain in the a**. You have limited room to position your hands inside the fender vent. You may need another person to help if you get the Loctite all over your hands, you're going to stick to EVERYTHING.
All I did from here was glob on A LOT of the Loctite PL Premium onto the flat part of the socket, stuck it so the LED would sit in the middle of the fender vent and taped it down while the Loctite dried. After a day that was all dry, so I put more of that OSI Gutter Micro Sealant where the LED bulb met the socket so it wasn't exposed to water. If everything's glued in and dry, the LEDs are working, go a head and put your vents back in.
Mine look like this after they were all done:
Looks brighter in the picture than in person. I think it's just the perfect amount of brightness, enough to get attention from other drivers but not enough to distract them or look horrid.
Good luck on your LED install and ask away if you have questions!

 03-07-2012, 12:56 PM
#4
They're kind of a PITA. I used a plastic push fastener remover to take out the plastic fasteners on the cowl inside the door to pull that away. Then I used two straight-edge screwdrivers to push the tabs in a pry it out. You kind of bend the bottom two tabs and it may even feel like it's going to break but that is some strong plastic. I've removed mine probably 10 times or so and they haven't broken yet *knock on wood*.