TC78 BMW build
 12-15-2012, 07:19 PM
#1

After wrecking my supercharged LS1 BMW 325i, I decided to move up to a 5 series. The downside is the car is around 600 lbs heavier... With more weight, comes the need of more power.
The old homemade setup using an Eaton m112 off of a Ford Lightning.
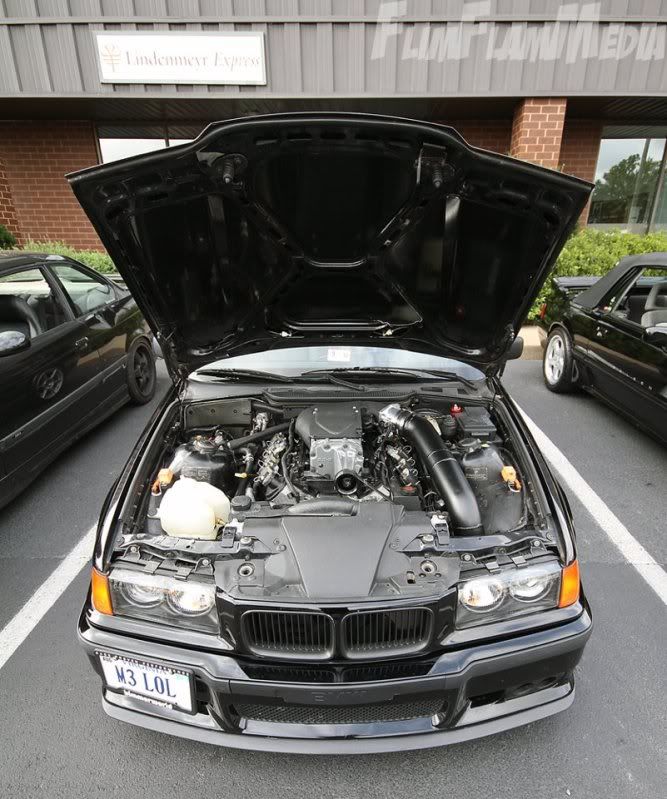
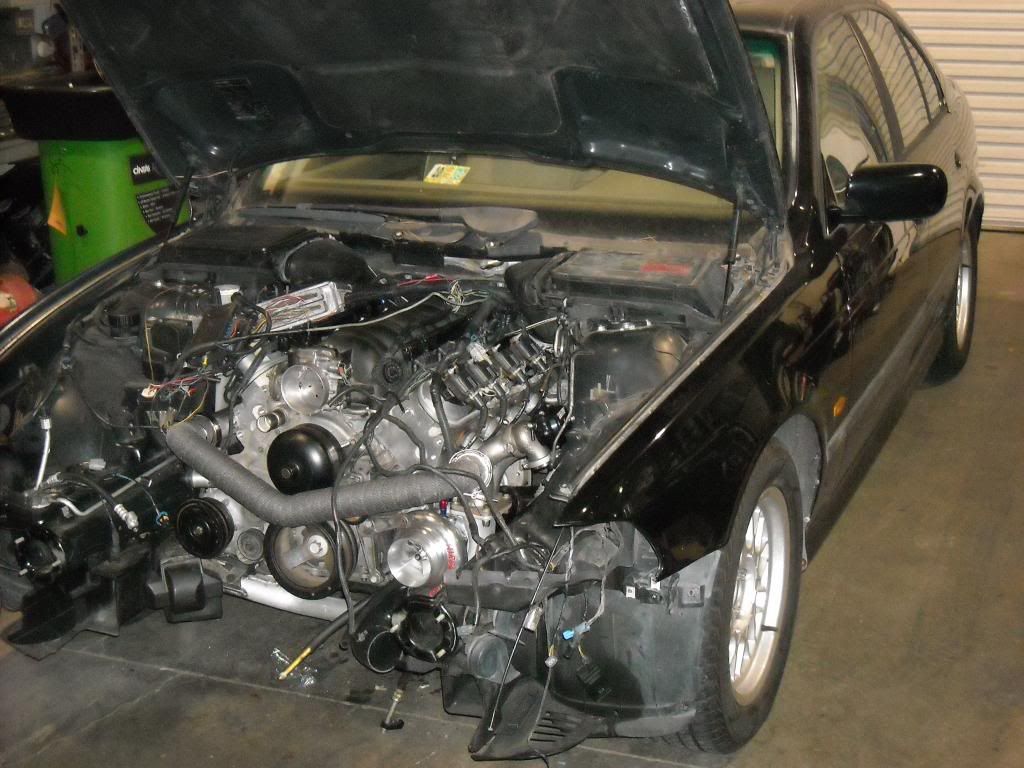
The new car

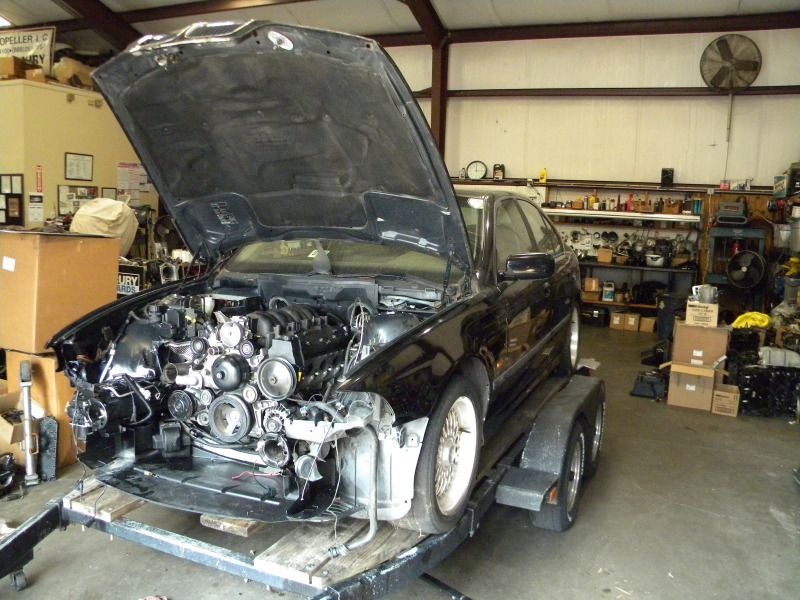
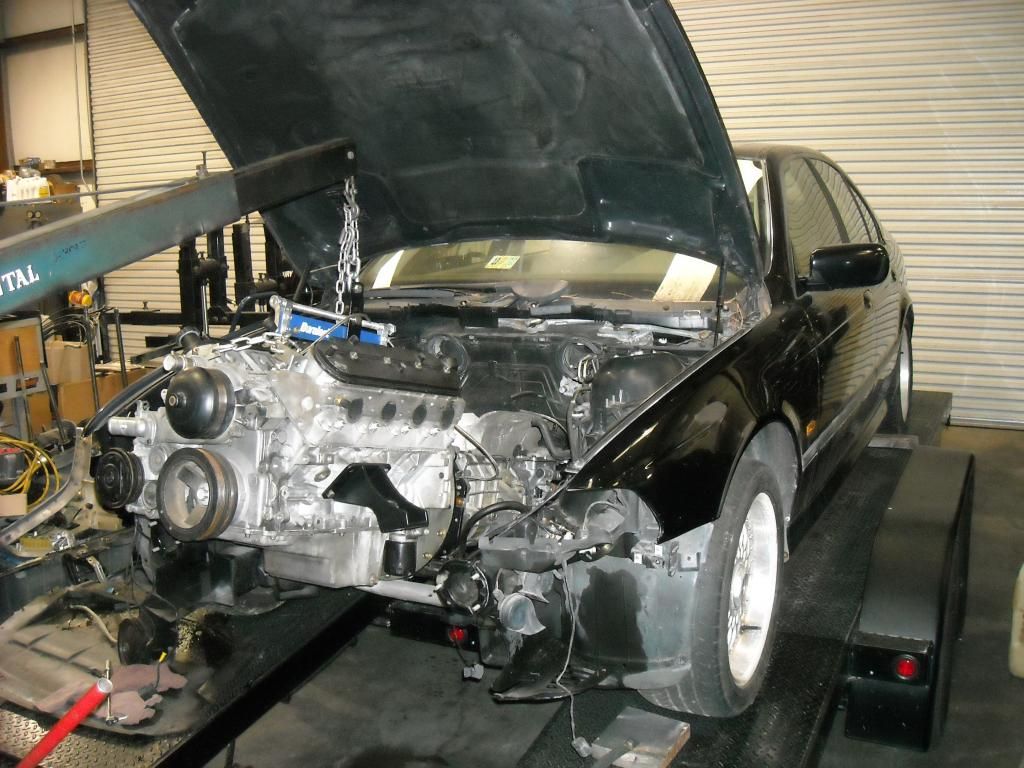
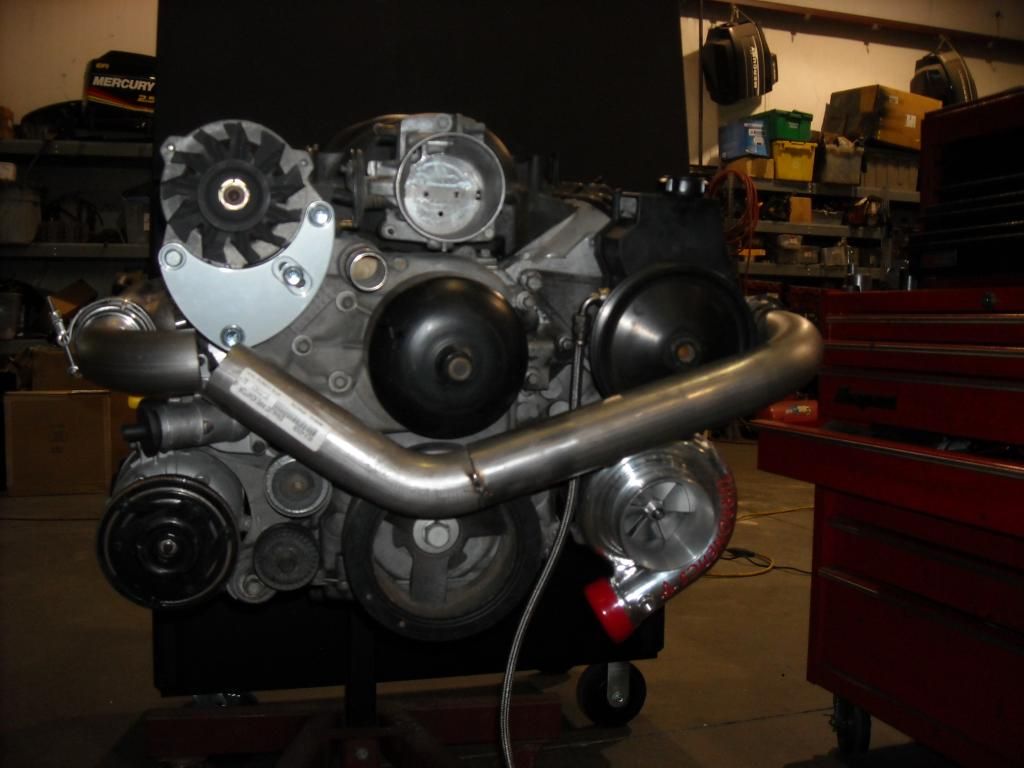
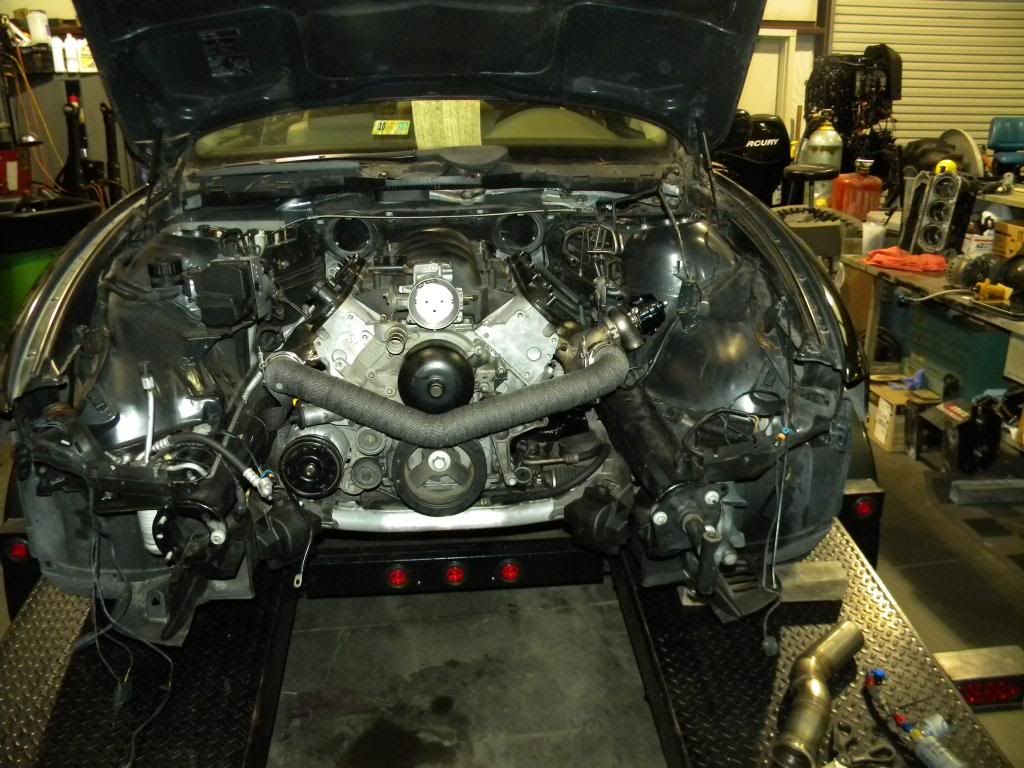
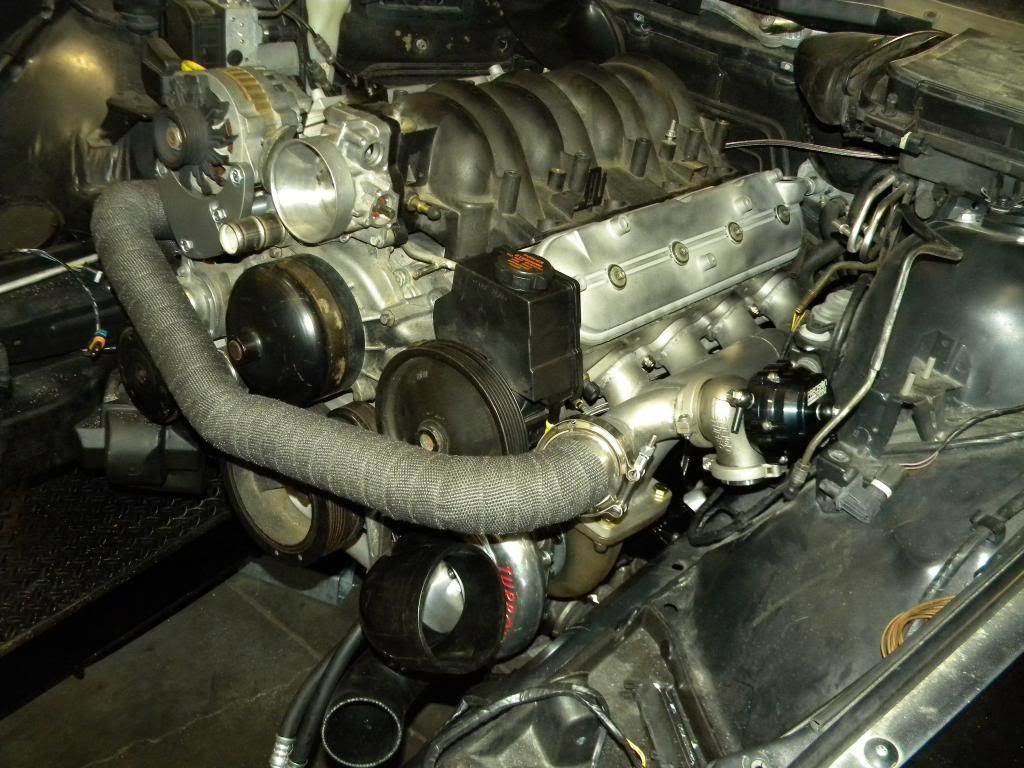
The engine in.
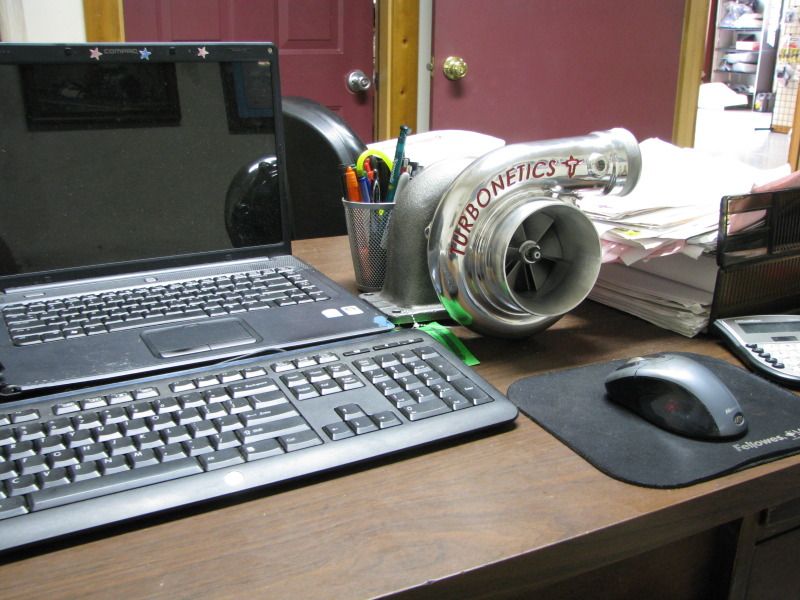
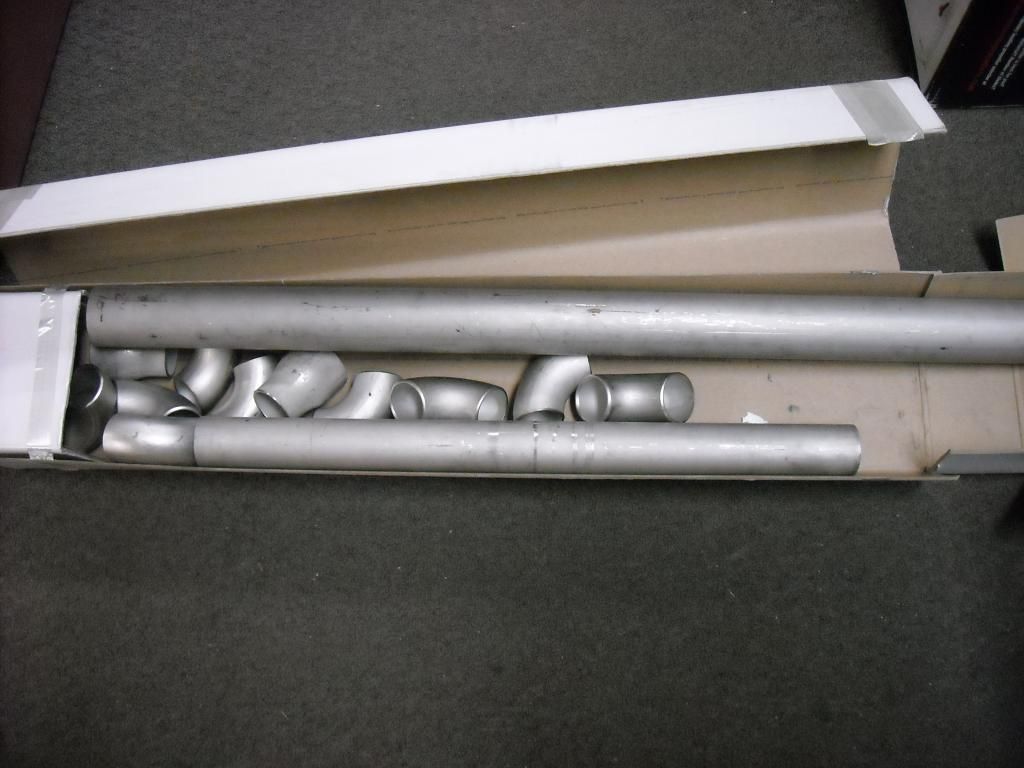
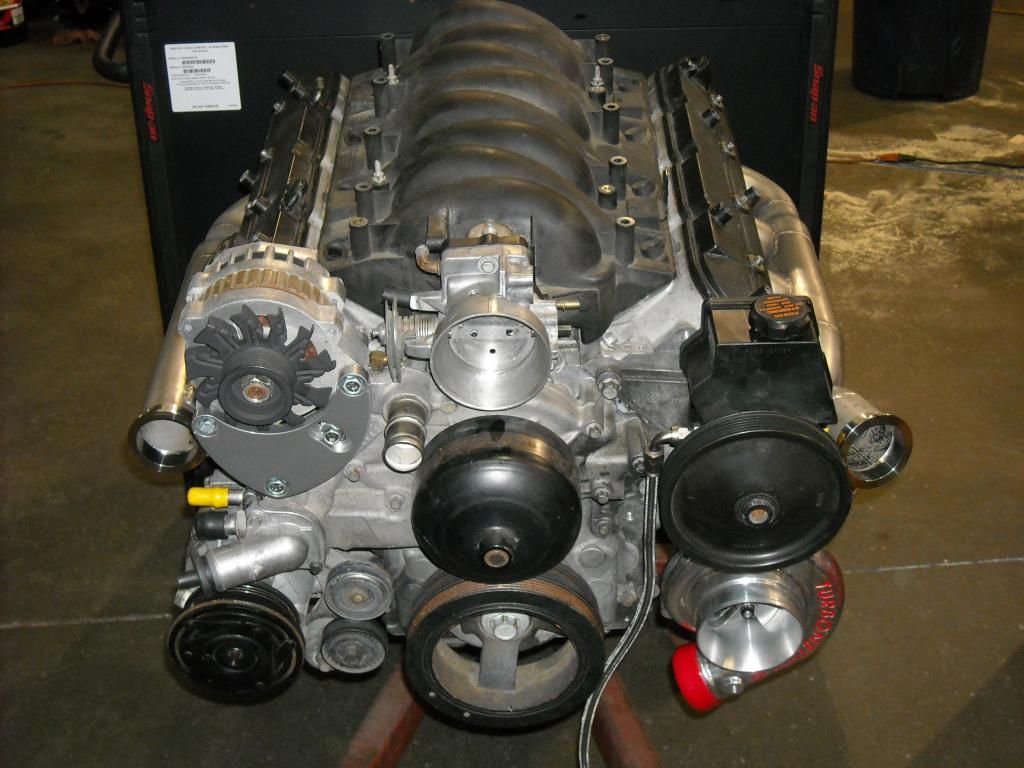
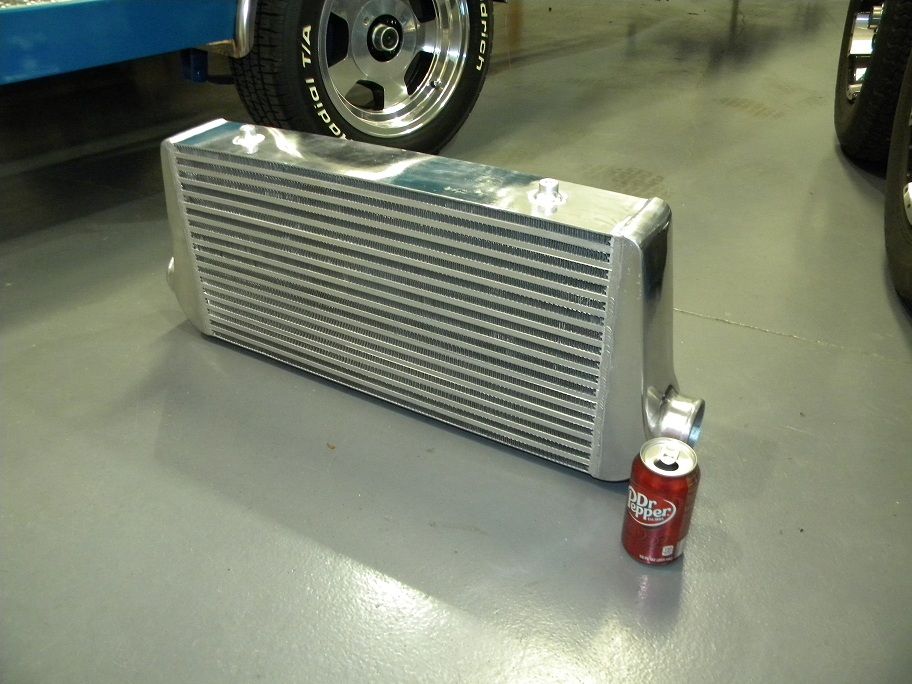
Then this stuff came in
The setup will be
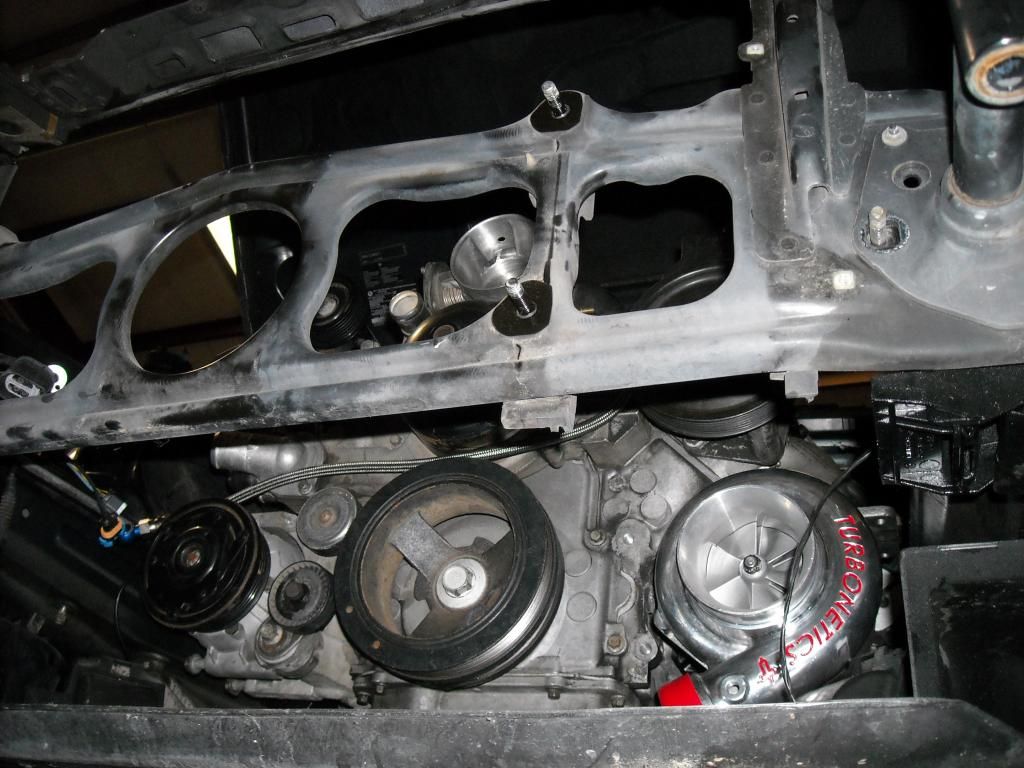
Turbonetics TC78
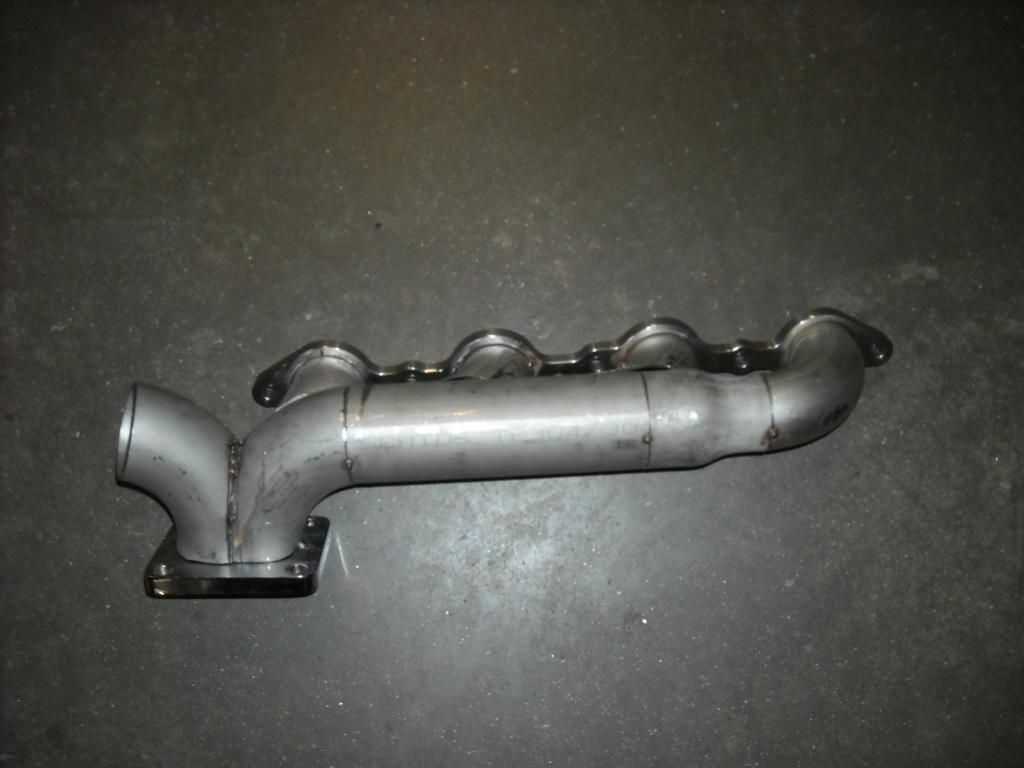
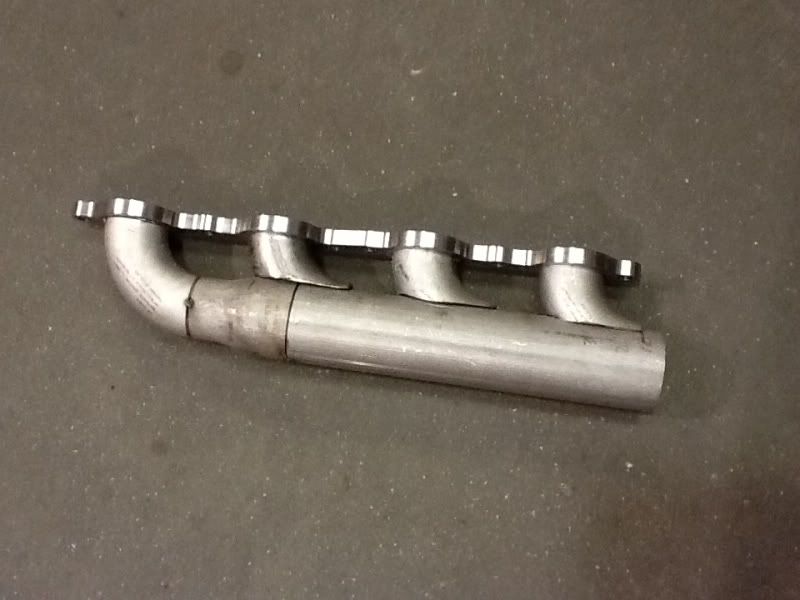
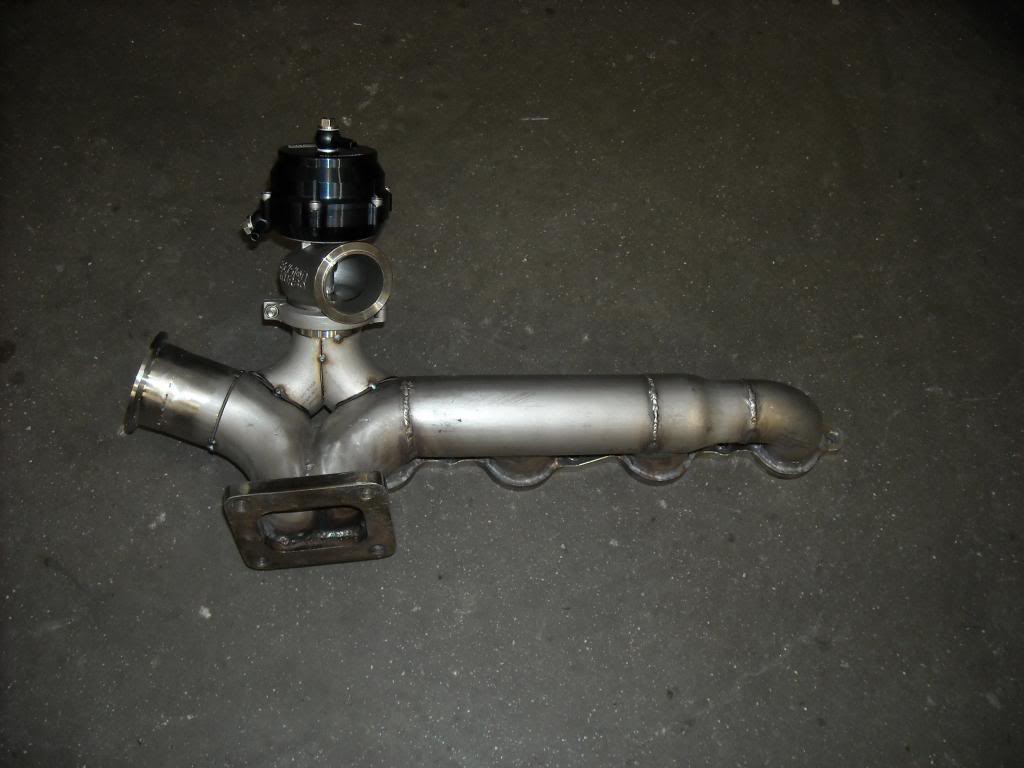
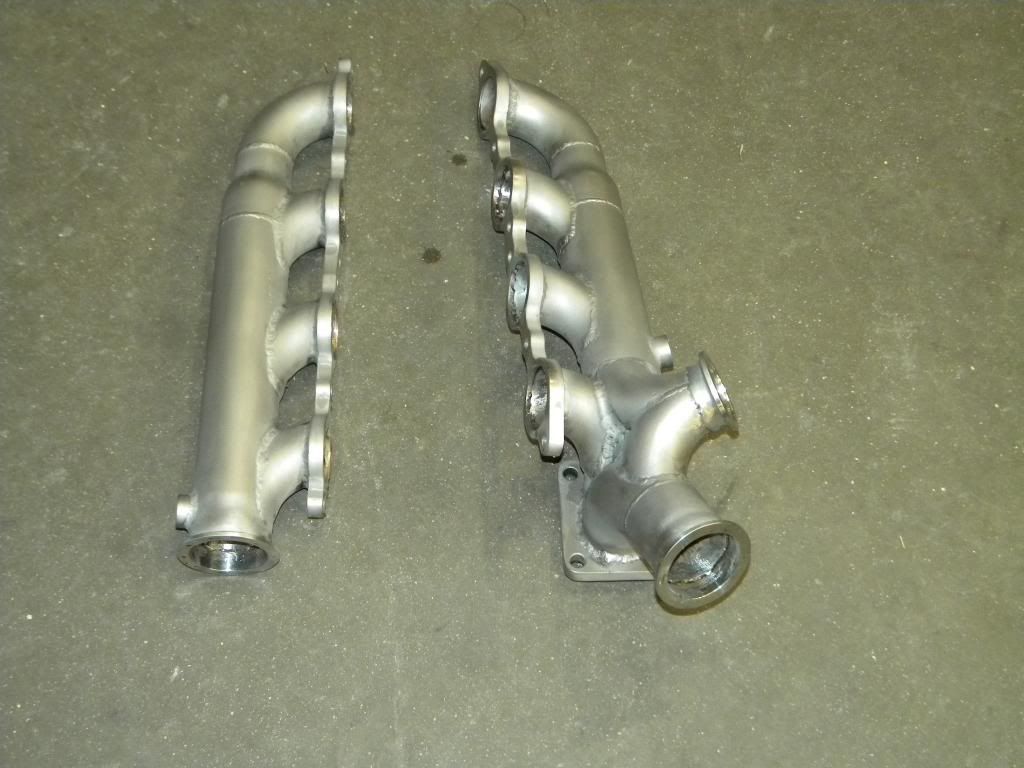
All stainless hot side
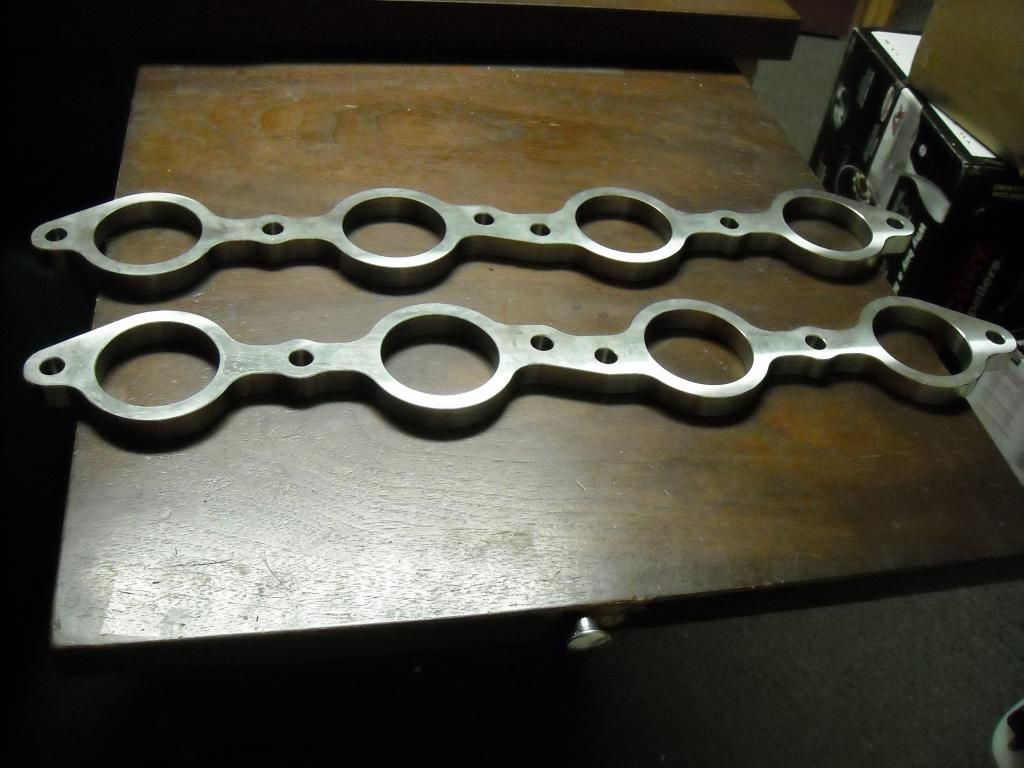
Homemade manifolds to keep a/c
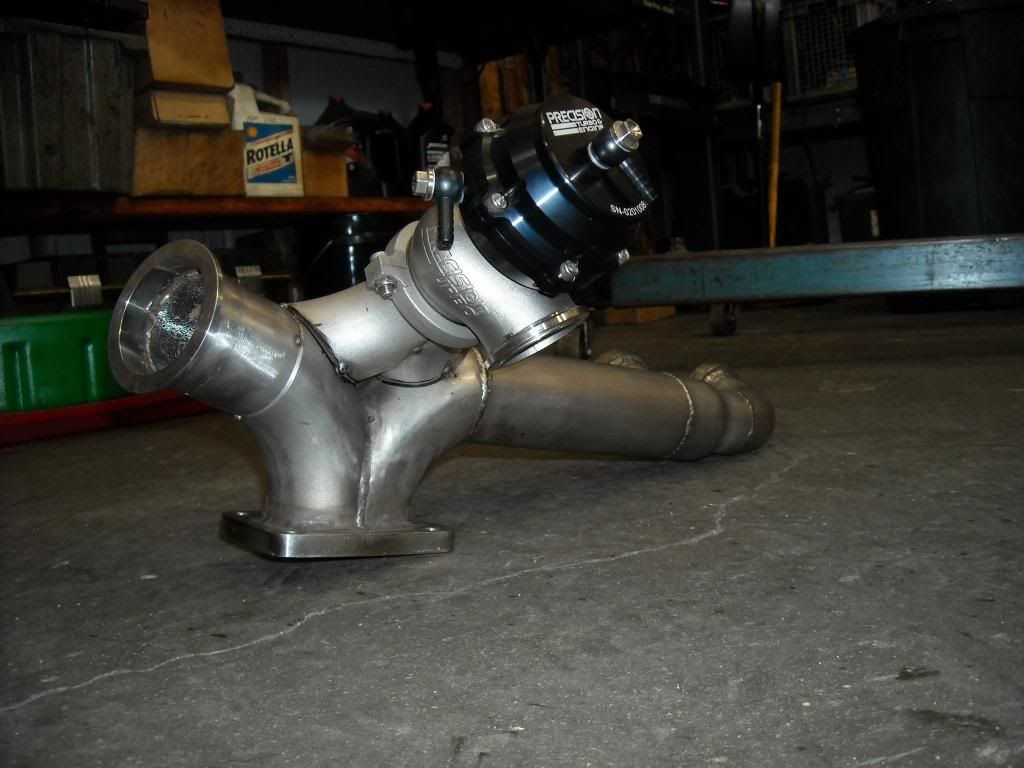
PTE 46mm wastegate
Turbo placement
Manifolds
Schedule 10 304 stainless. 1.5" and 2" OD
Pulled the motor today after marking the oil pan to notch it some so it will clear the steering rack a little more.
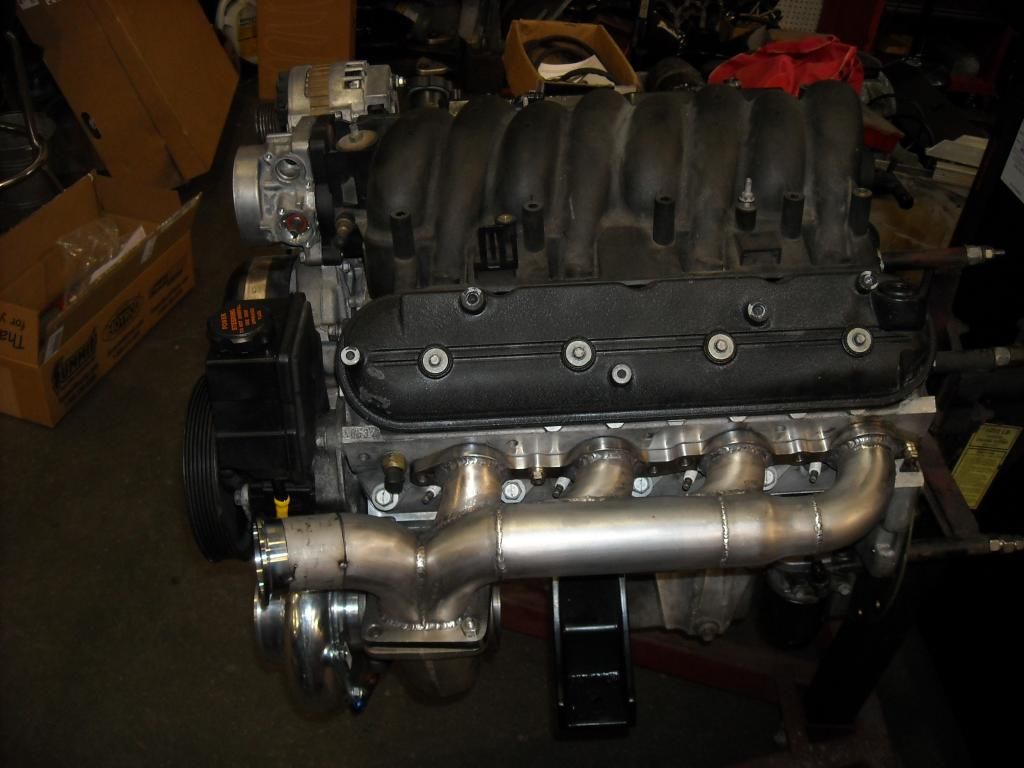
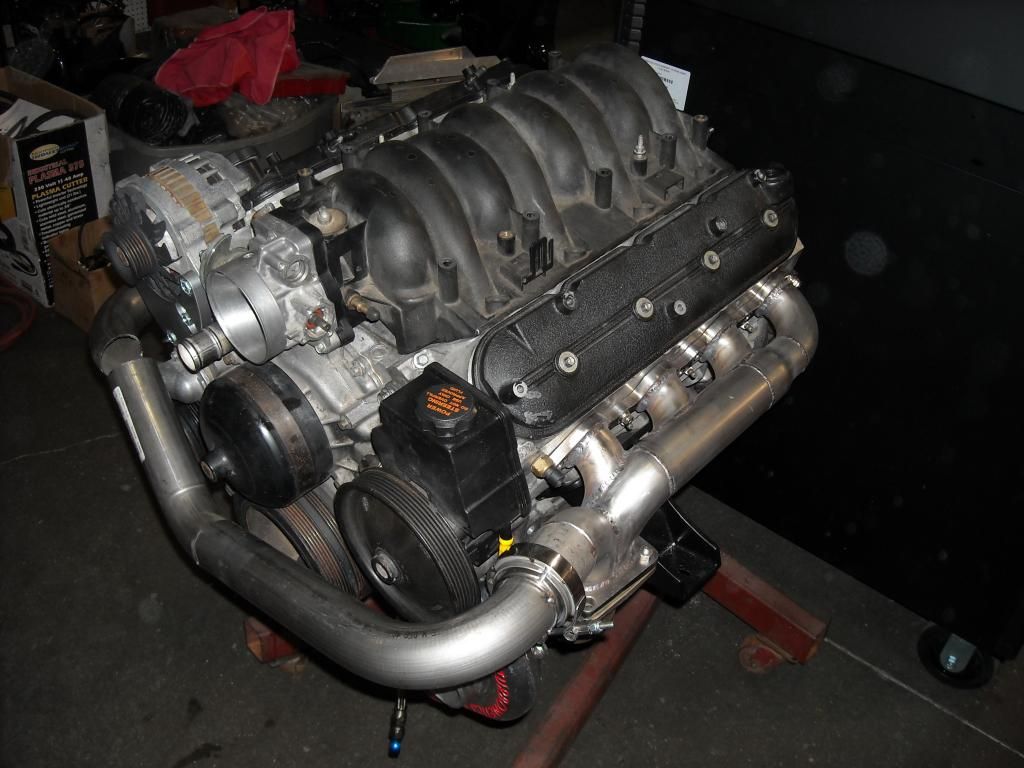
Manifolds an motor, tacking 2.25" v bands on.
Mocking up the cross over pipe
2.25" stainless 16 gauge pipe
And that's where I left off this evening.
I have seen some people use a flex joint in cross overs. What do you guys think?
The old homemade setup using an Eaton m112 off of a Ford Lightning.
The new car
The engine in.
Then this stuff came in
The setup will be
Turbonetics TC78
All stainless hot side
Homemade manifolds to keep a/c
PTE 46mm wastegate
Turbo placement
Manifolds
Schedule 10 304 stainless. 1.5" and 2" OD
Pulled the motor today after marking the oil pan to notch it some so it will clear the steering rack a little more.
Manifolds an motor, tacking 2.25" v bands on.
Mocking up the cross over pipe
2.25" stainless 16 gauge pipe
And that's where I left off this evening.
I have seen some people use a flex joint in cross overs. What do you guys think?
 12-15-2012, 07:26 PM
#2

looks great. Awsome looking car. year????


Trending Topics


 02-17-2013, 05:56 PM
#15
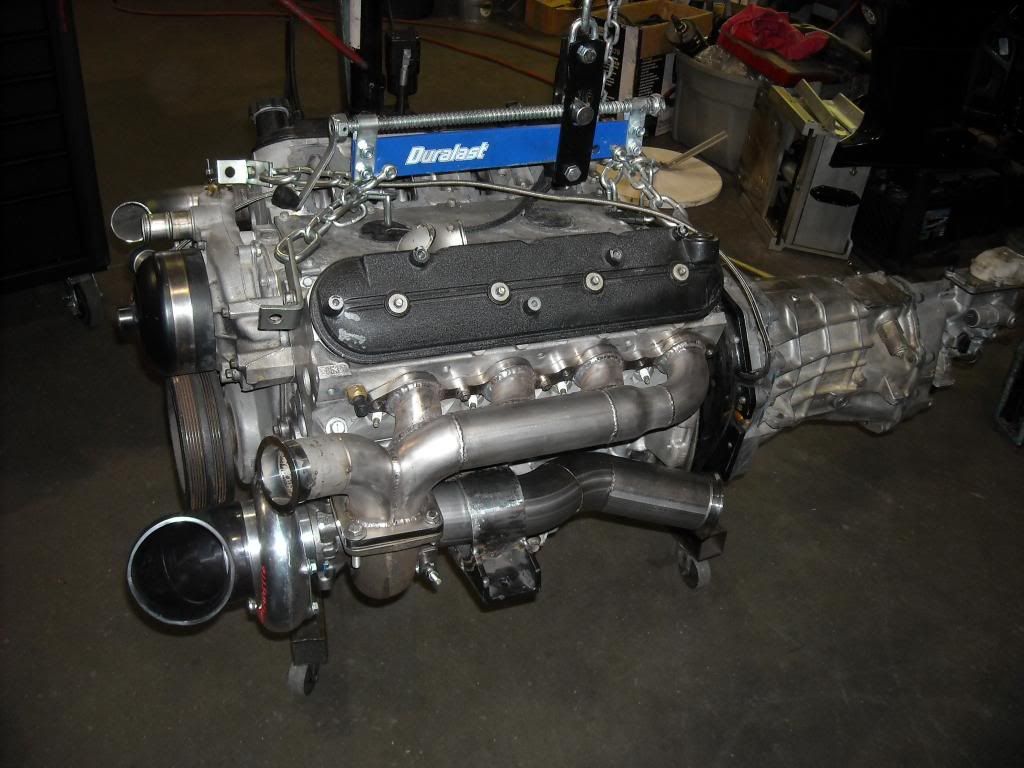
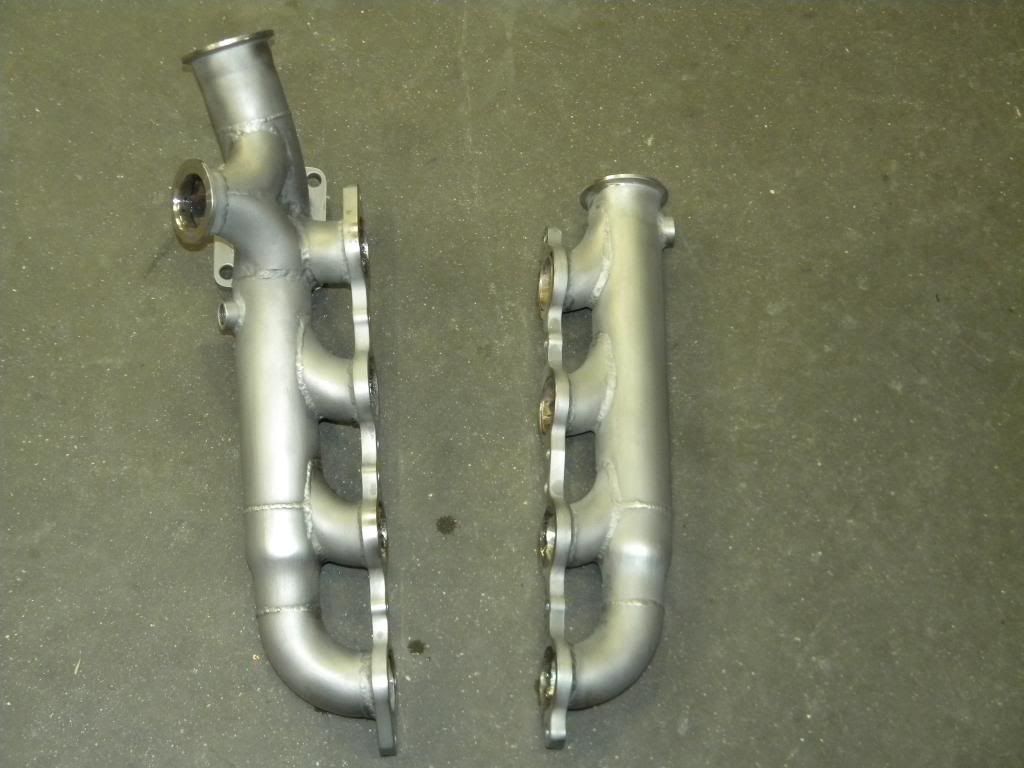
Here is the final finish on the manifolds. I'm not a fan of shiny things under the hood so I decided to sand blast them then go over them by hand with a scotch-brite pad.
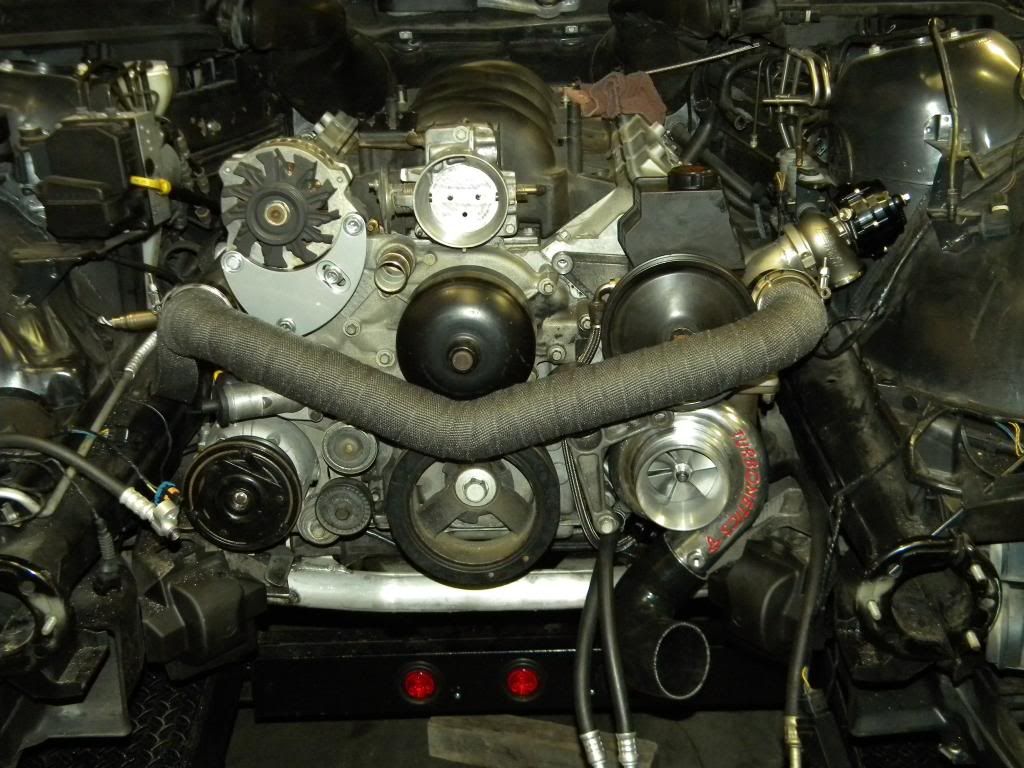
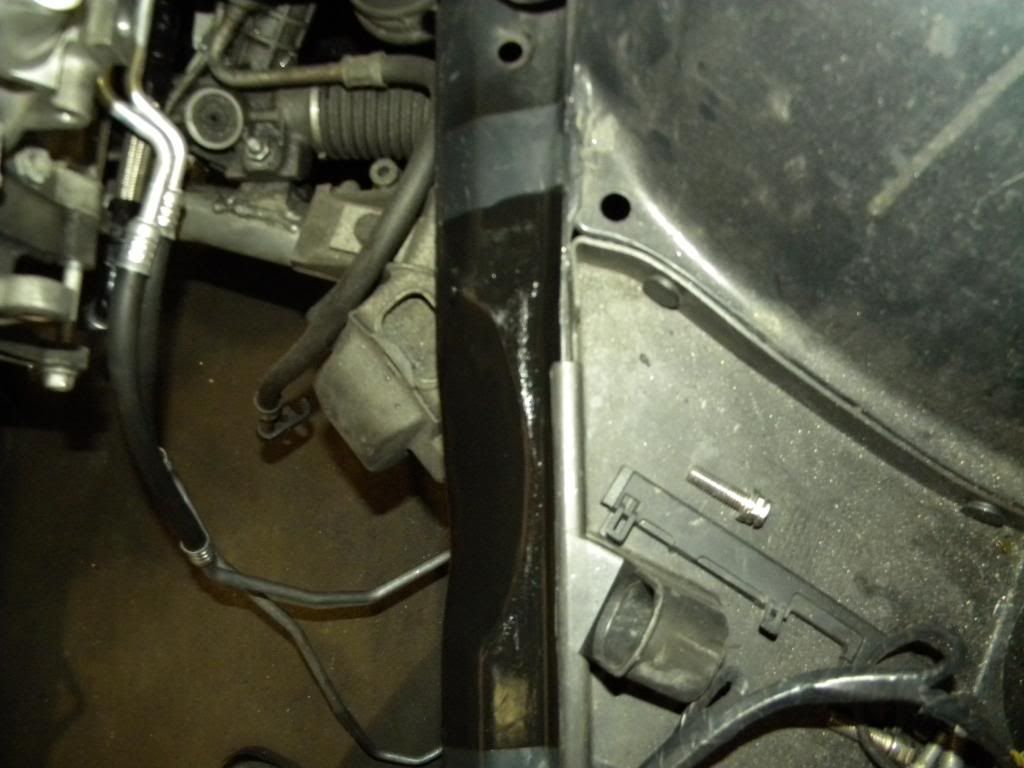
One last full mock up to check some clearances.
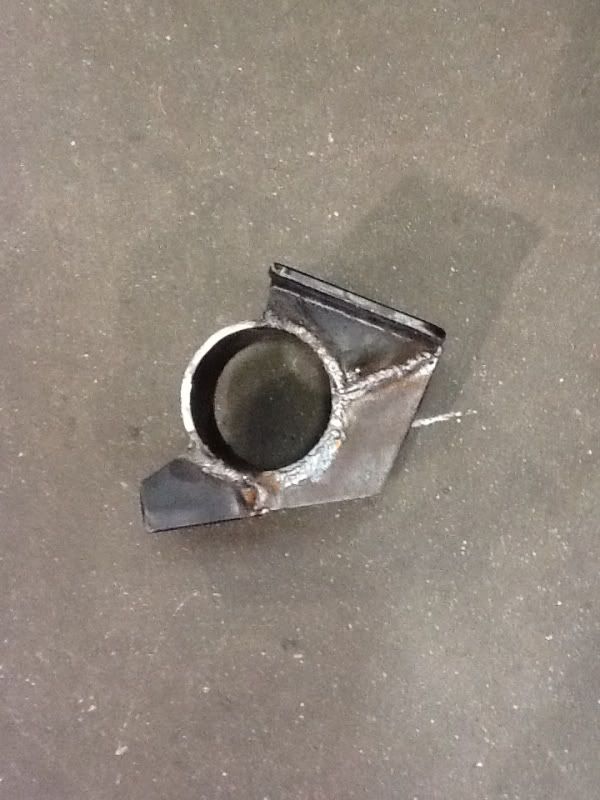
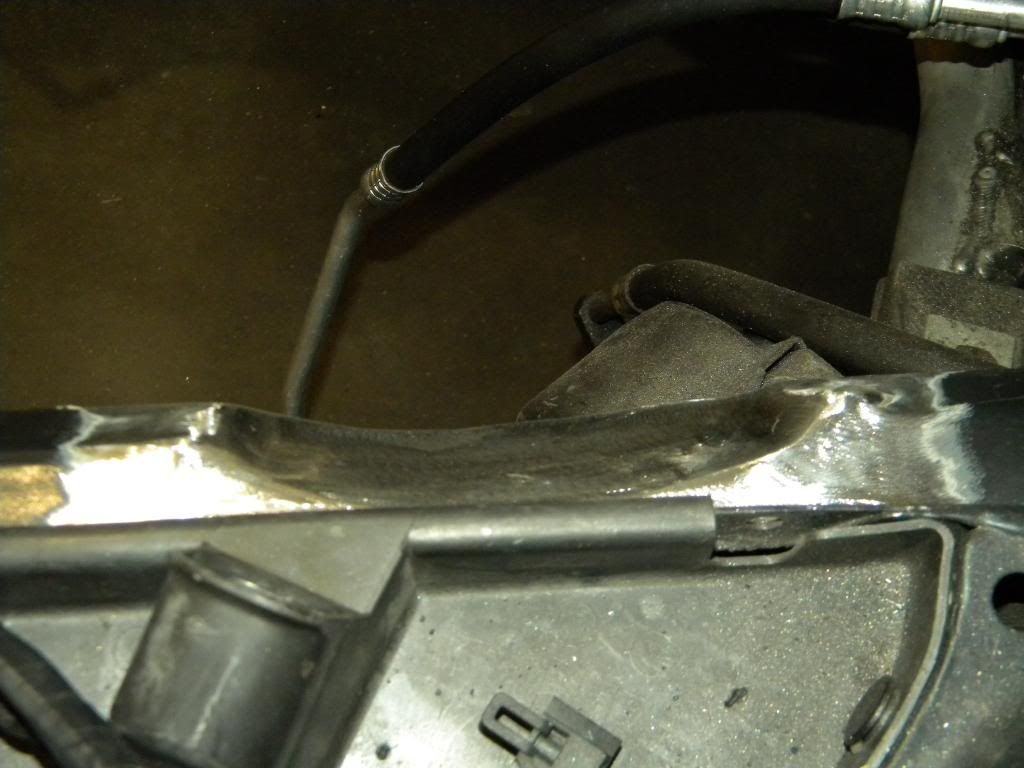
Next on my list was to make a little more room for the 4" intake. I cut the "frame rail" and notched it, then welded in a new section.

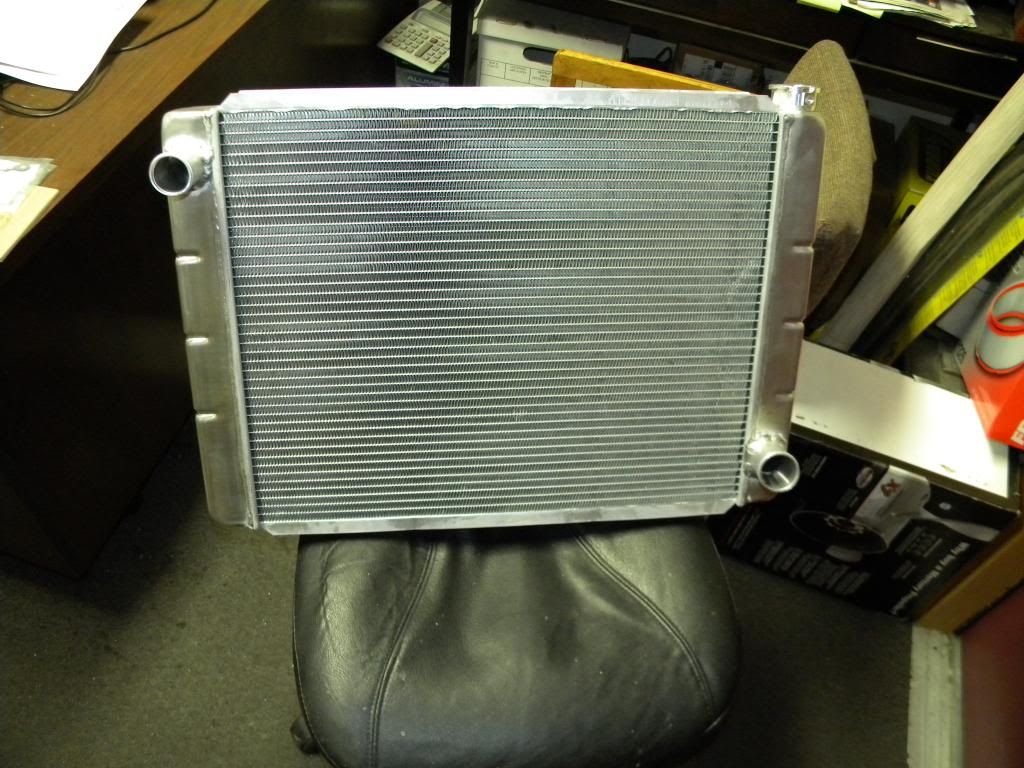
Also made some brackets for the aluminum radiator the utilizes the stock radiator mounts. More on that later.
One last full mock up to check some clearances.
Next on my list was to make a little more room for the 4" intake. I cut the "frame rail" and notched it, then welded in a new section.
Also made some brackets for the aluminum radiator the utilizes the stock radiator mounts. More on that later.
02-17-2013, 06:59 PM
#19
TECH Veteran
iTrader: (17)
Join Date: Mar 2009
Location: Indy
Posts: 4,220
Likes: 0
Received 0 Likes
on
0 Posts

Wow, nice change of pace. I remember when you did the supercharger build. I like this alot. Good work. Thats def an interesting and unique way to do the turbo. Kick *** for doing something different.
02-23-2013, 07:45 PM
#20
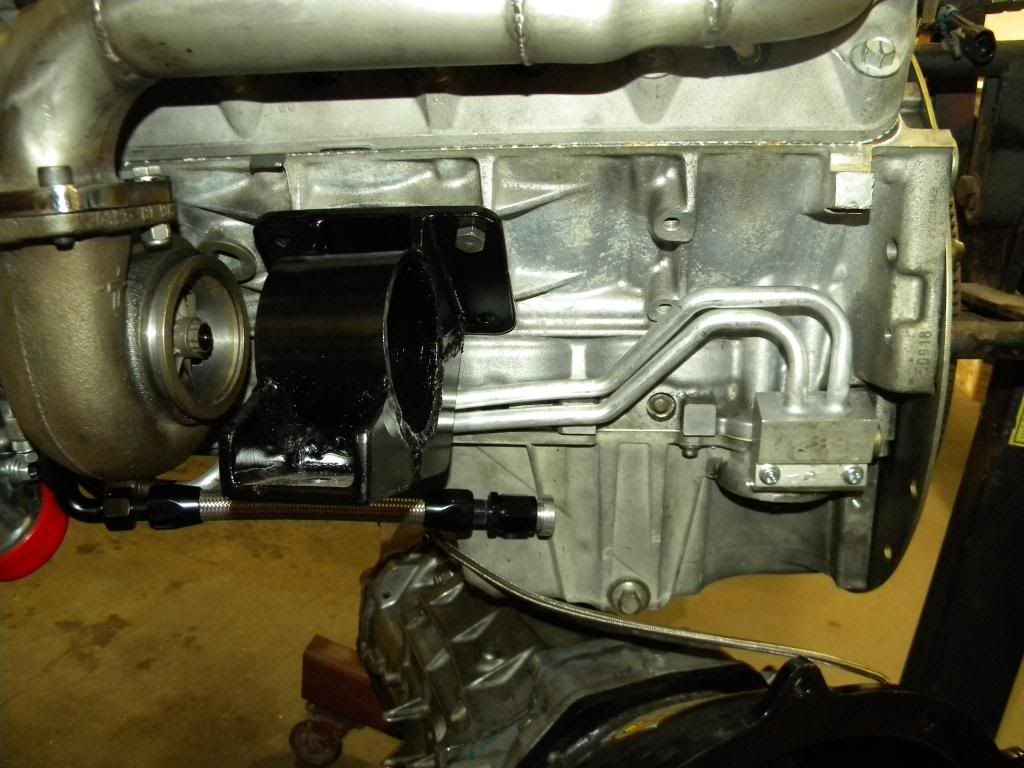
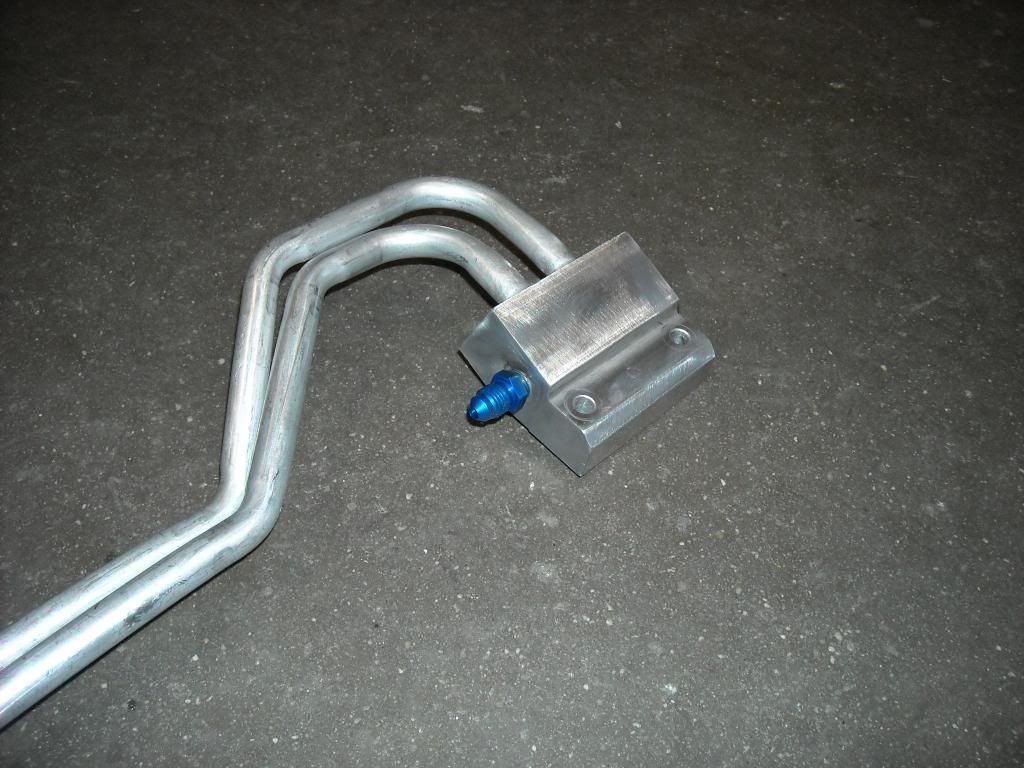
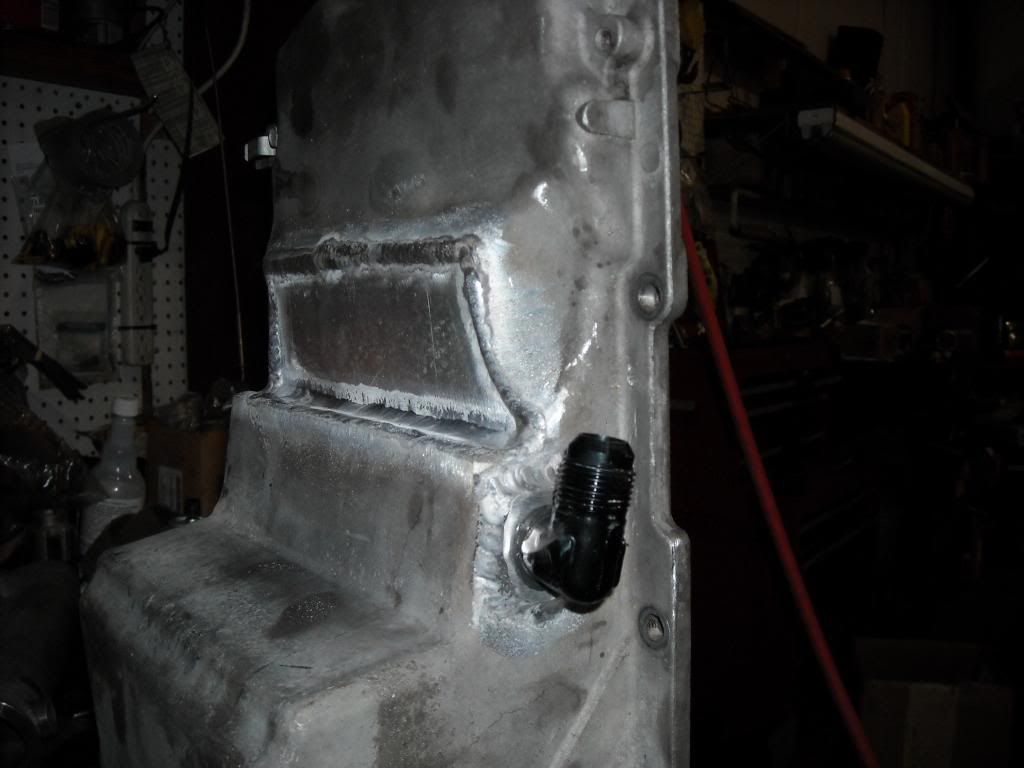
Added a -4 turbo feed fitting to the oil cooler adapter
Here is the notch I had to put in the oil pan. The welds aren't great due to the aluminum being cast and oil saturated...but it's sealed fo sho.
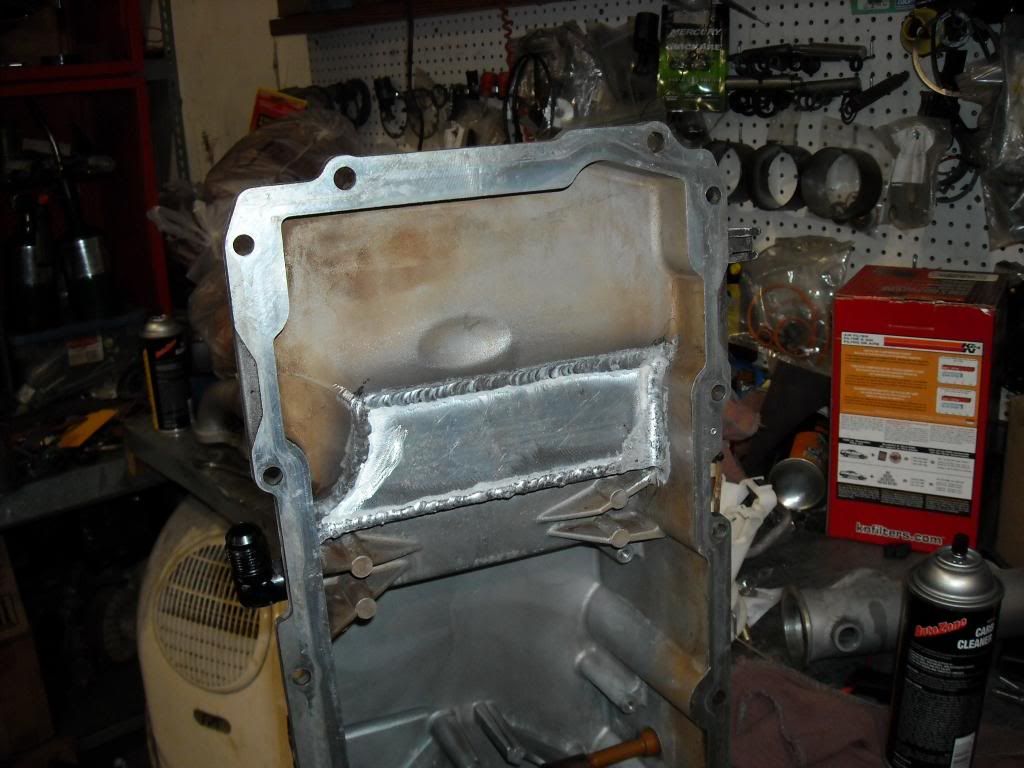
Here is the pan on, turbo feed and drain in place
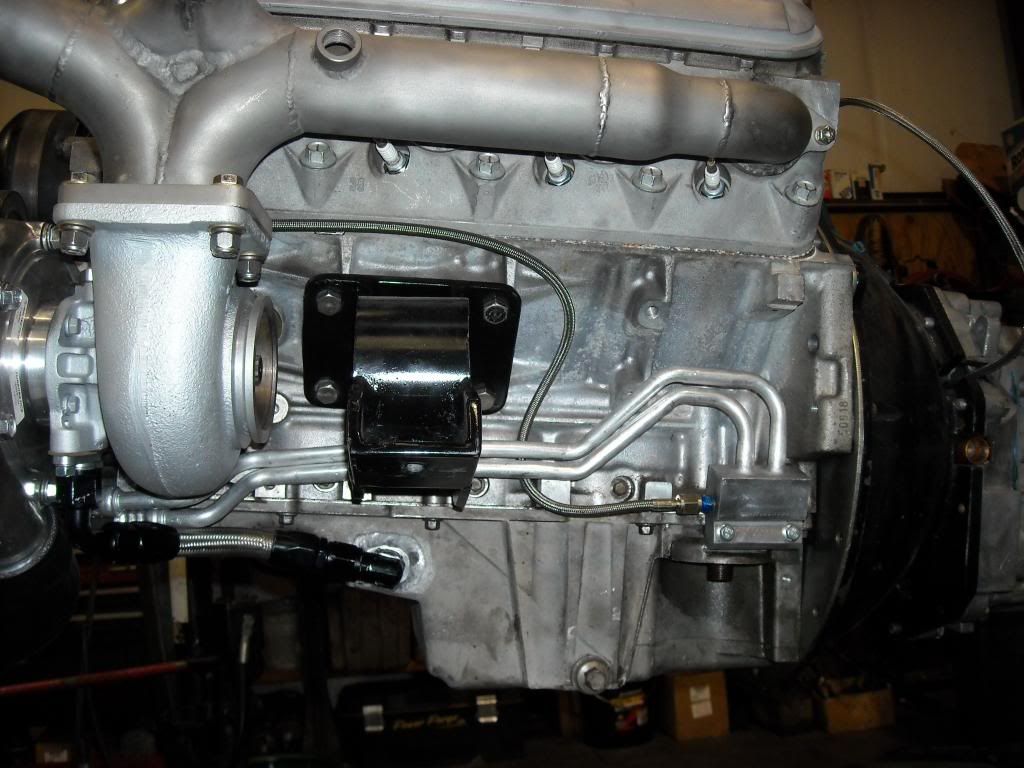
Lastly I started wiring the motor up. I plan to fire the engine very soon!
Here is the notch I had to put in the oil pan. The welds aren't great due to the aluminum being cast and oil saturated...but it's sealed fo sho.
Here is the pan on, turbo feed and drain in place
Lastly I started wiring the motor up. I plan to fire the engine very soon!