Bolt On Lower Control Arm Installation!
 01-09-2013, 09:59 PM
#1
TECH Regular
Thread Starter
iTrader: (5)
Join Date: Jun 2012
Location: Toronto
Posts: 499
Likes: 0
Received 0 Likes
on
0 Posts
Sup fellas,
Here's a little write up on the installation of Bolt On Lower Control Arm Relocation Brackets for you guys.
Step 1. Get the car off the ground and securely set it down on jack stands. Step 2. Keep the rear end suspended with your jack so that it will hold the weight of the differential.
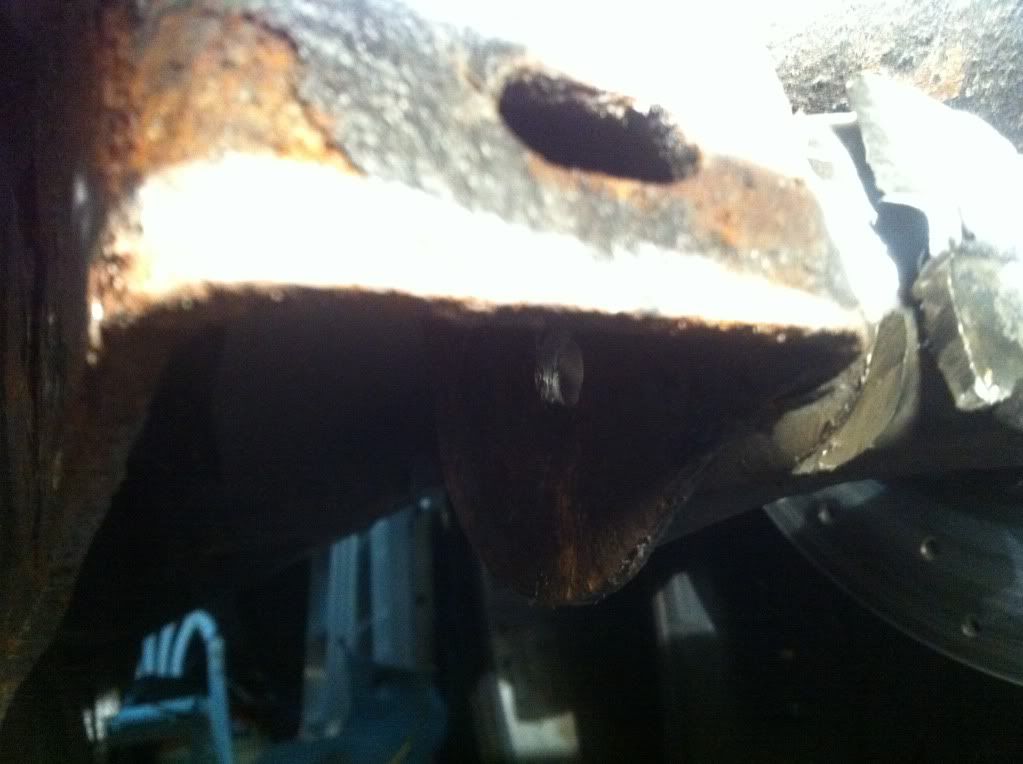
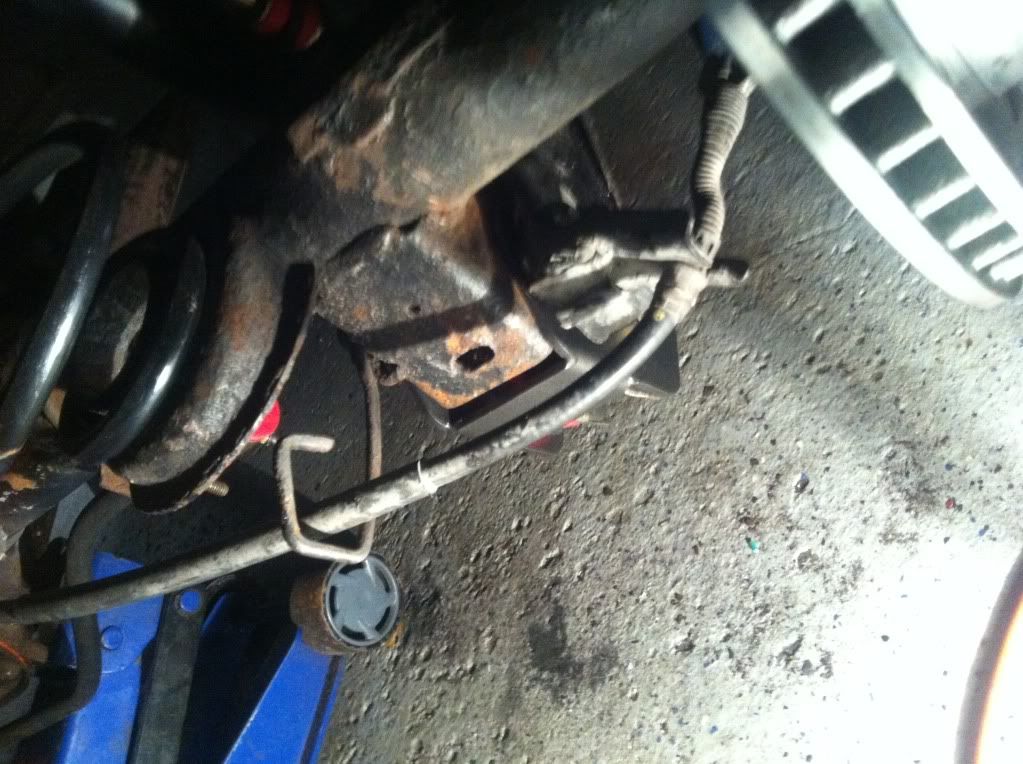
Step 3. You'll need to cut the old parking brake bracket in half so that you can clear the new brackets. Here's a couple pics of that process because
The cut.

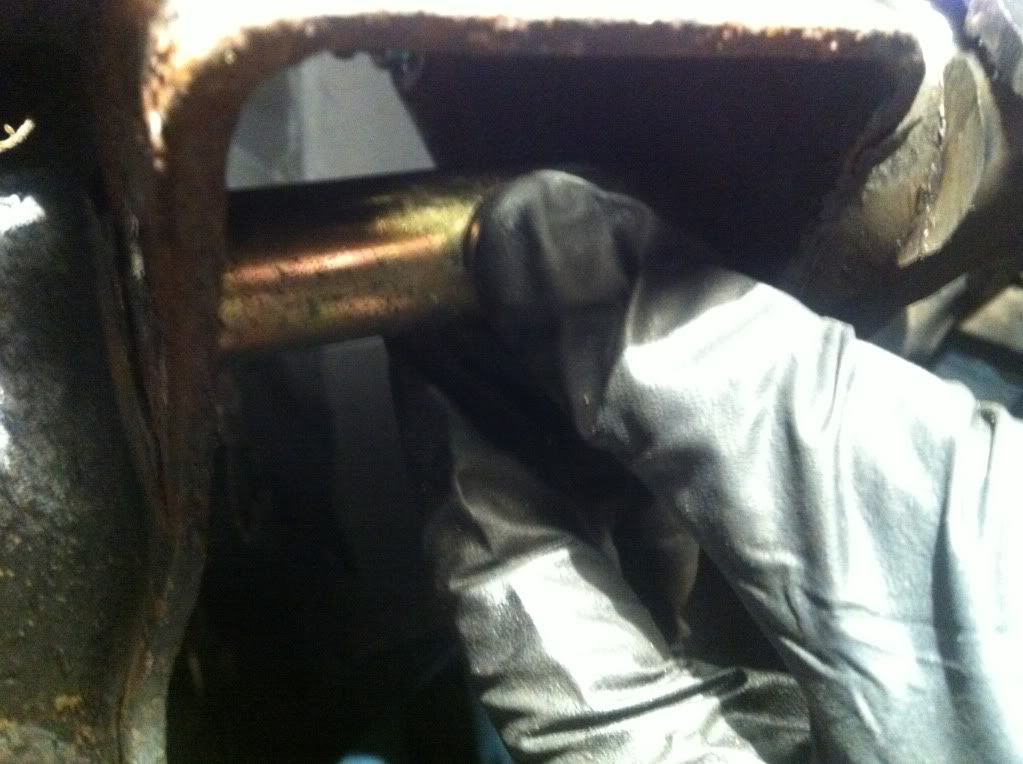
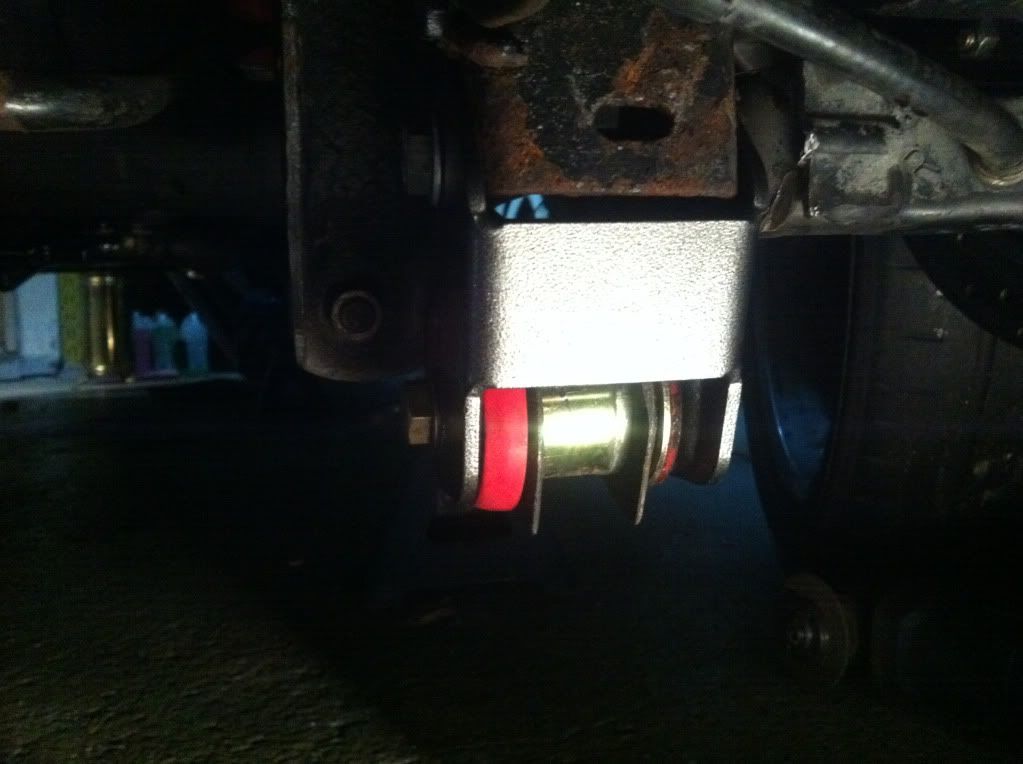
The kit comes with a spacer sleeve and it goes right here:
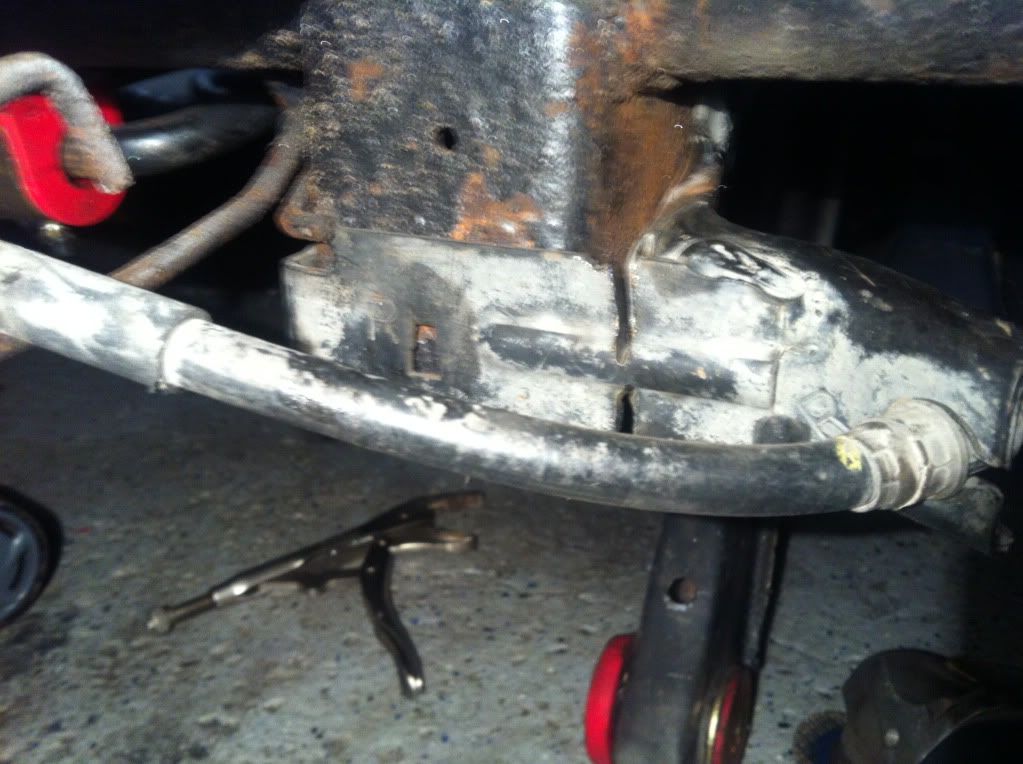
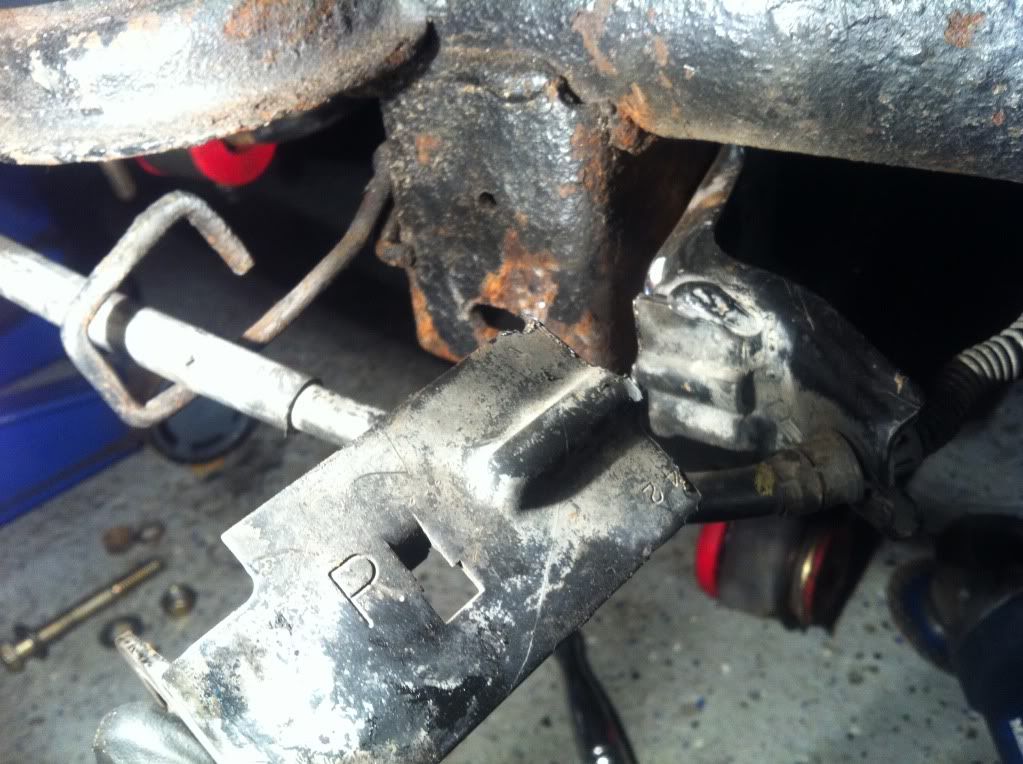
Fit the bracket in place making sure you get the part of the bracket that goes through the shock bolt on the side the bolt enters from like this:

Now start fitting all the bolts through.
Start with the one that goes through the spacer sleeve then do the one that bolts to the lower control arm. I set mine at the lowest possible setting at the bracket (there are two holes to pick from) to get the least amount of wheel hop possible.
Like this:
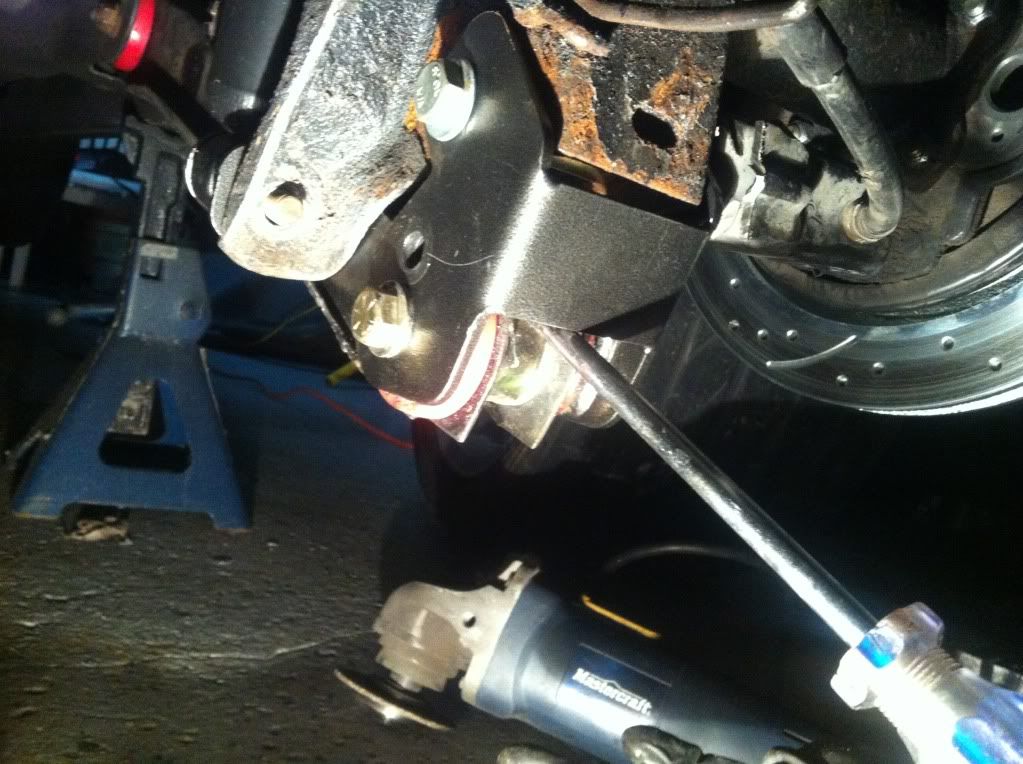
^Also in this picture you see the placement of the large flathead, use this location to get leverage by pushing down on the flathead from this point and you'll be able to line up the hole for the shock bolt. Trust me this will make your life so much easier.
So yep, old bracket cut in half and new bracket installed and it takes about 15-20 minutes a side depending how fast you work! Good luck guys!
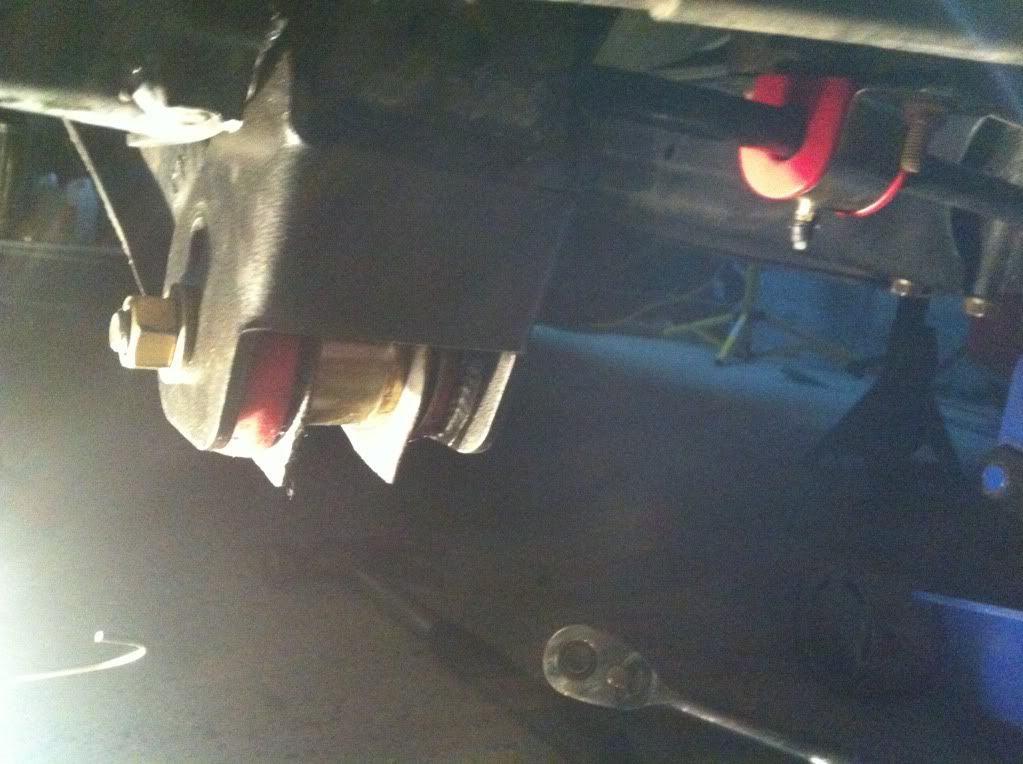
Enjoy your fixed suspension geometry!
Hope this helps.
p.s I know my diff is rusty >.< It'll be sandblasted next year. The rest of my car is brand new though! Check my build thread =)
Here's a little write up on the installation of Bolt On Lower Control Arm Relocation Brackets for you guys.
Step 1. Get the car off the ground and securely set it down on jack stands. Step 2. Keep the rear end suspended with your jack so that it will hold the weight of the differential.
Step 3. You'll need to cut the old parking brake bracket in half so that you can clear the new brackets. Here's a couple pics of that process because
The cut.
The kit comes with a spacer sleeve and it goes right here:
Fit the bracket in place making sure you get the part of the bracket that goes through the shock bolt on the side the bolt enters from like this:
Now start fitting all the bolts through.
Start with the one that goes through the spacer sleeve then do the one that bolts to the lower control arm. I set mine at the lowest possible setting at the bracket (there are two holes to pick from) to get the least amount of wheel hop possible.
Like this:
^Also in this picture you see the placement of the large flathead, use this location to get leverage by pushing down on the flathead from this point and you'll be able to line up the hole for the shock bolt. Trust me this will make your life so much easier.
So yep, old bracket cut in half and new bracket installed and it takes about 15-20 minutes a side depending how fast you work! Good luck guys!
Enjoy your fixed suspension geometry!
Hope this helps.
p.s I know my diff is rusty >.< It'll be sandblasted next year. The rest of my car is brand new though! Check my build thread =)
