3m headlight restorer kit review
 01-23-2013, 03:53 AM
#1
Launching!
Thread Starter
iTrader: (3)

Join Date: Nov 2012
Posts: 297
Likes: 0
Received 0 Likes
on
0 Posts
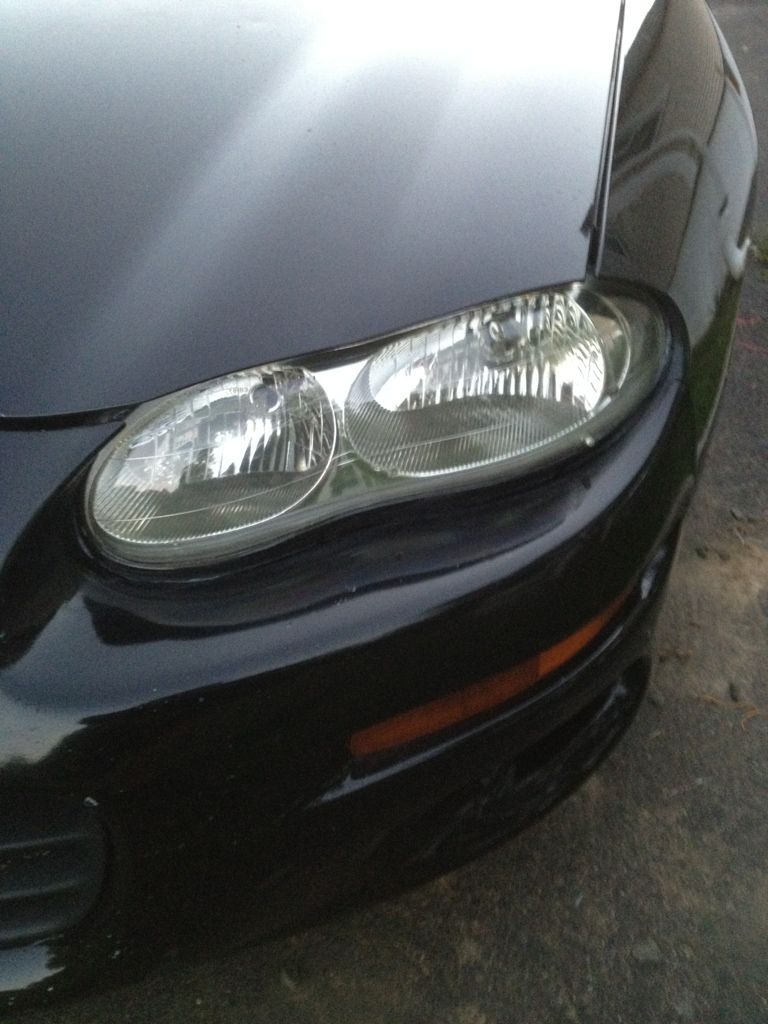
I bought the 3m headlight restorer. The one you use a drill. I started kind of late this afternoon. Very brisk ok today her in Ct. Anyway I did all the steps fairly quick. Need to really take your time. It came out 50 percent better. I will do it again tomorow and take my time and I hope it will be almost 100 percent. I noticed especially when it rains at night it is hard to see. It should be good to go. I used the drill and then sanded the edged by hand. It is a pain around the little nipples. Why did chevy need to put those there
 01-23-2013, 08:59 AM
#2
TECH Apprentice
iTrader: (1)

Join Date: Dec 2008
Location: Fuquay Varina, NC
Posts: 385
Likes: 0
Received 0 Likes
on
0 Posts
I've used it on two cars, a 98 Ford contour and a 99 Nissan altima. Worked great on both. Those nipples are a pain though, also make sure you tape off everything very well. I don't care how steady you think your hands are, you will scuff paint at some point lol.
01-23-2013, 01:12 PM
#5
TECH Junkie
Join Date: Oct 2009
Location: Rutherford, North Carolina
Posts: 3,552
Likes: 0
Received 1 Like
on
1 Post

If I were to do mine again, I think I'm gonna cut the "nipples" off to make it that much easier to work the headlight but when I did mine, I think I used the Mother's brand Headlight Restore and they came out real good but I didn't spend as much time as I needed to with them but maybe next time I'll take my time on them.
01-23-2013, 01:22 PM
#6

As far as scratching paint, it only takes 2 minutes to take the hole headlight assembly off the car.
What grit sandpapers does the kit come with? I did mine with some paper I had lying around and finished it off with some Plastix polish I had. Cost maybe $3 and same end result.
What grit sandpapers does the kit come with? I did mine with some paper I had lying around and finished it off with some Plastix polish I had. Cost maybe $3 and same end result.
Trending Topics
01-23-2013, 02:42 PM
#8
TECH Resident

i personally dont like the 3m or any ther restore kit for that matter... they are all wastes of money because after a fw months the lights end up looking like they did before.. the only real way to fix them is to wetsand till they oxodized part is off and the lights are smooth... then clear coat them (automotive clear works best)
01-23-2013, 02:54 PM
#9
Staging Lane
Join Date: Nov 2012
Location: Fort Myers, Florida
Posts: 99
Likes: 0
Received 0 Likes
on
0 Posts
I sanded my gto lights with 800-1000-2000-2500 and then buffed them with a wool pad and rubbing coumpound. My headlights were ruined before I started since previous owner tried to smoke them but them came out great at the end

01-23-2013, 06:32 PM
#10
Launching!
Thread Starter
iTrader: (3)
Join Date: Nov 2012
Posts: 297
Likes: 0
Received 0 Likes
on
0 Posts
I wasnt paying attenion to time and it was like 400 when I started. worked on to 5 and will spend one more time doing steps when warmer. It looks way better. I will post pics when Im done.
 01-23-2013, 10:00 PM
#12
TECH Addict
iTrader: (1)

Join Date: Apr 2012
Location: Ellijay, GA
Posts: 2,769
Likes: 0
Received 0 Likes
on
0 Posts
the sanding pads on the drill are a real pain in the *** to use, I have used the 3M kit before aswell. I have also used this kit that walmart carries that is a silver bag (don't remember the brand) and it comes with 2 different grit sandpapers and unlike buffing it out at the end like you do with the cream in the 3M kit it has a like clear acrylic liquid stuff that you wipe across the lense, you have to be very careful wiping it to apply even pressure so you don't get streaks and if done right gives a GREAT finish.
Now i'm glad to be in a firebird because all I have to do is buy new headlights.
Now i'm glad to be in a firebird because all I have to do is buy new headlights.
01-24-2013, 10:49 PM
#14
The reason you have to go back and do the lights again in 3 months isn't the kits fault. It's because when you restore the the head light lenses you are removing all of the UV protectant which causes the headlights to fail faster.
Whenever you restore your headlights you need to apply some sort of protectant rather it be a wax or a sealant designed specifically for headlights.
Whenever you restore your headlights you need to apply some sort of protectant rather it be a wax or a sealant designed specifically for headlights.
