Corvette C6 LS402 Eforce build ...
 03-27-2013, 08:20 PM
#1
TECH Apprentice
Thread Starter

I am new to this forum and since there are so many smart minds here, I have decided to post up my build thread so that I can get comments and insight. I got the car together and running over the last few days but will post from the beginning in case anyone is interested.. This is copied from a thread I made in another forum so ignore that the timeline seems wacky.
Thanks for looking...
To make the story short, at the end of last season the clutches in my tranny basically welded together, which in turn mechanically over reved my engine and bent a valve. I had planned some upgrades over the winter and this just pushed me to go the extra mile.
I will reuse my eforce supercharger in the interest of seeing what it can do, but I have built the motor with the through of something bigger in the future.
The build consists of the following parts:
LME LS402 shortblock... 9.9 compression
Caillies Dragonslayer crank
Caillies ultra billet rods / heavy wall wrist pins
Wiesco -15cc coated pistons / gas ported / stainless top ring
ARP pro series main studs
Clevite bearings
Edelbrock 245 WCCH heads
Ferrea Competition 6000 intake valves
Ferrea Super Alloy exhaust valves
Brian Tooley max lift springs / titanium retainers
ARH 1 7/8 headers
Alky control meth kit
Melling ported oil pump
Z06 fuel pump
KB bap
C5R timing chain / gears / damper
Morel link bar lifters
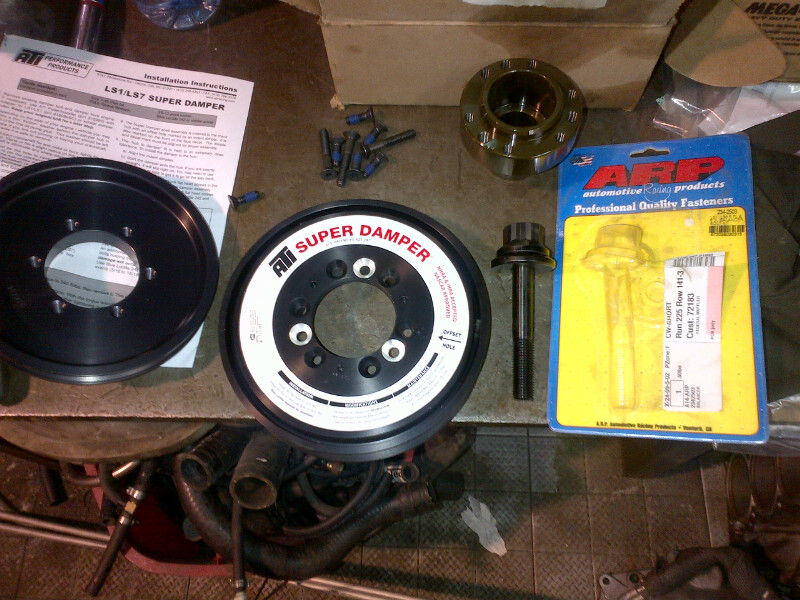
ATI crank damper 8% overdrive
B&M Transmission cooler with fan
Circle D converter Triple disc.... 2600 stall
Hinson Poly motor and transmission mounts
LS9 head gaskets
ARP crank bolt
Pat G spec custom cam
Moroso Coolant tank (to add a bit more capacity to the intercooler system)
Comp camshaft retainer
Vmax ported throttle body
ARP flex plate bolts
A gazillion misc. gaskets and seals
Custom made transmission brace (thanks Subfloor)
After realizing that I already had serious traction issues I decided to try to fix that the best I can by adding....
Z06 rear fenders
Weld RTS 17x11 rear wheels with M&H Racemaster 325/45/17 tires
Weld RTS 17x7 front wheels... tires still to be chosen
We tore the car to pieces and then put it aside while waiting for parts...
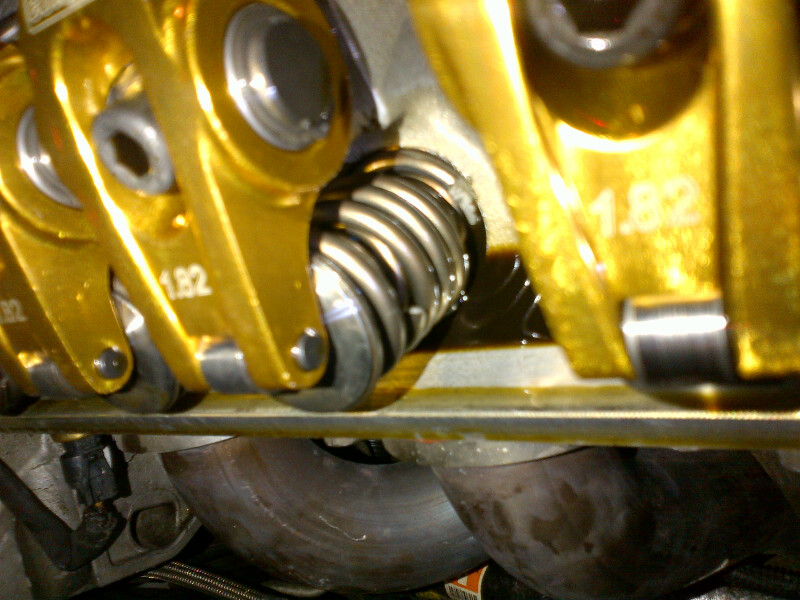
Broken Valve spring. The valve touched the piston and bent but luckily no damage at all to the piston itself .
As far as the tranny goes, I decided to rebuild it almost as stock, with a few upgraded parts. I welded the drums and gave it to a local builder of racing transmissions. Although he has limited experience on 6L80's, he builds 4L60's, etc for the fastest race cars in the area. He is convinced we can do it right. If it doesnt work out I will look at other options next time.

Installing larger container for the eforce. Great picture.:crazy:

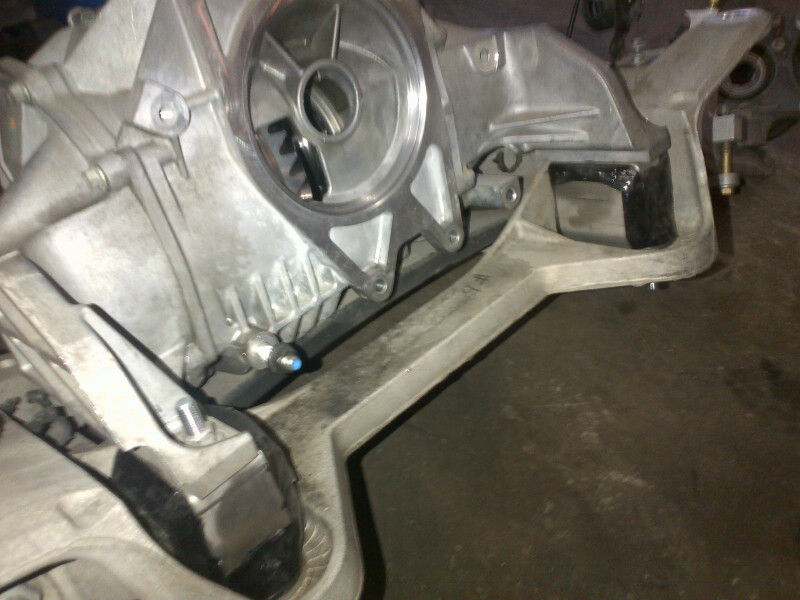
Hinson trans mounts in place...
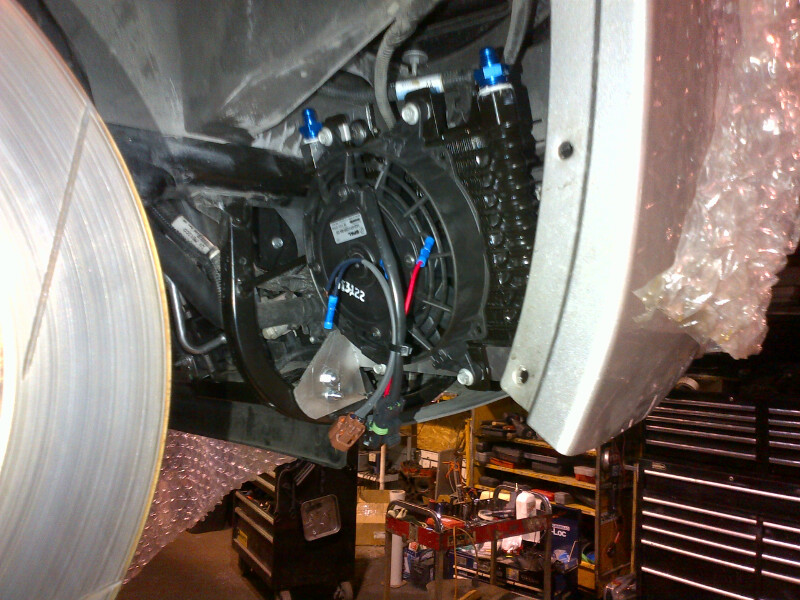
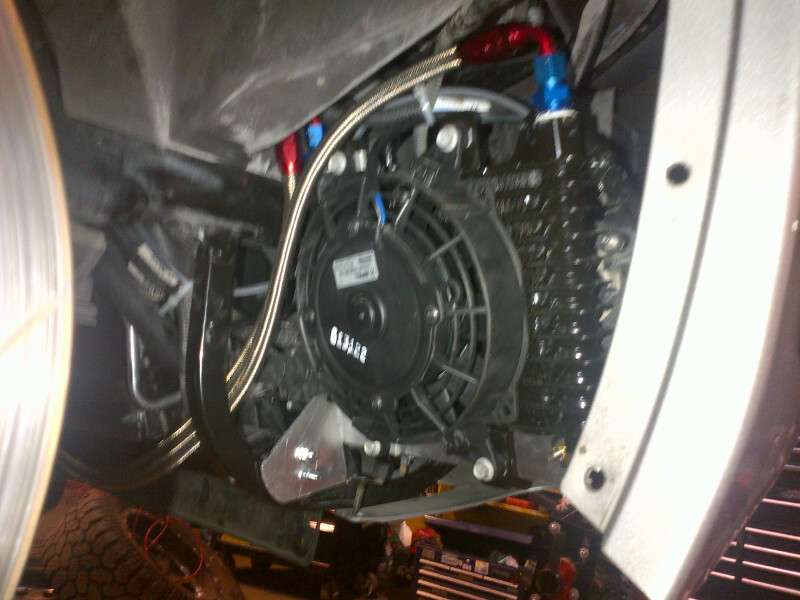
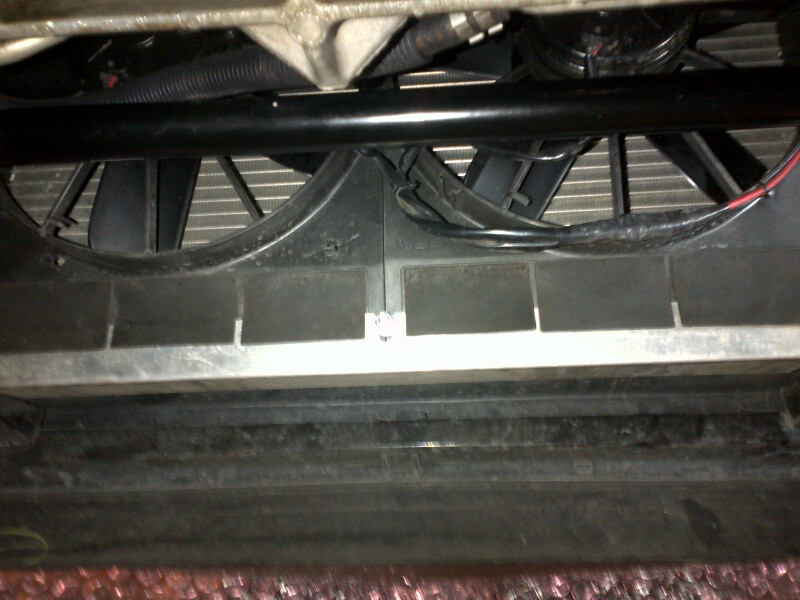
B&M trans cooler with fan going in. Fits perfectly here and the brake duct flows right to it so it should work out well.
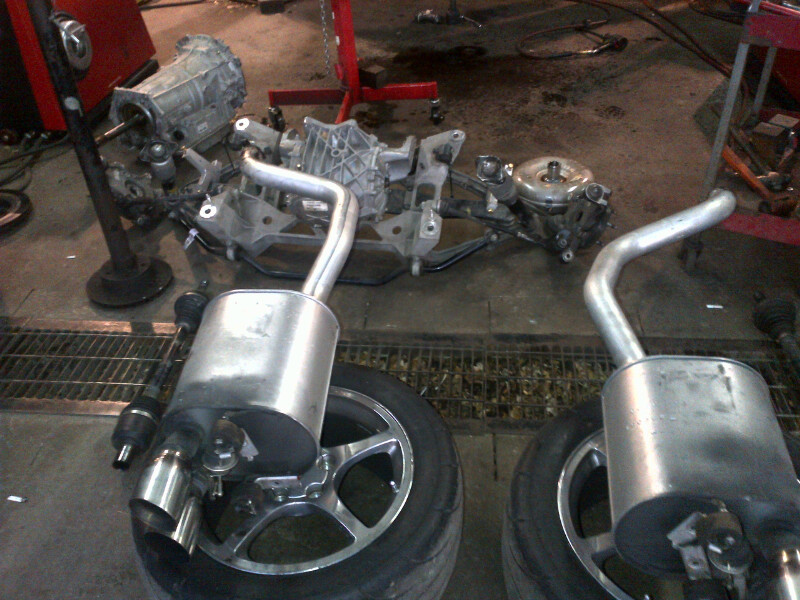
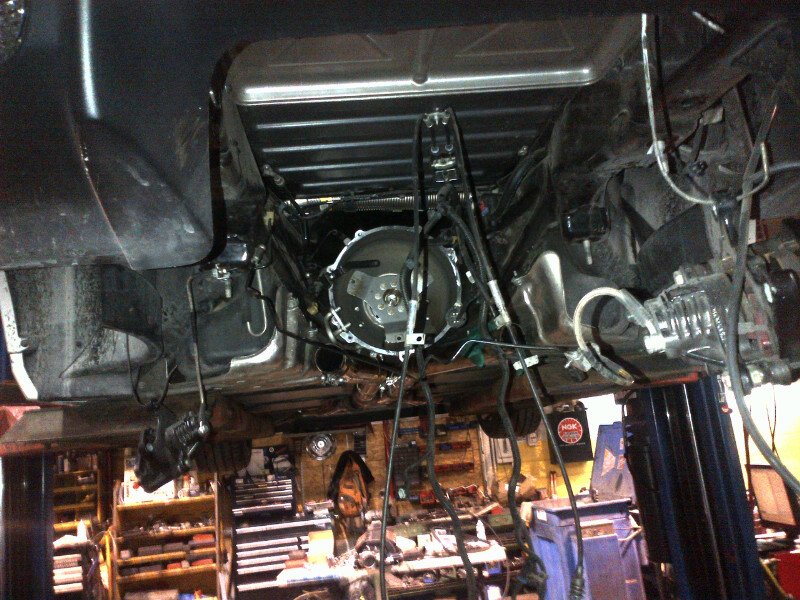
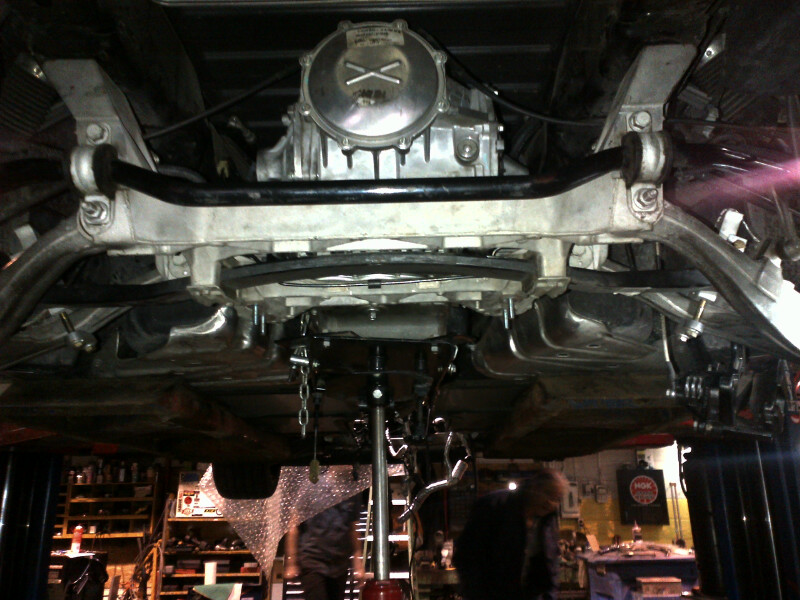
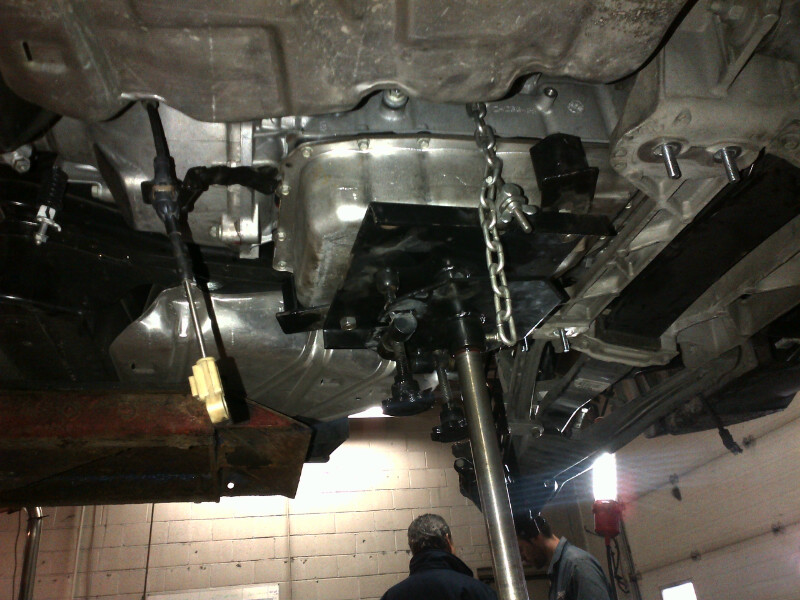
Tranny and rear end going back in..
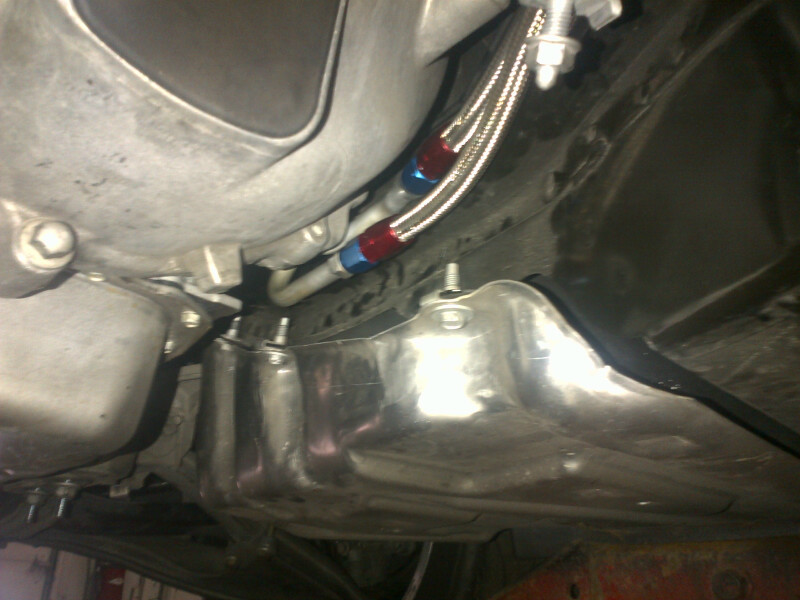
Modified transmission line fittings...

Tranny lines run once the tranny was reinstalled.
ECS Axle hoops... better safe than sorry..
Ragin Racing's dual fans..
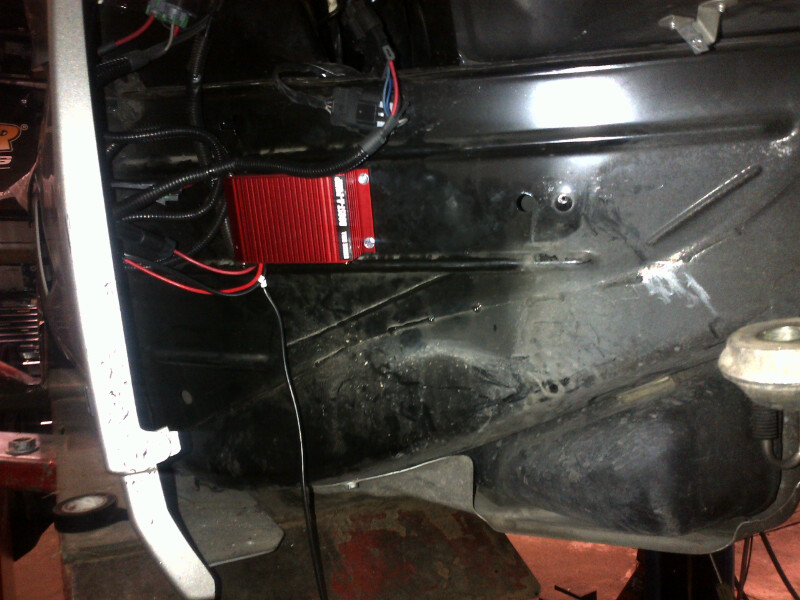
KB bap in place and wired up with Racetronix harness..
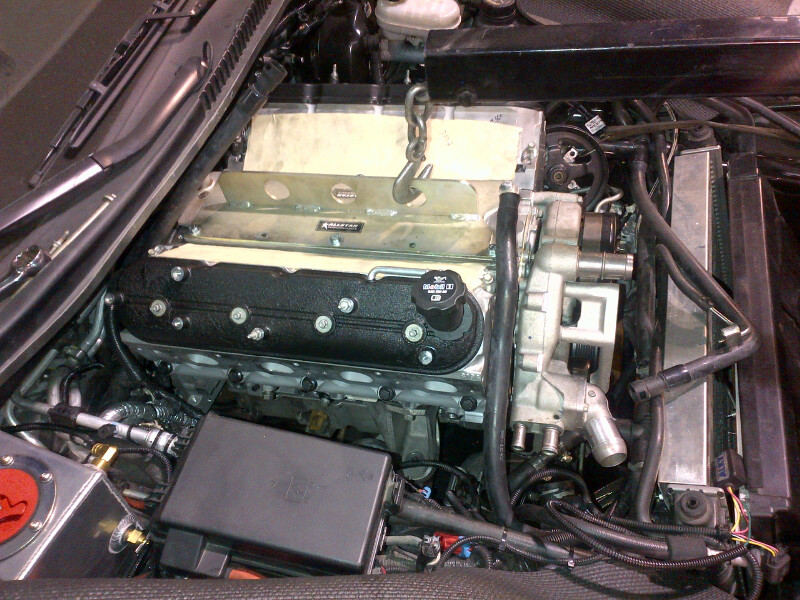
Since I rarely use the Eforce side covers, I decided to paint my valve covers black to match a little better. This low budget build doesnt allow for new covers.:crazy2:

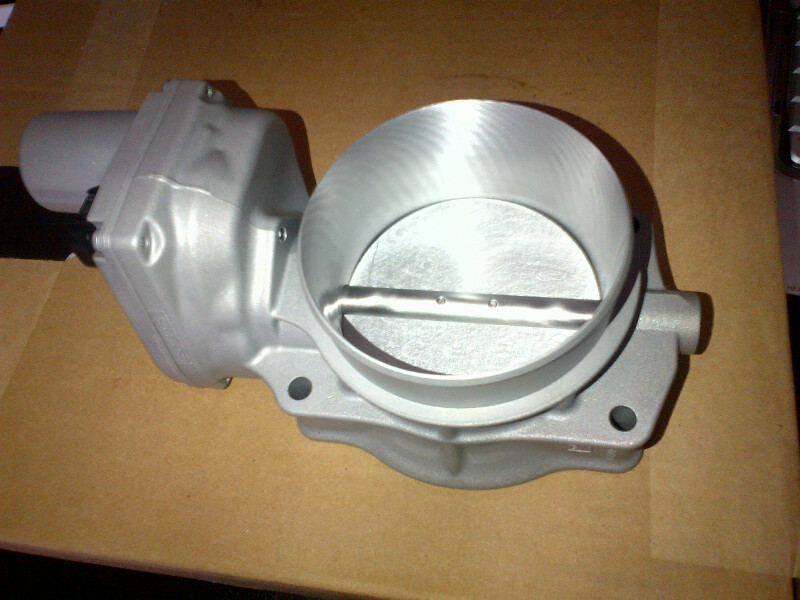
Vmax ported throttle body ready to go..
Heads finally back from the shop..
Thanks Bryan at LME for this nice picture to keep my warm while I waited for delivery..
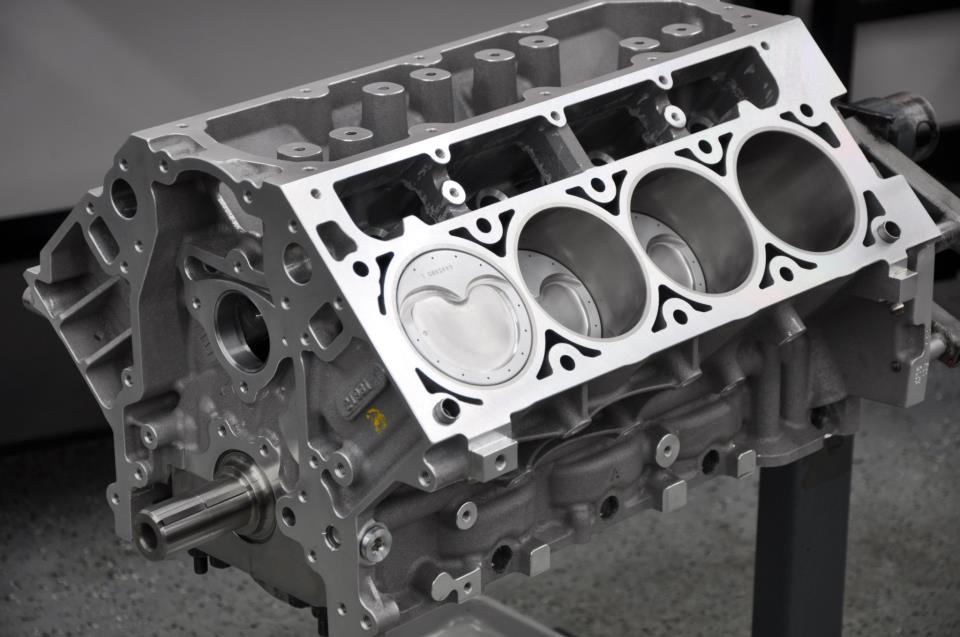
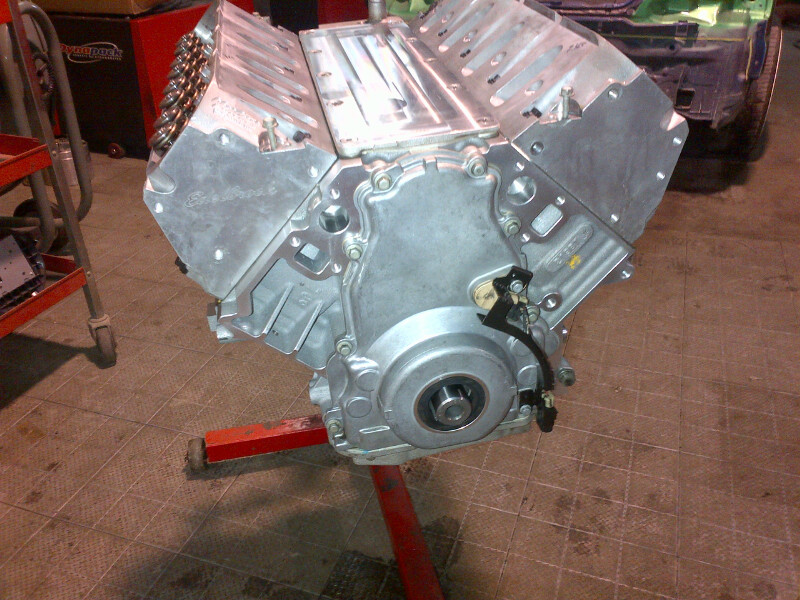
Finally !!! Its here...
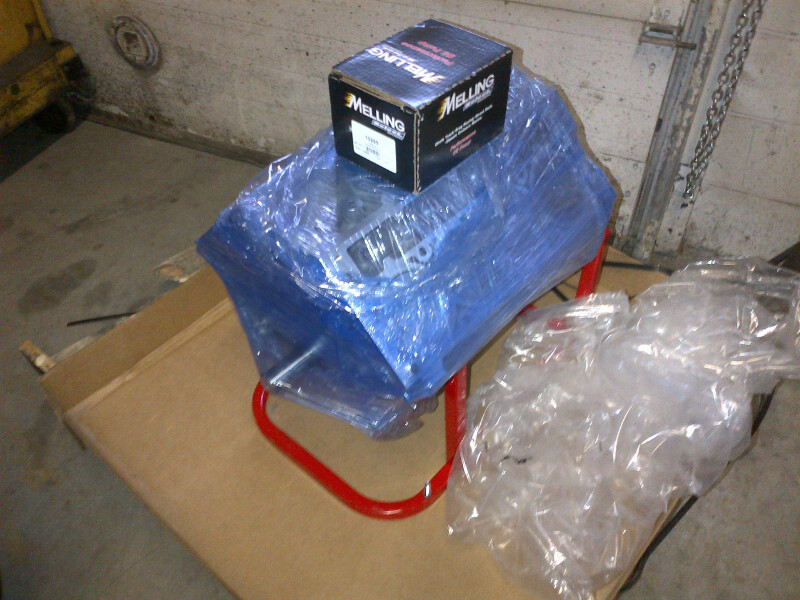
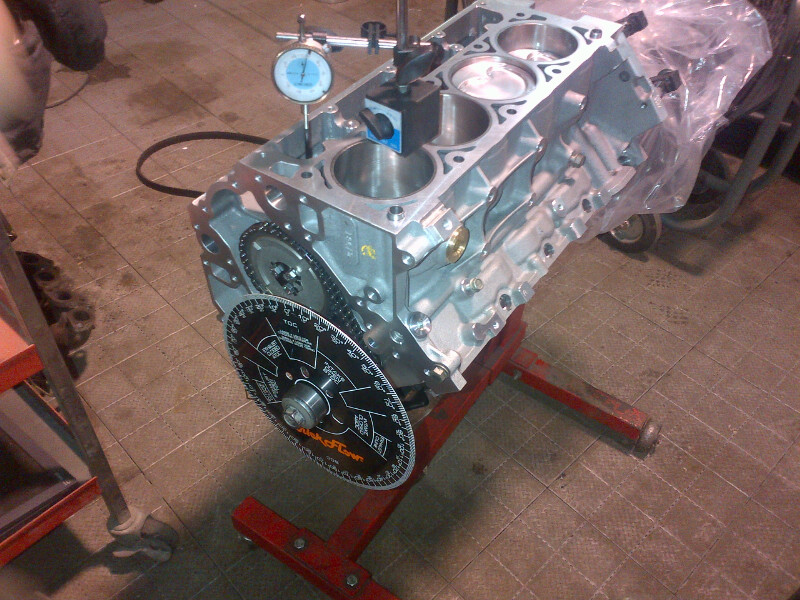
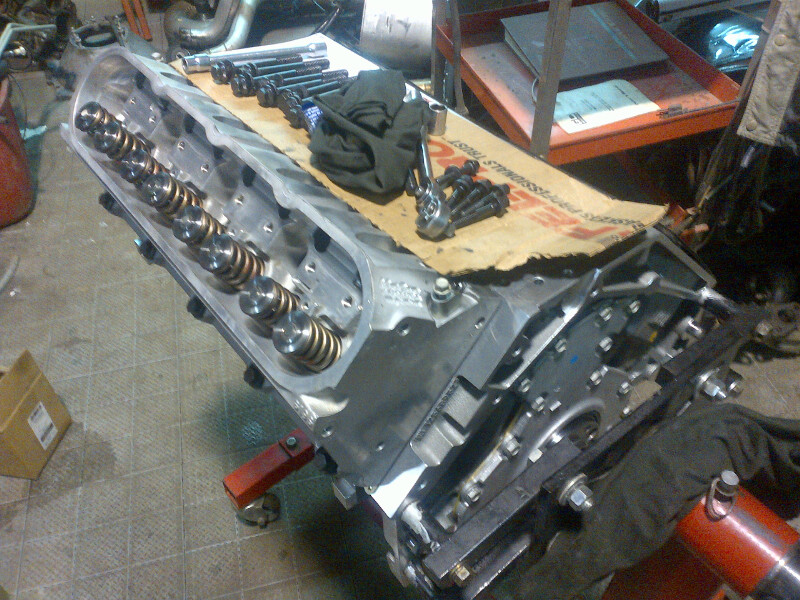
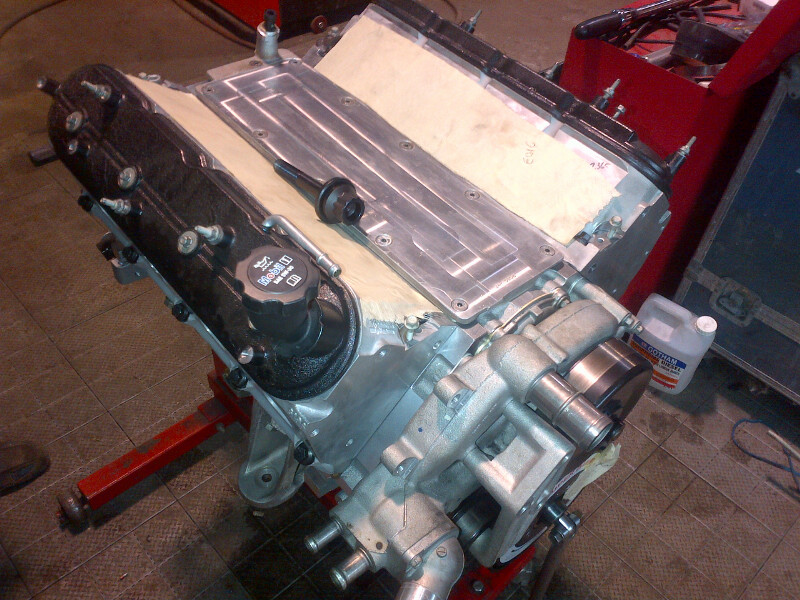
On the stand ready to finish building.. as of yesterday. Next week things start moving along again.
Got a bit of work done today...
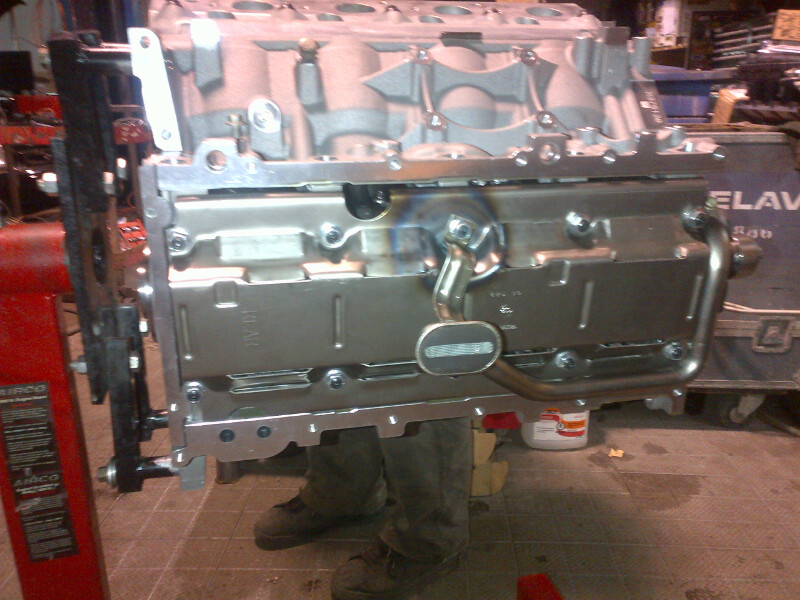
Installed the windage tray and oil pickup tube. Modified the tray a little to clear an ARP stud.....
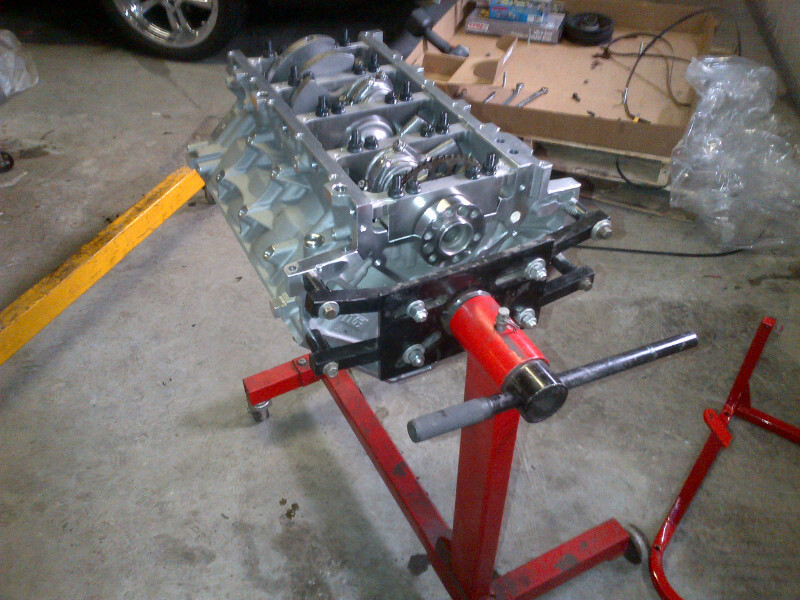
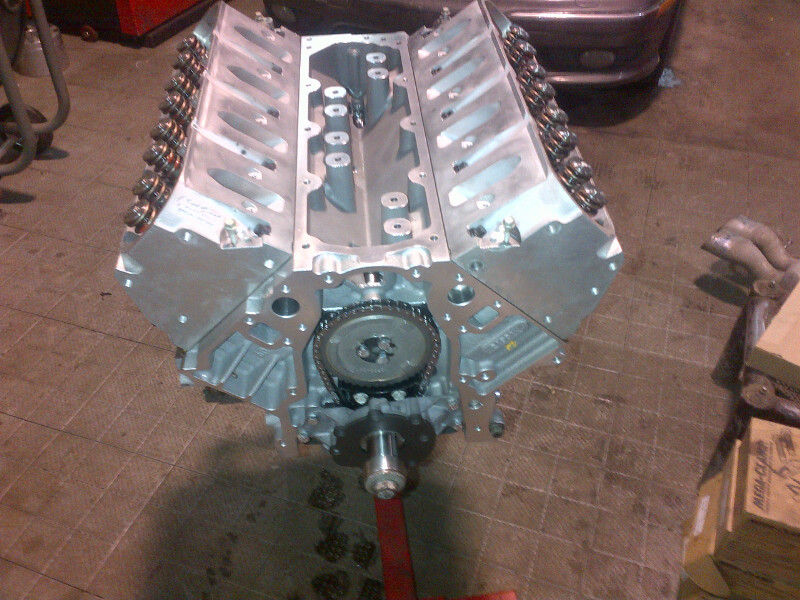
Installed camshaft, C5R chain, gears, dampener and oil pump...

This little guy with locking tabs will make sure the bolts cant back out...
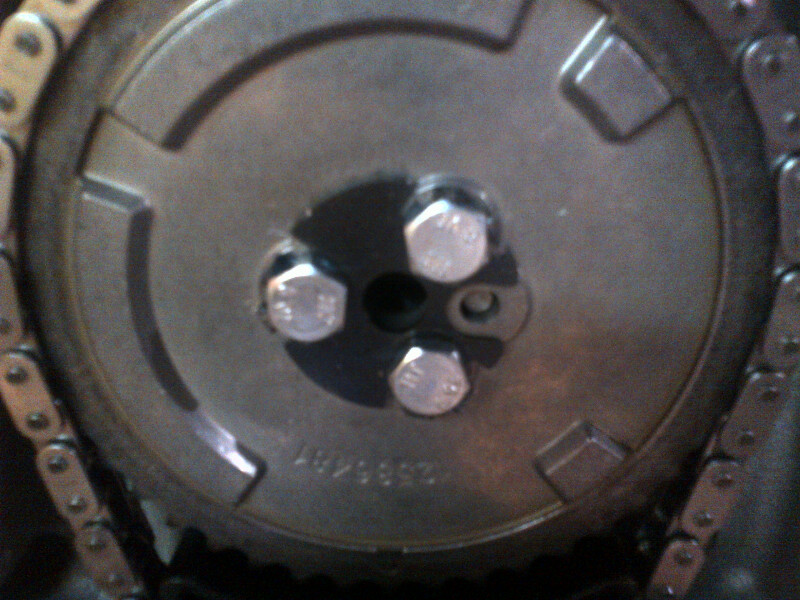
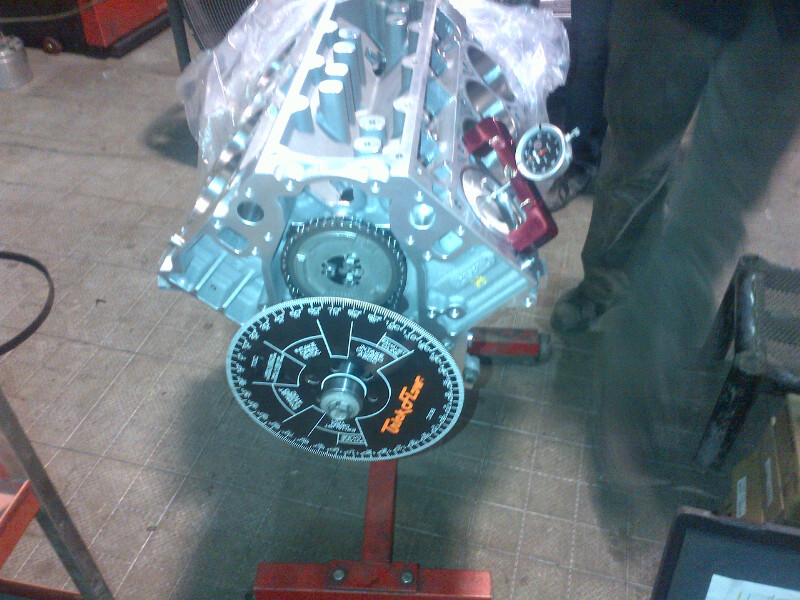
Checked the cam with a degree wheel. Happily it was dead on spec as ordered..
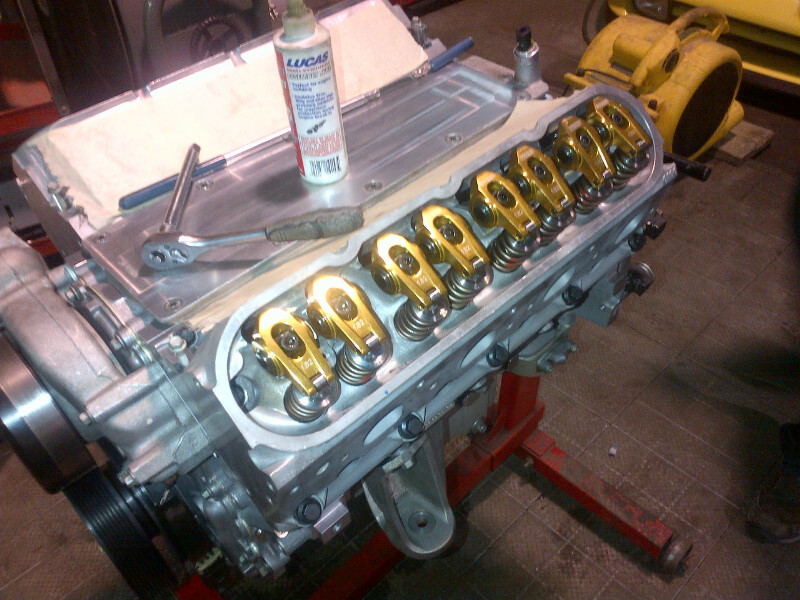
Unpacked my shiny, redone. WCCH heads....
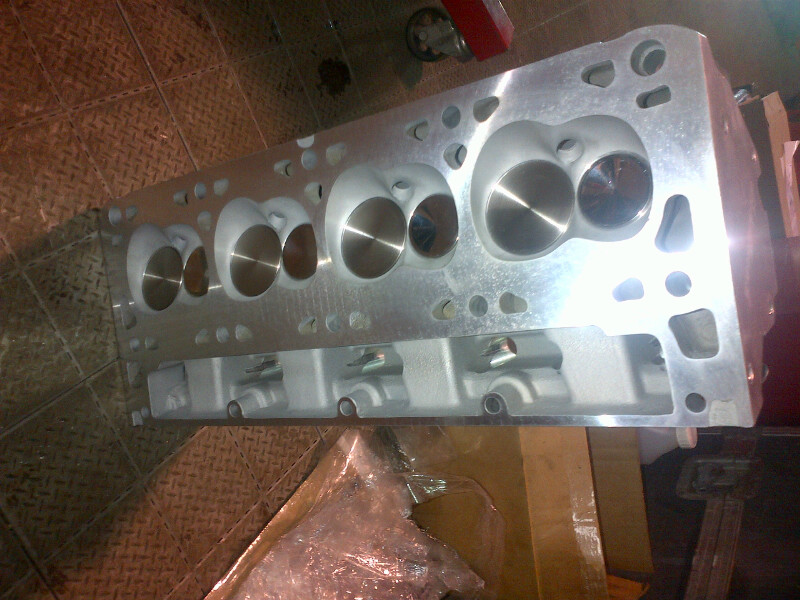
Installed the heads on the engine using ARP head bolts...
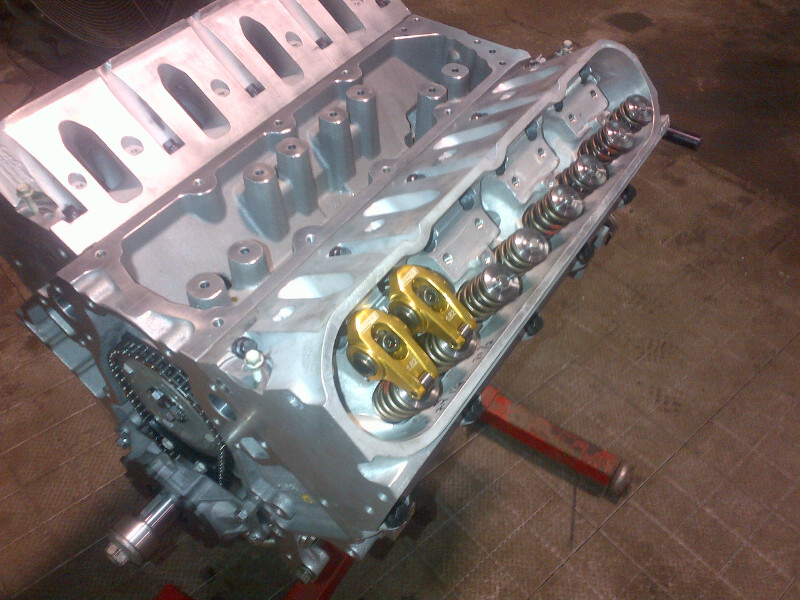
Next... installed some lifters and rockers and checked for pushrod length. They will be ordered in the morning...
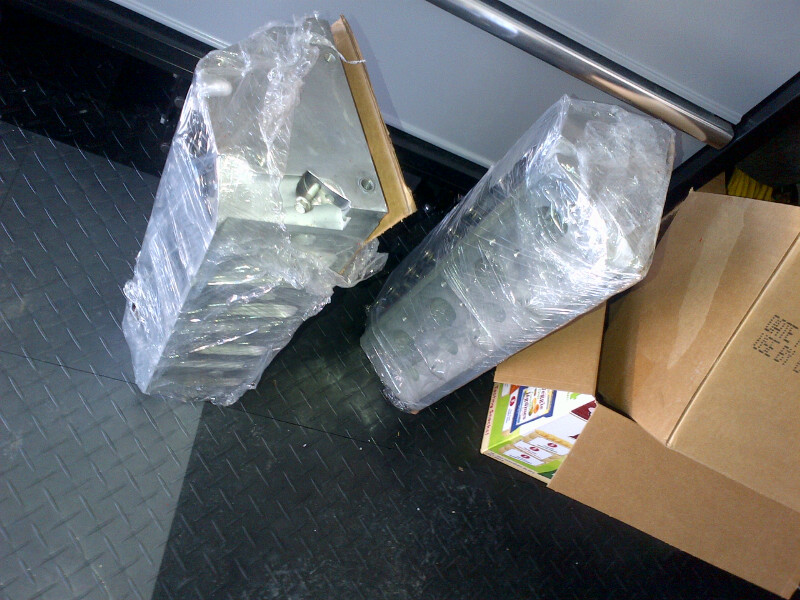
Next we test fitted my new Dual Procharger setup which is driven directly off the crank....
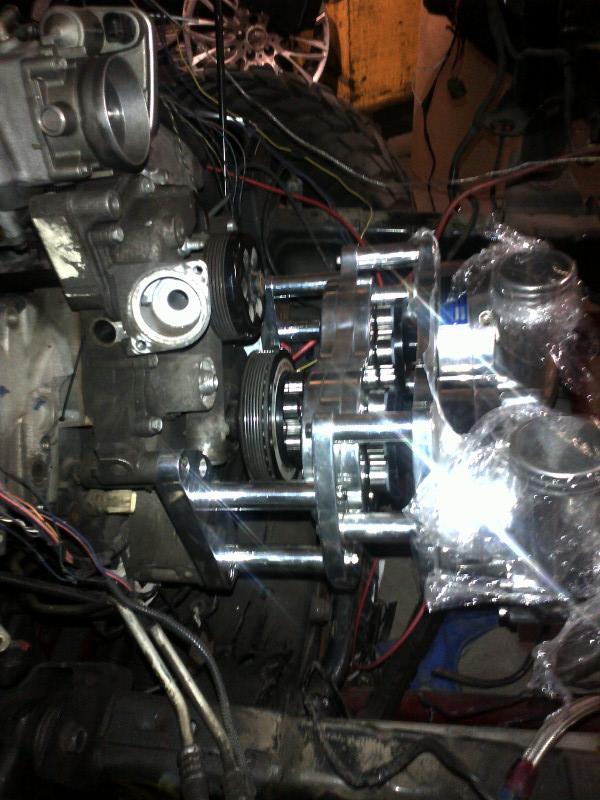

 Just kidding.... these are being installed on the shop vehicle of my installer. I should say thanks to Raymond for letting me do my thing in the shop and to Seth for guiding and helping me along. Sweet deal. They charge me double for the work I do myself. :crazy:
Things are moving right along now !!!
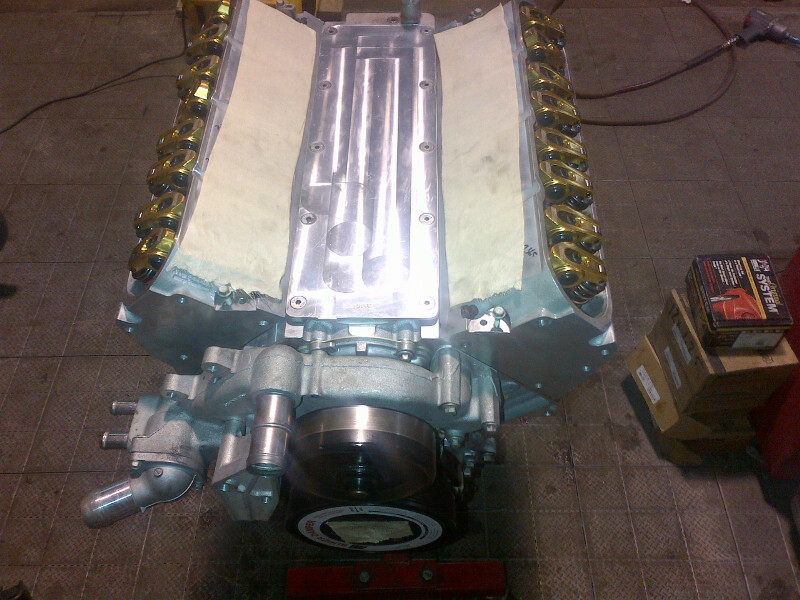
Spent a few hours on it today... put on front and rear covers, oil pan, valley plate..etc.
ATI overdrive damper and ARP bolt ready to add next...
Thanks for looking...
To make the story short, at the end of last season the clutches in my tranny basically welded together, which in turn mechanically over reved my engine and bent a valve. I had planned some upgrades over the winter and this just pushed me to go the extra mile.
I will reuse my eforce supercharger in the interest of seeing what it can do, but I have built the motor with the through of something bigger in the future.
The build consists of the following parts:
LME LS402 shortblock... 9.9 compression
Caillies Dragonslayer crank
Caillies ultra billet rods / heavy wall wrist pins
Wiesco -15cc coated pistons / gas ported / stainless top ring
ARP pro series main studs
Clevite bearings
Edelbrock 245 WCCH heads
Ferrea Competition 6000 intake valves
Ferrea Super Alloy exhaust valves
Brian Tooley max lift springs / titanium retainers
ARH 1 7/8 headers
Alky control meth kit
Melling ported oil pump
Z06 fuel pump
KB bap
C5R timing chain / gears / damper
Morel link bar lifters
ATI crank damper 8% overdrive
B&M Transmission cooler with fan
Circle D converter Triple disc.... 2600 stall
Hinson Poly motor and transmission mounts
LS9 head gaskets
ARP crank bolt
Pat G spec custom cam
Moroso Coolant tank (to add a bit more capacity to the intercooler system)
Comp camshaft retainer
Vmax ported throttle body
ARP flex plate bolts
A gazillion misc. gaskets and seals
Custom made transmission brace (thanks Subfloor)
After realizing that I already had serious traction issues I decided to try to fix that the best I can by adding....
Z06 rear fenders
Weld RTS 17x11 rear wheels with M&H Racemaster 325/45/17 tires
Weld RTS 17x7 front wheels... tires still to be chosen
We tore the car to pieces and then put it aside while waiting for parts...
Broken Valve spring. The valve touched the piston and bent but luckily no damage at all to the piston itself .
As far as the tranny goes, I decided to rebuild it almost as stock, with a few upgraded parts. I welded the drums and gave it to a local builder of racing transmissions. Although he has limited experience on 6L80's, he builds 4L60's, etc for the fastest race cars in the area. He is convinced we can do it right. If it doesnt work out I will look at other options next time.
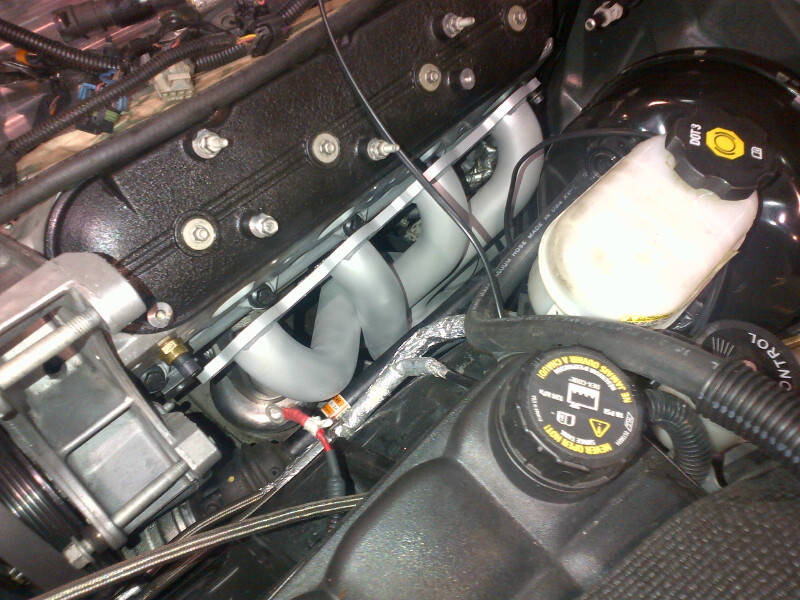
Installing larger container for the eforce. Great picture.:crazy:
Hinson trans mounts in place...
B&M trans cooler with fan going in. Fits perfectly here and the brake duct flows right to it so it should work out well.
Tranny and rear end going back in..
Modified transmission line fittings...
Tranny lines run once the tranny was reinstalled.
ECS Axle hoops... better safe than sorry..
Ragin Racing's dual fans..
KB bap in place and wired up with Racetronix harness..
Since I rarely use the Eforce side covers, I decided to paint my valve covers black to match a little better. This low budget build doesnt allow for new covers.:crazy2:
Vmax ported throttle body ready to go..
Heads finally back from the shop..
Thanks Bryan at LME for this nice picture to keep my warm while I waited for delivery..
Finally !!! Its here...
On the stand ready to finish building.. as of yesterday. Next week things start moving along again.
Got a bit of work done today...
Installed the windage tray and oil pickup tube. Modified the tray a little to clear an ARP stud.....
Installed camshaft, C5R chain, gears, dampener and oil pump...
This little guy with locking tabs will make sure the bolts cant back out...
Checked the cam with a degree wheel. Happily it was dead on spec as ordered..
Unpacked my shiny, redone. WCCH heads....
Installed the heads on the engine using ARP head bolts...
Next... installed some lifters and rockers and checked for pushrod length. They will be ordered in the morning...
Next we test fitted my new Dual Procharger setup which is driven directly off the crank....
Things are moving right along now !!!
Spent a few hours on it today... put on front and rear covers, oil pan, valley plate..etc.
ATI overdrive damper and ARP bolt ready to add next...
 03-27-2013, 08:21 PM
#2
TECH Apprentice
Thread Starter
A small update. I am basically waiting now for my shop to have a space for my car so I can install the motor and finish up. It should be next week and in the meantime I am just doing the last little things to get ready.
My Trend 3/8th pushrods arrived yesterday so today I installed them and the rockers
After checking everything twice, I installed the valve covers that I painted crinkle black...
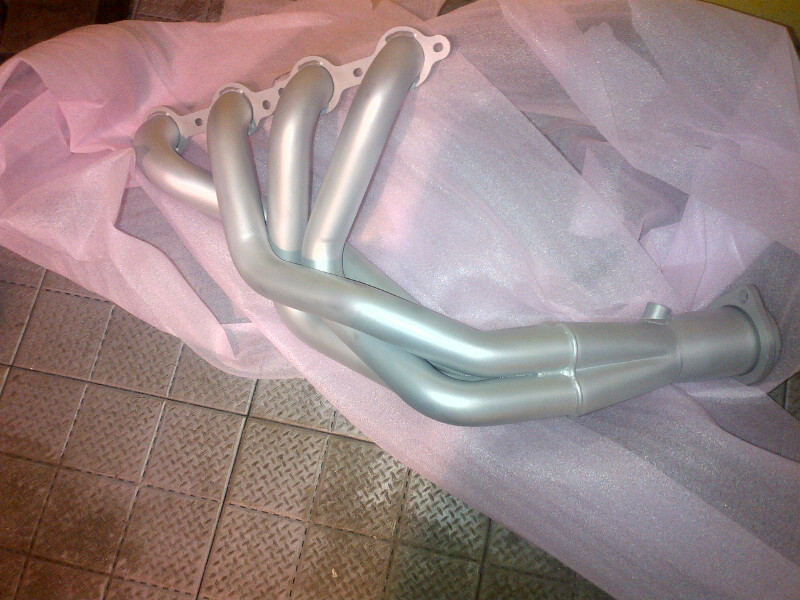
Someone I know who does coatings for aerospace stuff... turbines etc... offered to coat my headers. I am not convinced it helps much but it certainly can't hurt. Anything to try and reduce underhood temps. They came out looking really great.
Thats it for today.. hopefully next week I can get this thing up and running.
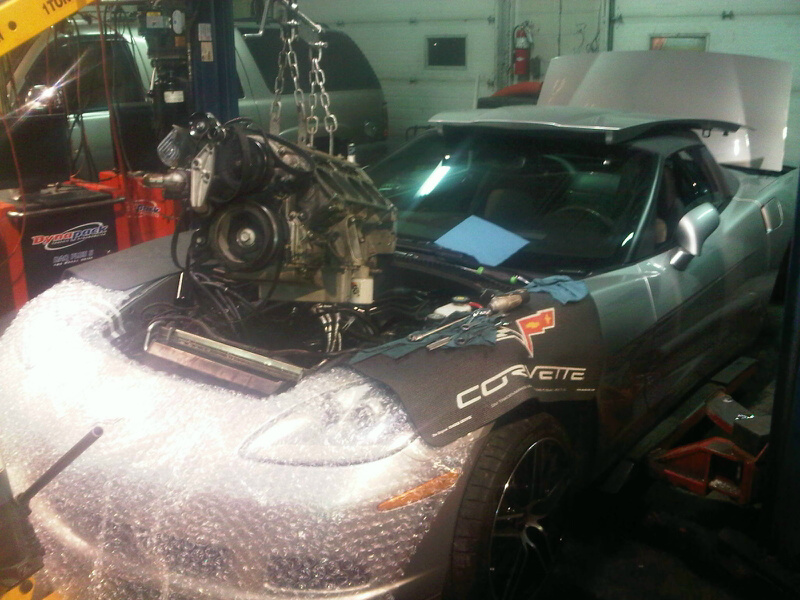
Finally got the car into the shop late yesterday. Got the engine back in and within a few days should have it together and on the dyno.
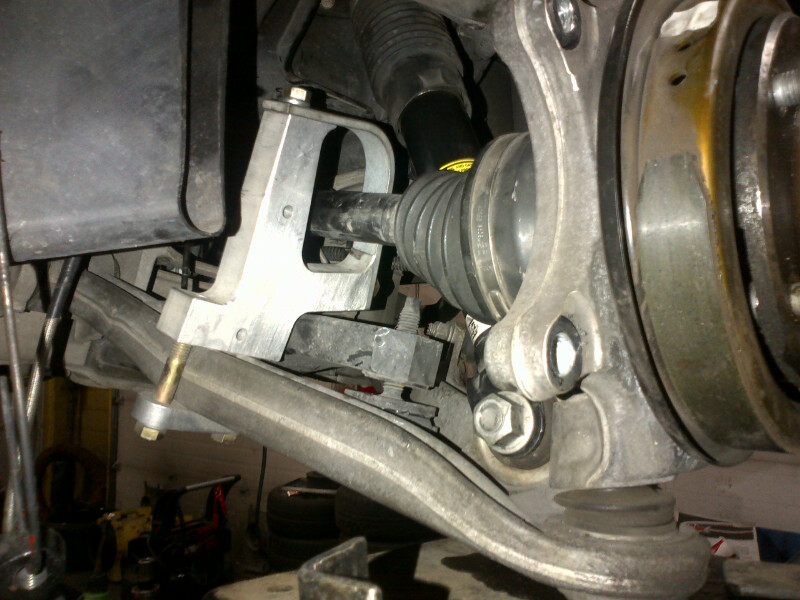
One thing I learned......putting the engine back in from the top is not fun. The oversize, 8 rib dampener is bigger by just enough that I had to move the steering rack. :ack:
Had a productive day yesterday. Got lots of stuff done. Almost everything hooked up, headers on, etc, etc. Progress came to a stop when I realized I forgot to get new intake gaskets. :crazy: Always something.
Put a little extra heat protection on my starter, even though it has never given me any trouble.

Coating on the headers looks great, even matches the color of my car..:yesnod:
The fittings for my bigger coolant tank... I think they cost more than the tank. :crazy2:

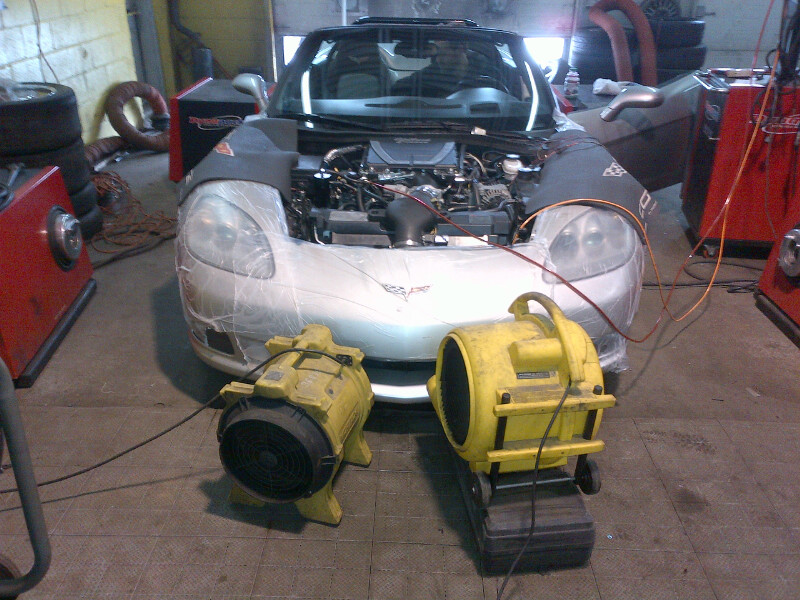
Almost home. Got a lot of stuff done today. Even started her up for a few minutes but didnt run her long because there is no exhaust on the car. Tomorrow I will install the trans brace and the exhaust.. and then onto the dyno she goes.
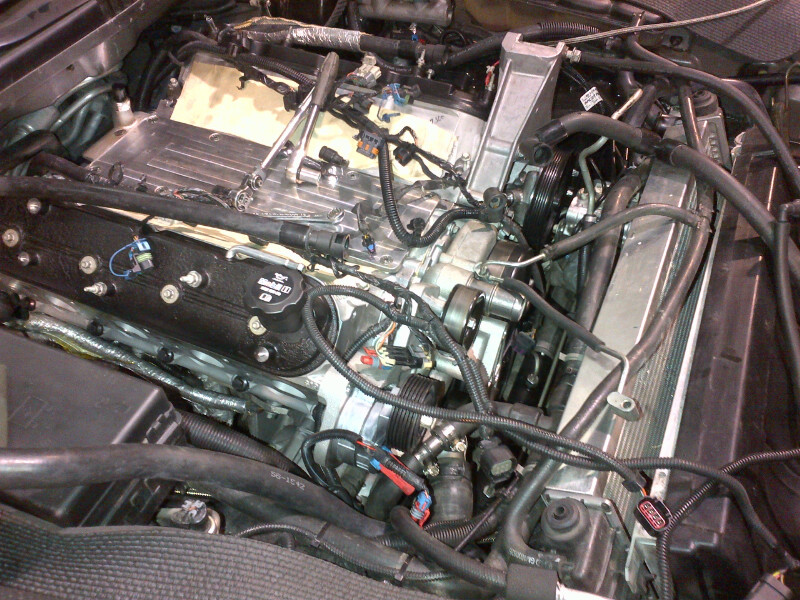
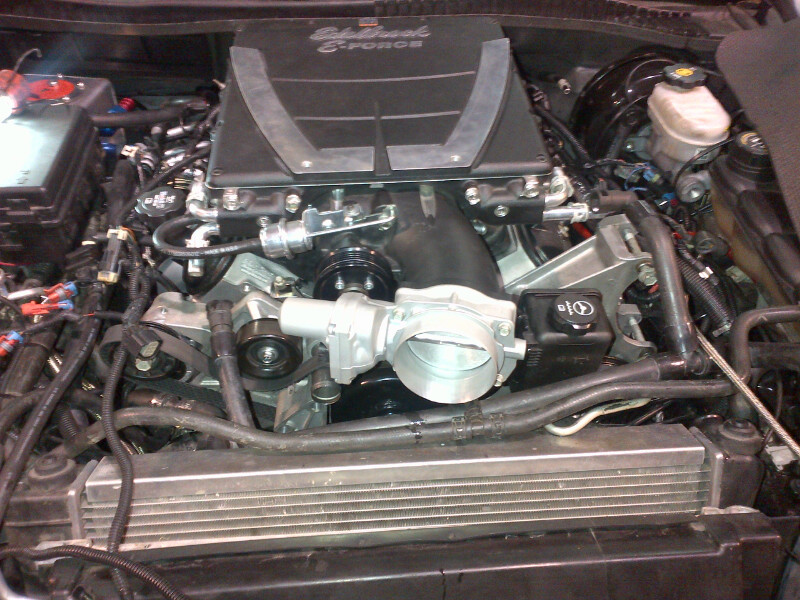
Todays progress... installed the eforce, plugs wires etc etc etc..
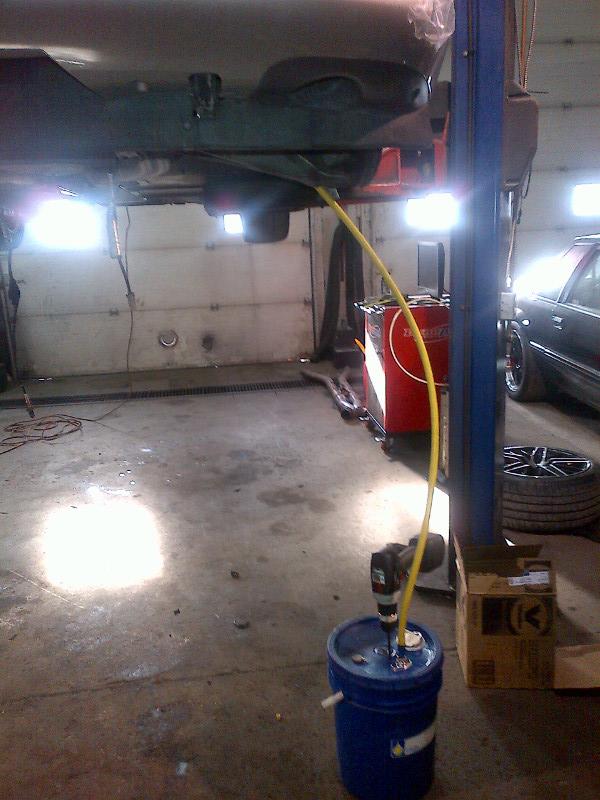
Used this contraption we made to prime the engine properly before starting her up..

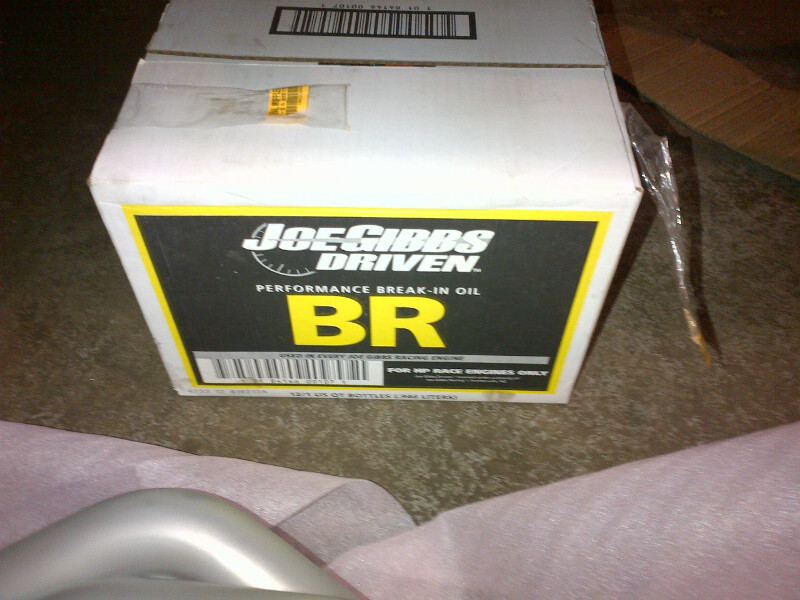
Only the best for my baby..
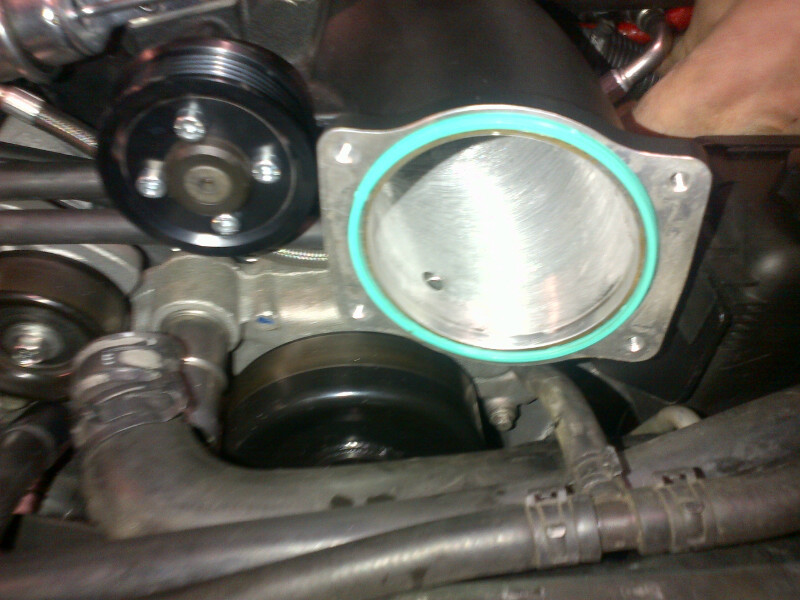
Shhhh... dont tell anyone about the smaller pulley....
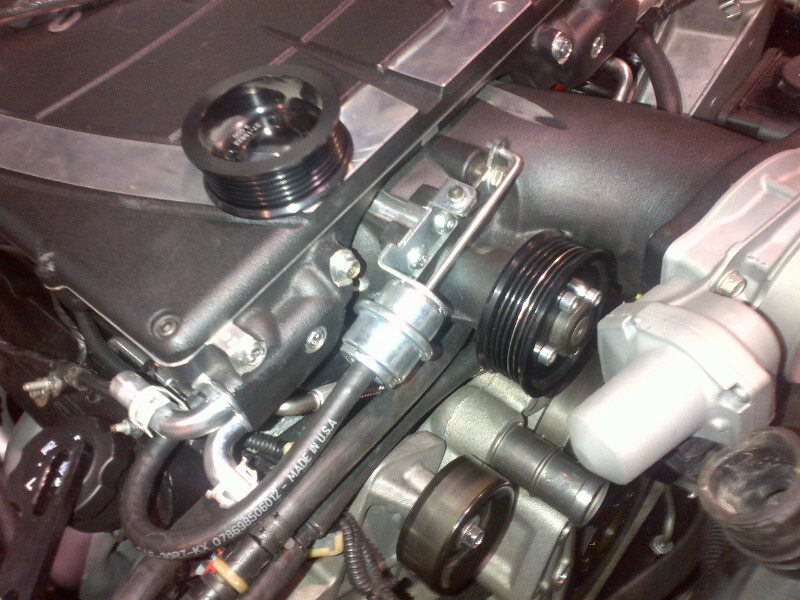
or the little bit of porting to the snout.....
Long day but I can't wait until tomorrow !!!!
Finished some final touches today. After an initial startup the rockers were touching the valve covers so I took them off again...:crazy: and ground down some high points.
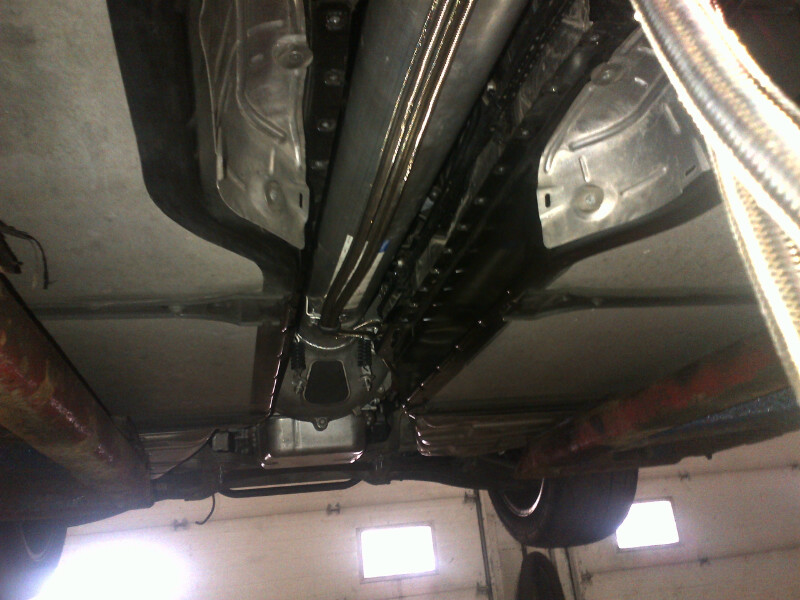
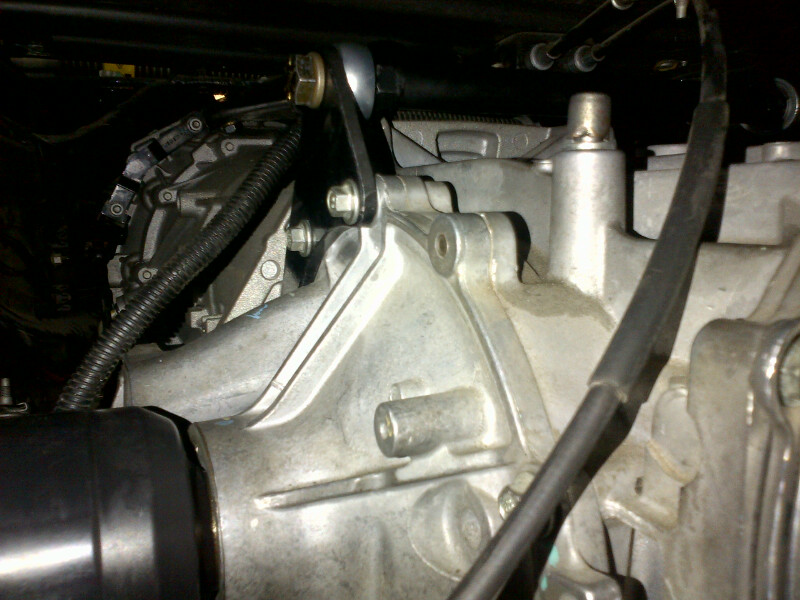
Then I installed the trans brace. Thanks to Christopher (subfloor) for making a great piece for us automatic guys...
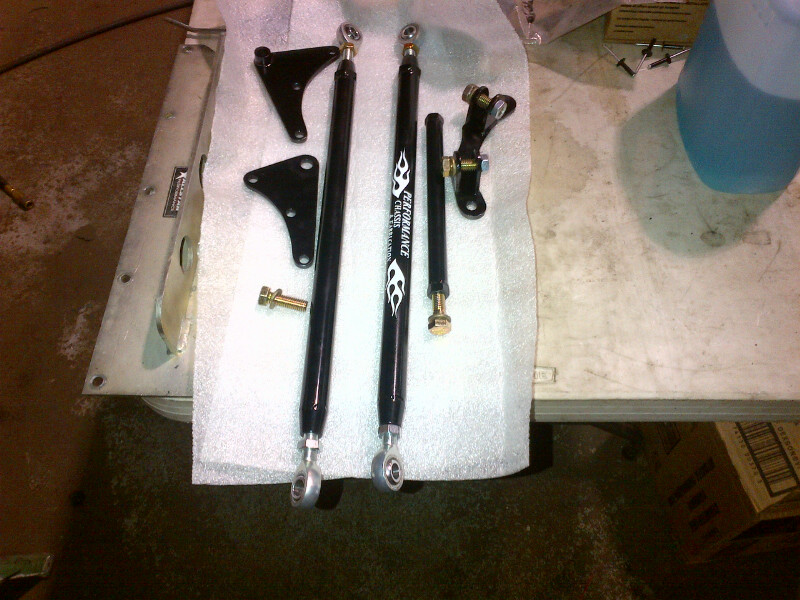
Bit of a pain to install because its so tight up there but worth it if it prevents any damage....
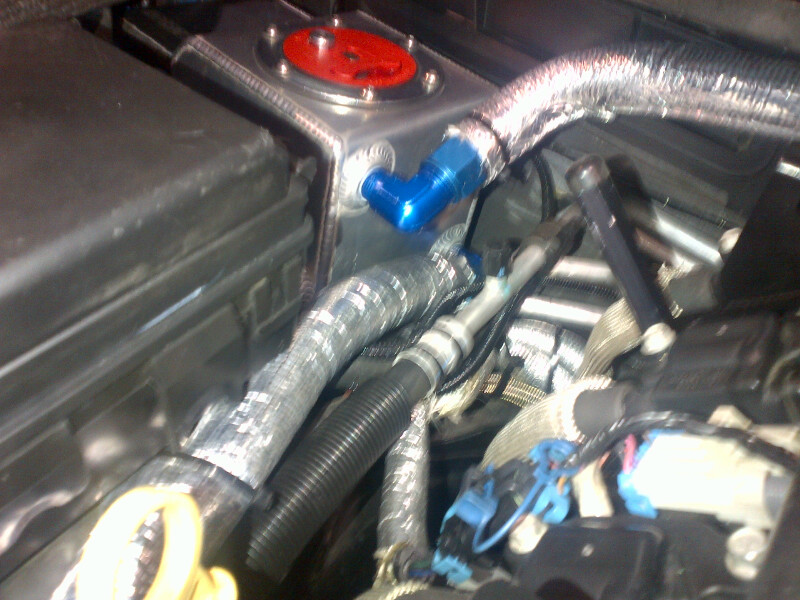
I also finished the install of my larger intercooler tank.. and heat shielded the hoses.... every bit helps...
I started it up, checked for leaks, etc, and filled the tranmission according to GM procedure. I added a little extra fluid because I have read so often that this helps.
Everything went really well. There was not leaks, no problems, and suprisingly without any change in the tune it started and ran decently.
Tomorrow.... dyno and tuning day.
[YT]URsai6FOPrU[/YT]
Well... results are in. I still have some tuning to do on the tranny side but we did wide open throttle tuning today. I want to say that I am more than happy with the results although I stubbornly made all the build decisions myself, I thank everyone who helped me. Chris at Circle D, Pat G for a great cam, Bryan at LME for an amazing short block, Brian Tooley for great advice on springs and rockers, Serge at Autopitale for help on the transmission build, and mostly Seth at Federal Performance here in Montreal . Anyone I forgot, thank you too.
At this point I think the limiting factor is the Eforce, but as it is I think I might have to buy 6L80's by the dozen so its enough for now.
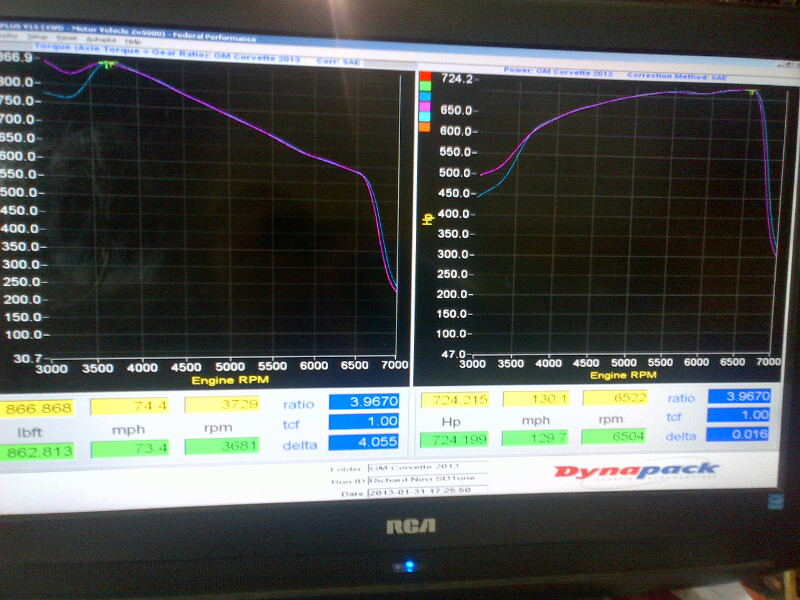
Some of the details of the tuning:
Maximum boost was 12.75 lbs. This is similar to what I made before with one major difference. Boost is the same at full throttle but comes in earlier, at 3500 rpm it is already 2 lbs higher.
Maximum IAT's seen were 115 which is about 10 degrees lower than before. Too early to tell if its due to the bigger tank, but I assume it his.
Lowest fuel pressure seen was 58lbs with the Z06 pump and BAP. Perfect there.
Max timing was 19 degrees and 0 knock seen throughout.
AFR just under 12 throughout.
No belt slip seen at all.
RWHP 724 @ 6500rpm 6500 was as far as I chose to run it for now.
Torque 866 @ 3700rpm
My Trend 3/8th pushrods arrived yesterday so today I installed them and the rockers
After checking everything twice, I installed the valve covers that I painted crinkle black...
Someone I know who does coatings for aerospace stuff... turbines etc... offered to coat my headers. I am not convinced it helps much but it certainly can't hurt. Anything to try and reduce underhood temps. They came out looking really great.
Thats it for today.. hopefully next week I can get this thing up and running.
Finally got the car into the shop late yesterday. Got the engine back in and within a few days should have it together and on the dyno.
One thing I learned......putting the engine back in from the top is not fun. The oversize, 8 rib dampener is bigger by just enough that I had to move the steering rack. :ack:
Had a productive day yesterday. Got lots of stuff done. Almost everything hooked up, headers on, etc, etc. Progress came to a stop when I realized I forgot to get new intake gaskets. :crazy: Always something.
Put a little extra heat protection on my starter, even though it has never given me any trouble.
Coating on the headers looks great, even matches the color of my car..:yesnod:
The fittings for my bigger coolant tank... I think they cost more than the tank. :crazy2:
Almost home. Got a lot of stuff done today. Even started her up for a few minutes but didnt run her long because there is no exhaust on the car. Tomorrow I will install the trans brace and the exhaust.. and then onto the dyno she goes.
Todays progress... installed the eforce, plugs wires etc etc etc..
Used this contraption we made to prime the engine properly before starting her up..
Only the best for my baby..
Shhhh... dont tell anyone about the smaller pulley....
or the little bit of porting to the snout.....
Long day but I can't wait until tomorrow !!!!
Finished some final touches today. After an initial startup the rockers were touching the valve covers so I took them off again...:crazy: and ground down some high points.
Then I installed the trans brace. Thanks to Christopher (subfloor) for making a great piece for us automatic guys...
Bit of a pain to install because its so tight up there but worth it if it prevents any damage....
I also finished the install of my larger intercooler tank.. and heat shielded the hoses.... every bit helps...
I started it up, checked for leaks, etc, and filled the tranmission according to GM procedure. I added a little extra fluid because I have read so often that this helps.
Everything went really well. There was not leaks, no problems, and suprisingly without any change in the tune it started and ran decently.
Tomorrow.... dyno and tuning day.
[YT]URsai6FOPrU[/YT]
Well... results are in. I still have some tuning to do on the tranny side but we did wide open throttle tuning today. I want to say that I am more than happy with the results although I stubbornly made all the build decisions myself, I thank everyone who helped me. Chris at Circle D, Pat G for a great cam, Bryan at LME for an amazing short block, Brian Tooley for great advice on springs and rockers, Serge at Autopitale for help on the transmission build, and mostly Seth at Federal Performance here in Montreal . Anyone I forgot, thank you too.
At this point I think the limiting factor is the Eforce, but as it is I think I might have to buy 6L80's by the dozen so its enough for now.
Some of the details of the tuning:
Maximum boost was 12.75 lbs. This is similar to what I made before with one major difference. Boost is the same at full throttle but comes in earlier, at 3500 rpm it is already 2 lbs higher.
Maximum IAT's seen were 115 which is about 10 degrees lower than before. Too early to tell if its due to the bigger tank, but I assume it his.
Lowest fuel pressure seen was 58lbs with the Z06 pump and BAP. Perfect there.
Max timing was 19 degrees and 0 knock seen throughout.
AFR just under 12 throughout.
No belt slip seen at all.
RWHP 724 @ 6500rpm 6500 was as far as I chose to run it for now.
Torque 866 @ 3700rpm
 03-27-2013, 09:54 PM
#5
TECH Apprentice
Thread Starter
Thanks. I started ordering stuff and pulling it apart in November, and finished it last week. About 2 months were doing nothing while waiting for the short block. All in all it went pretty quickly and very smoothly.
03-28-2013, 08:01 AM
#7
TECH Apprentice
Thread Starter
As Chris from Circle D explained to me, its actually impossible to say the stall exactly, its more of a range from 26-2800. I havent tried it out yet but I dont think I would go bigger. This thing makes torque right from the get go and was tough to get traction even with less power and the stock stall.
Trending Topics
 03-29-2013, 08:47 AM
#11
As Chris from Circle D explained to me, its actually impossible to say the stall exactly, its more of a range from 26-2800. I havent tried it out yet but I dont think I would go bigger. This thing makes torque right from the get go and was tough to get traction even with less power and the stock stall.
04-30-2014, 08:33 PM
#12
TECH Apprentice
Thread Starter
Forgot about this thread so might as well do a little update.
This past season I didn't make it to the track very often and when I did, it seems I kept breaking stuff. Everything I did in my build was flawless. Ran well, no leaks, great daily driver.
The track was another story.
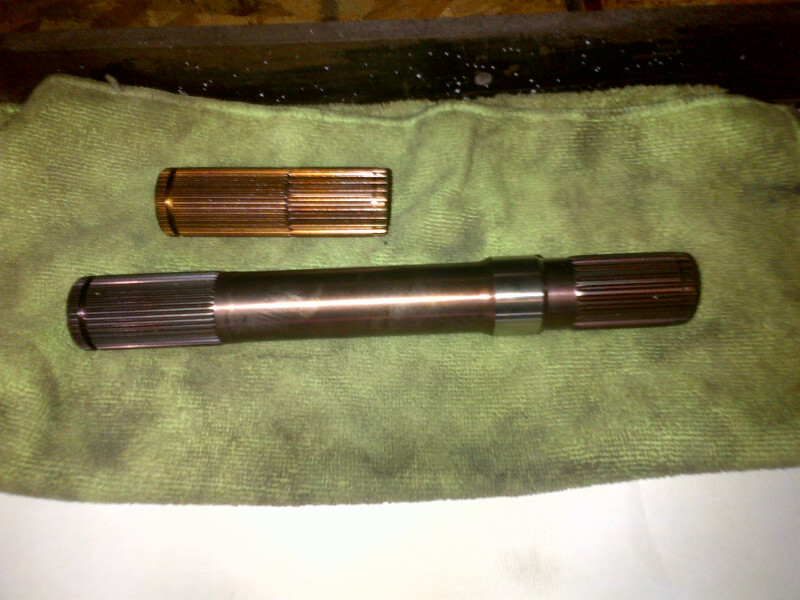
First hard launch, broke a hardened 300m shaft in my diff.
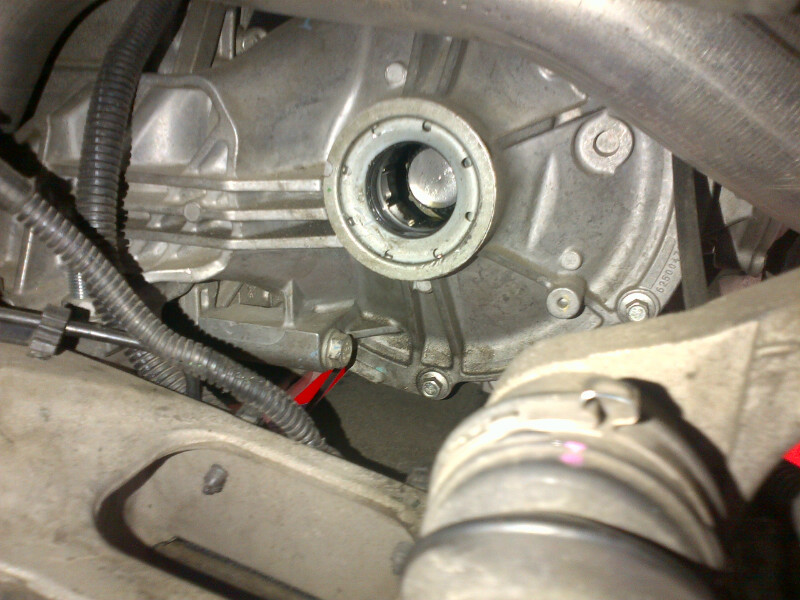
Fixed that by replacing with new and stronger DSS shafts. Supposed to be unbreakable.
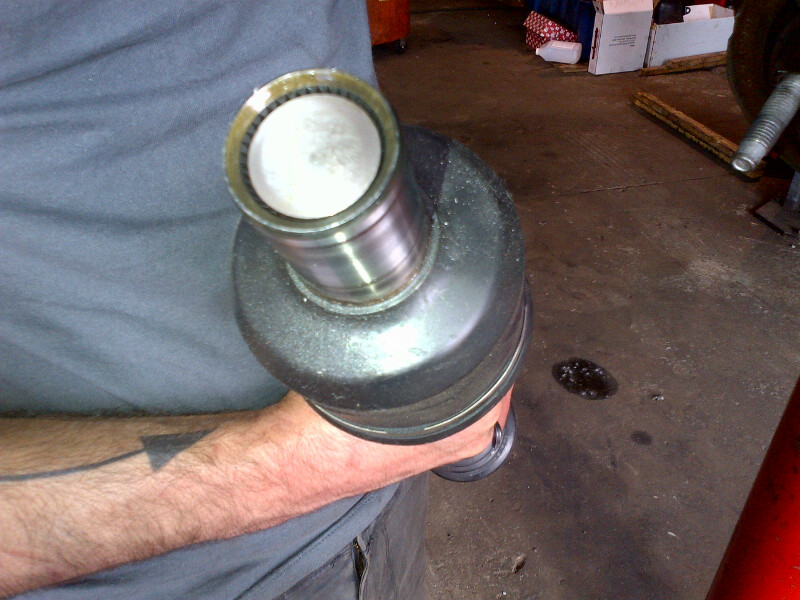
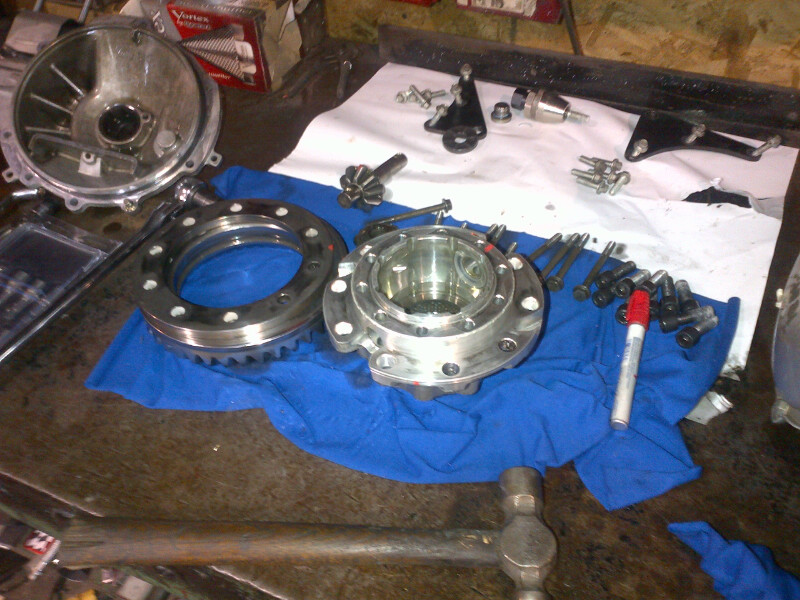
First time doing a vette diff. Not that difficult..
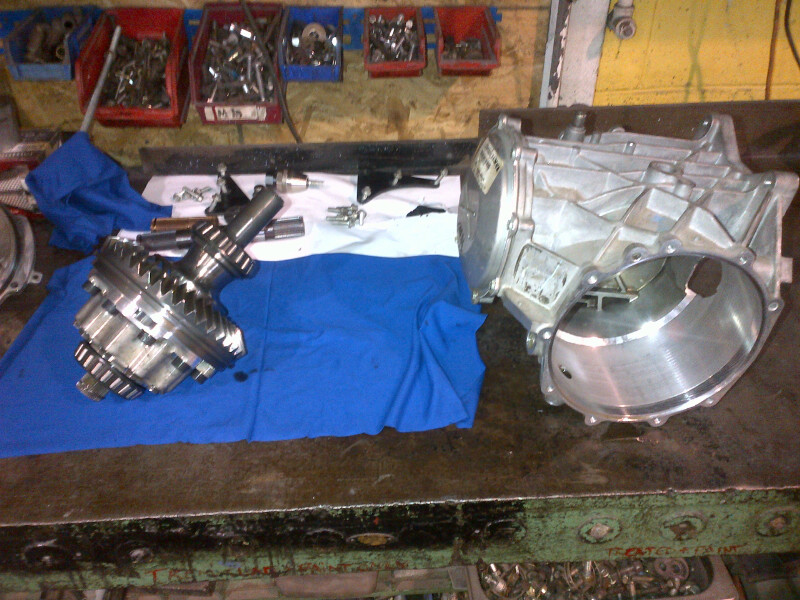
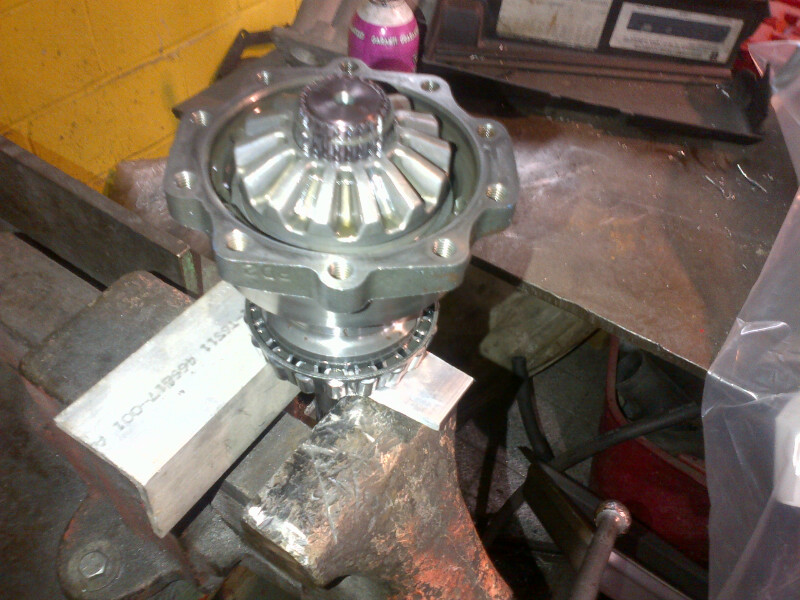
That went well.......
Next time out......first launch... broke an axle....
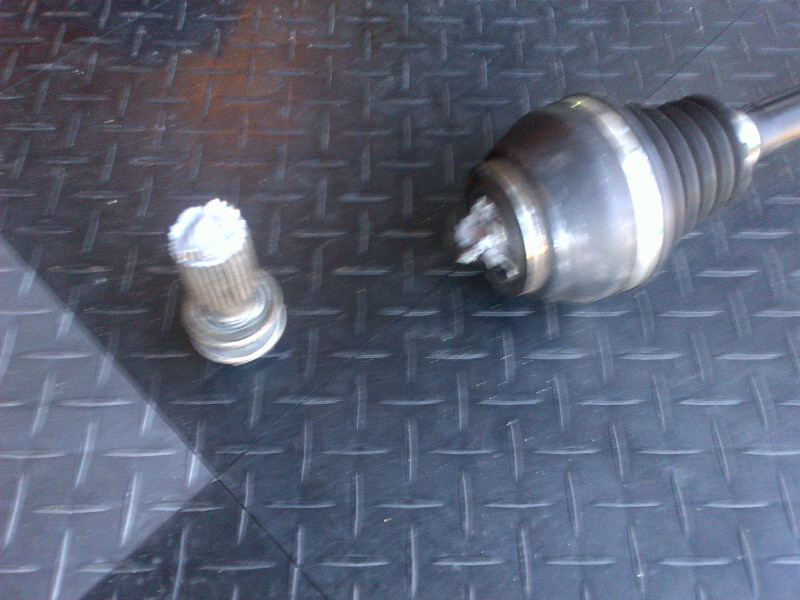
After changing the axle it was already near the end of the season and I was a little tired of breaking stuff and just wanted to enjoy the car. So that was it for the track. Never got a real time and never made enough runs to get the trans dialed in properly.
On to this winter......
I knew that something was just not right last year as I felt the car wasn't running to its potential. I narrowed the problem down to belt slip. The car was dynoing 100 rwhp lower than when first built.
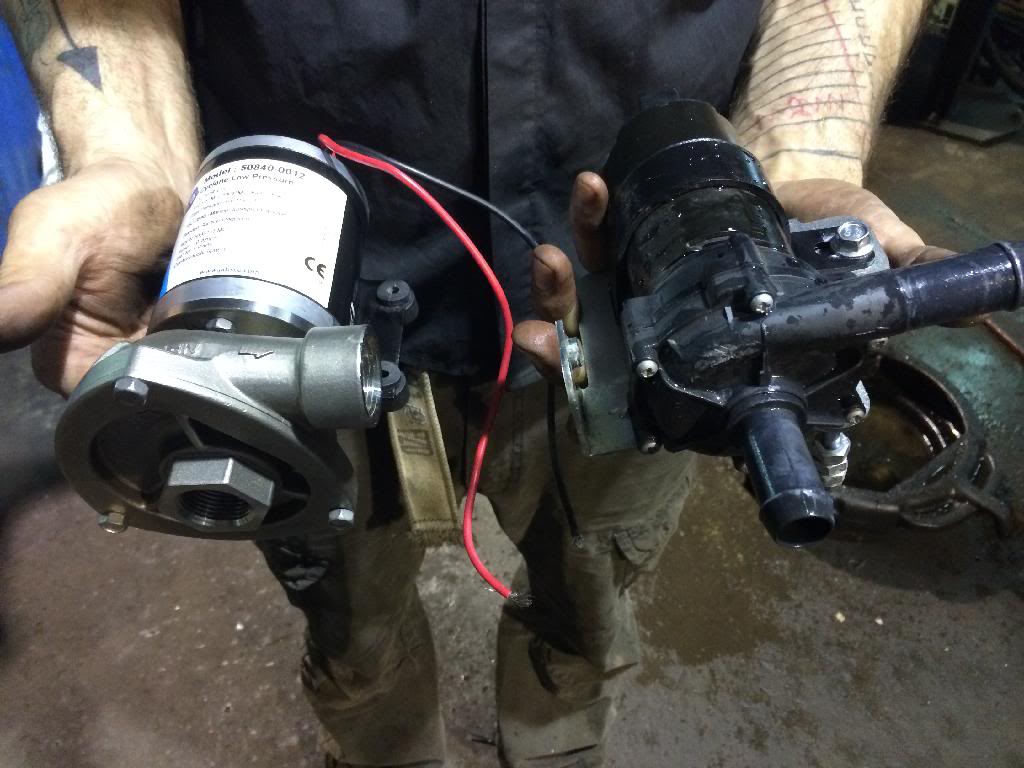
Over the winter I decided for once not to spend a fortune on it. All I did was a bigger pump for the eforce intercooler system, one size smaller blower pulley, and a 90 mm idler pulley from ati, to help with belt wrap.

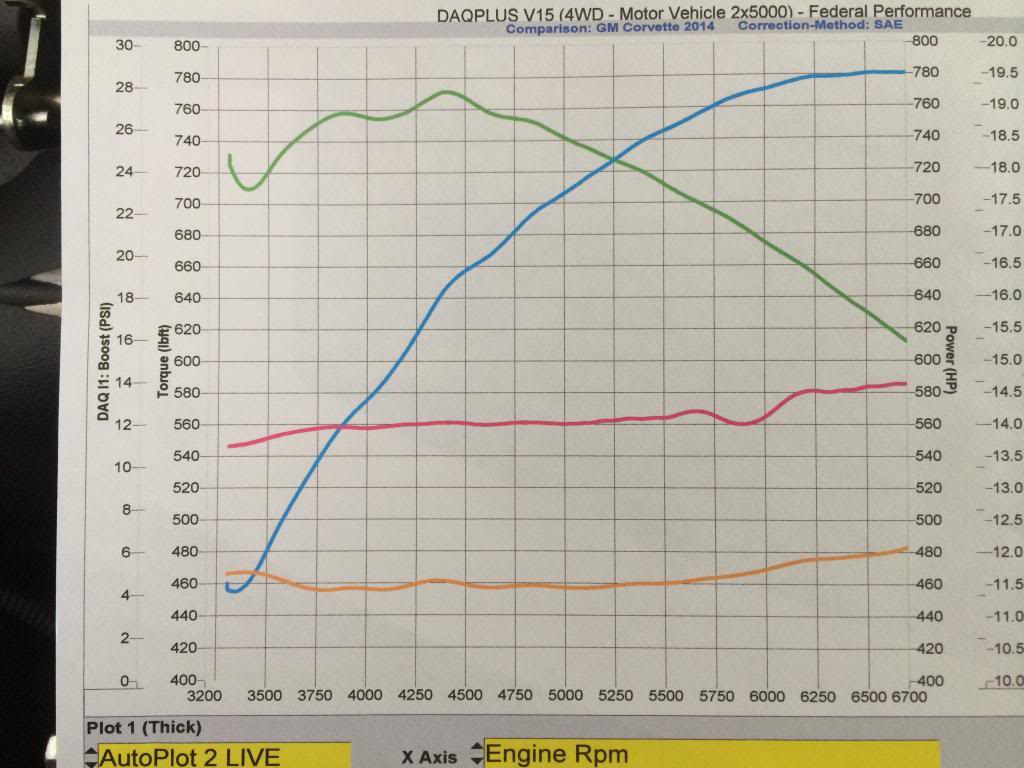
After these changes I put it on the dyno last week to check it out and do some tuning. It made about the same power as when first built (725) , but with 2 lbs more boost (14lbs) due to the smaller pulley.
I knew something was still not right and sure enough, after much checking and fooling around... bingo.... cats were broken and partially blocking things up.
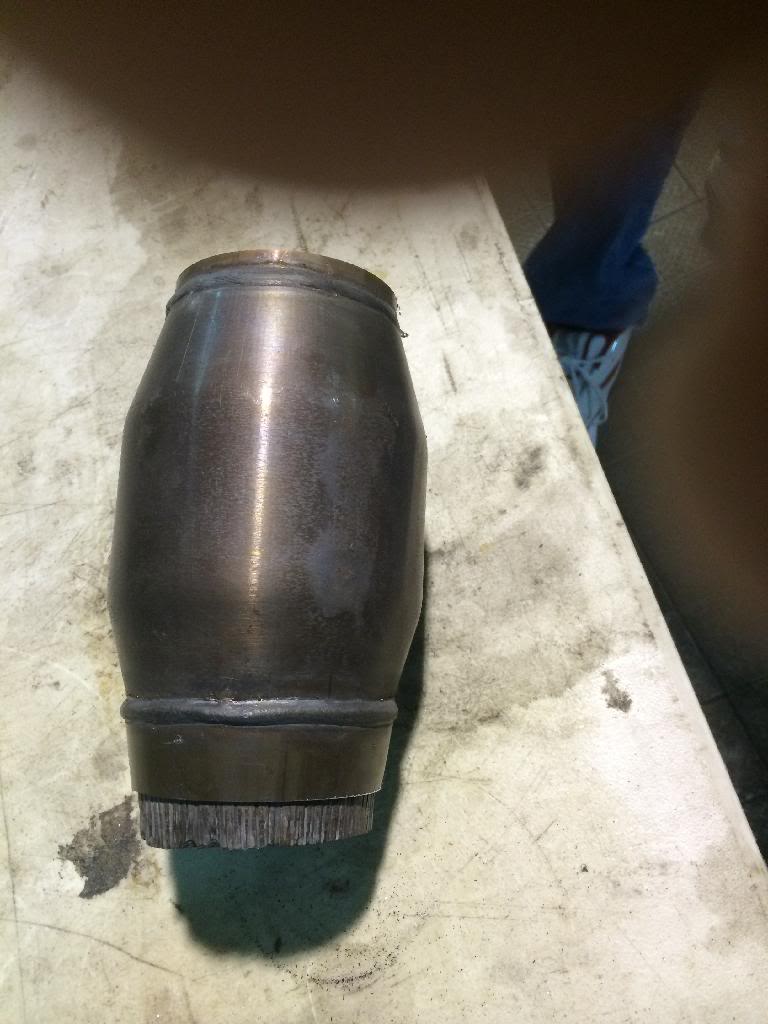
After removing the cats, we saw an instant gain of 45 rwhp on 2lbs less boost with no changes to the tune. With a few tweaks, the gain over last years best was 65 rwhp. I am convince the cats were an issue all along and the car never made its potential power. At this point the poor little eforce blower is maxed out near 20000 rpm, and in the future I will look to other systems if I tire of this power level.
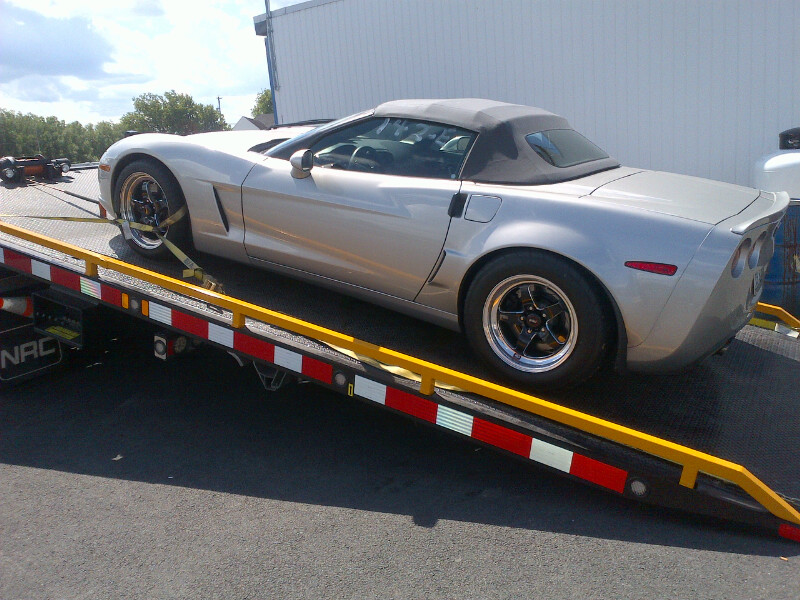
I hope to get down the track this year and be able to post up some great times...
This past season I didn't make it to the track very often and when I did, it seems I kept breaking stuff. Everything I did in my build was flawless. Ran well, no leaks, great daily driver.
The track was another story.
First hard launch, broke a hardened 300m shaft in my diff.


Fixed that by replacing with new and stronger DSS shafts. Supposed to be unbreakable.

First time doing a vette diff. Not that difficult..


That went well.......
Next time out......first launch... broke an axle....


After changing the axle it was already near the end of the season and I was a little tired of breaking stuff and just wanted to enjoy the car. So that was it for the track. Never got a real time and never made enough runs to get the trans dialed in properly.
On to this winter......
I knew that something was just not right last year as I felt the car wasn't running to its potential. I narrowed the problem down to belt slip. The car was dynoing 100 rwhp lower than when first built.
Over the winter I decided for once not to spend a fortune on it. All I did was a bigger pump for the eforce intercooler system, one size smaller blower pulley, and a 90 mm idler pulley from ati, to help with belt wrap.


After these changes I put it on the dyno last week to check it out and do some tuning. It made about the same power as when first built (725) , but with 2 lbs more boost (14lbs) due to the smaller pulley.
I knew something was still not right and sure enough, after much checking and fooling around... bingo.... cats were broken and partially blocking things up.

After removing the cats, we saw an instant gain of 45 rwhp on 2lbs less boost with no changes to the tune. With a few tweaks, the gain over last years best was 65 rwhp. I am convince the cats were an issue all along and the car never made its potential power. At this point the poor little eforce blower is maxed out near 20000 rpm, and in the future I will look to other systems if I tire of this power level.
I hope to get down the track this year and be able to post up some great times...
