When you click on links to various merchants on this site and make a purchase, this can result in this site earning a commission. Affiliate programs and affiliations include, but are not limited to, the eBay Partner Network.
I spun a rod bearing in my LS2 a couple of years ago and after ages of getting parts together, I've finally got most everything I need to get the motor put back together. Oh, and I decided to stroke it out and add some displacement while I'm at it.
This is my first engine rebuild, so it's going to take some time for me to complete it as I plan on taking my time so I don't screw anything up. That's not to say there haven't been growing pains already. Since I'm a newbie at this, I welcome any and all criticisms and and guidance you might provide.
Upgraded Parts List:
Callies Compstar 4.00" Stroke Crankshaft
Callies Compstar 6.125" Connecting Rods
Wiseco 4.005" -10cc dish pistons
TSP Long Tube Headers and Y-Pipe with Stainless Magnaflow Exhaust
LSXr FAST 102 intake manifold
Also have a new oil pump and timing chain to prevent future spun bearings.
Specs of the car as it was:
Tick Performance Polluter Cam
Monster Stage 3 Clutch
TR-6060 internals in the T-56
4:10 gears
The rest of the motor was stock.
Planning on making at least 500 rwhp N/A when it's back together.
It begins!
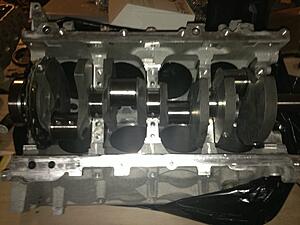
Got the motor and rotating assembly back from the shop. Just took this picture because I was too excited to contain myself.
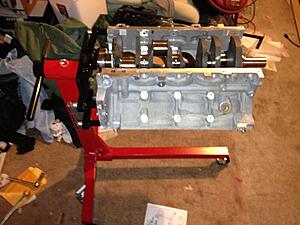
Engine stand assembled
Got the engine stand together after taking forever to find the right mounting bolts for it. Please excuse the mess... I cleaned my garage shortly after this picture was taken.
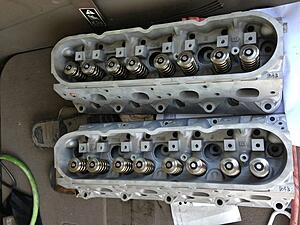
Had my local machine shop do a valve job on my heads. They did a fantastic job.
Took me a while to figure out how to get the connecting rod caps off of the rods.
Took a wood vice and two blocks of wood along with a cheater bar to get those bolts out. Almost gave me a hernia. To get the caps off the rest of the way, I just banged the rods on some wood until the caps fell off... Haha...
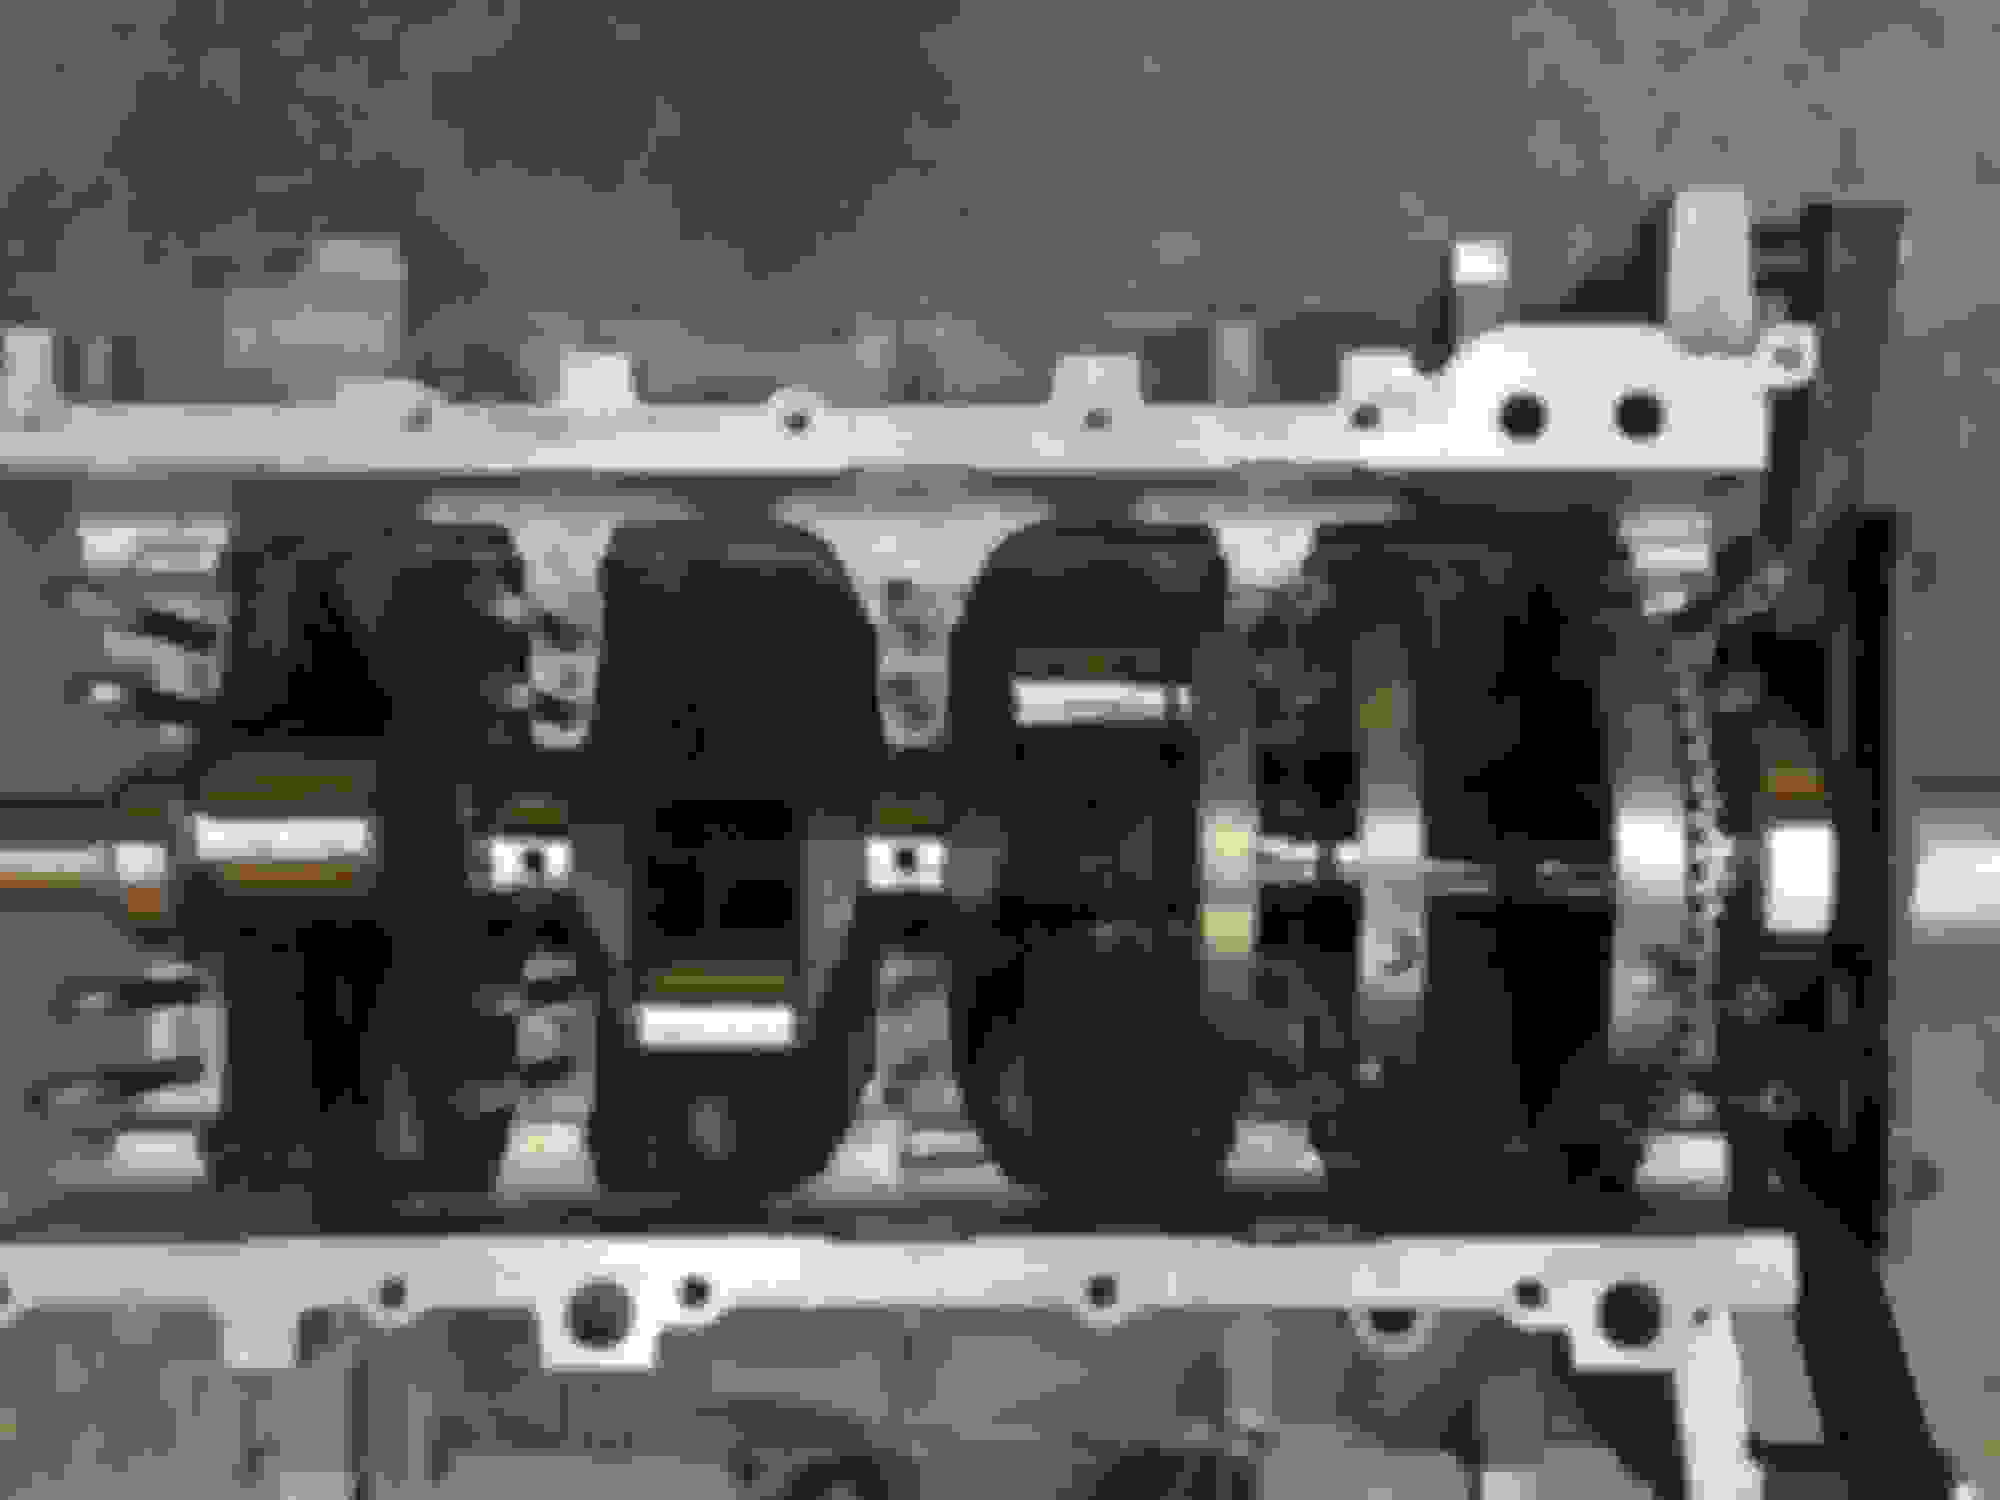
All separated!
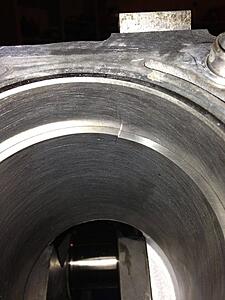
I replaced my main bearings and attempted to plastigage them to check clearances. When torquing the main cap bolts, this happened.
I immediately freaked out because I knew this was going to be a pain in the *** and took off the main caps to check the damage. Turns out the other half of the bolt was removable by hand. The threads in the block weren't damaged, but I've gotta get some replacement bolts now. I learned later that I read the torque instructions incorrectly. I torqued the bolts to 15 ft lbs on the first pass, then torqued them to 80 ft lbs on the second pass. Turns out you're supposed to torque them to 80 degrees on the second pass.... silly me...
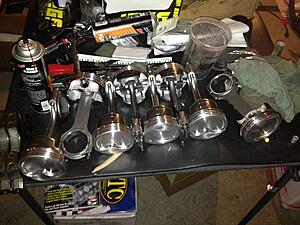
So while I'm waiting on the bolts to come in, I decided I'd assemble the rods and pistons together.
All done! I was missing one package of spiro locks so I had to order another set for the last piston.
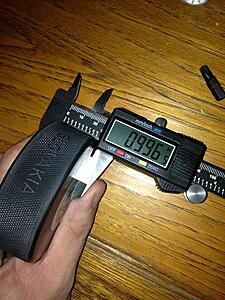
I also decided I would check the ring gap while I'm at it. I read somewhere that you're supposed to square up the ring inside the piston 1 inch down the cylinder. Since I don't have a piston ring squaring tool, I had to improvise.
Hockey pucks are almost perfect for this!
Looks like I've got a bit of an overlap.
Now I'm waiting on the ring filer to show up.
To do list:
Fix ring gaps (waiting on feeler gauges and ring filer)
Check main and rod bearing clearances (waiting on new bolts)
Does anyone have some recommendations for ring gap spacing and bearing clearances? I have an idea of what I want to do, but I'd love to hear from someone who's more experienced. Also, I've noticed that there's a lot less clearance around the thrust bearing for my setup. Is this considered normal?
looks like I maybe going this way with my GTO since I spun a rod bearing also. Did your machine shop have to shave out parts inside the block for the stroker crank?
i thought the bore on a stock ls2 was just 4", so is it 4.005 or ? and if you bore it to a 4.030 bore then that would be boring it 25 over and not 30 right? also would this motor be a 403 then? just a buncha meaningless questions if someone has the time.
i thought the bore on a stock ls2 was just 4", so is it 4.005 or ? and if you bore it to a 4.030 bore then that would be boring it 25 over and not 30 right? also would this motor be a 403 then? just a buncha meaningless questions if someone has the time.
It's semantics. Yes technically this motor would be a 403, but most people just call it a 402 since the 4.005 pistons require just a light hone to fit.
It's semantics. Yes technically this motor would be a 403, but most people just call it a 402 since the 4.005 pistons require just a light hone to fit.
So the only machining my LS2 block needs is a hone for the 4.005 pistons? The bigger crank doesn't need any material removed inside the block?
There is work that needs to be done to the block if running bigger crank. Your rod bolts will hit the walls.
do you have any info or know where�s there is a DIY for this? Also about how much you need to space the wind age tray? Not to thread jack, but I�m looking into to this now as I�m about to assemble my engine
do you have any info or know where�s there is a DIY for this? Also about how much you need to space the wind age tray? Not to thread jack, but I�m looking into to this now as I�m about to assemble my engine
Jwilliams04 hasn't been here for over 7 years. You REALLY need to check post dates.... AND check poster info on when they were last here...
do you have any info or know where�s there is a DIY for this? Also about how much you need to space the wind age tray? Not to thread jack, but I�m looking into to this now as I�m about to assemble my engine
If your doing this yourself, you�ll want to set the crank in the block on bearings. No need to put main caps on. Using a rod cap with a bearing half in it, rotate the crank around with the rod cap on each half of the journal, and mark center of the rod bolt�put a rod bolt in the cap as that�s what�s going to hit the cylinder. Your marking the cylinder here where the center of the rod bolt will make contact. Your going to want to use a new carbide bit for this exercise, and only cut as deep as you need to cut. There�s water jackets under where your going to cut and if you hit water, it�s a pain to fix. You�ll need .030� between the rod bolt and the cylinder/block. If you let the carbide bit walk on you. It�s going to mark up something badly. If it gets into the cylinder, it will not hone out. Hold the tool very steady is what I�m saying. Two hands are necessary here. Go slow and don�t over-cut. Only take as much as you need to get the clearance. Pay attention to the angle needed here at all times.
Your going to create a lot of chips here, and they will be everywhere. Spend a lot of time here blowing out every single nook and cranny. After you�ve an compressed air (need eye protection for all of this process, from start to finish) you�ll want to wash the block, crank, and everything else around there that got metal chips on it. Why? Because there�s very fine metal dust created here also that you can�t see, that will end up in the bearings. Wash everything.
 06-04-2013, 03:12 AM