1981 Mercury Carpi Turbo LQ4 build
#1
Teching In
Thread Starter
Join Date: Jan 2013
Location: Taupo, New Zealand
Posts: 23
Likes: 0
Received 0 Likes
on
0 Posts
my previous thread https://ls1tech.com/forums/forced-in...edes-w124.html was just getting confused due to the change in direction so starting a fresh
There is a bit of a long story to how this started - but basically, lent a mate some cash to go pick up a boat he had bought on an impluse bid and I ended up with an LS 6.0 truck motor - so armed with a motor I also on impulse decided to try to build a properly quick (for new zealand anyway) drag car after it came about I wasn't going to get to go on the overseas holiday I had been planning due to my project at work running late.
after watching ALOT of youtube videos of rolling burnouts and turbo LS things this plan came to be.
much motivational respectknuckles going to Denmah/Matt over at sloppymechanics.com
and many thanks to my mates Matt, Dan, and Dave (winkface.jpg)
the gist of it
2005??? LQ4 6.0L V8
ARP headbolts
Stock pistons with gapped rings (28thou) 9.4:1
Custom Kelford cam
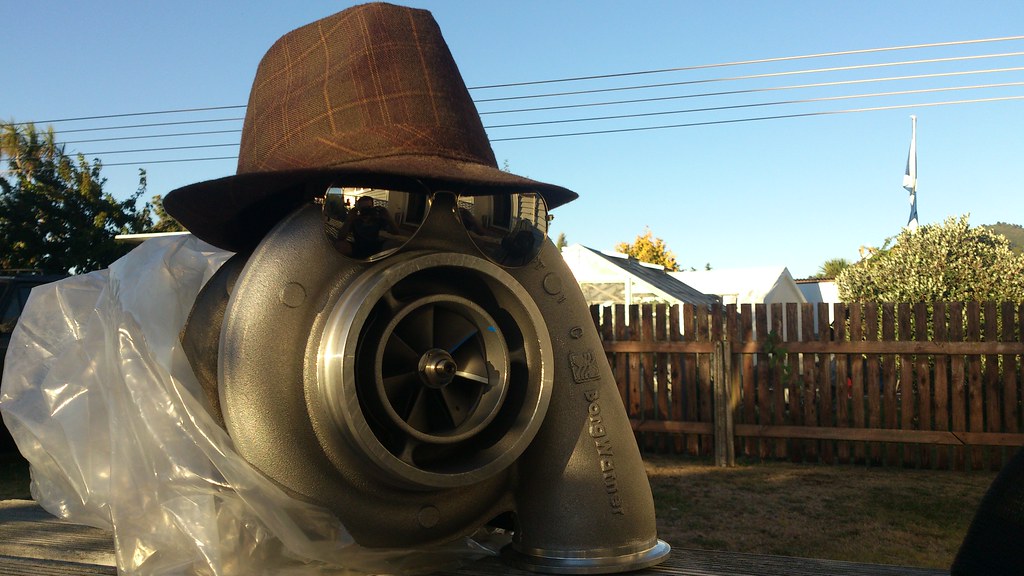
borgwarner airwerks S475 Turbo 96mm/1.32 hotside
china brand hks copy 60mm wastegate
rather customised megasquirt 2 running fuel, spark, boost control and two step
95lb FIC bosch injectors
twin bosch 044 pumps
600x300x100 air to air intercooler
late LS1 holden commodore intake manifold (same as LS6 corvette engine)
water/meth injection
rebuilt powerglide with transbrake and 3500+stall
running on 98ron pump gas (at least to start with, e85 isn't available many places here)
coilovers + fully adjustable rear suspension
find/pull an 8.8 rear out of thin air/toyota hilux 8" if it comes to the crunch (although hard to get lower number gears than 3.73 for those)
pay some moonbeams to import sn95 spindles and brakes
many other things I'm sure/ take project budget and mutiply by 3
six point oh
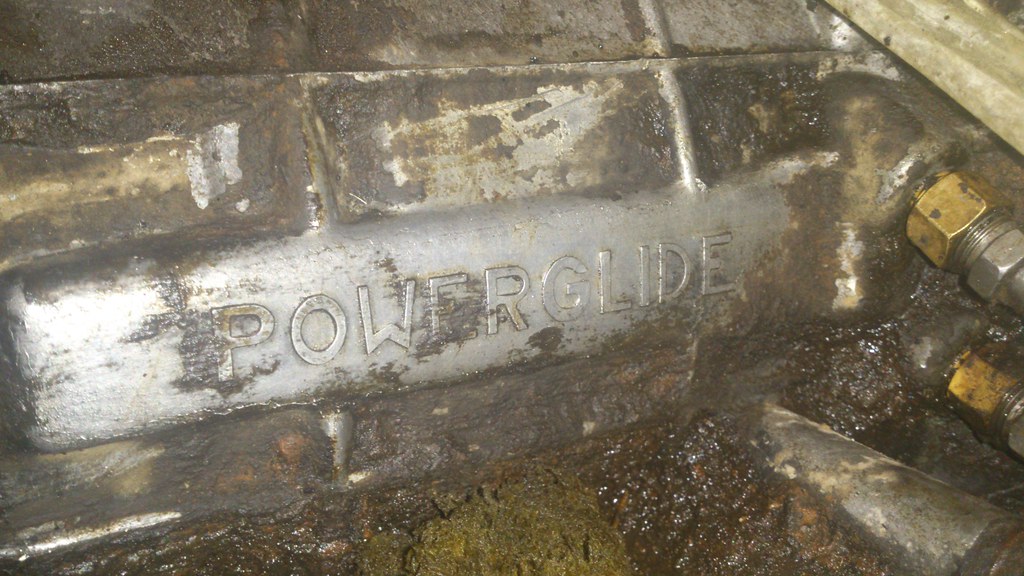
1.76 gearset powerglide from a 66 malibu covered in muck
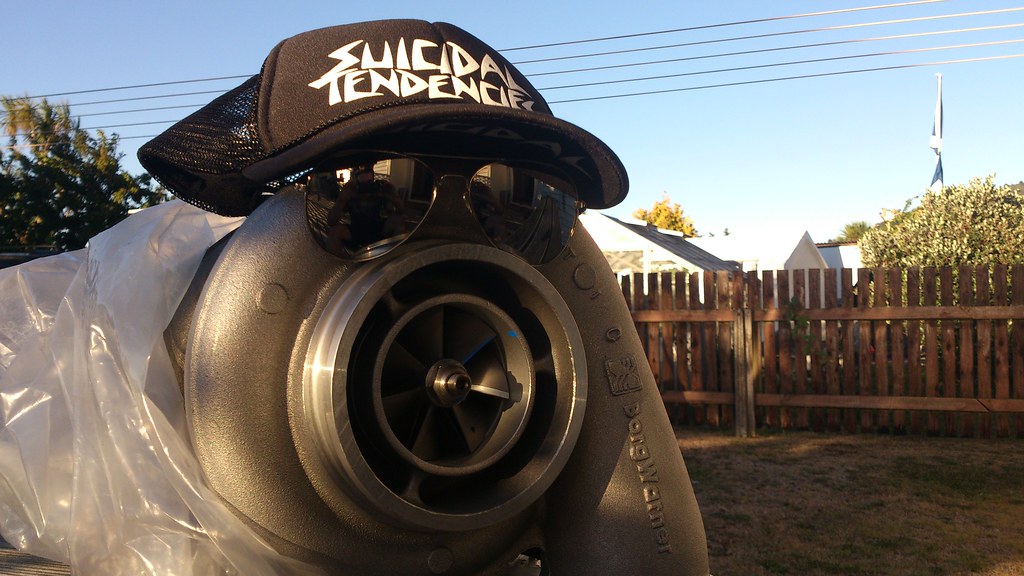
not sure which hat to wear?
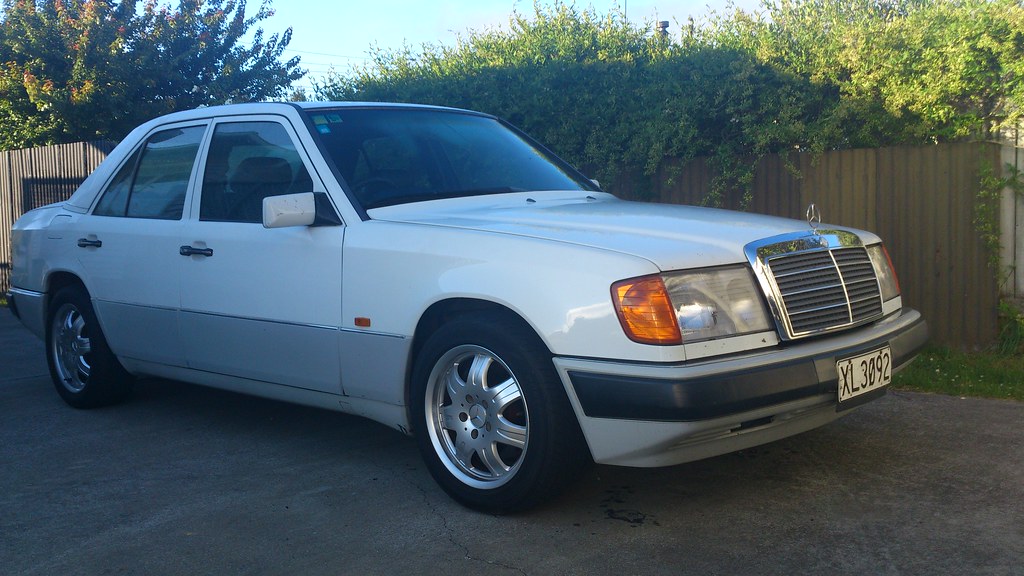
the plan was originally to use this 1994 320e mercedes as it was cheap, only 190,000km and pretty much everything still works and it drives really nice. unassuming, has decent brakes, handles high speed well and had enough room in the engine bay and a decently strong diff (210mm ring gear with ?superior???? german metallurgy)
plus 5 up rolling burnouts would have been epic for powercruise/daily driving etc....
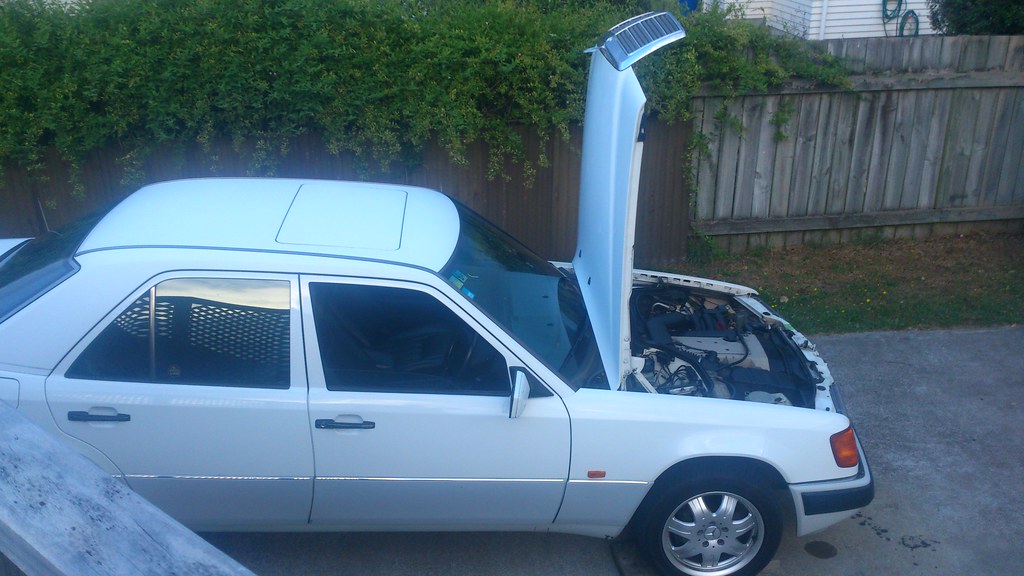
the germans obviously knew people would want to do LS engine swaps and designed the bonnet hinge such that you can flick some toggles to make it go vertical
but unfortunately on closer inspection the germans had assumed I would be using a dry sump as everything was going to foul the truck sump or a commodore sump. and because I wanted to go the speeds of fast and faster I came across this problem also.
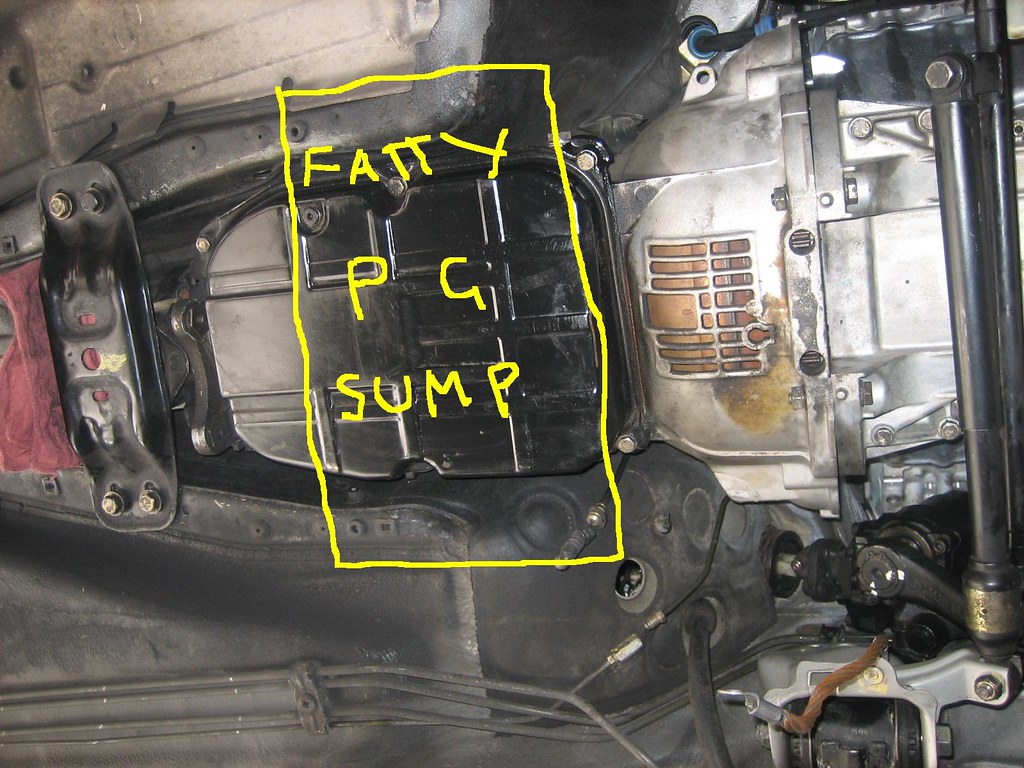
.i.e. They also thought I would use a T56 Tremec too I guess - I was gonig to have to cut the trans tunnel to hell to fit the really wide powerglide oil pan. This had become more bother than I had bargained for - It would be doable sure (anythings possible) but oh well. back to the drawing board/trademe/dreaming of thirdgens.
Merc makes a great daily though I must say.
So after a while longer this absolute total piece of **** 1981 Mercury Capri foxbody came up on but for much much less than every other 3rd gen camaro, foxbody anything, or G body buick regal/olds cutlass or anything else deemed worthy (and by worhty I mean horrible 80's americanness that I was thinking) - you guys would not realise how much USA/America **** yeah tax there is here on cars that are worth scrap to you guys........ I laugh about it alot.
I did think ALOT about mazda FC rx7's but ultimately but a freind has one of those so I decided nah, and every time I said XF falcon ( '80s australian ford falcon) I got shouted down by my mates (who have helped massively with this project). I got a workmate who was travelling out of town to check out the mercury and he came back with some useless photos but wasn't too damning on its condition for my purposes so I made a stupid offer after much peer pressure and then suffered the most heinous buyers remorse when it turned up....
I don't think anyone in New Zealand had even heard of a 1981 mercury capri before let alone one of these ones powered by the most godawful smog riddled boat anchor 4.2L debored 120hp windsor v8 ford ever made (although fortunately I presume that thing was sacrificed the the ocean some time ago and some kind of 289 or 302 fitted). How does this thing even still exist I do not know. heck it's probably the only one in the country
so basically just decided to spend a bunch more money on a much worse car but maybe go a little faster. doing it right?
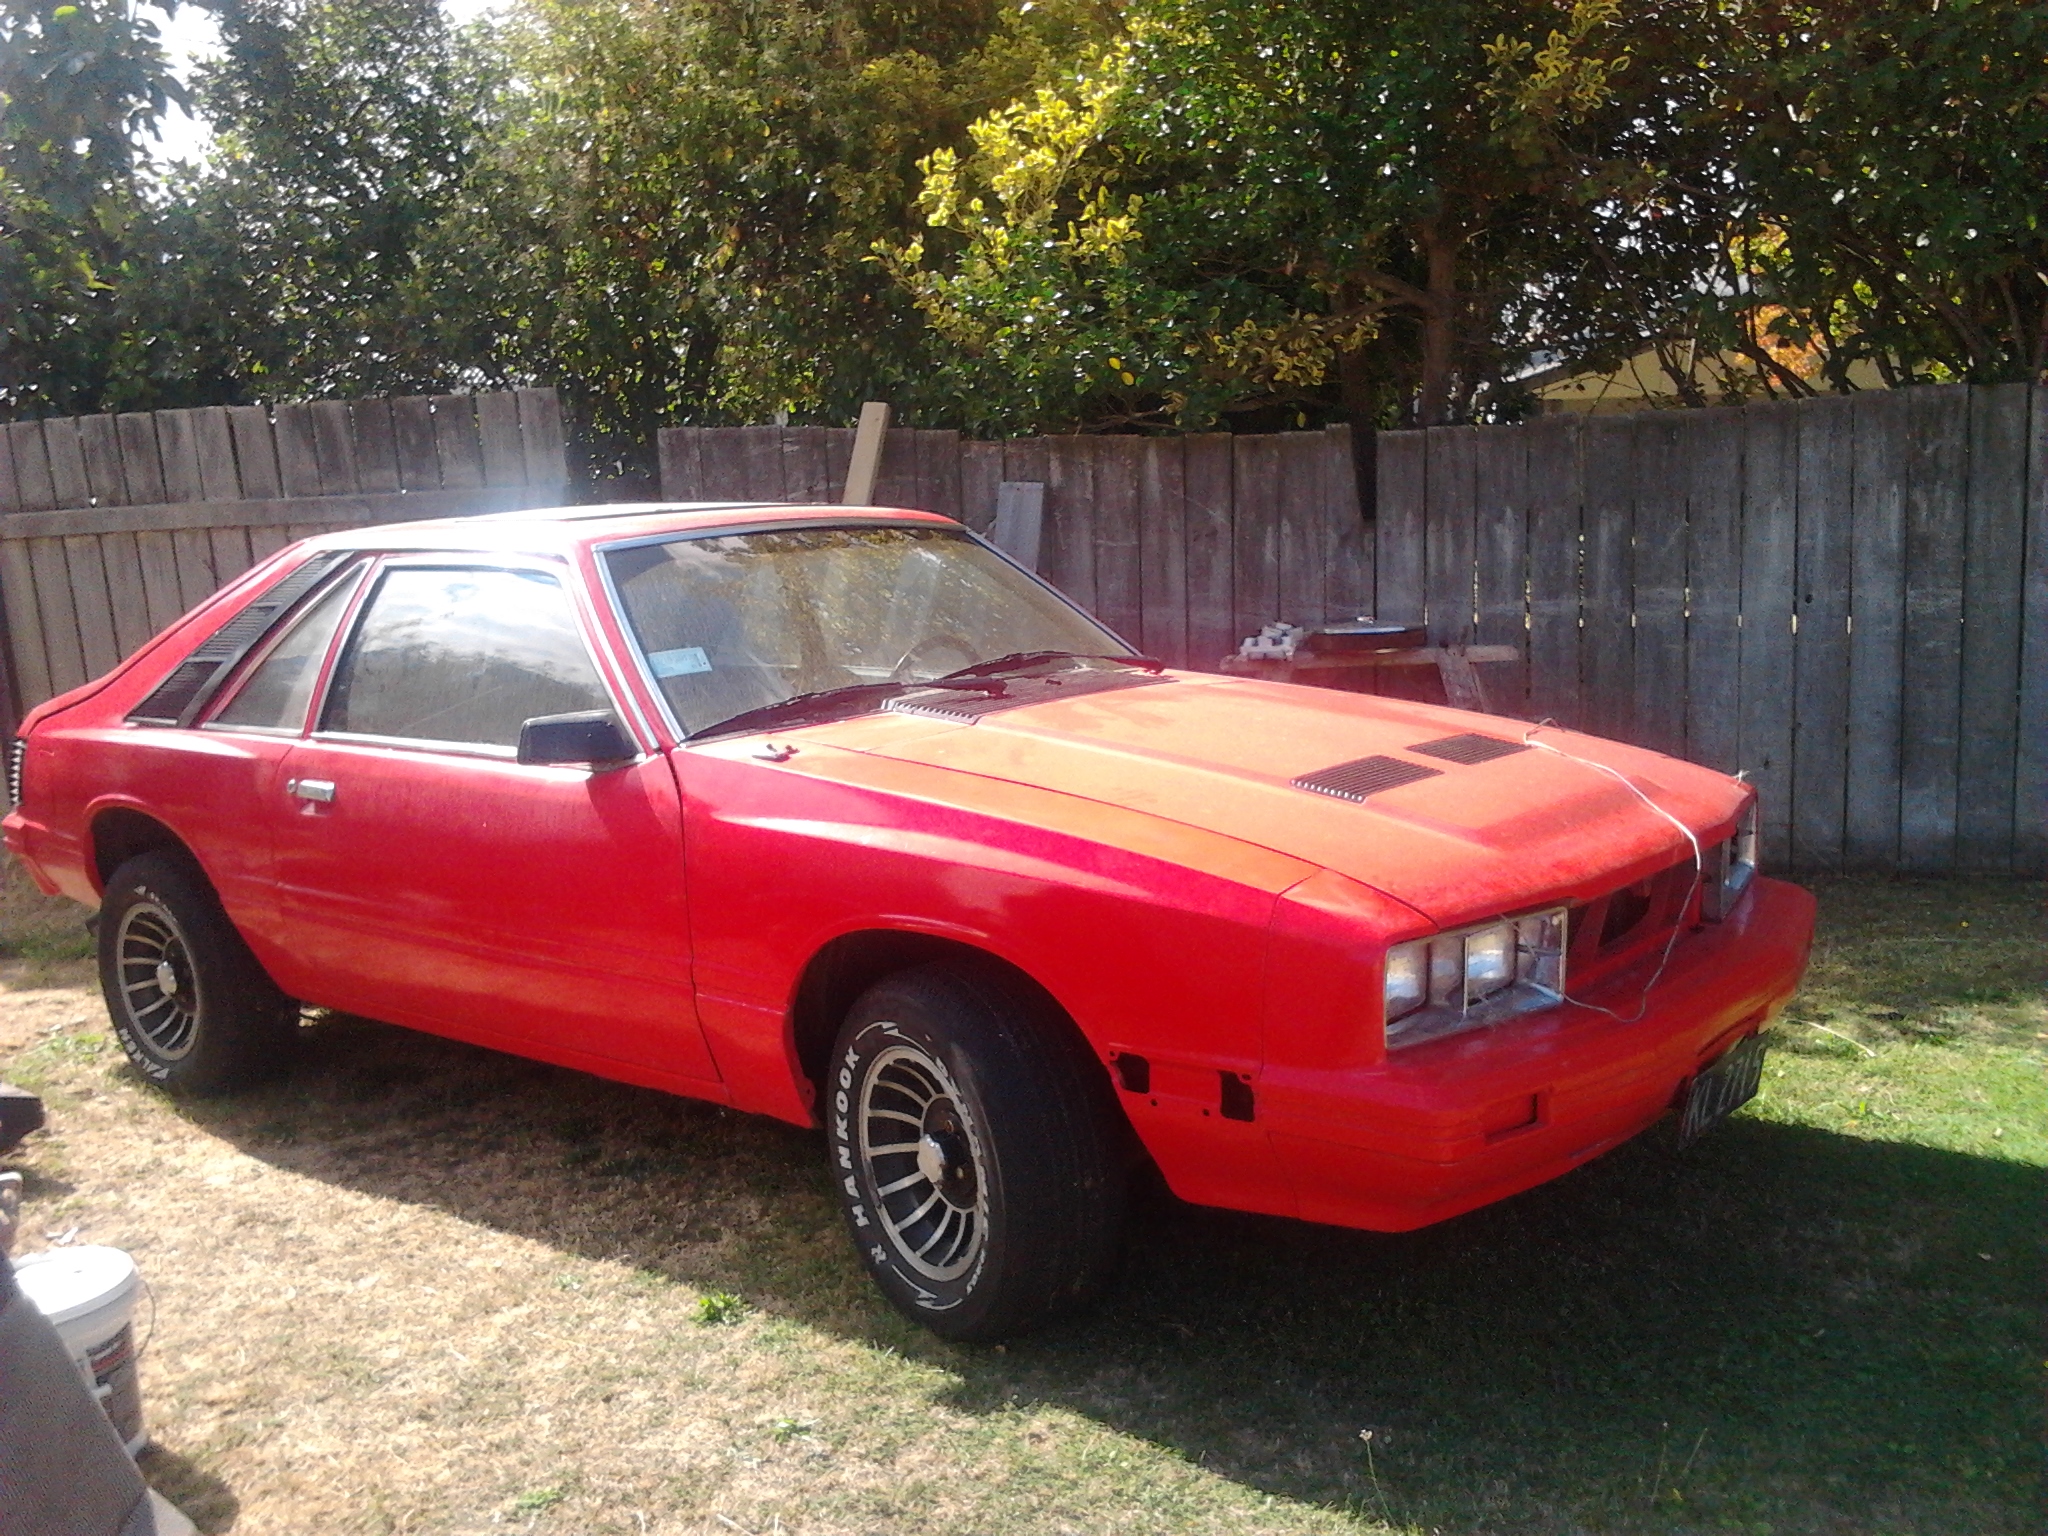
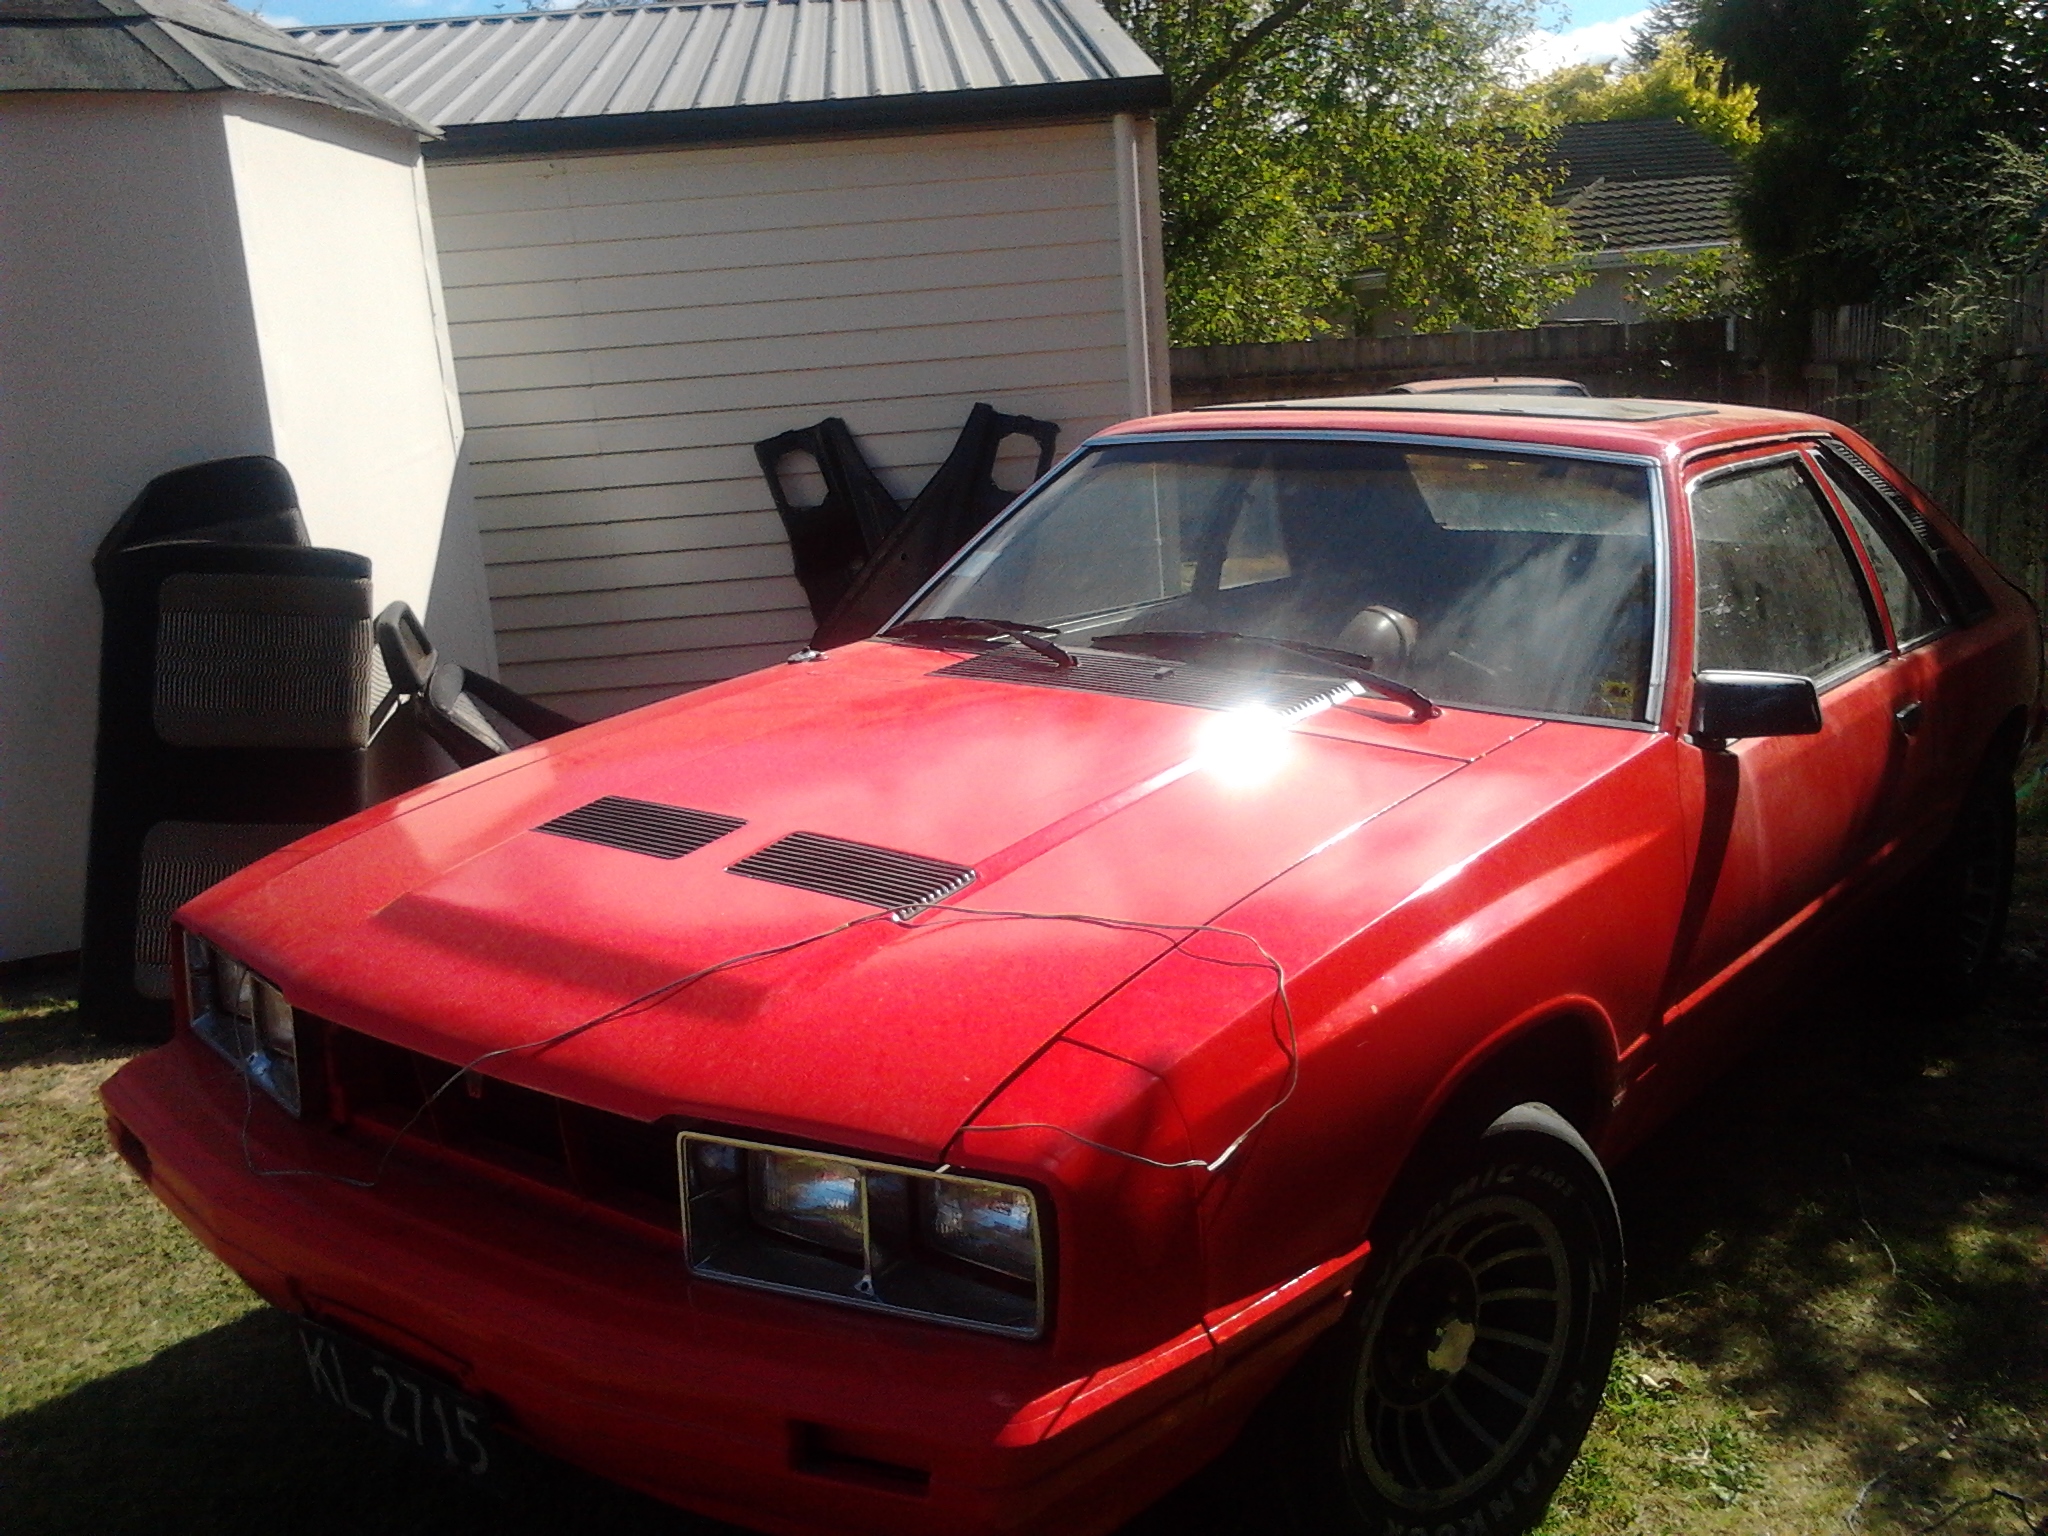
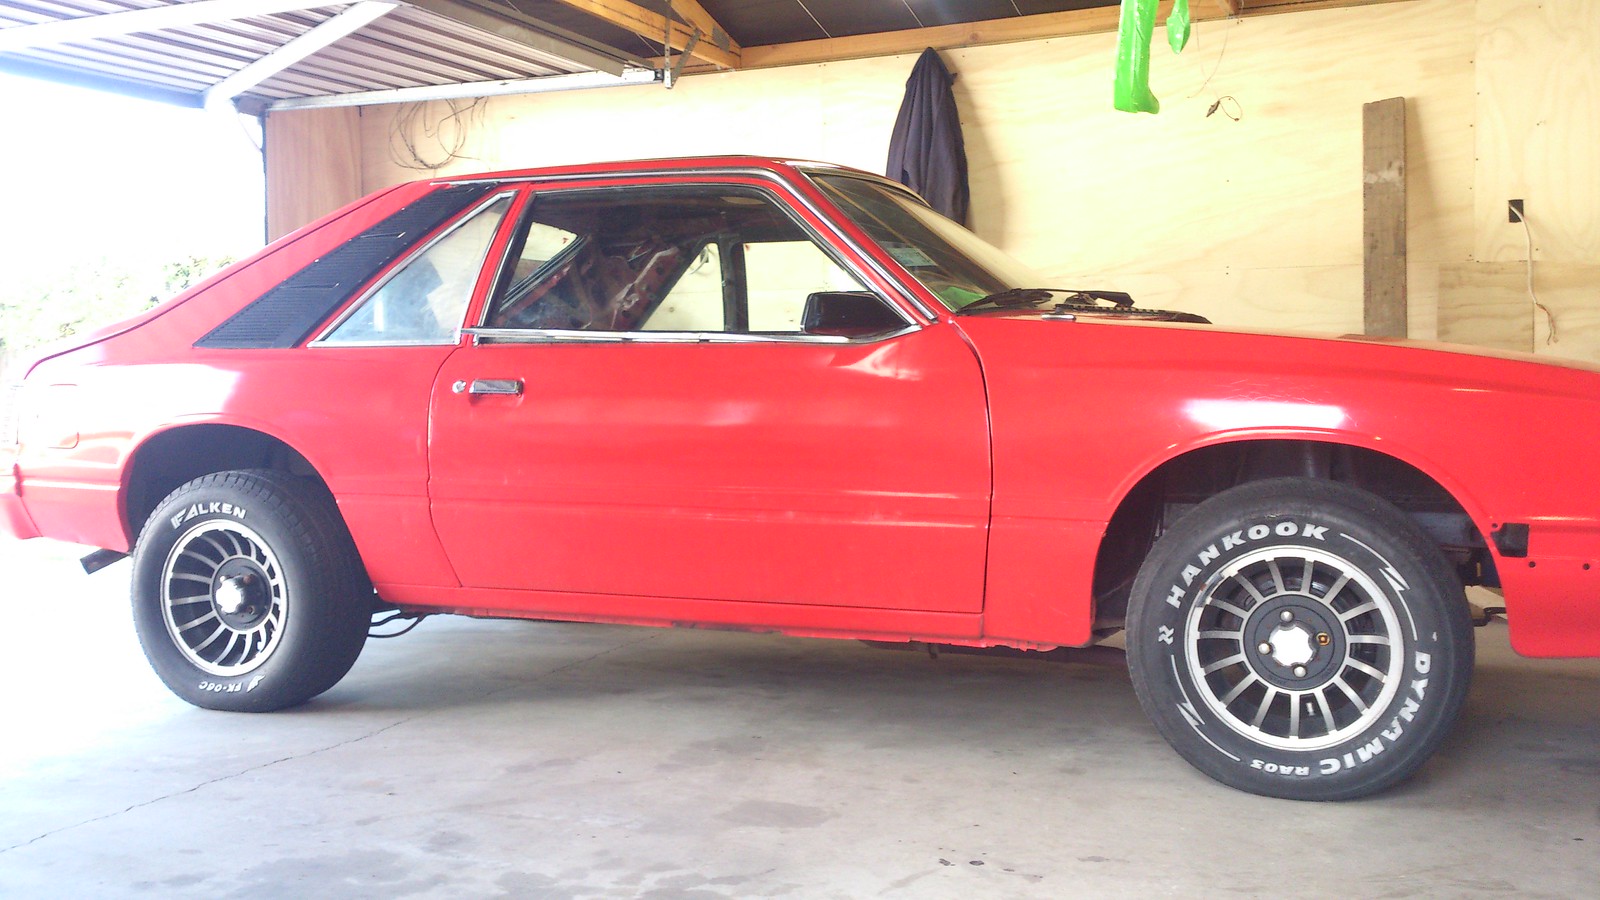
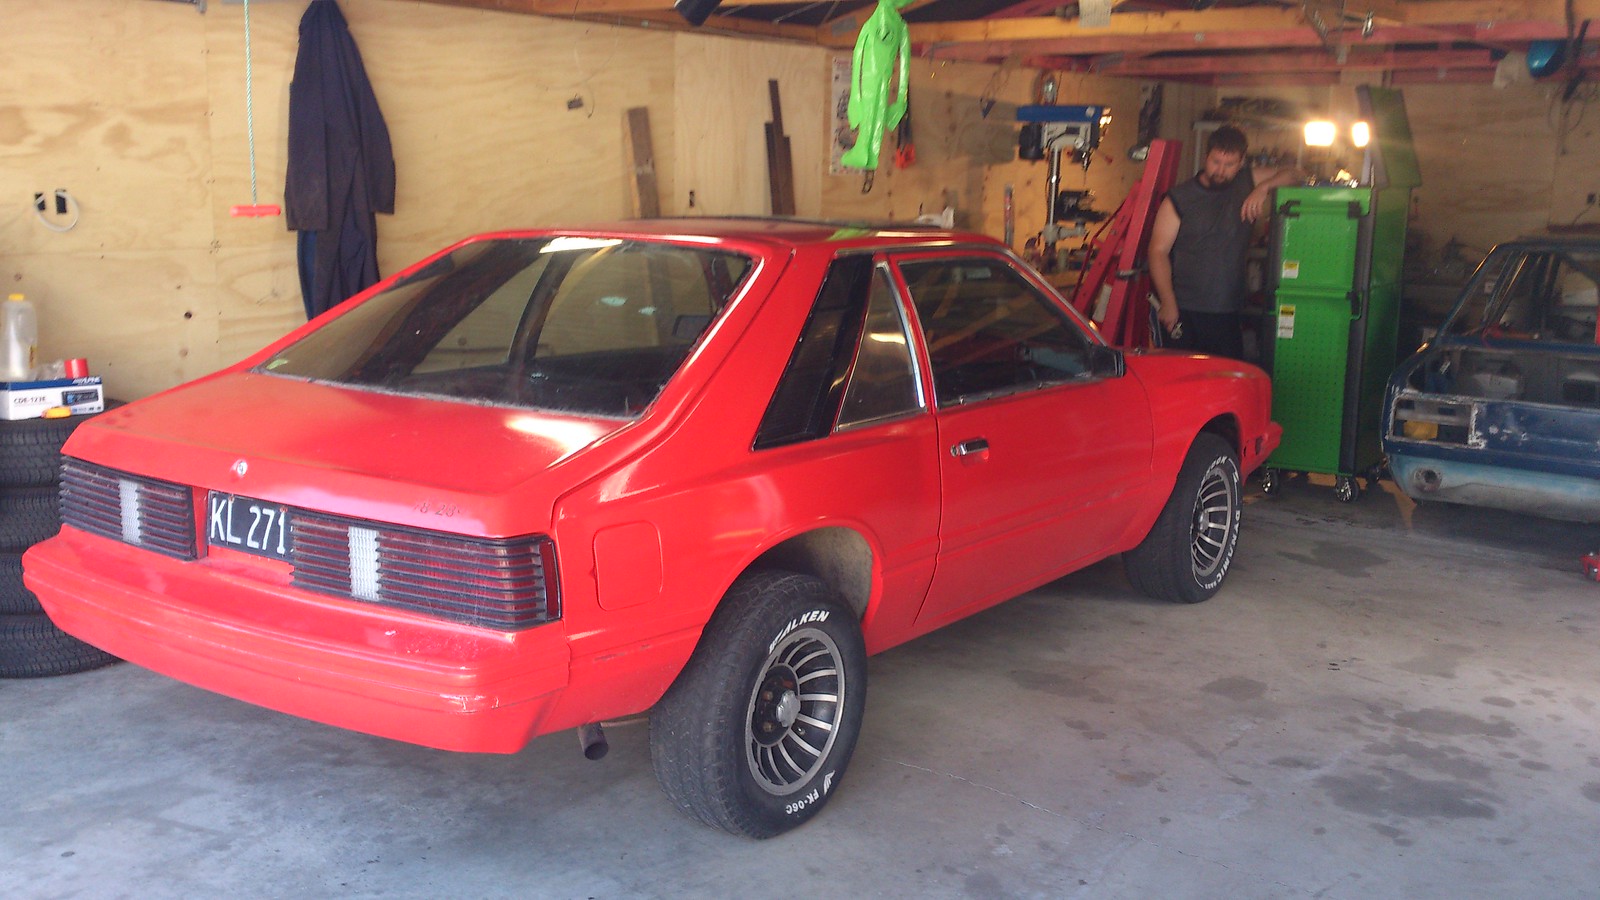
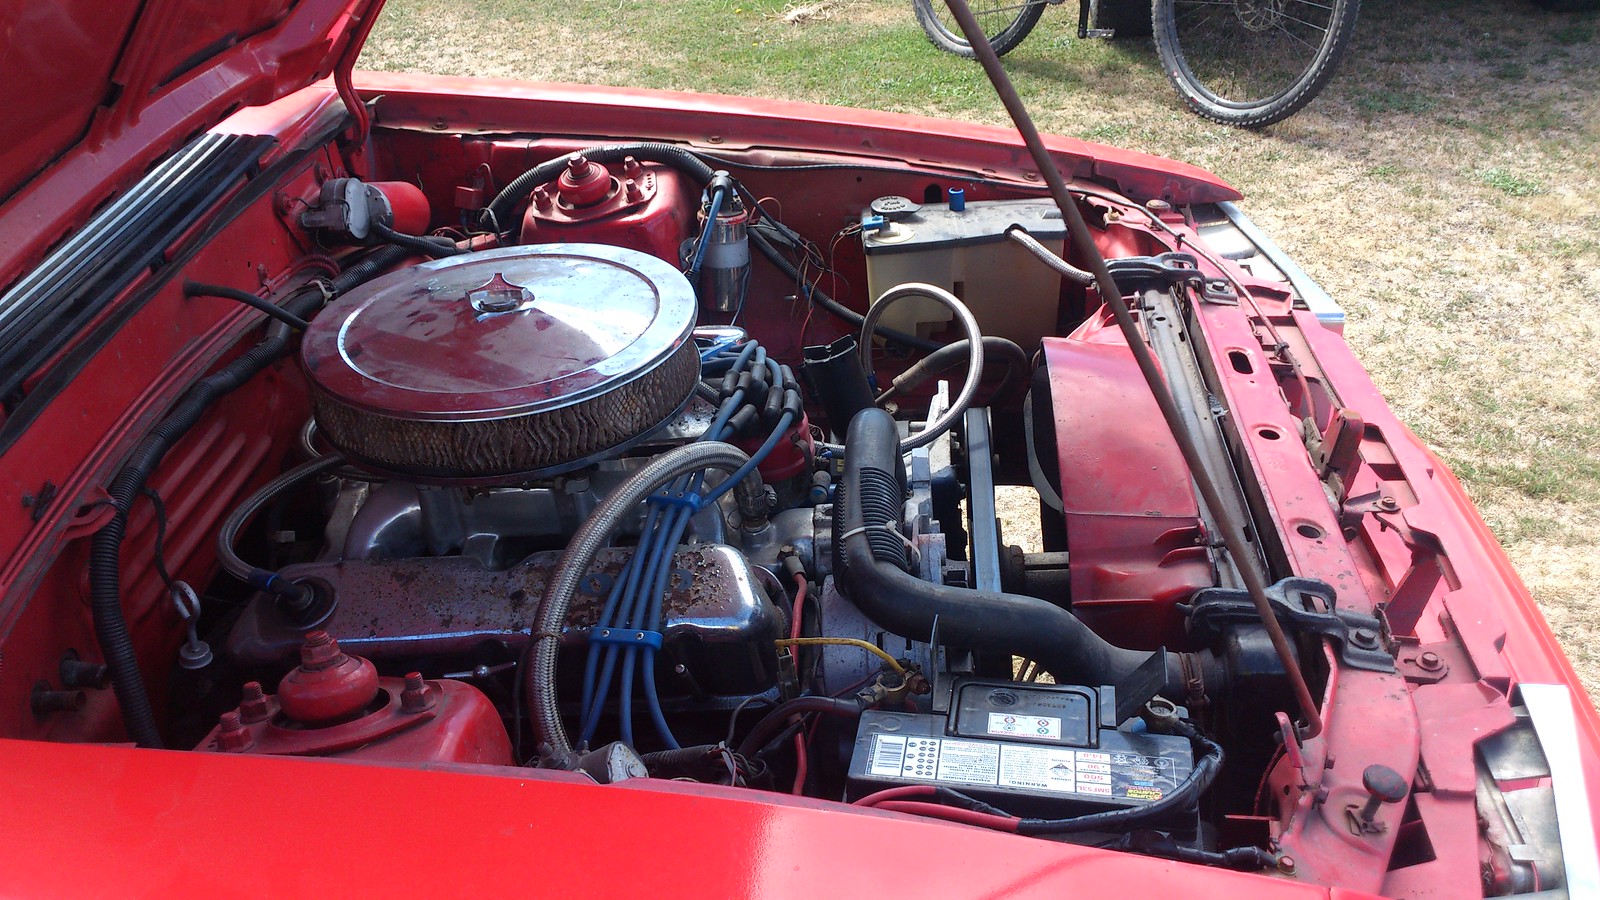
And it appears to have been just abhorrently wrong since the day it was registered too - the lady at nzpost got a really funny look on her face when I went to change the ownership

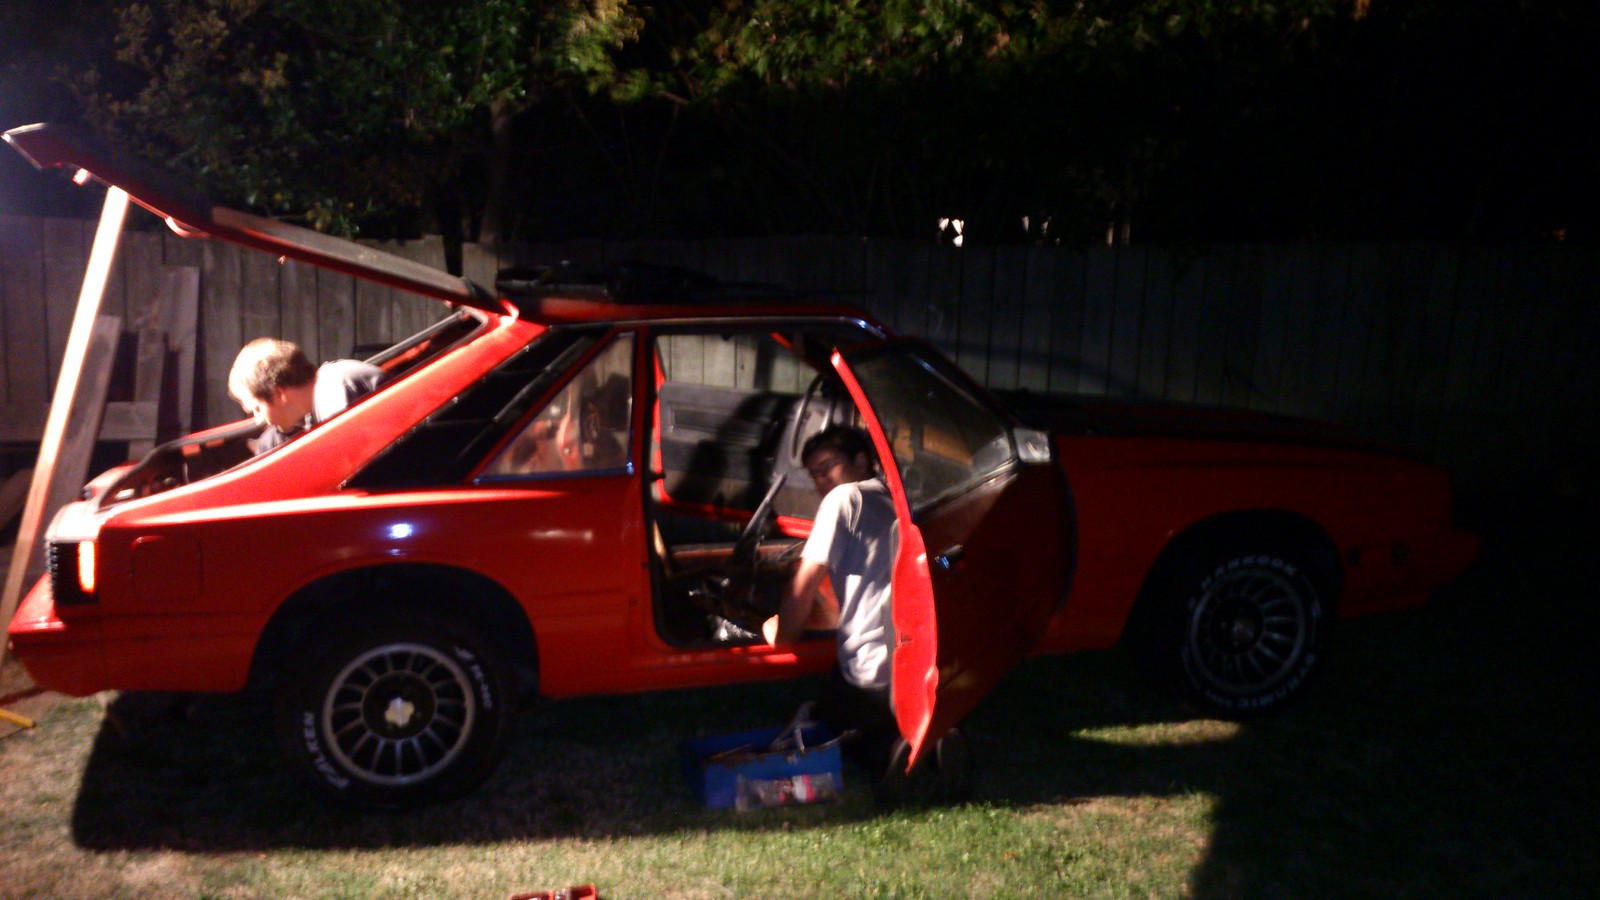
So now in possession of this abomination I had to make things as betterer as I could/get some slast out of it. so first thing - strip out and throw away as much of it as possible! the previous owner had been kind enough to have more or less wrecked everything inside it anyway
pretty much got straight into it
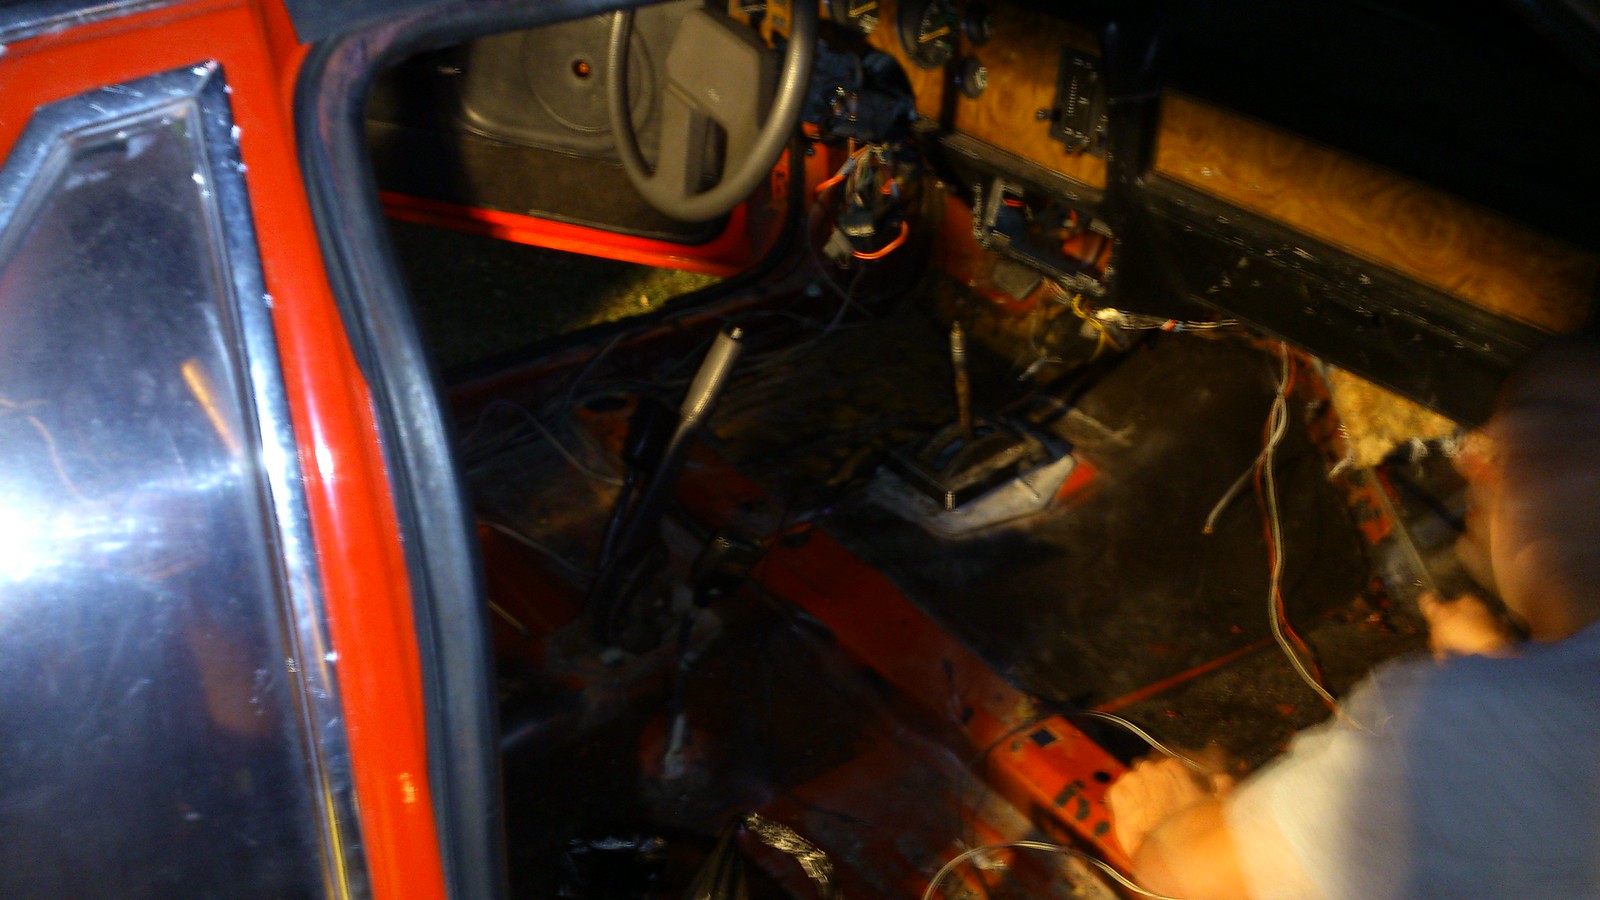
This was a superior seat to what was there.
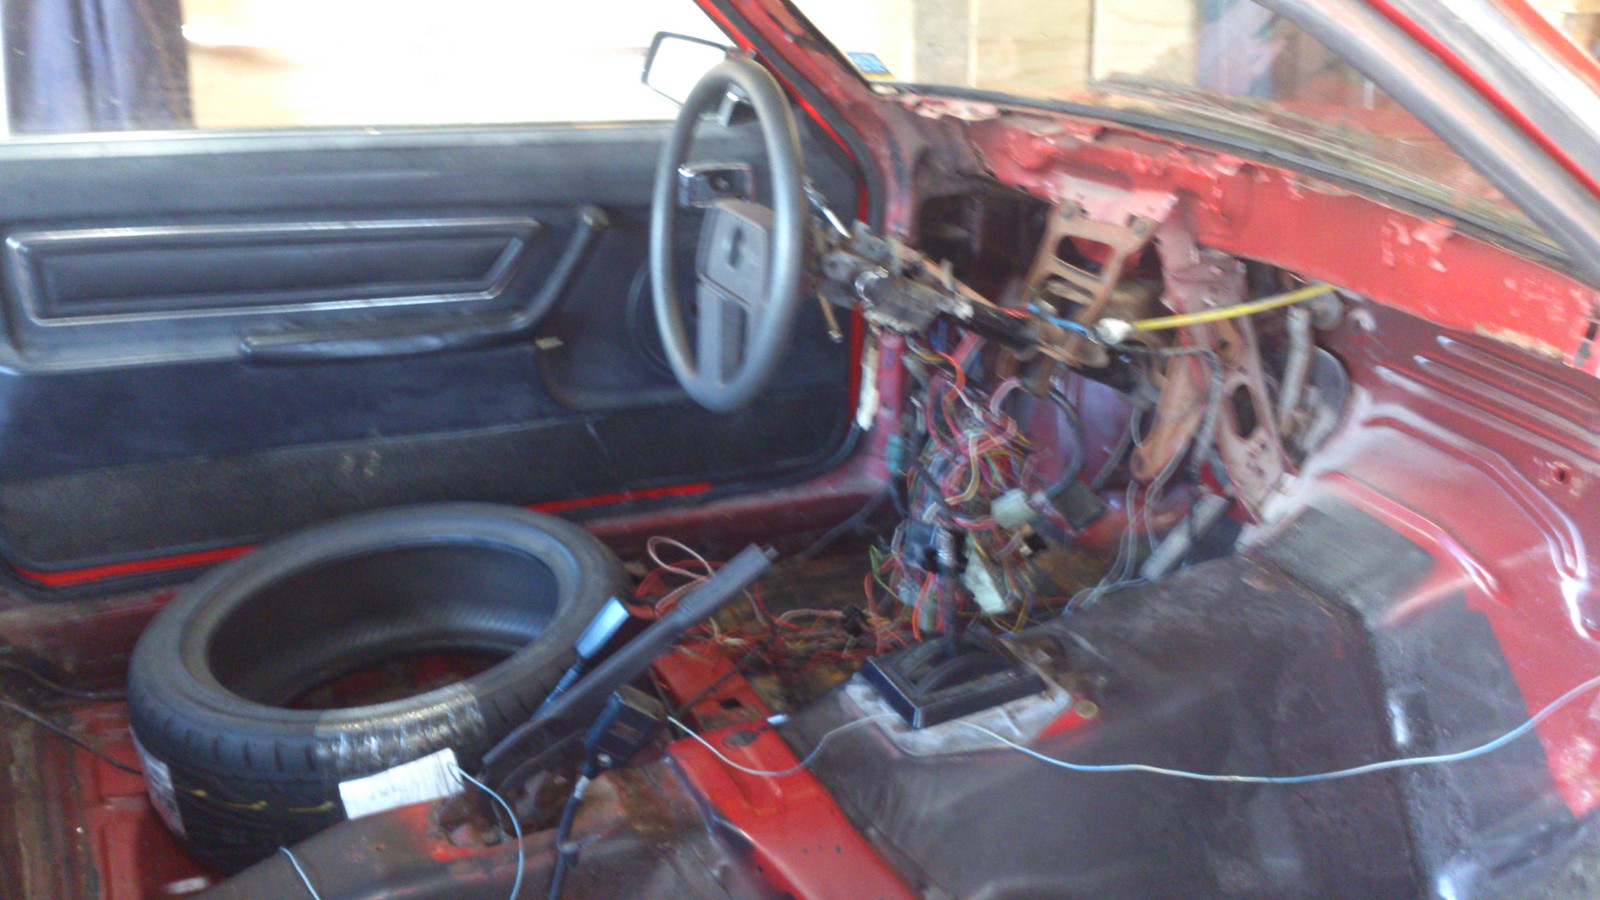
and just look at this Cyclops of a steering wheel. or actually I should probably say avert your eyes!
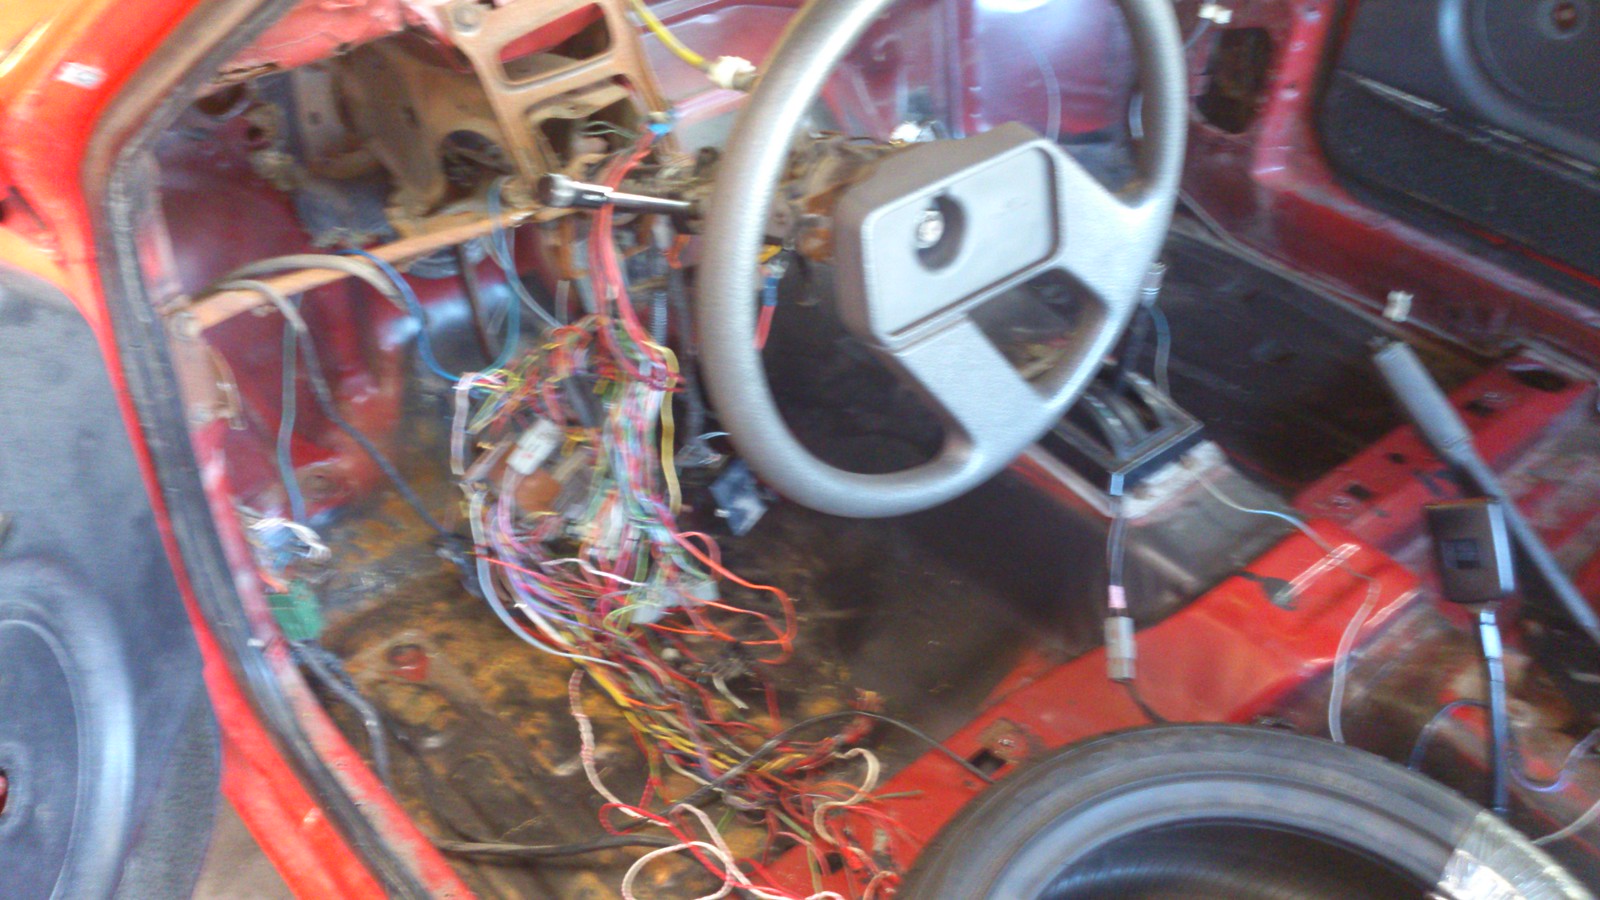
also here is a true sign of a class vehicle with quality owners who care for it

This thing had clearly been a #1 title contender in the taranaki paddock races judging by the broken seats,
this broken steering colum (one of my ongoing conundrums)
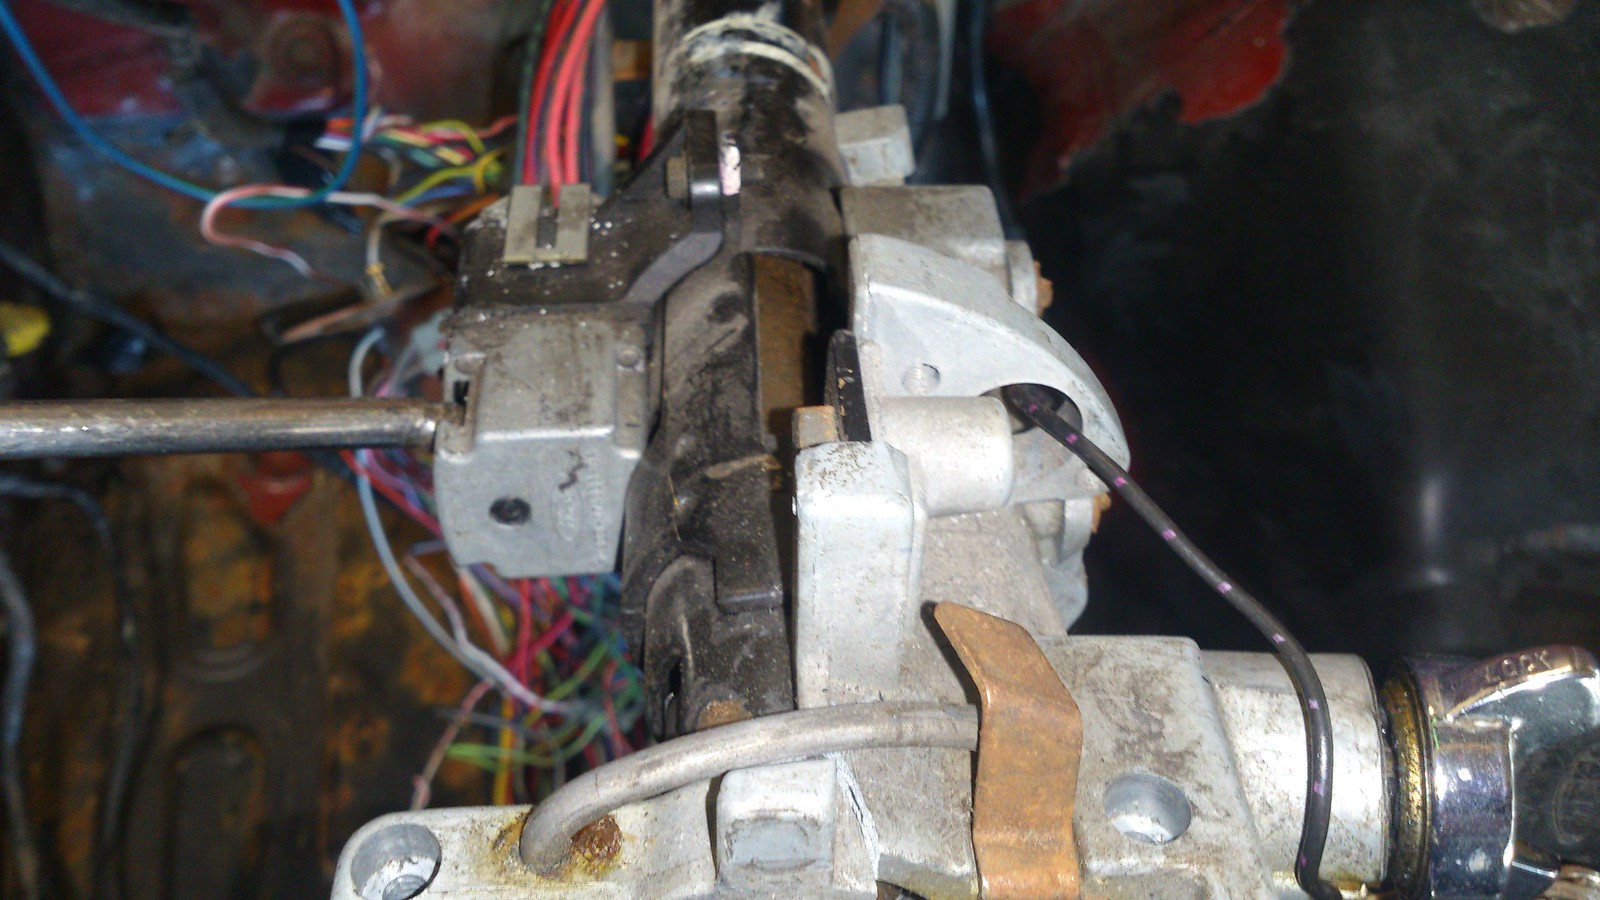
And the fact the chassis has a couple of nice cracks through the middle where the seat mounts go. not surprising as ford decided in their infinite wisdom that you didn't need any kind of frame rails in the middle of the car AT ALL


Anyways weld in subframe connectors and a full cage will go in and sort that out.
All that was so so horrible I had to go buy more stuff to forget and wash my eyes out
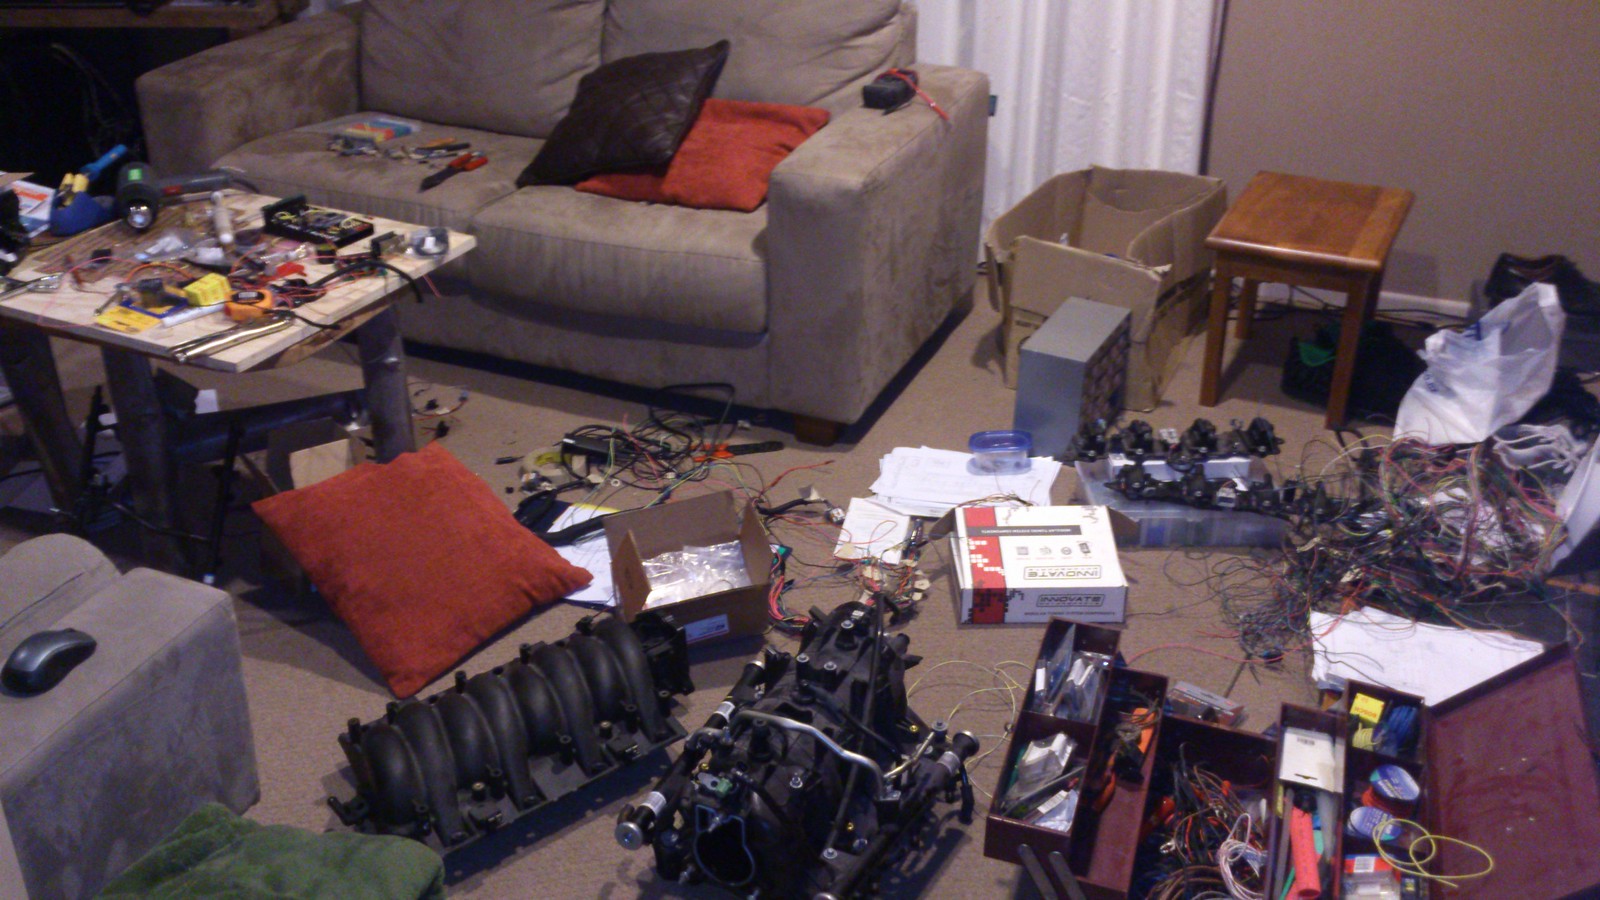
And so it was time for the ford motors last rites to be read/pretty sure this will provide many laughs
[/youtube]
And that, was the end of that
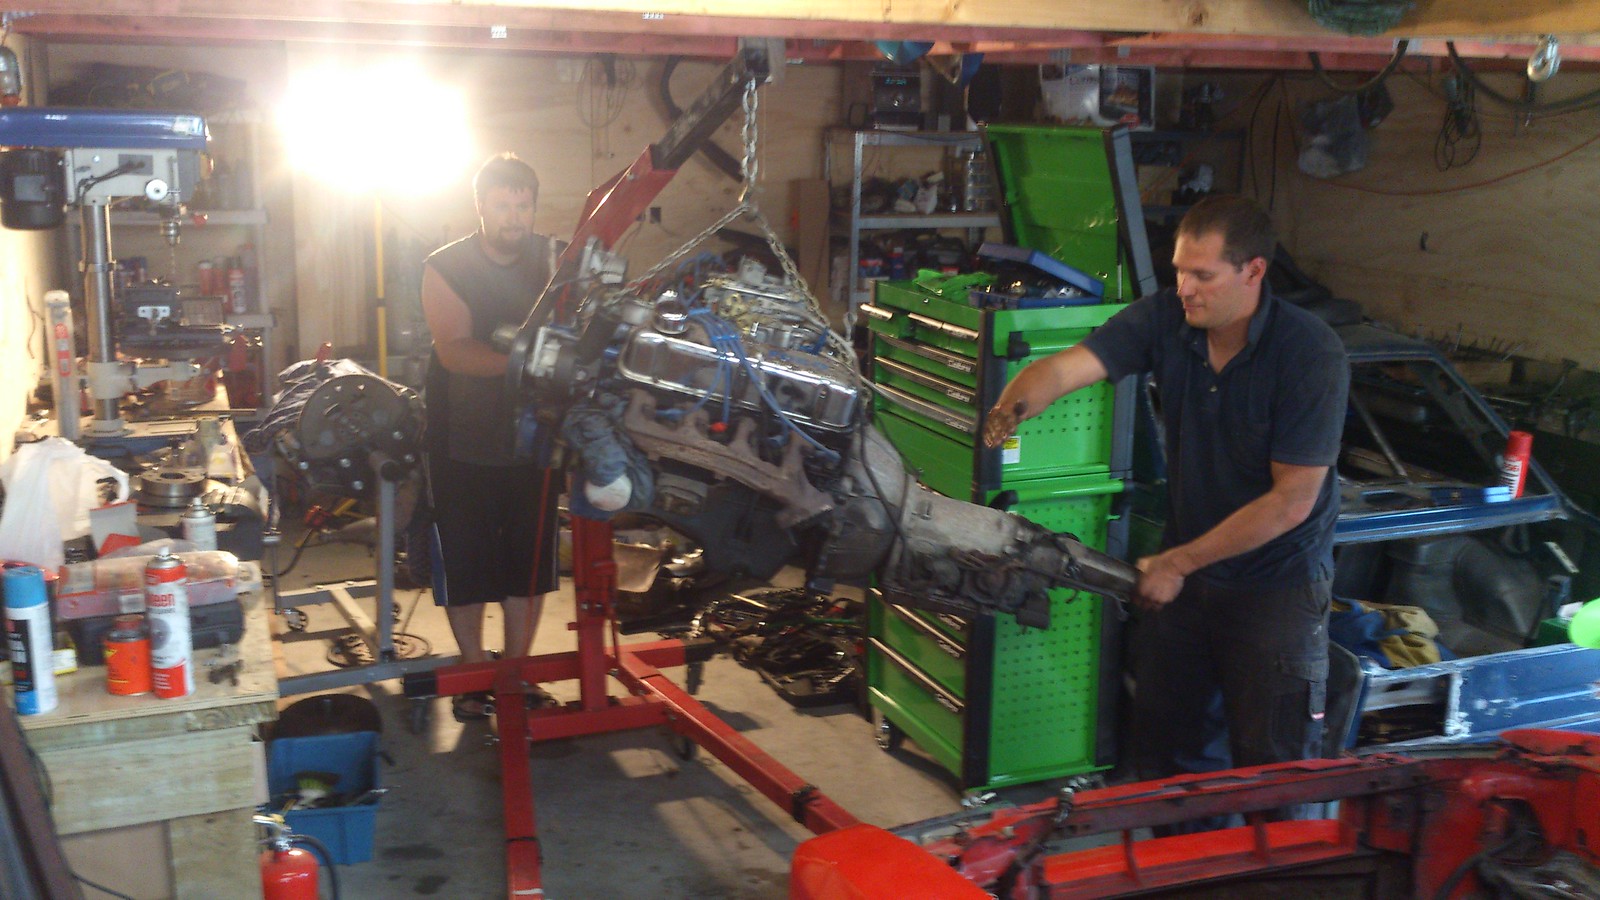
Like he said. FREEDOM
[IMG]http://farm9.staticflickr.com[/QUOTE]
There is a bit of a long story to how this started - but basically, lent a mate some cash to go pick up a boat he had bought on an impluse bid and I ended up with an LS 6.0 truck motor - so armed with a motor I also on impulse decided to try to build a properly quick (for new zealand anyway) drag car after it came about I wasn't going to get to go on the overseas holiday I had been planning due to my project at work running late.
after watching ALOT of youtube videos of rolling burnouts and turbo LS things this plan came to be.
much motivational respectknuckles going to Denmah/Matt over at sloppymechanics.com
and many thanks to my mates Matt, Dan, and Dave (winkface.jpg)
the gist of it
2005??? LQ4 6.0L V8
ARP headbolts
Stock pistons with gapped rings (28thou) 9.4:1
Custom Kelford cam
borgwarner airwerks S475 Turbo 96mm/1.32 hotside
china brand hks copy 60mm wastegate
rather customised megasquirt 2 running fuel, spark, boost control and two step
95lb FIC bosch injectors
twin bosch 044 pumps
600x300x100 air to air intercooler
late LS1 holden commodore intake manifold (same as LS6 corvette engine)
water/meth injection
rebuilt powerglide with transbrake and 3500+stall
running on 98ron pump gas (at least to start with, e85 isn't available many places here)
coilovers + fully adjustable rear suspension
find/pull an 8.8 rear out of thin air/toyota hilux 8" if it comes to the crunch (although hard to get lower number gears than 3.73 for those)
pay some moonbeams to import sn95 spindles and brakes
many other things I'm sure/ take project budget and mutiply by 3
six point oh

1.76 gearset powerglide from a 66 malibu covered in muck

not sure which hat to wear?


the plan was originally to use this 1994 320e mercedes as it was cheap, only 190,000km and pretty much everything still works and it drives really nice. unassuming, has decent brakes, handles high speed well and had enough room in the engine bay and a decently strong diff (210mm ring gear with ?superior???? german metallurgy)
plus 5 up rolling burnouts would have been epic for powercruise/daily driving etc....

the germans obviously knew people would want to do LS engine swaps and designed the bonnet hinge such that you can flick some toggles to make it go vertical

but unfortunately on closer inspection the germans had assumed I would be using a dry sump as everything was going to foul the truck sump or a commodore sump. and because I wanted to go the speeds of fast and faster I came across this problem also.

.i.e. They also thought I would use a T56 Tremec too I guess - I was gonig to have to cut the trans tunnel to hell to fit the really wide powerglide oil pan. This had become more bother than I had bargained for - It would be doable sure (anythings possible) but oh well. back to the drawing board/trademe/dreaming of thirdgens.
Merc makes a great daily though I must say.
So after a while longer this absolute total piece of **** 1981 Mercury Capri foxbody came up on but for much much less than every other 3rd gen camaro, foxbody anything, or G body buick regal/olds cutlass or anything else deemed worthy (and by worhty I mean horrible 80's americanness that I was thinking) - you guys would not realise how much USA/America **** yeah tax there is here on cars that are worth scrap to you guys........ I laugh about it alot.
I did think ALOT about mazda FC rx7's but ultimately but a freind has one of those so I decided nah, and every time I said XF falcon ( '80s australian ford falcon) I got shouted down by my mates (who have helped massively with this project). I got a workmate who was travelling out of town to check out the mercury and he came back with some useless photos but wasn't too damning on its condition for my purposes so I made a stupid offer after much peer pressure and then suffered the most heinous buyers remorse when it turned up....
I don't think anyone in New Zealand had even heard of a 1981 mercury capri before let alone one of these ones powered by the most godawful smog riddled boat anchor 4.2L debored 120hp windsor v8 ford ever made (although fortunately I presume that thing was sacrificed the the ocean some time ago and some kind of 289 or 302 fitted). How does this thing even still exist I do not know. heck it's probably the only one in the country
so basically just decided to spend a bunch more money on a much worse car but maybe go a little faster. doing it right?


And it appears to have been just abhorrently wrong since the day it was registered too - the lady at nzpost got a really funny look on her face when I went to change the ownership

So now in possession of this abomination I had to make things as betterer as I could/get some slast out of it. so first thing - strip out and throw away as much of it as possible! the previous owner had been kind enough to have more or less wrecked everything inside it anyway
pretty much got straight into it


This was a superior seat to what was there.

and just look at this Cyclops of a steering wheel. or actually I should probably say avert your eyes!

also here is a true sign of a class vehicle with quality owners who care for it

This thing had clearly been a #1 title contender in the taranaki paddock races judging by the broken seats,
this broken steering colum (one of my ongoing conundrums)

And the fact the chassis has a couple of nice cracks through the middle where the seat mounts go. not surprising as ford decided in their infinite wisdom that you didn't need any kind of frame rails in the middle of the car AT ALL


Anyways weld in subframe connectors and a full cage will go in and sort that out.
All that was so so horrible I had to go buy more stuff to forget and wash my eyes out

And so it was time for the ford motors last rites to be read/pretty sure this will provide many laughs
And that, was the end of that


Like he said. FREEDOM
[IMG]http://farm9.staticflickr.com[/QUOTE]
#2
Teching In
Thread Starter
Join Date: Jan 2013
Location: Taupo, New Zealand
Posts: 23
Likes: 0
Received 0 Likes
on
0 Posts
So after doing a heap of work in the first 2-3 weeks after getting the carpi, motivation started to taper off a bit and I was going for easter
weekend in auckland (big city about 3hrs drive away from where I am)
Had a pretty good easter weekend by all accounts until I got back home to taupo and found what had happened while I was gone?!?!?!


Matt, Dan and Dave had spent all weekend drinking beers and mounted the engine and gearbox and done a real good job of it I must say.
I was so surprised I was almost angry I wasn't part of it but really wow thanks guys great job you deserve another beer! or 2 or 3!
Things were a little slow for a couple of weeks following this with a couple more trips out of town, then I got stuck into it again.
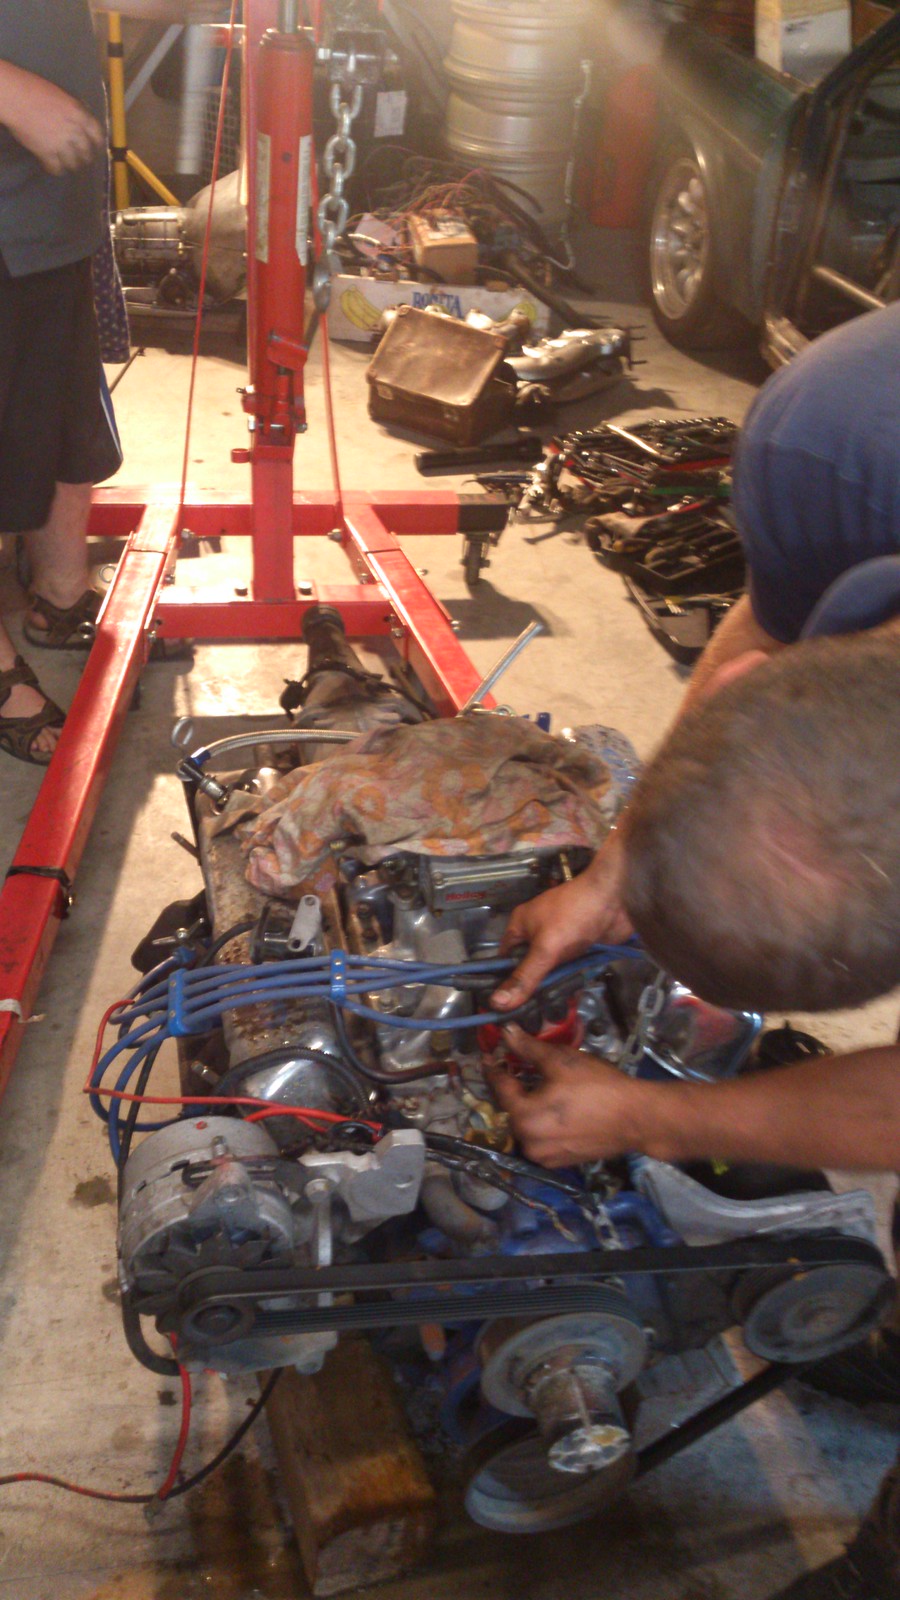
You know it's a big turbo when you need an engine crane to position it


Also thanks to my freind markku for doing a deal on a makita dropsaw too - made this waaaaaay easier!


You guys usually seem to get away with doing "leaf blower" exhausts on these big turbo v8 setups and while that is sofa king boss -
it's doesn't comply with the laws around here that state exhaust have to exit to the outside of the car behind the rear most opening window
and as I want to keep the car street registered so I can run it at nightspeed drag wars in the pro street/king of the street class It couldn't do
that. But I was so torn with loving this idea of two step flames shooting out the side of the guard I decided on a compromise - a race exhaust
with a blanking flange going straight out the guard so you should be able to see the turbine wheel if you aren't so close you face is burnt off,
plus a smaller muffled "street" exhaust


That is a 5" out the side and 3.5" down the firewall (biggest I could fit)

This was by far the trickyist/most Run DMC part of the exahust going down past the firewall/chassis rail/starter motor - but I was super
happy with myself to have got it done in one go without having to cut and retack 101 times like I usually do with these things.


will need to run one custom plug lead and spin the last coil pack around but thats hardly an issue in the scheme of things

and side exit

weekend in auckland (big city about 3hrs drive away from where I am)
Had a pretty good easter weekend by all accounts until I got back home to taupo and found what had happened while I was gone?!?!?!


Matt, Dan and Dave had spent all weekend drinking beers and mounted the engine and gearbox and done a real good job of it I must say.
I was so surprised I was almost angry I wasn't part of it but really wow thanks guys great job you deserve another beer! or 2 or 3!
Things were a little slow for a couple of weeks following this with a couple more trips out of town, then I got stuck into it again.
You know it's a big turbo when you need an engine crane to position it


Also thanks to my freind markku for doing a deal on a makita dropsaw too - made this waaaaaay easier!


You guys usually seem to get away with doing "leaf blower" exhausts on these big turbo v8 setups and while that is sofa king boss -
it's doesn't comply with the laws around here that state exhaust have to exit to the outside of the car behind the rear most opening window
and as I want to keep the car street registered so I can run it at nightspeed drag wars in the pro street/king of the street class It couldn't do
that. But I was so torn with loving this idea of two step flames shooting out the side of the guard I decided on a compromise - a race exhaust
with a blanking flange going straight out the guard so you should be able to see the turbine wheel if you aren't so close you face is burnt off,
plus a smaller muffled "street" exhaust


That is a 5" out the side and 3.5" down the firewall (biggest I could fit)

This was by far the trickyist/most Run DMC part of the exahust going down past the firewall/chassis rail/starter motor - but I was super
happy with myself to have got it done in one go without having to cut and retack 101 times like I usually do with these things.


will need to run one custom plug lead and spin the last coil pack around but thats hardly an issue in the scheme of things

and side exit

Last edited by testament; 09-06-2013 at 08:05 AM.
#3
Teching In
Thread Starter
Join Date: Jan 2013
Location: Taupo, New Zealand
Posts: 23
Likes: 0
Received 0 Likes
on
0 Posts
completely stripped out, not a wire left or anything else. Just have to wash the worst of the oil/road grime/paddock bash dirt off then take it
to the sandblasters to get the floor blasted inside and underneath + the engine bay and a few bits of rust here and there.
then get it back to fab the subframe connectors/chassis/suspension reinforcements and get the cage built.


so with not much to do on the body until thats done I got stuck into the one of my powerglides. I bought a couple for $100-$200 one with
the "v8" 1.76:! gearset but a slightly cracked case and another which turned out to be the weaker 1.82:1 gearset but with a good case.
so plan is to rob the good planetary from the v8 one, empty the case of the 1.82 and put the 1.76 planetary in there plus all new cltuch packs
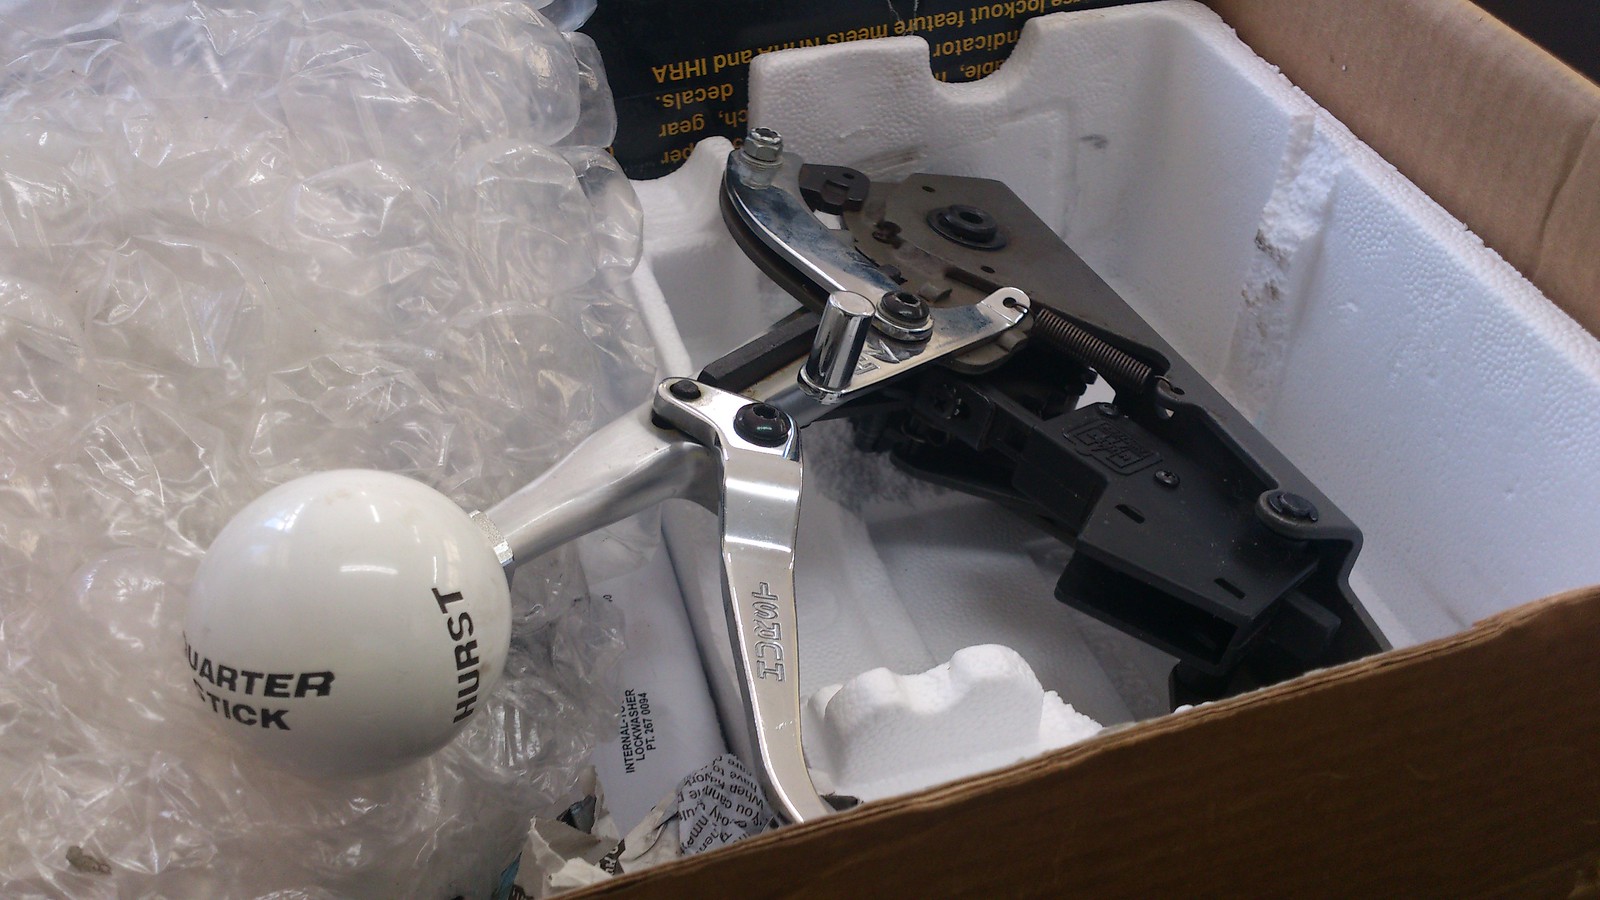
, bands, and other shiny bits plus a new transbrake valve body and the new manualised governor shaft that goes with the 1/4 stick hurst shifter


also today I've been doing alot of swearing under my breath at customs as they have my very shiny and not cheap custom billet 3500rpm
stall torque converter and have not told me how much tax I owe them so the shipping company wont send it to me even though its been
in the country for a week. which is doubly annoying as apart from that it arrived in record time/ 3 days from houston TX !
to the sandblasters to get the floor blasted inside and underneath + the engine bay and a few bits of rust here and there.
then get it back to fab the subframe connectors/chassis/suspension reinforcements and get the cage built.


so with not much to do on the body until thats done I got stuck into the one of my powerglides. I bought a couple for $100-$200 one with
the "v8" 1.76:! gearset but a slightly cracked case and another which turned out to be the weaker 1.82:1 gearset but with a good case.
so plan is to rob the good planetary from the v8 one, empty the case of the 1.82 and put the 1.76 planetary in there plus all new cltuch packs
, bands, and other shiny bits plus a new transbrake valve body and the new manualised governor shaft that goes with the 1/4 stick hurst shifter


also today I've been doing alot of swearing under my breath at customs as they have my very shiny and not cheap custom billet 3500rpm
stall torque converter and have not told me how much tax I owe them so the shipping company wont send it to me even though its been
in the country for a week. which is doubly annoying as apart from that it arrived in record time/ 3 days from houston TX !
Last edited by testament; 09-06-2013 at 08:04 AM.
#4
Teching In
Thread Starter
Join Date: Jan 2013
Location: Taupo, New Zealand
Posts: 23
Likes: 0
Received 0 Likes
on
0 Posts
completely stripped out, not a wire left or anything else. Just have to wash the worst of the oil/road grime/paddock bash dirt off then take
it to the sandblasters to get the floor blasted inside and underneath + the engine bay and a few bits of rust here and there.
then get it back to fab the subframe connectors/chassis/suspension reinforcements and get the cage built.


so with not much to do on the body until thats done I got stuck into the one of my powerglides. I bought a couple for $100-$200 one with
the "v8" 1.76:! gearset but a slightly cracked case and another which turned out to be the weaker 1.82:1 gearset but with a good case.
so plan is to rob the good planetary from the v8 one, empty the case of the 1.82 and put the 1.76 planetary in there plus all new cltuch packs,
bands, and other shiny bits plus a new transbrake valve body and the new manualised governor shaft that goes with the 1/4 stick hurst shifter


also today I've been doing alot of swearing under my breath at customs as they have my very shiny and not cheap custom billet 3500rpm stall
torque converter and have not told me how much tax I owe them so the shipping company wont send it to me even though its been in the
country for a week. which is doubly annoying as apart from that it arrived in record time/ 3 days from houston TX !
it to the sandblasters to get the floor blasted inside and underneath + the engine bay and a few bits of rust here and there.
then get it back to fab the subframe connectors/chassis/suspension reinforcements and get the cage built.


so with not much to do on the body until thats done I got stuck into the one of my powerglides. I bought a couple for $100-$200 one with
the "v8" 1.76:! gearset but a slightly cracked case and another which turned out to be the weaker 1.82:1 gearset but with a good case.
so plan is to rob the good planetary from the v8 one, empty the case of the 1.82 and put the 1.76 planetary in there plus all new cltuch packs,
bands, and other shiny bits plus a new transbrake valve body and the new manualised governor shaft that goes with the 1/4 stick hurst shifter


also today I've been doing alot of swearing under my breath at customs as they have my very shiny and not cheap custom billet 3500rpm stall
torque converter and have not told me how much tax I owe them so the shipping company wont send it to me even though its been in the
country for a week. which is doubly annoying as apart from that it arrived in record time/ 3 days from houston TX !
Last edited by testament; 09-06-2013 at 08:04 AM.
#5
Teching In
Thread Starter
Join Date: Jan 2013
Location: Taupo, New Zealand
Posts: 23
Likes: 0
Received 0 Likes
on
0 Posts
So my mate had been told this motor was an LQ9 with something like 10,000km on it from a late model chevy/GMC sierra denali or
somesuch big trucky type thing.
anyway we knew from his experience of busting ring lands on his eaton m122 supercharged LS2 landcruiser (which the motor was a spare for
before he forged the LS2 instead) plus a bunch of research that regardless of the compression these things seem to take a bunch of boost
so long as you gap the rings a little more than factory spec and keep the timing relatively mild under boost. So motor had to come apart for that.
found a bit of a surprise on removal of the inlet manifold - a whole **** ton of oil in the manifold and ports???
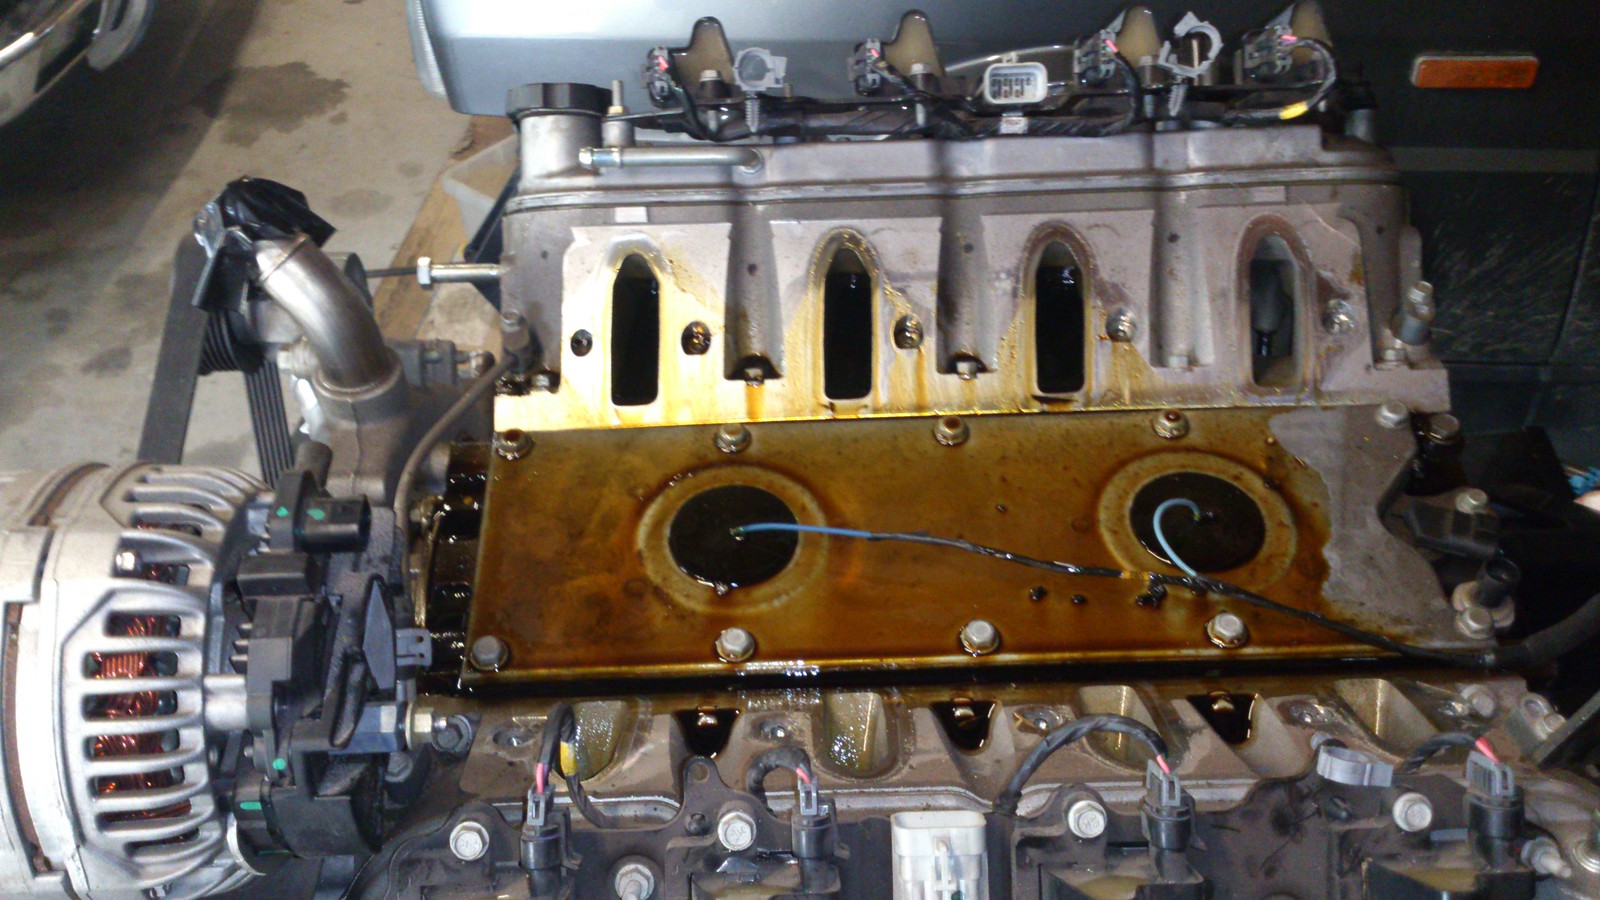
which fortunately we worked out was just a combination of the motor being previously over filled for storage and then sitting on a lean in
matts garage for a year or two.
Sump off and heads off REAL EASY. these things are just a dream to work on, with the reuseable MLS or steel with integral rubber/viton? seal rings
so no gaskets to scrape, nothing suck together and not wanting to come apart etc. just bliss really.
nothing to really note, a little carbon build up but really nothing to worry about anywhere. 317 heads, may or may not be bothered cleaning up
the ports a little will see how I feel/run for time later.

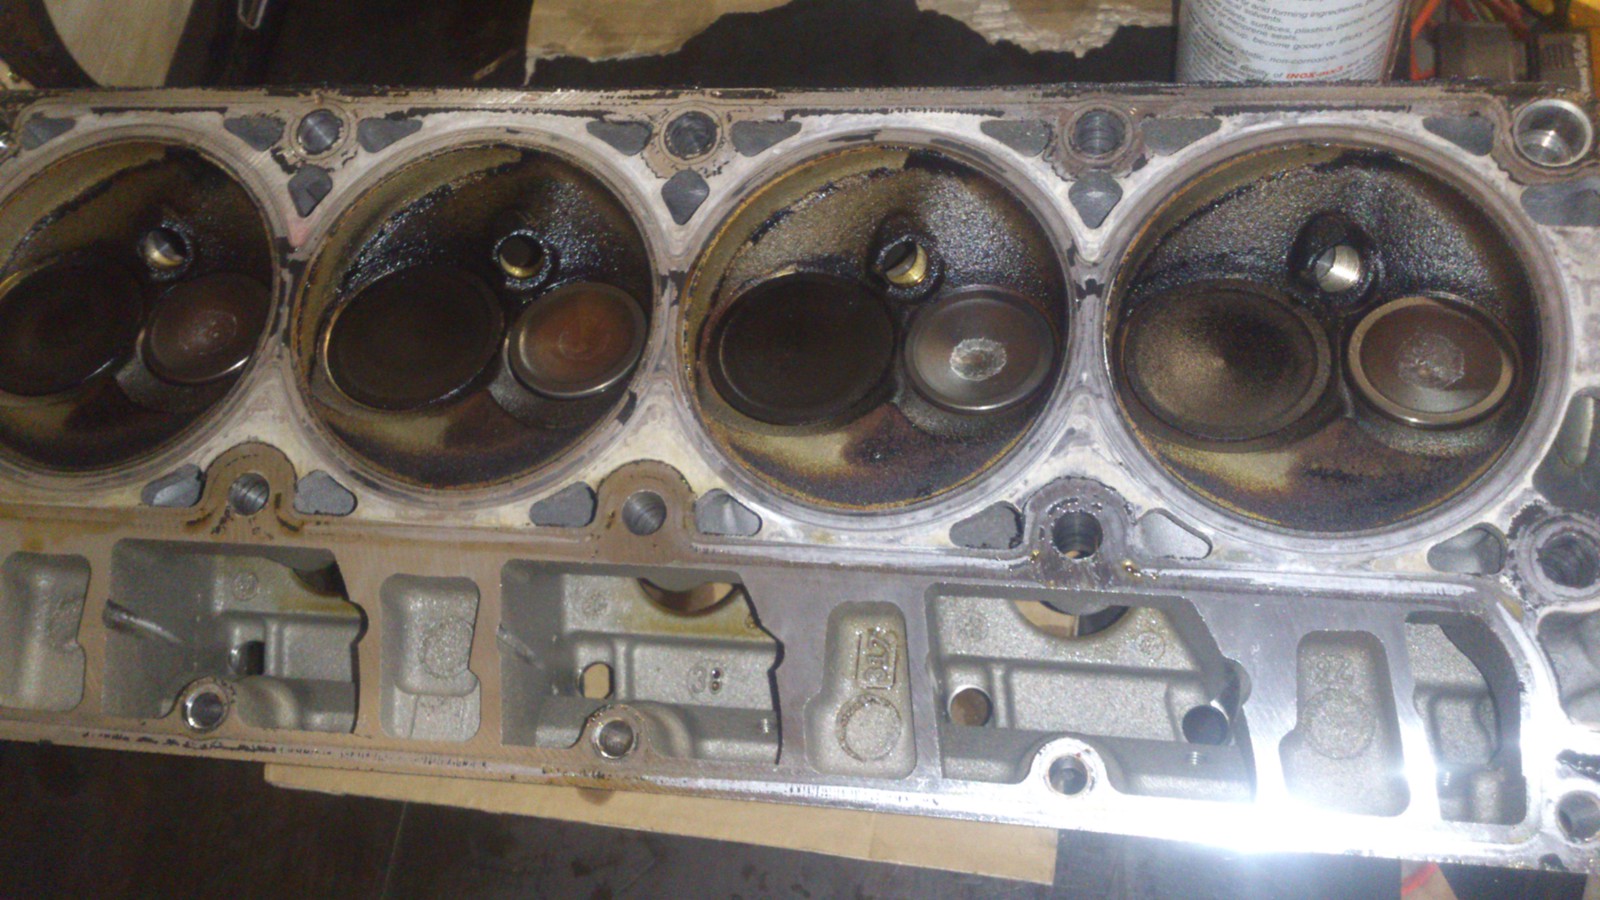
Surprise when the heads came off though - whats this a dished piston?

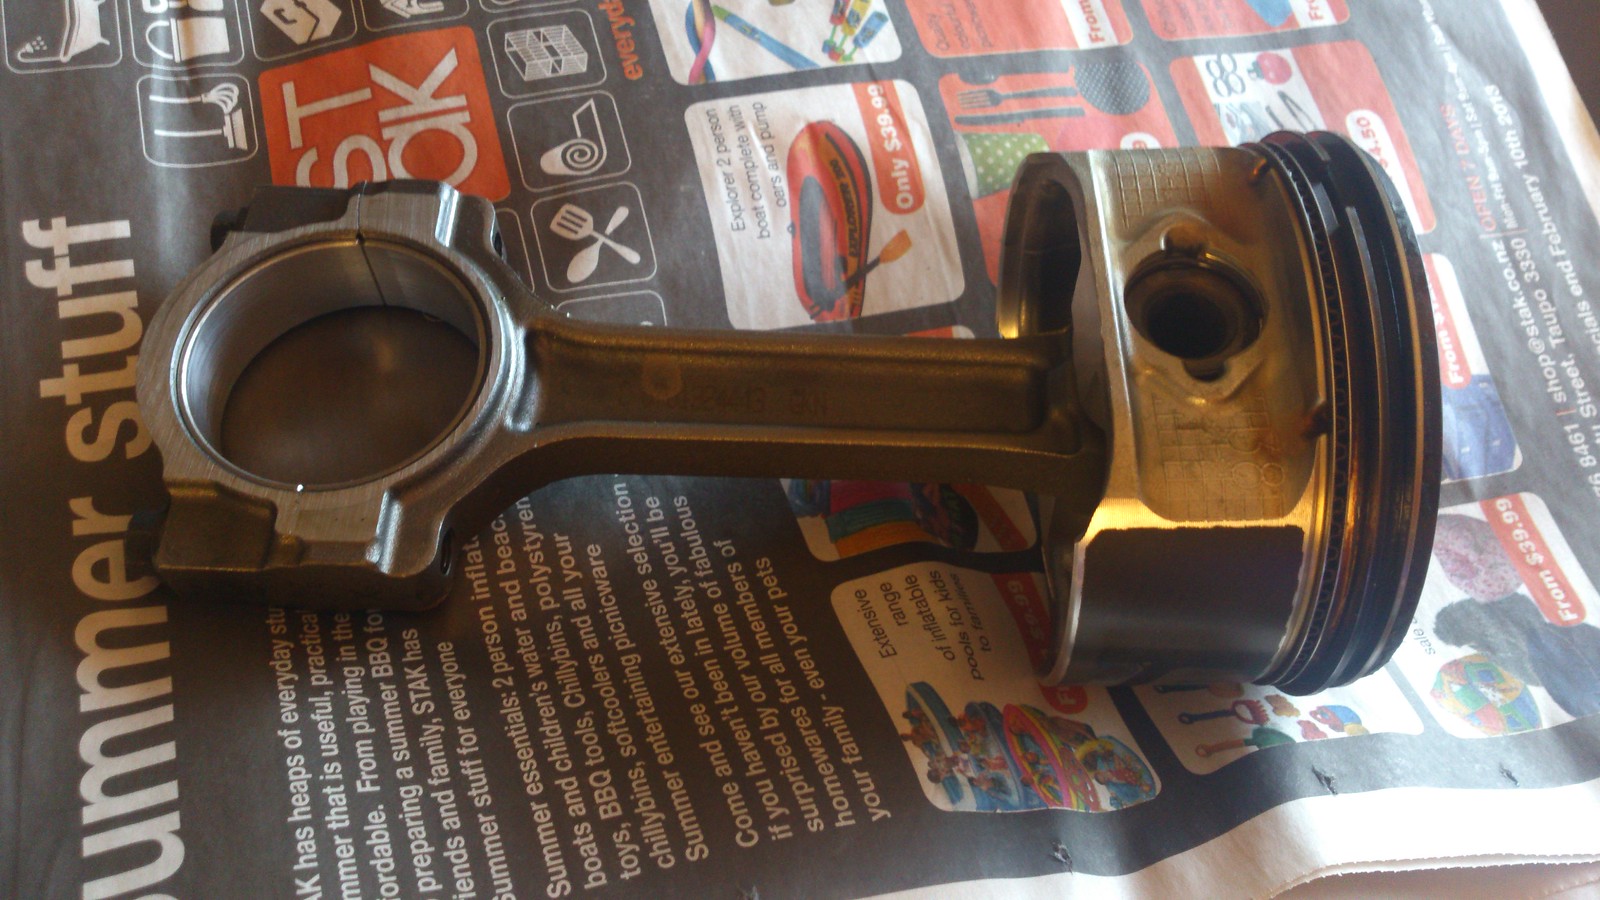
So really the stars aligned - although the guy had bullshitted my mate that this was the "HO" LQ9 version its actually probably better its the
LQ4 for a boosted application, lower compression ~9.4:1 and its a late model or Gen IV style motor with the better rods which we had not
bargained on.
The motor came with a factory ECU and loom, and while the ECU is tuneable with HPtuners software the license for that was going to be
quite a bit more expensive than running megasquirt which we are familiar with also.
and well look at this mess
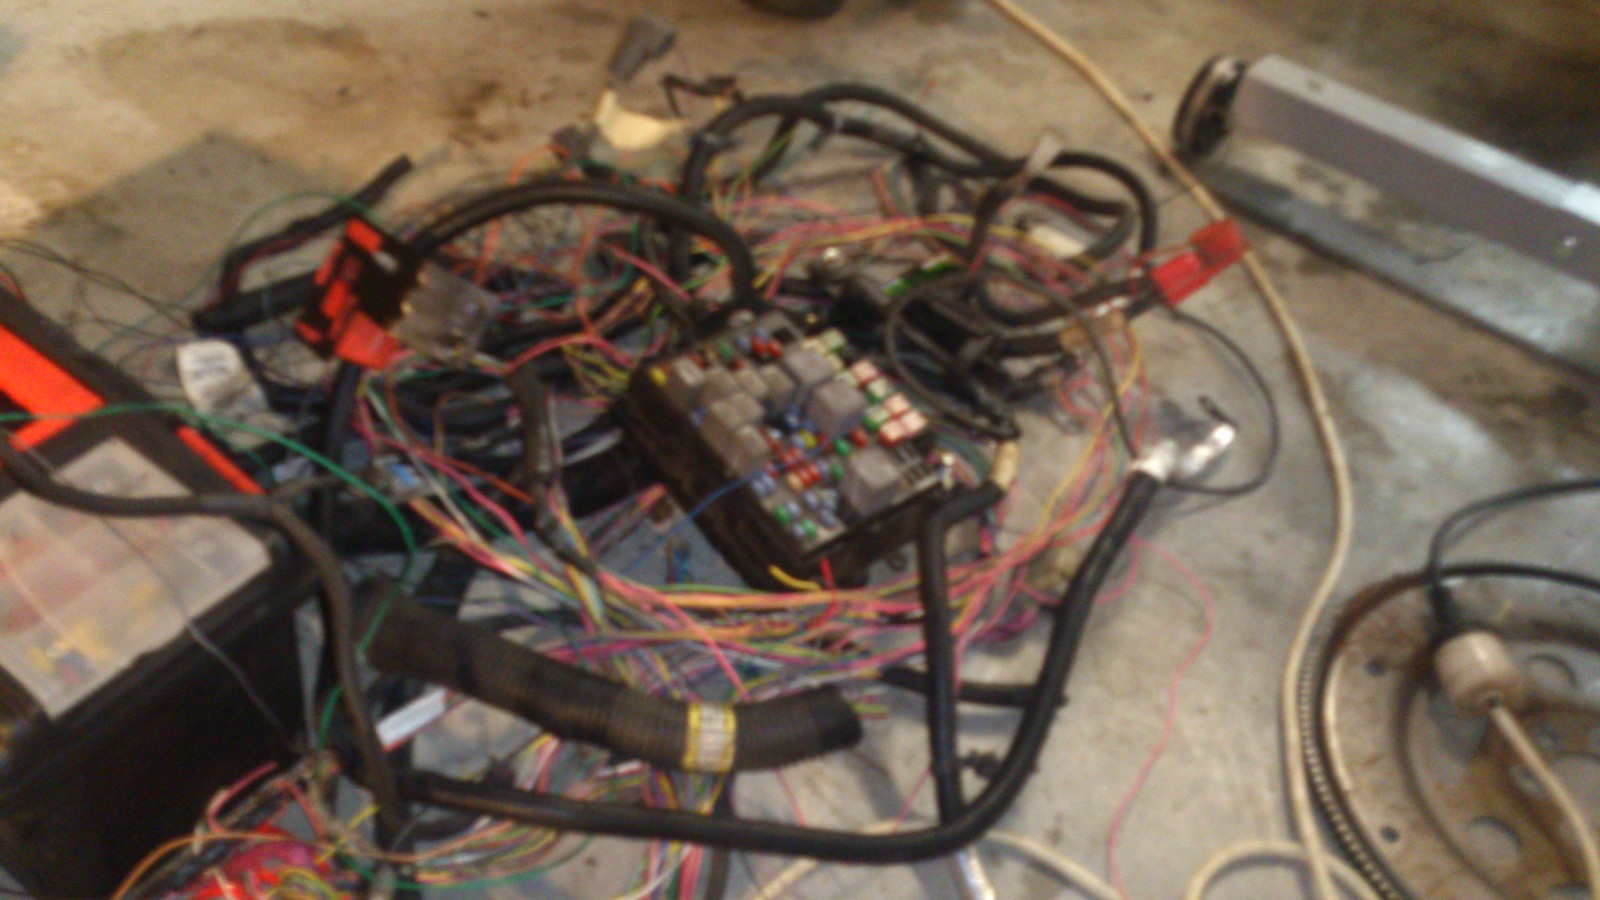
mostly thanks to my freind matt and my keeping a fridge full of beers he soldered up the board, unknitted the loom and we got it mostly tested
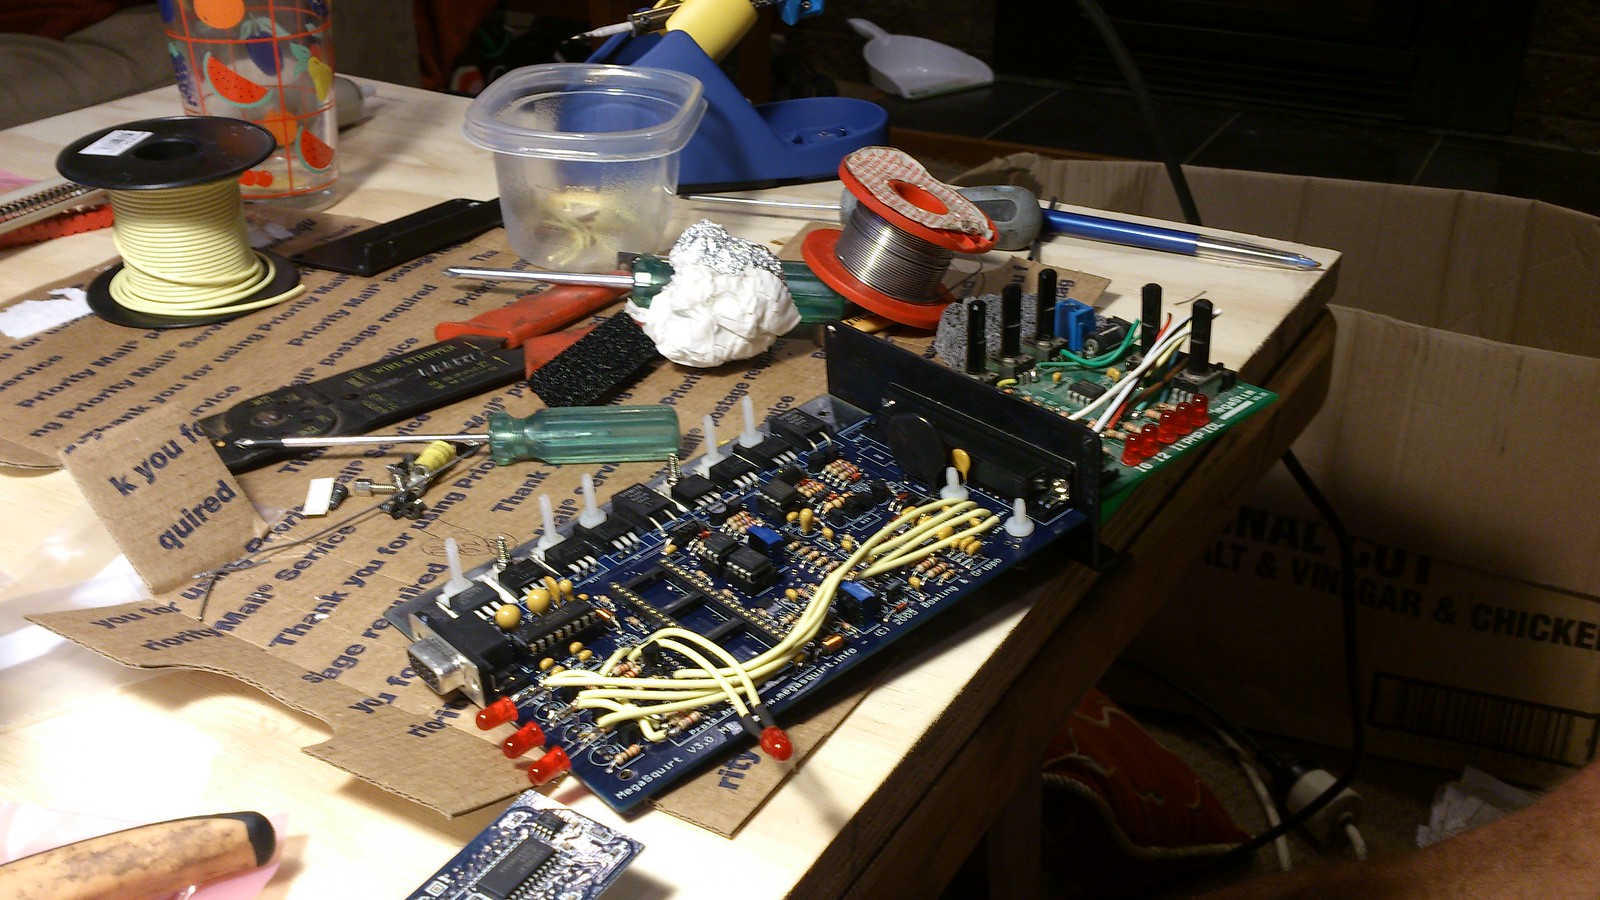
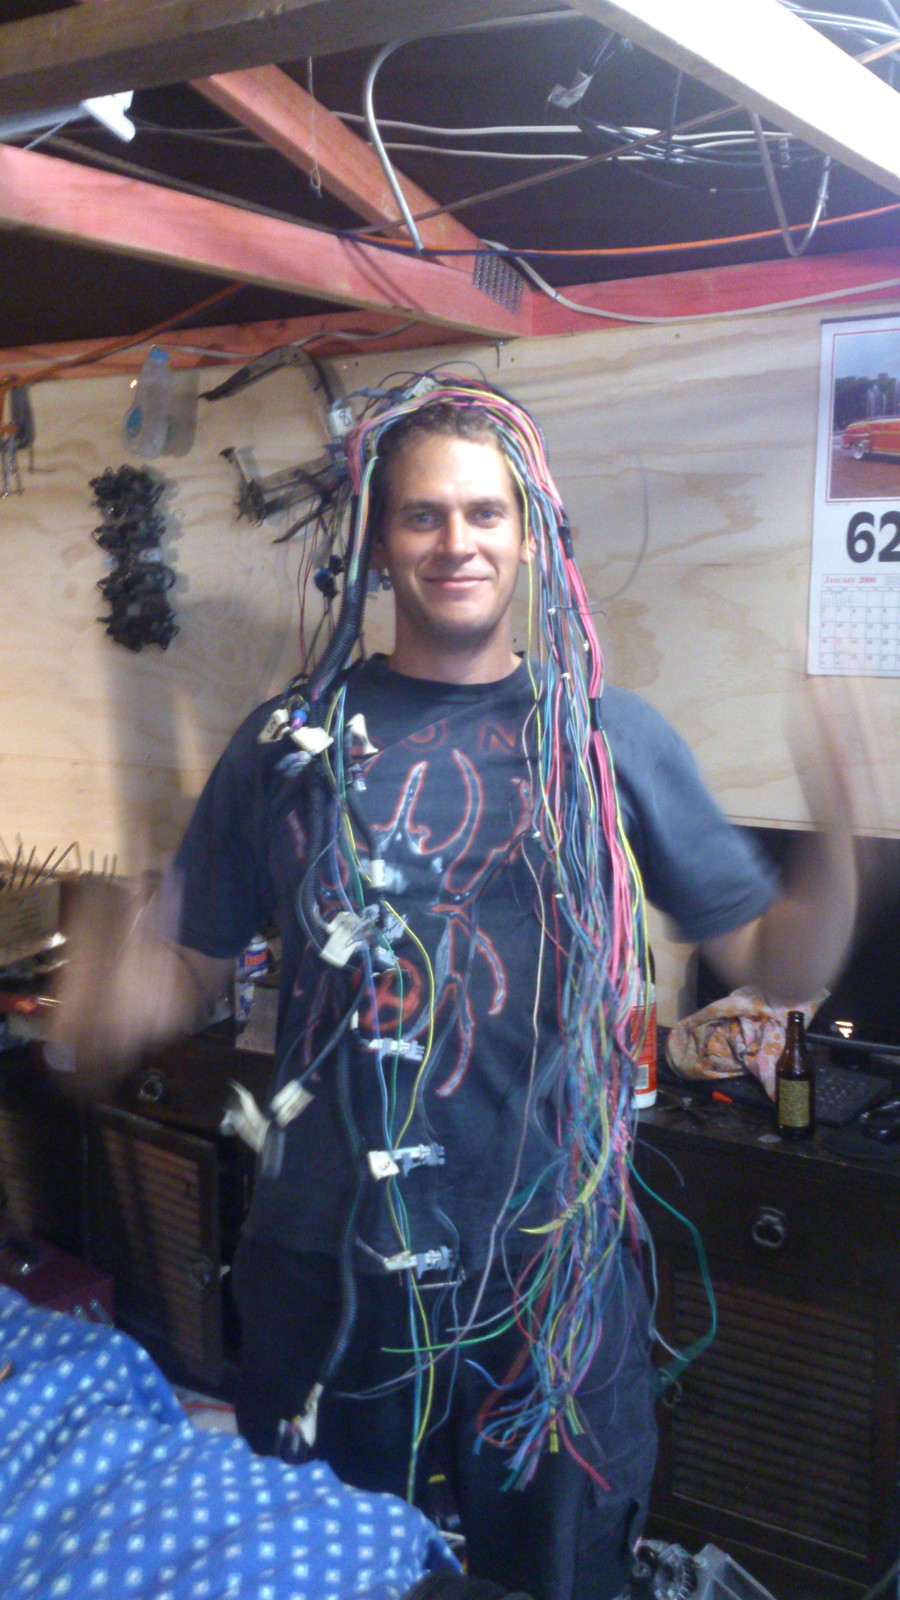
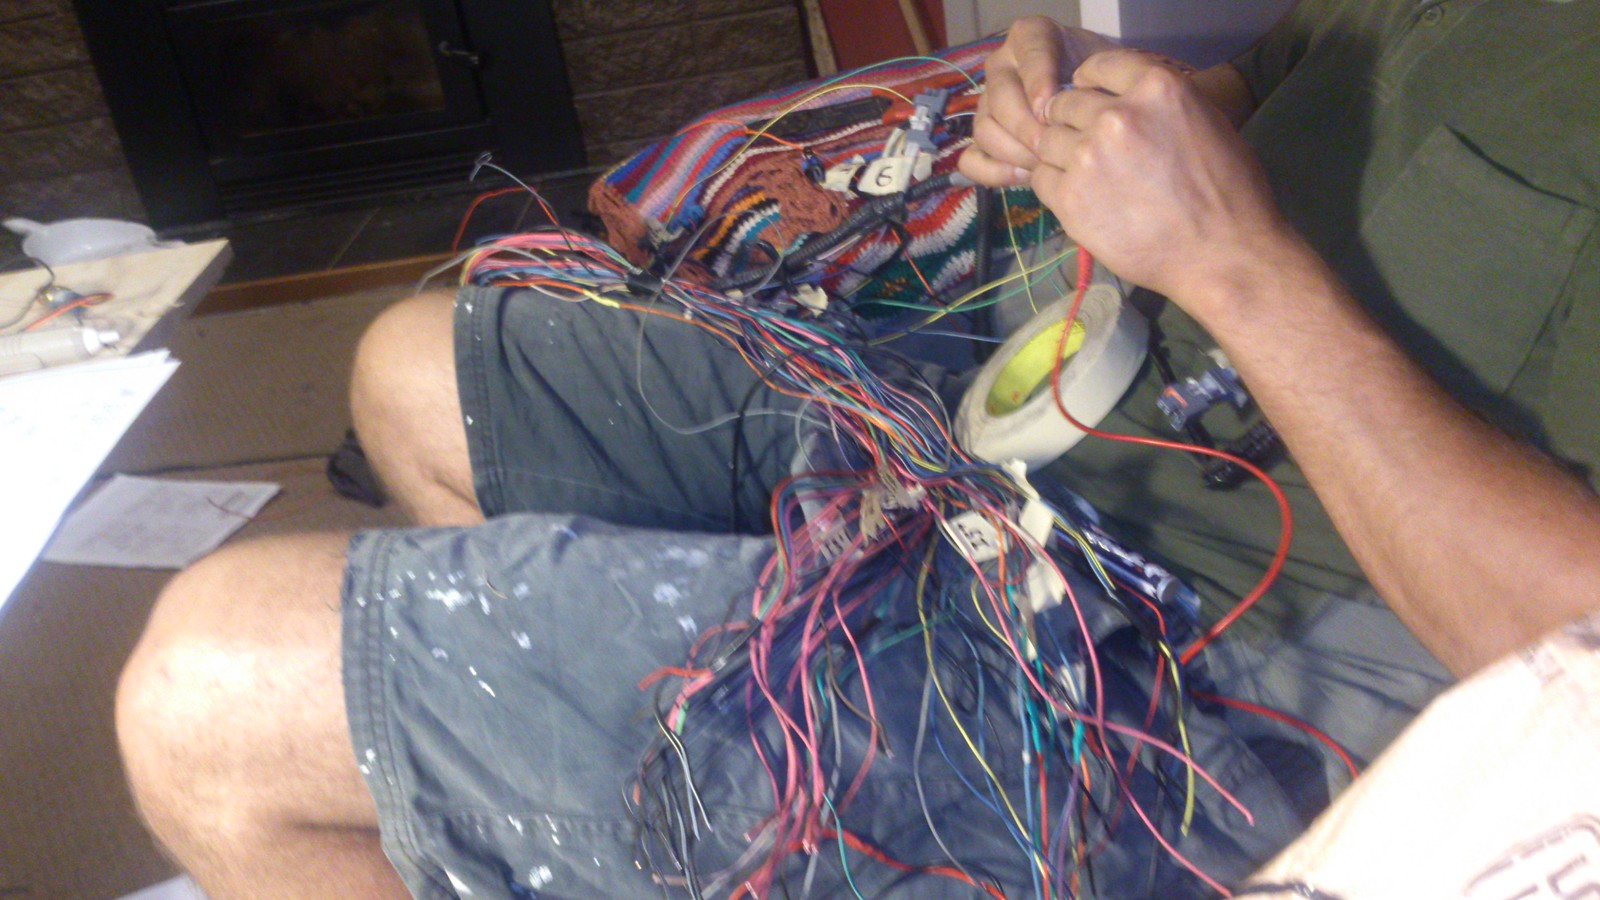
also while I was watching and supplying beers I found this on trademe and had to have it
MS2 testing
http://www.youtube.com/watch?v=kC8fPBWn3ac
somesuch big trucky type thing.
anyway we knew from his experience of busting ring lands on his eaton m122 supercharged LS2 landcruiser (which the motor was a spare for
before he forged the LS2 instead) plus a bunch of research that regardless of the compression these things seem to take a bunch of boost
so long as you gap the rings a little more than factory spec and keep the timing relatively mild under boost. So motor had to come apart for that.
found a bit of a surprise on removal of the inlet manifold - a whole **** ton of oil in the manifold and ports???

which fortunately we worked out was just a combination of the motor being previously over filled for storage and then sitting on a lean in
matts garage for a year or two.
Sump off and heads off REAL EASY. these things are just a dream to work on, with the reuseable MLS or steel with integral rubber/viton? seal rings
so no gaskets to scrape, nothing suck together and not wanting to come apart etc. just bliss really.
nothing to really note, a little carbon build up but really nothing to worry about anywhere. 317 heads, may or may not be bothered cleaning up
the ports a little will see how I feel/run for time later.


Surprise when the heads came off though - whats this a dished piston?


So really the stars aligned - although the guy had bullshitted my mate that this was the "HO" LQ9 version its actually probably better its the
LQ4 for a boosted application, lower compression ~9.4:1 and its a late model or Gen IV style motor with the better rods which we had not
bargained on.
The motor came with a factory ECU and loom, and while the ECU is tuneable with HPtuners software the license for that was going to be
quite a bit more expensive than running megasquirt which we are familiar with also.
and well look at this mess

mostly thanks to my freind matt and my keeping a fridge full of beers he soldered up the board, unknitted the loom and we got it mostly tested


also while I was watching and supplying beers I found this on trademe and had to have it

MS2 testing
http://www.youtube.com/watch?v=kC8fPBWn3ac
Last edited by testament; 09-06-2013 at 08:03 AM.
#6
Teching In
Thread Starter
Join Date: Jan 2013
Location: Taupo, New Zealand
Posts: 23
Likes: 0
Received 0 Likes
on
0 Posts
yay for billet goodness finally getting through customs

just lovely

anyways just chipping away at things, sandblaster is busy for a couple of weeks so cant do much on the chassis but I pulled the 1.76 planetary
glide to bits this weekend/tonight

I know the 1.76 planetary might be getting on borrowed time if I get the engine/turbo combo on full song but I'm hoping it will last for a little
while as the cost with shipping+tax to get a 1.80 set is a just a bit more than I am willing to stomach at the moment/would pretty much double
the cost of building the trans


So I'll take pretty much all of the internals of the 1.76 glide plus and bunch of new parts, do a few mods to various parts and then assemble it
into the uncracked1.82 housing

also got the engine just about ready to swap the new cam into so hopefully that will be mostly bolted back together on tuesday night.


just lovely

anyways just chipping away at things, sandblaster is busy for a couple of weeks so cant do much on the chassis but I pulled the 1.76 planetary
glide to bits this weekend/tonight

I know the 1.76 planetary might be getting on borrowed time if I get the engine/turbo combo on full song but I'm hoping it will last for a little
while as the cost with shipping+tax to get a 1.80 set is a just a bit more than I am willing to stomach at the moment/would pretty much double
the cost of building the trans


So I'll take pretty much all of the internals of the 1.76 glide plus and bunch of new parts, do a few mods to various parts and then assemble it
into the uncracked1.82 housing

also got the engine just about ready to swap the new cam into so hopefully that will be mostly bolted back together on tuesday night.

Last edited by testament; 09-06-2013 at 08:02 AM.
Trending Topics
#9
Teching In
Thread Starter
Join Date: Jan 2013
Location: Taupo, New Zealand
Posts: 23
Likes: 0
Received 0 Likes
on
0 Posts
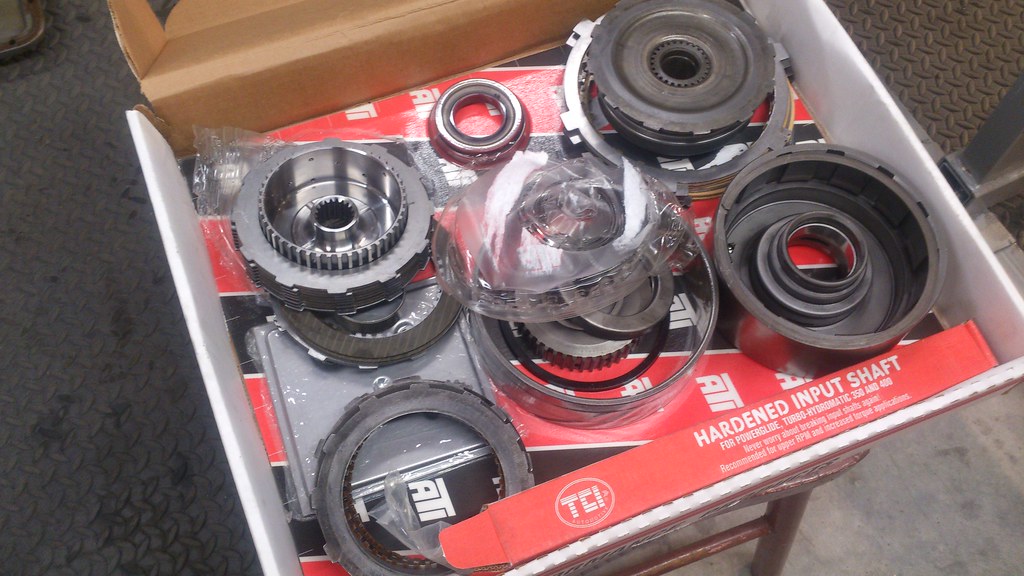
Well got a bit busy with a few other things but started on the glide building - just measured up the high clutch pack and reverse clutch pack
clearances so interested in any comments on these as it's my first transmission build. I'm just going by the carl munore book, some google
divination and what makes sense to my experience with mechanical contraptions so ineterested in comments from anyone experienced with
building powerglides.
I've got 7 frictions/8 steels in the high cltuch drum, 0.067" clearance - book says .060" to .100" is legit but I have also read 10 thou per friction.
either way seems ok?
Reverse 5 frictions 6 steels i have 0.110" clearance book says .090"-.120" for transbrake applications so on the high side but ok? it was
just over ~0.125-0.130" but i mixed and matched the steels from the ati kit im using and the ones from the old clutch pack to get the
thickest ones to tighten it up.
mostly pleasantly surprised that somehow i don't seem to need to machine either piston like I had expected

Last edited by testament; 09-06-2013 at 08:02 AM.
#11
Teching In
Thread Starter
Join Date: Jan 2013
Location: Taupo, New Zealand
Posts: 23
Likes: 0
Received 0 Likes
on
0 Posts
continuing on getting the engine zipped up,
cleaned up one block face,
dirty

clean

put the timing chain on after checking with robbie that I didnt need an adjustable one to get the timing as per cam card, and dave
came round and we torqued up the rod bolts then proceeded to swap the valvesprings
kvs/pac1518s

turns out as always valvesprings are conniving little devils - I had planned to make a little tool to use my drillpress as a press to do the
job but dave insisted that was a silly idea and rushed off back to his place to get his valvespring compressors
which were ones like the pic below and a bespoke piece of engineering he had created for doing vw golf valvesprings

anyway that worked ok-ish for a couple of springs, but of course the new kvs/pac 1518's are 50% gruntier than the stock ones or something
and a bunch taller so on the third one it when PPJIAAAAAOOW and made a big spark and shot the retainer through the building paper in
the roof of the garage (luckily it trapped it so wasnt to hard to retreive). stuffed with those a little more bending jaws in the vice but after
trying one more we reconsidered things over a cup of tea.

went back to the shed, and used part of his home made vw golf spring compressor in combination with a coach bolt to achieve my original
drill press idea which I stole somewhere off the internet I can't remember. this worked alot better although still a shitty job but wasn't
too bad with two people at least - and dave made a minor blood sacrifice for a change.
so now
more old and busted

and new hotness

cleaned up one block face,
dirty

clean

put the timing chain on after checking with robbie that I didnt need an adjustable one to get the timing as per cam card, and dave
came round and we torqued up the rod bolts then proceeded to swap the valvesprings
kvs/pac1518s

turns out as always valvesprings are conniving little devils - I had planned to make a little tool to use my drillpress as a press to do the
job but dave insisted that was a silly idea and rushed off back to his place to get his valvespring compressors
which were ones like the pic below and a bespoke piece of engineering he had created for doing vw golf valvesprings

anyway that worked ok-ish for a couple of springs, but of course the new kvs/pac 1518's are 50% gruntier than the stock ones or something
and a bunch taller so on the third one it when PPJIAAAAAOOW and made a big spark and shot the retainer through the building paper in
the roof of the garage (luckily it trapped it so wasnt to hard to retreive). stuffed with those a little more bending jaws in the vice but after
trying one more we reconsidered things over a cup of tea.

went back to the shed, and used part of his home made vw golf spring compressor in combination with a coach bolt to achieve my original
drill press idea which I stole somewhere off the internet I can't remember. this worked alot better although still a shitty job but wasn't
too bad with two people at least - and dave made a minor blood sacrifice for a change.
so now
more old and busted

and new hotness

Last edited by testament; 09-06-2013 at 08:01 AM.
#12
Teching In
Thread Starter
Join Date: Jan 2013
Location: Taupo, New Zealand
Posts: 23
Likes: 0
Received 0 Likes
on
0 Posts
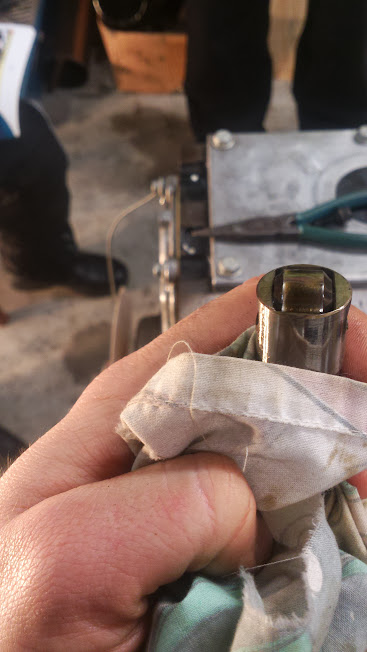
Checked cam timing with degree wheel and a dti, matched up to the cam card within a degree or two and a few thou which considering
the quality of the degree wheel and dti I borrowed from my friend dave, and the accuracy of my setting up is probably within the margin of error.
Then to be sure I checked the valve to piston clearance pretty roughly with some plastiscene. being aware my pushrods are likely a bit short
and I only chucked in a couple of old headbolts not fully torqued up with an old gasket I reckon i'm still ok as I got marks on both and there is
well over 5mm clearance there.


Last edited by testament; 09-06-2013 at 08:00 AM.
#13
Teching In
Thread Starter
Join Date: Jan 2013
Location: Taupo, New Zealand
Posts: 23
Likes: 0
Received 0 Likes
on
0 Posts
Put the heads back on this weekend been and checked the lifter preload (very happy it worked out all gravy without new pushrods) and stuff
so motor 98% back together now. need to get a -10 bulkhead fitting or something to jam into the front cover for the turbo oil drain before
I can do up the sump and get some bolts for the inlet manifold as they are different/longer than the truck manifold ones.


so motor 98% back together now. need to get a -10 bulkhead fitting or something to jam into the front cover for the turbo oil drain before
I can do up the sump and get some bolts for the inlet manifold as they are different/longer than the truck manifold ones.


#14
Teching In
Thread Starter
Join Date: Jan 2013
Location: Taupo, New Zealand
Posts: 23
Likes: 0
Received 0 Likes
on
0 Posts
been spending money like no tomorrow/ USA better thank me for all that foreign exchange!
stuff
dum

things
dum

dum
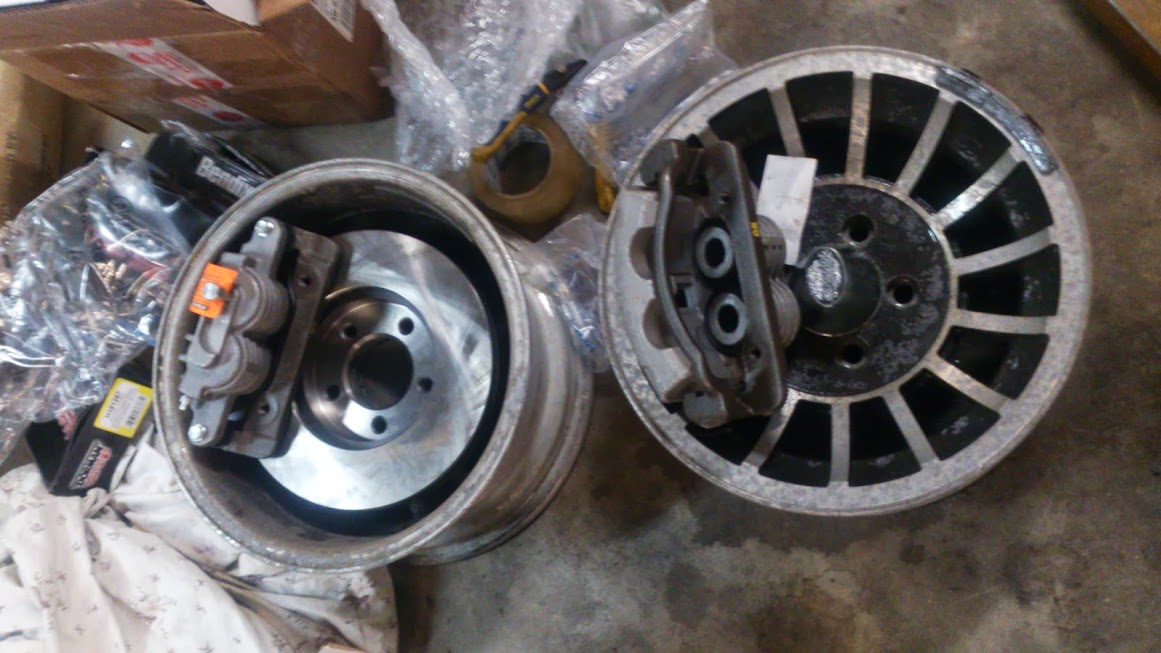
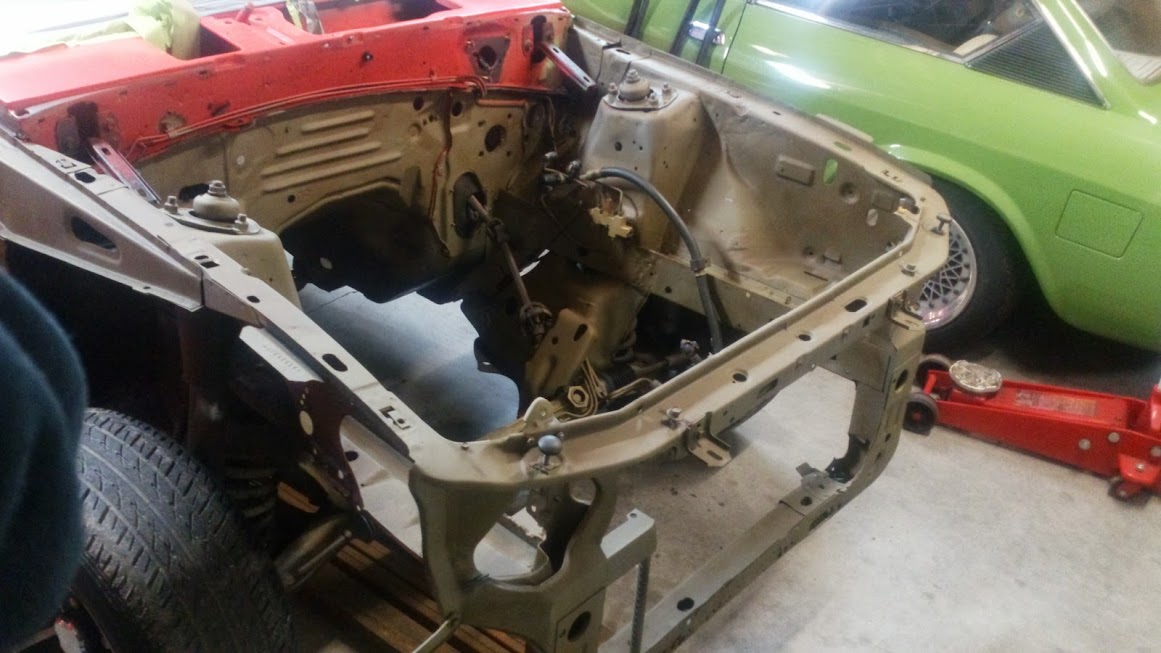
And took shell to the sandblasters, he threw some acid etch something or other on there too for the meantimes. have duma bunch of phone calls to make next week to tech inspectors and certifiers and people to make sure my plans are all legit before I get too carried away. Need to get this glide and the fiat motor together before filling the garage with grinding dust again though, and a few rust repairs to do before the cage and stuff can go in.
dum
dum


stuff
dum

things
dum

dum

And took shell to the sandblasters, he threw some acid etch something or other on there too for the meantimes. have duma bunch of phone calls to make next week to tech inspectors and certifiers and people to make sure my plans are all legit before I get too carried away. Need to get this glide and the fiat motor together before filling the garage with grinding dust again though, and a few rust repairs to do before the cage and stuff can go in.
dum

dum


#17
Teching In
Thread Starter
Join Date: Jan 2013
Location: Taupo, New Zealand
Posts: 23
Likes: 0
Received 0 Likes
on
0 Posts
Getting into the bones of it now
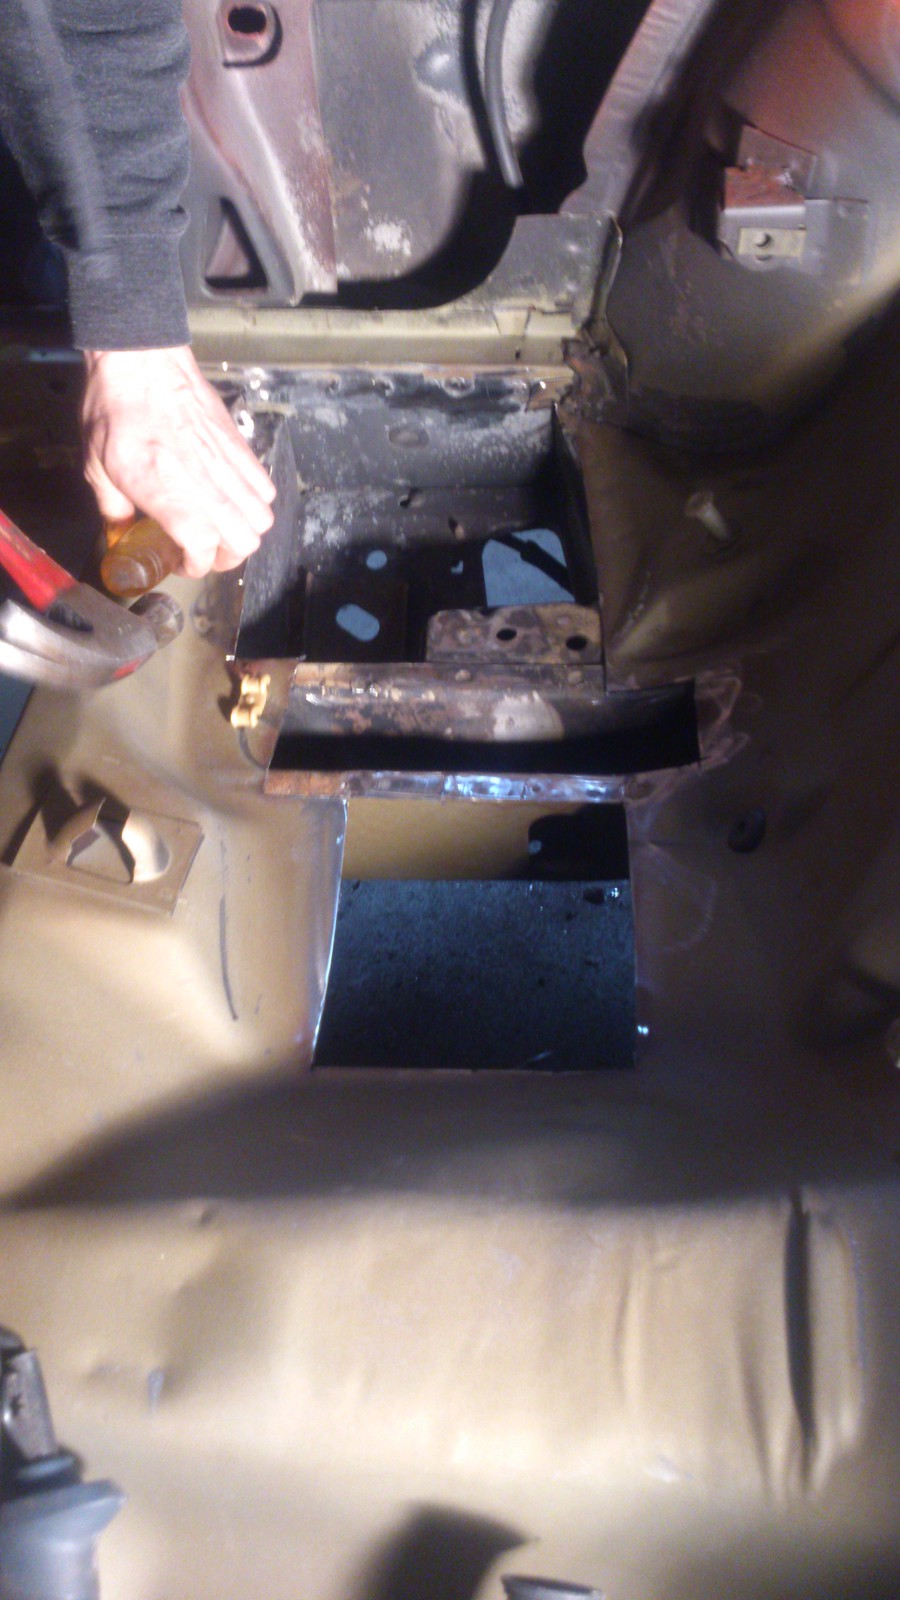
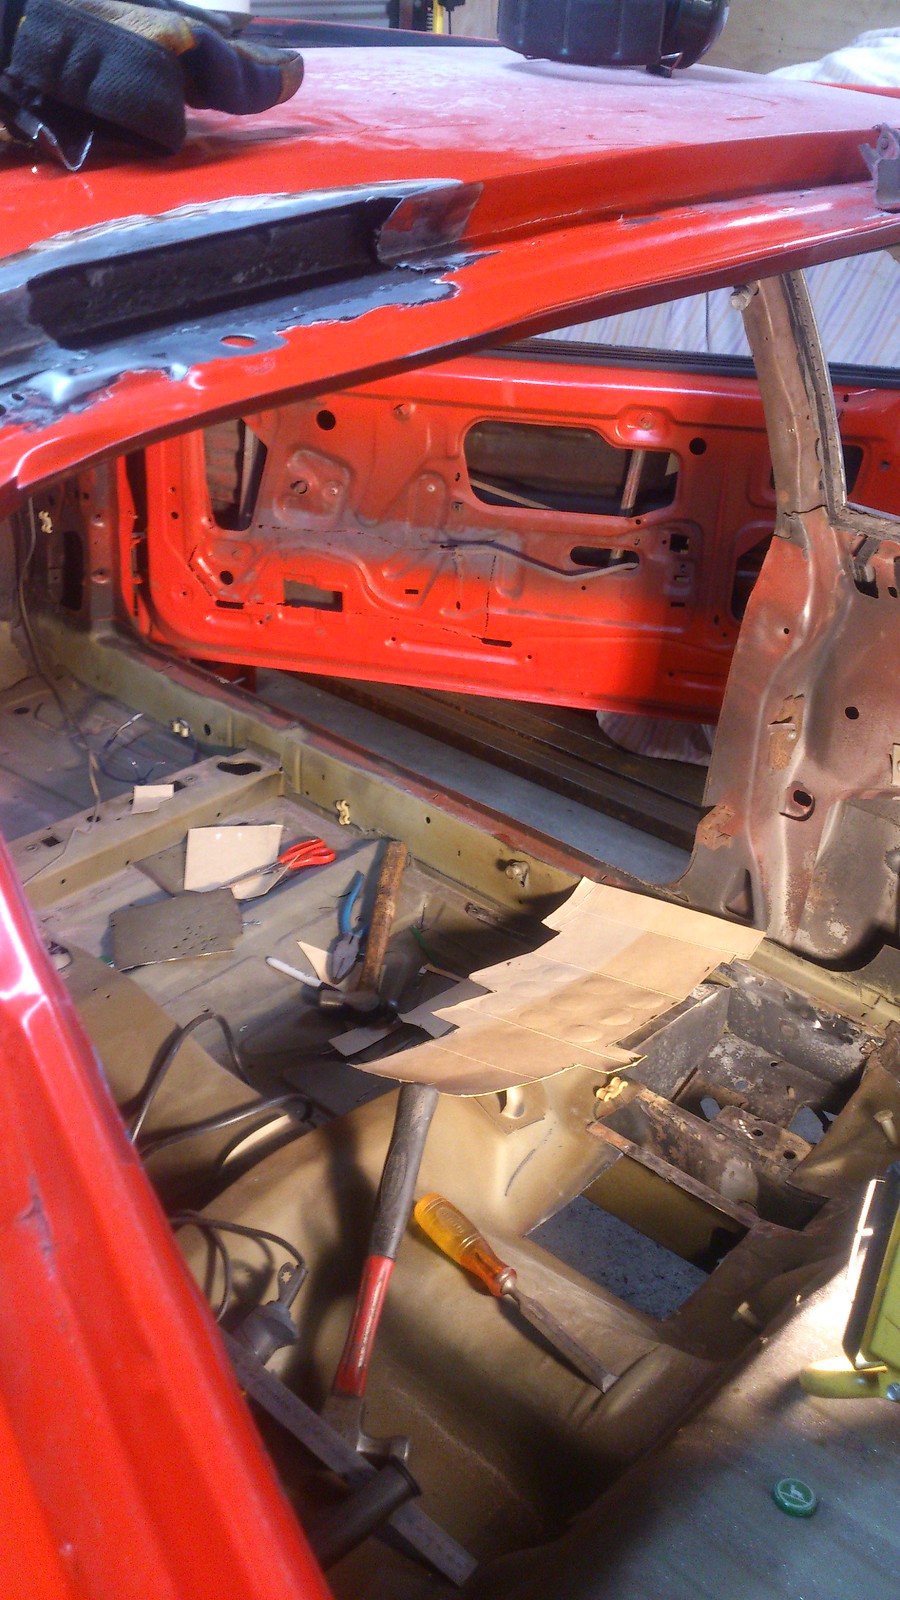
springs out


also oh my wow this car is so great.

anyways, project is pretty much finished now


I cbf c-notching the rear so it wil have to sit a bit higher in reality, but otherwise sitting on bumps,Rolls fine, and doesn't even rub on full lock either. - and front crossmember is still 115mm from the ground? will have to come up 20-30mm to get enough compression travel + I would need to make an oval exhaust to get some more clearance as the 3.5" pipe would definitely be encountering tarmac a bit too often at this height.


springs out


also oh my wow this car is so great.

anyways, project is pretty much finished now


I cbf c-notching the rear so it wil have to sit a bit higher in reality, but otherwise sitting on bumps,Rolls fine, and doesn't even rub on full lock either. - and front crossmember is still 115mm from the ground? will have to come up 20-30mm to get enough compression travel + I would need to make an oval exhaust to get some more clearance as the 3.5" pipe would definitely be encountering tarmac a bit too often at this height.

#18
Sick build...
I am contemplating an LQ4 turbo build in a 78 Vette; got the car and just snagged a LQ4 this past weekend. Doing a little recon work on how to tackle the project. Debating on if its worth pulling the pistons to re gap the rings. What rod bolts did you use when you re installed them?
DG
I am contemplating an LQ4 turbo build in a 78 Vette; got the car and just snagged a LQ4 this past weekend. Doing a little recon work on how to tackle the project. Debating on if its worth pulling the pistons to re gap the rings. What rod bolts did you use when you re installed them?
DG
#19
Teching In
Thread Starter
Join Date: Jan 2013
Location: Taupo, New Zealand
Posts: 23
Likes: 0
Received 0 Likes
on
0 Posts
stock bolts, haven't seen much evidence of them failing at sane rpms. definitely worth gapping the rings if you semi care about the motor. these things are so easy to work on its hardly a chore.


