headliner job :)
 02-10-2008, 06:47 PM
#1
TECH Apprentice
Thread Starter
iTrader: (10)
Join Date: Jan 2008
Location: Florida
Posts: 310
Likes: 0
Received 0 Likes
on
0 Posts
Hey fellas, Thought you guys might be interested in my little do it yourself discovery today. Many before me may have already known this fact, but today I decided to redo my headliner myself. I have never had anything to do with upholstry in my life! Well, I'll break it down to a simple four step process.
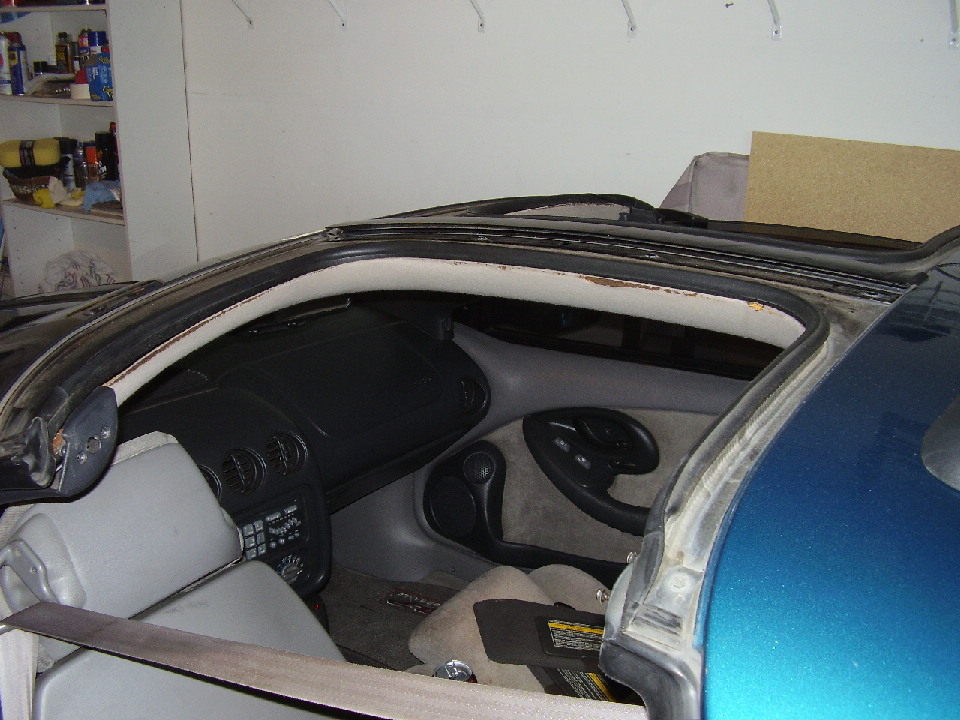
This was for a 95 T/A "t-tops"
#1. I purchased only 2 yards of fabric (color of choice) and a can of spray on headliner clue from the fabric store. Warning: take wife and kids, you'll feel a little bit less uncomfortable in a female based operation.
#2. Remove your current headliner. (only a few small things in the way: sunvisors, rear dome lamp, seatbelt guides, and a small pop botton in the middle of the liner).
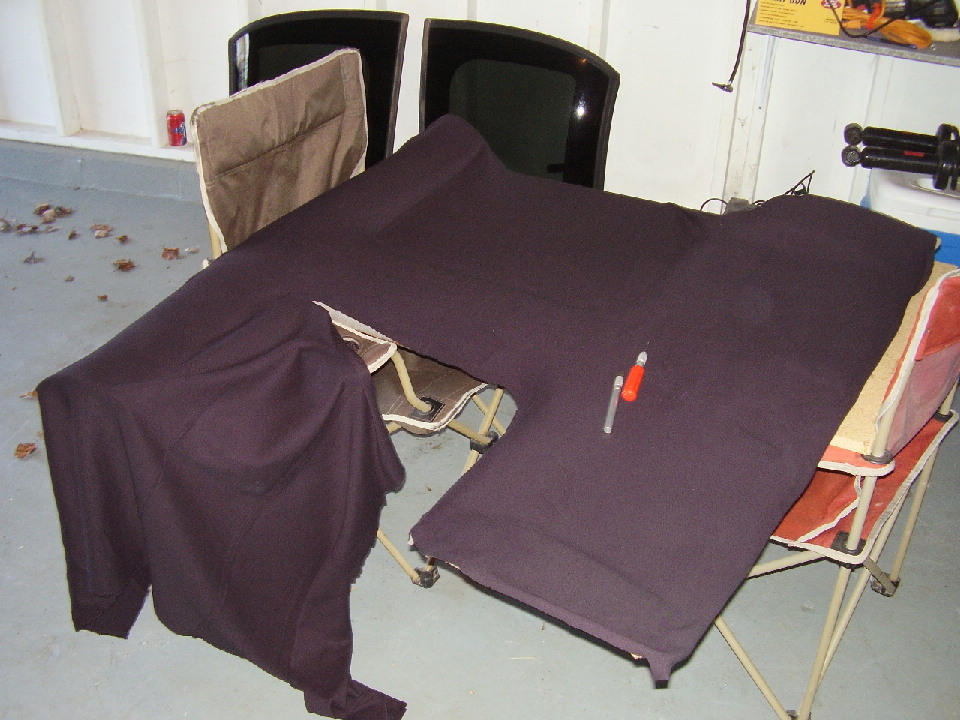
#3. I left the original fabric on the liner for better adhesive. Insure you aquired enough fabric by doing a dry run. I rolled the fabric up and started from the back. As I applied the spray clue, I unrolled the fabric about 6in at a time and worked it smooth with clean hands. Once fully covered, cut away the edges leaving at least 2-3 inches on the outside. Turn the liner over and apply the clue to the inside edges and fold the remaining fabic. Work until satisfied!
#4 Install the headliner in reverse of the removal process. Once in place, take a new razorblade and cut out slots to install the sunvisors, the middle pop botton, seatbelt guides, and finally the rear dome lamp.
The final product was like new! I'm planning on recovering my t-top visors and maybe the cloth on my door panels. Who woulda thunk a retard like me could pull this one off but it was suprizingly simple!
This was for a 95 T/A "t-tops"
#1. I purchased only 2 yards of fabric (color of choice) and a can of spray on headliner clue from the fabric store. Warning: take wife and kids, you'll feel a little bit less uncomfortable in a female based operation.
#2. Remove your current headliner. (only a few small things in the way: sunvisors, rear dome lamp, seatbelt guides, and a small pop botton in the middle of the liner).
#3. I left the original fabric on the liner for better adhesive. Insure you aquired enough fabric by doing a dry run. I rolled the fabric up and started from the back. As I applied the spray clue, I unrolled the fabric about 6in at a time and worked it smooth with clean hands. Once fully covered, cut away the edges leaving at least 2-3 inches on the outside. Turn the liner over and apply the clue to the inside edges and fold the remaining fabic. Work until satisfied!
#4 Install the headliner in reverse of the removal process. Once in place, take a new razorblade and cut out slots to install the sunvisors, the middle pop botton, seatbelt guides, and finally the rear dome lamp.
The final product was like new! I'm planning on recovering my t-top visors and maybe the cloth on my door panels. Who woulda thunk a retard like me could pull this one off but it was suprizingly simple!
 02-10-2008, 07:19 PM
#2
TECH Fanatic
iTrader: (6)
Join Date: Aug 2006
Location: Charleston, S.C.
Posts: 1,213
Likes: 0
Received 0 Likes
on
0 Posts

I just took mine out today because there is no fabric attached to it. I plan on going to a store and doing the same tomorrow. It's good to know that it worked well, It makes me that much more confident and I get to save 80 bucks!
02-10-2008, 07:28 PM
#3
TECH Apprentice
Thread Starter
iTrader: (10)
Join Date: Jan 2008
Location: Florida
Posts: 310
Likes: 0
Received 0 Likes
on
0 Posts
I would guess it took me a total of 1.5 hours with the help of my 3 year old. Good luck and I hope you have the same luck I did! You should be very satisfied...
02-10-2008, 07:41 PM
#4
TECH Regular
iTrader: (30)

Join Date: Jun 2005
Location: Bullhead City, AZ
Posts: 415
Likes: 0
Received 0 Likes
on
0 Posts
Another thing to add a little "custom" touch to it : Buy some thick foam type material and cut a custom design out of it (like a Chevy or Pontiac logo). Apply adhesive to the front and back of the foam and set the design down before the fabric. Proceed as described above. The design pops out and has a 3D effect to it. Looks awesome...

 02-10-2008, 11:22 PM
#7
On The Tree

Join Date: Apr 2007
Location: cullman,Al
Posts: 172
Likes: 0
Received 0 Likes
on
0 Posts
i have some bowtie emblems laying around that i took from work i'm gonna throw one of those under the fabric when i do mine. i'd thought of putting them under the doorpanels as well but ive taken them off to do the speakers and the part that holds the fabric or leather is plastic welded in if you took it out i think getting it to stay in after you put it back together would cause a problem.
Trending Topics
 02-11-2008, 08:28 AM
#10
TECH Apprentice
Thread Starter
iTrader: (10)
Join Date: Jan 2008
Location: Florida
Posts: 310
Likes: 0
Received 0 Likes
on
0 Posts
The fabric I picked was black 100% cotton. It stretches really well and sticks to the clue great with out seaping through to the other side.
 02-11-2008, 10:40 PM
#11
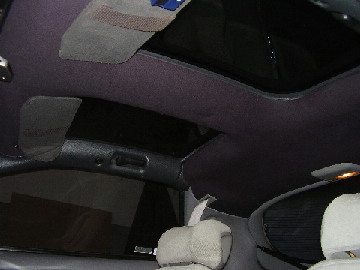
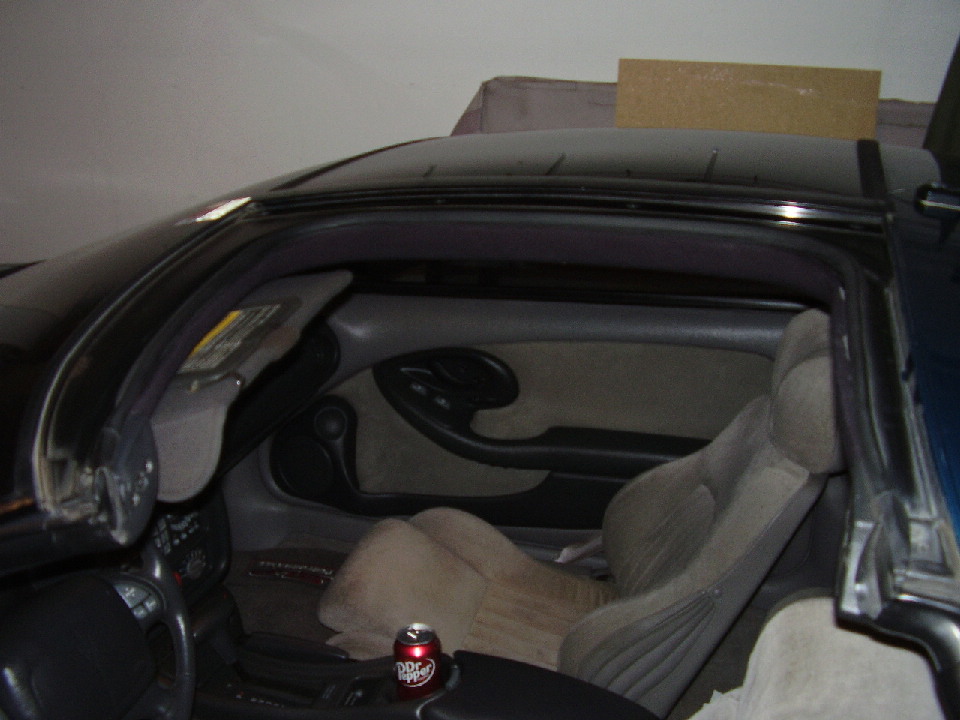
Thanks for the pictures. I'm more of a visual person so if I see it I understand much better.
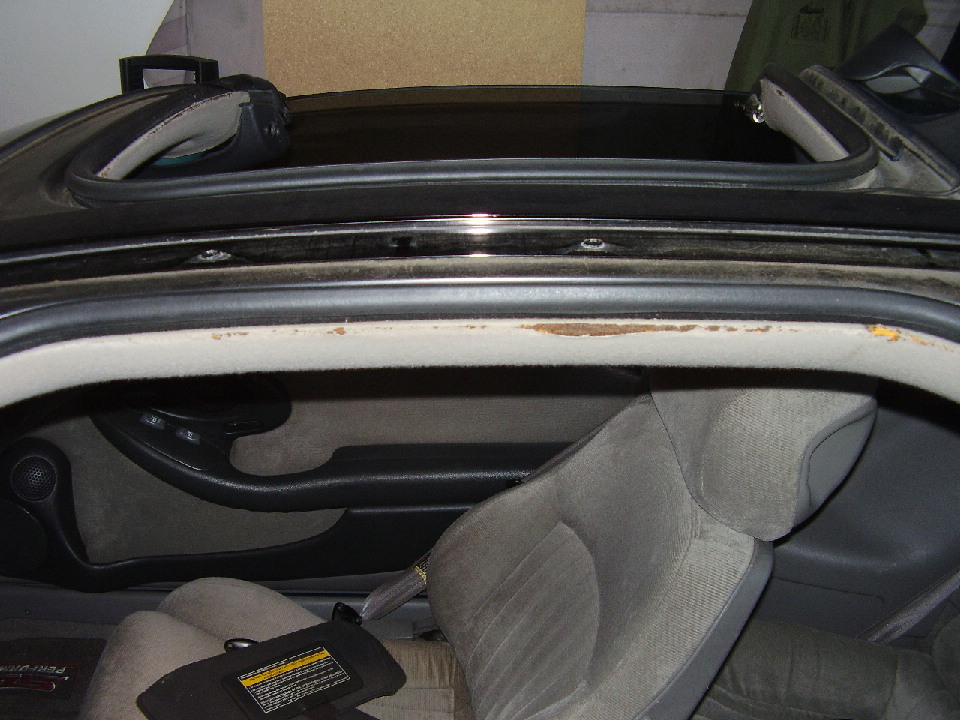
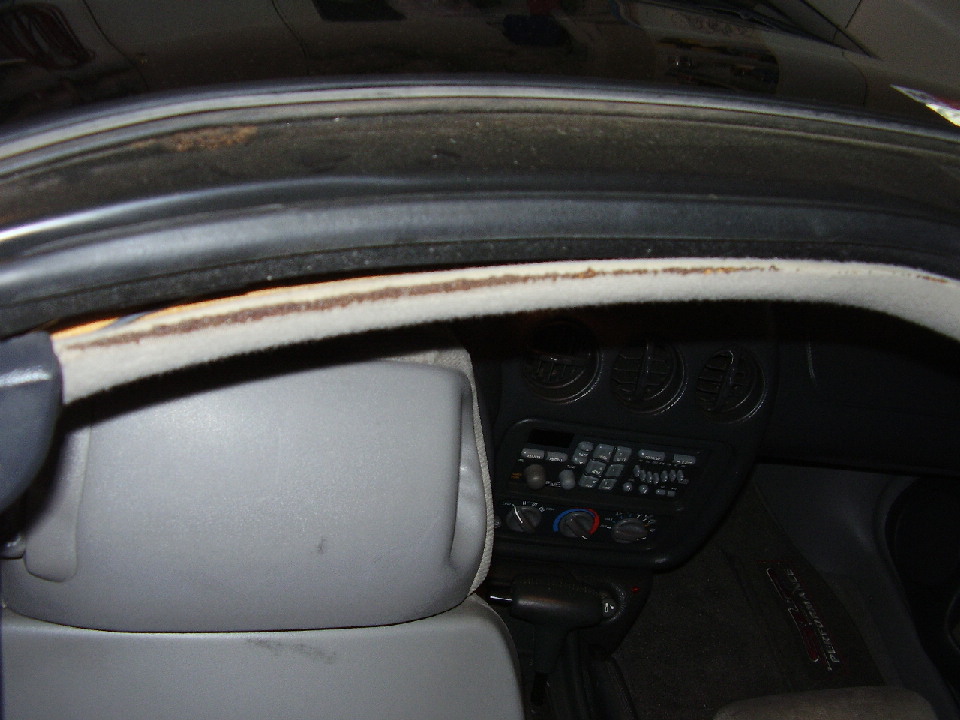
Mine currently looks like this so it needs some help.

The only thing I'm concerned about is matching the material colors. I'm going with black ozite, seats, and headliner. I don't want to end up with 3 different tones of black. I'm going to try and call the company I plan on getting my seats from and see if they'll sell me the same material they use to cover their seats.
Mine currently looks like this so it needs some help.
The only thing I'm concerned about is matching the material colors. I'm going with black ozite, seats, and headliner. I don't want to end up with 3 different tones of black. I'm going to try and call the company I plan on getting my seats from and see if they'll sell me the same material they use to cover their seats.
02-12-2008, 08:17 PM
#14
TECH Apprentice
Thread Starter
iTrader: (10)
Join Date: Jan 2008
Location: Florida
Posts: 310
Likes: 0
Received 0 Likes
on
0 Posts
2 yards should work out great. I had more than plenty going from left to right on the front and rear. I simply had to cut out the areas where the shades went. Be sure when you buy the fabric that its double layered. What I mean by this is when you unroll it length wise, you should be able to unfold it once width wise. Technically, your getting twice the fabric. I learned that most most fabric rolls are sold like this (except felt).
03-24-2008, 11:29 PM
#16
TECH Enthusiast
iTrader: (8)

Join Date: Aug 2006
Location: Linton, IN
Posts: 664
Likes: 0
Received 0 Likes
on
0 Posts
sorry to bring up a somewhat old post, but how in the world did you get the inside corners of the headliner to fit the curve right and not wrinkle like crazy? my mother and i tried to redo my headliner last weekend, and we did it, but the inner 4 corners where it is basically cut out for the t tops seemed nearly impossible to fit correctly without getting wrinkles... also, what type of material did you use? i found a charcoal colored suede at our walmart for a dollar a yard, so i got 3 yards of it and went to town, and it was somewhat stretchy, but i didnt know if you actually need like 100% cotton or something that will stretch like crazy, because we had to basically cut the corners out and try to patch them and make them look decent...
i want to redo mine this weekend, but i want to know if there are any tricks to the corners or what to do to get it to fit right
i want to redo mine this weekend, but i want to know if there are any tricks to the corners or what to do to get it to fit right
03-25-2008, 12:23 AM
#18
TECH Apprentice
Thread Starter
iTrader: (10)
Join Date: Jan 2008
Location: Florida
Posts: 310
Likes: 0
Received 0 Likes
on
0 Posts
Wow, thought this thread one was a goner...Well, the fabric I used was 100% cotton. Its black but since I knew it would for the most part be protected from the sun that it wouldn't fade. It stretched really well also. I laid my full sheet of fabric over the headliner (removed from the car) traced it and cut it, while generously giving myself about 2-3 inches extra for the overlap. I used the "roll on" method after completely spraying on the headliner/upholstry clue. Just a few inches at a time, working the corners with my hands until it stayed on its own. Eventually after it was all down, I continued to firmly iron it down with my bare hands. If you have to pull it back up, its ok. Just shoot some more clue down. I let it dry for about an hour, turned it upside down, sprayed the inside bottom edges and worked all that down too. I hope this helps. Shoot me a PM if you run into any problems.
 03-25-2008, 01:51 PM
#20
i did this on my hardtop car, went to a fabric store (Joannes Fabrics in CT) and got fabric actually called headliner material that looked and felt like the stock headliner on one side and the other side had about a quarter inch of foam. used rattle can headliner glue (about $20) and heres a little tip to make it stick to all of the bends...use a heavy pile of old newspapers to keep weight on the fabric while it dries. i had to do this twice because the first time i didnt use the whole can of glue and also didnt use the newspaper and a year later it was sagging again. now its been another year and its still in place.

