
PRC Stg2.5 5.3's & MS4 install!!
 05-16-2008, 05:30 PM
#1
Staging Lane
Thread Starter
iTrader: (4)
Join Date: Mar 2007
Location: St. Paul, MN
Posts: 61
Likes: 0
Received 0 Likes
on
0 Posts

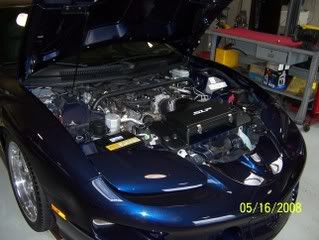
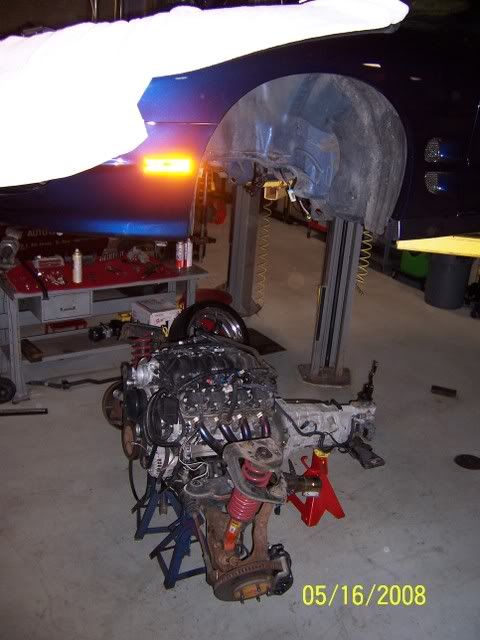
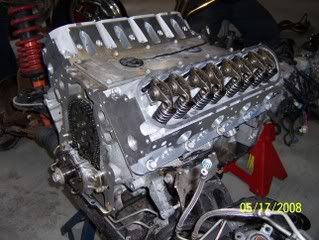
Well it is finally time, I have collected enough parts over the winter to start making some real power with the car. I will be installing the following in the car.
PRC stage 2.5 5.3's (milled .030"/ 59cc)
MS4
Cometic .040" gaskets
Ford Racing 42# green tops
Caddy Racing/ CTSV-R lifters
Hardened pushrods
160* stat
UDP
Well thats about all that comes to mind right now. I will be starting the project as soon as I am done here. My plans are to drop everything out the bottom, flycut, reassemble, reinstall and hit the key. JK. It will be a lot of work but I have to get everything taken care of this weekend. If anyone has any questions or suggestions that will help along the way please post. I will take as many pics and document as much as possible.
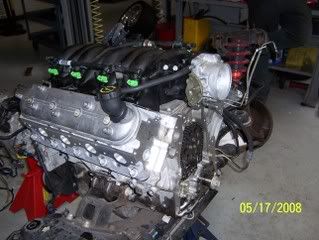
Here are some pics. I think its time!
PRC stage 2.5 5.3's (milled .030"/ 59cc)
MS4
Cometic .040" gaskets
Ford Racing 42# green tops
Caddy Racing/ CTSV-R lifters
Hardened pushrods
160* stat
UDP
Well thats about all that comes to mind right now. I will be starting the project as soon as I am done here. My plans are to drop everything out the bottom, flycut, reassemble, reinstall and hit the key. JK. It will be a lot of work but I have to get everything taken care of this weekend. If anyone has any questions or suggestions that will help along the way please post. I will take as many pics and document as much as possible.
Here are some pics. I think its time!
 05-16-2008, 05:41 PM
#2
Staging Lane
Join Date: May 2007
Location: Mesa, AZ
Posts: 91
Likes: 0
Received 0 Likes
on
0 Posts
hahaha say goodby to 89 octane and 17 mpg. Youre going to have like 11.5:1 CR lol. Thats a hot setup. Post vids when you get it together.
Last edited by iamnitrox; 06-04-2008 at 10:15 PM.
 05-16-2008, 09:14 PM
#6
Staging Lane
Thread Starter
iTrader: (4)
Join Date: Mar 2007
Location: St. Paul, MN
Posts: 61
Likes: 0
Received 0 Likes
on
0 Posts
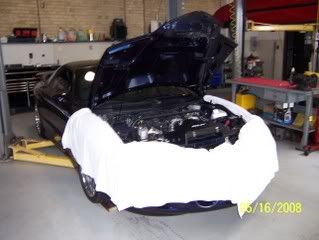
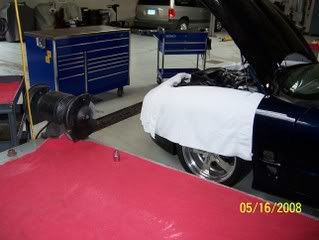
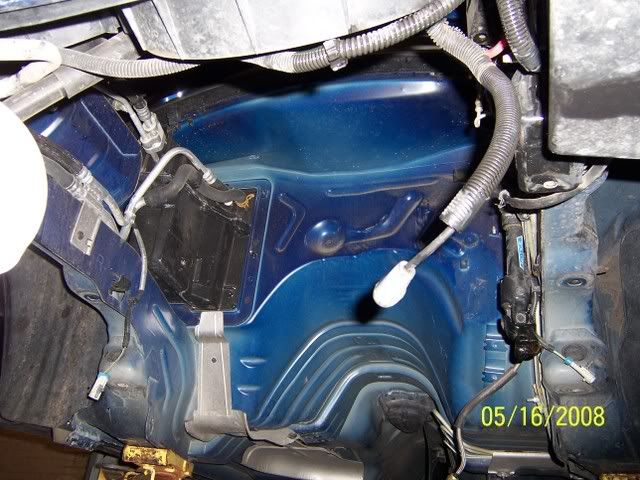
Well a little work and everything fell out without a hitch. Took about 3 hrs with proper tools, air and a hoist.
Some more pics:
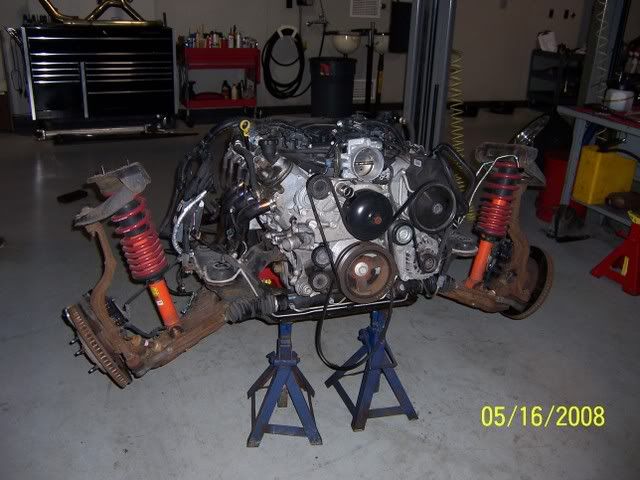
Looks kind of empty!!
Some more pics:
Looks kind of empty!!

Trending Topics

 05-17-2008, 08:19 AM
#11
Staging Lane
Thread Starter
iTrader: (4)
Join Date: Mar 2007
Location: St. Paul, MN
Posts: 61
Likes: 0
Received 0 Likes
on
0 Posts
I do plan on flycutting, that will be happening in a few hours. I was going to start with .080" on both and PTV it.
05-17-2008, 11:42 PM
#12
Staging Lane
Thread Starter
iTrader: (4)
Join Date: Mar 2007
Location: St. Paul, MN
Posts: 61
Likes: 0
Received 0 Likes
on
0 Posts
Well, it is up and runnin, I had a solid 18 hrs into the project with help from a good friend. Made a few light pulls with the rev limiter set at 6200, AFR's were way rich (around 10.5) only running about 23* of timing and the car feels very strong already. I will post up a lot more details about the build later. For now it is time to tune.
05-18-2008, 12:35 AM
#13
On The Tree
Join Date: Sep 2007
Posts: 180
Likes: 0
Received 0 Likes
on
0 Posts
Well, it is up and runnin, I had a solid 18 hrs into the project with help from a good friend. Made a few light pulls with the rev limiter set at 6200, AFR's were way rich (around 10.5) only running about 23* of timing and the car feels very strong already. I will post up a lot more details about the build later. For now it is time to tune.
Good job Carl, and probably Sean gave ya a hand. Can't wait to see it!

 05-18-2008, 10:24 AM
#15
Staging Lane
Thread Starter
iTrader: (4)
Join Date: Mar 2007
Location: St. Paul, MN
Posts: 61
Likes: 0
Received 0 Likes
on
0 Posts
Well know that things are all taken care of I will post up some details:
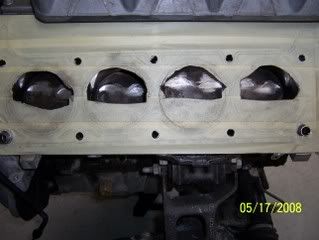
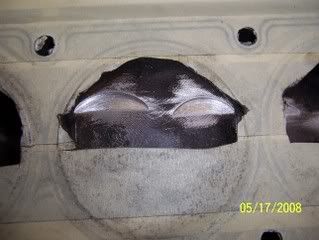
1. Flycutting
Flycutting was a lot easier than expected, it took about a total of 2-3 hours to cut all pistons, hand smooth the cuts and clean off all the surfaces when done. I used a .080" inch washer and cut a slot to get it over the shaft to set the lock on the cutting tool (worked very well). I took of .080 of an inch on both the intake and exhaust. I did check PTV when done using clay and there was over .050 of clearance on the intakes and a little more than that on the exhaust.
2. Valvetrain
So I researched the S**T out of what type of lifter to run and what length pushrod was required and this is what I found. The lifter that I chose to run is commonly referred to as the Caddy Racing/ CTSV-R, the GMPP part # is 88958689. I found that the recommended lifter preload is .040-.060".
-My measured lifter preload with a 7.350" pushrod was .058" intake, .102" exhaust. (Wondering about switching to a 7.300" PR on the exh side)
-I also measured the base circle of the stock cam as well as the MS4 and this is what I found, stock base circle 1.550" on int. and exh., MS4 base circle 1.390" int. 1.435"exh. Amount of change below:
Stock-MS4= amount of change
Intake 1.55-1.390= -.160"
Exhaust 1.55-1.435= -.115"
Just to reiterate, this was attained using Conetic .040" gaskets and milling the heads .030".
The valvetrain is extremely quite with no noticeable sewing machine sound or clatter warm or cold. This is one of the quietest cammed cars I have heard and I have to attribute that to the Caddy racing lifters.
I did also degree the cam and it came out to be an additional degree advanced putting it at a total of 2* advanced (Std MS4 has 1* ground in)
3. Overall engine assembly.
Nothing to complicated here, simply take your time make sure to do things right and your end product will be what you want.
4. Drive and feel:
I just did some very basic tuning last night to get things driveable and it feels really good. I am yet to feel any of the surging and bucking typically associated with this cam. It feels pretty good down low and pulls like a mule up over 4500 rpm. Idle sound is just crazy with the Corsa exhaust! It made my girlfriend jump when I cold started it this morning. I will post up some idle and WOT videos later. Overall I am very happy with the setup and can't wait to get it tuned, dynoed and raced!
If anyone has any questions hit me with a PM and I would be happy to give you a call and answer anything that I can.
Thanks to the guys at Texas Speed (Jon, Jason and Matt) you answered all of my questions, shipped products quickly and helped me out a ton! Your products look and perform outstanding and I am glad you guys can provide such a great head for a budget price! Also to my good friend Jeff for helping out with everything, we got things taken care of in under 30 hrs and still slept a little. BTW if you read this buddy I'm coming for your Cobra!!
Carl Thomas
CJTunes
05-18-2008, 11:42 AM
#16
On The Tree
Join Date: Sep 2007
Posts: 180
Likes: 0
Received 0 Likes
on
0 Posts
Nice Carl, that Cobra is gonna have some trouble, even if he is putting down 500rwhp. You're gonna make your power quicker and all over the band. I'd put my money on you big guy! Pictures look great! Just tune it and break it in and let it rip!
05-18-2008, 01:11 PM
#18
Well know that things are all taken care of I will post up some details:
1. Flycutting
Flycutting was a lot easier than expected, it took about a total of 2-3 hours to cut all pistons, hand smooth the cuts and clean off all the surfaces when done. I used a .080" inch washer and cut a slot to get it over the shaft to set the lock on the cutting tool (worked very well). I took of .080 of an inch on both the intake and exhaust. I did check PTV when done using clay and there was over .050 of clearance on the intakes and a little more than that on the exhaust.
I'm curious what you used and specifically how you fly cut your pistons in the block like that. Did you use an old head or something?
05-18-2008, 08:00 PM
#19
Staging Lane
Thread Starter
iTrader: (4)
Join Date: Mar 2007
Location: St. Paul, MN
Posts: 61
Likes: 0
Received 0 Likes
on
0 Posts
The cutters that I used were from Isky racing. Part #s were #216 and #158 and are the proper sizes for 2.02/ 1.575 valves. They are available directly from Isky on there website.
05-18-2008, 08:26 PM
#20
Thanks!!!  I went on a mission to find that thing after I saw what you did and found another version of that tool in the sticky section. Don't mean to Thread Jack here but I thought I would share what I found. I personally have never seen or heard of this before but what A great Idea!!!
Here is the Link I found to another version of this tool. Whats nice about the other one is You don't have to remove the Seat either... so if you have a special head with different valve angles or something where getting a cheap spare head will be hard to do, I think this might be a better option.
https://ls1tech.com/forums/generation-iii-internal-engine/832105-flycutting-tools.html
I guess it can be purchased through www.lindytools.com or 1-800-823-2887
Thanks for sharing what you did and Best of luck with your build up!!!
I went on a mission to find that thing after I saw what you did and found another version of that tool in the sticky section. Don't mean to Thread Jack here but I thought I would share what I found. I personally have never seen or heard of this before but what A great Idea!!! Here is the Link I found to another version of this tool. Whats nice about the other one is You don't have to remove the Seat either... so if you have a special head with different valve angles or something where getting a cheap spare head will be hard to do, I think this might be a better option.
https://ls1tech.com/forums/generation-iii-internal-engine/832105-flycutting-tools.html
I guess it can be purchased through www.lindytools.com or 1-800-823-2887
Thanks for sharing what you did
and Best of luck with your build up!!!