Repairing 'wrecked' fiberglass hood
 05-21-2008, 05:20 PM
#1
TECH Fanatic
Thread Starter
iTrader: (2)
Join Date: Aug 2003
Location: michigan; where even our licens plates rust
Posts: 1,712
Likes: 0
Received 0 Likes
on
0 Posts

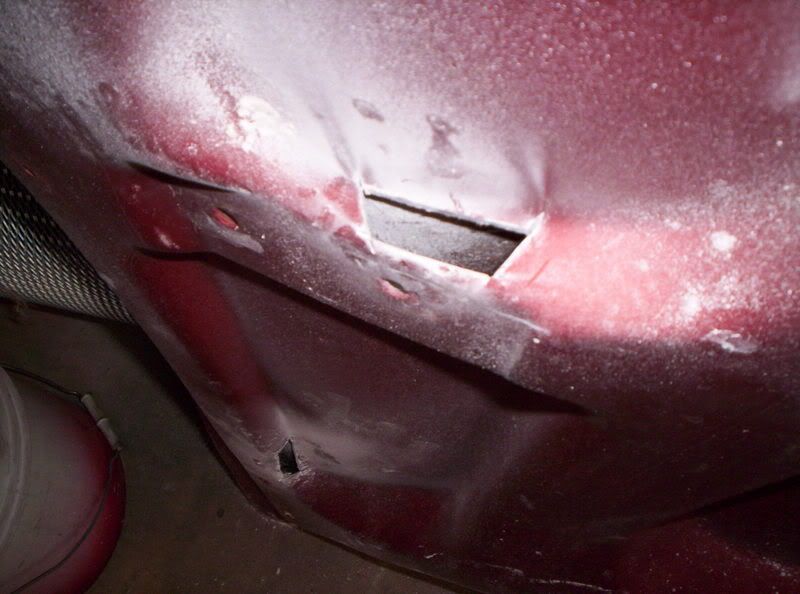
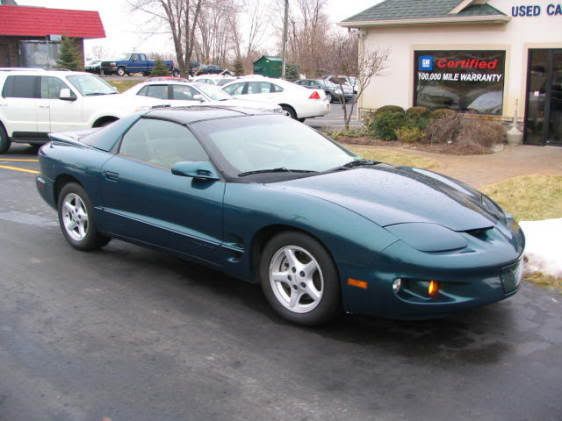
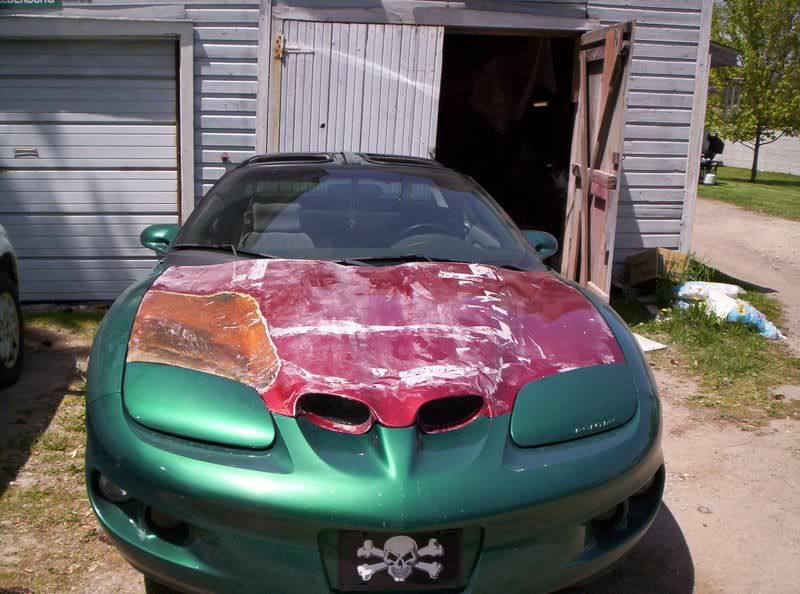
I got a hell of a good deal on this raptor hood that’s been in a wreck.
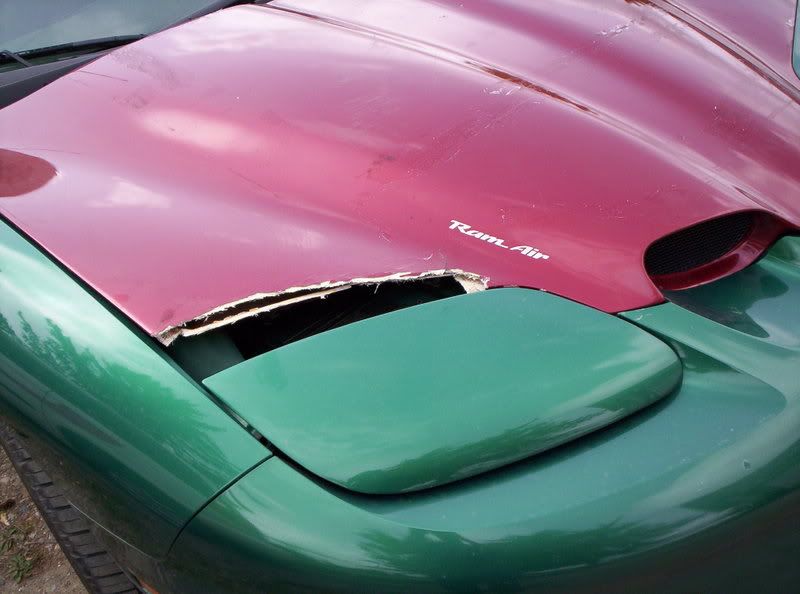
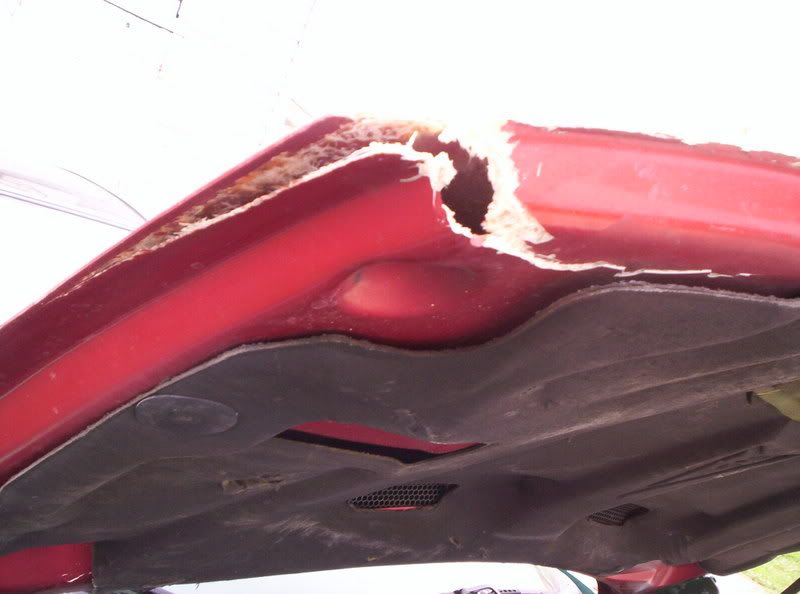
Tapped metal pads fell off In a few places
So hopefully over the weekend I will document how to repair and paint this hood. I will like to take the time to state that I am not a professional, every thing I explain here is how I have repaired stuff like this in the past.
Tapped metal pads fell off In a few places
So hopefully over the weekend I will document how to repair and paint this hood. I will like to take the time to state that I am not a professional, every thing I explain here is how I have repaired stuff like this in the past.
Last edited by cudaeh; 06-04-2008 at 05:55 AM.
 05-21-2008, 05:21 PM
#2
TECH Fanatic
Thread Starter
iTrader: (2)
Join Date: Aug 2003
Location: michigan; where even our licens plates rust
Posts: 1,712
Likes: 0
Received 0 Likes
on
0 Posts
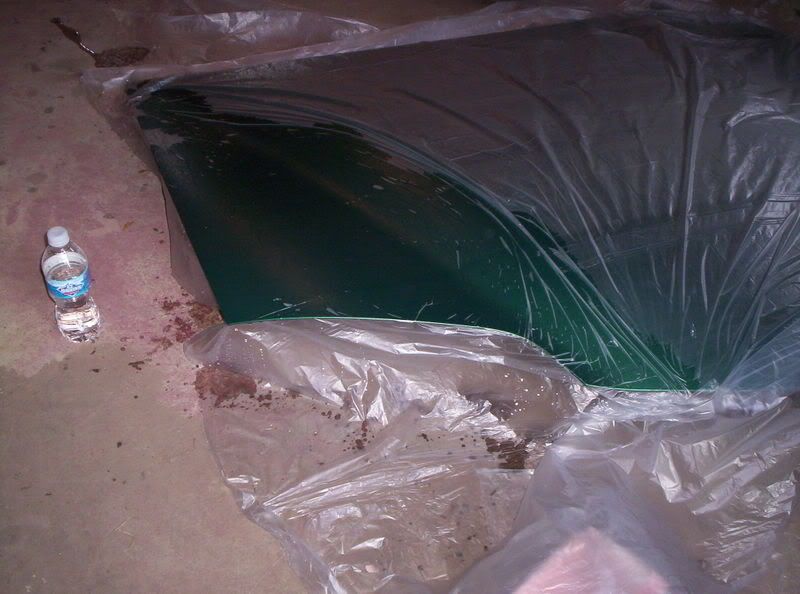
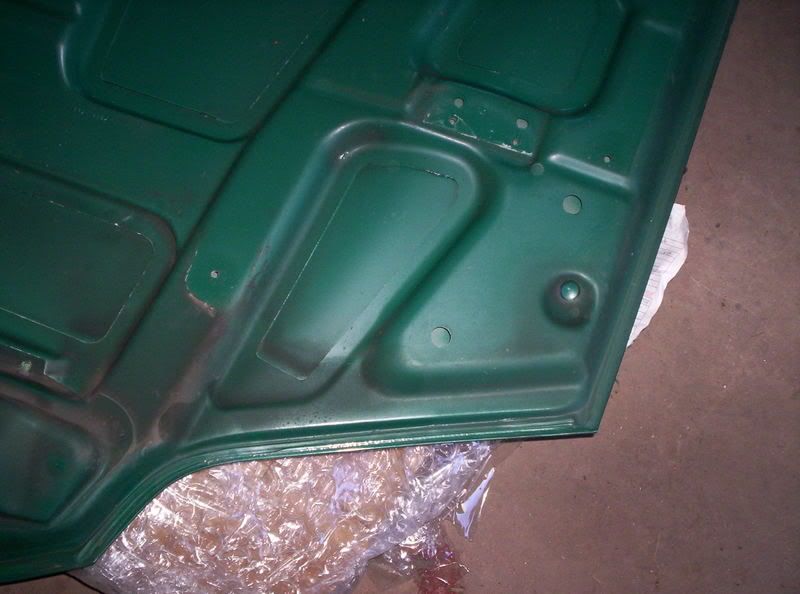
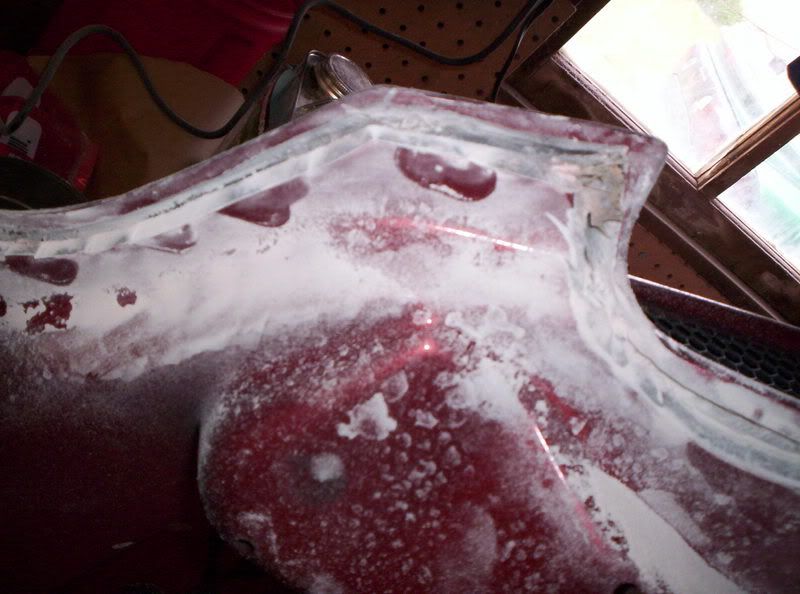
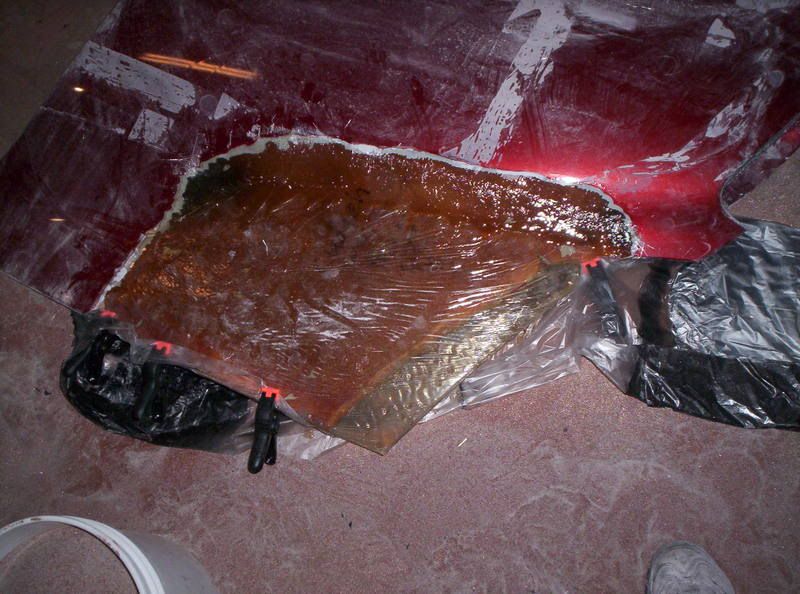
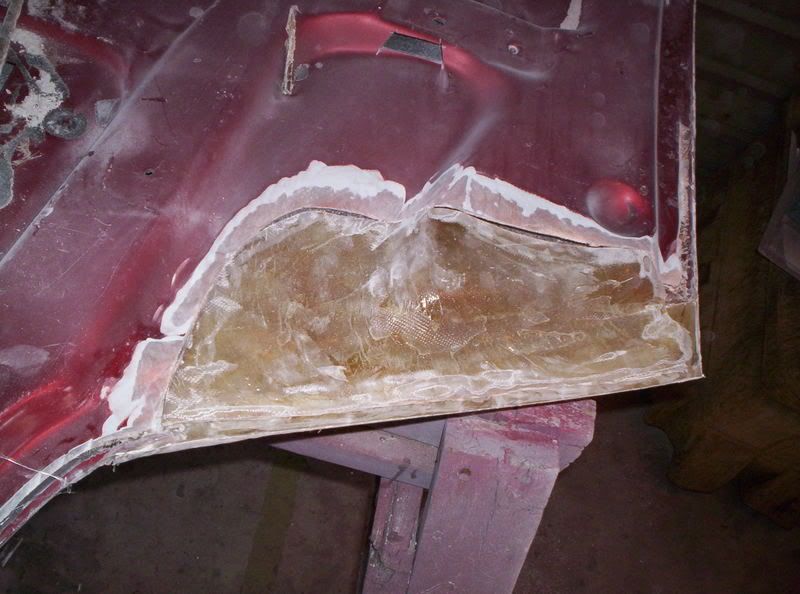
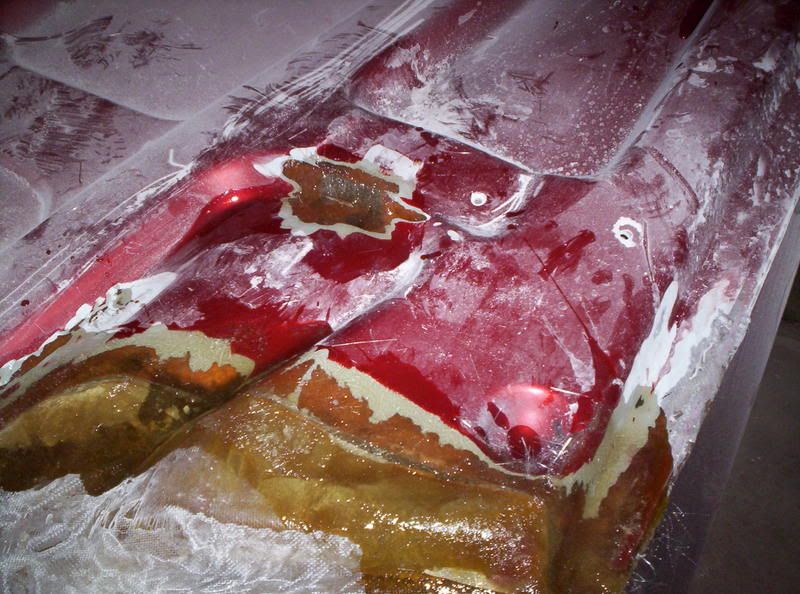
After swapping the hoods take the stock hood and lay it on the floor.
Wet down the hood with a little bit of water and cover with painters plastic (wetting down the hood will keep the plastic from floating away)
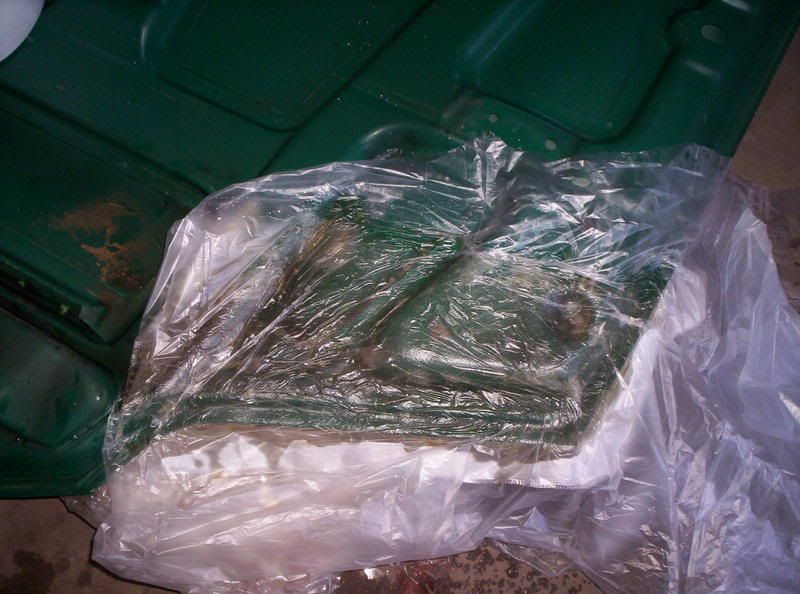
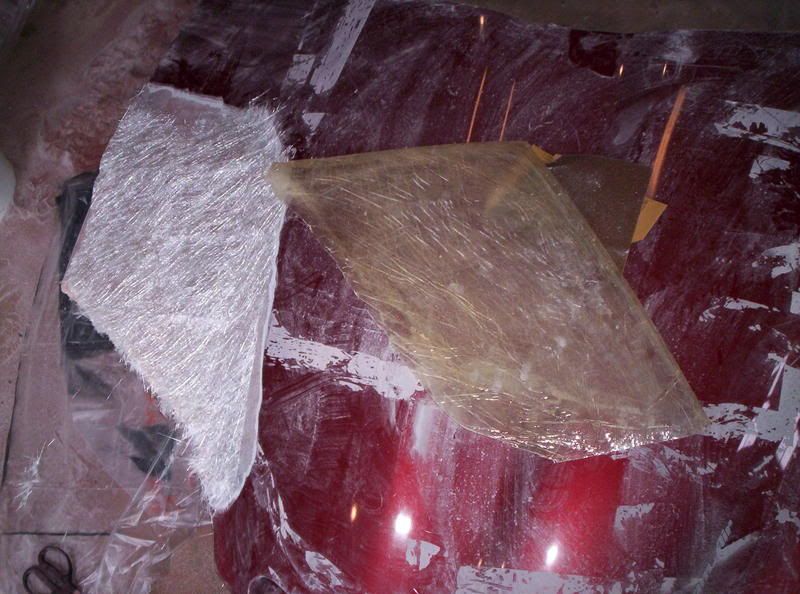
 Take two sheets of light weight fiberglass cloth (automotive patch grade) cut them to general size and place them. Mix some fiberglass resin up as directed and spread it on the cloth generously.
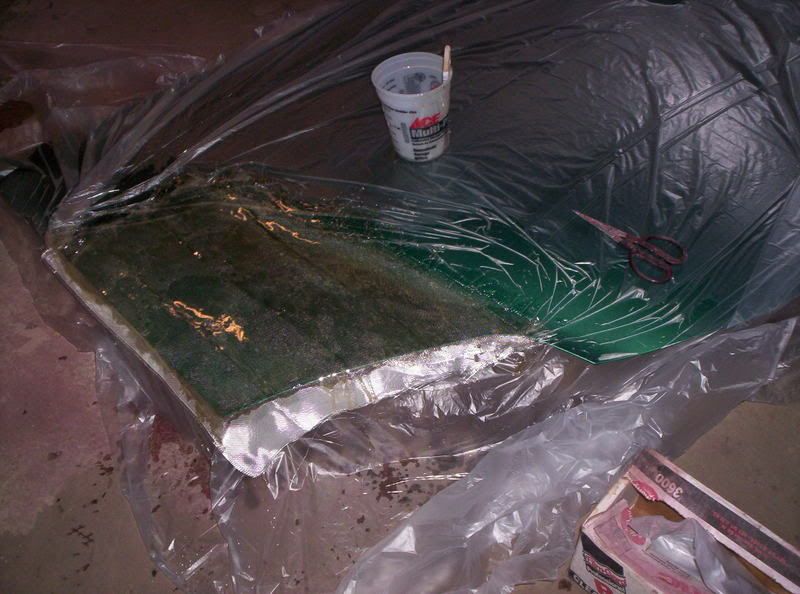
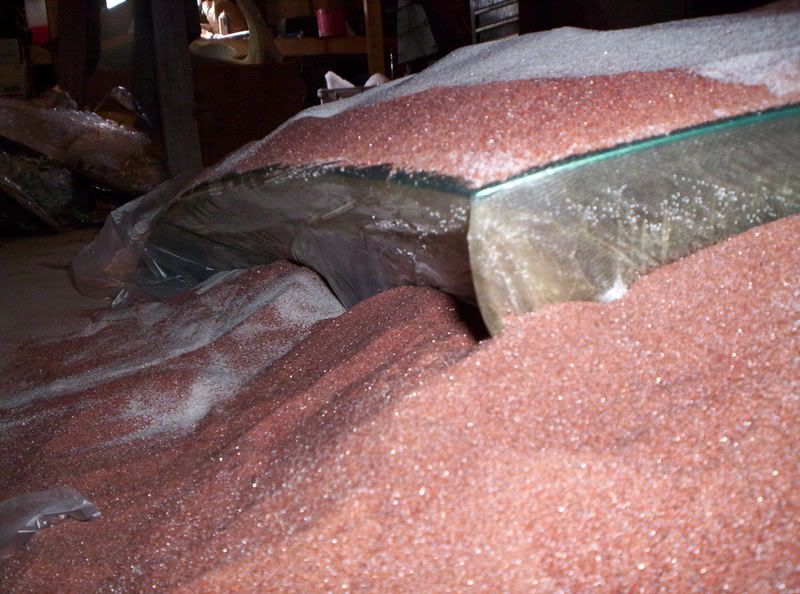
Fold the plastic over onto the fiberglass cloth and cover with sand. This will sandwich the fiberglass between layers of plastic and put pressure evenly on it.
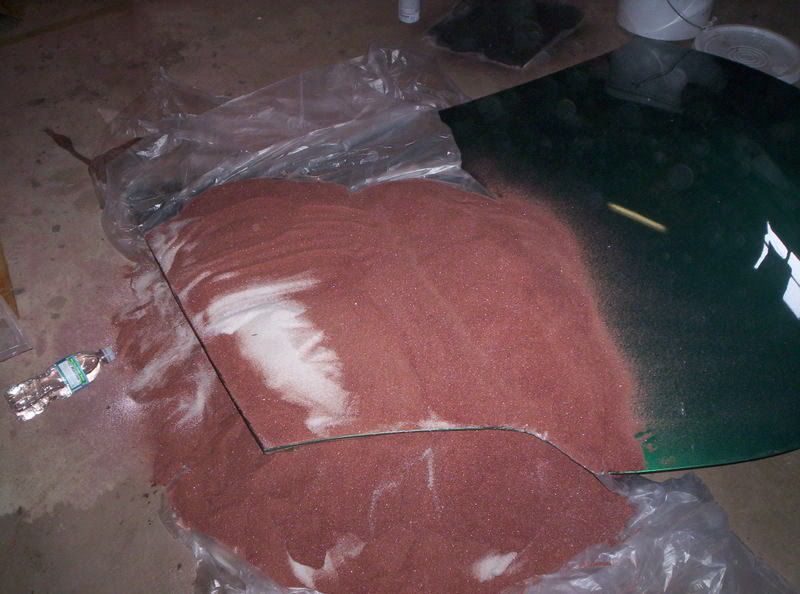
Make sure to ‘tuck’ the plastic and sand on the floor under the edge of the hood a bit. This will create an undercut that will help blend it into the hood once done.
Wet down the hood with a little bit of water and cover with painters plastic (wetting down the hood will keep the plastic from floating away)
Take two sheets of light weight fiberglass cloth (automotive patch grade) cut them to general size and place them. Mix some fiberglass resin up as directed and spread it on the cloth generously. Fold the plastic over onto the fiberglass cloth and cover with sand. This will sandwich the fiberglass between layers of plastic and put pressure evenly on it.
Make sure to ‘tuck’ the plastic and sand on the floor under the edge of the hood a bit. This will create an undercut that will help blend it into the hood once done.
Last edited by cudaeh; 06-04-2008 at 05:57 AM.
 05-21-2008, 11:14 PM
#4
TECH Fanatic
Thread Starter
iTrader: (2)
Join Date: Aug 2003
Location: michigan; where even our licens plates rust
Posts: 1,712
Likes: 0
Received 0 Likes
on
0 Posts
hey thank you!
yeah I got lucky that the majority of the damage was isolated to a portion of the hood that is identical to the stock.
yeah I got lucky that the majority of the damage was isolated to a portion of the hood that is identical to the stock.
05-22-2008, 11:56 AM
#6
TECH Fanatic
Thread Starter
iTrader: (2)
Join Date: Aug 2003
Location: michigan; where even our licens plates rust
Posts: 1,712
Likes: 0
Received 0 Likes
on
0 Posts
thank you.
allot of people see me doing projects like this and tell me that with my labor its cheaper just to buy a good one... I end up telling them that its not that Im trying to save money, its just that I cant afford a setup like that unless I go about it this way.
allot of people see me doing projects like this and tell me that with my labor its cheaper just to buy a good one... I end up telling them that its not that Im trying to save money, its just that I cant afford a setup like that unless I go about it this way.
05-22-2008, 07:10 PM
#7
TECH Fanatic
Thread Starter
iTrader: (2)
Join Date: Aug 2003
Location: michigan; where even our licens plates rust
Posts: 1,712
Likes: 0
Received 0 Likes
on
0 Posts
ok,
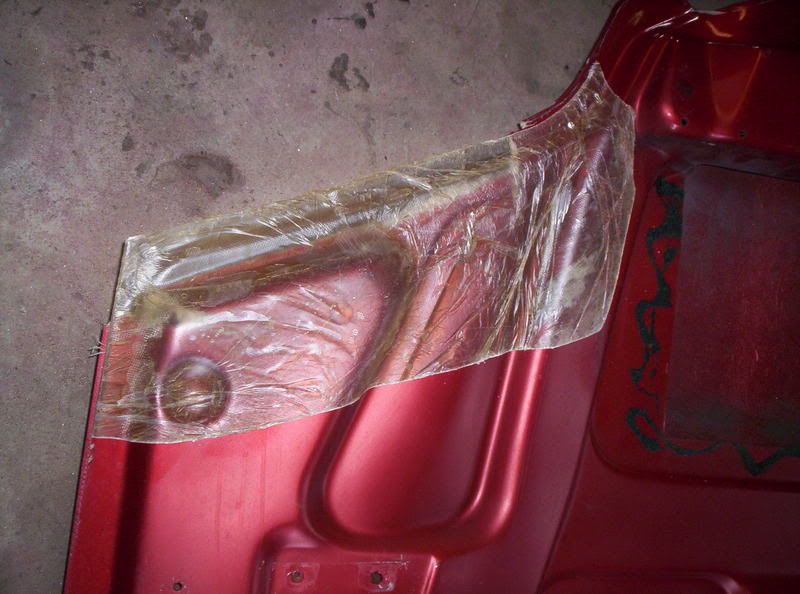
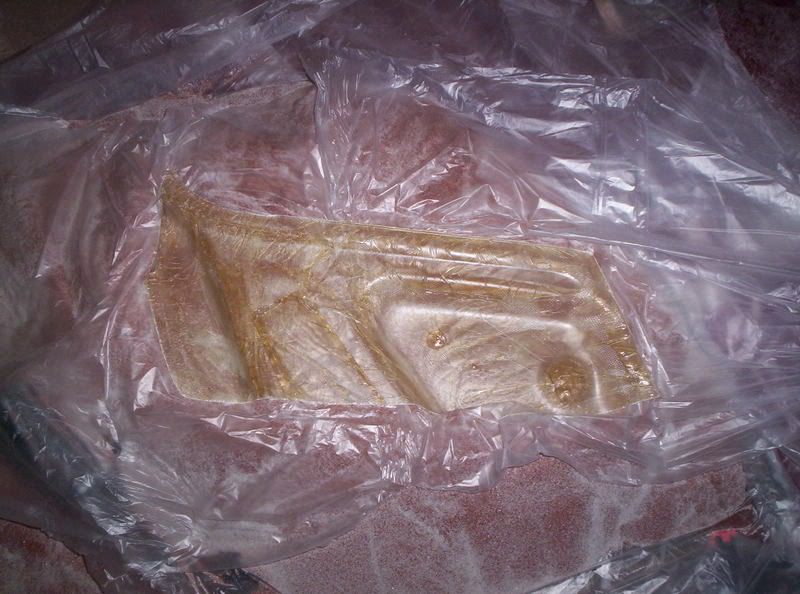
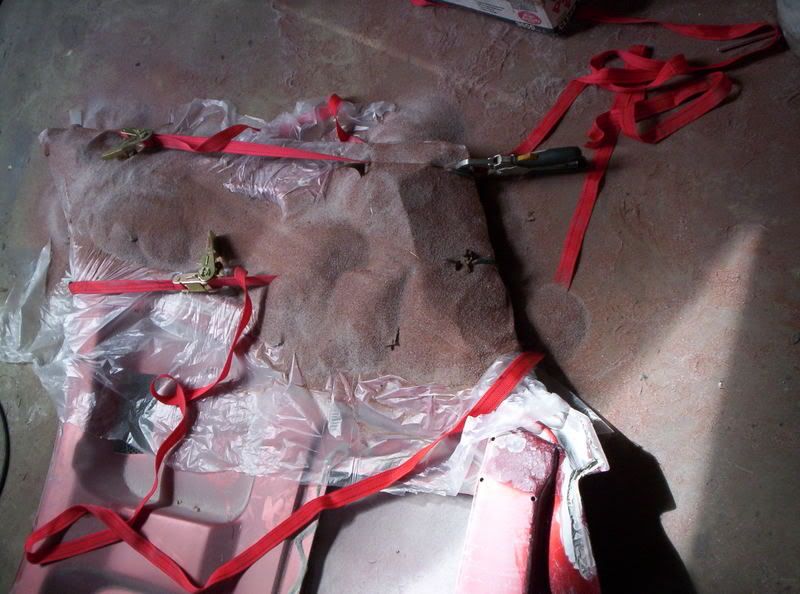
took the sand off,
cut the excess glass away,
and did a test fit..
lookin good
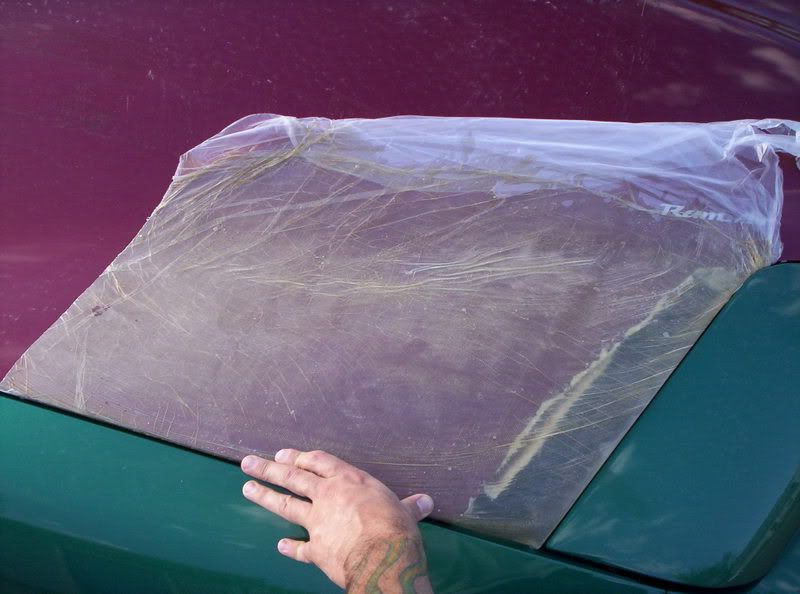
now because the damage was so extensive and because I want to be able to pop the hood and show off from time to time, I now need to do the exact same thing to the underside of the hood.

same process as last time...
now because Im repairing both top and bottom I have to proceed very carfully from this point on to make sure its not horrably warped... I still am unsure exactly how to do this but Ill think of something...
took the sand off,
cut the excess glass away,
and did a test fit..
lookin good
now because the damage was so extensive and because I want to be able to pop the hood and show off from time to time, I now need to do the exact same thing to the underside of the hood.
same process as last time...
now because Im repairing both top and bottom I have to proceed very carfully from this point on to make sure its not horrably warped... I still am unsure exactly how to do this but Ill think of something...
Last edited by cudaeh; 06-04-2008 at 06:02 AM.
Trending Topics
 05-23-2008, 05:51 PM
#10
TECH Fanatic
Thread Starter
iTrader: (2)
Join Date: Aug 2003
Location: michigan; where even our licens plates rust
Posts: 1,712
Likes: 0
Received 0 Likes
on
0 Posts
Thanx!
every thing I have done here is here is all stuff that I played around with from time to time... seriously if you make 3 sub boxes youll be a pro.
yeah it actually is, its amazing how fast the work day goes buy when you have something at home your looking forward to getting back to.
every thing I have done here is here is all stuff that I played around with from time to time... seriously if you make 3 sub boxes youll be a pro.
yeah it actually is, its amazing how fast the work day goes buy when you have something at home your looking forward to getting back to.
05-23-2008, 06:00 PM
#11
TECH Fanatic
Thread Starter
iTrader: (2)
Join Date: Aug 2003
Location: michigan; where even our licens plates rust
Posts: 1,712
Likes: 0
Received 0 Likes
on
0 Posts
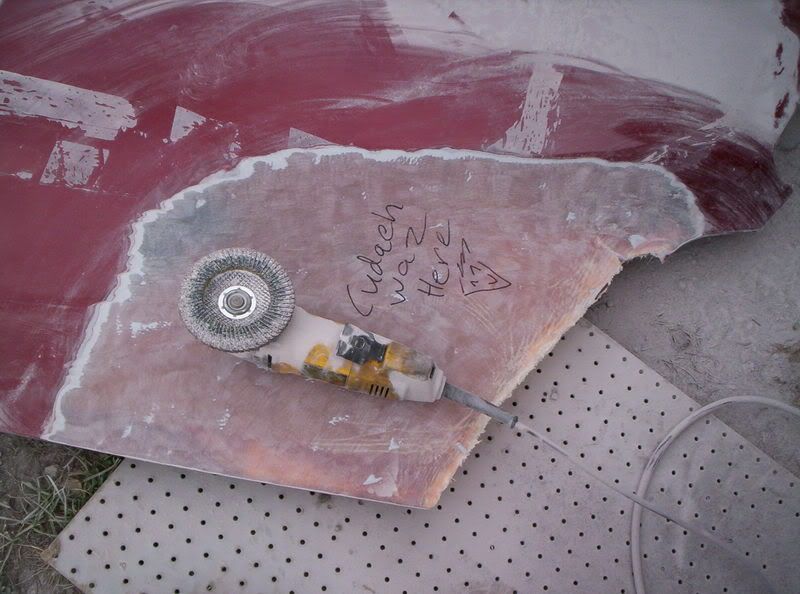
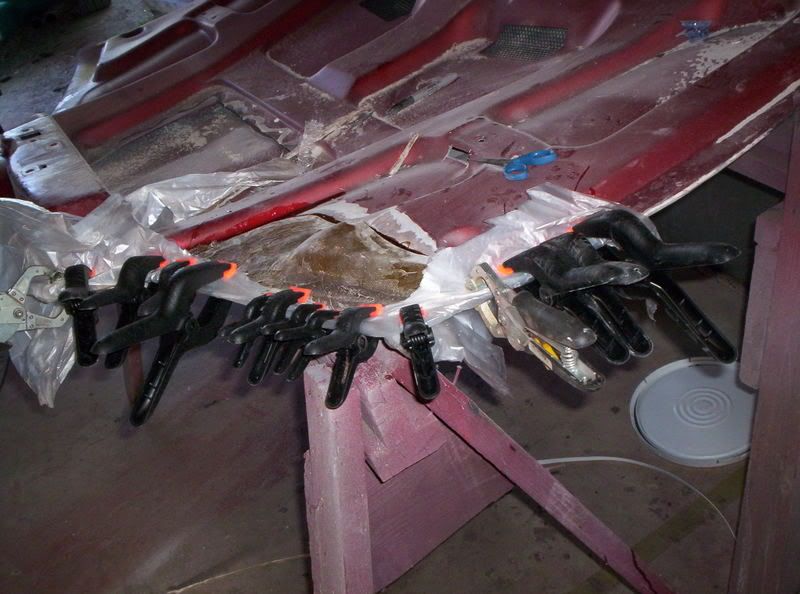
ok got more done.
I sized up the bottom patch.
I cut out the busted up section and about a 1/4" strip all around the busted seams
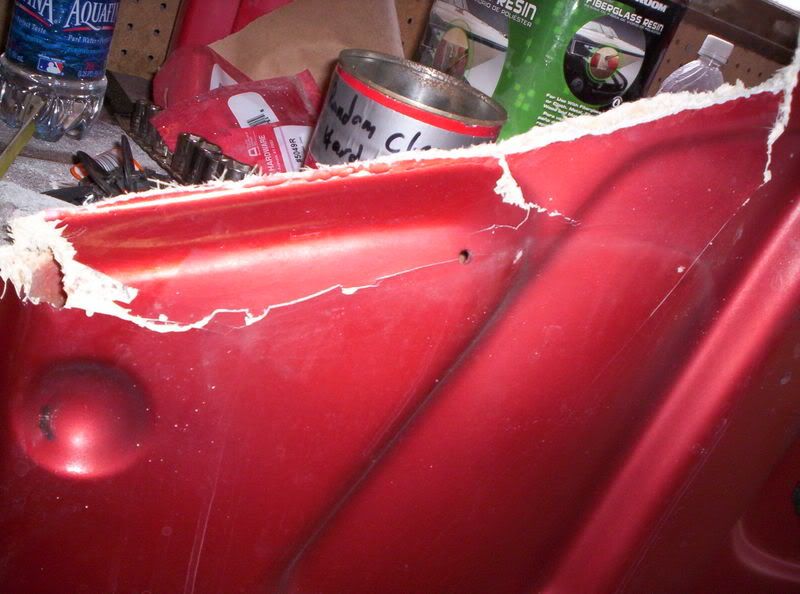

cut out access holes to fiberglass the tapped pads back into place
ground down the hood to bare fiberglass, and roughed up the surface as best as I could
I also roughed up the back side of the patch and then layed a layer of chop-cloth on the top side of the hood and drenched it with resin, then placed the patch on top of it and worked as many of the air bubbles out as possible.
then (not to beat a dead horse but this has worked very well) I placed a layer of painters plastic over the patch, clamped down the edges and covered it with sand.
multitasking
I layed down another bit of painters plastic and burried the bottom patch into it so it is supported from underneath. I then layed two pieces of chop cloth on the back side of it, drenched it with resin, covered it with plastic and sand...
I sized up the bottom patch.
I cut out the busted up section and about a 1/4" strip all around the busted seams
cut out access holes to fiberglass the tapped pads back into place
ground down the hood to bare fiberglass, and roughed up the surface as best as I could
I also roughed up the back side of the patch and then layed a layer of chop-cloth on the top side of the hood and drenched it with resin, then placed the patch on top of it and worked as many of the air bubbles out as possible.
then (not to beat a dead horse but this has worked very well) I placed a layer of painters plastic over the patch, clamped down the edges and covered it with sand.
multitasking
I layed down another bit of painters plastic and burried the bottom patch into it so it is supported from underneath. I then layed two pieces of chop cloth on the back side of it, drenched it with resin, covered it with plastic and sand...
Last edited by cudaeh; 06-04-2008 at 06:05 AM.
 05-24-2008, 06:33 PM
#14
TECH Fanatic
Thread Starter
iTrader: (2)
Join Date: Aug 2003
Location: michigan; where even our licens plates rust
Posts: 1,712
Likes: 0
Received 0 Likes
on
0 Posts
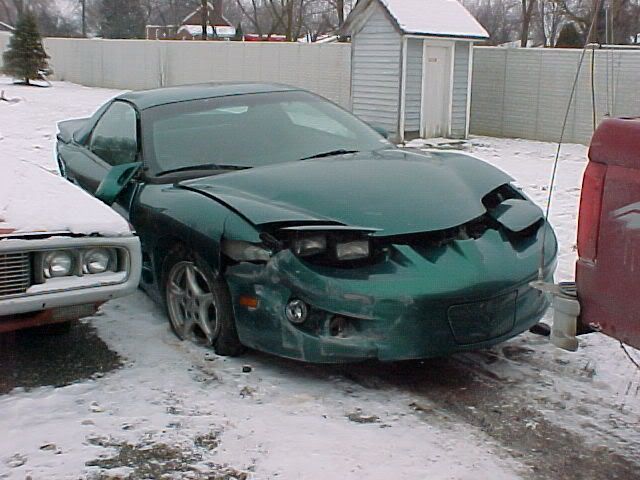
yeah Im a bit addicted to that color, though Ive owned 3 cars now and they are all diffrent colors.... weird.
my first was a
98 formula hard top
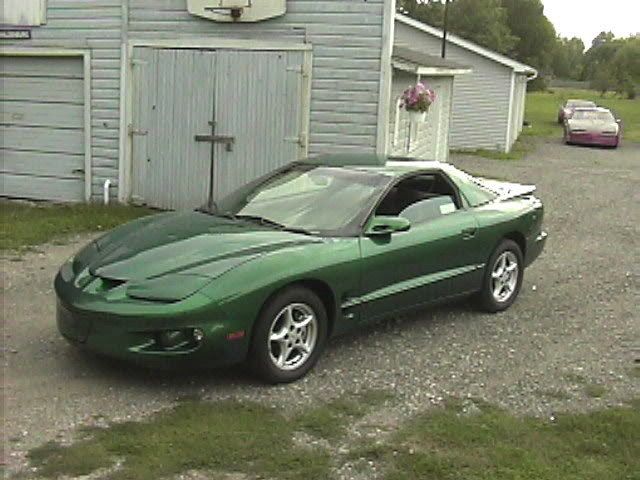
it ended into a highway divider
the next one (now my winter driver) is a 99 v6 t-top which is way darker with more blue to it
and my current 98 t-top formula is more of a lucky charms clover green with just a light splash of blue (first formula had a bit more blue in it than this one)

I gotta say I love all of the colors..
lots of overlap and crossed fingers.
05-24-2008, 06:47 PM
#15
TECH Fanatic
Thread Starter
iTrader: (2)
Join Date: Aug 2003
Location: michigan; where even our licens plates rust
Posts: 1,712
Likes: 0
Received 0 Likes
on
0 Posts
ok
I trimmed the under-side patch panel a bit undersized to what I need.
Then I stuffed a bit of chop cloth between the two parts where the seem split. I also put about 5 layers of chop cloth on the underside of the top skin of the hood ( to support the area between where the new patch begins and the old hood ends.
I drenched the entire thing with resin, put the under side patch in place and clamped all around.
I then set it on the floor and measured how hight the corners were off the ground.
I found that it was close
the new corner was 1/2" closer to the ground than the old one, so with 2 vice grips linked into an 'L' shape I pulled it up into place.
I also checked all along the edge and found that 4" in from the corner was about 1/4" lower on the new corner so I used another tie strap and pulled it up.
This will get me close.
notice I cut the underside patch about 1/8" undersize.
my next step will be to put the hood in place and see if the patch is still higher than the other side.
If it is I can measure by how much and bend the patch a bit while I place fiberglass over that gap... at least thats the plan.
Last edited by cudaeh; 06-04-2008 at 06:07 AM.
05-26-2008, 08:23 AM
#16
TECH Fanatic
Thread Starter
iTrader: (2)
Join Date: Aug 2003
Location: michigan; where even our licens plates rust
Posts: 1,712
Likes: 0
Received 0 Likes
on
0 Posts
test fit looks good,
it looks about 1/8" high. Ill try to correct it when I patch the seam underneath but if I cant its not too much to sand down.

it looks about 1/8" high. Ill try to correct it when I patch the seam underneath but if I cant its not too much to sand down.
Last edited by cudaeh; 06-04-2008 at 06:08 AM.
05-26-2008, 09:56 AM
#17
TECH Fanatic
Thread Starter
iTrader: (2)
Join Date: Aug 2003
Location: michigan; where even our licens plates rust
Posts: 1,712
Likes: 0
Received 0 Likes
on
0 Posts
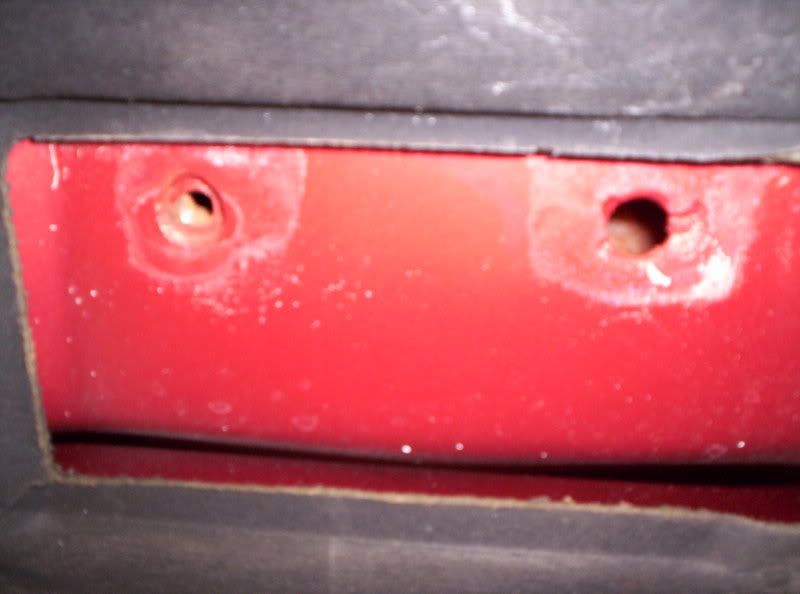
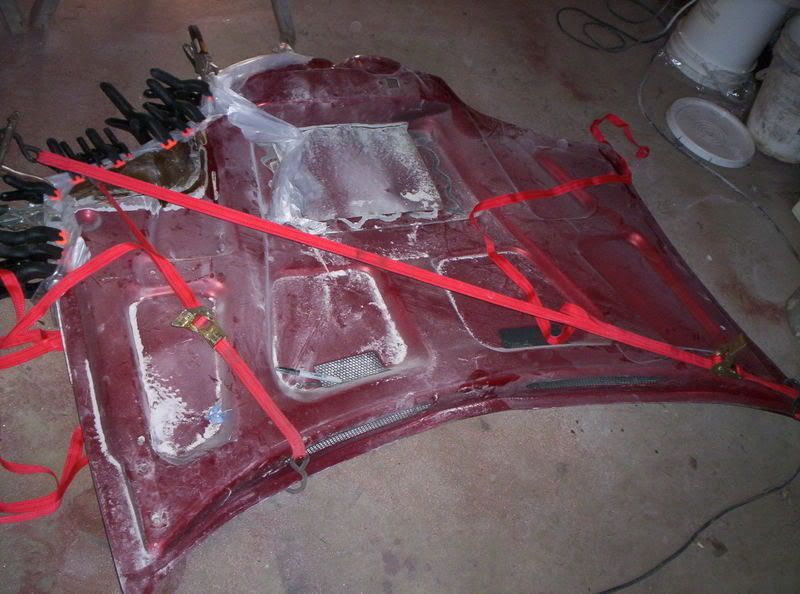
ok, basically in the accident 2 tapped metal pads came loose,
I fiberglassed those back into place, fiberglassed over the holes and fiberglassed over the small gap between the underside of the hood and that under-hood patch . I then put plastic over the fiberglassed portions and covered it with sand.
I then put some ratchet straps across the hood and put some tension on it so that the leading edge will hopefully be a bit lower.
Last edited by cudaeh; 06-04-2008 at 06:09 AM.
05-26-2008, 09:07 PM
#18
TECH Fanatic
Thread Starter
iTrader: (2)
Join Date: Aug 2003
Location: michigan; where even our licens plates rust
Posts: 1,712
Likes: 0
Received 0 Likes
on
0 Posts
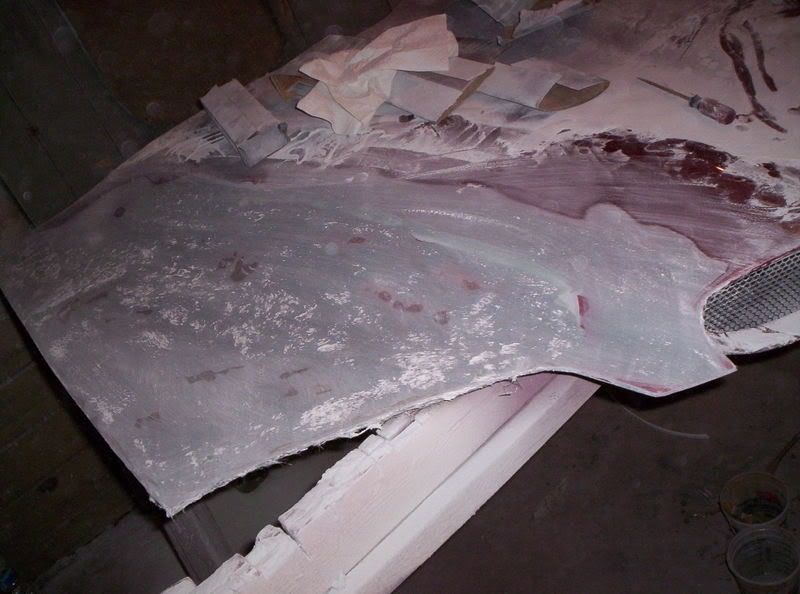
I knocked down the hight spots with the grinder again and spread a good layer of kitty hair filler. this is a mix of long hair fiberglass, body filler, and resin.

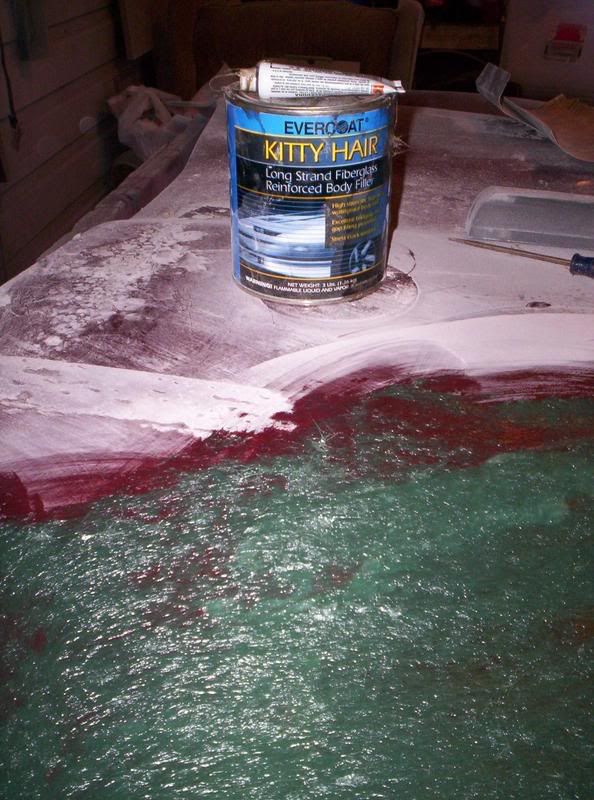
after that all dried I did lots of sanding to get my first good basline look
after that all dried I did lots of sanding to get my first good basline look
Last edited by cudaeh; 06-04-2008 at 06:09 AM.