Project Blown Money Pit - 3rd Times the Charm
 01-26-2015, 04:59 PM
#1

Since we are about to get pounded with snow, I figured why not spend some time and post a build thread. Some of you may know the car but here is the run down.
1997 Pontiac Trans Am WS6 Convertible
Current Configuration
Engine:
383 LTx Built by Ellwein Engines
Callies Dragonslayer Crank
Callies 5.85 Compstar Rods w/ ARP 2000 bolts
Diamond custom pistons - Double Diamond coating and slip skirt, H-13 pins, double pin oiler, gas ports, pin-fit, etc.
Total Seal conventional style ring set
Eagle 4-bolt Main Caps - Studded
LE Custom Blower Cam - Moderate
Top End:
LE Trick Flow 21deg Heads
LE Stock Ported Intake
Manley Nextek Springs, Locks, Retainers
Comp Hi-Tech Pushrods
Comp Ultra 1.6RR
Crower Link Bar Lifters
Cometic MLS Head Gasket
ARP Head Studs
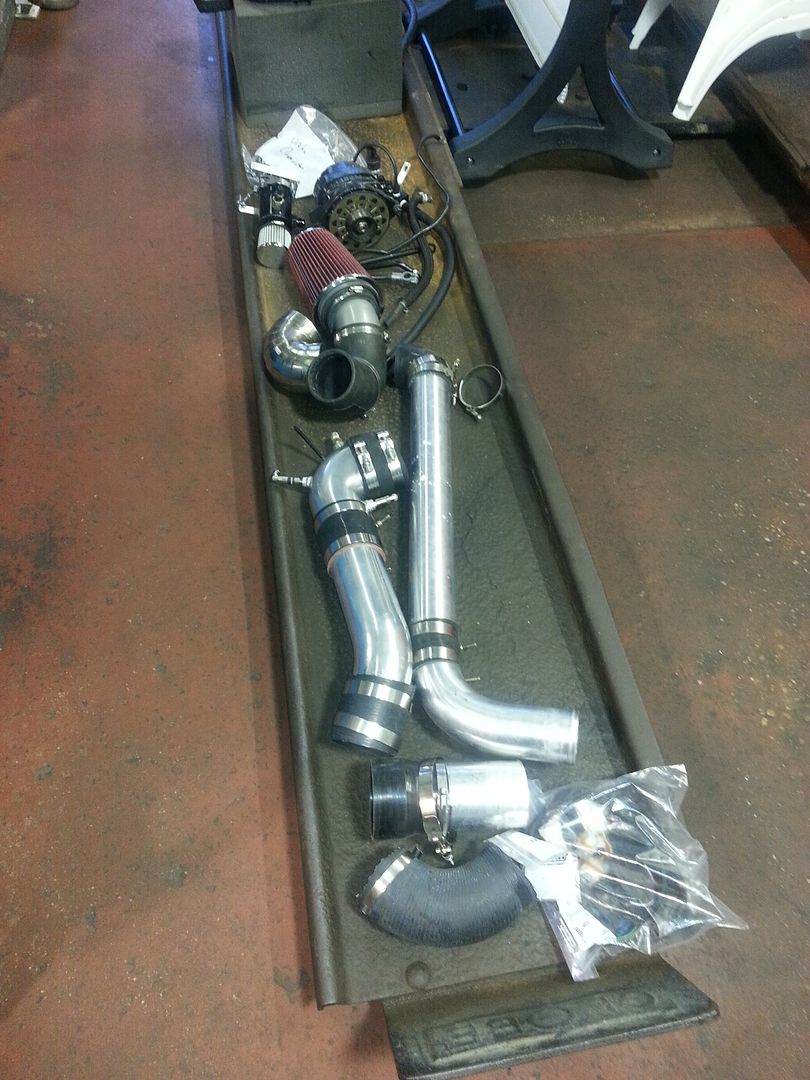
Power Adder:
Procharger F1-A, 12 Rib
ATI Custom Big Block Chevy Hub
Custom Machined Pulley Spacer
Procharger Red Open Bypass
FMIC
Ignition/Computer:
EFI Connection 24x - Complete System
Trans/Rear:
Tick Level 3 T56 - Viper mainshaft, etc
McLeod Twin Disc
S60
Fuel:
Lonnies Double Pumper
Stock Lines
Snow Meth
Exhaust:
LPP stepped headers
Mufflex Custom Y
Mufflex 4" Exhaust
Suspension:
UMI road race k-member
UMI upper and lower a-arms
Double Adjustable Shocks - Front and Rear
UMI Chassis Mount Torque Arm
UMI Rear LCA
BMR Drag Bar
Kenny Brown Double Diamond Subframe Connectors
Build Summaries:
1st Build - Machine work done by a local shop, engine assembled personally. The car was built in my garage with the help of great friends and fellow F-body enthusiasts. Car put down 710rwhp on a dynojet with 15lbs of boost and the twin 3.5" Procharger intercoolers. After adding a FMIC, more boost with a pulley change (~19-20psi), I didn't see any additional peak power on the dyno but I did see a big increase in the mid range. Best time in the car was 10.7 @ 137. Unfortunately, this engine always ate oil...a lot of it. We are talking about a quart every 100-125 miles. I drove it like this for 3 years and through multiple track outings. The engine never missed a beat but the oil consumption bothered the crap out of me. I literally had range anxiety if I drove anywhere without checking the oil multiple times.
I finally decided I was tired of the oil issue so after the last track rental, I did a leak down test with a friend and it looked like the rings were toast. These rings were a Total Seal Gapless Top set. Thinking I must have missed something during my amateur engine build, I called up Karl Ellwein at Ellwein Engines to discuss the issue and my goals. This is where move onto the second build.
2nd Build - http://www.ellweinengines.com/ERE48/ERE48.htm - I convinced my crazy set of friends to help remove the engine so it could be driven down to Ellwein Engines. This is normally a 9 hr round trip with no traffic however the weather decided to get ugly resulting in a 13 hour trek. While we were at Karl's, we tore into the engine and to our surprise, the cylinder head intake ports were spotless. It seemed the heads could be ruled out here. The bores showed signs of potential fuel wash which would be odd as I watch my a/f gauge like a hawk and never saw any gross over-fueling situations. The bottom end looked excellent and my assembly worked looked to be spot on. After a trip to the machine shop for reconditioning, it was noticed that the bored were ovaled and were not 30 over but actually 27. At that point, I had a frank conversation with the original machine shop. Knowing this was something I built in my garage and with no real way to prove a mistake was made, I wasn't in it for any reimbursement. This was more letting someone know a mistake was made and that I wasn't happy. I didn't want to bleed drama into this rebuild so I did not pursue the issue further. The learning experience here is to check everyone's work, no matter how good they are supposed to be. Everyone can have a bad day.
Karl was excellent with communication and routinely updated the build page when asked. He is a through and through a LTx enthusiast. I have been reading his build pages for years so it was nice to see mine on the site and in good hands. The heads were gone through by one of the shops he uses to make sure they were in good order. The block was remachined to spec, rings/gaskets/seals, etc were replaced appropriately. While the engine was apart, I made a small cam change to a slightly more aggressive design to take advantage of the higher boost. The engine went together and back in the car.
The first start went very well with zero smoke from the tailpipe. Woohoo!! I got it on the road ASAP to start breaking in the engine. I did everything by the book and loading it up well while giving it some boost. The engine felt really strong and better than before. I noticed on the first trip that it puffed blue after sitting at a stop light for 10-15 secs. I was hoping this was something that would clear up but I was wrong. The smoking continued and it was burning oil again. I spoke with Karl, Total Seal and everyone under the sun to figure out why this was happening again. I was advised by all parties to keep driving it and perhaps the rings just didn't seat yet.
After a bunch of phone calls, emails and even an attempted dyno tune, I decided to park the car. This is one of those situations where something is wrong but everything was followed by the book. It was a very defeating feeling knowing how much energy, money, favors, time, and general effort was put into this to have it result in the same situation.
The car did lay down a respectable 654rwhp on a Mustang dyno in this condition blowing smoke the entire way. I will say throughout this issue, Karl has been a stand up guy and has made a number of personal sacrifices to see this build come alive again. The same can be said for my close friends which brings us to the current rebuild.
Continue reading for the 3rd Rebuild
1997 Pontiac Trans Am WS6 Convertible
Current Configuration
Engine:
383 LTx Built by Ellwein Engines
Callies Dragonslayer Crank
Callies 5.85 Compstar Rods w/ ARP 2000 bolts
Diamond custom pistons - Double Diamond coating and slip skirt, H-13 pins, double pin oiler, gas ports, pin-fit, etc.
Total Seal conventional style ring set
Eagle 4-bolt Main Caps - Studded
LE Custom Blower Cam - Moderate
Top End:
LE Trick Flow 21deg Heads
LE Stock Ported Intake
Manley Nextek Springs, Locks, Retainers
Comp Hi-Tech Pushrods
Comp Ultra 1.6RR
Crower Link Bar Lifters
Cometic MLS Head Gasket
ARP Head Studs
Power Adder:
Procharger F1-A, 12 Rib
ATI Custom Big Block Chevy Hub
Custom Machined Pulley Spacer
Procharger Red Open Bypass
FMIC
Ignition/Computer:
EFI Connection 24x - Complete System
Trans/Rear:
Tick Level 3 T56 - Viper mainshaft, etc
McLeod Twin Disc
S60
Fuel:
Lonnies Double Pumper
Stock Lines
Snow Meth
Exhaust:
LPP stepped headers
Mufflex Custom Y
Mufflex 4" Exhaust
Suspension:
UMI road race k-member
UMI upper and lower a-arms
Double Adjustable Shocks - Front and Rear
UMI Chassis Mount Torque Arm
UMI Rear LCA
BMR Drag Bar
Kenny Brown Double Diamond Subframe Connectors
Build Summaries:
1st Build - Machine work done by a local shop, engine assembled personally. The car was built in my garage with the help of great friends and fellow F-body enthusiasts. Car put down 710rwhp on a dynojet with 15lbs of boost and the twin 3.5" Procharger intercoolers. After adding a FMIC, more boost with a pulley change (~19-20psi), I didn't see any additional peak power on the dyno but I did see a big increase in the mid range. Best time in the car was 10.7 @ 137. Unfortunately, this engine always ate oil...a lot of it. We are talking about a quart every 100-125 miles. I drove it like this for 3 years and through multiple track outings. The engine never missed a beat but the oil consumption bothered the crap out of me. I literally had range anxiety if I drove anywhere without checking the oil multiple times.
I finally decided I was tired of the oil issue so after the last track rental, I did a leak down test with a friend and it looked like the rings were toast. These rings were a Total Seal Gapless Top set. Thinking I must have missed something during my amateur engine build, I called up Karl Ellwein at Ellwein Engines to discuss the issue and my goals. This is where move onto the second build.
2nd Build - http://www.ellweinengines.com/ERE48/ERE48.htm - I convinced my crazy set of friends to help remove the engine so it could be driven down to Ellwein Engines. This is normally a 9 hr round trip with no traffic however the weather decided to get ugly resulting in a 13 hour trek. While we were at Karl's, we tore into the engine and to our surprise, the cylinder head intake ports were spotless. It seemed the heads could be ruled out here. The bores showed signs of potential fuel wash which would be odd as I watch my a/f gauge like a hawk and never saw any gross over-fueling situations. The bottom end looked excellent and my assembly worked looked to be spot on. After a trip to the machine shop for reconditioning, it was noticed that the bored were ovaled and were not 30 over but actually 27. At that point, I had a frank conversation with the original machine shop. Knowing this was something I built in my garage and with no real way to prove a mistake was made, I wasn't in it for any reimbursement. This was more letting someone know a mistake was made and that I wasn't happy. I didn't want to bleed drama into this rebuild so I did not pursue the issue further. The learning experience here is to check everyone's work, no matter how good they are supposed to be. Everyone can have a bad day.
Karl was excellent with communication and routinely updated the build page when asked. He is a through and through a LTx enthusiast. I have been reading his build pages for years so it was nice to see mine on the site and in good hands. The heads were gone through by one of the shops he uses to make sure they were in good order. The block was remachined to spec, rings/gaskets/seals, etc were replaced appropriately. While the engine was apart, I made a small cam change to a slightly more aggressive design to take advantage of the higher boost. The engine went together and back in the car.
The first start went very well with zero smoke from the tailpipe. Woohoo!! I got it on the road ASAP to start breaking in the engine. I did everything by the book and loading it up well while giving it some boost. The engine felt really strong and better than before. I noticed on the first trip that it puffed blue after sitting at a stop light for 10-15 secs. I was hoping this was something that would clear up but I was wrong. The smoking continued and it was burning oil again. I spoke with Karl, Total Seal and everyone under the sun to figure out why this was happening again. I was advised by all parties to keep driving it and perhaps the rings just didn't seat yet.
After a bunch of phone calls, emails and even an attempted dyno tune, I decided to park the car. This is one of those situations where something is wrong but everything was followed by the book. It was a very defeating feeling knowing how much energy, money, favors, time, and general effort was put into this to have it result in the same situation.
The car did lay down a respectable 654rwhp on a Mustang dyno in this condition blowing smoke the entire way. I will say throughout this issue, Karl has been a stand up guy and has made a number of personal sacrifices to see this build come alive again. The same can be said for my close friends which brings us to the current rebuild.
Continue reading for the 3rd Rebuild
 01-26-2015, 05:00 PM
#2
3rd Build - http://www.ellweinengines.com/ERE48/ERE48ReDo.htm - After feeling sorry for myself for a bit, I finally decided to get this fixed. Again, my friends and family somehow appeased my wishes and a plan was made. The engine was pulled and brought back down to Karl's. We pulled it apart and in general, all looked well. The bottom end looked great and the heads looked fine too. The bores had a shiny look to them so that was the only questionable area. The block went back to the machine shop and heads went to a different shop for a closer look. Upon inspection, it appears the new valve seals installed on rebuild #2 came loose from the boss and were literally pumping oil into the cylinders. Bummer.....
Since we found the smoking gun, I was confident to continue with the rebuild but since we were there, why not upgrade some parts right? My crank looked great still so that was retained but we decided to up the compression a touch and switched rods/pistons. The JEs looked great and served me well but this time, we went with a set of custom Diamonds with all the options. The top end received new, stronger valve springs from Manley. These would get me the spring pressure needed to keep my power from tapering off up top after 5500rpm. My friends guilted me into replacing my LS7 lifters for a set of Crower link-bars. Even though they had served me well, it wasn't a bad choice to switch them out. We also decided to switch to a conventional ring set. Karl has more proven data from the conventional ring set users than the gapless crowd so we decided to go with them.
The next decision was to have the engine dyno'd and broken in prior to it going back in the car. Not that I didn't trust Karl's work but after the issues experienced thus far, this would be money well spent. Karl found a nice dyno shop 30 min from him to use. We scheduled to be present during the dyno session and then if all went well, take the engine home. The shop was very clean and well maintained but lacked the setup to do the full EFI treatment. No problem! Karl had a LTx carb intake and 750cfm carb to toss on the engine to run it NA. With a static compression of 9.5:1, she put down 514hp and 506tq at the crank. There was no tuning done except for a basic timing check and break in. Could it have put down more? Maybe but that wasn't the intent of the day. I was very pleased with the numbers and the engine sounded great. The best part was there was no oil consumption! We did spring a leak on the crank hub seal but no biggie. We swapped the intake back to mine at Karl's shop, did a quick bottom end inspection and I was on my way.
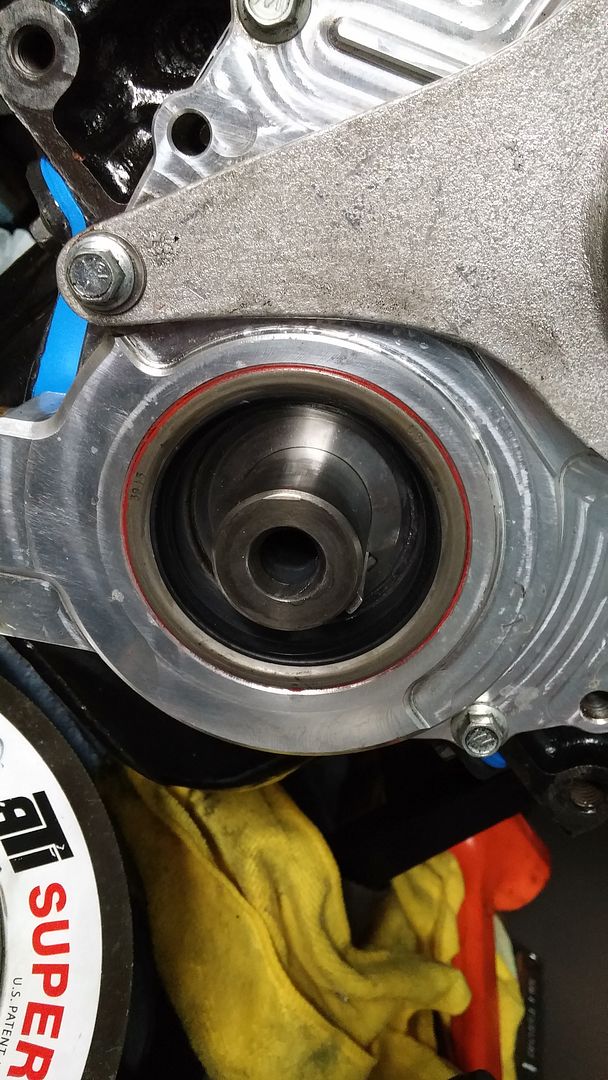
During the time between the big install, I had the clutch rebuilt and input shaft replaced on the trans to keep things fresh. Additionally, I was tasked with dressing the motor but first, I had to replace the bum crank hub seal in the timing cover. In theory, this shouldn't have been a big deal but I have a special gift and ended up putting my face into the throttle body, effectively giving me a nice gash on my cheek. I was pressing the crank hub on the crank snout with a homemade tool. It was a stubborn bastard and one of the wrenches slipped while I was going at it full force. After the bleeding stopped, the hub was fully pressed on and we were ready to continue.
Old seal
A little while later, I finished up dressing the motor. My dad spent hours hand polishing the visible parts of the accessory bracket. He played it off like it wasn't a big deal but I know how long this process takes. It came out great!
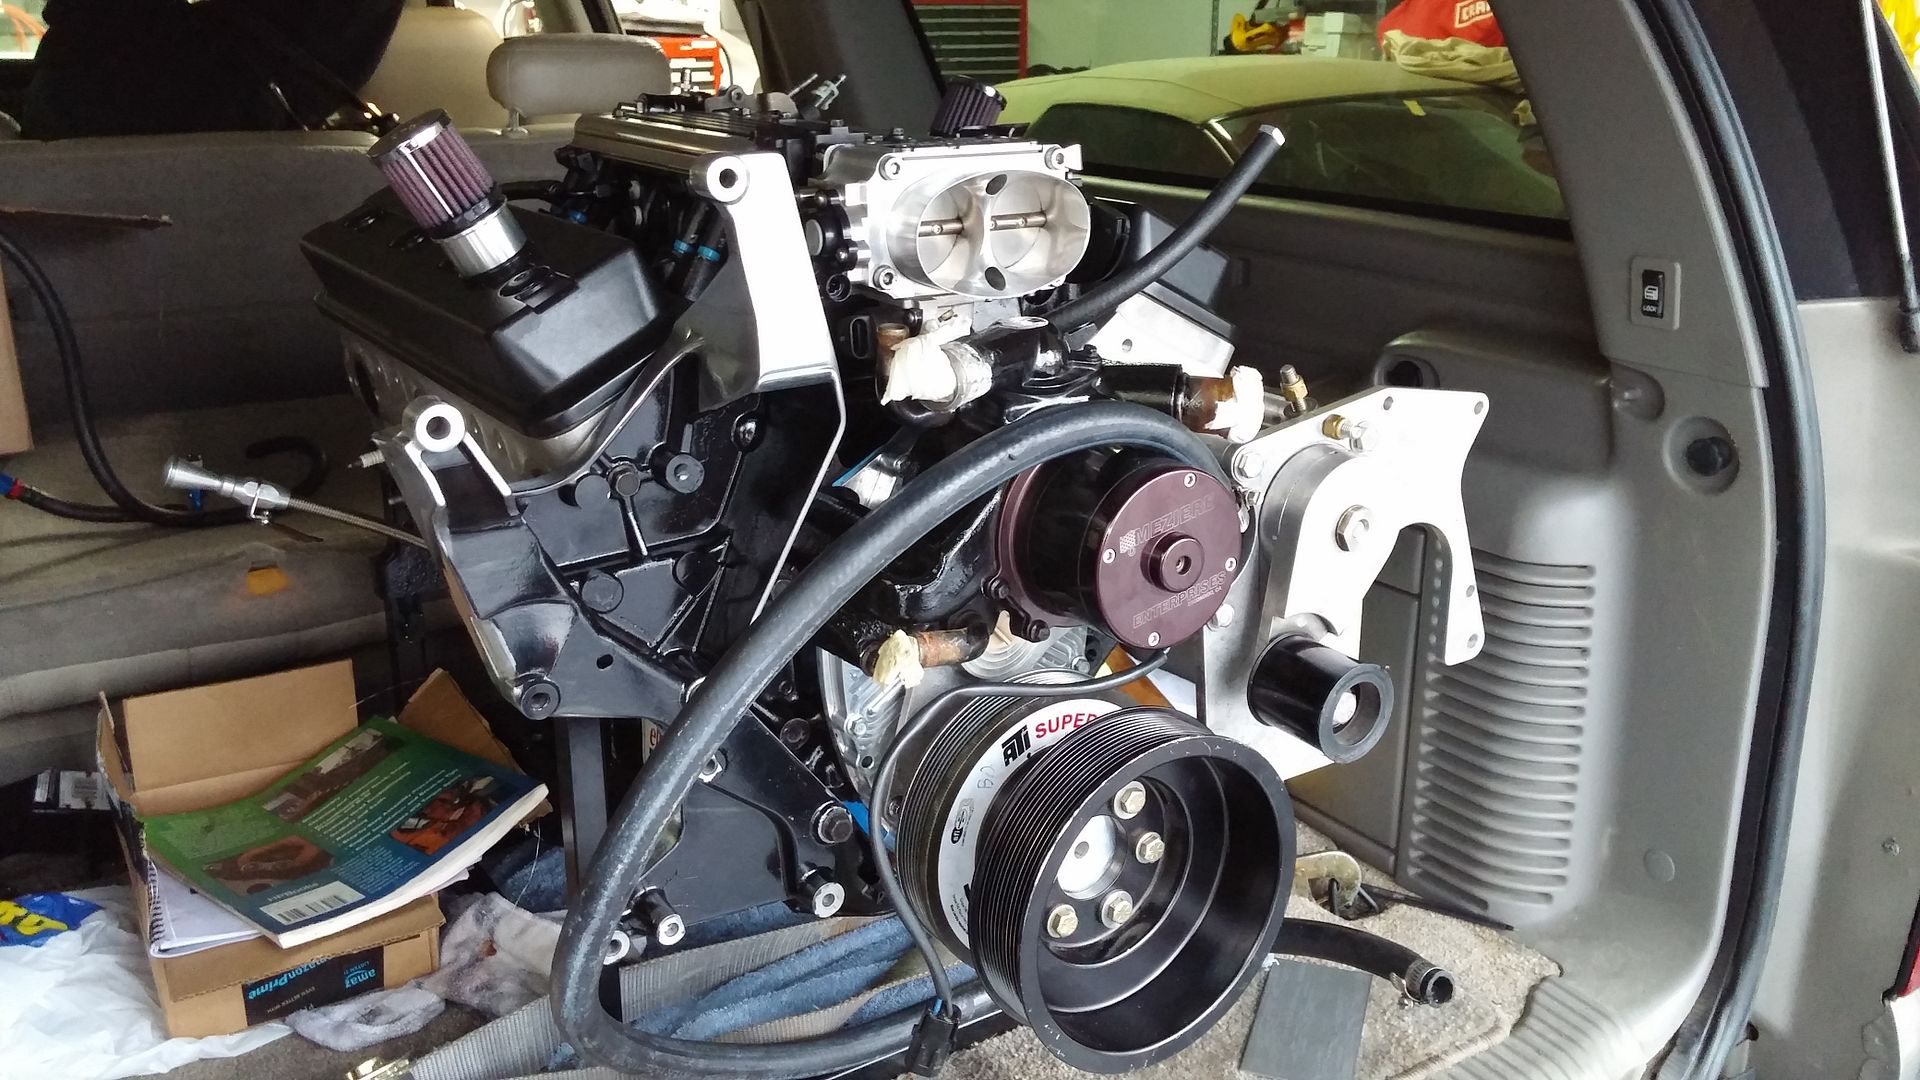
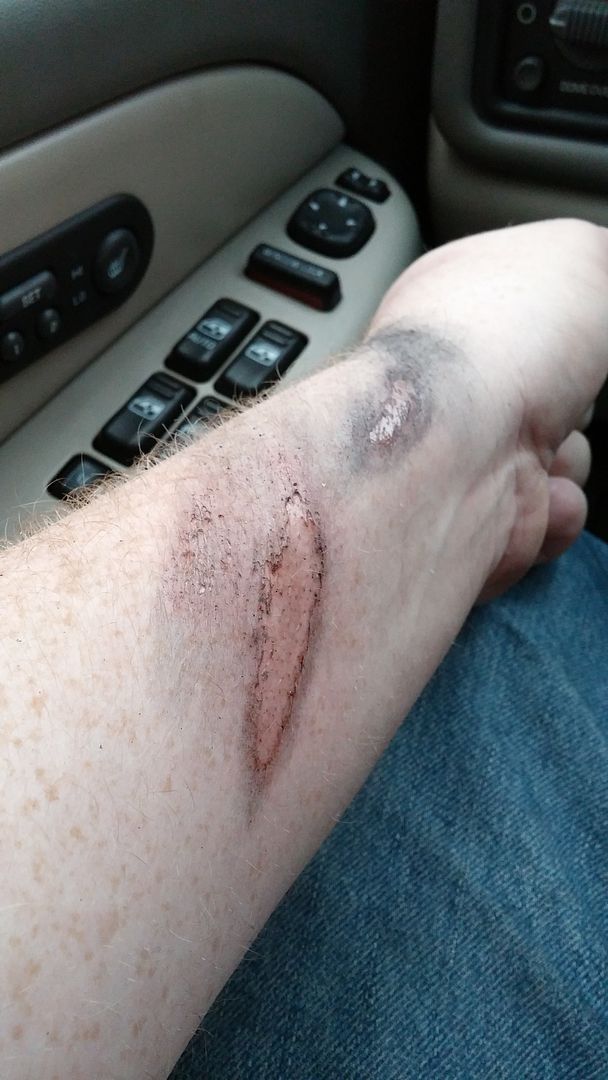
While giving the bracket one last hit on the bench polisher, I decided to injure myself again. I was careless and didn't have the polisher bolted down very well. When the buffer hit an edge on the bracket, it sprung free and landed on my forearm. Suffice to say, its still healing....same goes for what little pride I had left.
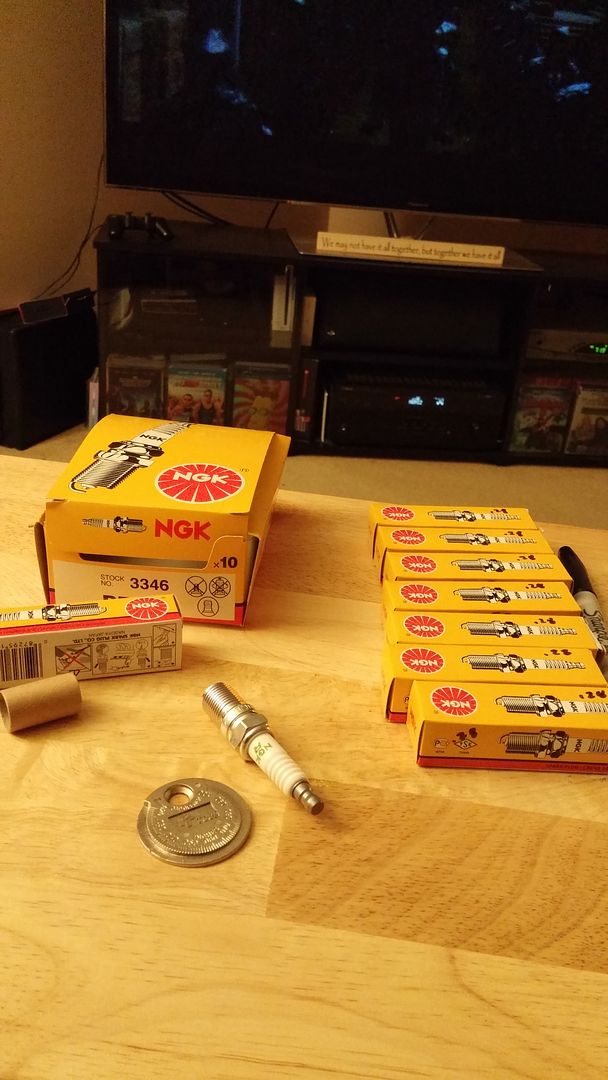
I figured I would have less chance hurting myself by gapping plugs while watching TV. This was uneventful. I went with NGK BR7EF plugs gapped at 0.28. These are a non-projected, 2 step colder plug.
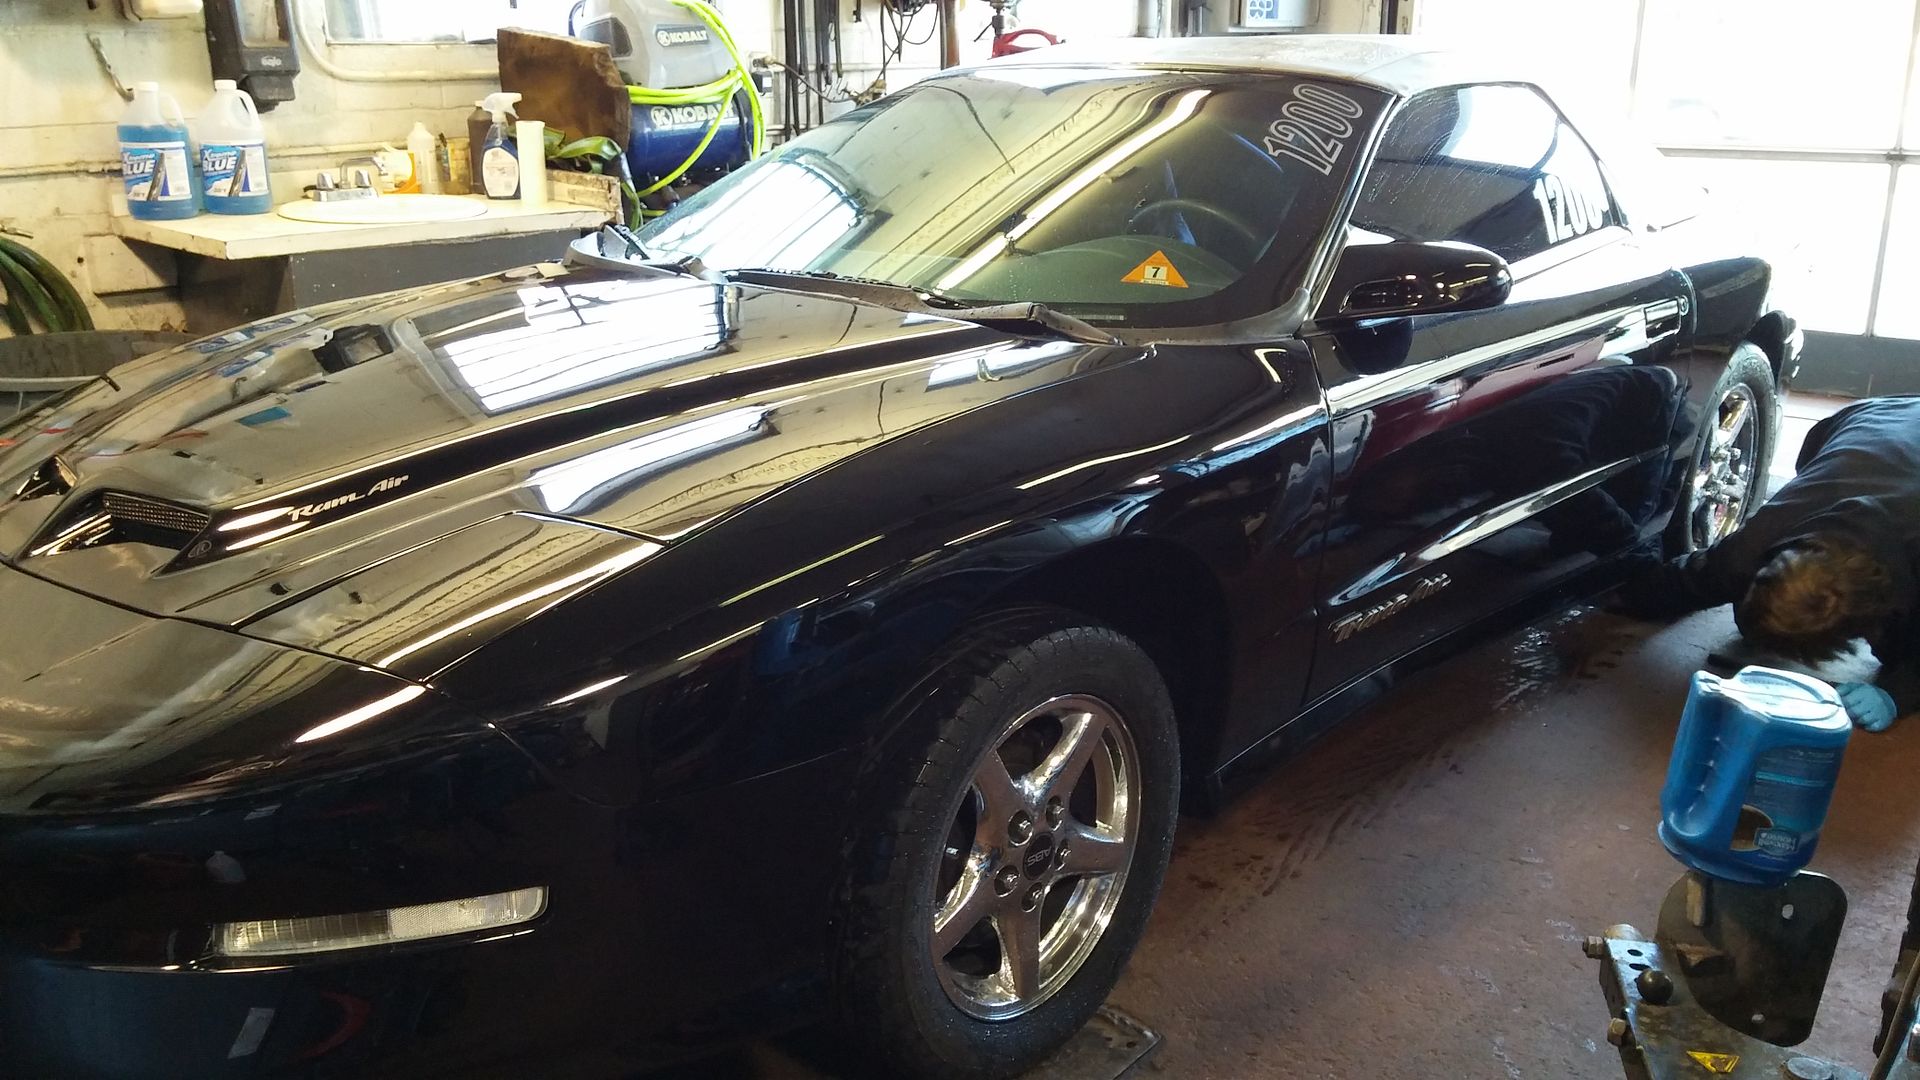
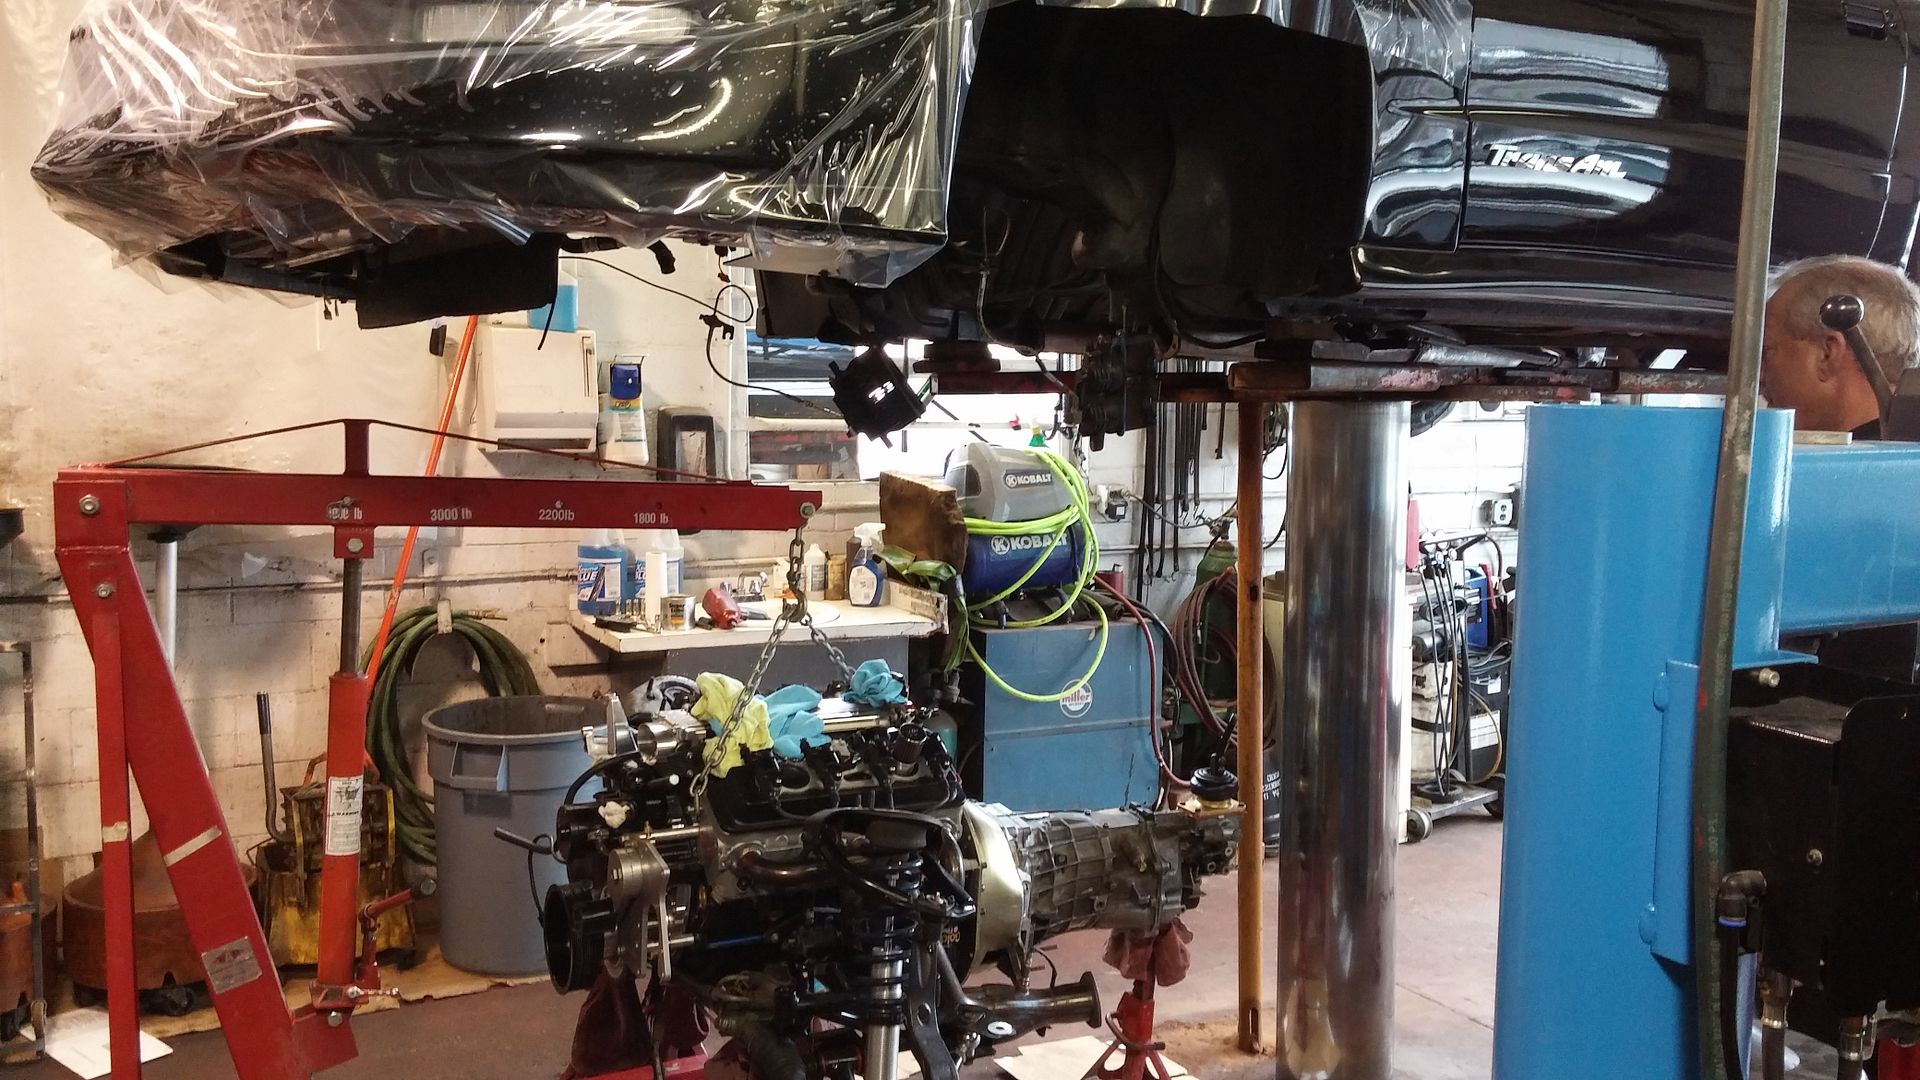
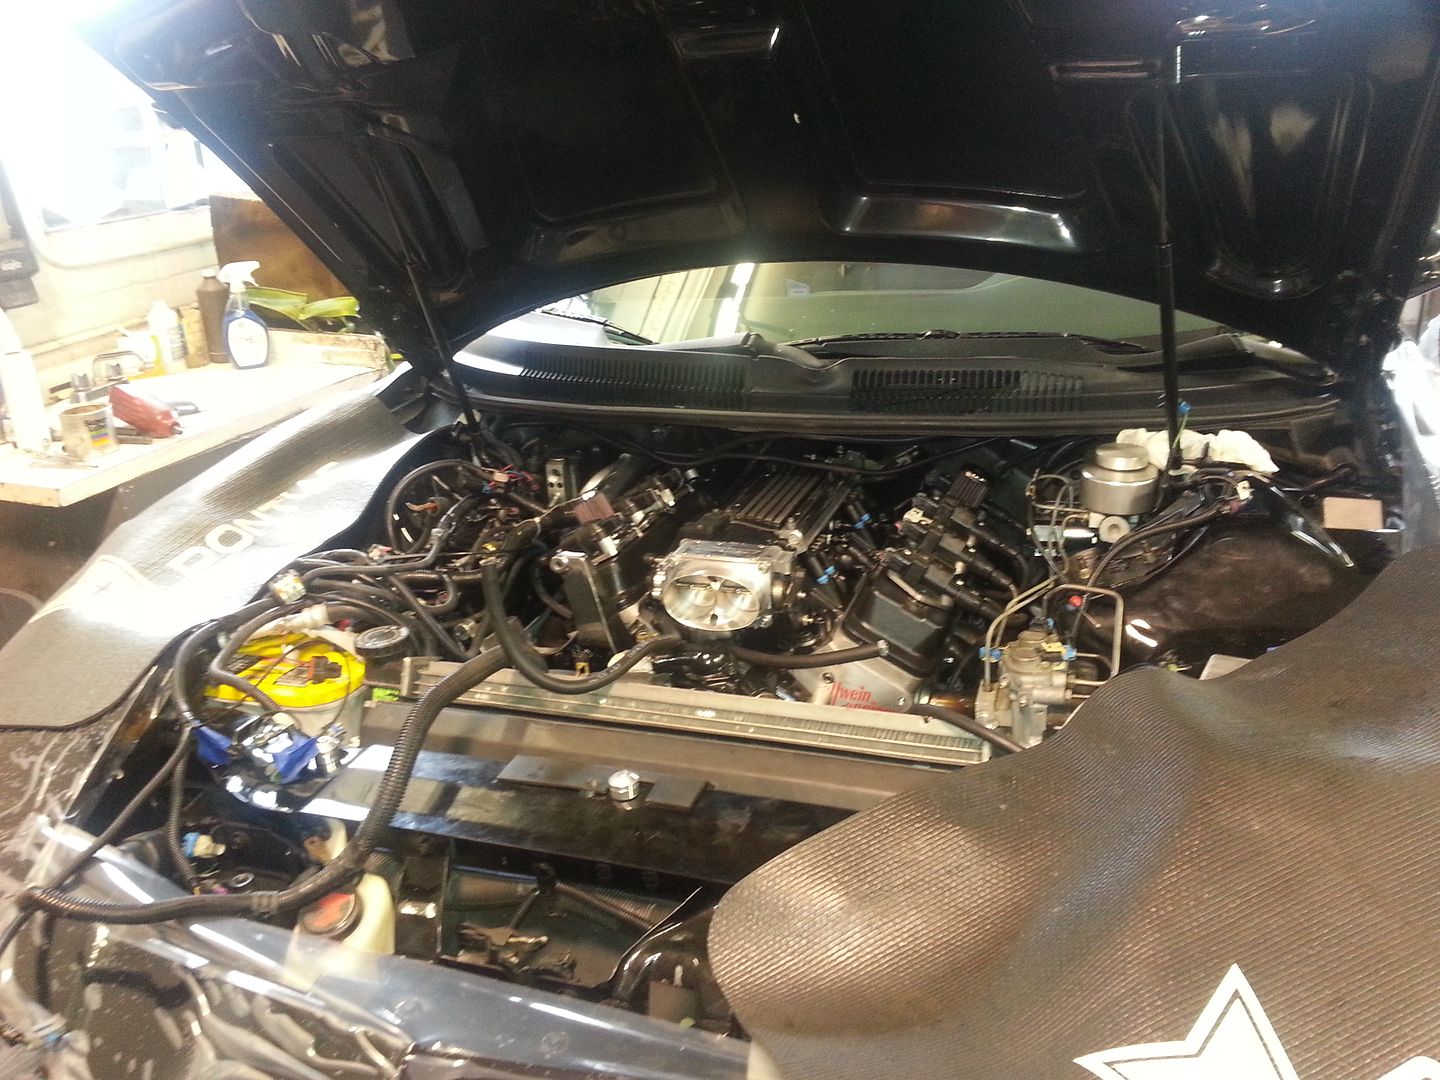
This past Friday, I took PTO from work, loaded the Yukon and had the car towed to my friends shop. I arrived while the sun was shining so I gave her a quick bath and we put the bird inside the shop. My friend and I slapped on some Road Wrap product to give the paint a little extra protection (not shown in pic below).
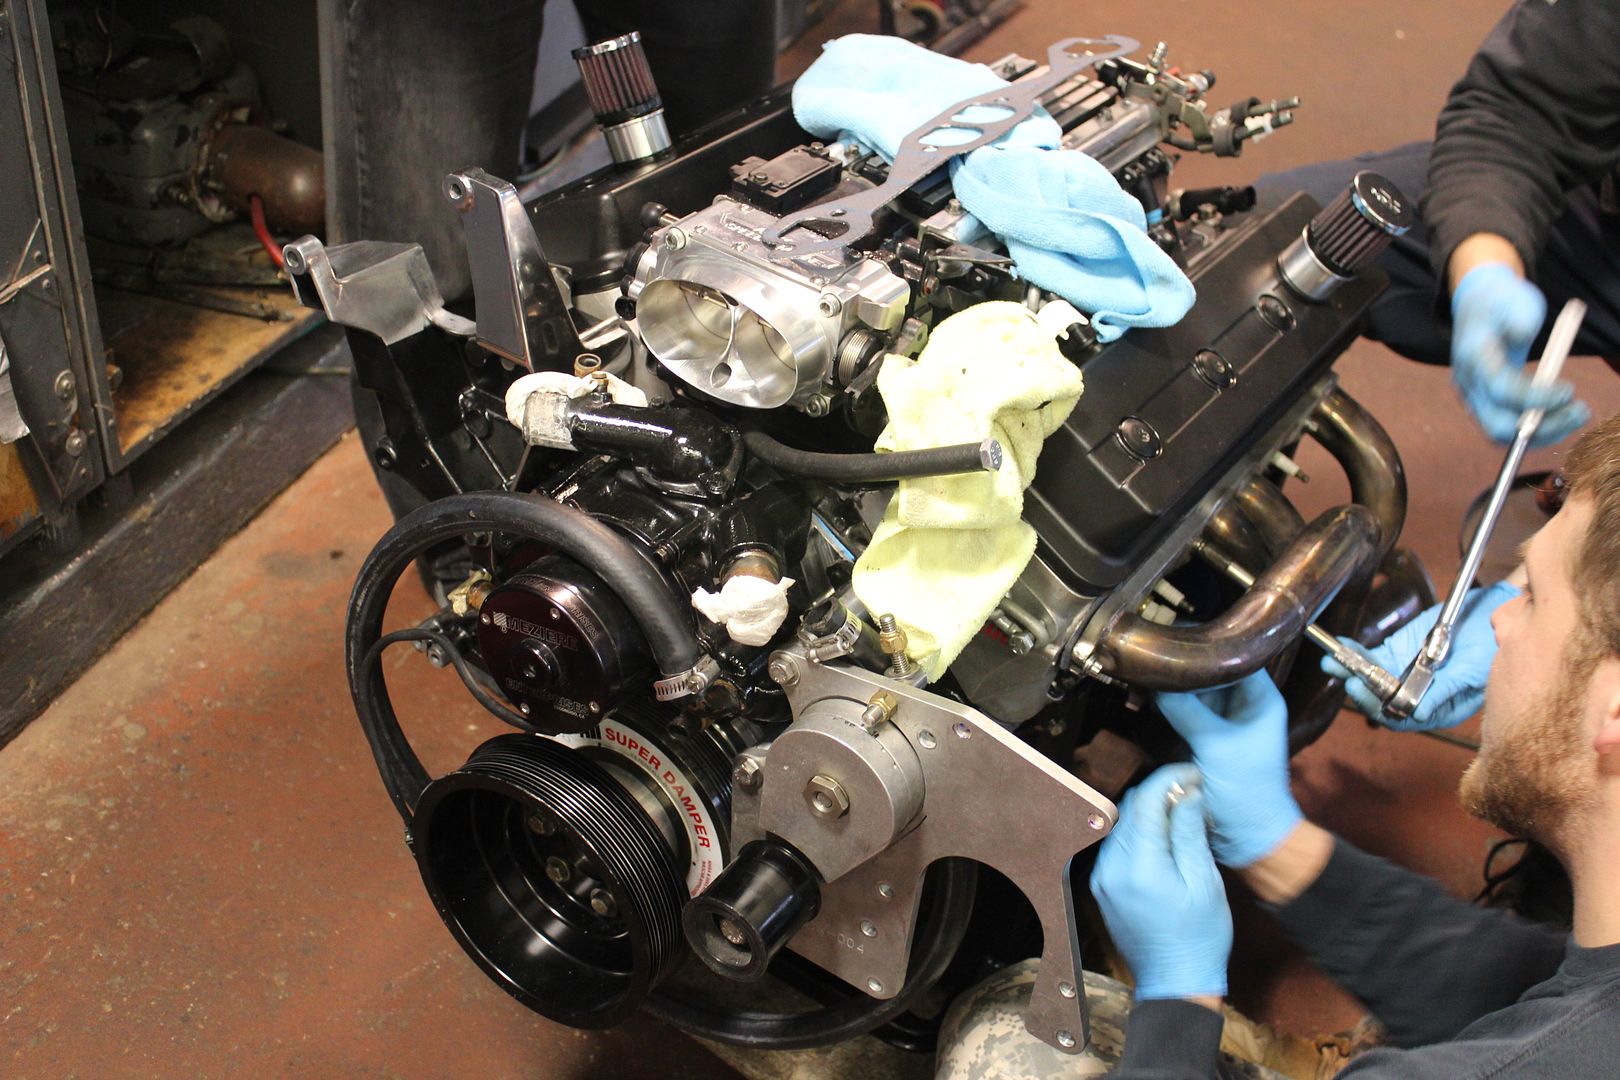
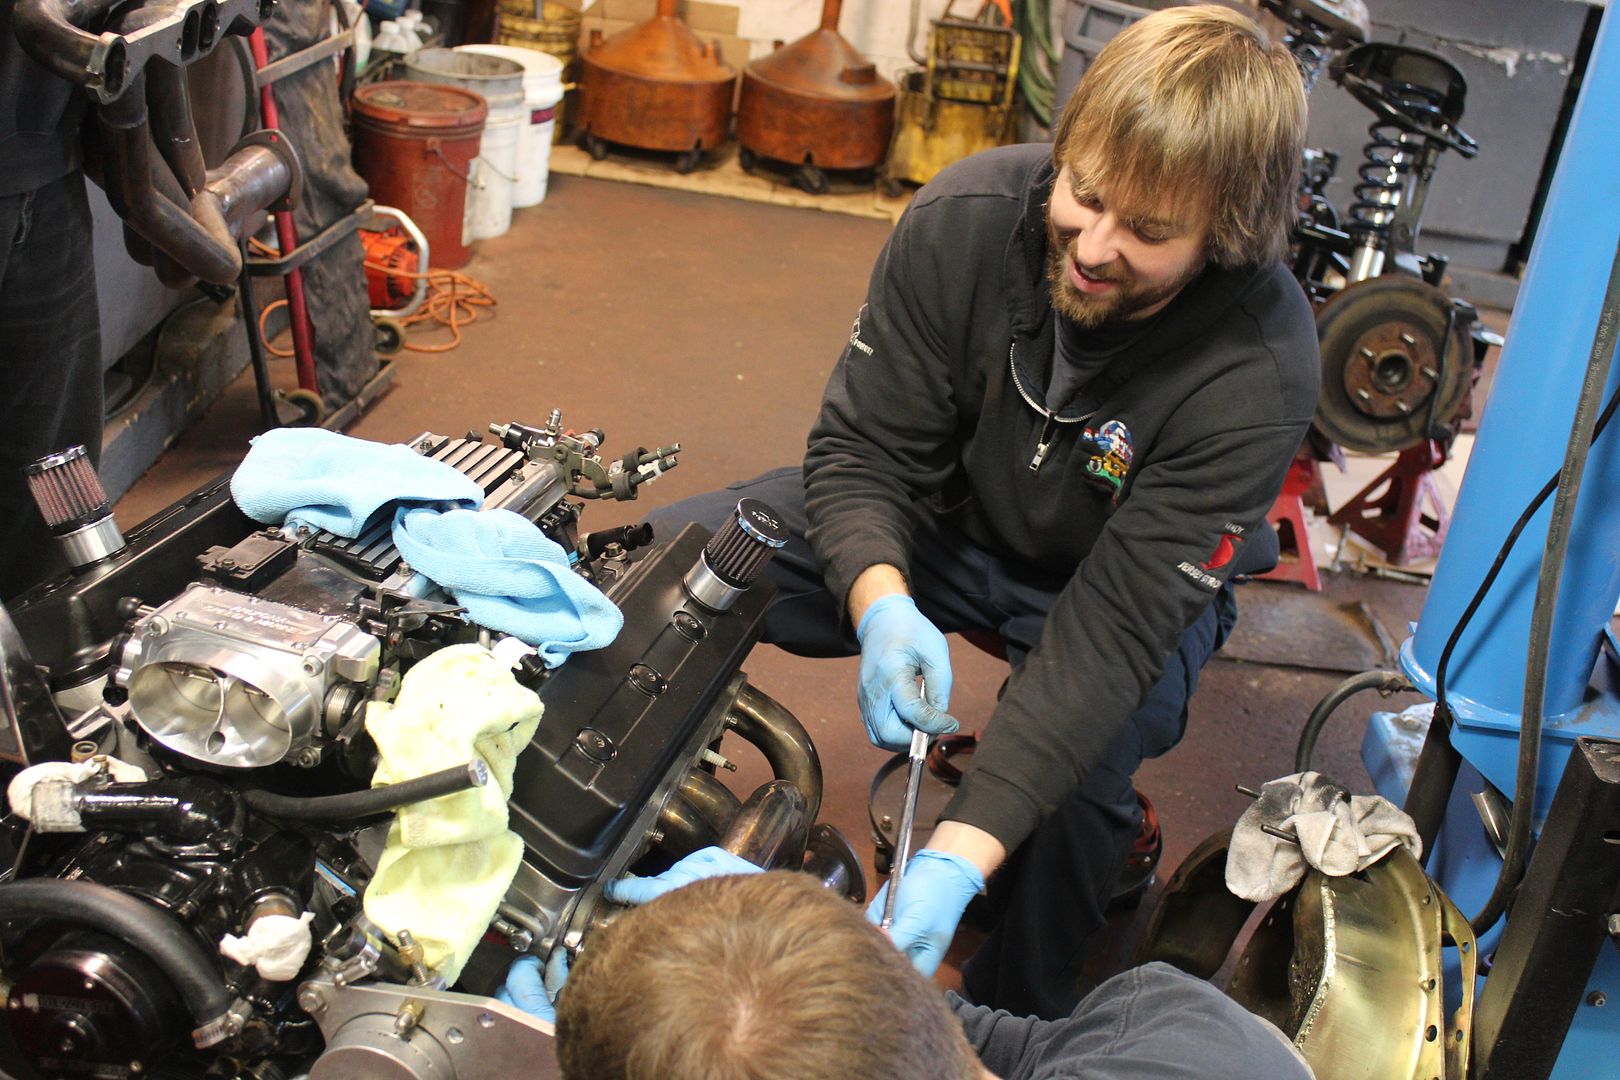
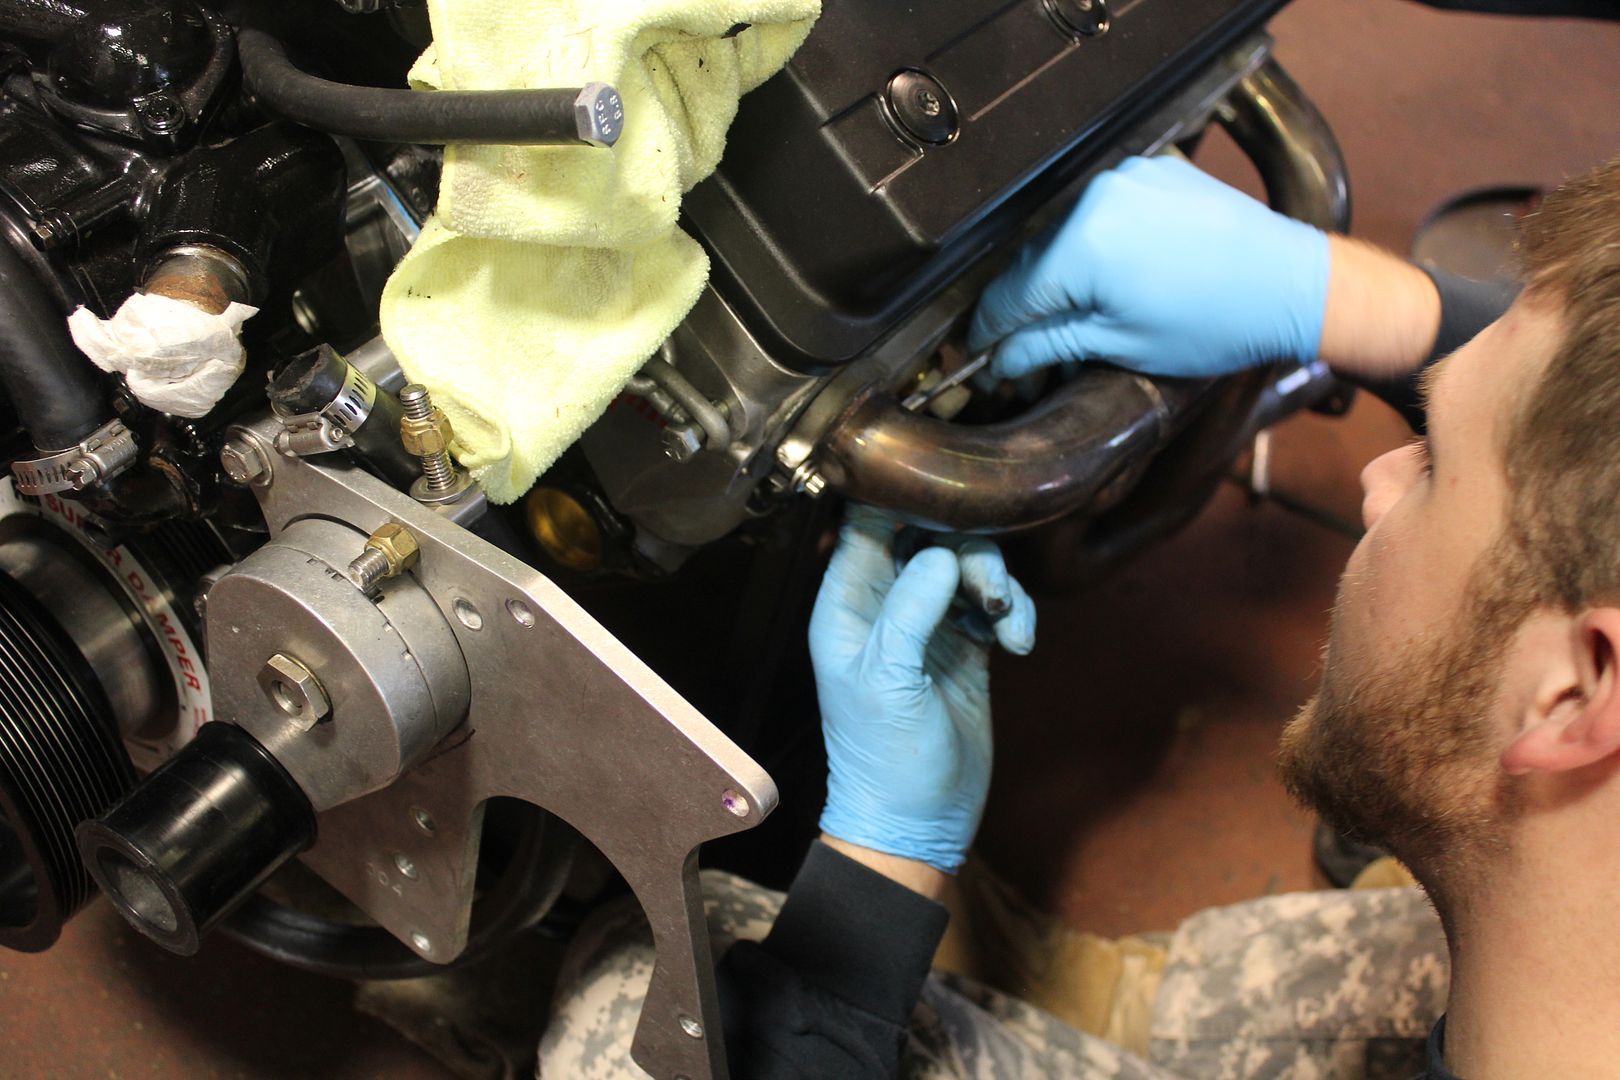
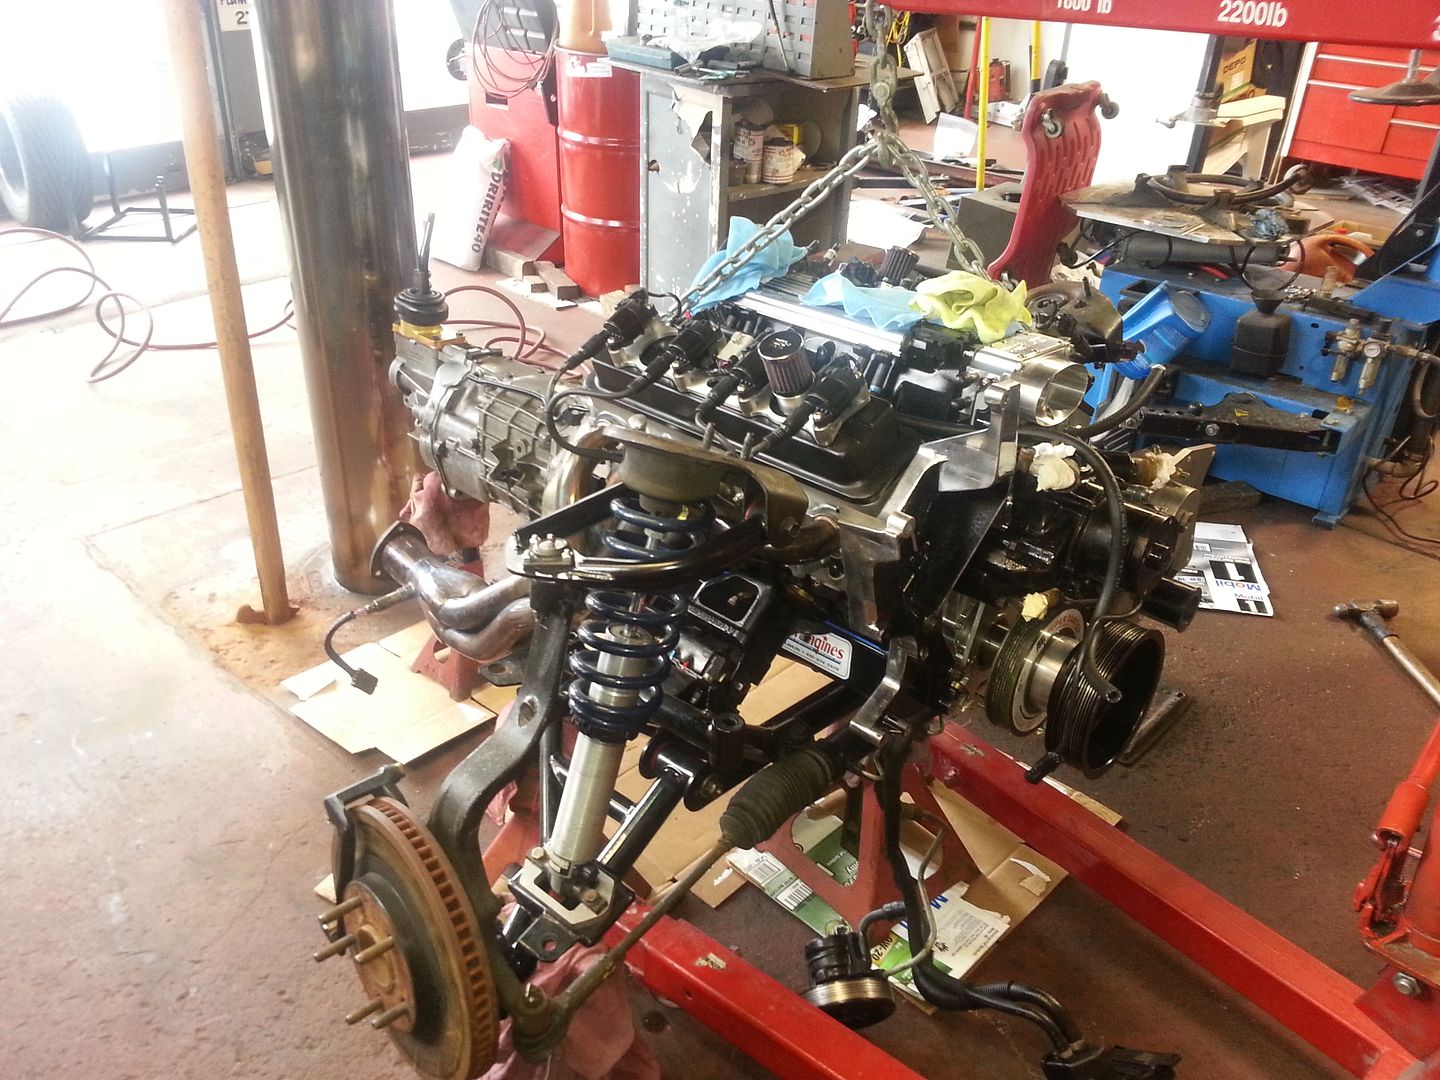
Before getting the engine prepared for install onto the k-member, we installed the new plugs, headers with new gaskets & ARP bolts, coil packs, new pilot bearing, SFI bell housing w/motor plate, McLeod twin disk, etc.
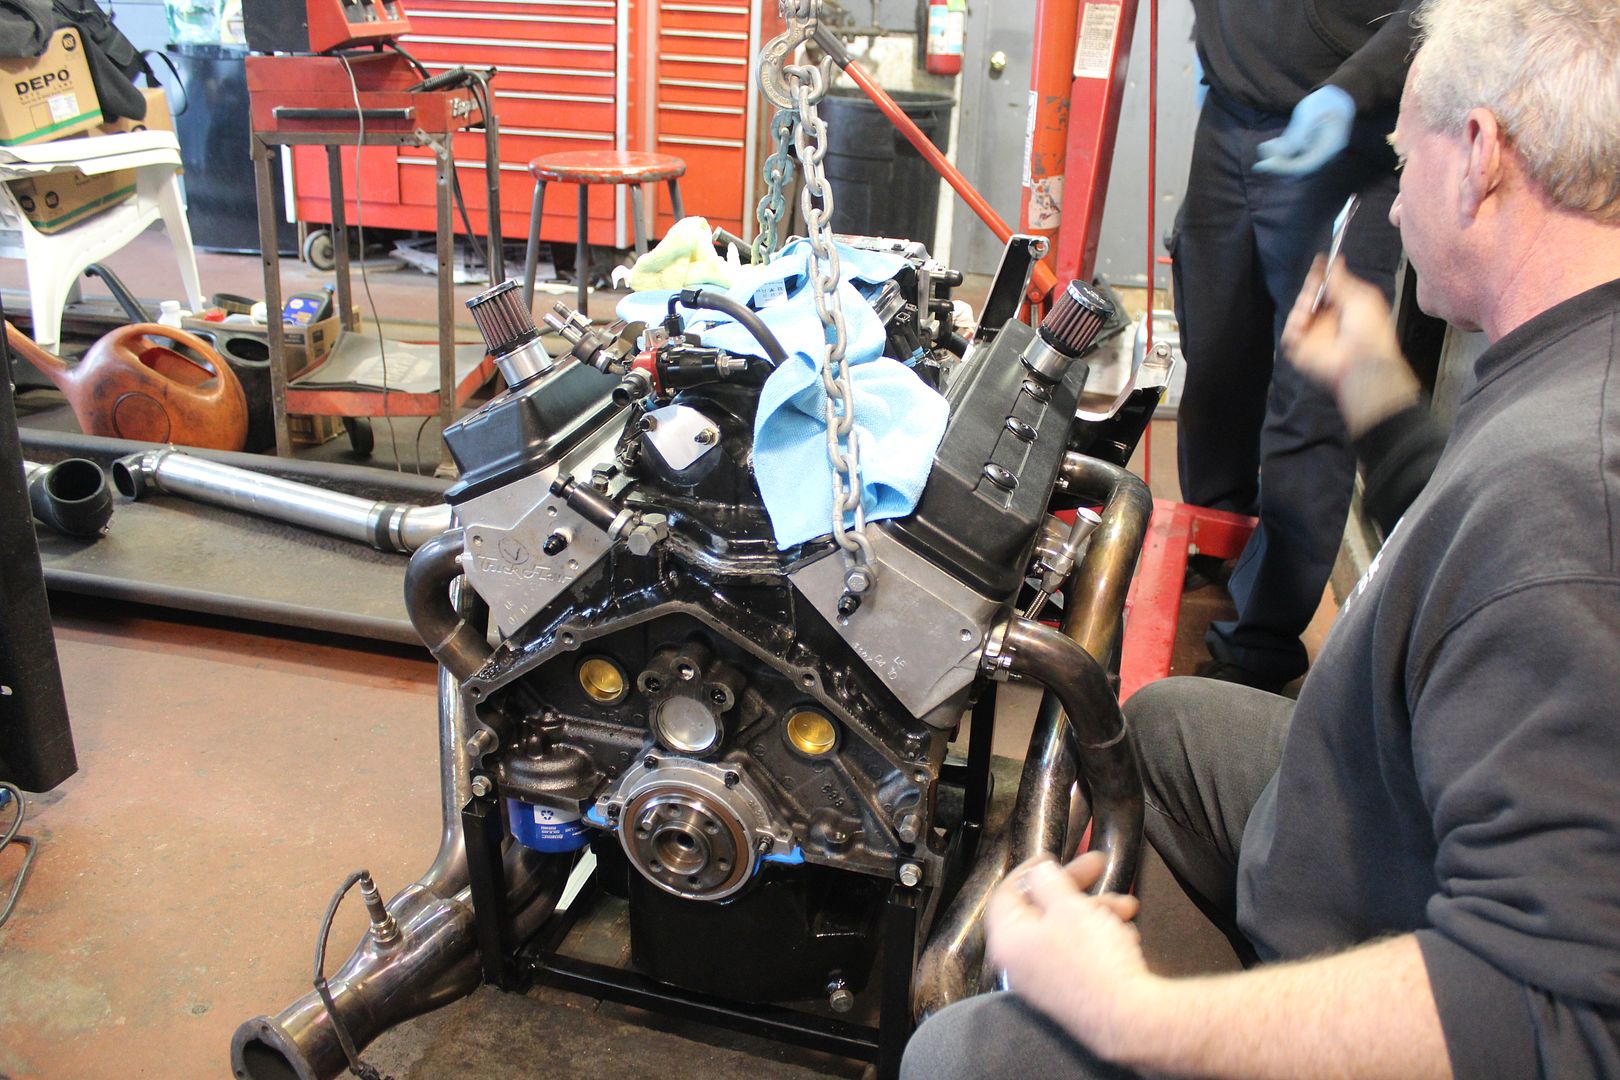
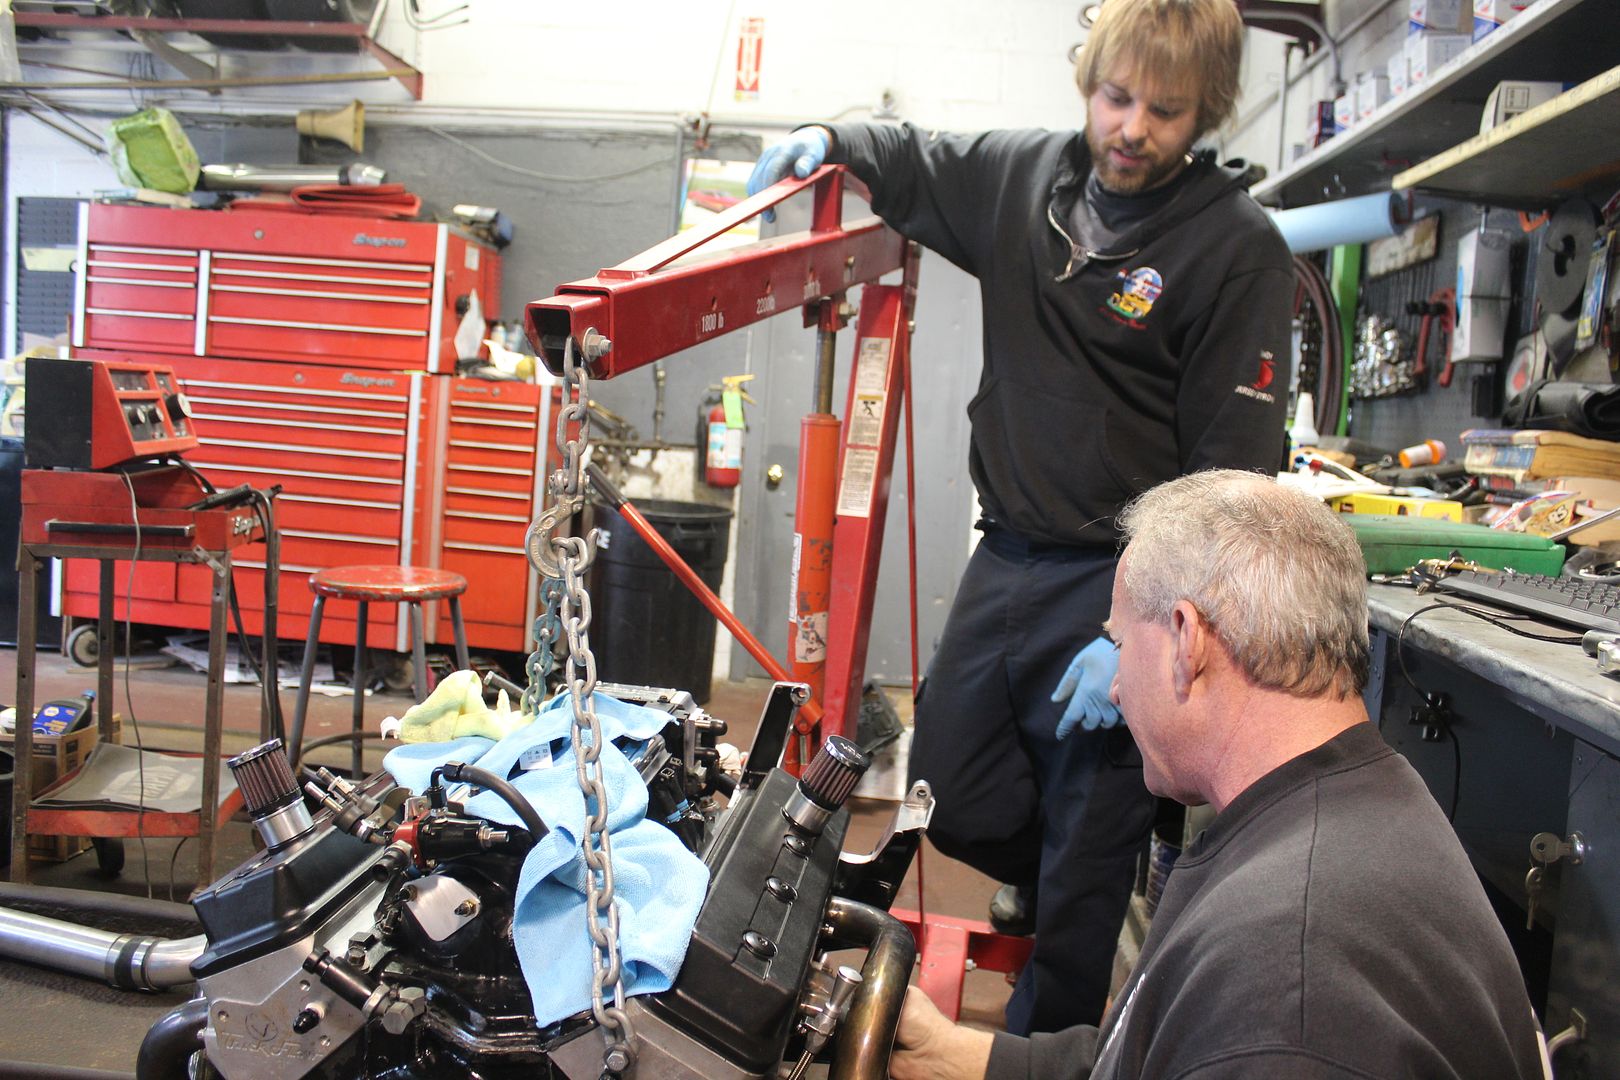
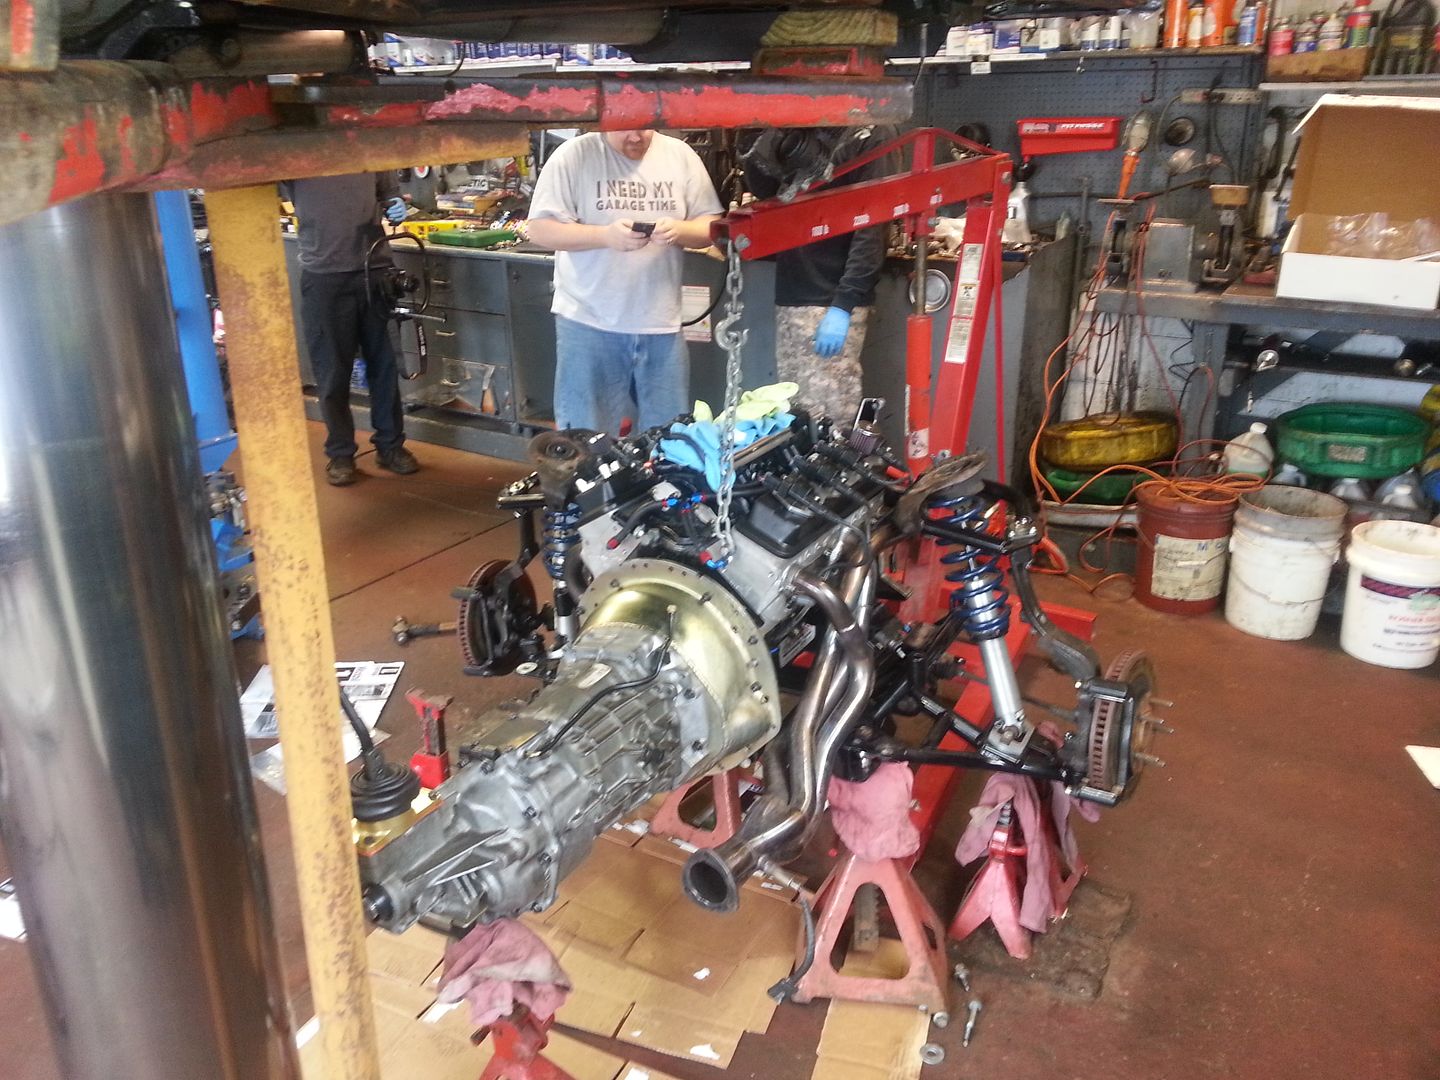
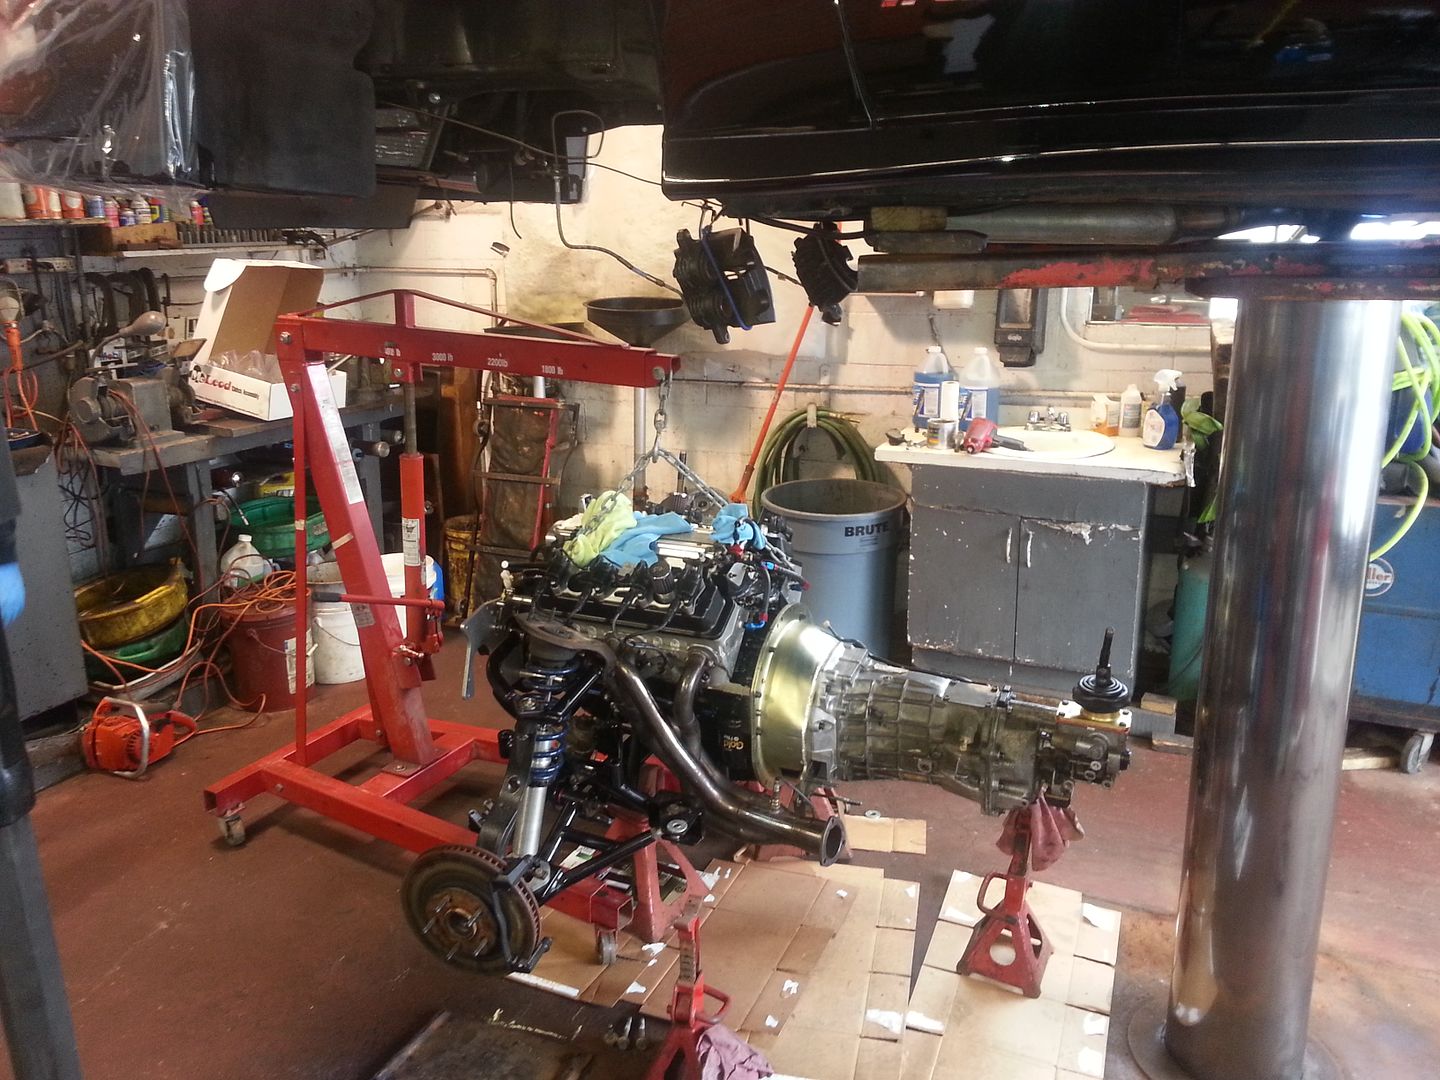
On to the K it goes!
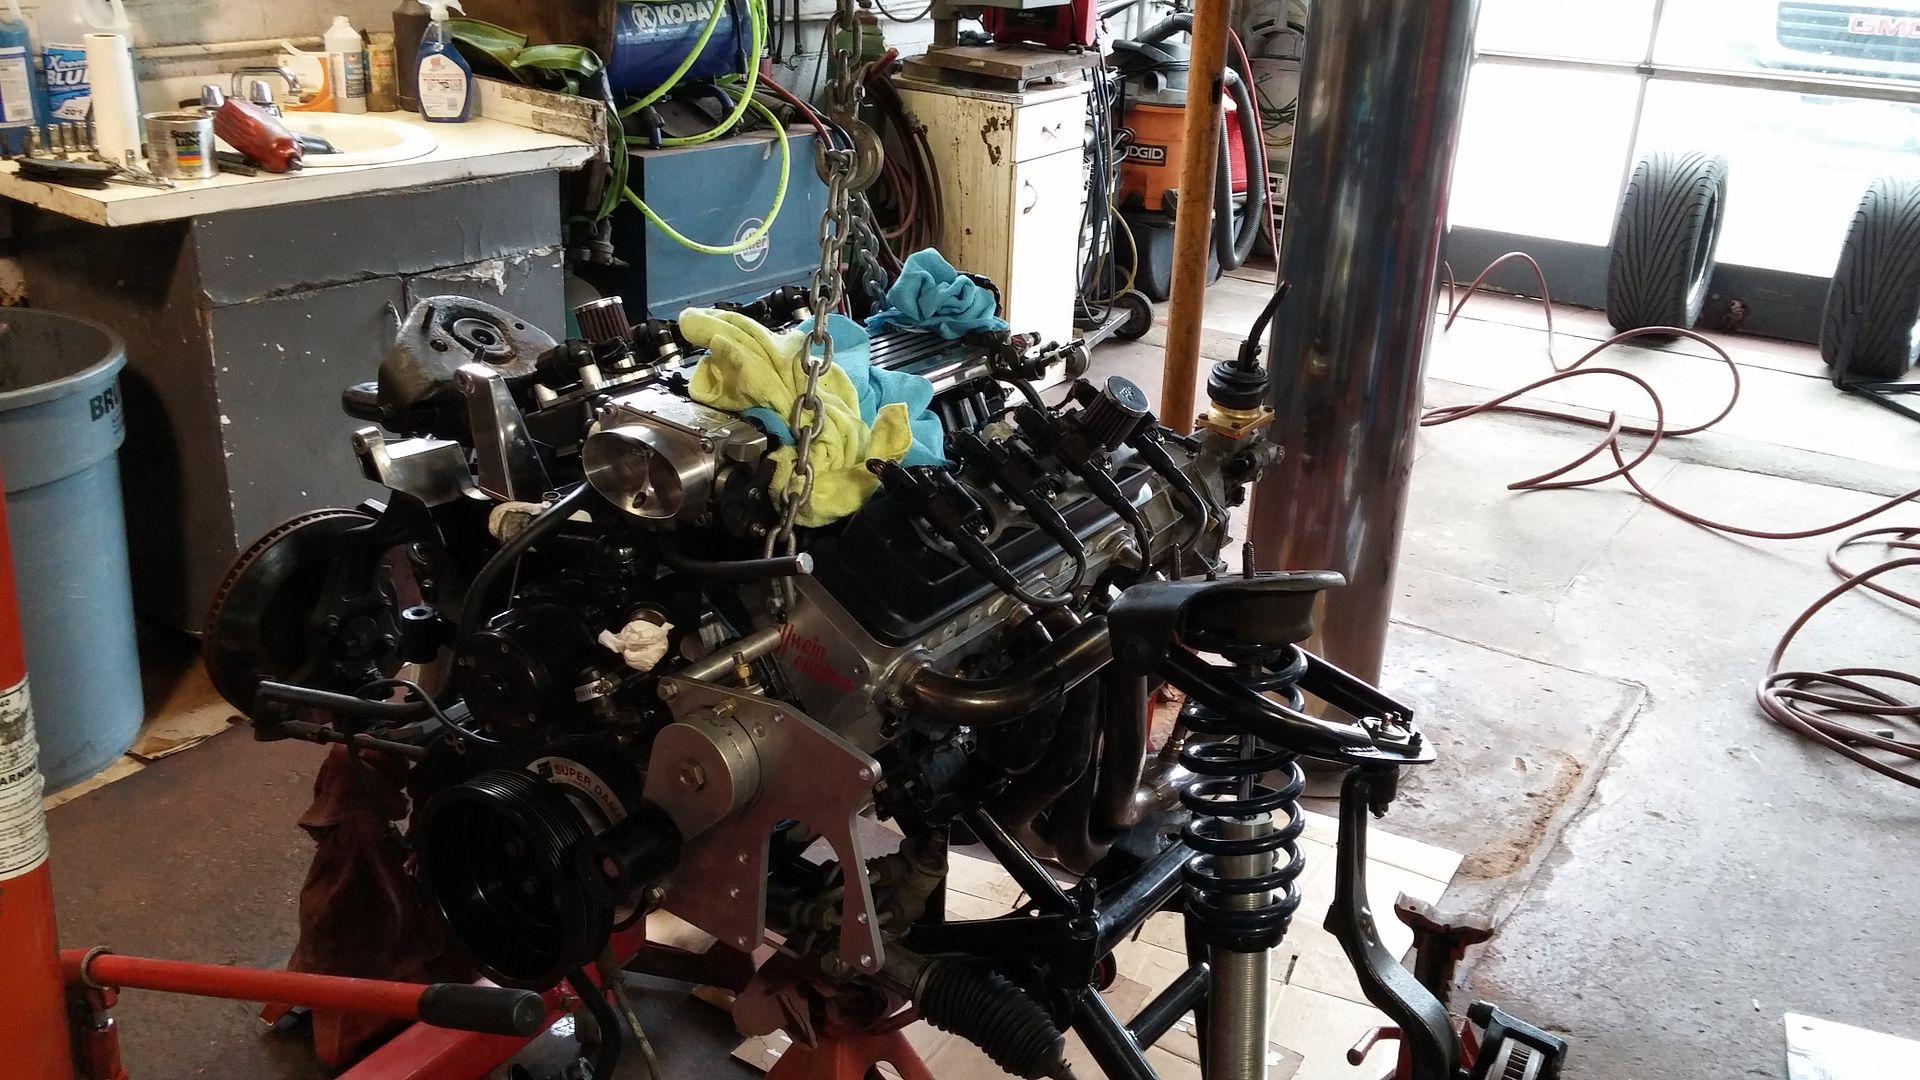
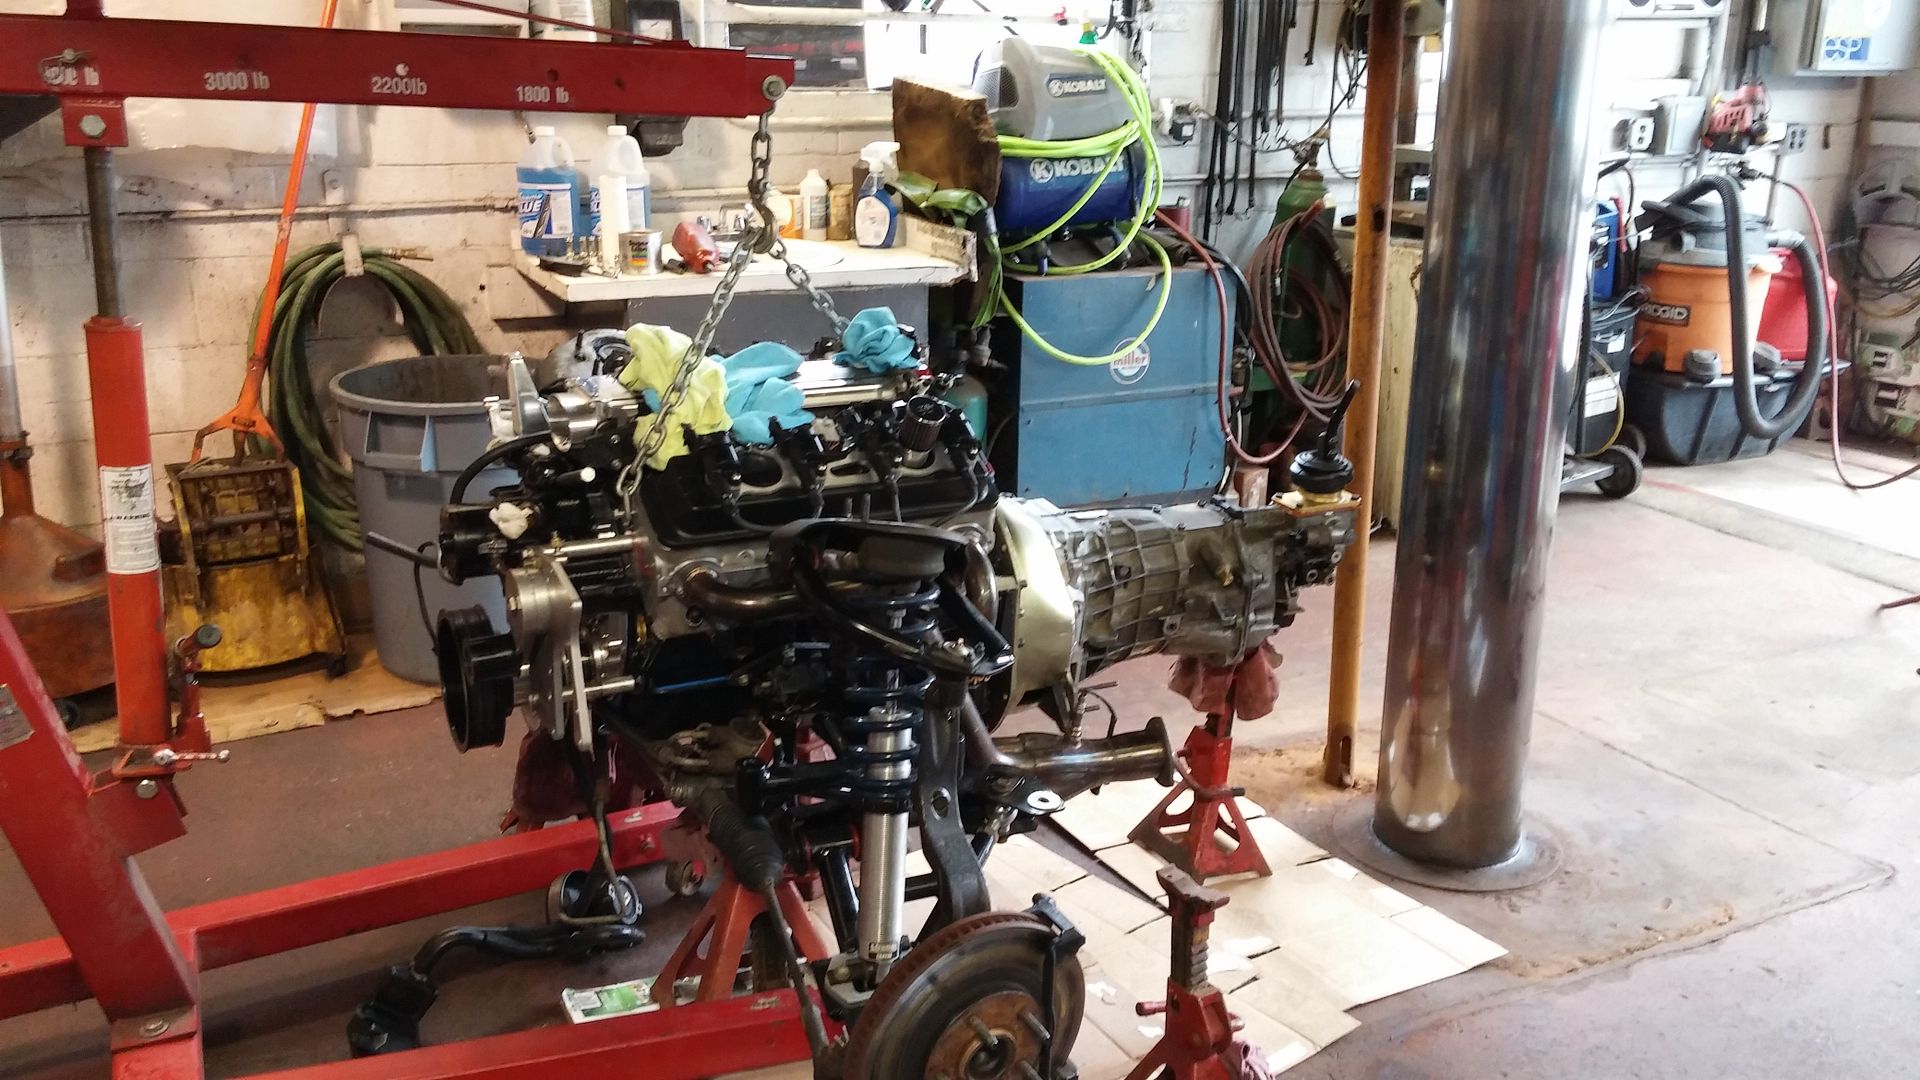
Trans installed as well.

Since we found the smoking gun, I was confident to continue with the rebuild but since we were there, why not upgrade some parts right? My crank looked great still so that was retained but we decided to up the compression a touch and switched rods/pistons. The JEs looked great and served me well but this time, we went with a set of custom Diamonds with all the options. The top end received new, stronger valve springs from Manley. These would get me the spring pressure needed to keep my power from tapering off up top after 5500rpm. My friends guilted me into replacing my LS7 lifters for a set of Crower link-bars. Even though they had served me well, it wasn't a bad choice to switch them out. We also decided to switch to a conventional ring set. Karl has more proven data from the conventional ring set users than the gapless crowd so we decided to go with them.
The next decision was to have the engine dyno'd and broken in prior to it going back in the car. Not that I didn't trust Karl's work but after the issues experienced thus far, this would be money well spent. Karl found a nice dyno shop 30 min from him to use. We scheduled to be present during the dyno session and then if all went well, take the engine home. The shop was very clean and well maintained but lacked the setup to do the full EFI treatment. No problem! Karl had a LTx carb intake and 750cfm carb to toss on the engine to run it NA. With a static compression of 9.5:1, she put down 514hp and 506tq at the crank. There was no tuning done except for a basic timing check and break in. Could it have put down more? Maybe but that wasn't the intent of the day. I was very pleased with the numbers and the engine sounded great. The best part was there was no oil consumption! We did spring a leak on the crank hub seal but no biggie. We swapped the intake back to mine at Karl's shop, did a quick bottom end inspection and I was on my way.
During the time between the big install, I had the clutch rebuilt and input shaft replaced on the trans to keep things fresh. Additionally, I was tasked with dressing the motor but first, I had to replace the bum crank hub seal in the timing cover. In theory, this shouldn't have been a big deal but I have a special gift and ended up putting my face into the throttle body, effectively giving me a nice gash on my cheek. I was pressing the crank hub on the crank snout with a homemade tool. It was a stubborn bastard and one of the wrenches slipped while I was going at it full force. After the bleeding stopped, the hub was fully pressed on and we were ready to continue.
Old seal

A little while later, I finished up dressing the motor. My dad spent hours hand polishing the visible parts of the accessory bracket. He played it off like it wasn't a big deal but I know how long this process takes. It came out great!

While giving the bracket one last hit on the bench polisher, I decided to injure myself again. I was careless and didn't have the polisher bolted down very well. When the buffer hit an edge on the bracket, it sprung free and landed on my forearm. Suffice to say, its still healing....same goes for what little pride I had left.

I figured I would have less chance hurting myself by gapping plugs while watching TV. This was uneventful. I went with NGK BR7EF plugs gapped at 0.28. These are a non-projected, 2 step colder plug.

This past Friday, I took PTO from work, loaded the Yukon and had the car towed to my friends shop. I arrived while the sun was shining so I gave her a quick bath and we put the bird inside the shop. My friend and I slapped on some Road Wrap product to give the paint a little extra protection (not shown in pic below).

Before getting the engine prepared for install onto the k-member, we installed the new plugs, headers with new gaskets & ARP bolts, coil packs, new pilot bearing, SFI bell housing w/motor plate, McLeod twin disk, etc.


On to the K it goes!

Trans installed as well.


 01-26-2015, 05:01 PM
#3
Things went quiet for a few hours as we wrestled the k-member and engine into the car. With my car, its always 10lbs of **** into a 5lb bag. Everything eventually went in. I had a moment where I thought something was wrong with the clutch fork/pull-out bearing but thankfully I was just dreaming.
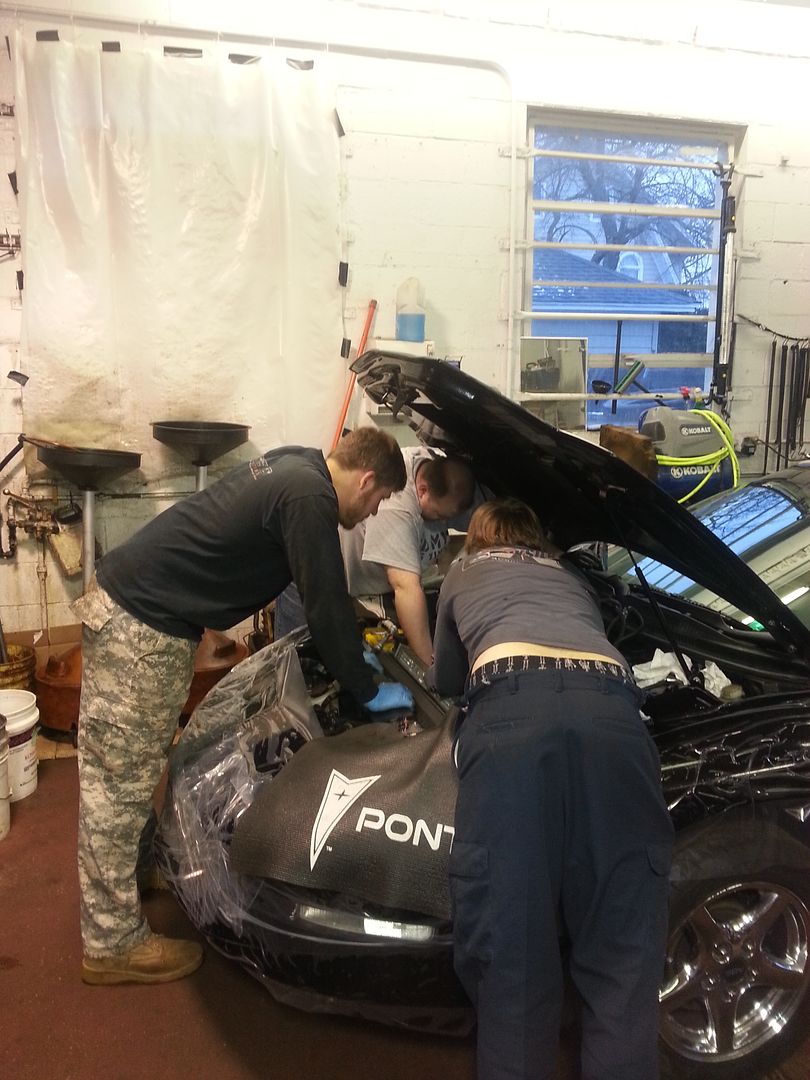
We were approaching 5PM (started at 8:30AM) and we had a few options. Stop here with much of the major items done, or rally and push towards a potential first start. We decided to keep going....

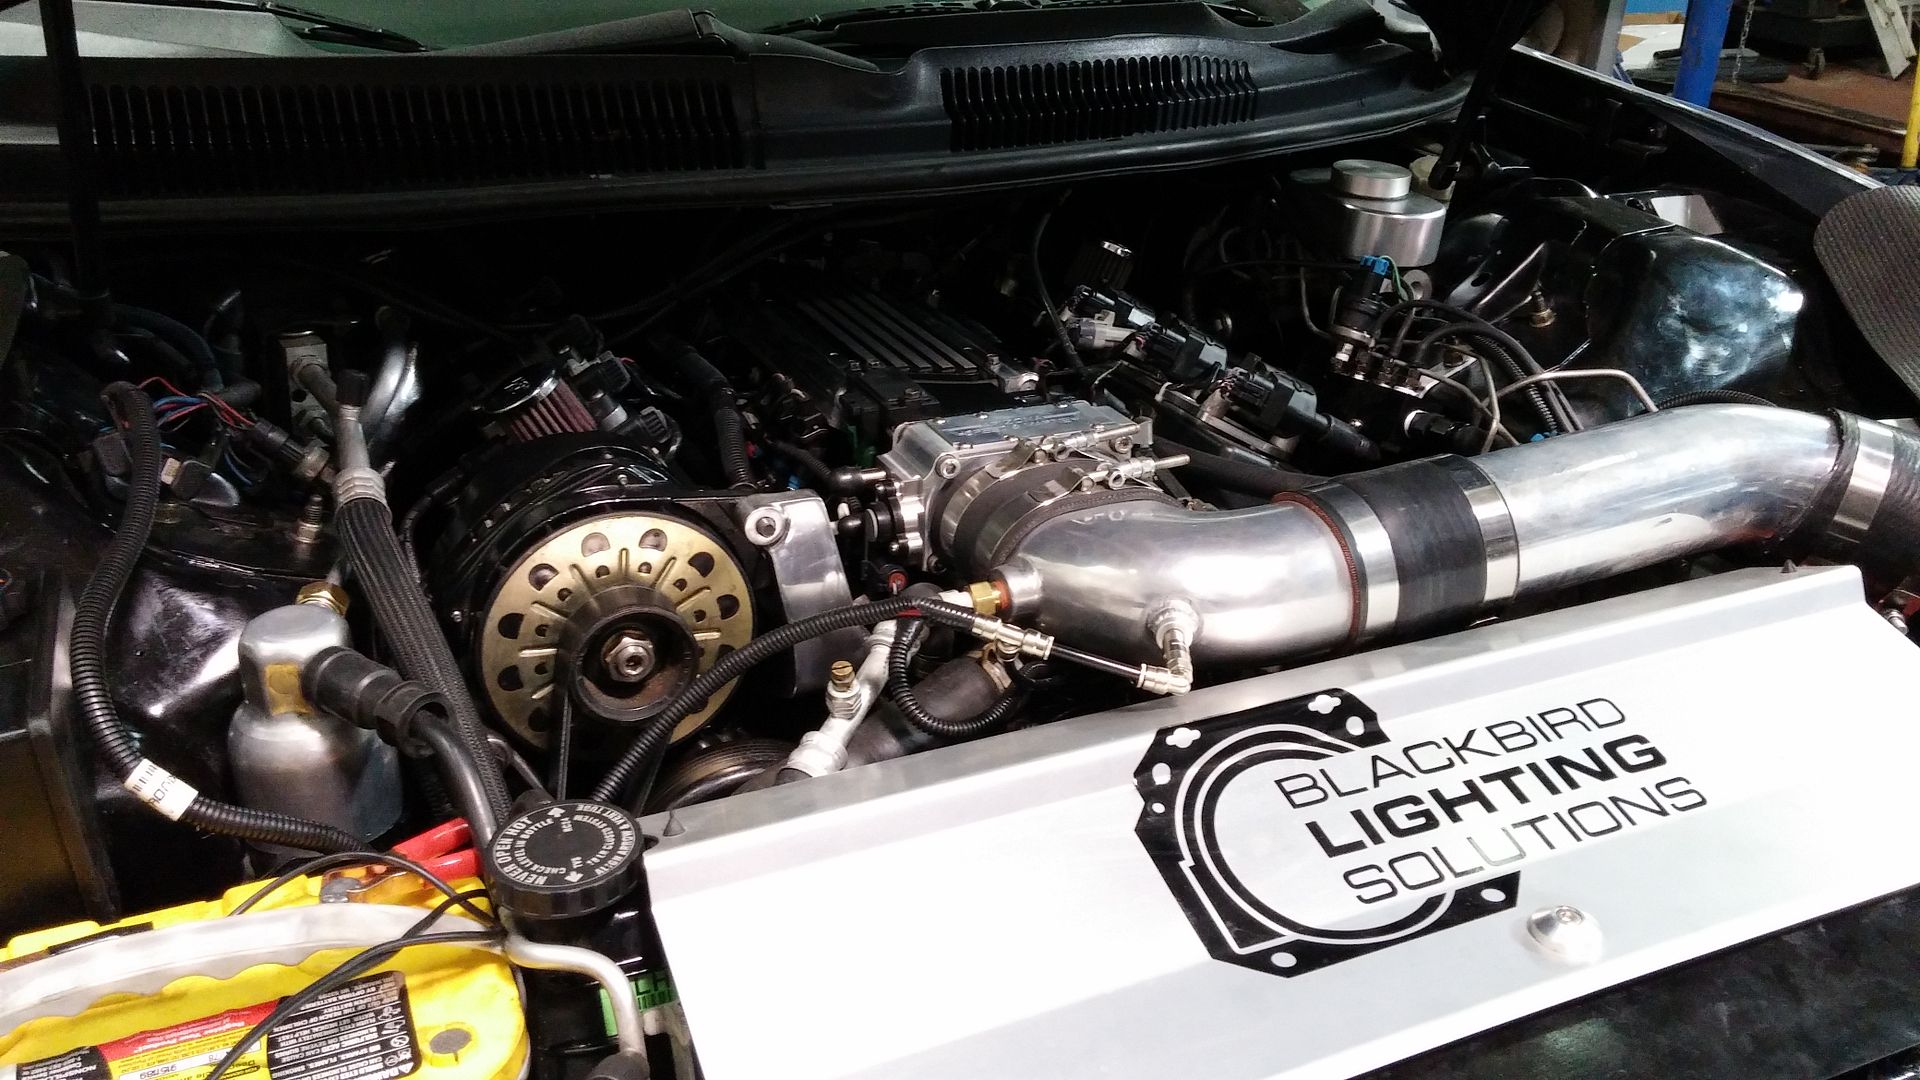
We got literally everything in and connected. I turned the key for power and everything lit up. Unfortunately, Shownomercy and my other friend caught a fuel leak where the regulator goes into the back of the rail. They tried to give it a quick kiss with a wrench but the issue didn't go away. We assume it is a bum o-ring but rather than pull off the rails and attempt a quick fix, this is something better addressed with a clear head. It was now 8:30PM so we called it a night. I have a nice set of rails with AN fitting from Ryan Stout (great seller btw) but I didn't want to install them just yet. I want to get the original setup working before changing more parts. I ordered a new o-ring set and parts for the current regulator so I can keep this going.
Since it was cold, dark and getting late, I decided to get the car towed the next day (Sunday - Today). We got some breakfast, strolled over to the shop and called to have it towed home. The car is now back in the garage and I will tinker with the fuel leak issue likely next weekend or sometime this week.
Overall, I can't believe how much got done in the weekend. I can't wait to get this thing fired to hear that whistle.
 01-26-2015, 06:00 PM
#5
It is an aeromotive and its not leaking from the common spot if that's where you are going with the comment. I've been using it since this the first build without issue. The Speed Inc. fuel line relocation kit is a really tight fit on the fuel lines so a lot of force is used to get them on the factory rail fittings. We did our best to try and not tweak anything but I think the o-ring was ruined in the process.
I purchased an entire rebuild kit from Aeromotive today so I will be going through the unit entirely along with the rails before it goes back on.
I purchased an entire rebuild kit from Aeromotive today so I will be going through the unit entirely along with the rails before it goes back on.
 01-26-2015, 07:17 PM
#7
11 Second Club
Nice car man..
Trending Topics

 01-27-2015, 12:26 PM
#13
Very impressive build :-)
01-27-2015, 12:54 PM
#14
Thanks and I hope it works out as well, otherwise it will likely be epic part-out time.
I'm usually more careful but not this time. Good learning experience and oddly, its hurt more while healing than right after it happened.
Maybe just a little bit?
He likes the simpler things in life, like turbo LTx builds.
Thanks man and yes, I will be keeping a close watch on the regulator. I'm questing whether I should replace the internals with the o-rings coming my way. One of those "why touch what's not broken" thoughts but you could think of it the other way around. Fix it now before there is an issue. Hmm...
01-27-2015, 07:52 PM
#15
Man, you've got to be THE ONLY one using ProCharger's 12 rib factory bracket AND not throw a belt. Couldn't for the life of me get it to stop throwing belts (6 in all) you know how much they cost. LOL I had to ditch it for a SDCE unit, problem solved. But like you, I'm on my 3rd build too and did some upgrades as well...pistons, link bar lifters, custom grind cam, bumped the CR among a few other things. Oh HOB Cog system with a few tricks to it too.
You did a great job and she looks clean! Can't wait to start on mine this summer/fall.
You did a great job and she looks clean! Can't wait to start on mine this summer/fall.
01-27-2015, 08:58 PM
#16
Man, you've got to be THE ONLY one using ProCharger's 12 rib factory bracket AND not throw a belt. Couldn't for the life of me get it to stop throwing belts (6 in all) you know how much they cost. LOL I had to ditch it for a SDCE unit, problem solved. But like you, I'm on my 3rd build too and did some upgrades as well...pistons, link bar lifters, custom grind cam, bumped the CR among a few other things. Oh HOB Cog system with a few tricks to it too.
You did a great job and she looks clean! Can't wait to start on mine this summer/fall.
You did a great job and she looks clean! Can't wait to start on mine this summer/fall.
01-28-2015, 08:06 AM
#17
TECH Apprentice
iTrader: (8)
Join Date: Apr 2011
Location: Felton, DE
Posts: 305
Likes: 0
Received 0 Likes
on
0 Posts

Man, you've got to be THE ONLY one using ProCharger's 12 rib factory bracket AND not throw a belt. Couldn't for the life of me get it to stop throwing belts (6 in all) you know how much they cost. LOL I had to ditch it for a SDCE unit, problem solved. But like you, I'm on my 3rd build too and did some upgrades as well...pistons, link bar lifters, custom grind cam, bumped the CR among a few other things. Oh HOB Cog system with a few tricks to it too.
You did a great job and she looks clean! Can't wait to start on mine this summer/fall.
You did a great job and she looks clean! Can't wait to start on mine this summer/fall.
01-28-2015, 04:26 PM
#19
I'm not sure, I was running in excess of 20psi at one time and anything over 18 would just kill a belt. 15psi seem to be my threshold. I had only one other guy run 22psi on a 12 and never lost it either. More than likely it was just my luck of the draw and I had everything measured thrice and a laser alignment tool and still would walk. The idler arm would flex on my, wasn't the crank or blower pulley.

