Yukon Down, AWD delete, headers, converter etc...
 06-26-2016, 11:36 PM
#21
TECH Senior Member
Thread Starter
iTrader: (96)
Join Date: Aug 2007
Location: Turnin' Wrenches Infractions: 005
Posts: 24,241
Likes: 0
Received 79 Likes
on
70 Posts

So basically issue after issue. This transmission has been pissing fluid out about every other drive, its been driving me nuts. I went through two new pan gaskets before I realized it was actually the electrical connector, it was pushed into the case and not sealing. I was able to pull it up and make it click in place. Its also had a funky miss going on and has been down on power. So I ordered up some stuff.
DJM 2/3 inch lowering kit from NorCalSS, and a set of MSD plug and copper NGK plugs from SDPC.

The plugs and wires did fix the miss, and the lowering kit was pretty straightforward. Here is the stock spring vs the DJM spring for the rear.
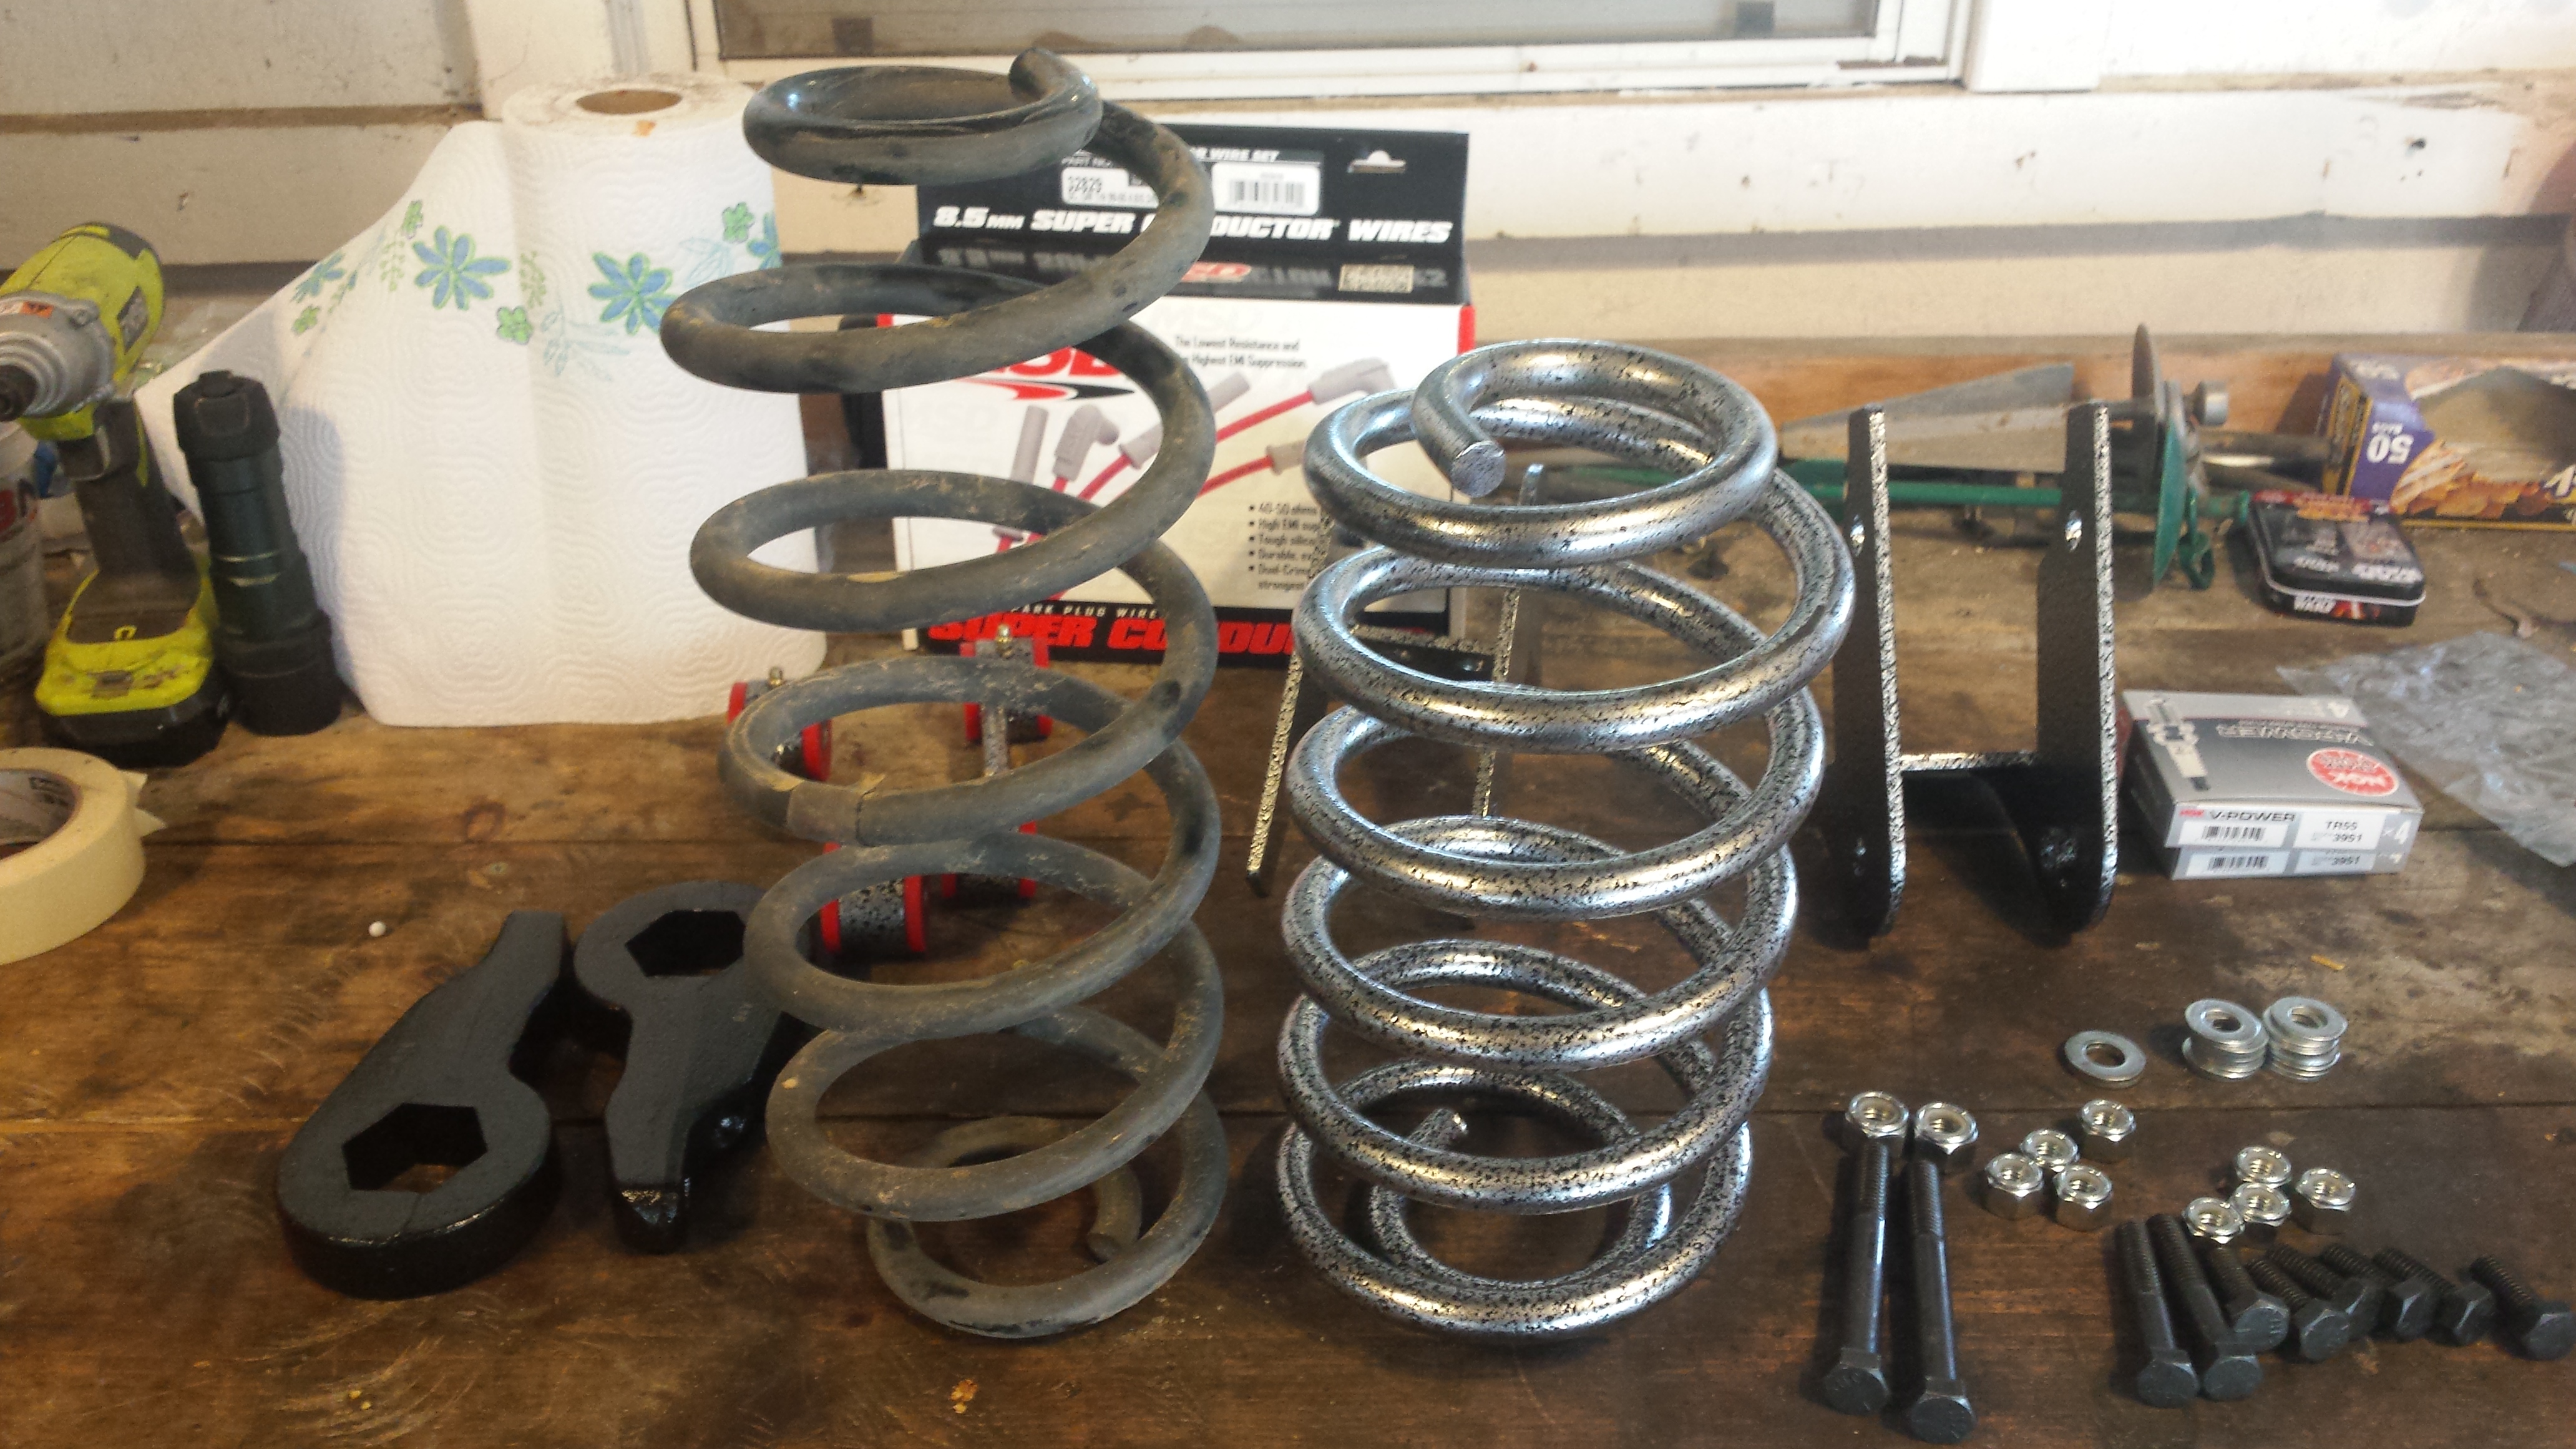
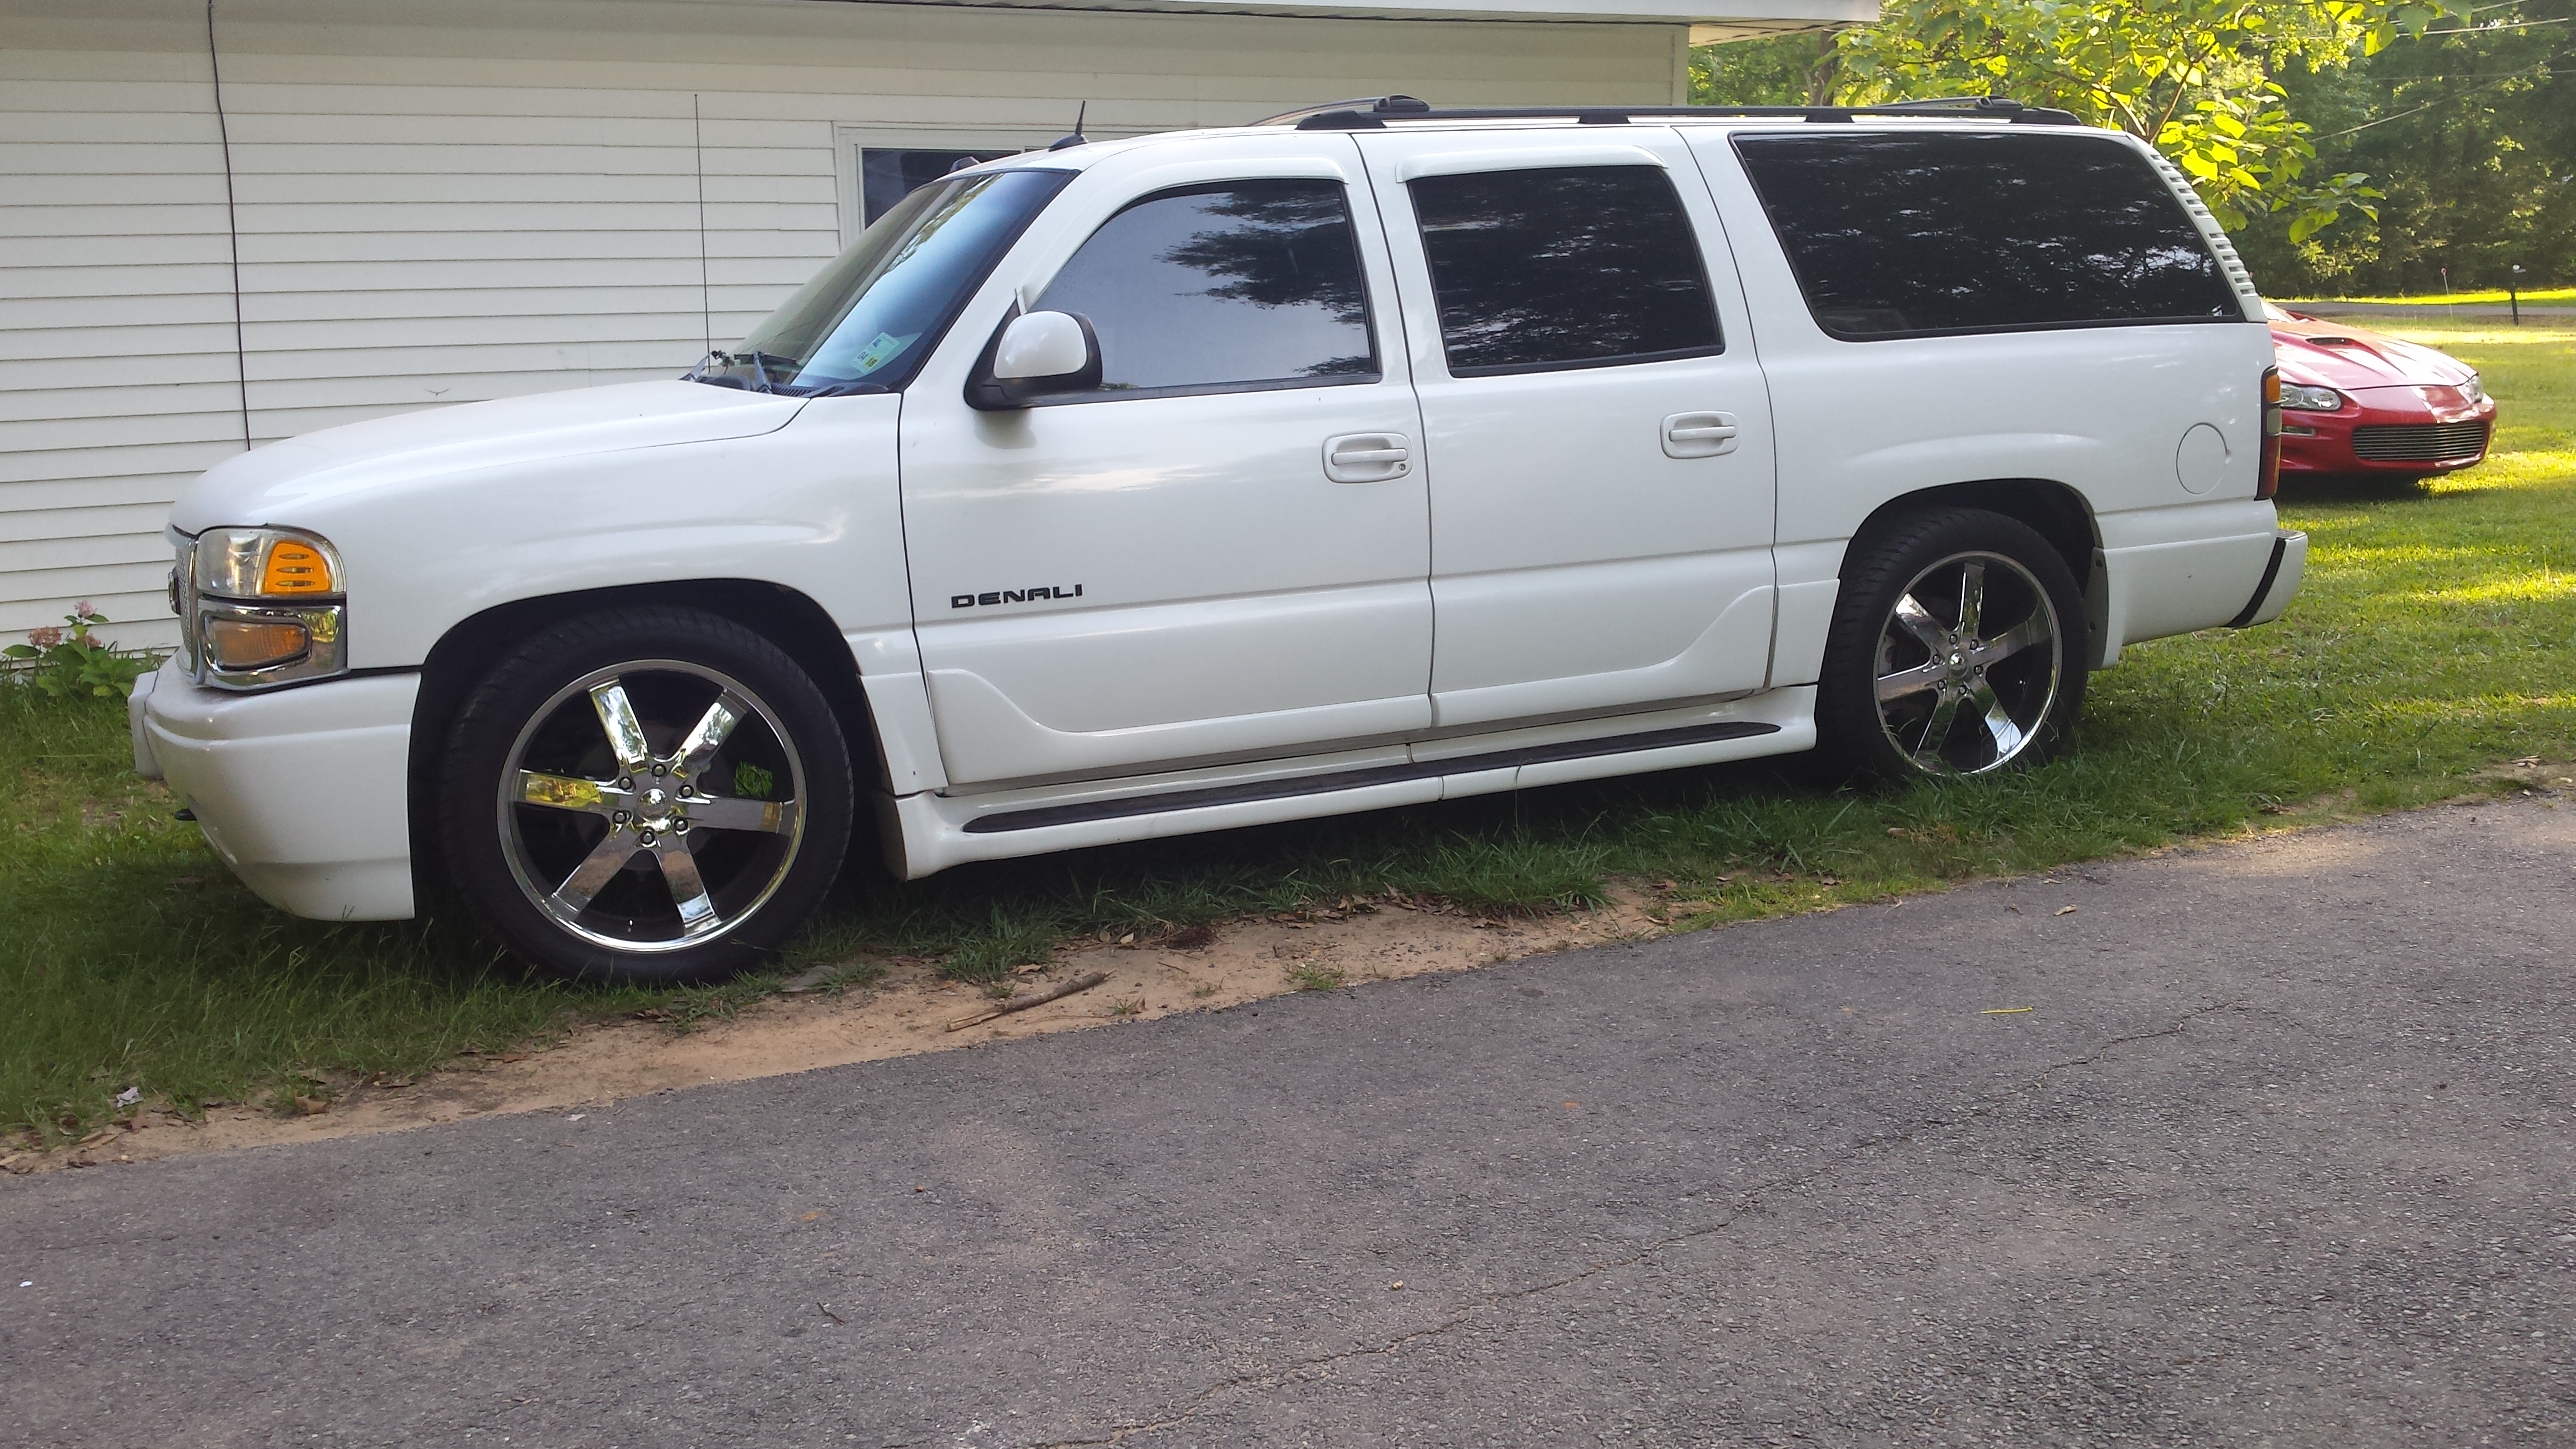
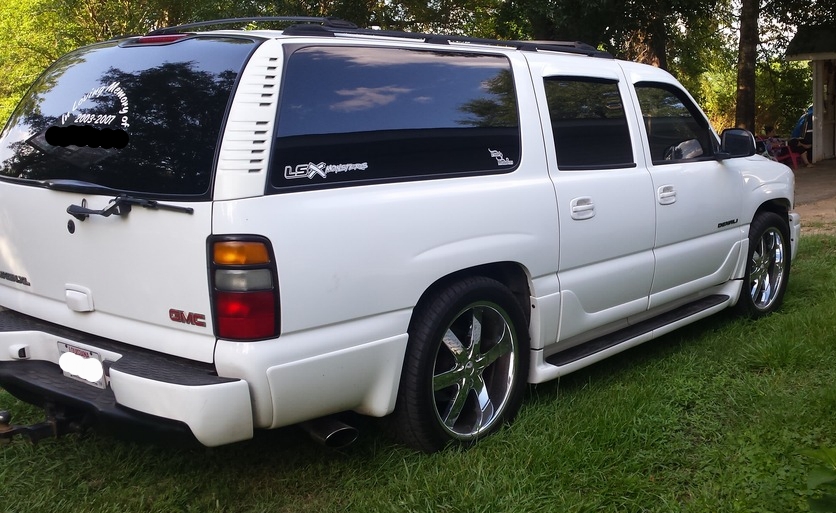
Here is some after pics, and my impressions of the ride are slightly firmer then stock in the front, and slightly bouncy in the rear. I've ordered the shock relo brackets for the rear to try to help control the rear end movement. I trimmed all 4 bumpstops also.
Remember that daily driver I bought, well the friggen AC decided to act up. So here is another delay in the project. Had to remove the front clip to swap compressors.
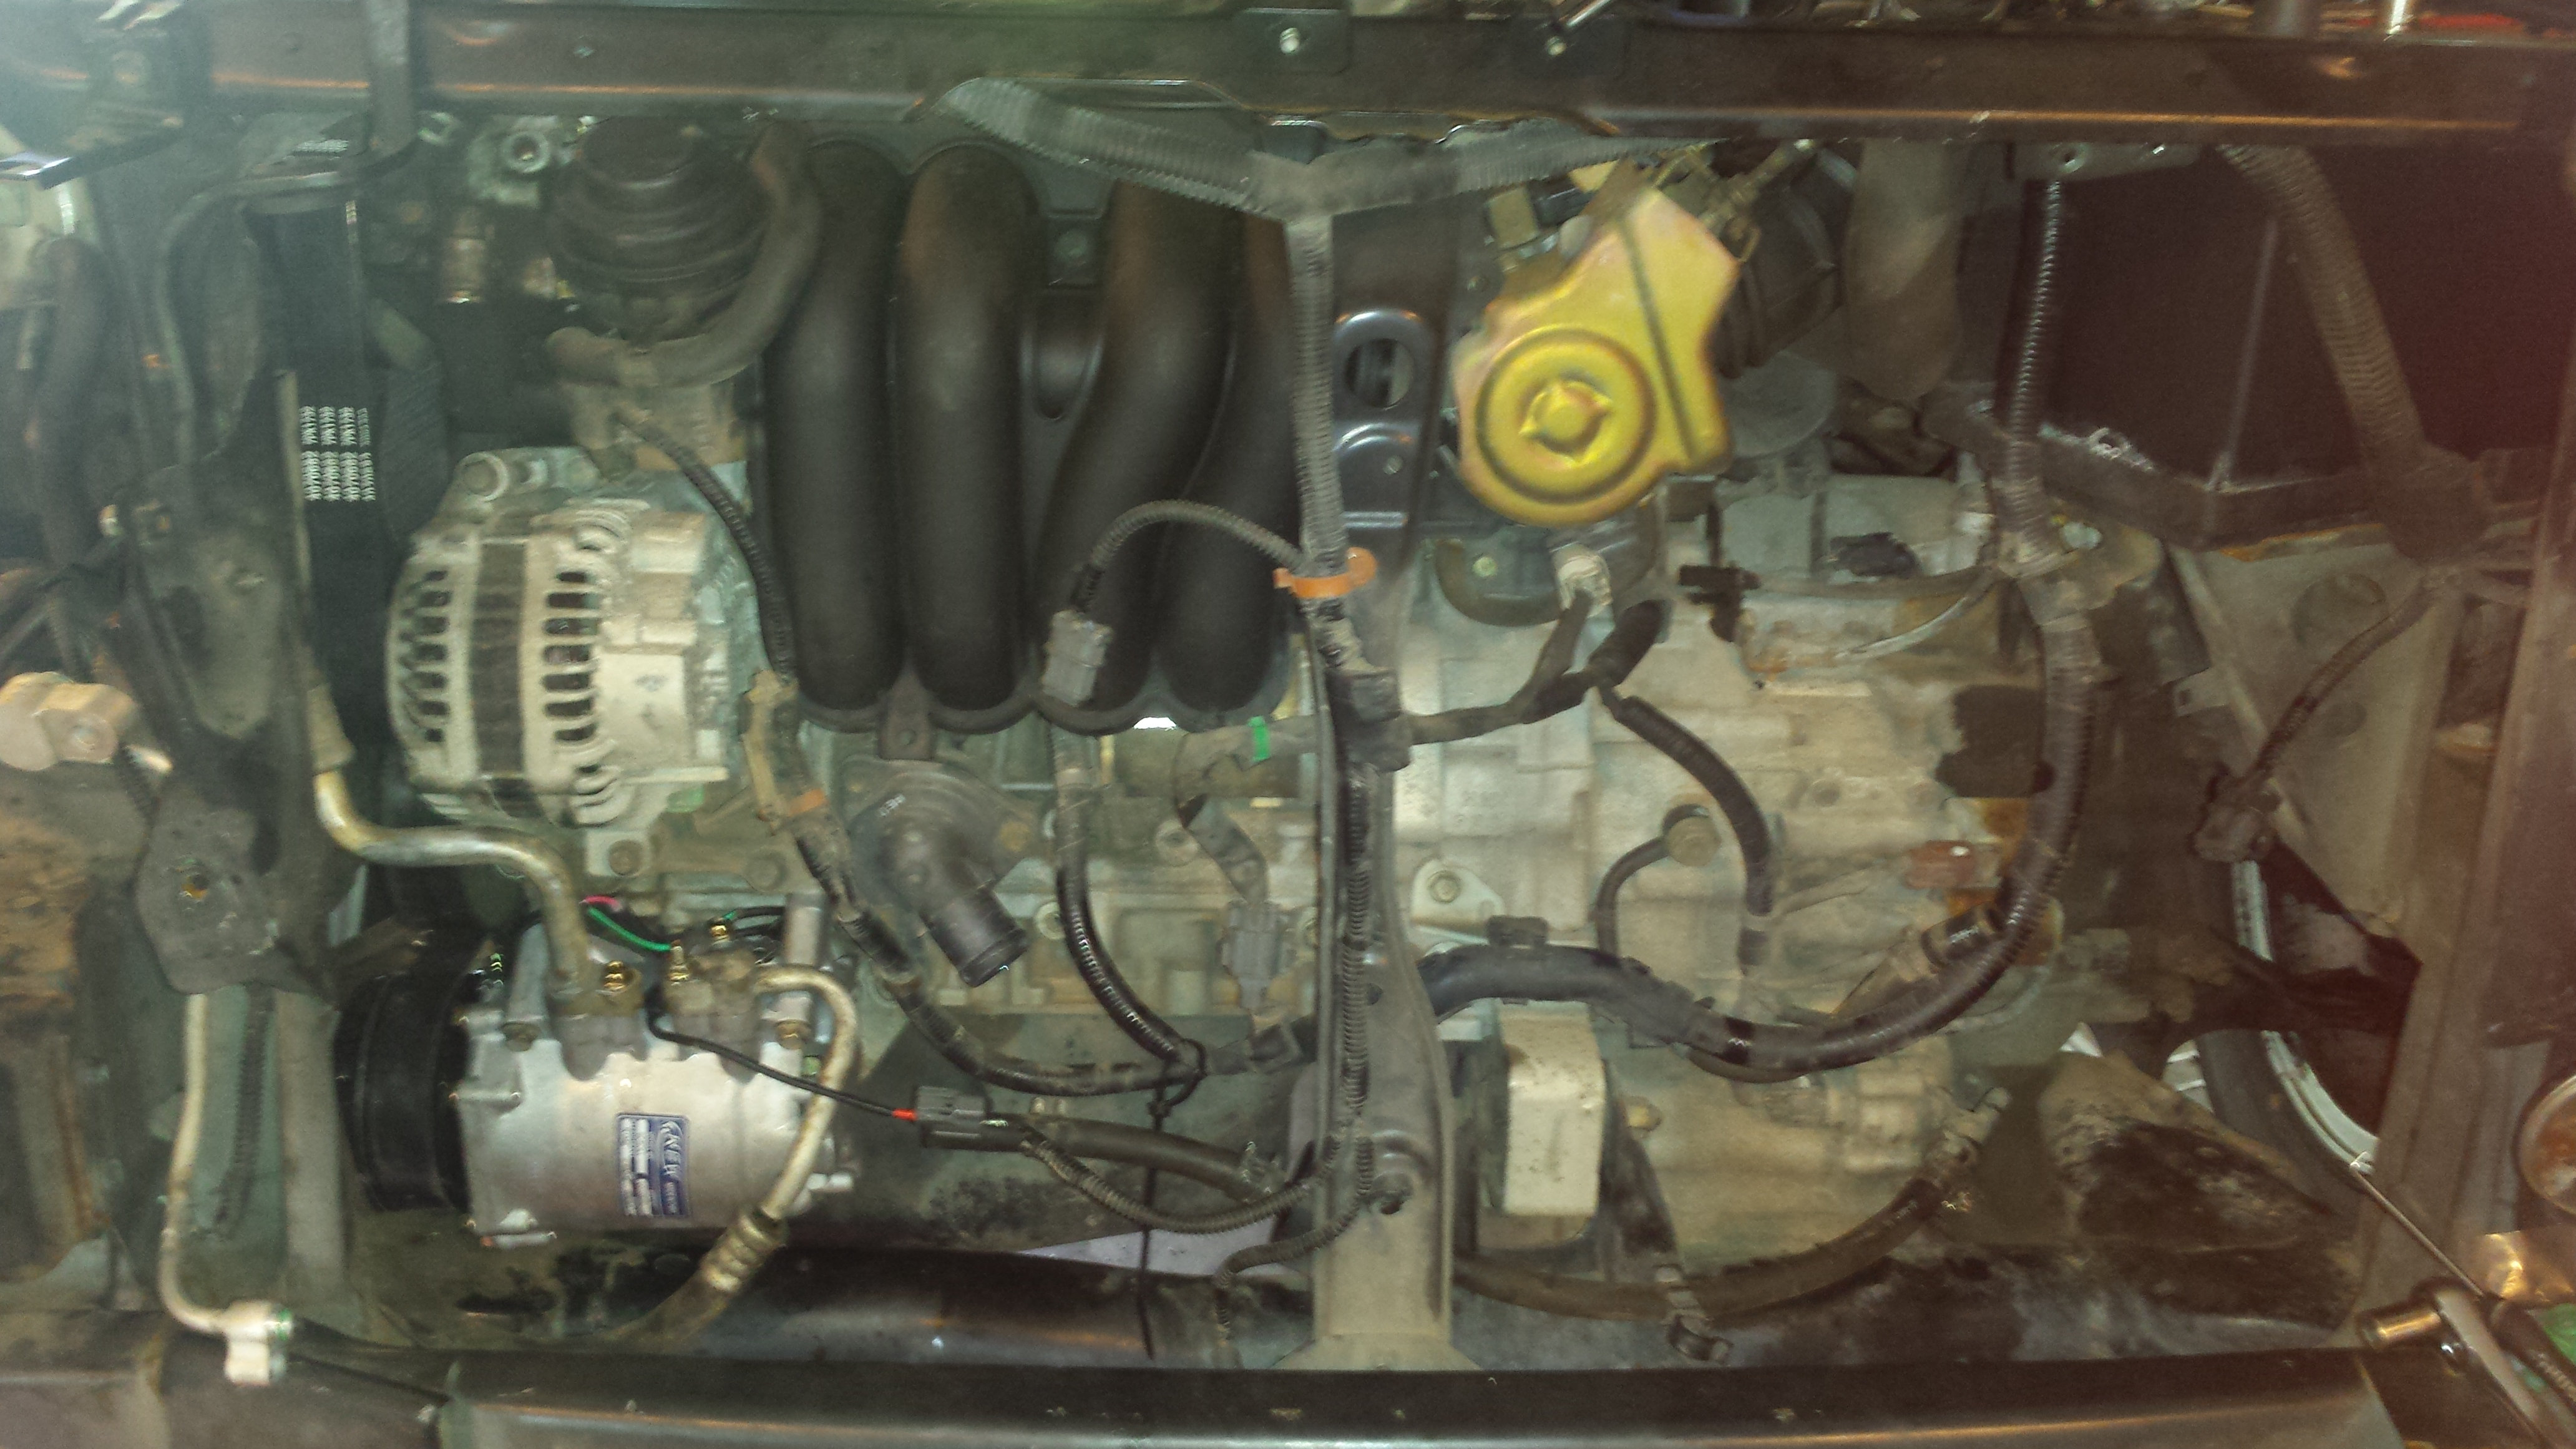
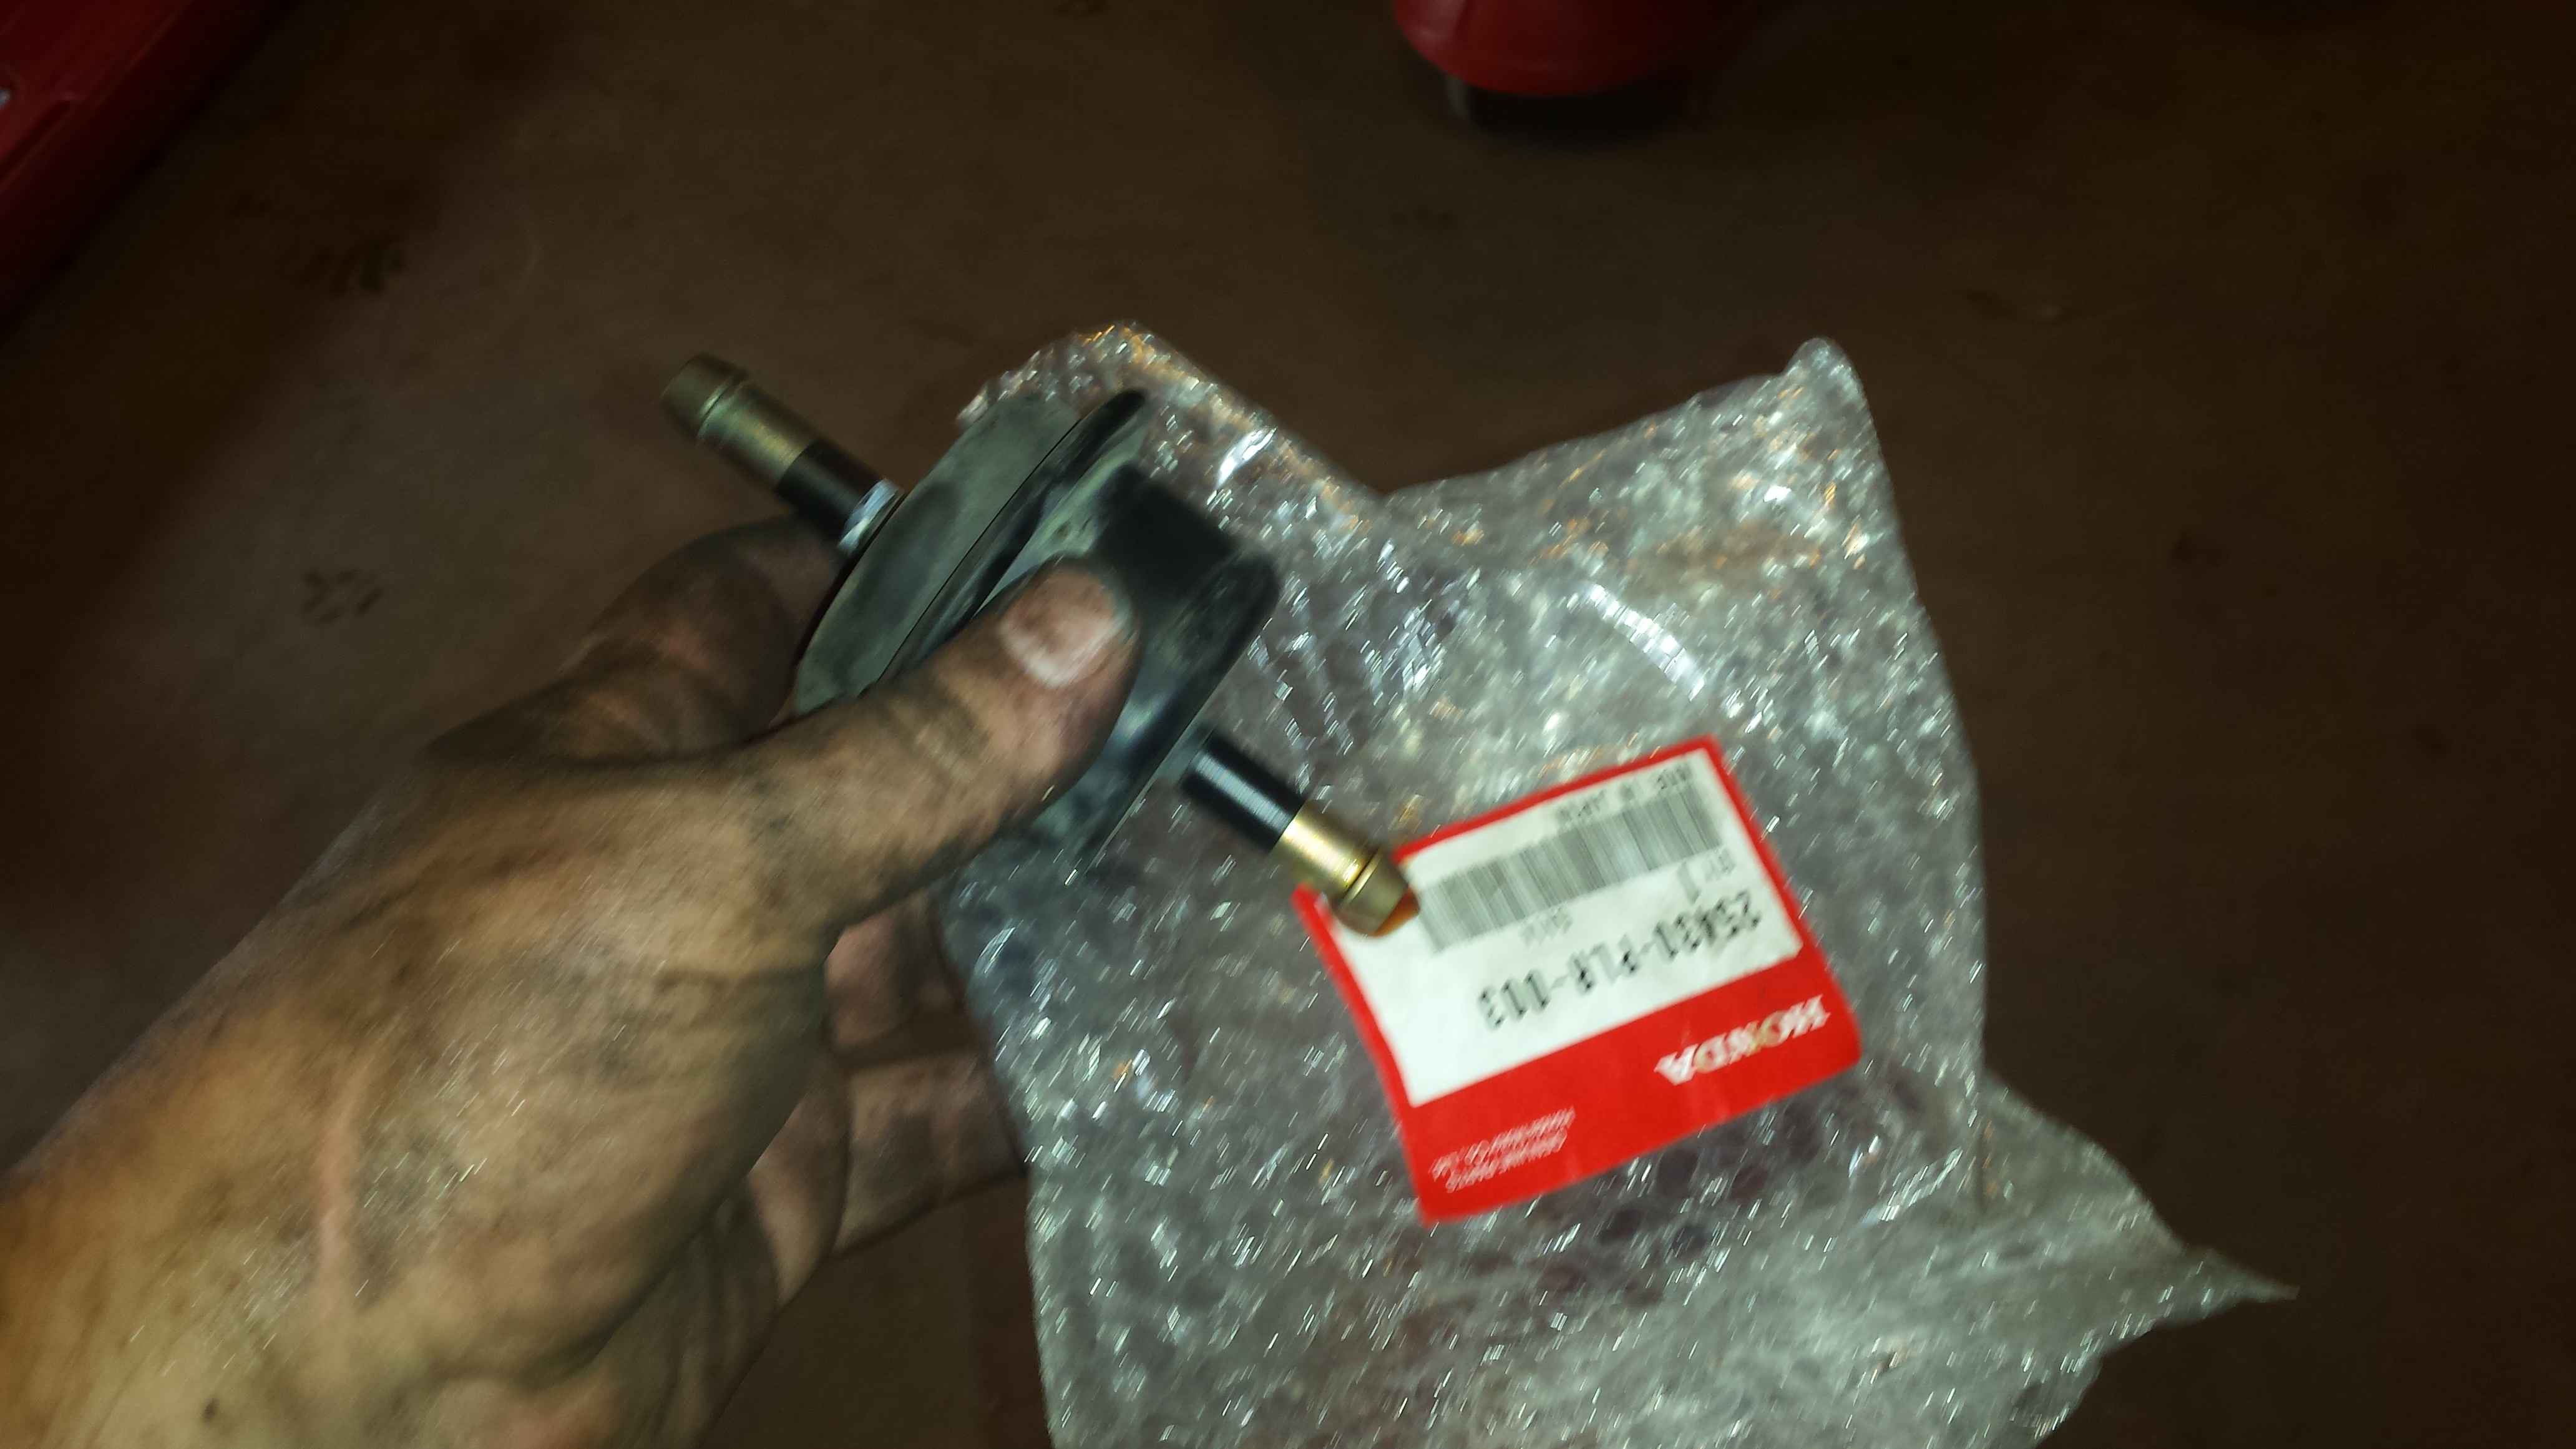
Decided while I had it apart to swap the trans filter, which is buried behind the front bumper.
DJM 2/3 inch lowering kit from NorCalSS, and a set of MSD plug and copper NGK plugs from SDPC.

The plugs and wires did fix the miss, and the lowering kit was pretty straightforward. Here is the stock spring vs the DJM spring for the rear.

Here is some after pics, and my impressions of the ride are slightly firmer then stock in the front, and slightly bouncy in the rear. I've ordered the shock relo brackets for the rear to try to help control the rear end movement. I trimmed all 4 bumpstops also.


Remember that daily driver I bought, well the friggen AC decided to act up. So here is another delay in the project. Had to remove the front clip to swap compressors.

Decided while I had it apart to swap the trans filter, which is buried behind the front bumper.

 06-26-2016, 11:37 PM
#22
TECH Senior Member
Thread Starter
iTrader: (96)
Join Date: Aug 2007
Location: Turnin' Wrenches Infractions: 005
Posts: 24,241
Likes: 0
Received 79 Likes
on
70 Posts
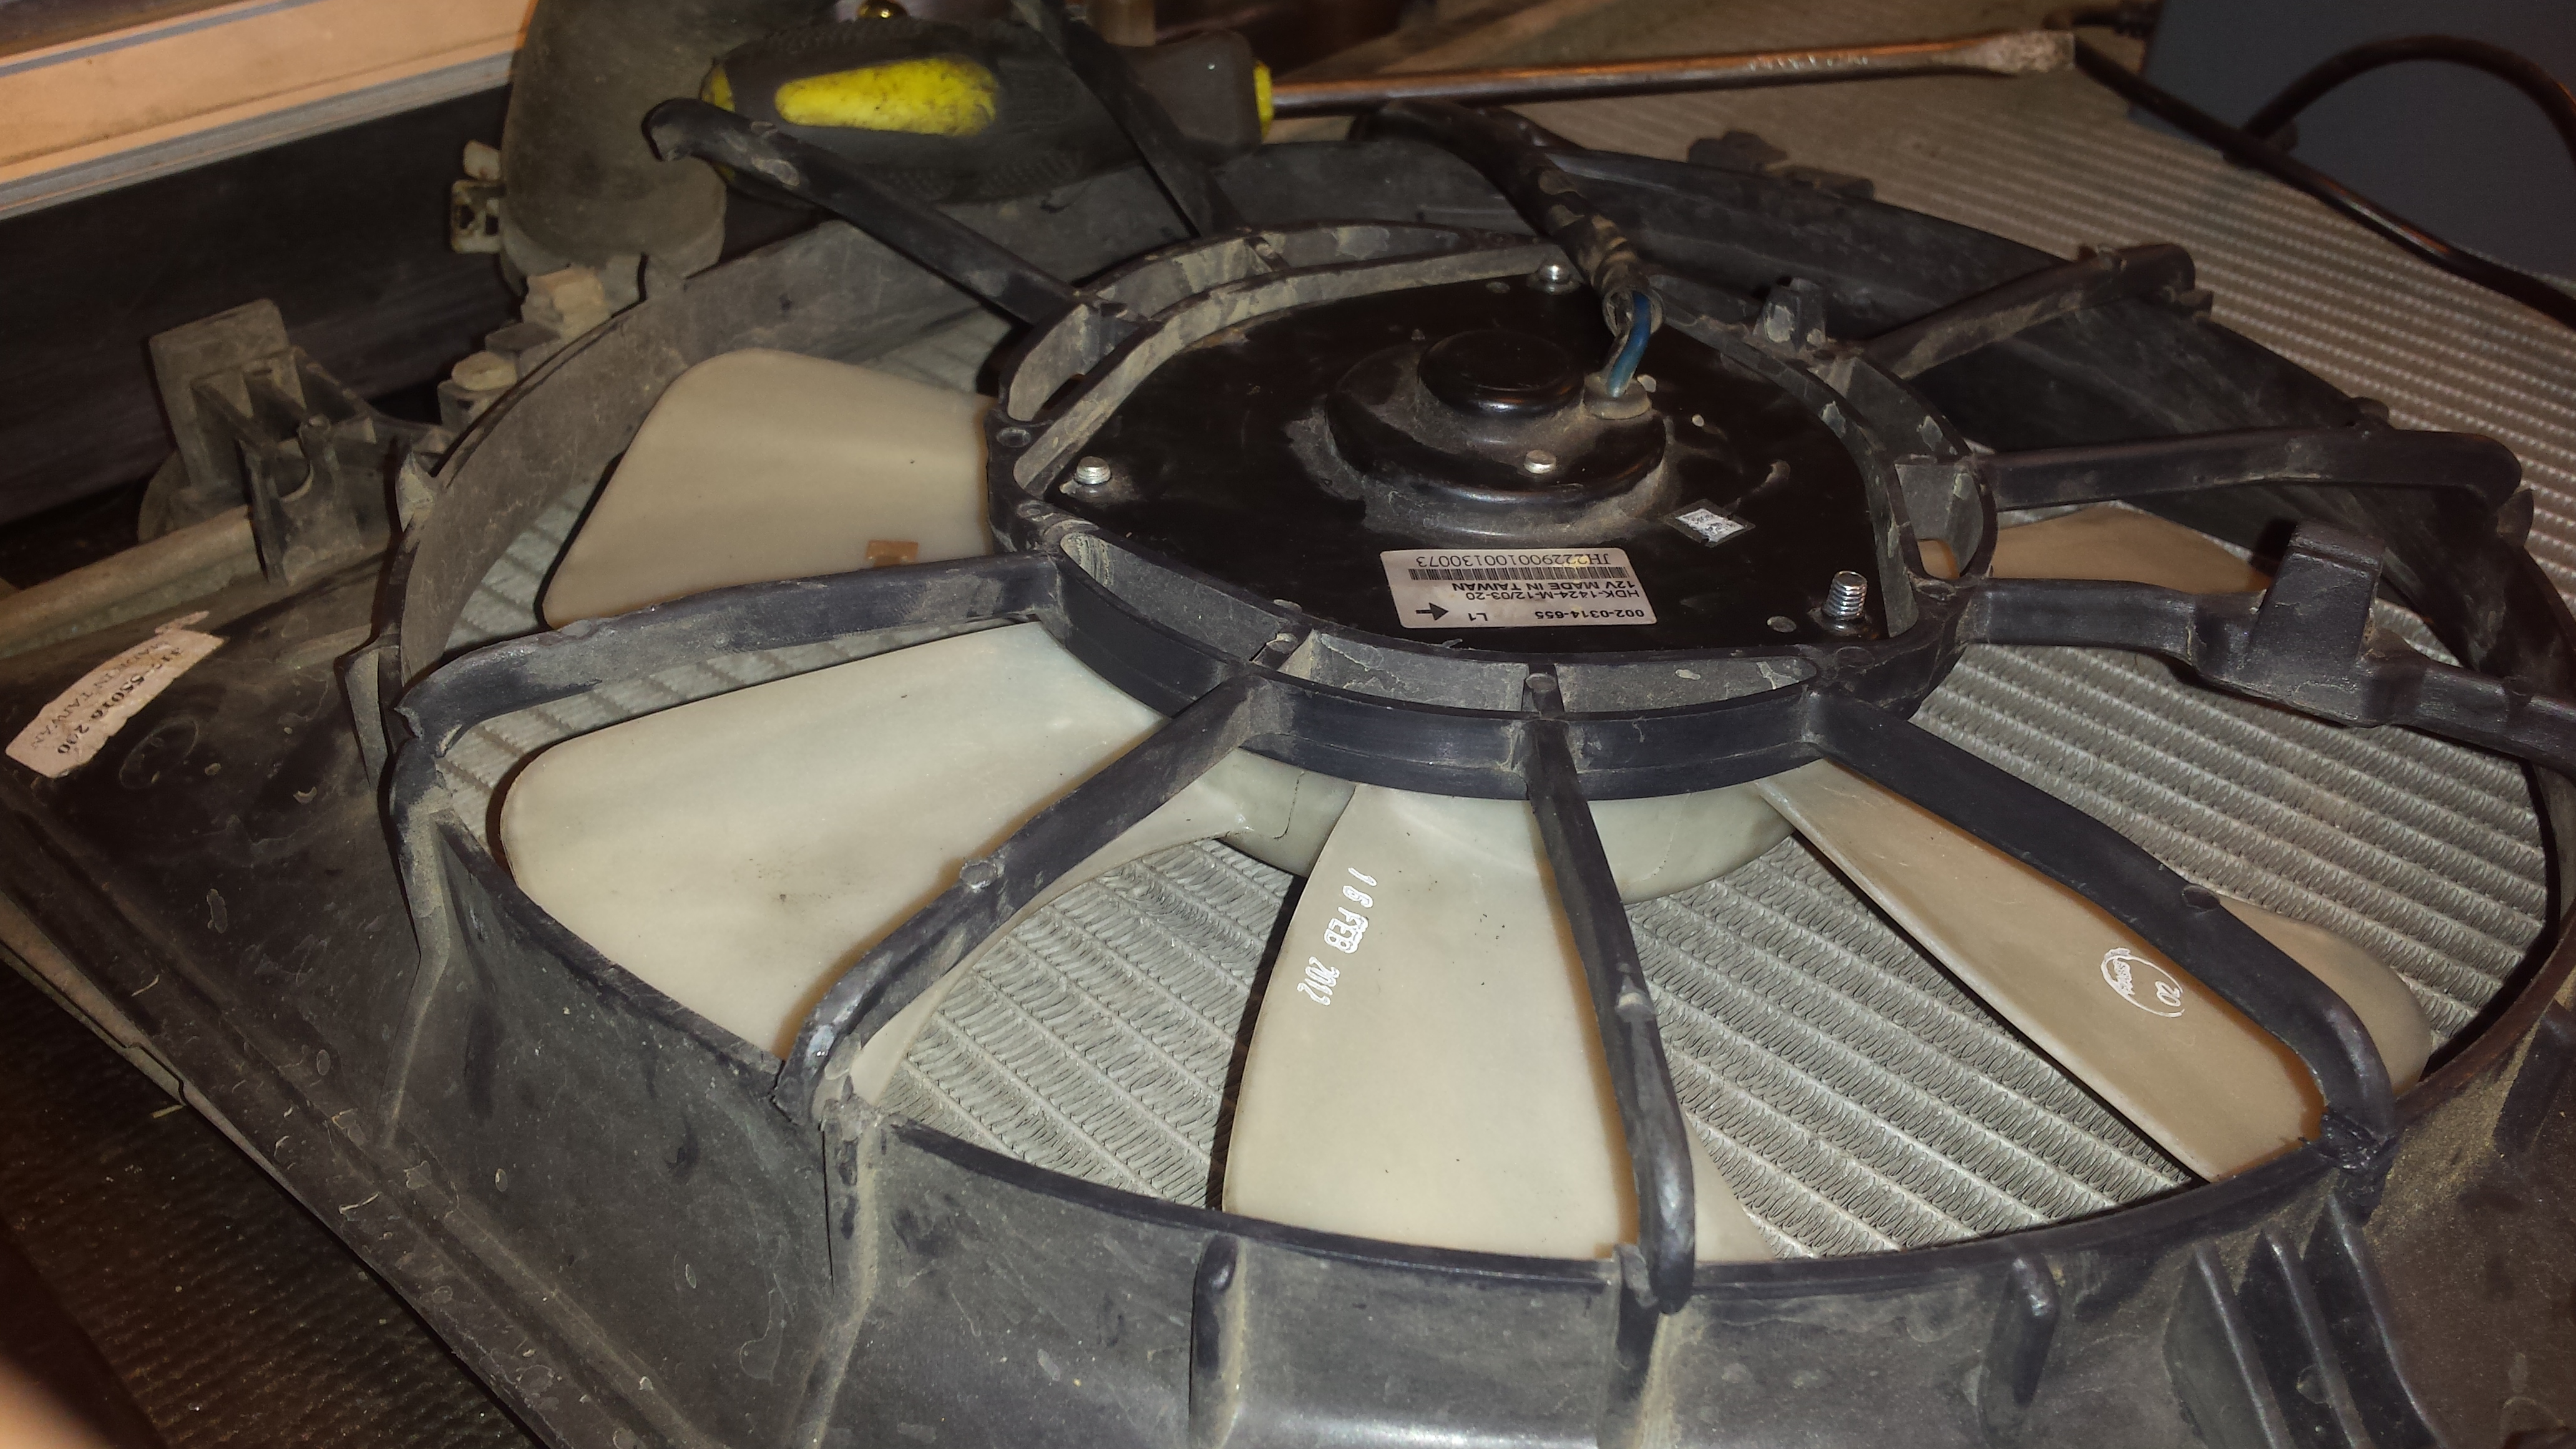
I also found one of the radiator fans completely broken off the shroud and unplugged. So, I setup the soldering gun in hopes of making a fast/cheap repair.

Every single finger was broken, but I was able to re-fit them in place, then smear the plastic back together with the tip of the gun. After I was through i grabbed the fan and picked up the whole radiator. I think that will hold. Here you can see a repaired one on the right, and the broken ones around the left side.
Yeah buddy that's the ticket.
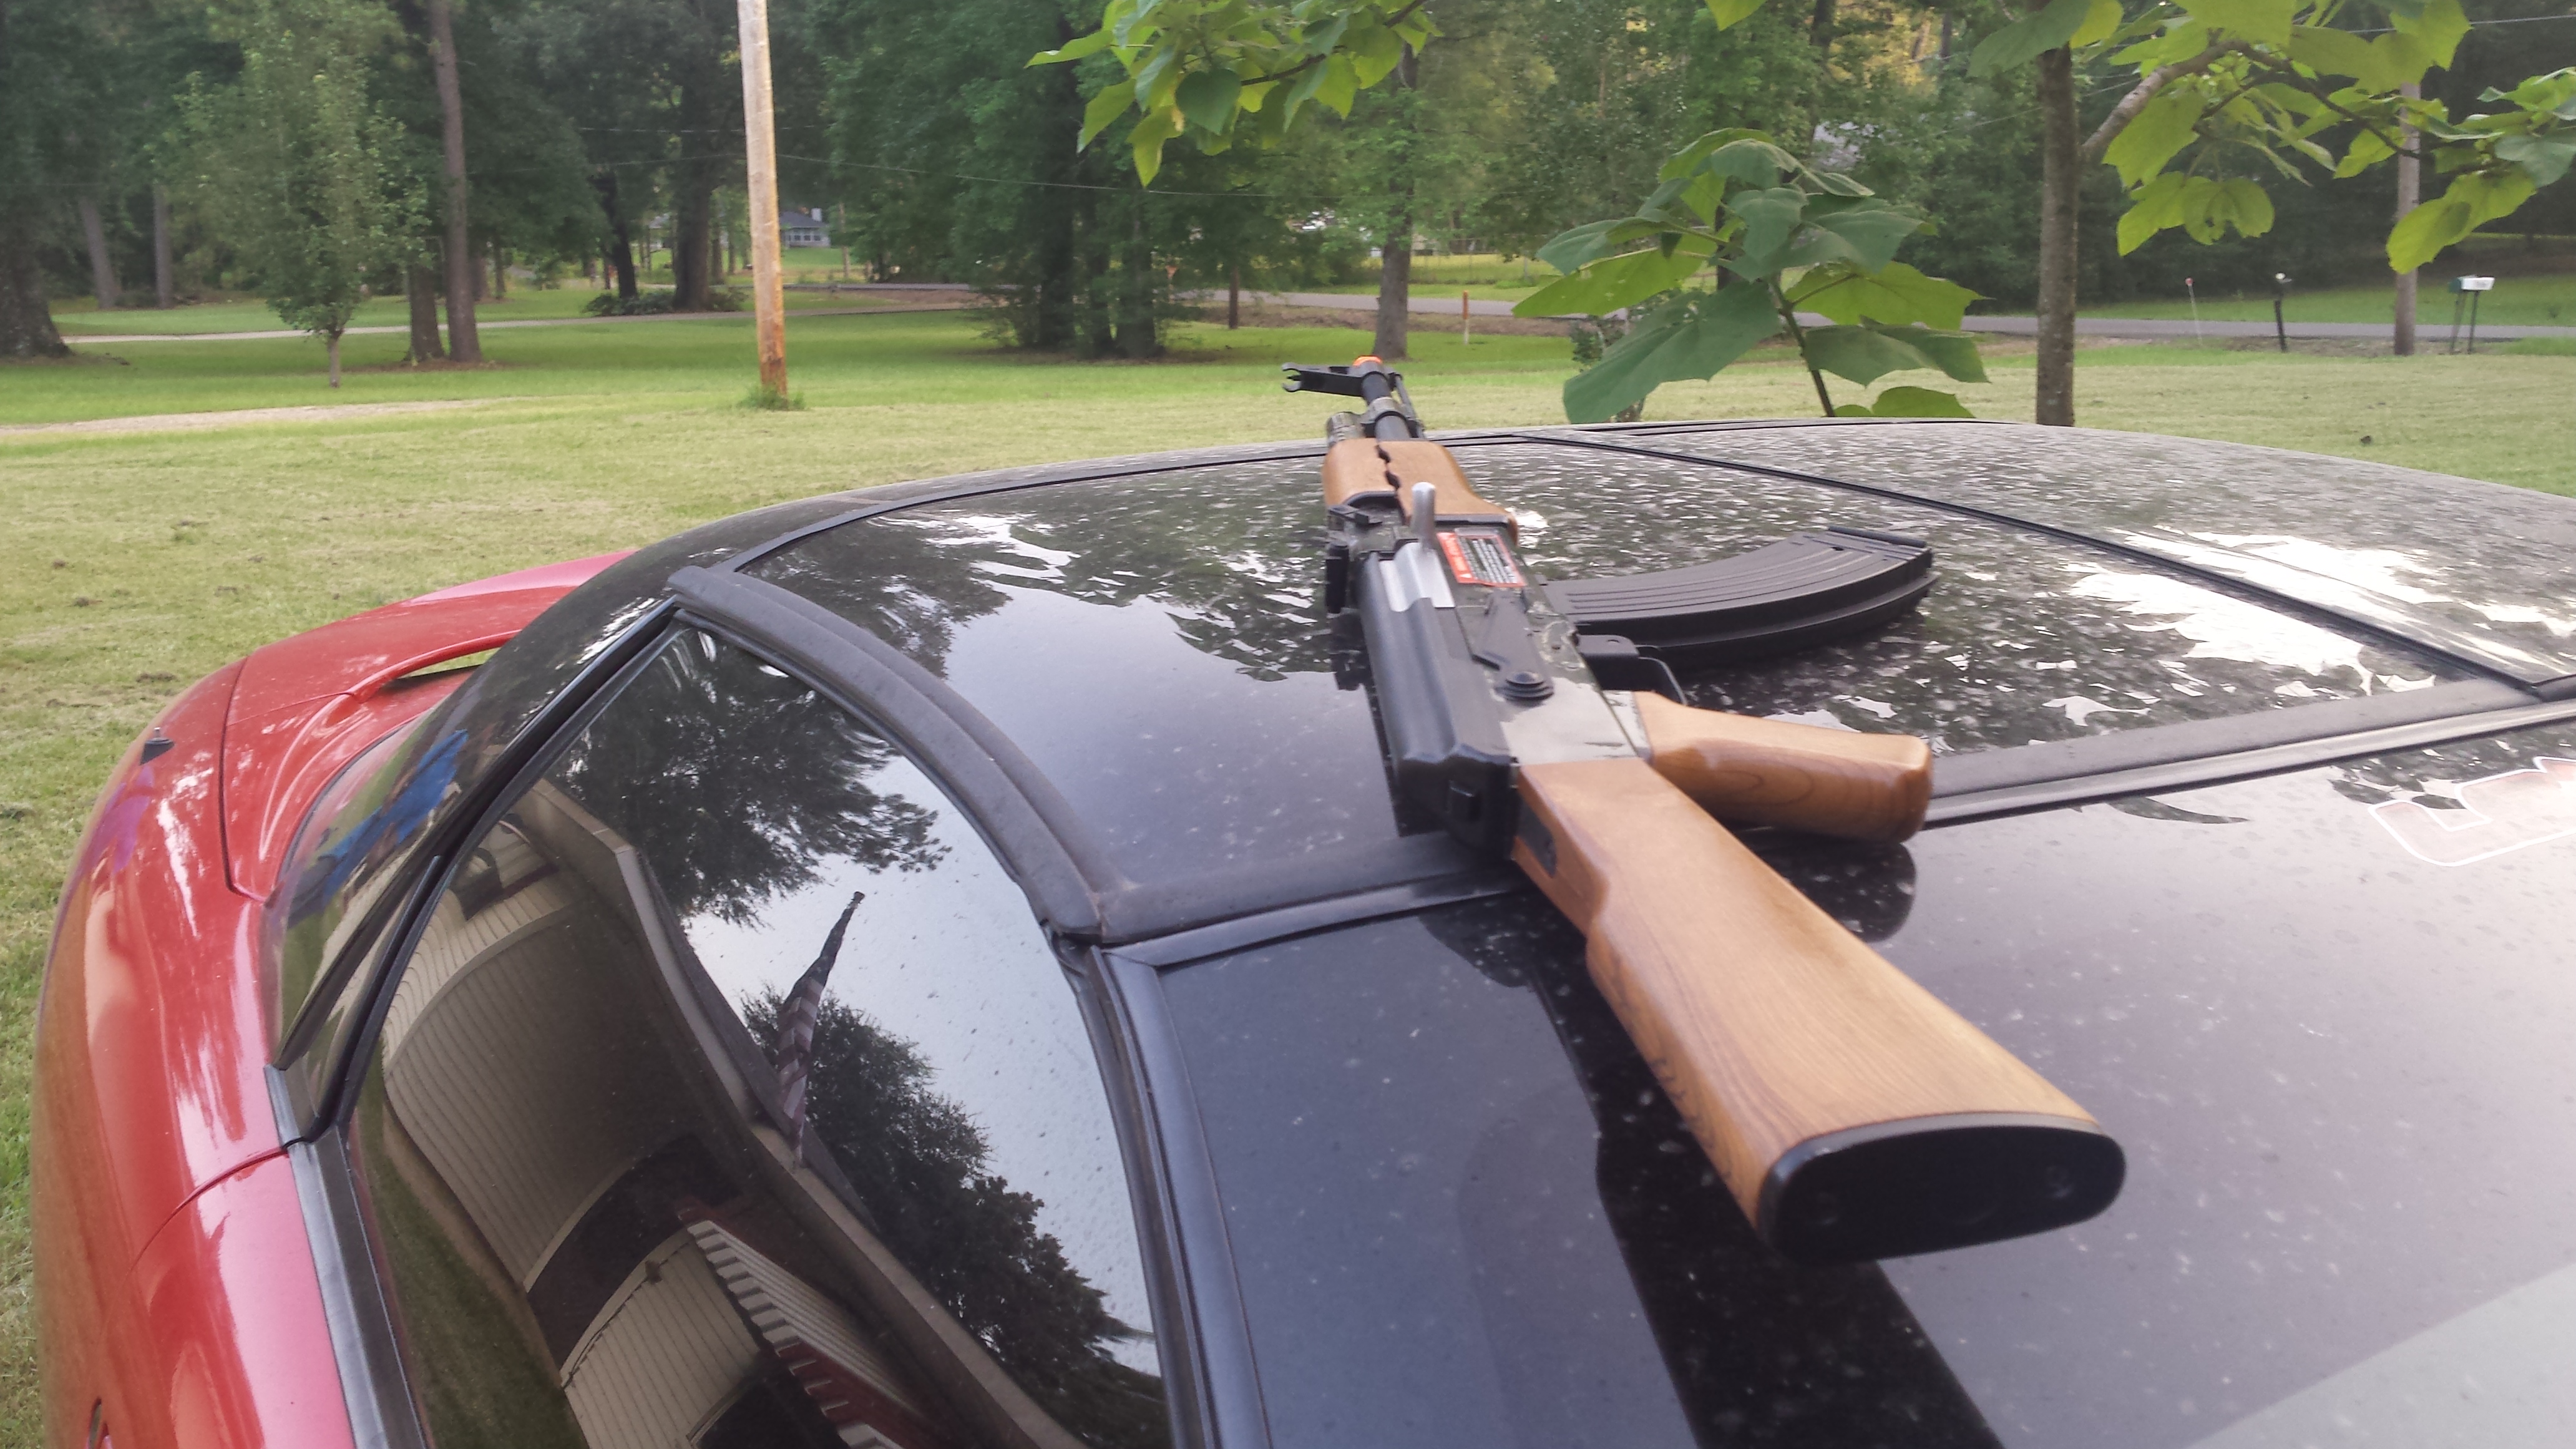
Hard work done, so its break time. Nothing like a good airsoft war down the neighborhood street on a hot summer day.
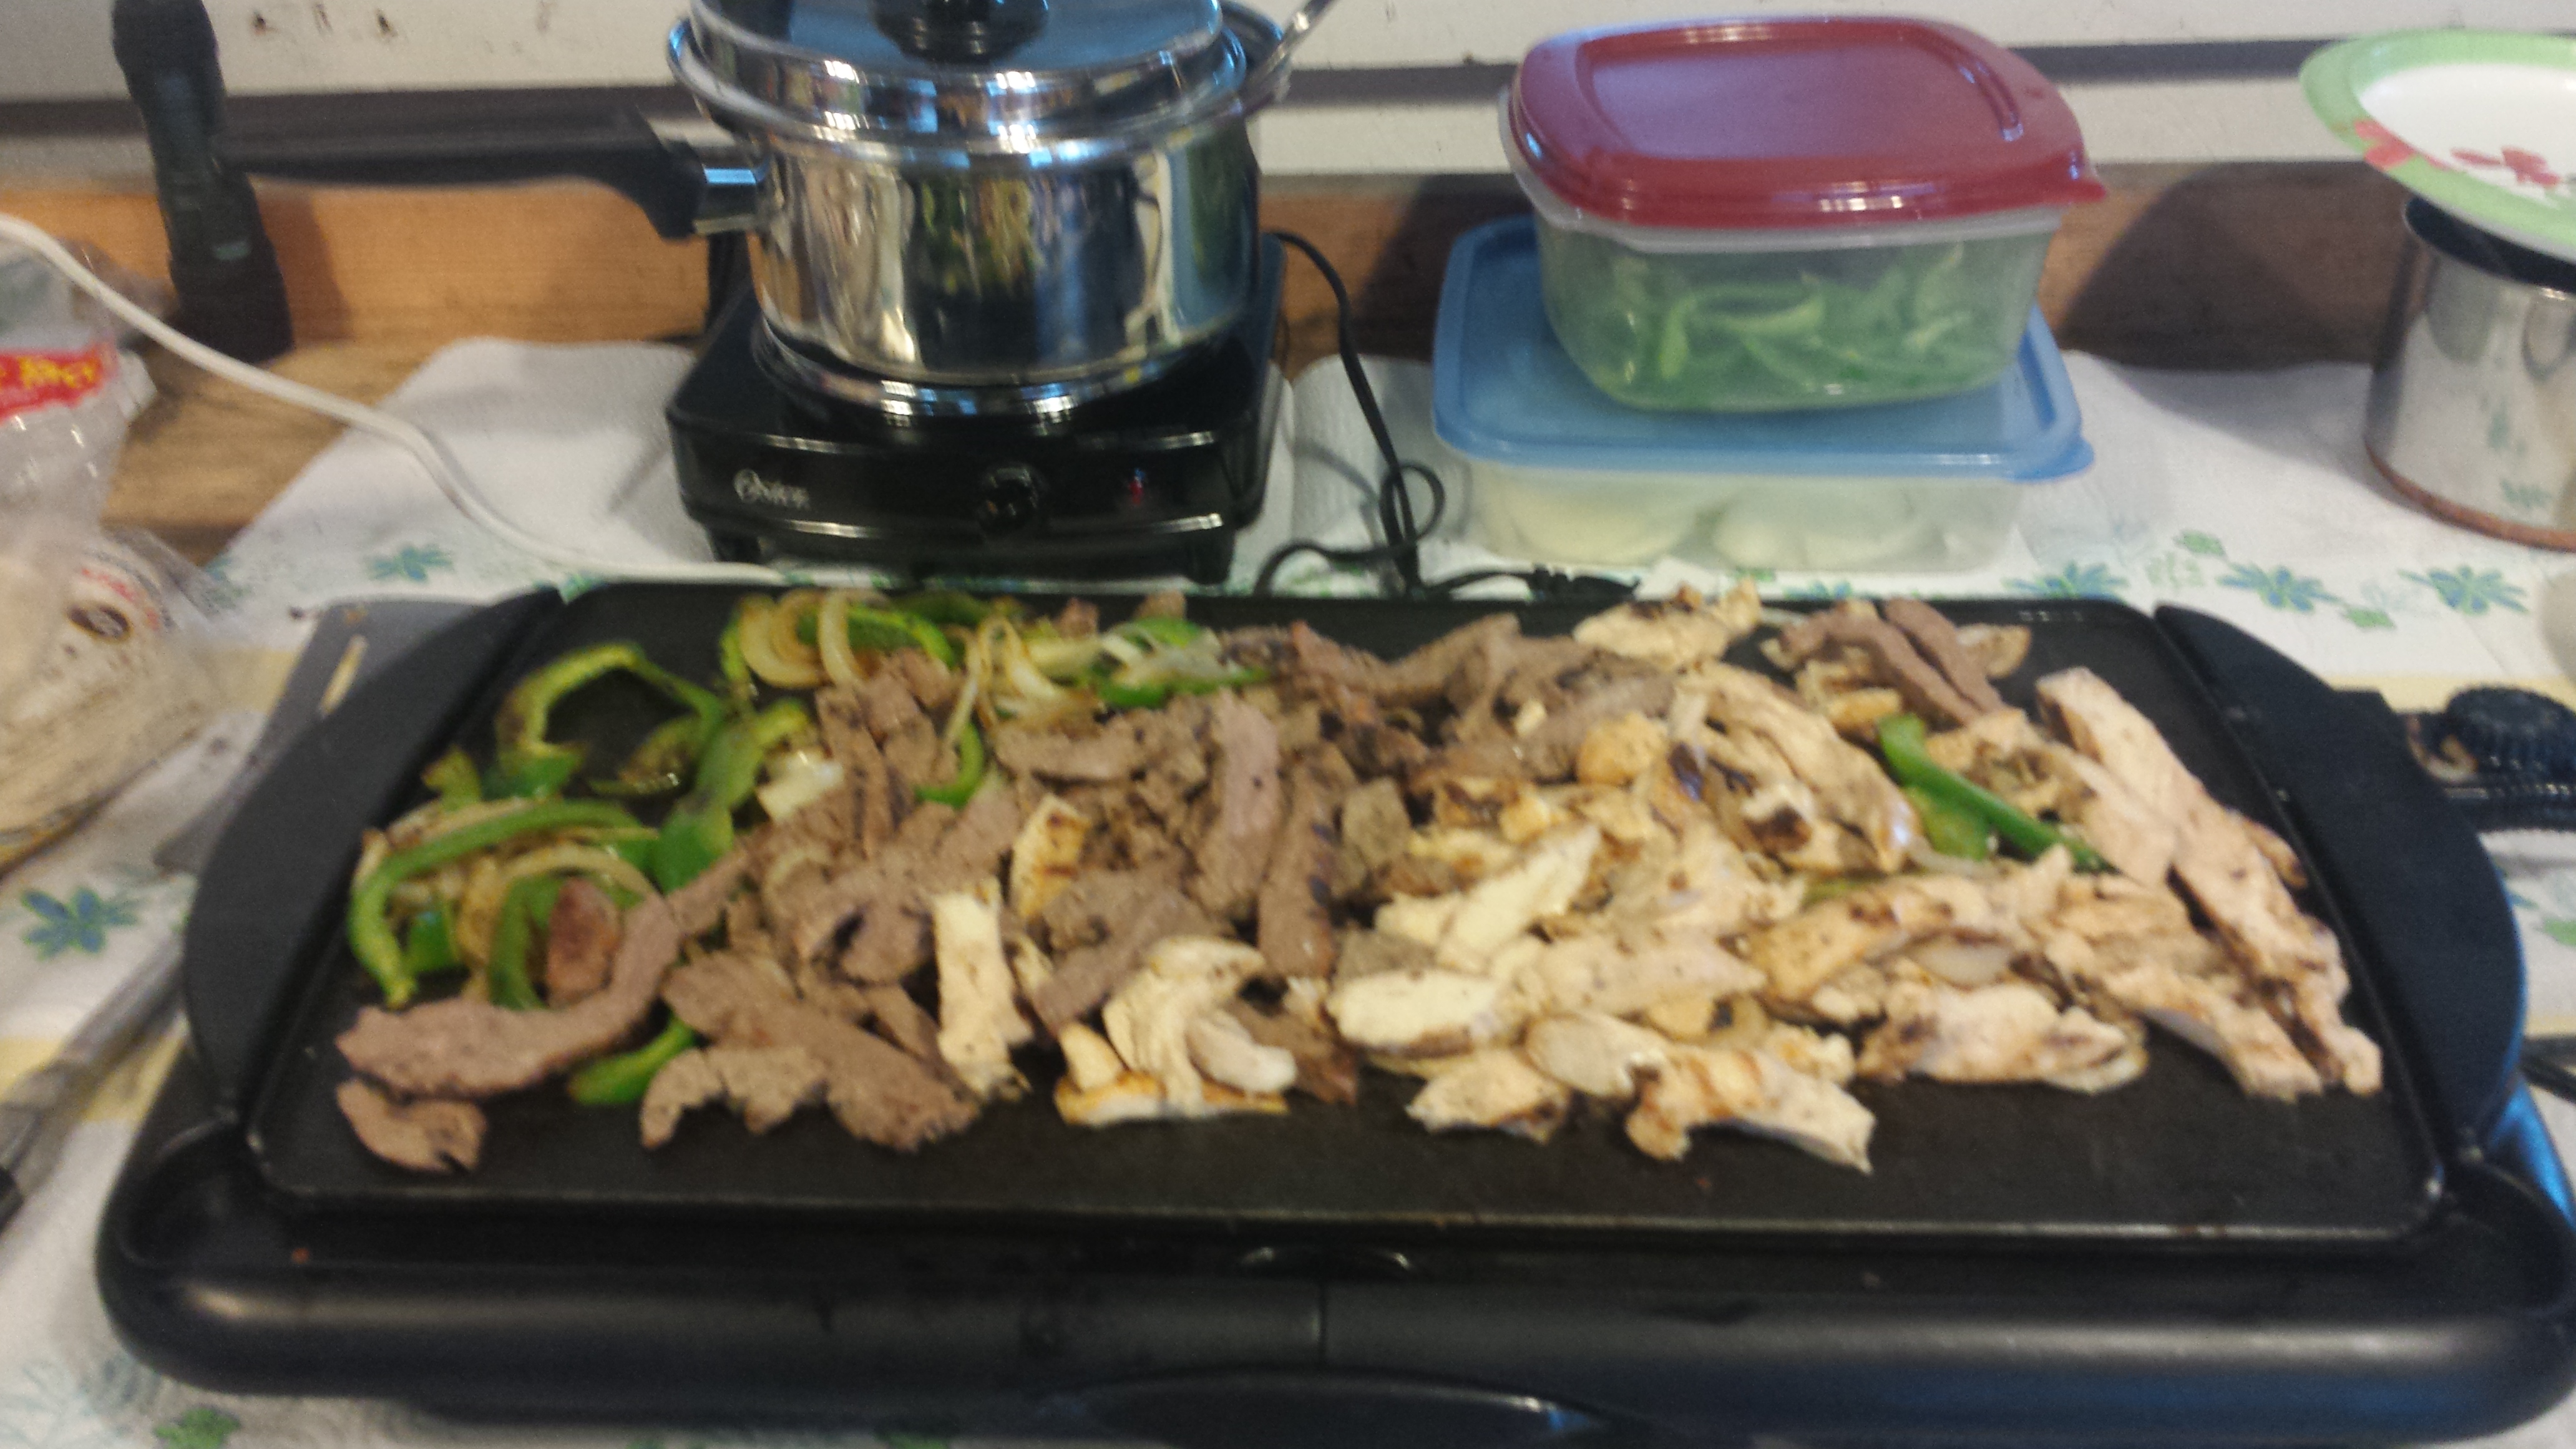
Time to relax with some LSX buddies and fix some garage food.

Every single finger was broken, but I was able to re-fit them in place, then smear the plastic back together with the tip of the gun. After I was through i grabbed the fan and picked up the whole radiator. I think that will hold. Here you can see a repaired one on the right, and the broken ones around the left side.

Yeah buddy that's the ticket.

Hard work done, so its break time. Nothing like a good airsoft war down the neighborhood street on a hot summer day.

Time to relax with some LSX buddies and fix some garage food.

 03-02-2017, 02:17 PM
#24
TECH Senior Member
Thread Starter
iTrader: (96)
Join Date: Aug 2007
Location: Turnin' Wrenches Infractions: 005
Posts: 24,241
Likes: 0
Received 79 Likes
on
70 Posts
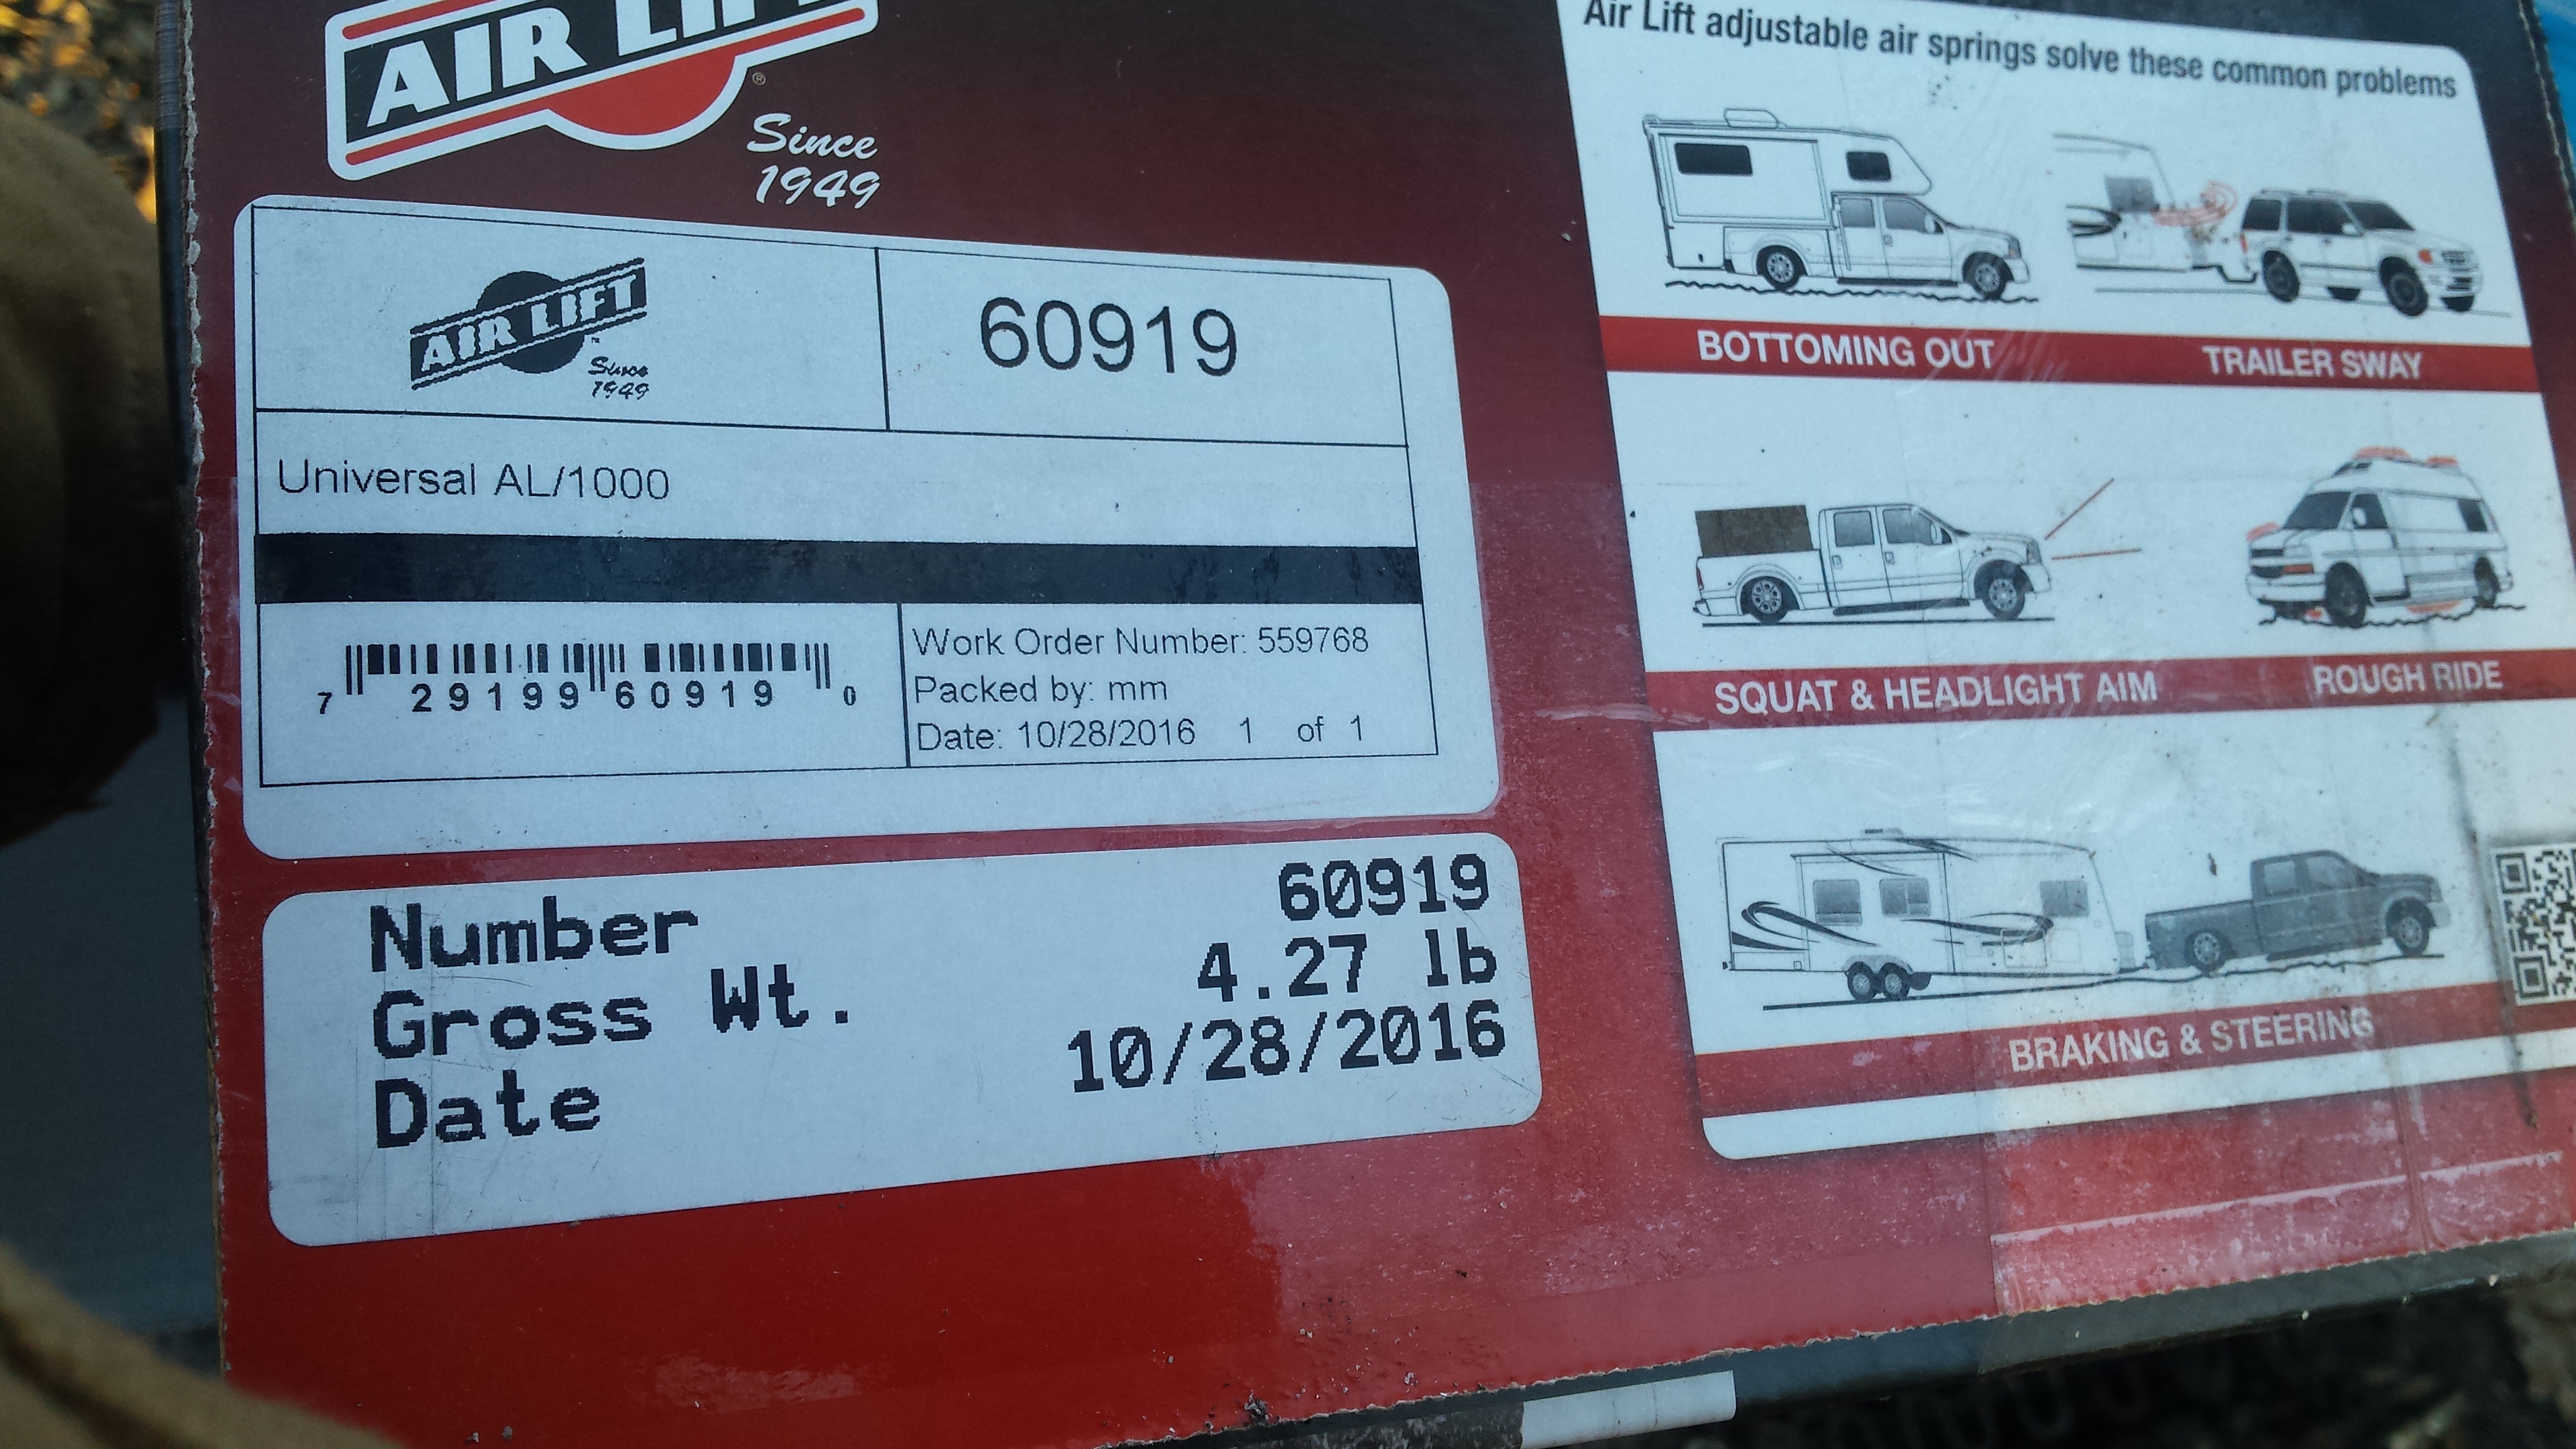
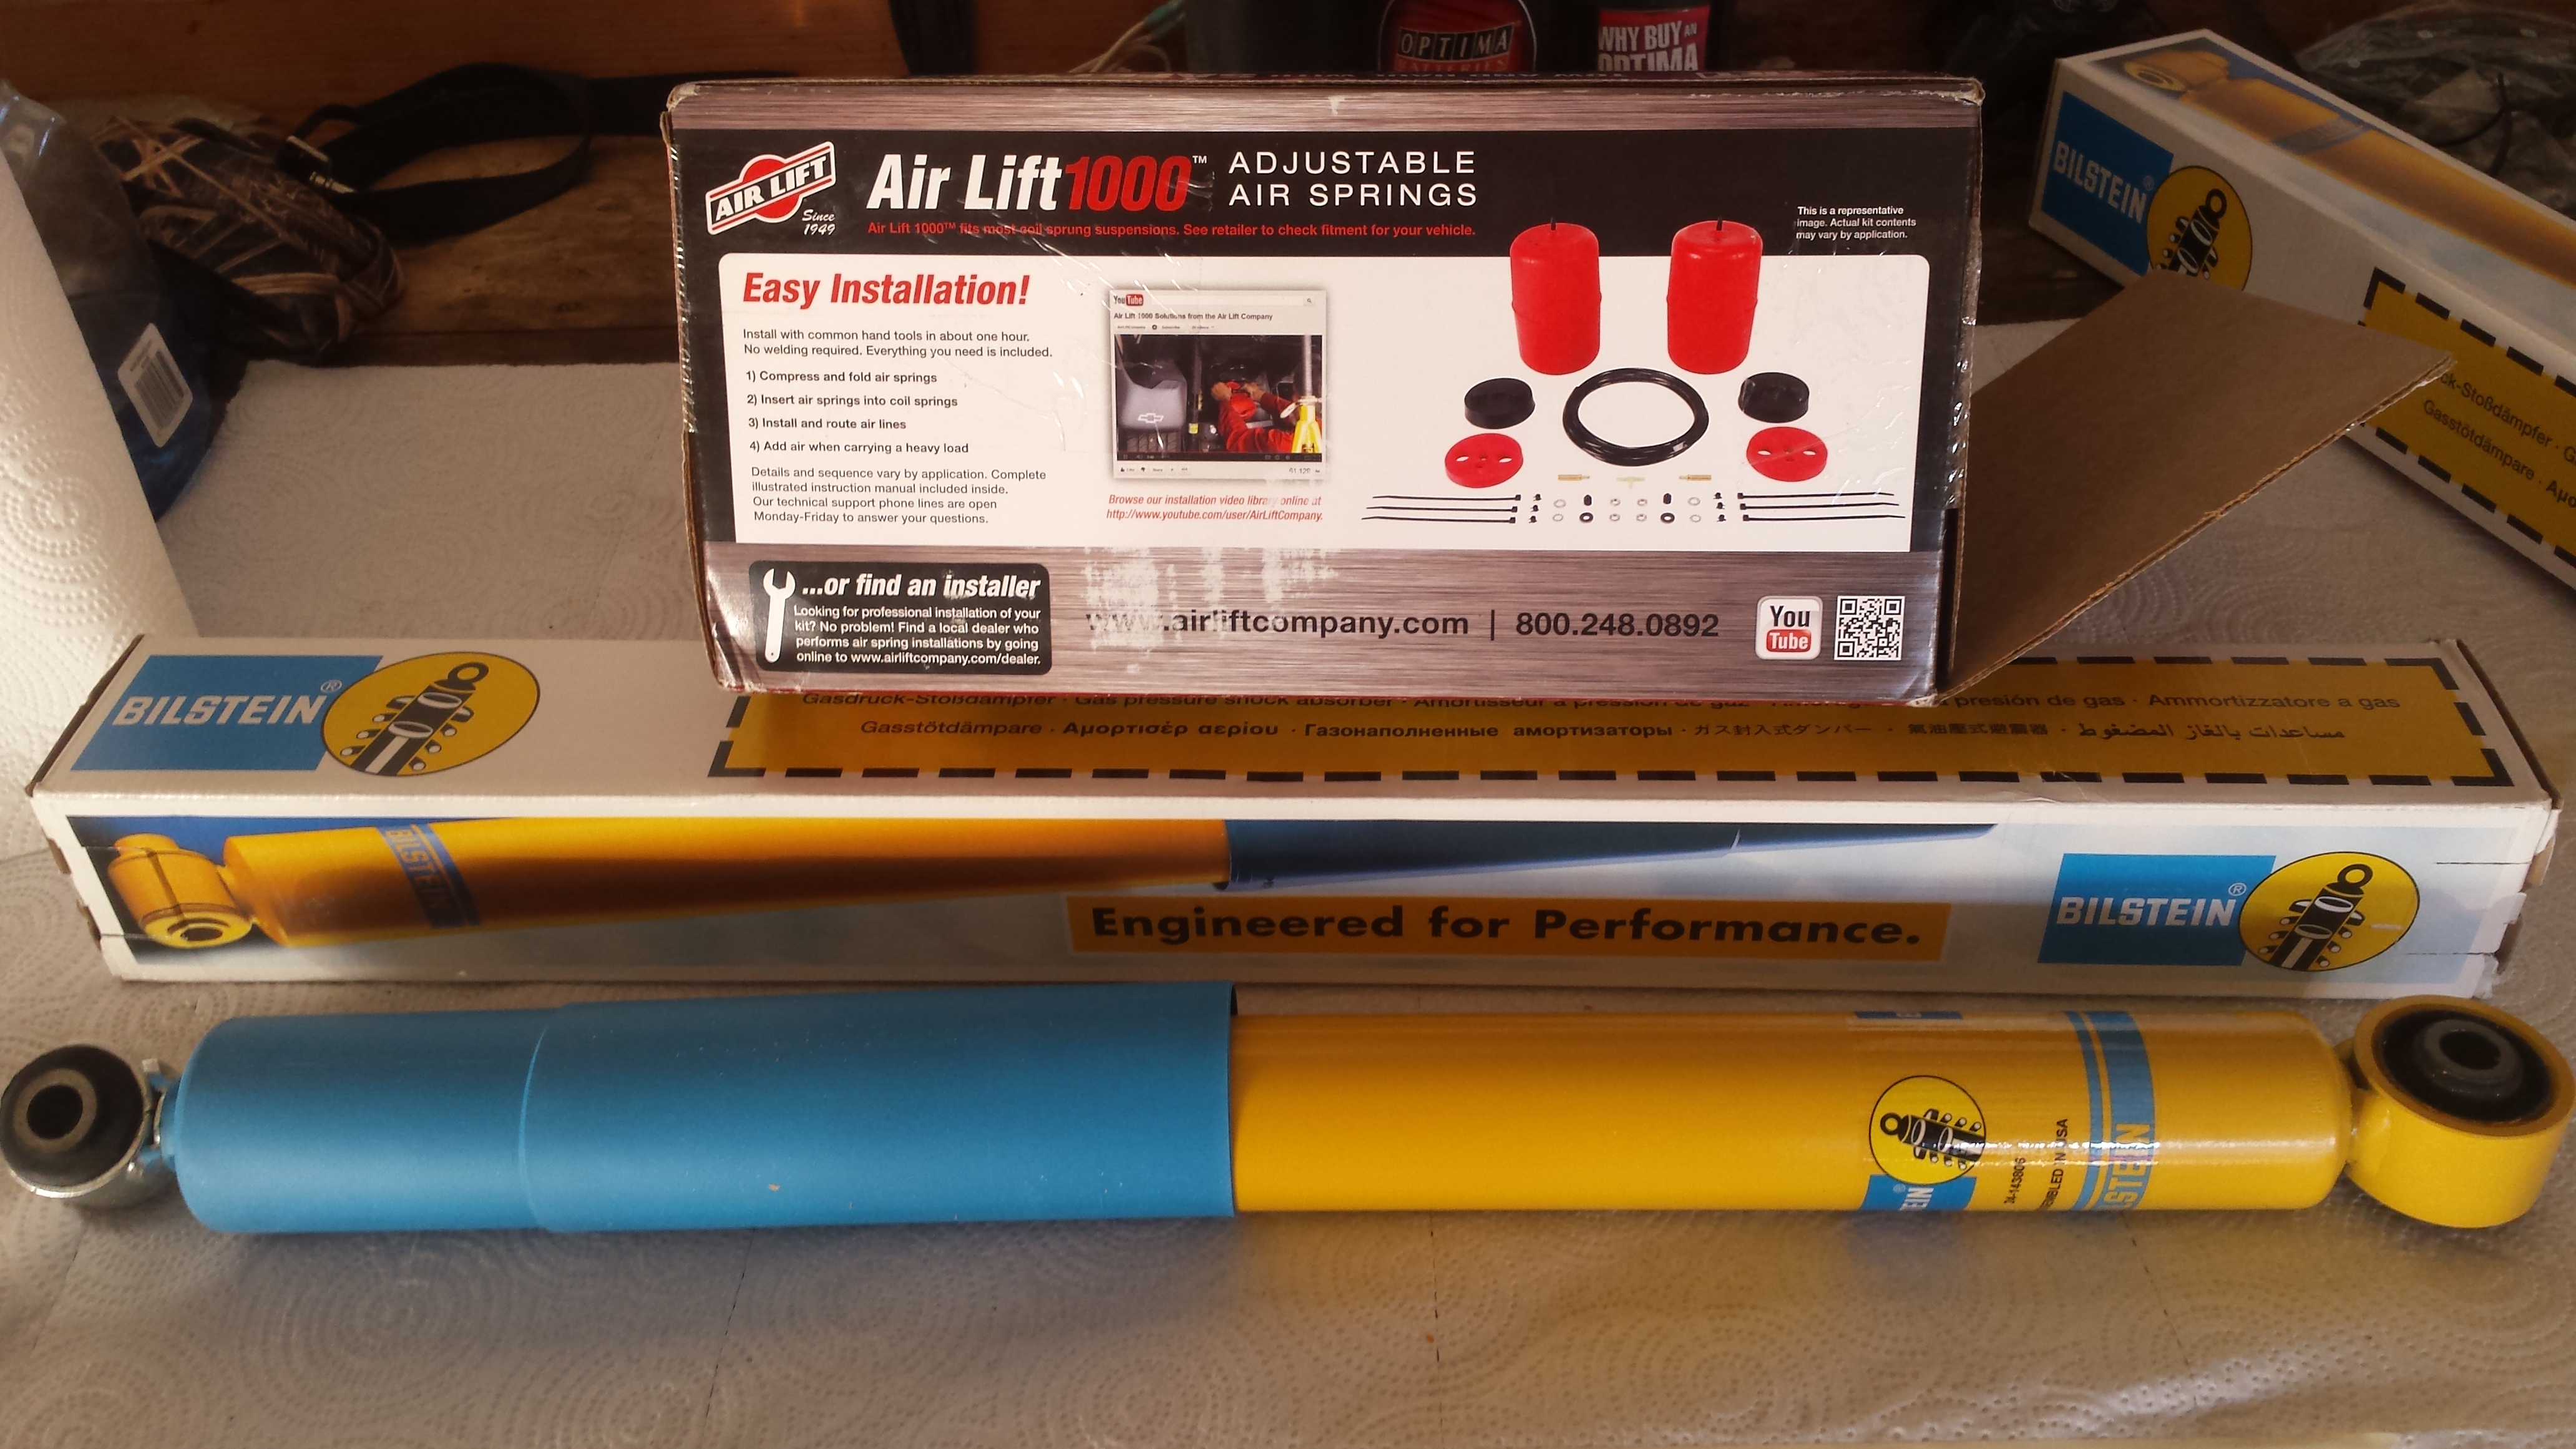
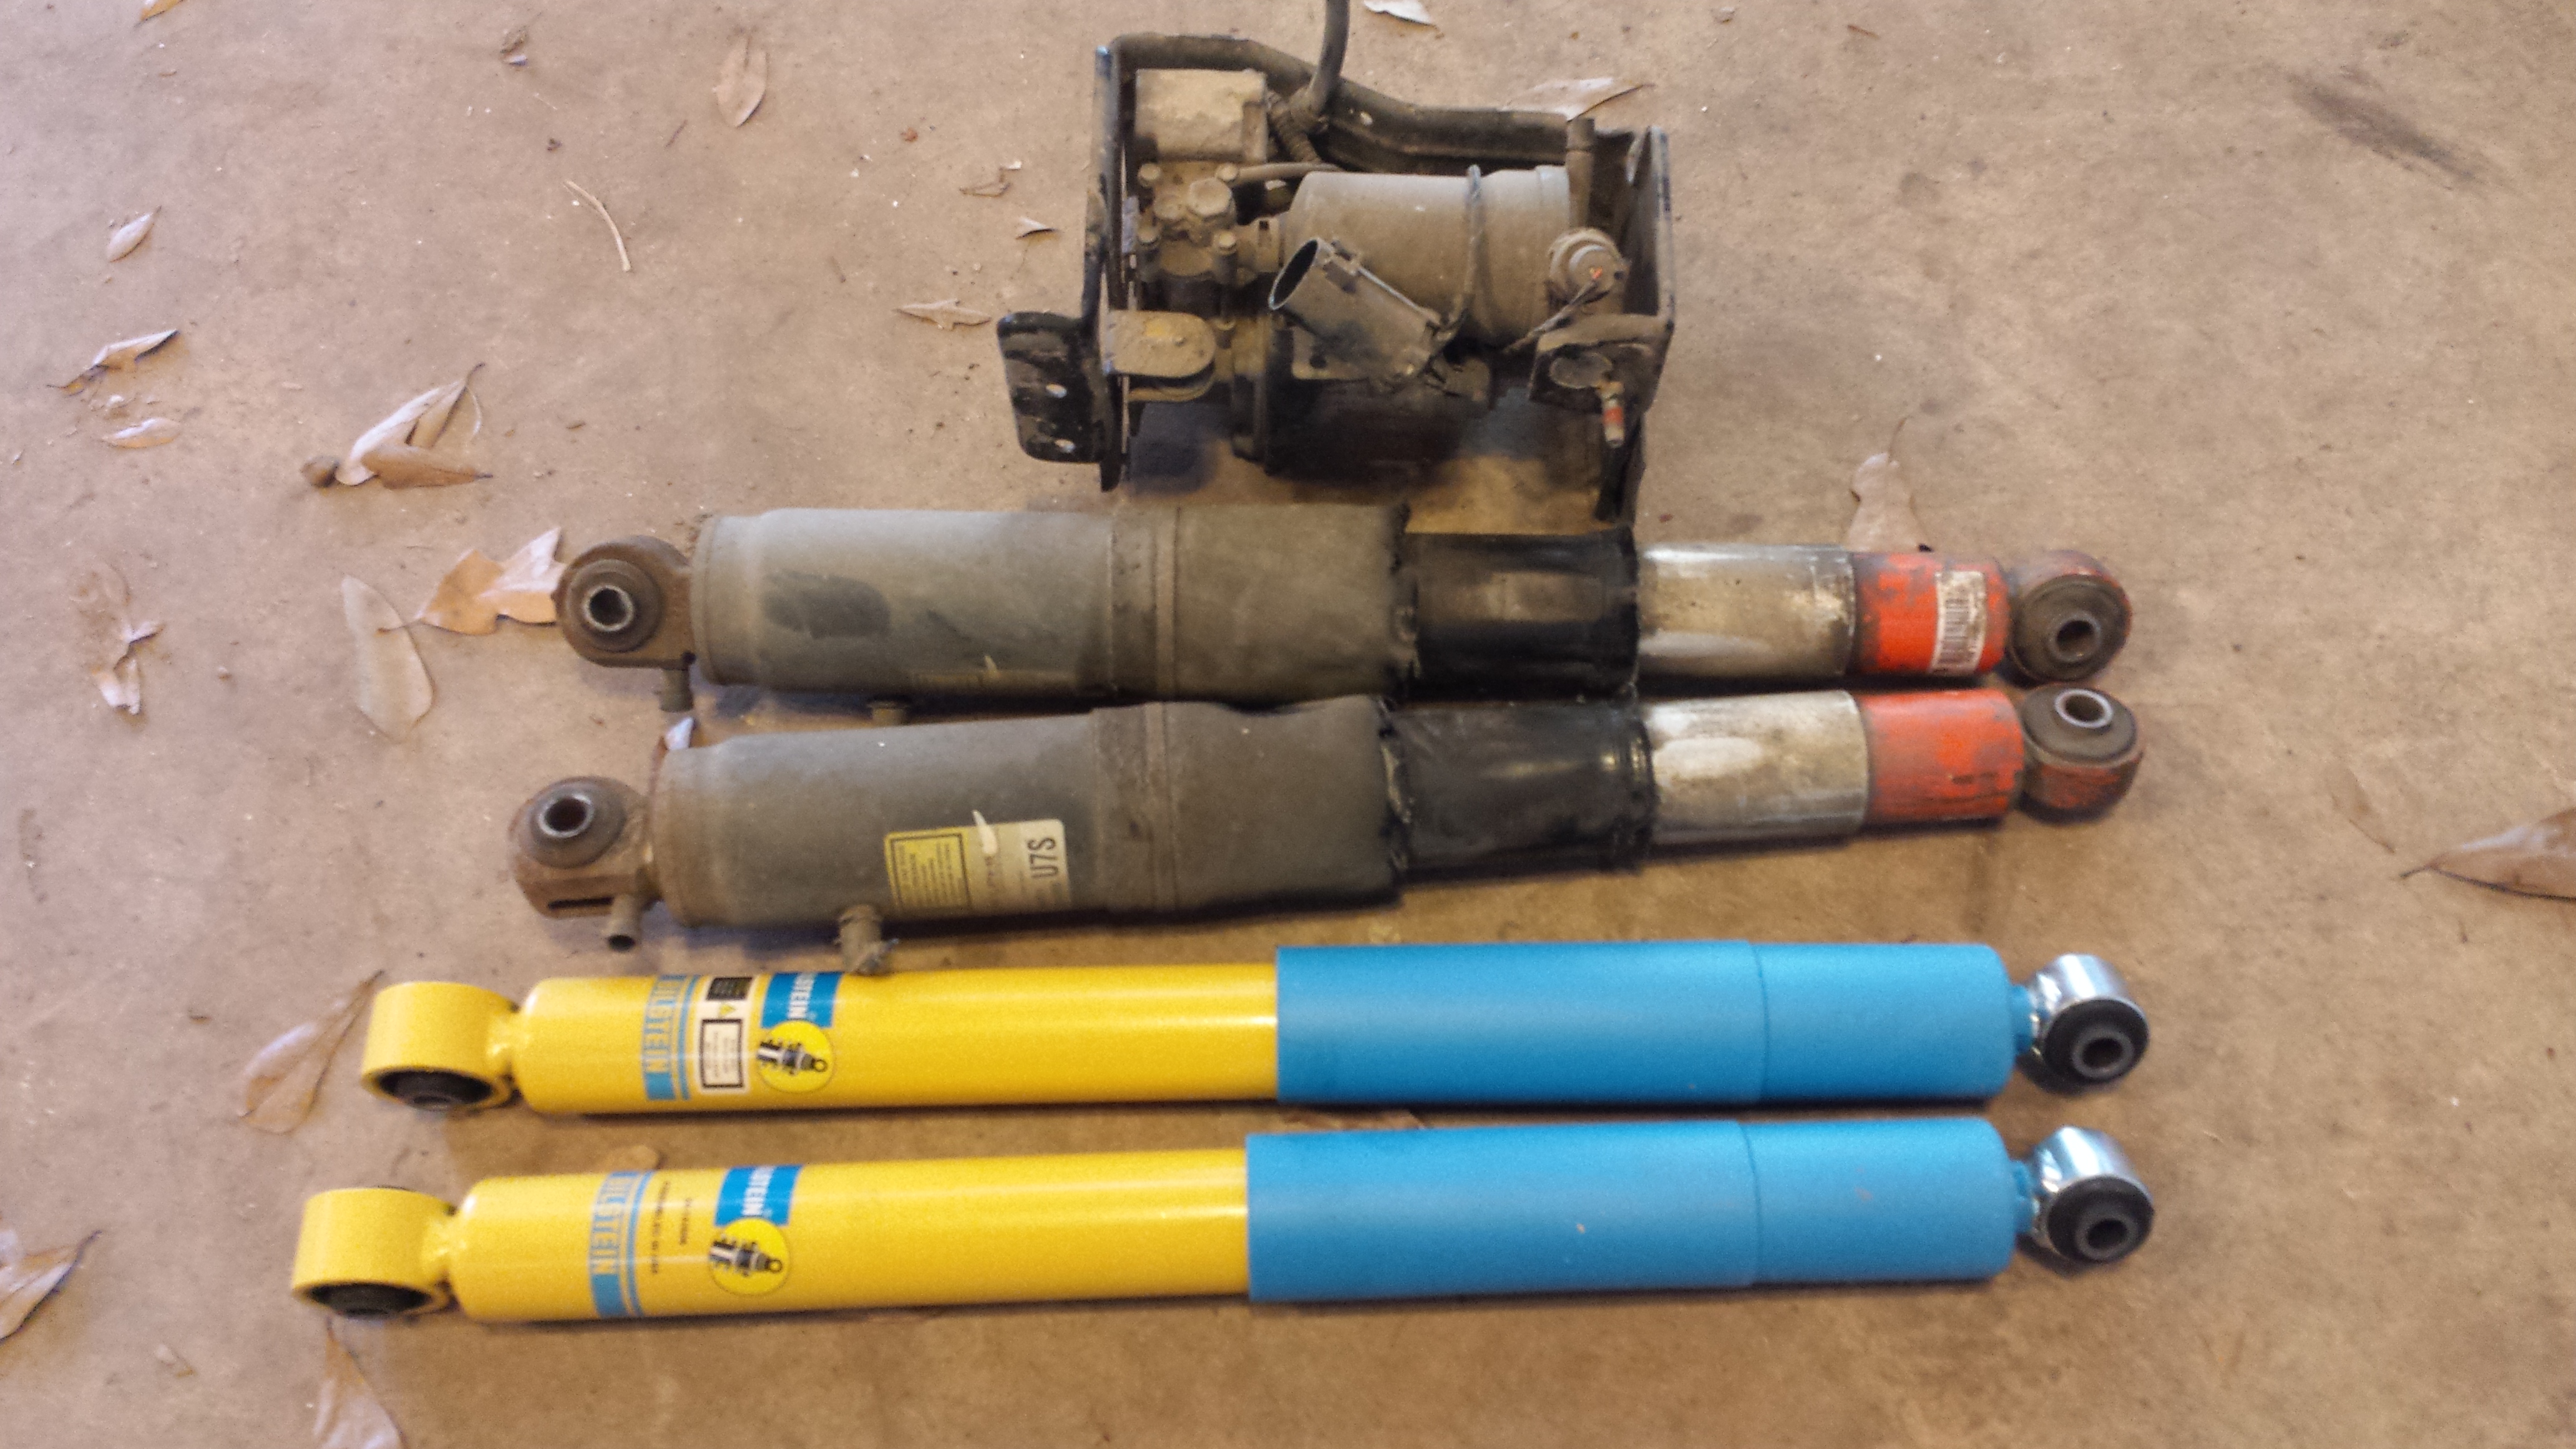
So I noticed when loaded these djm springs are a little on the soft side. The stockers even with with the auto leveling not working still handled load well. I knew I needed to address this. I inquired about an air spring kit for lowered vehicles and they told me I need to measure. Once I got my measurement I ordered a custom fit kit for the rear coil springs. I figured it would be a good time to retire the probably original 200k mile shocks also.
Here is a pic of the stock shocks with the blown out air bladders plus the compressor that was mouted to the framerail.
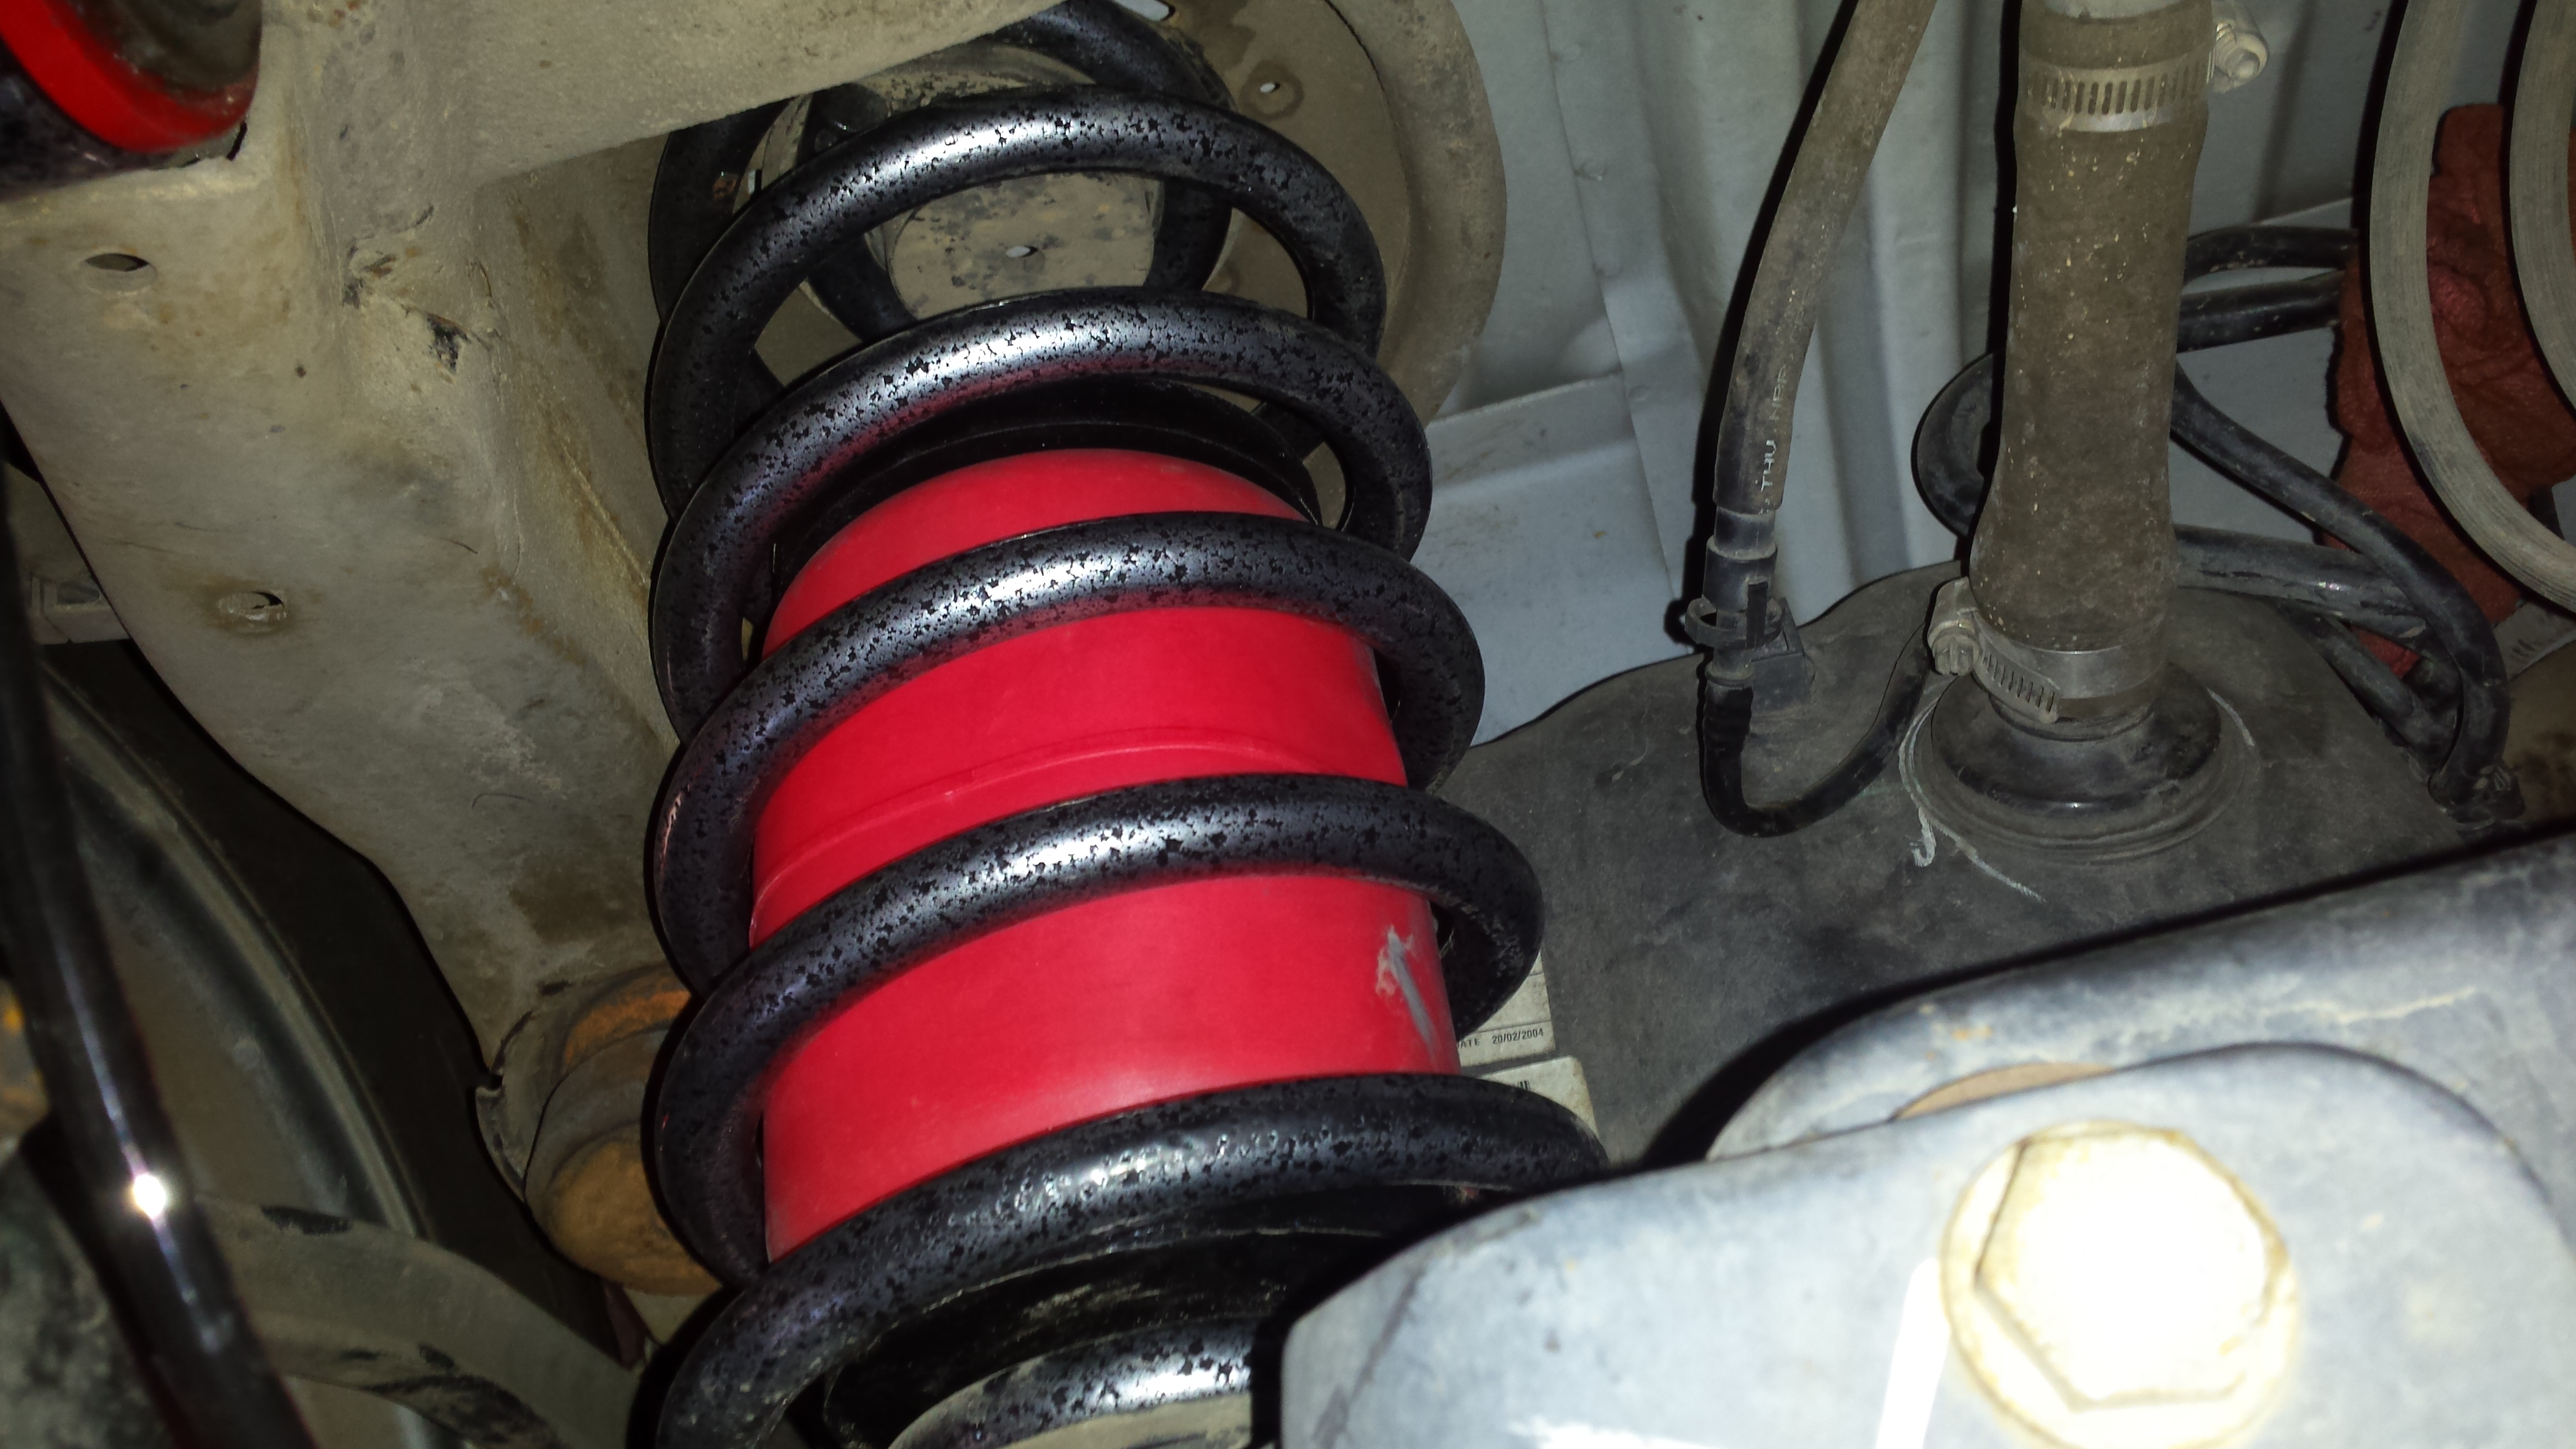
Here is the rear end sagging, and the new air spring helper installed.
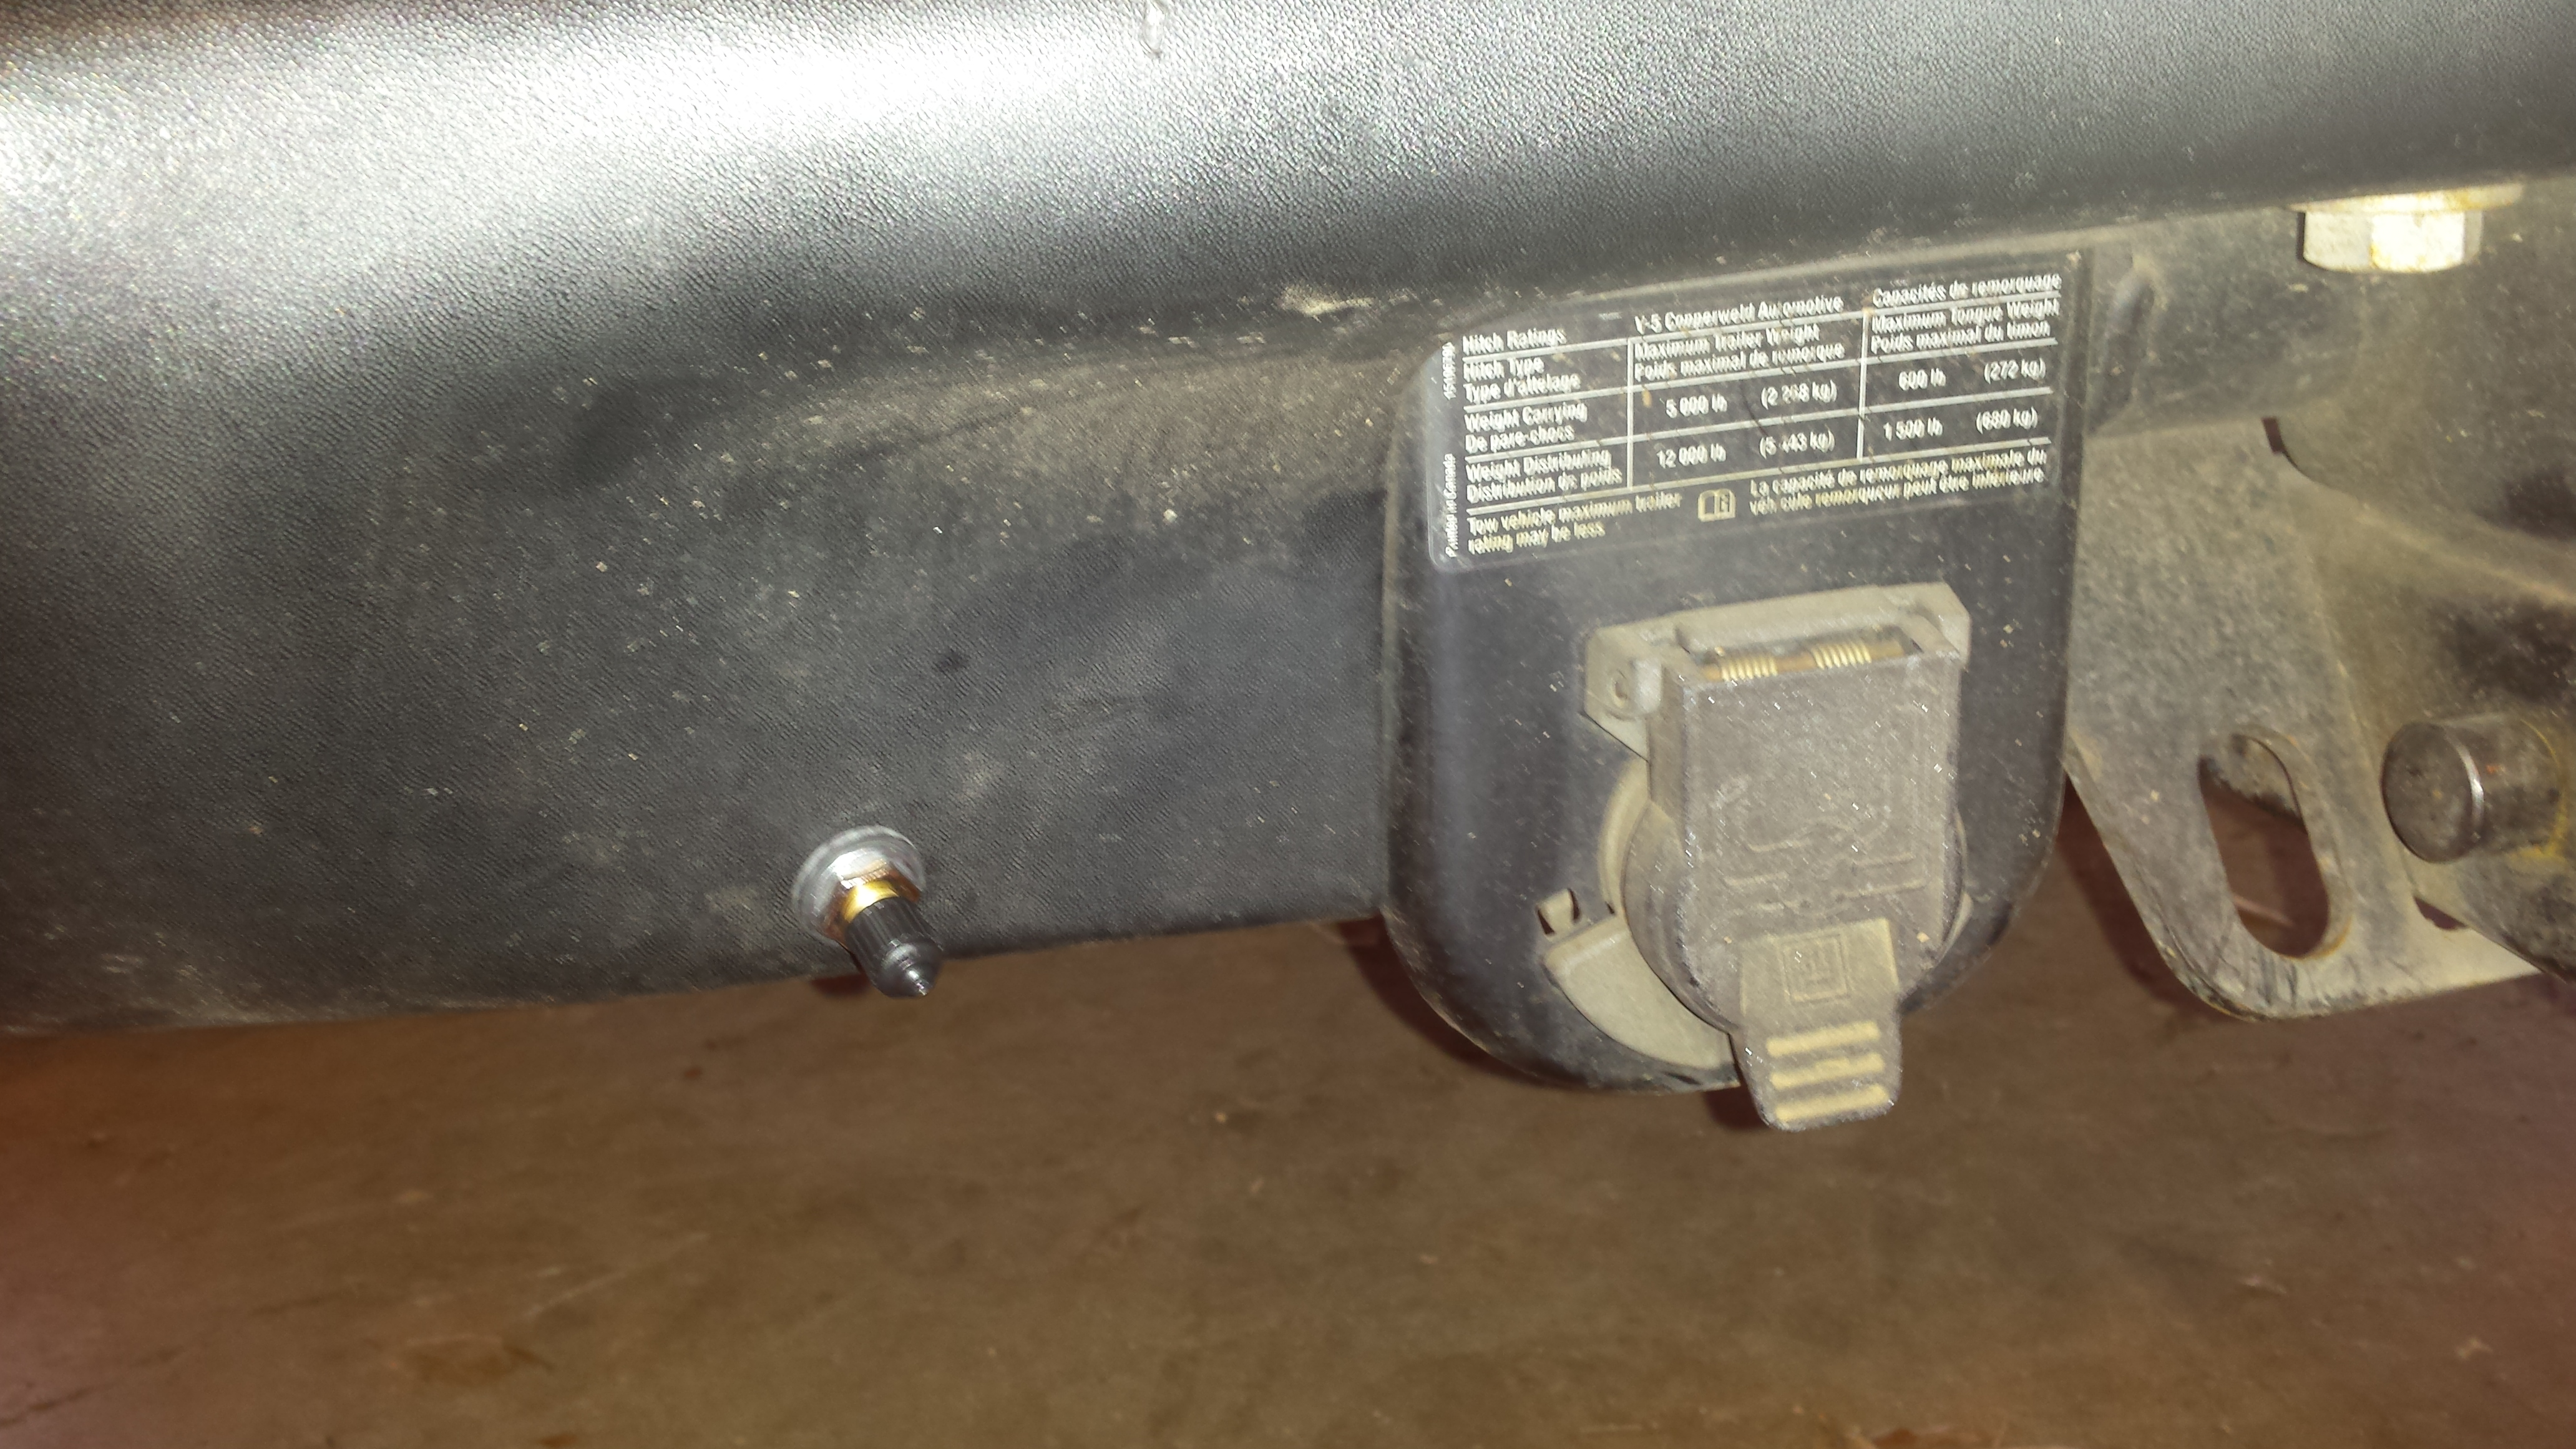
I routed the lines, T'd them together and ran it to a schrader valve i installed near the hitch. They fill up really quick with the shop compressor, think bycicle tire quick.
Driving/Towing results to come.


Here is a pic of the stock shocks with the blown out air bladders plus the compressor that was mouted to the framerail.

Here is the rear end sagging, and the new air spring helper installed.

I routed the lines, T'd them together and ran it to a schrader valve i installed near the hitch. They fill up really quick with the shop compressor, think bycicle tire quick.

Driving/Towing results to come.
03-02-2017, 02:17 PM
#25
TECH Senior Member
Thread Starter
iTrader: (96)
Join Date: Aug 2007
Location: Turnin' Wrenches Infractions: 005
Posts: 24,241
Likes: 0
Received 79 Likes
on
70 Posts
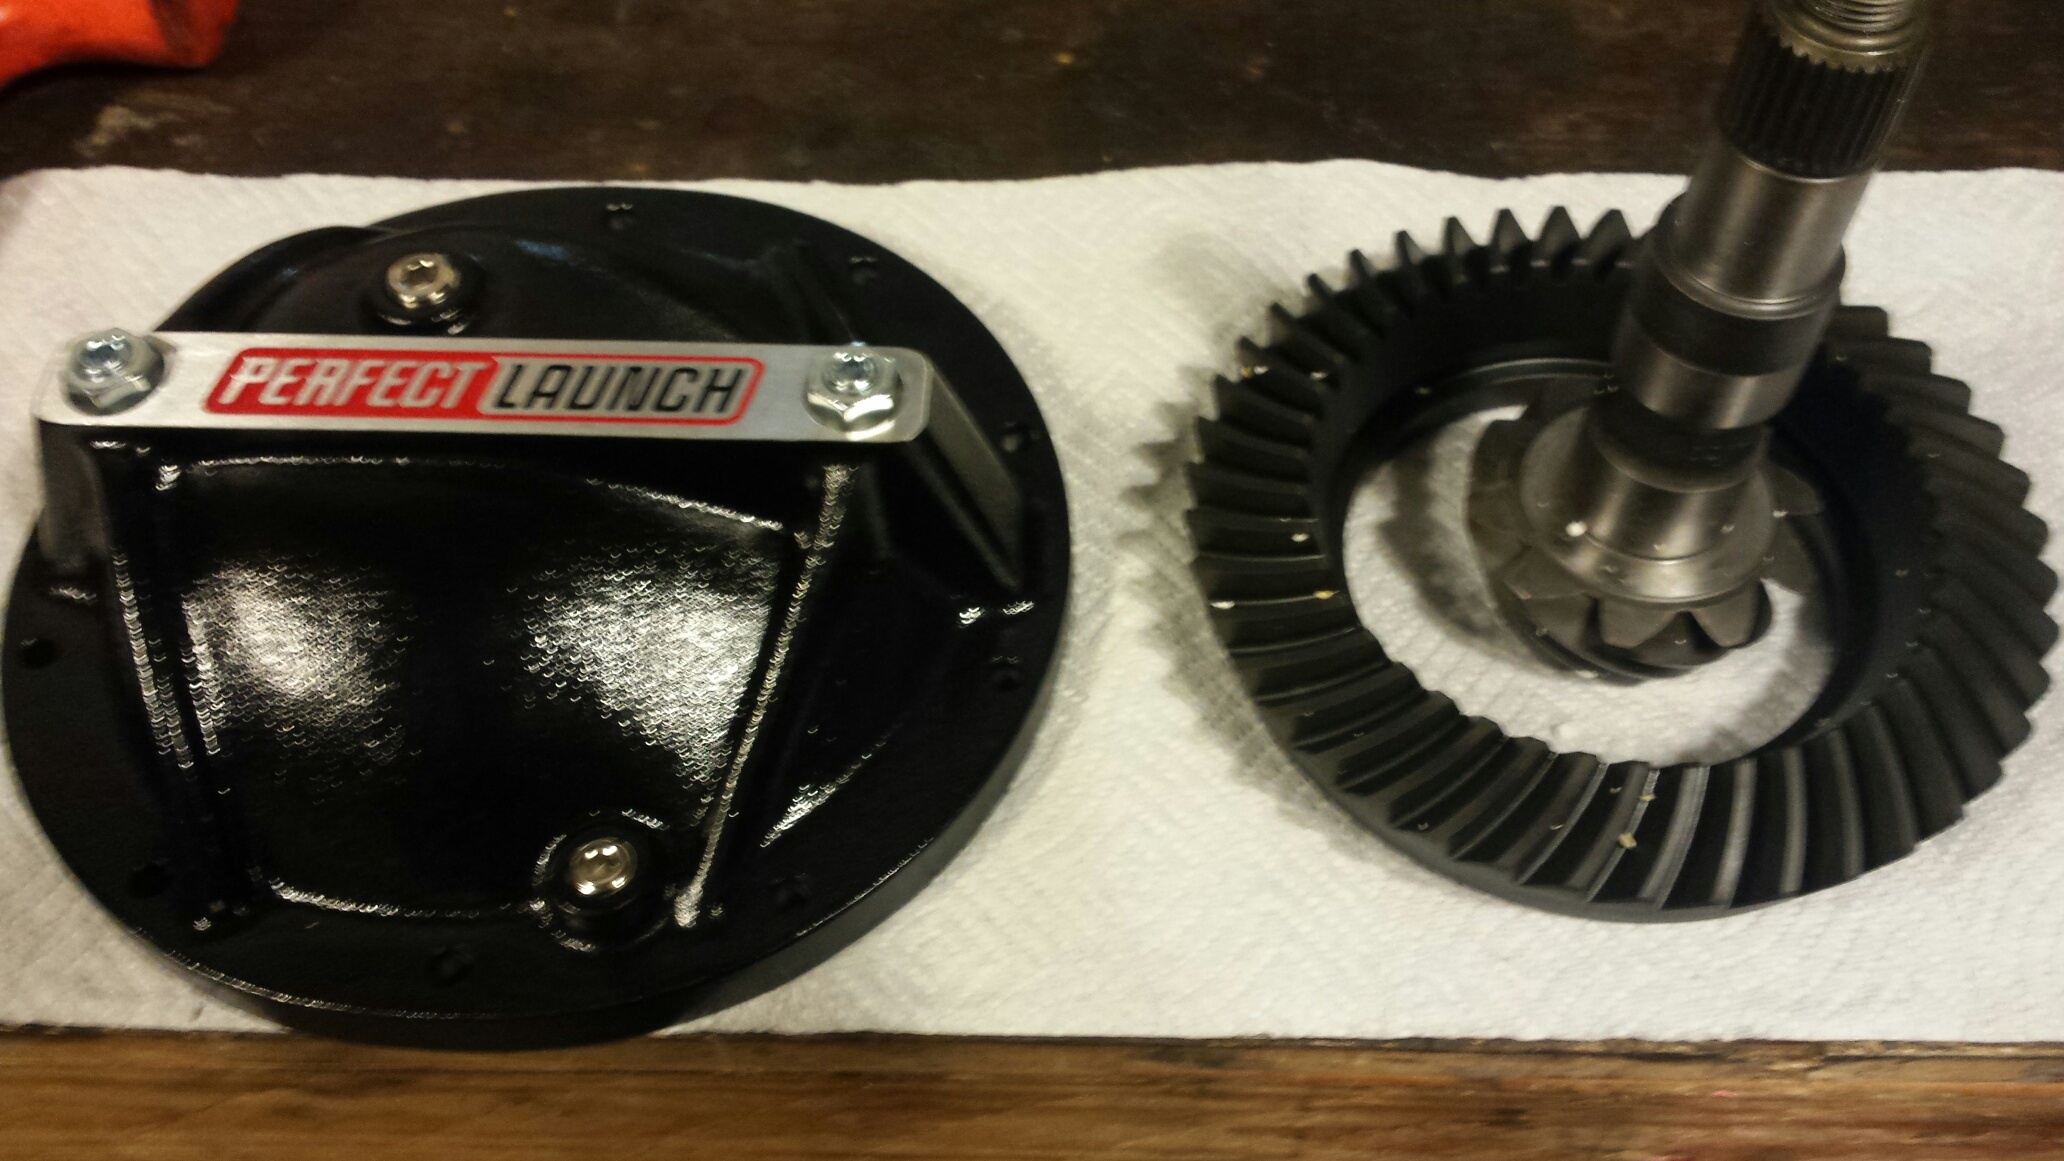
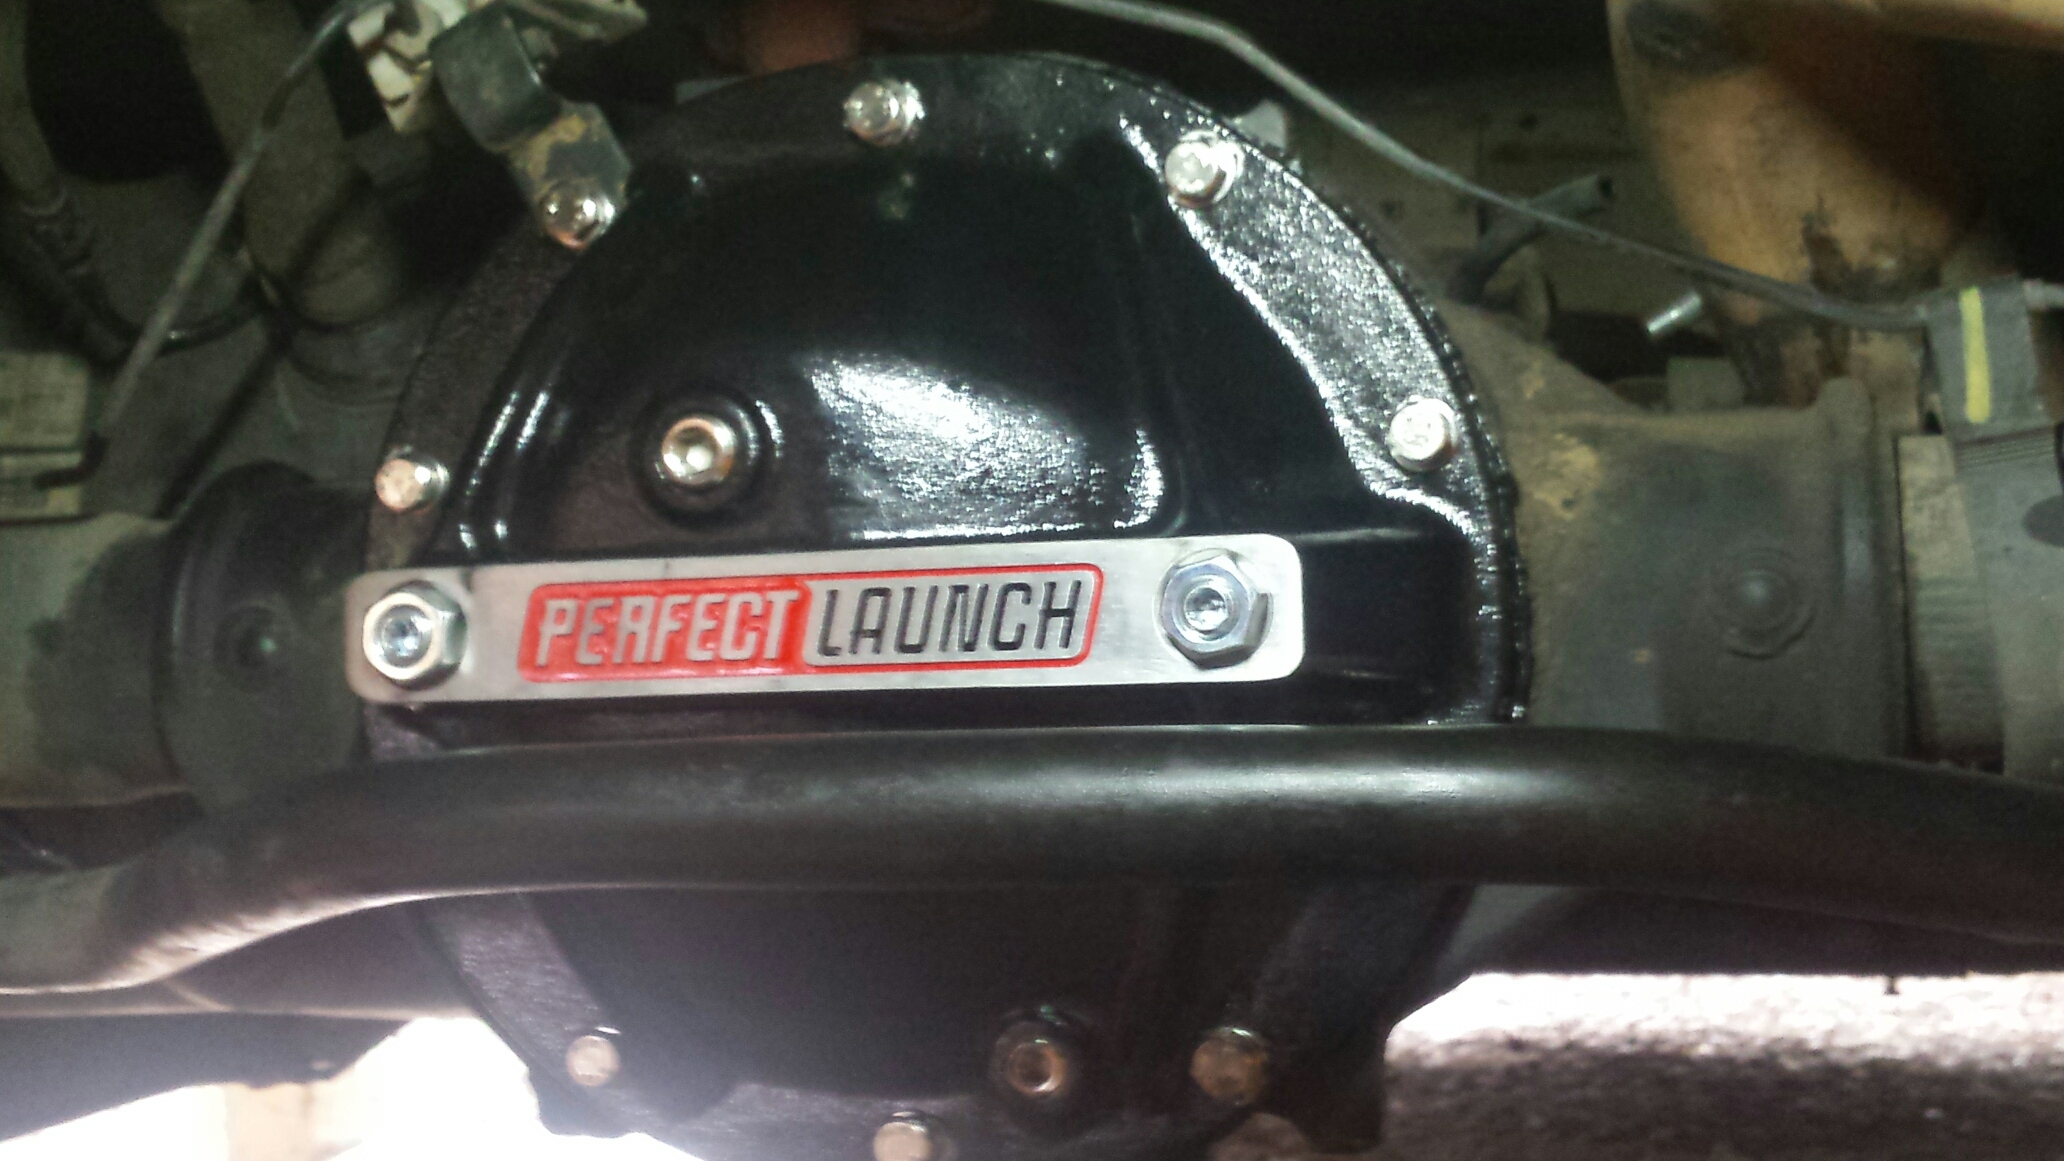
So I decided I wanted a little more performance, and towing prowess. I ordered some blue box Motive 4.30 gears, part number GM10-430 and a Ratech rebuild kit. I also ordered a Ratech solid pinion spacer. I decided a new cover would be nice also.
Motive gears and cover.
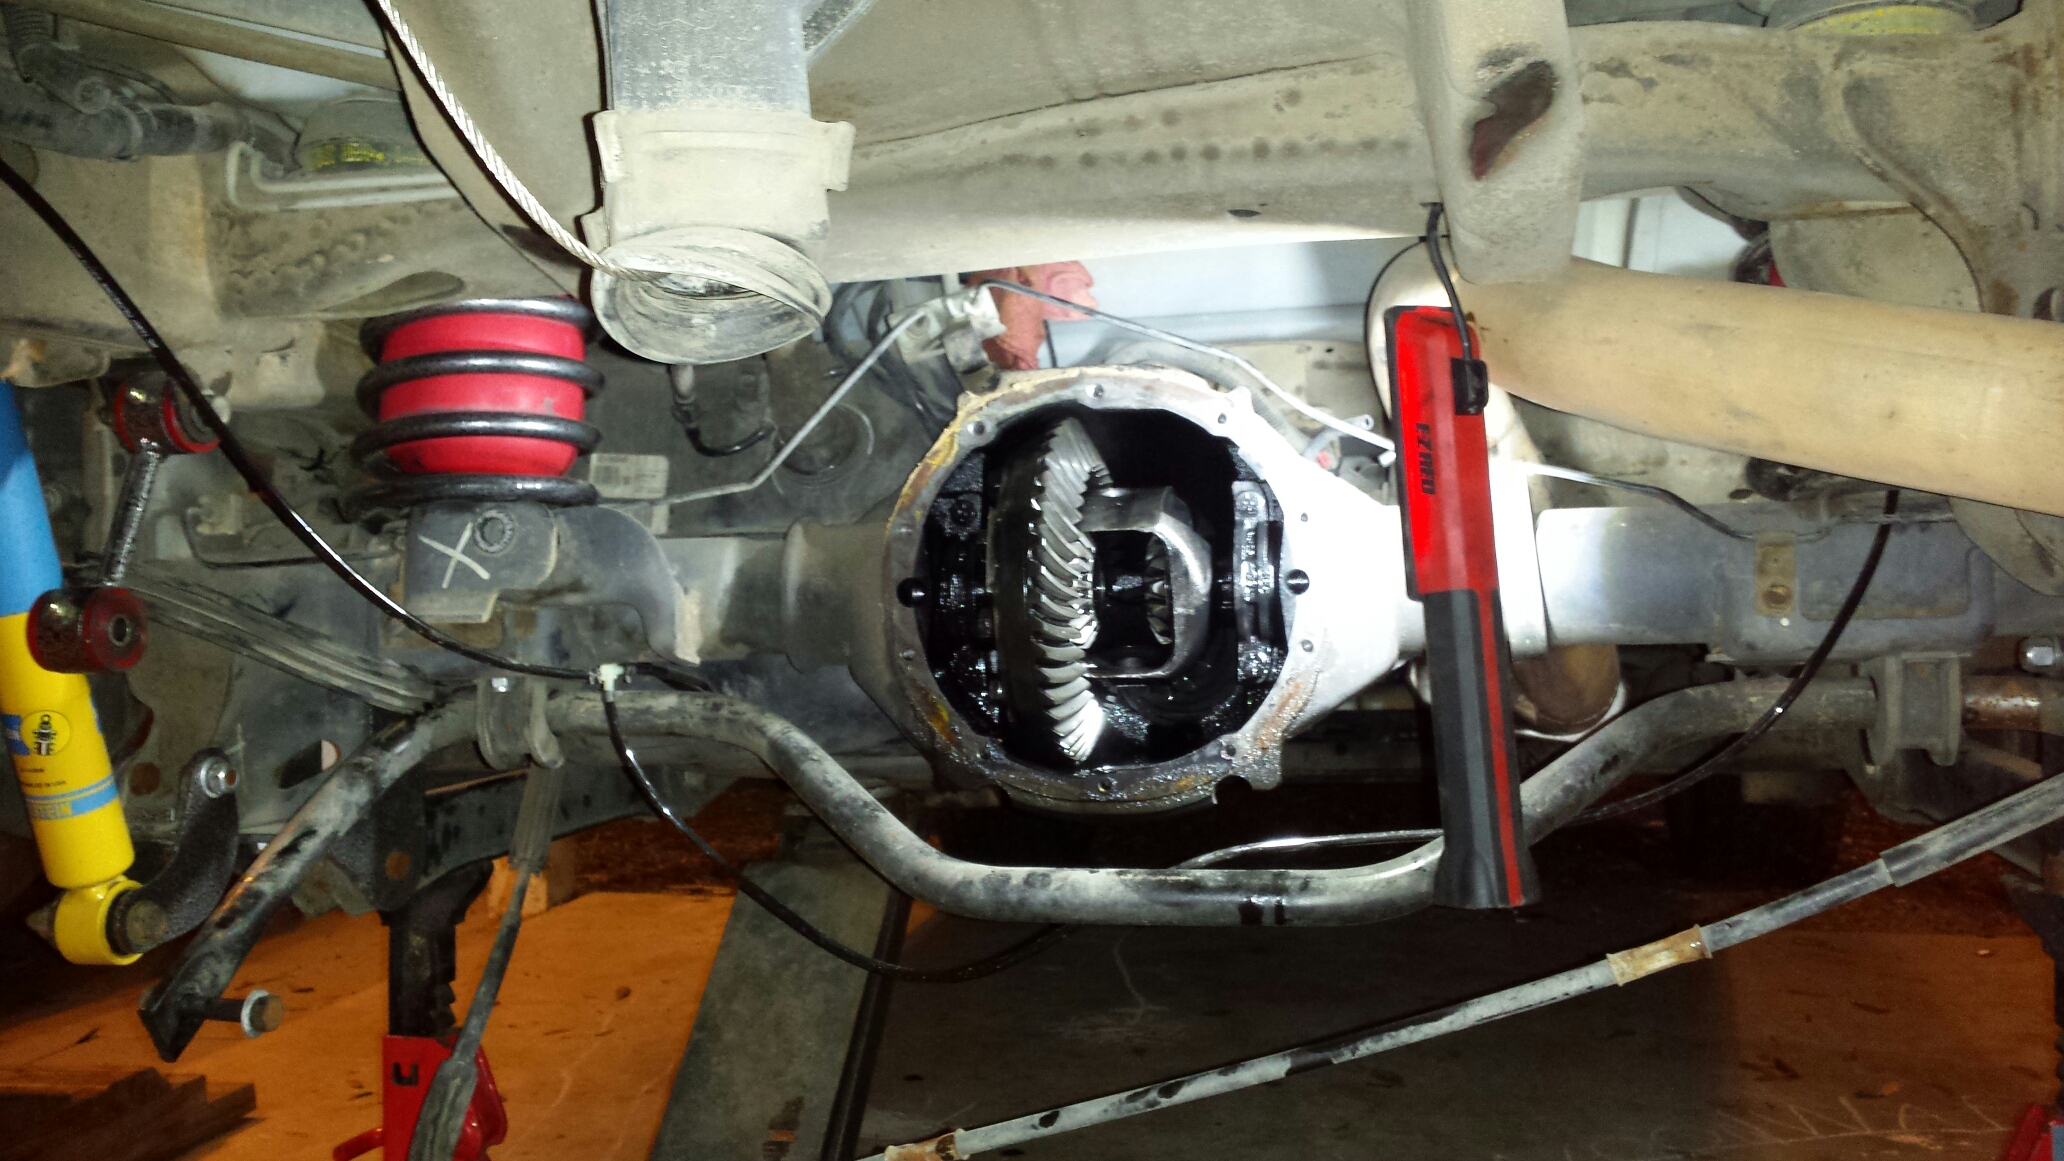
Opened it up and found an open differential. I wasn't too thrilled about this, I figured it had the g80 locking diff. Only thing I can figure is because it was full time awd they skipped the locking diff.
Found a buddy who had a g80 sitting in his garage across town. So I drove over and got it. Here I was passing The Strand Theatre, it is an old and decorative building. Apparently I was missing the concert.

Here's the g80 and the stock diff:

Basically there are two bearing sizes for these diffs. The problem is its not just the diffs that are different its the actual housing that's machined bigger. So the deal is you have a small bearing that mates with some diffs and housings, and a larger bearing that mates with other diffs and housings. You dont know what you have until you measure it. The s10 the g80 came out of has the small bearing, and my housing is machined for the larger bearing, and they dont make a bearing that will make it work. So, back to open diff I go. I set the gears up for those interested at 10 pinion preload with no seal, 20 with seal, and 30 with carrier and backlash was about 5/6. I used a 40 shim under the pinion bearing and the pattern was perfectly centered and egg shaped, no hard lines. I was very happy with how these gears went together. I did have to bend the stock panhard bar just a tad to clear the cover.
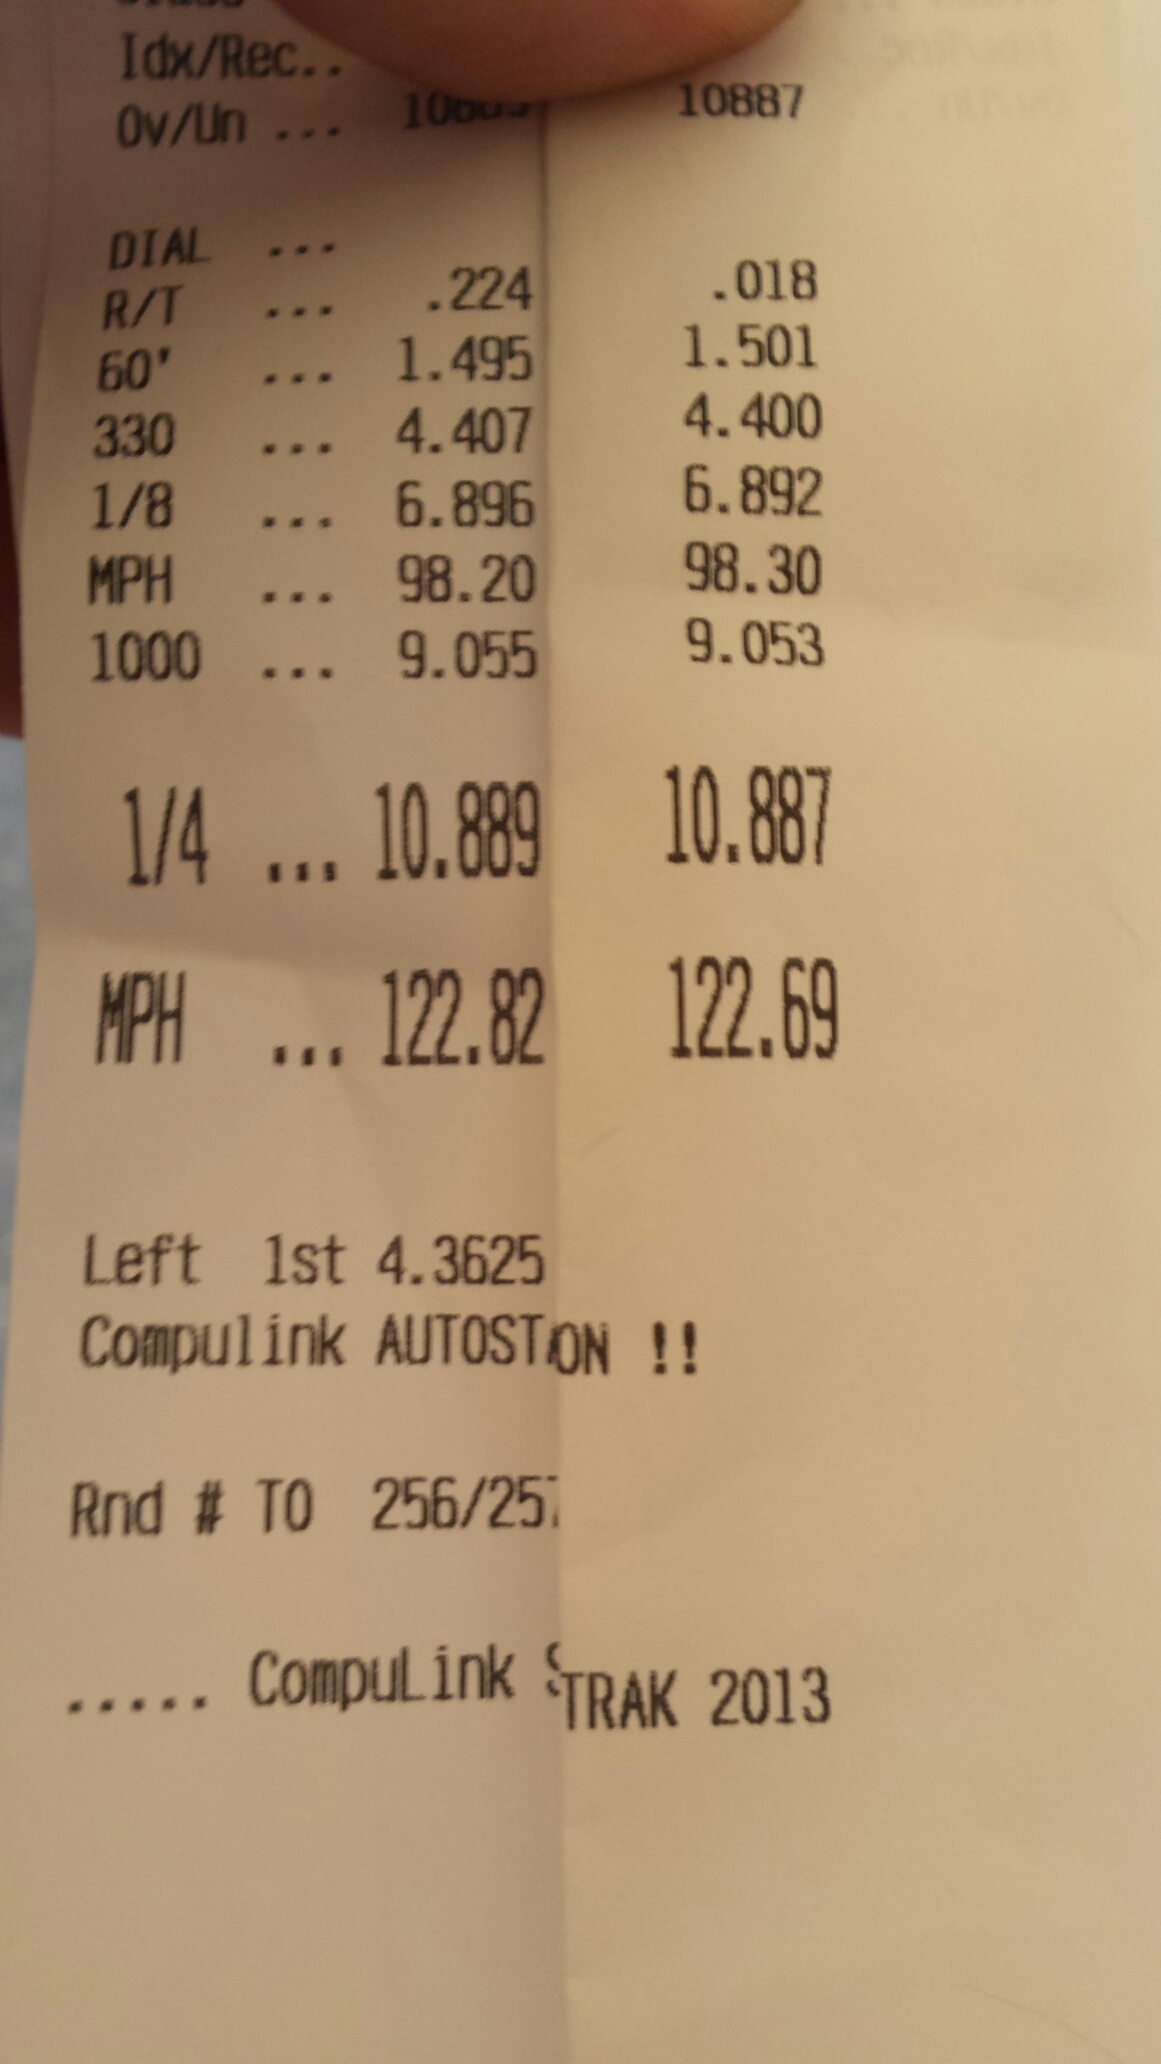
Driving impressions: light throttle acceleration is very easy, motor never works hard, the converter tightened up its manners and feels really close to stock at light throttle. Hwy cruise it accelerates easily without unlocking the converter. And the little bit Ive rolled into the throttle the rpms climb really quick. Cruise rpm is about 2500 @ 80, and climbs up pretty quick from there if you increase speed. The truck is on 31 inch tires.

Motive gears and cover.

Opened it up and found an open differential. I wasn't too thrilled about this, I figured it had the g80 locking diff. Only thing I can figure is because it was full time awd they skipped the locking diff.

Found a buddy who had a g80 sitting in his garage across town. So I drove over and got it. Here I was passing The Strand Theatre, it is an old and decorative building. Apparently I was missing the concert.

Here's the g80 and the stock diff:

Basically there are two bearing sizes for these diffs. The problem is its not just the diffs that are different its the actual housing that's machined bigger. So the deal is you have a small bearing that mates with some diffs and housings, and a larger bearing that mates with other diffs and housings. You dont know what you have until you measure it. The s10 the g80 came out of has the small bearing, and my housing is machined for the larger bearing, and they dont make a bearing that will make it work. So, back to open diff I go. I set the gears up for those interested at 10 pinion preload with no seal, 20 with seal, and 30 with carrier and backlash was about 5/6. I used a 40 shim under the pinion bearing and the pattern was perfectly centered and egg shaped, no hard lines. I was very happy with how these gears went together. I did have to bend the stock panhard bar just a tad to clear the cover.

Driving impressions: light throttle acceleration is very easy, motor never works hard, the converter tightened up its manners and feels really close to stock at light throttle. Hwy cruise it accelerates easily without unlocking the converter. And the little bit Ive rolled into the throttle the rpms climb really quick. Cruise rpm is about 2500 @ 80, and climbs up pretty quick from there if you increase speed. The truck is on 31 inch tires.
04-03-2017, 09:45 AM
#26
TECH Senior Member
Thread Starter
iTrader: (96)
Join Date: Aug 2007
Location: Turnin' Wrenches Infractions: 005
Posts: 24,241
Likes: 0
Received 79 Likes
on
70 Posts
Finally got to tow with the new bags and gears, much much better. It controlled the trailer well and accelerated with ease. Only got two passes for the night....
I noticed over some swooping type bumps that the front had a little less control then I liked. The good news is I have had new parts on the shelf waiting for a while. I figured, well, time to wipe the dust off them and get them installed.
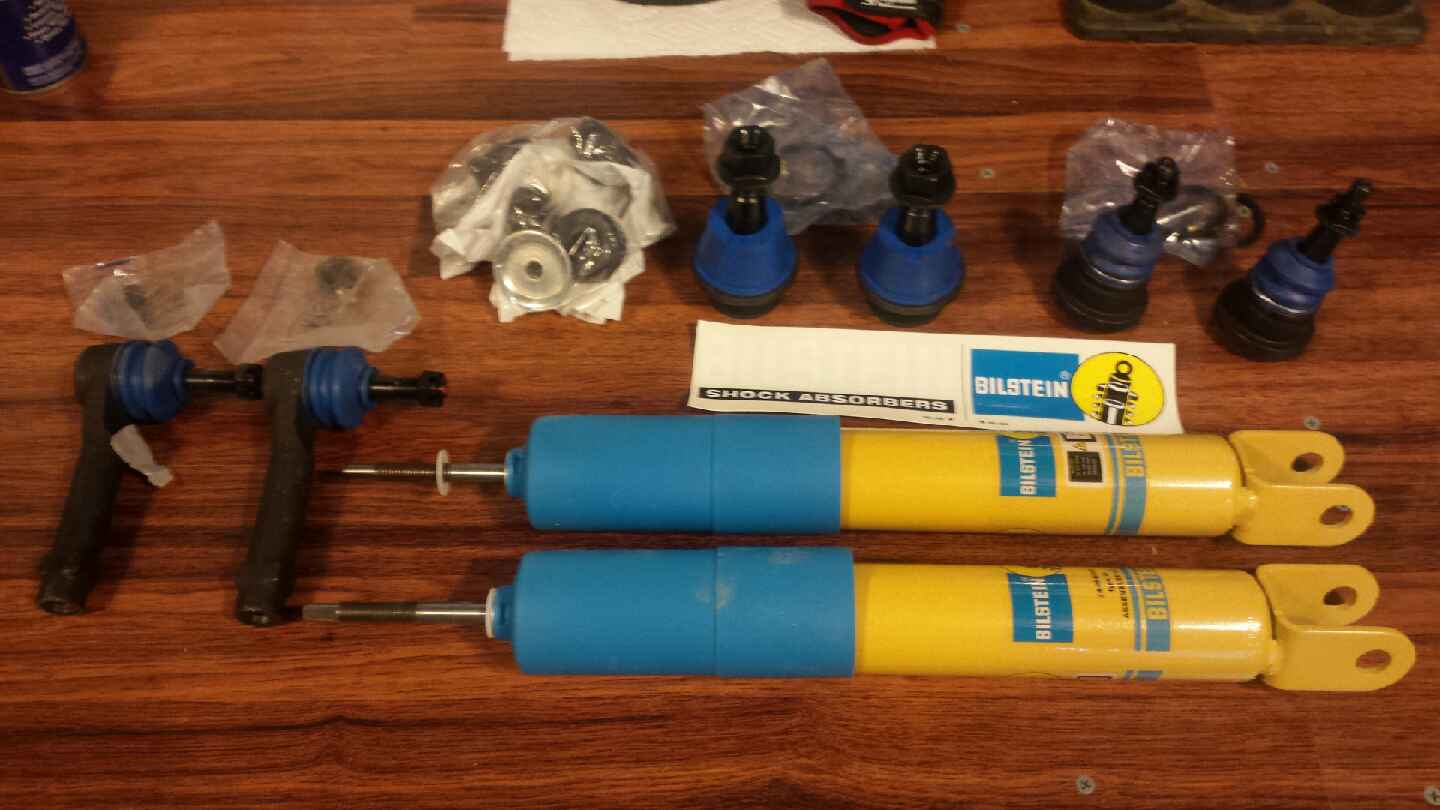
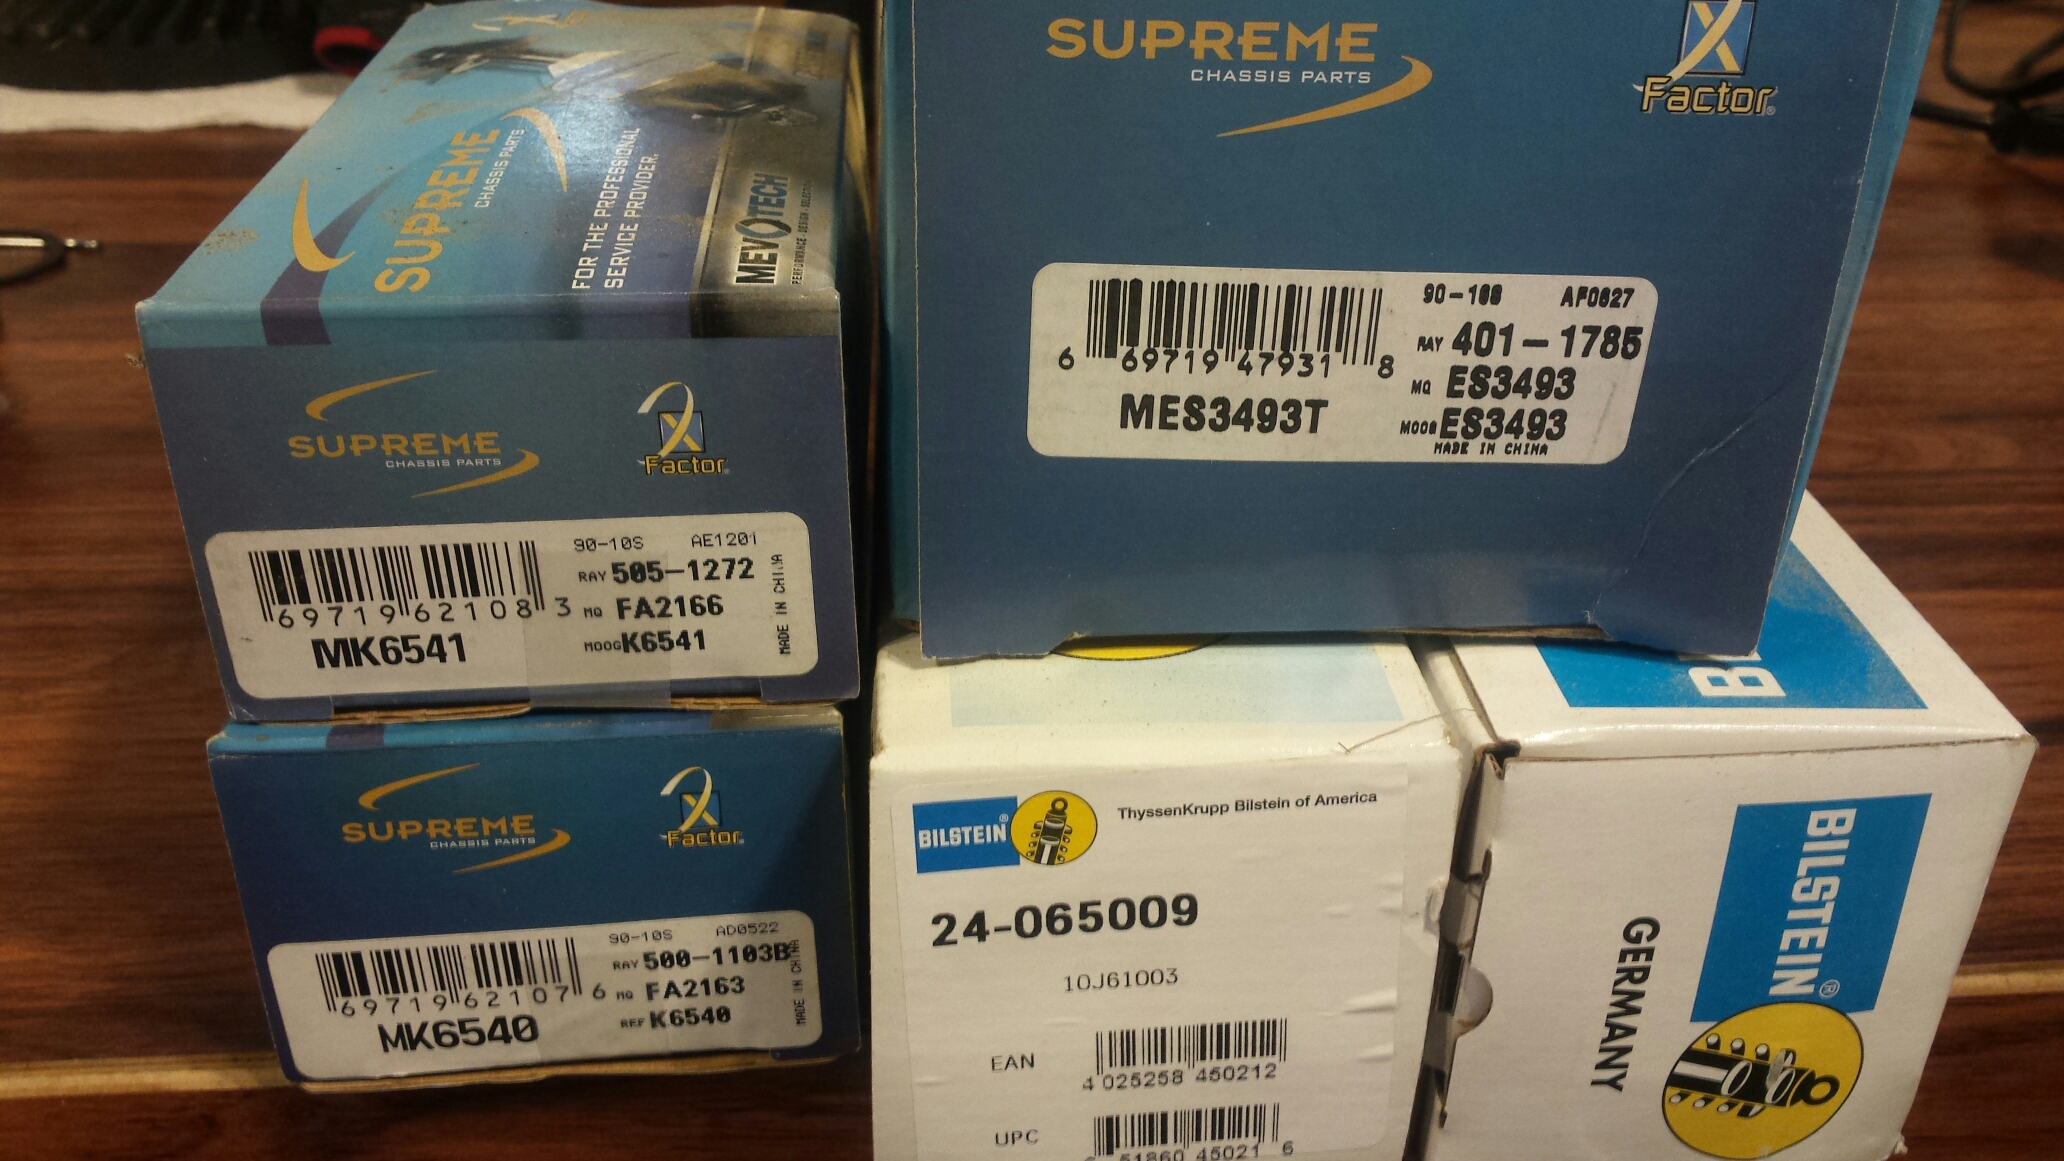
Part numbers for upper balljoints, lower balljoints, outer tie rods, and shocks.
Right now Im lowered on the stock keys, and they are basically at the lowest setting. The height is ok but I hate that there is no more adjustment, I wouldnt have minded another 1/2 lower. So I bought these 2" drop spindles a while back. The idea is to install them, then be able to raise the keys back up so I have some room to fine tune.
Going for an alignment soon. At 200k miles the balljoints/tie rods were original and surprisingly had no slack in them. The shocks were still functioning within reason also. The reason for replacement is the boot recently deteriorated and started throwing grease inside the wheel. I did notice the swaybar end links had slack in them so I will be ordering them soon.

I noticed over some swooping type bumps that the front had a little less control then I liked. The good news is I have had new parts on the shelf waiting for a while. I figured, well, time to wipe the dust off them and get them installed.

Part numbers for upper balljoints, lower balljoints, outer tie rods, and shocks.

Right now Im lowered on the stock keys, and they are basically at the lowest setting. The height is ok but I hate that there is no more adjustment, I wouldnt have minded another 1/2 lower. So I bought these 2" drop spindles a while back. The idea is to install them, then be able to raise the keys back up so I have some room to fine tune.

Going for an alignment soon. At 200k miles the balljoints/tie rods were original and surprisingly had no slack in them. The shocks were still functioning within reason also. The reason for replacement is the boot recently deteriorated and started throwing grease inside the wheel. I did notice the swaybar end links had slack in them so I will be ordering them soon.
04-18-2017, 07:23 AM
#28
TECH Senior Member
Thread Starter
iTrader: (96)
Join Date: Aug 2007
Location: Turnin' Wrenches Infractions: 005
Posts: 24,241
Likes: 0
Received 79 Likes
on
70 Posts
I havent actually tested it but I havent removed or altered any of the abs system so i think it would work. I used ebay resistors to plug into the shock wiring, and the fuse for the rear compressor is removed. No codes.
04-18-2017, 09:14 AM
#29
ok, Ive got a Denali as well, been considering going to 2WD since I have a spare 80E. Curious if you could see what kind of mileage you are averaging as well. I think right now I get about 13-14 mixed driving and its not much better on the highway.
04-18-2017, 09:38 AM
#30
TECH Senior Member
Thread Starter
iTrader: (96)
Join Date: Aug 2007
Location: Turnin' Wrenches Infractions: 005
Posts: 24,241
Likes: 0
Received 79 Likes
on
70 Posts
The general consensus is an awd delete probably wont improve mileage a ton, and I would tend to agree. The reason I did it was less mechanical items to service, repair, and a ton more room to work underneath the truck (room for exhaust, repairs etc). According to my dash computer it used to calculate mileage in the upper 13s, now its the upper 12s. I attribute this to many factors, and in no way shape did the awd delete lose mileage. It was being modded at the same time and i have a very heavy foot so.......