My Complete Paint Job **LOTSA PICS**
 07-14-2011, 07:06 PM
#1
On The Tree
Thread Starter
iTrader: (5)

Join Date: Mar 2009
Posts: 102
Likes: 0
Received 0 Likes
on
0 Posts
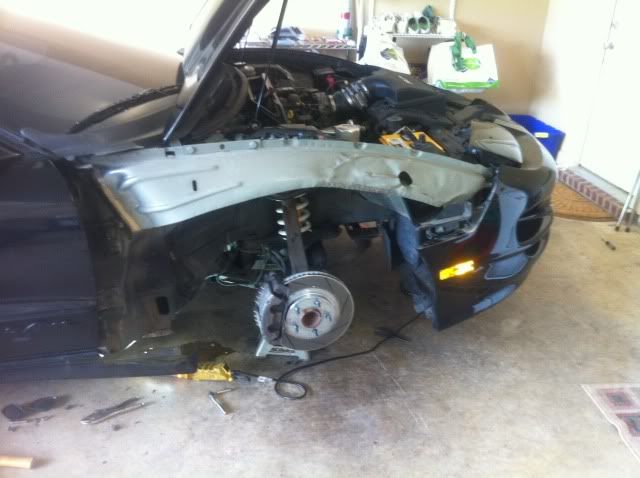
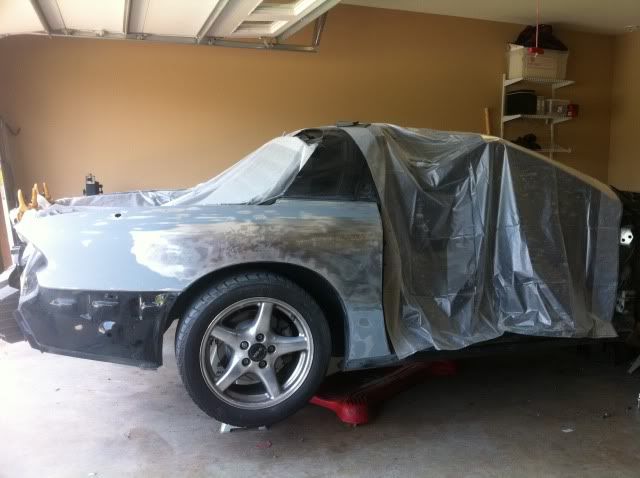
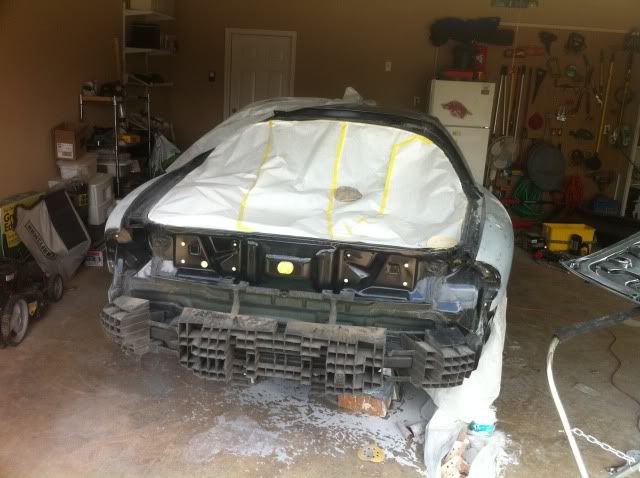
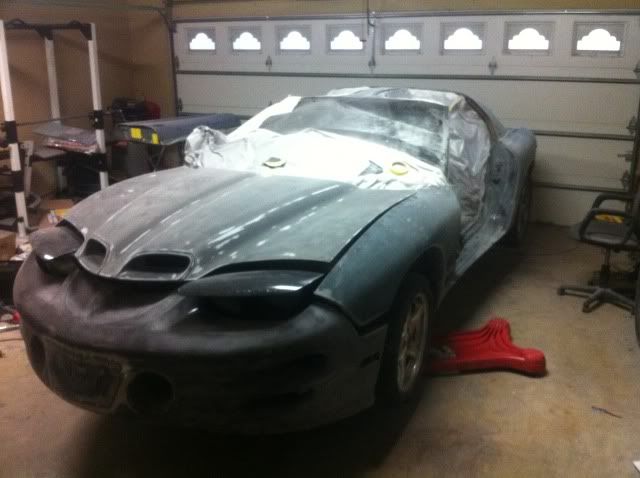
Well, I've been in the process of painting my car for the last month and a half and decided today to post up all may pics so far for my fellow ls1tech brethren.
Just some random info about the paint job:
1. I'm using Sherwin Williams paints (bc/cc), a high build sandable 2k primer surfacer called spectraprime. Base and clear is yet to be determined, but it is staying black
2. All paint is being removed down to factory primer. This is due to the previous owner wrecking the car then getting a sh**y paint job that was flaking off
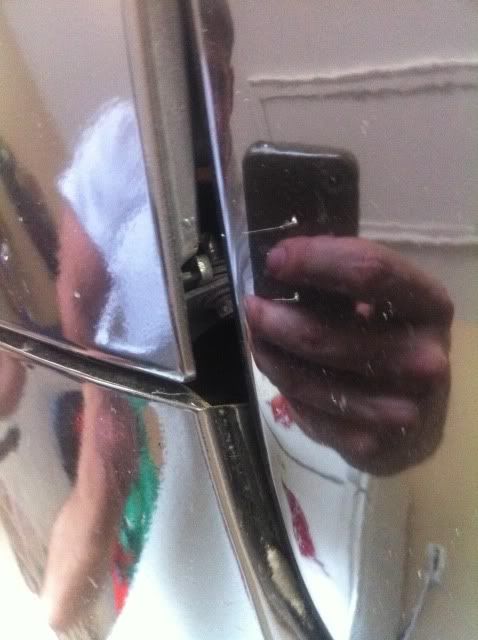
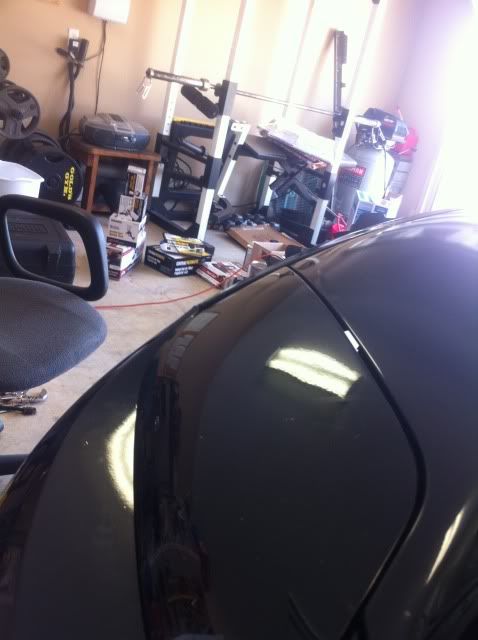
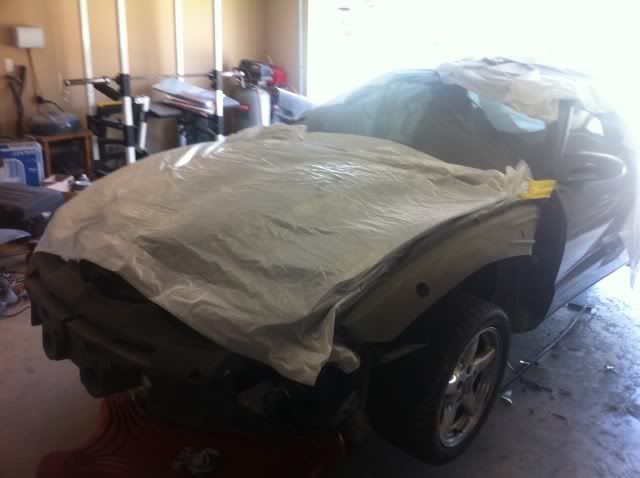
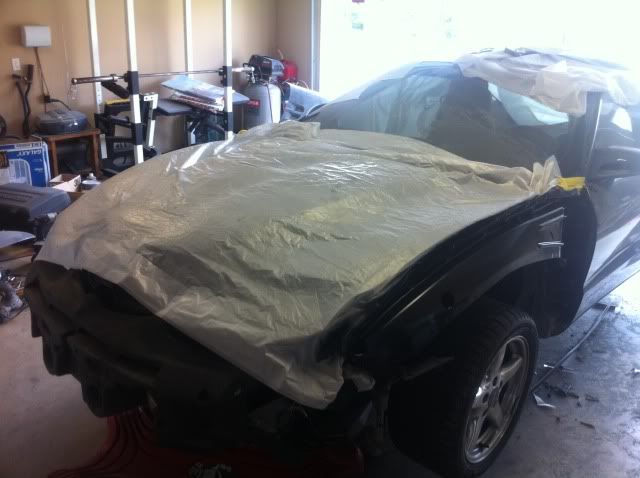
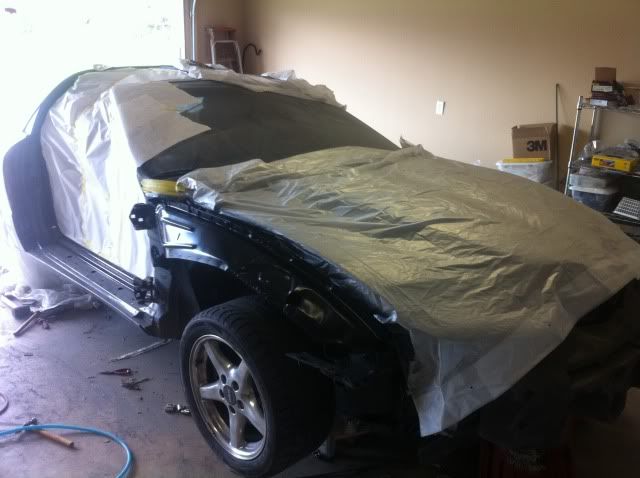
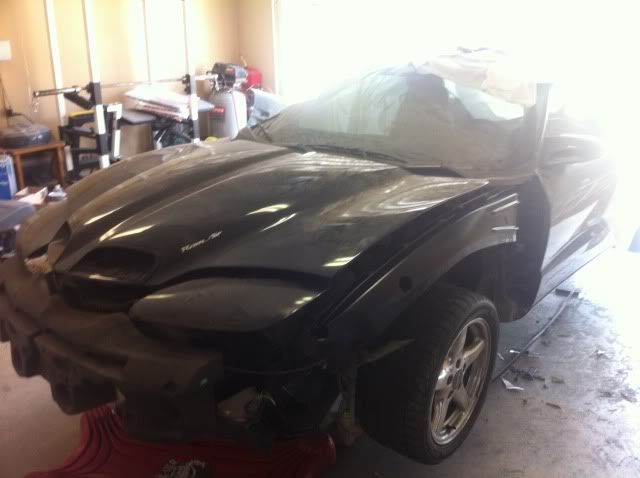
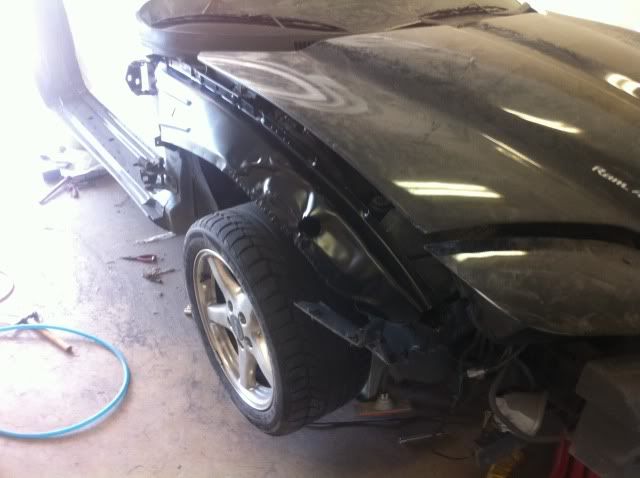
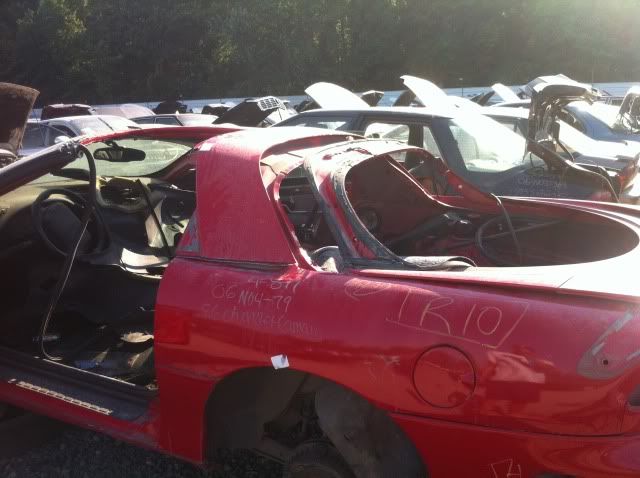
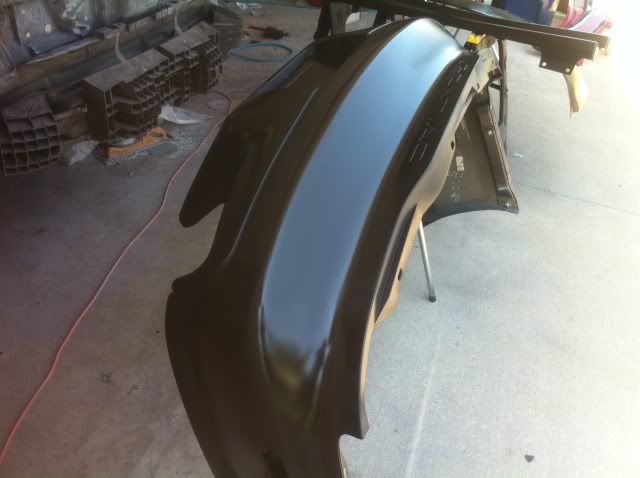
My baby is on the right


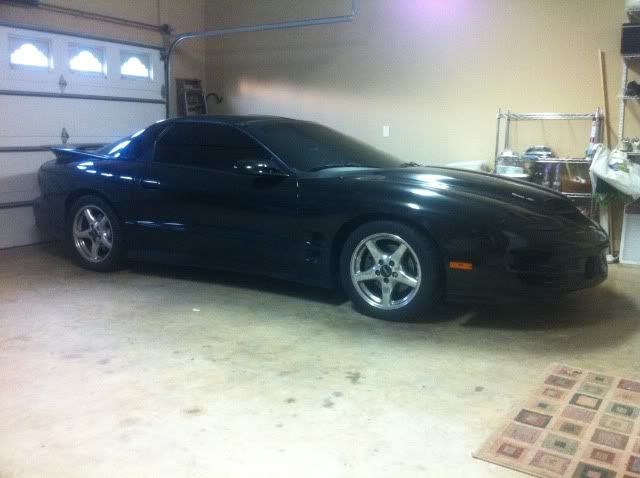
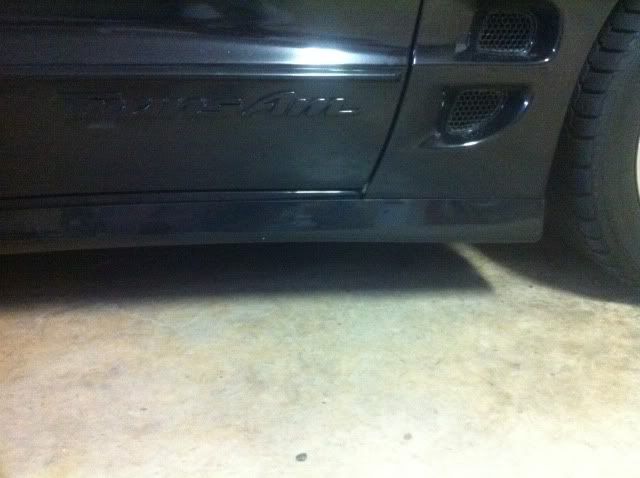
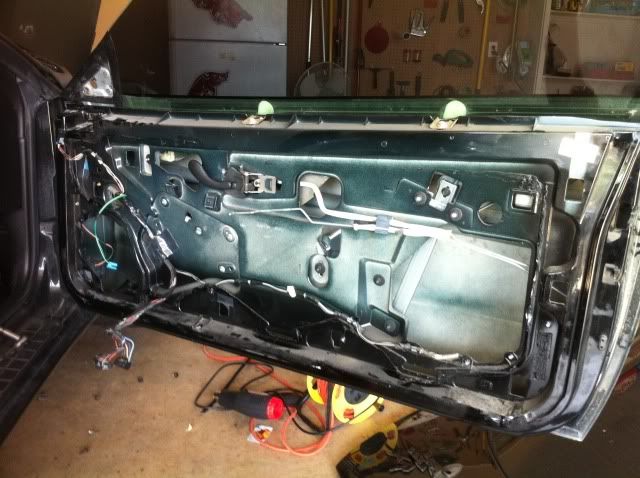
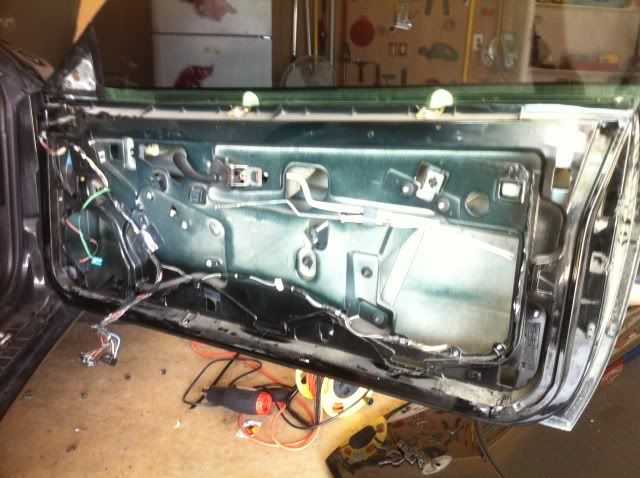
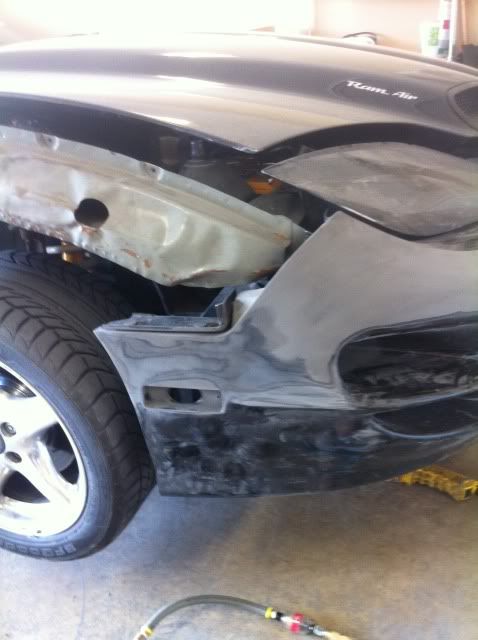
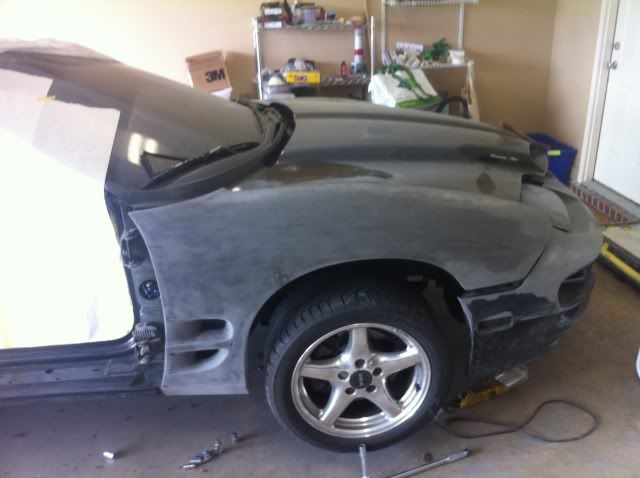
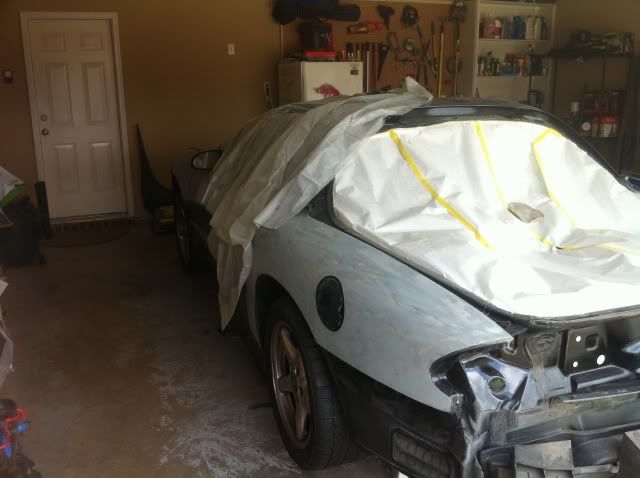
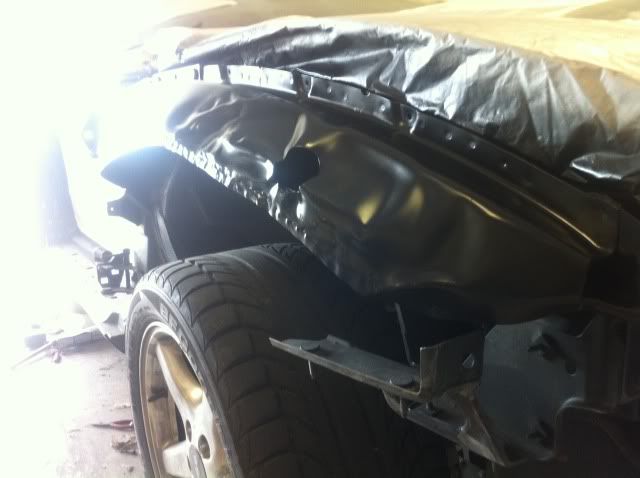
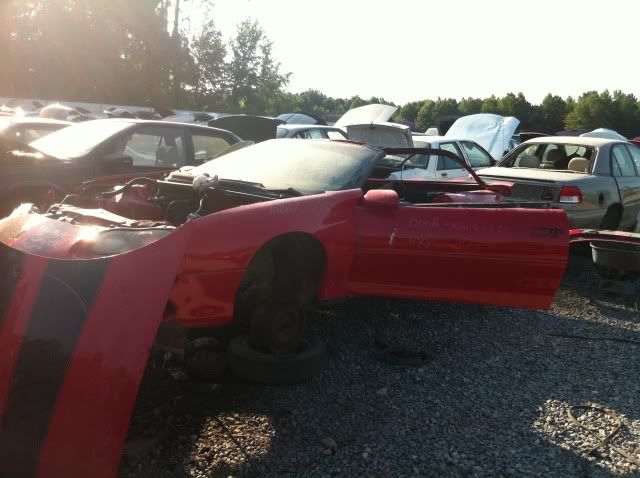
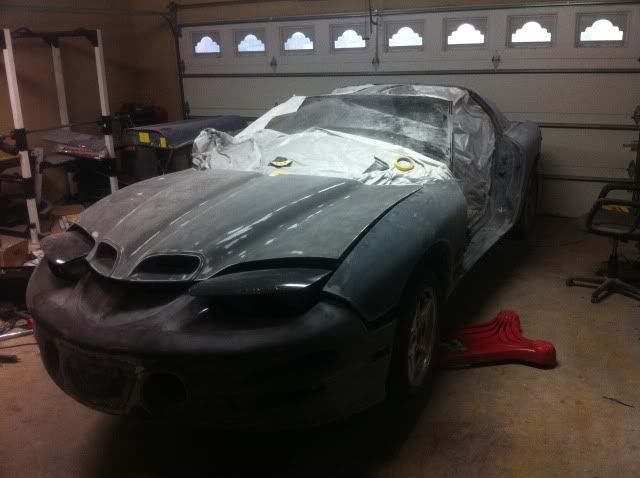
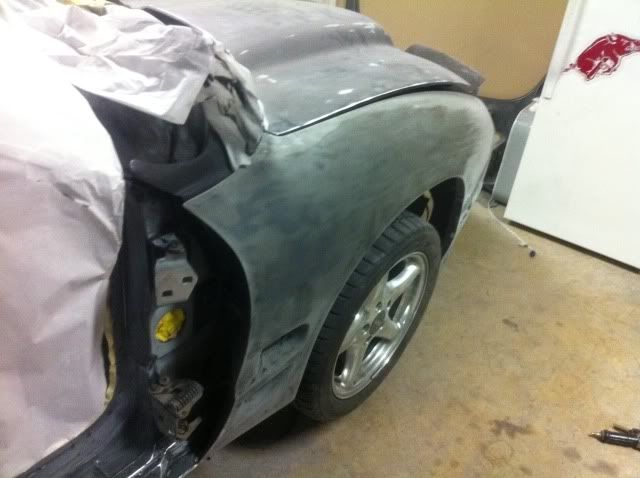
The alignment of the passenger fender and the front bumper sucked due to a previous wreck.
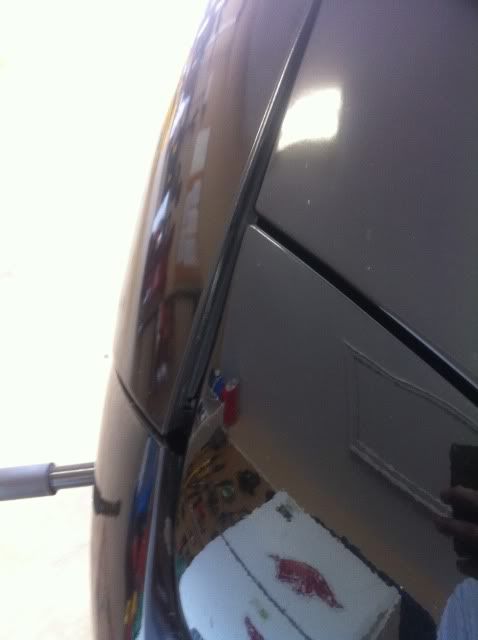
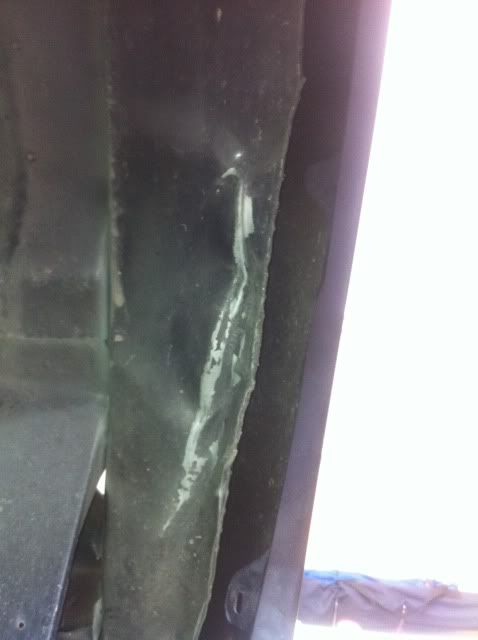
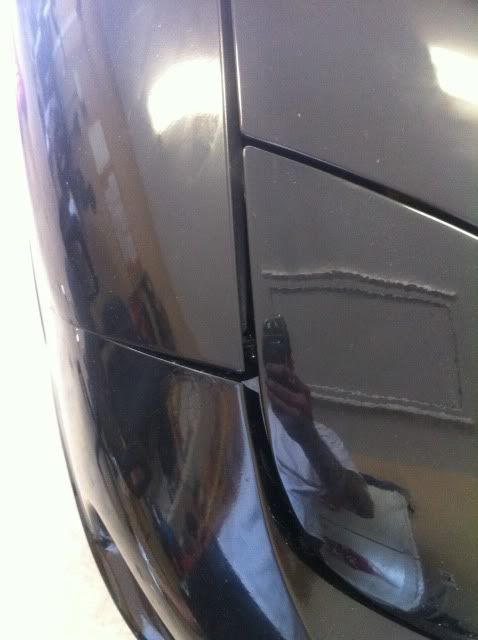
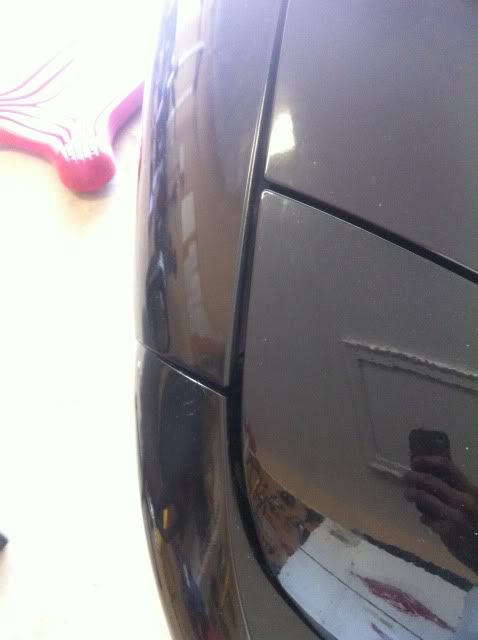
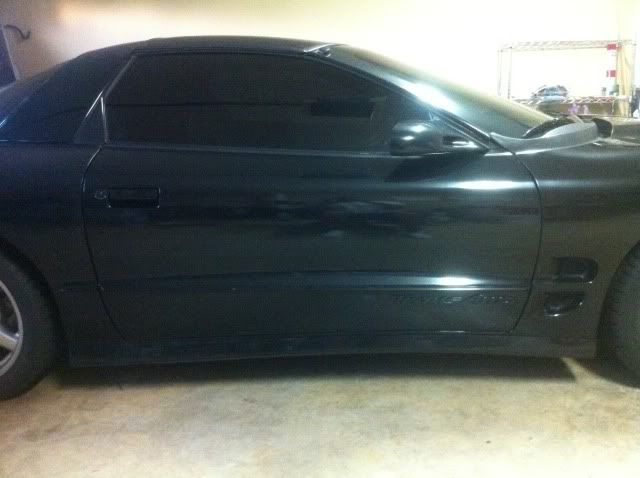
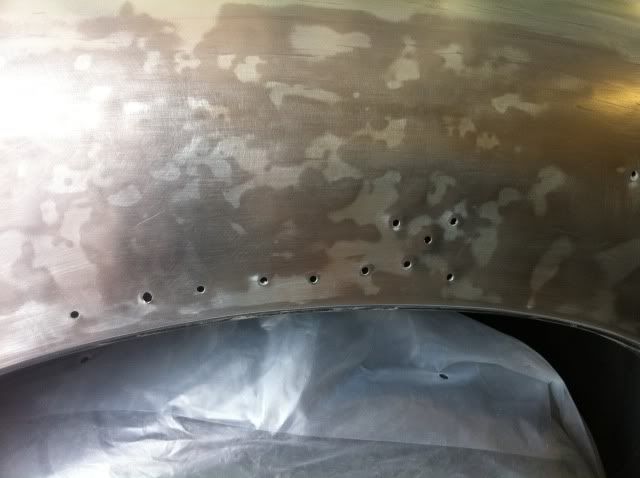
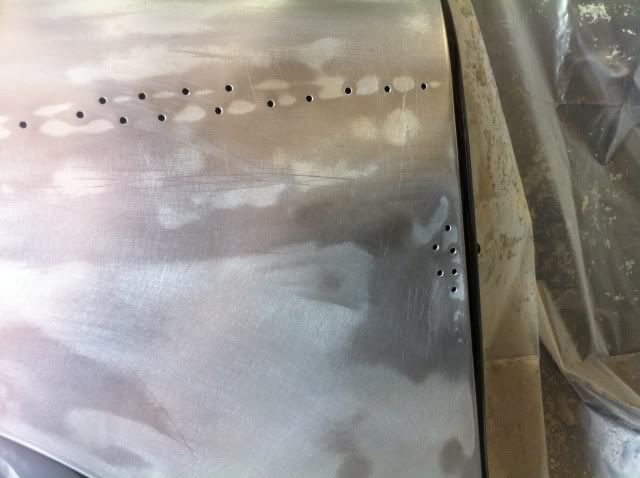
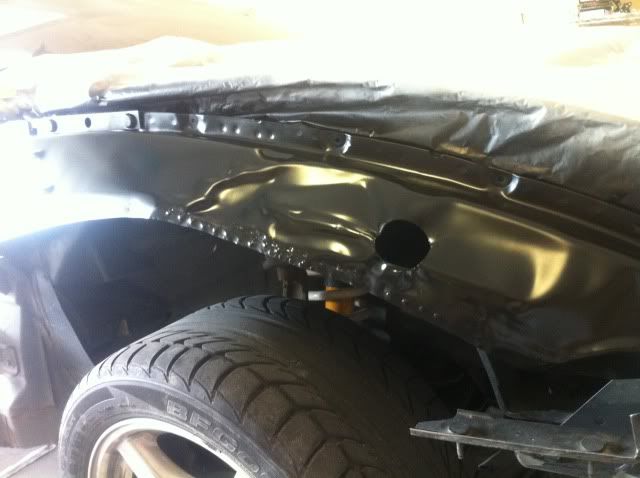
The passenger quarter apparently also had previous damage. Then I made it worse by backing into my envoy All the little dimples you see are hamer marks made when I was hammering it out from the inside of the quarter.

Much more has been done to the car since and I wil post those pics soon.
Let me know what you think .
Just some random info about the paint job:
1. I'm using Sherwin Williams paints (bc/cc), a high build sandable 2k primer surfacer called spectraprime. Base and clear is yet to be determined, but it is staying black
2. All paint is being removed down to factory primer. This is due to the previous owner wrecking the car then getting a sh**y paint job that was flaking off
My baby is on the right
The alignment of the passenger fender and the front bumper sucked due to a previous wreck.
The passenger quarter apparently also had previous damage. Then I made it worse by backing into my envoy
All the little dimples you see are hamer marks made when I was hammering it out from the inside of the quarter.Much more has been done to the car since and I wil post those pics soon.
Let me know what you think .
 07-14-2011, 07:42 PM
#2
On The Tree
Thread Starter
iTrader: (5)
Join Date: Mar 2009
Posts: 102
Likes: 0
Received 0 Likes
on
0 Posts
Some more pics


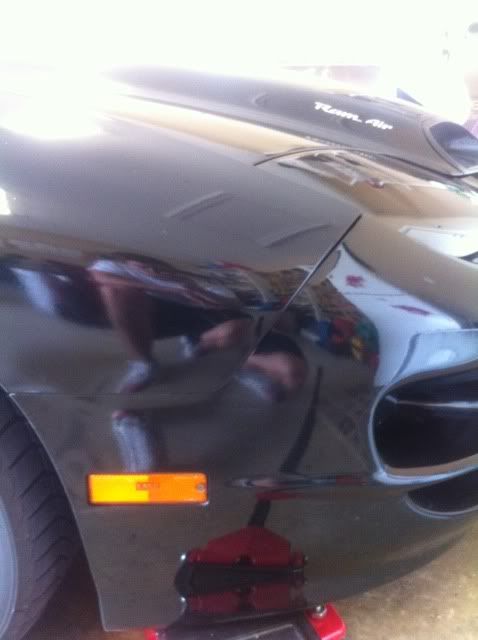
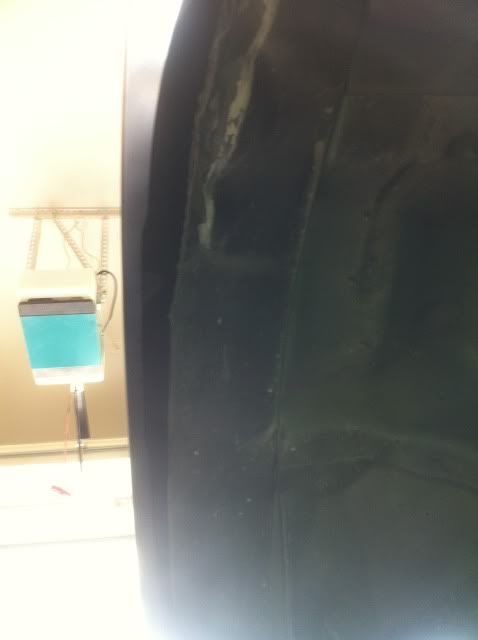
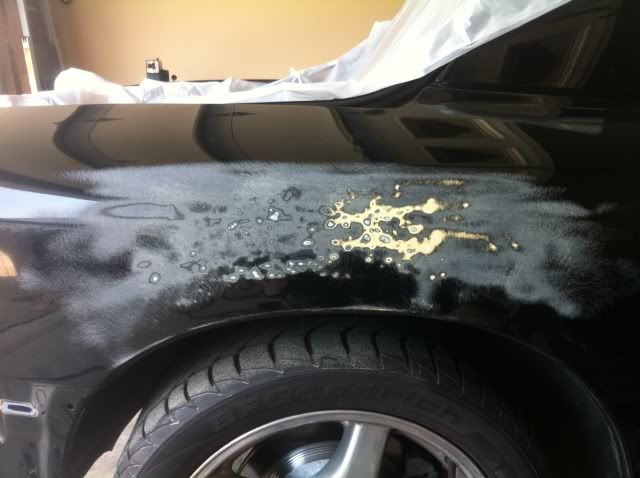
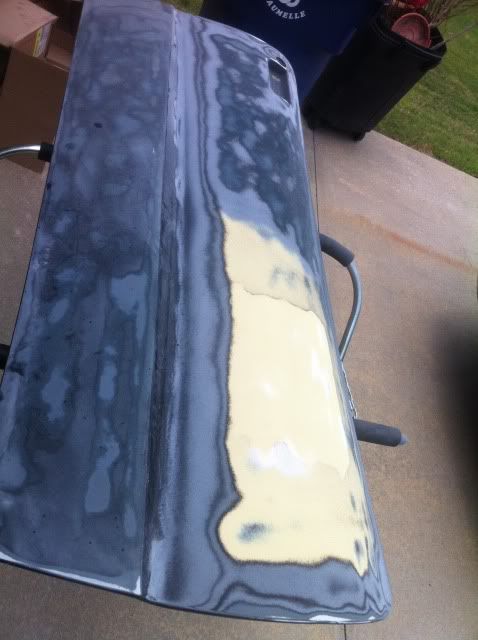
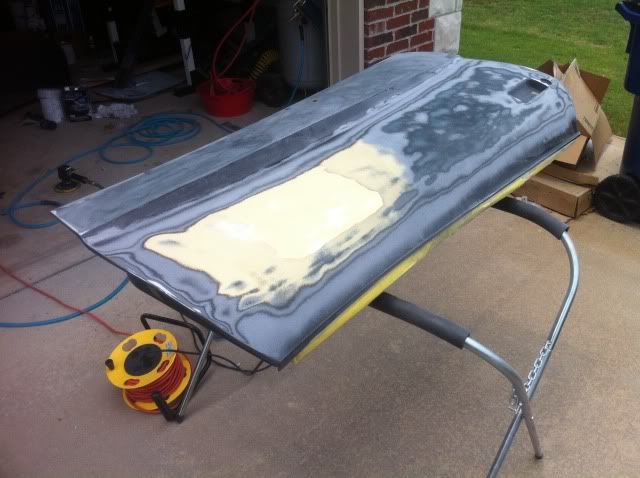
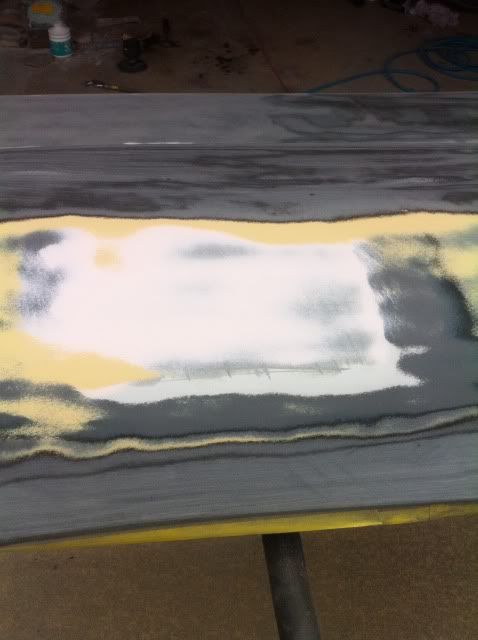
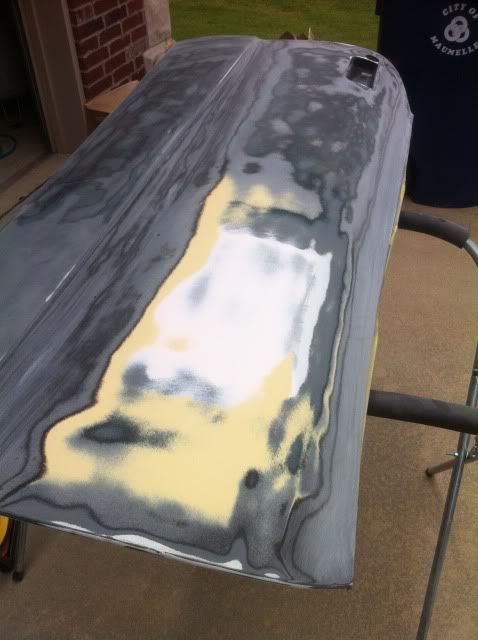
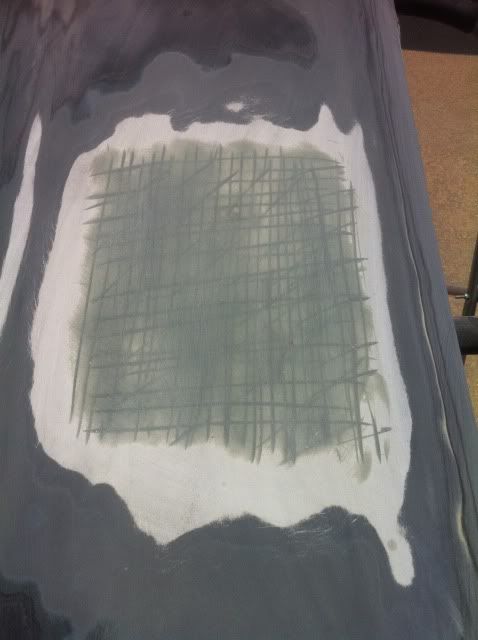
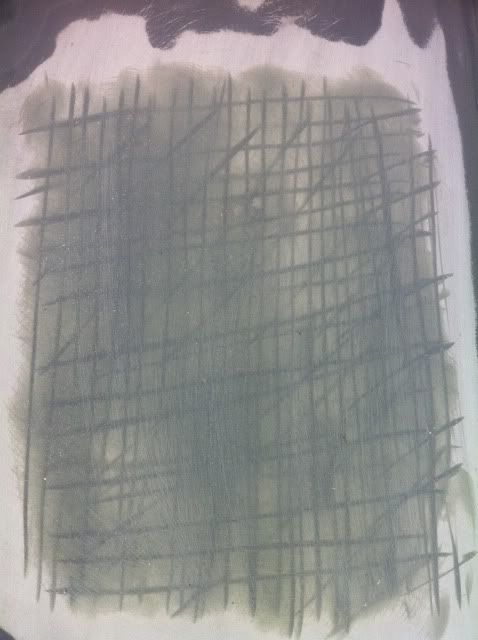
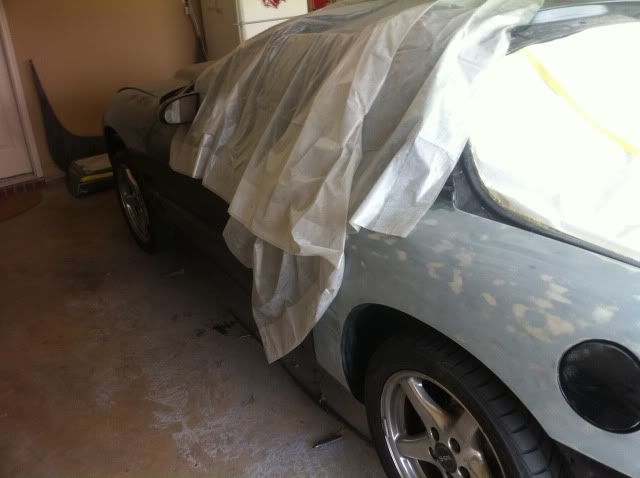
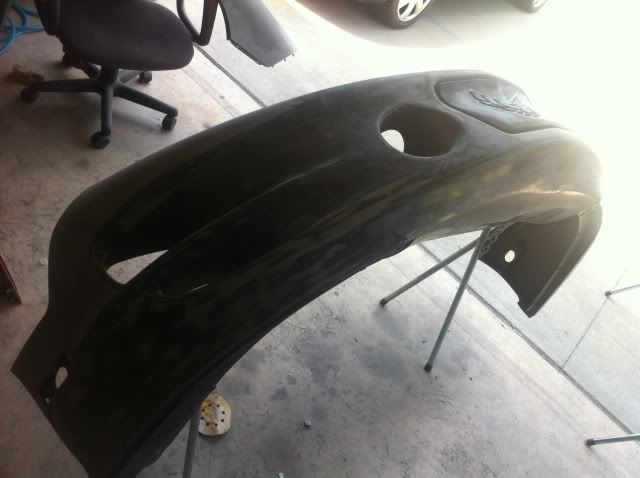
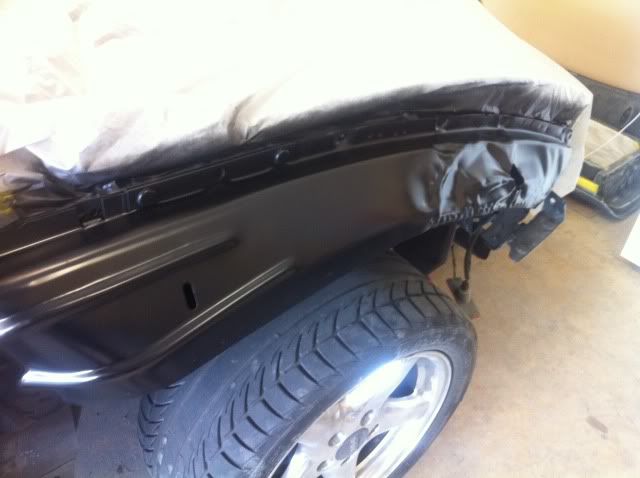
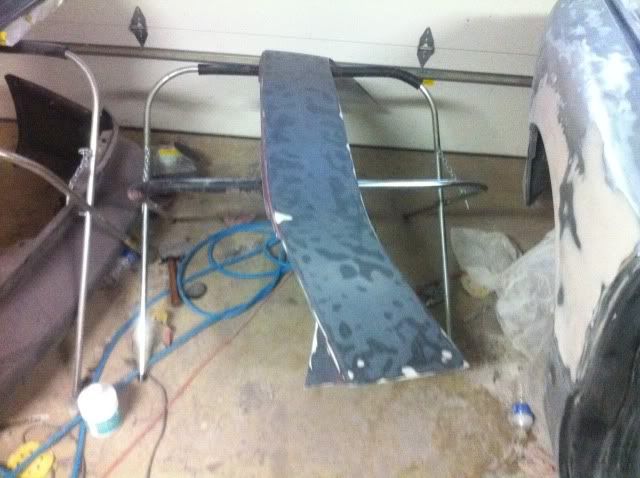
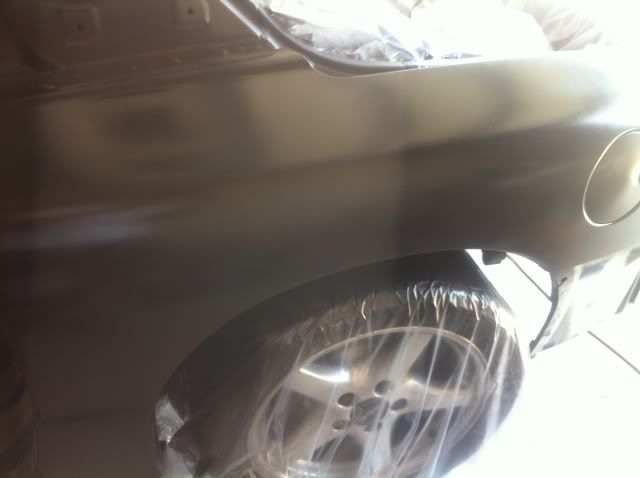
The first try at fixing the quarter. Ended up using way too much bondo so I had to strip it all off, realign the quarter better, then try again
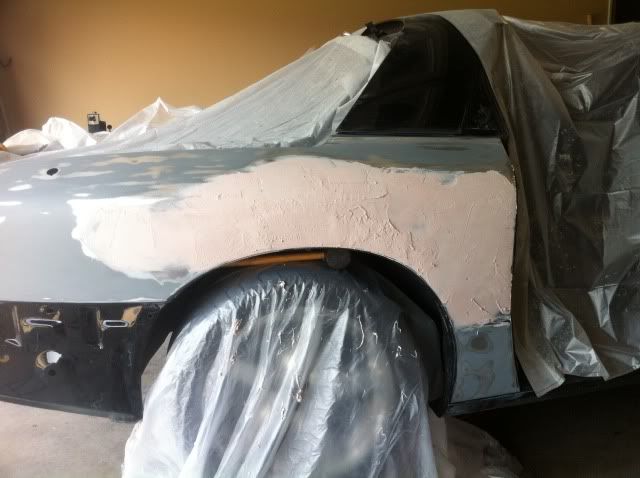


This sucked sanding. The entire thing had to be hand sanded too!
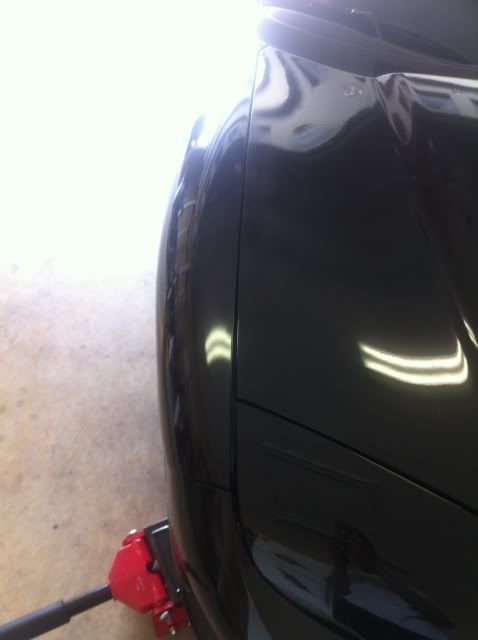
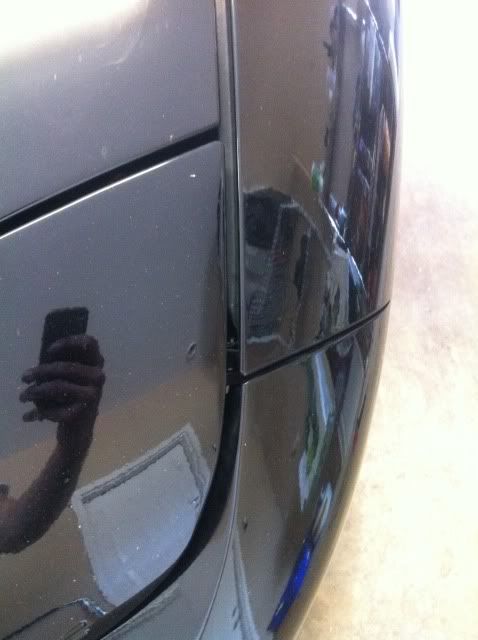
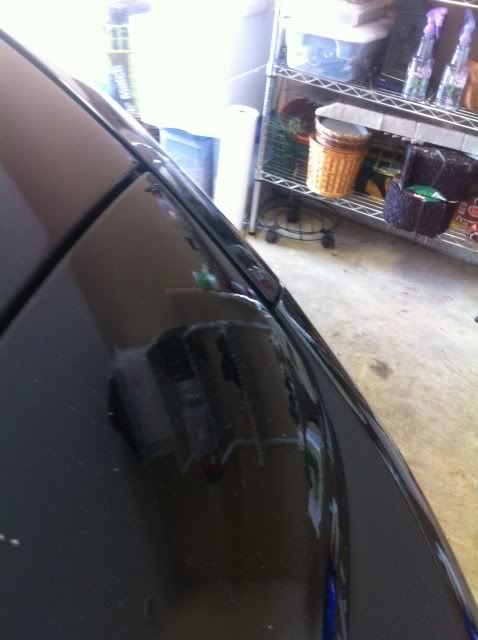
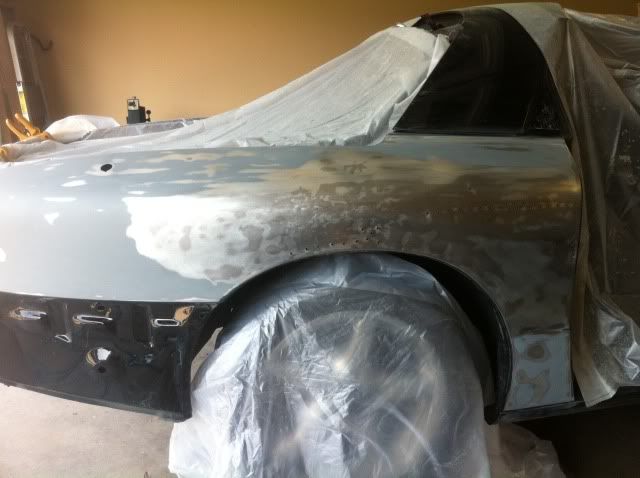
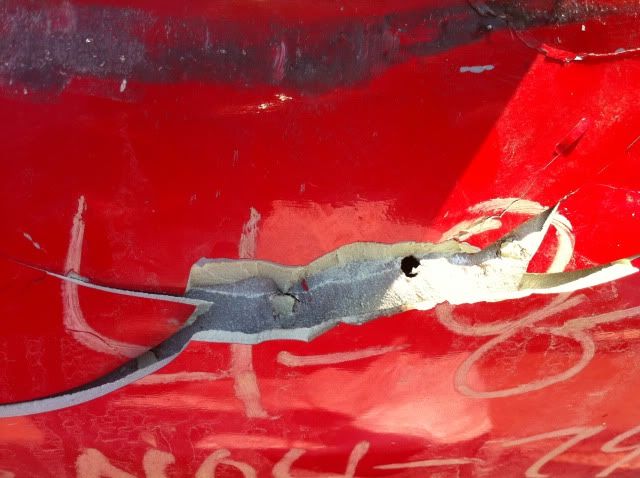
I assume this is from the previous accident. Thankfully it was fixed rather well.

The first try at fixing the quarter. Ended up using way too much bondo so I had to strip it all off, realign the quarter better, then try again
This sucked sanding. The entire thing had to be hand sanded too!
I assume this is from the previous accident. Thankfully it was fixed rather well.
07-14-2011, 07:48 PM
#3
On The Tree
Thread Starter
iTrader: (5)
Join Date: Mar 2009
Posts: 102
Likes: 0
Received 0 Likes
on
0 Posts
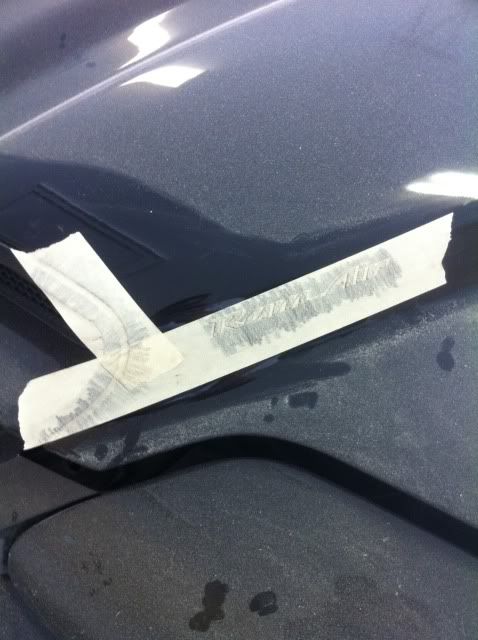
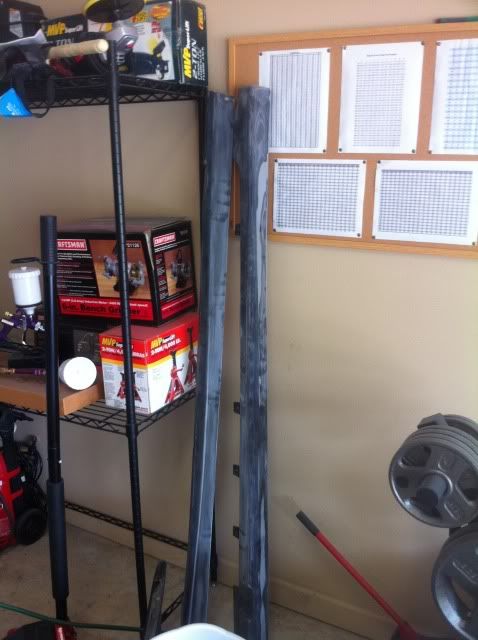
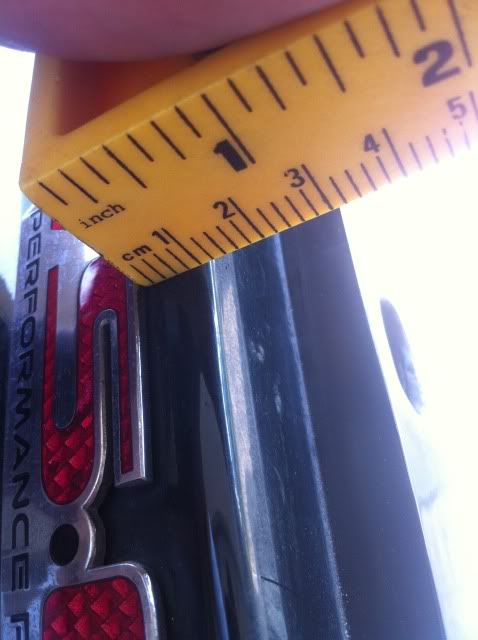
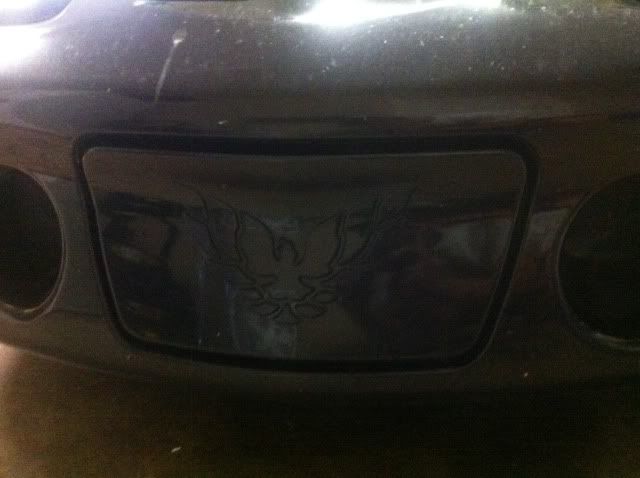
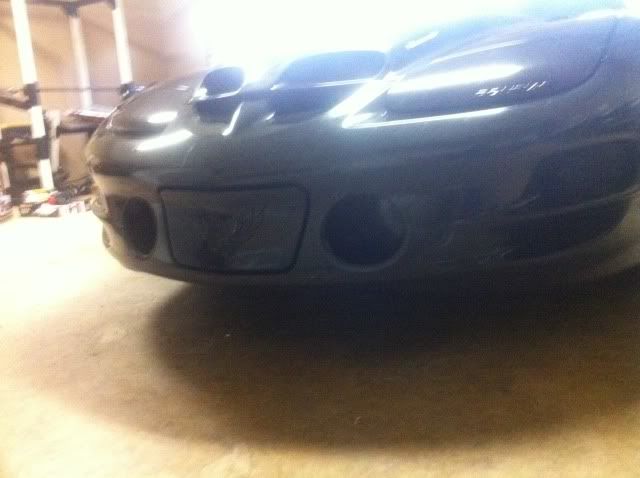
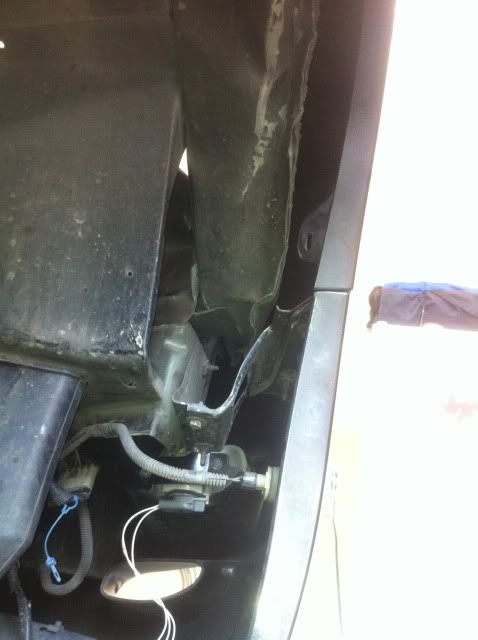
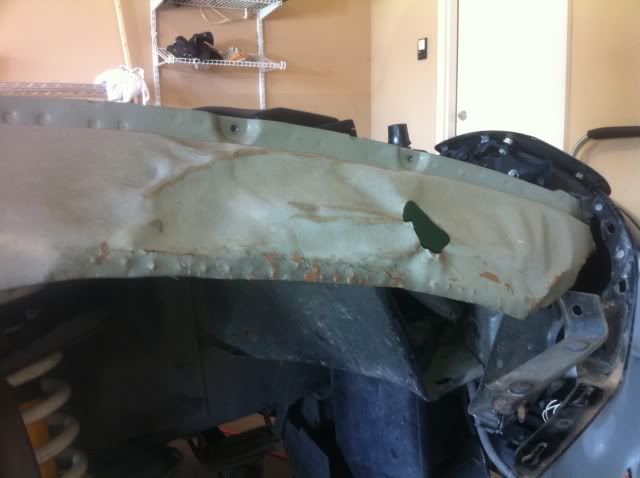
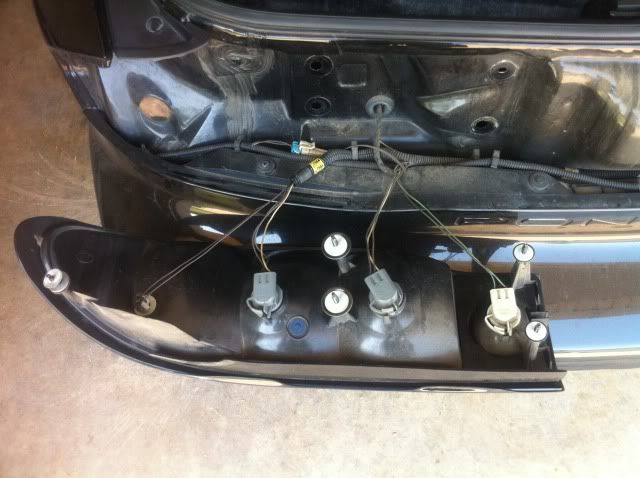
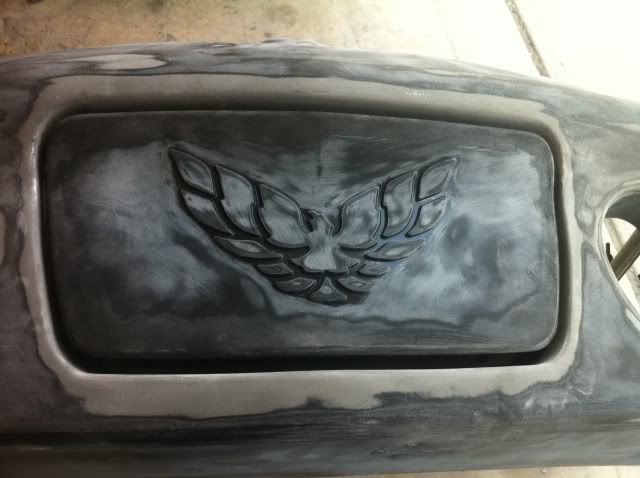
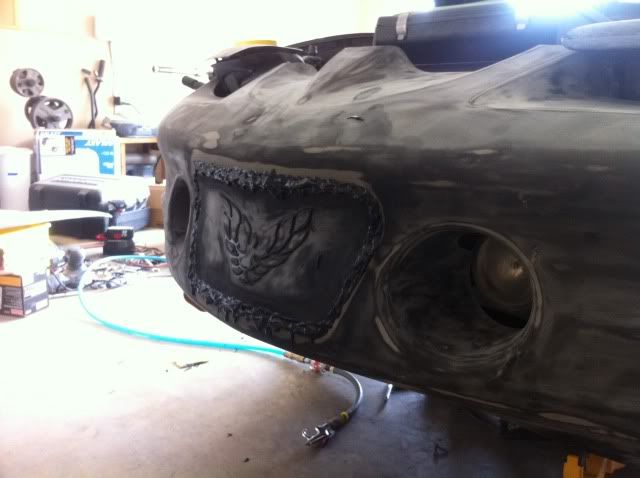
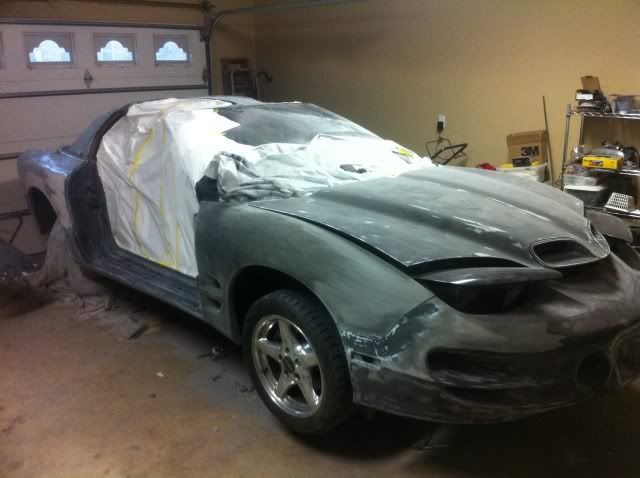
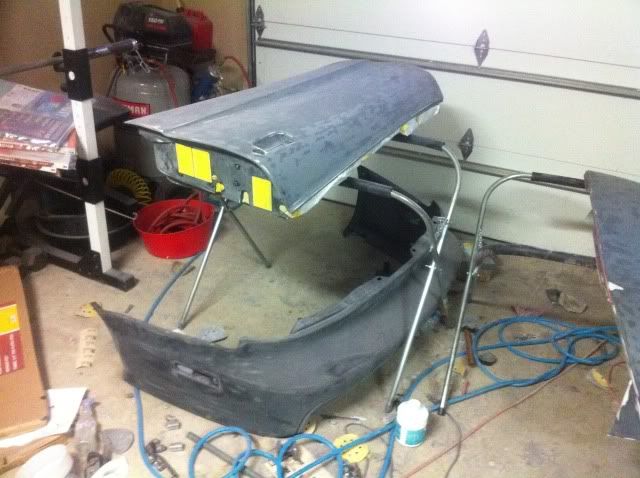
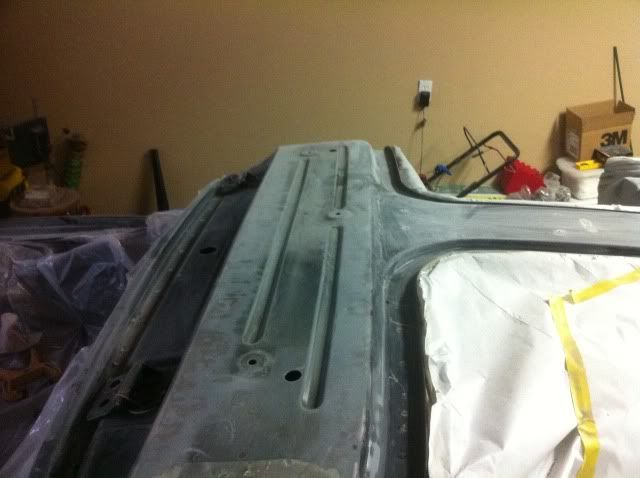
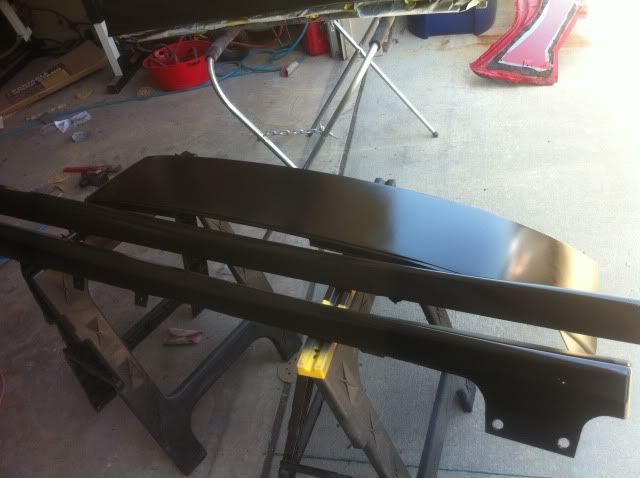
Prepping the front license plate to be molded into the front bumper.
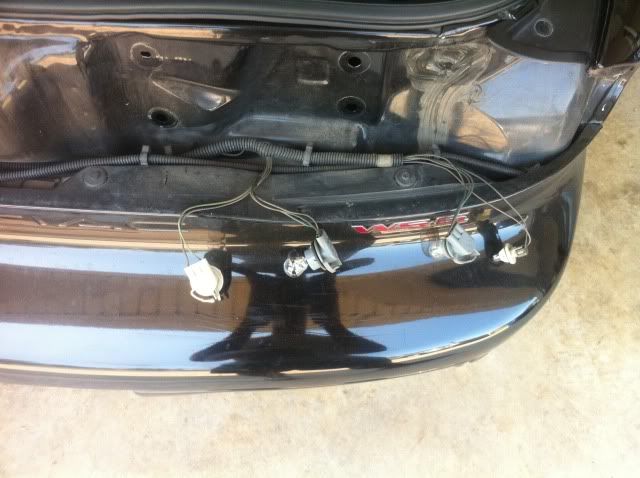
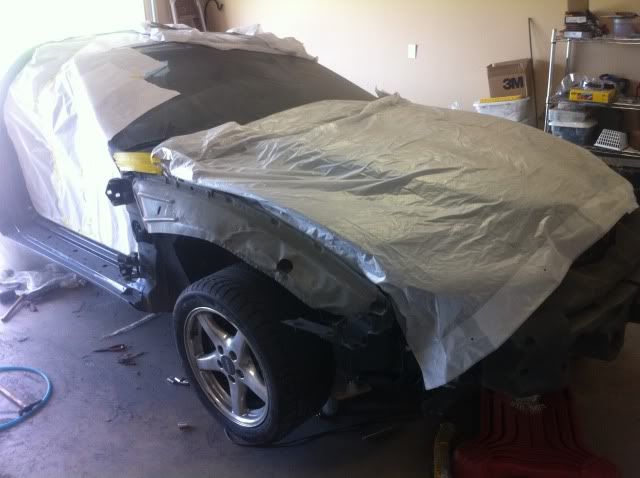
Sprayed rust blocker spray paint on upper rails to stop/prevent rust on damaged metal.
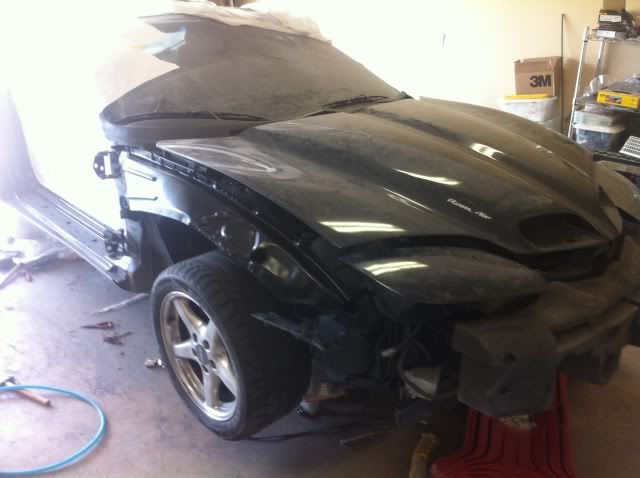
MUCH more to come!
Last edited by andrewhlr; 07-17-2011 at 07:31 PM.
07-15-2011, 06:26 AM
#5
On The Tree
Thread Starter
iTrader: (5)
Join Date: Mar 2009
Posts: 102
Likes: 0
Received 0 Likes
on
0 Posts
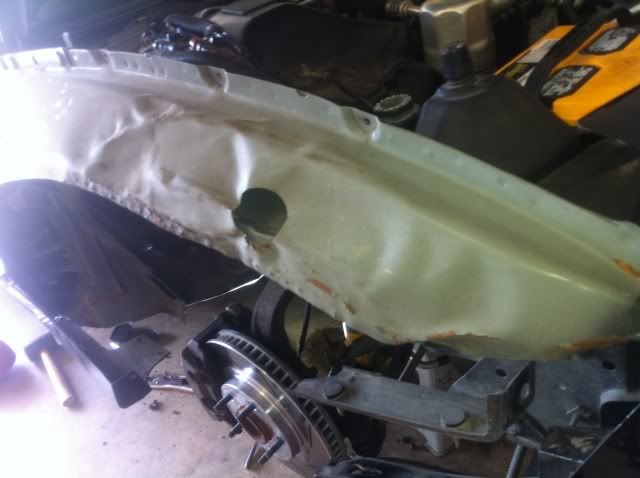
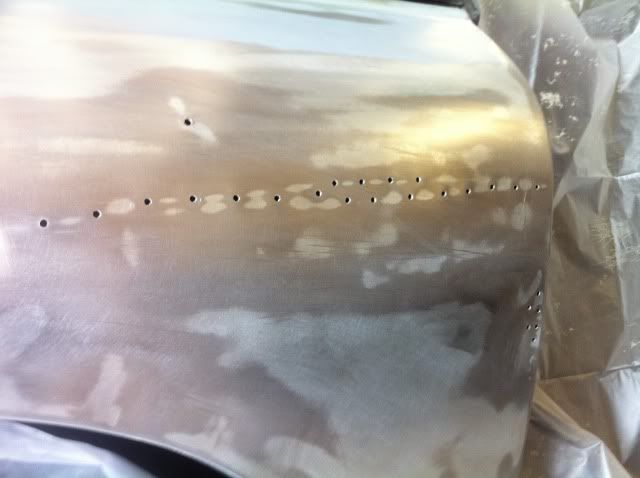
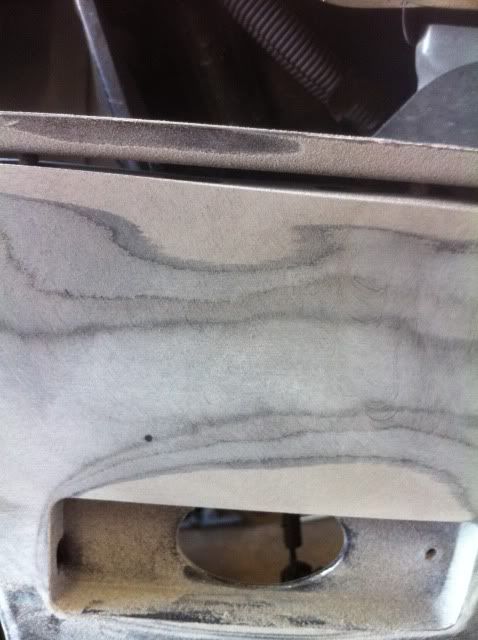
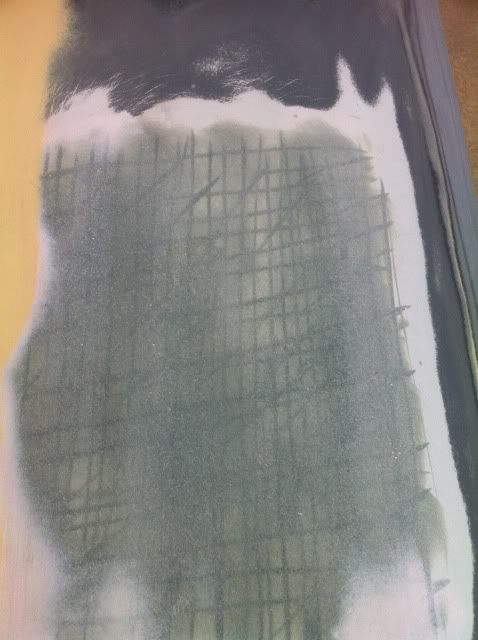
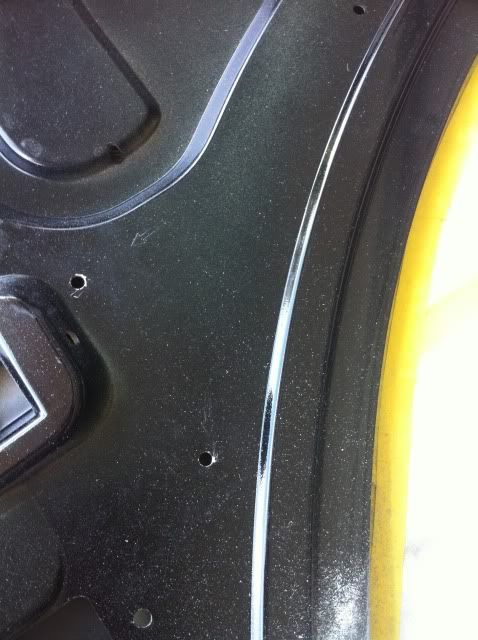
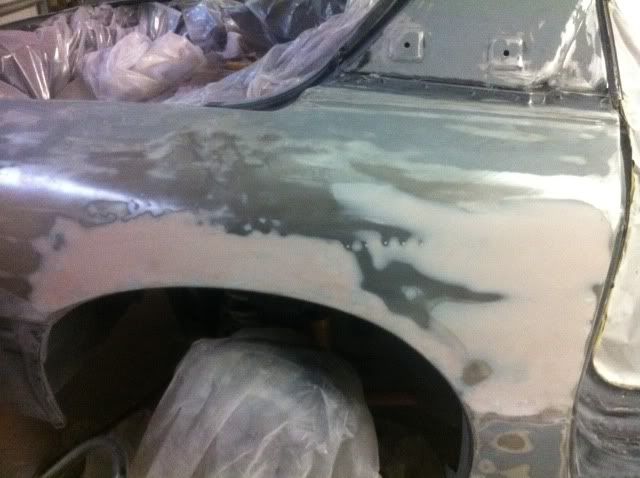
The holes are used to help straighten the panel. Basically what you can do is attach a screw to a slide hammer then screw it into the quarter and pull it out. You can then bondo over them. I had to do this for the spots that I couldn't reach from the inside. FYI, The holes on the right side were drilled by someone else doing a different repair and I drilled the ones directly over the wheel well.
Trending Topics
07-15-2011, 02:01 PM
#8
Teching In
Join Date: Jun 2009
Location: Savannah, Ga
Posts: 22
Likes: 0
Received 0 Likes
on
0 Posts

The holes are used to help straighten the panel. Basically what you can do is attach a screw to a slide hammer then screw it into the quarter and pull it out. You can then bondo over them. I had to do this for the spots that I couldn't reach from the inside. FYI, The holes on the right side were drilled by someone else doing a different repair and I drilled the ones directly over the wheel well.
07-15-2011, 03:41 PM
#10
On The Tree
Thread Starter
iTrader: (5)
Join Date: Mar 2009
Posts: 102
Likes: 0
Received 0 Likes
on
0 Posts
But here's some more pics to add to the ridiculous length of this single page lol
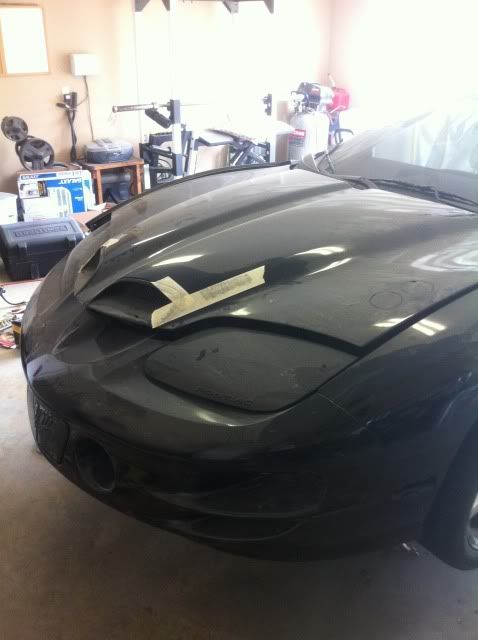
Wave bye-bye to the front license plate
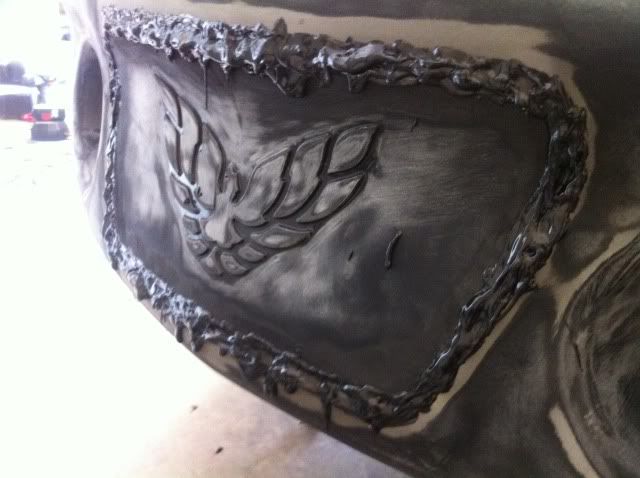
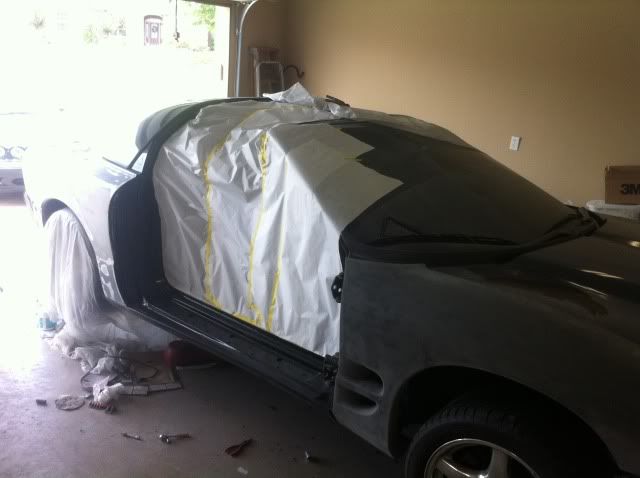
The gaps/alignment was so bad that after MANY hours of adjusting them I finally decided that I would have to use this stuff for that too. I know, it looks bad now, but just wait to see how it turns out...
Fixing some cracks with the same stuff.
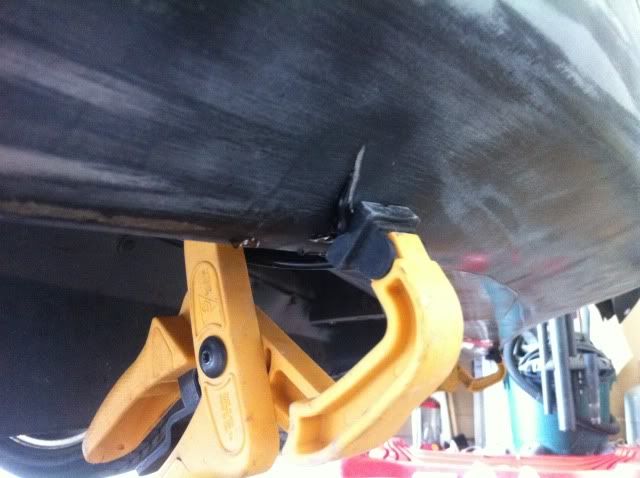

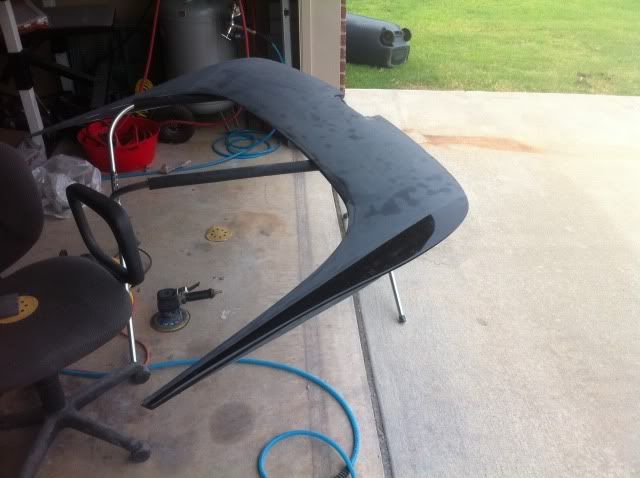
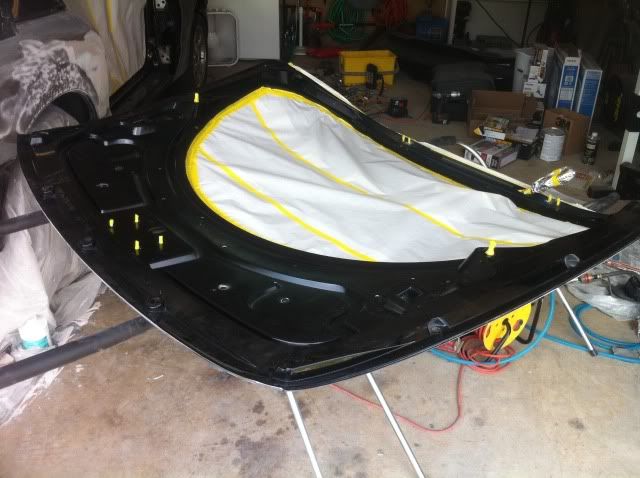
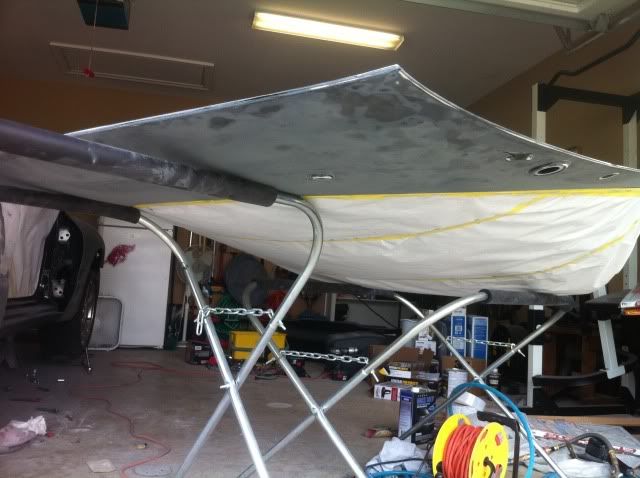
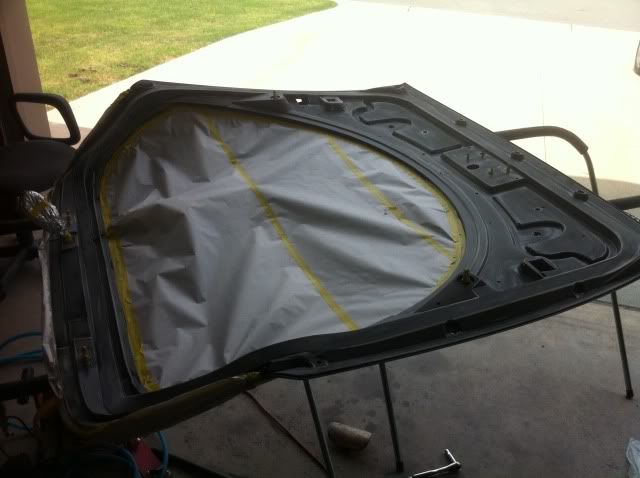
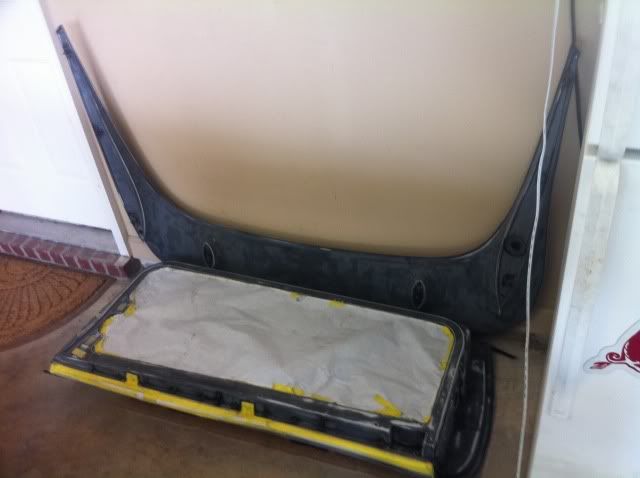
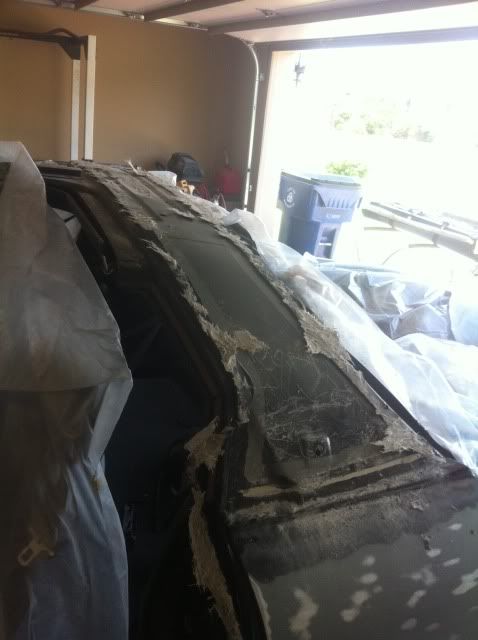
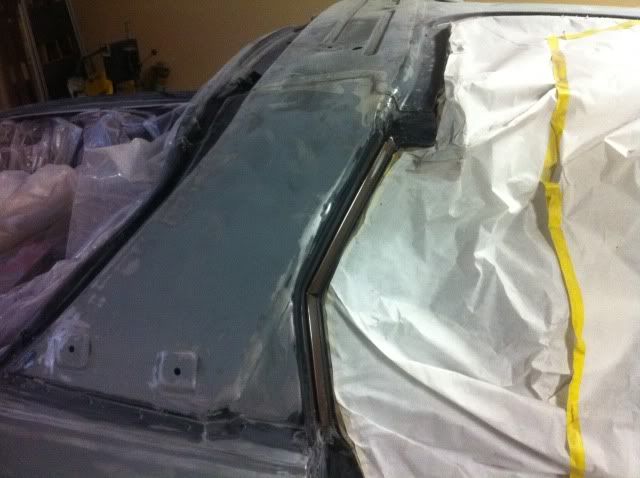
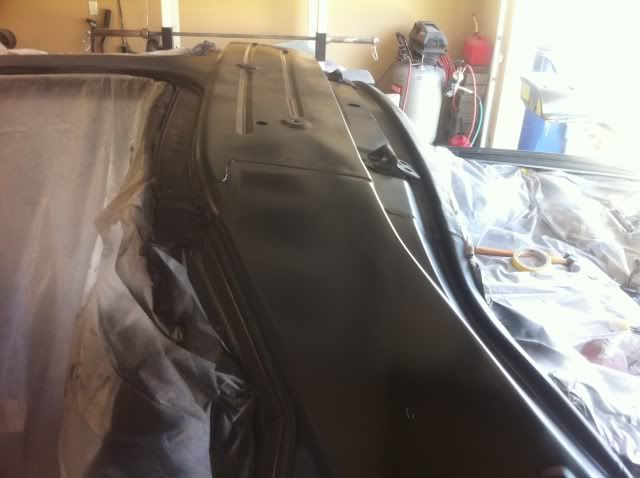
Thats right boys and girls, it's new roof time

It had some hideous bondo work done lol

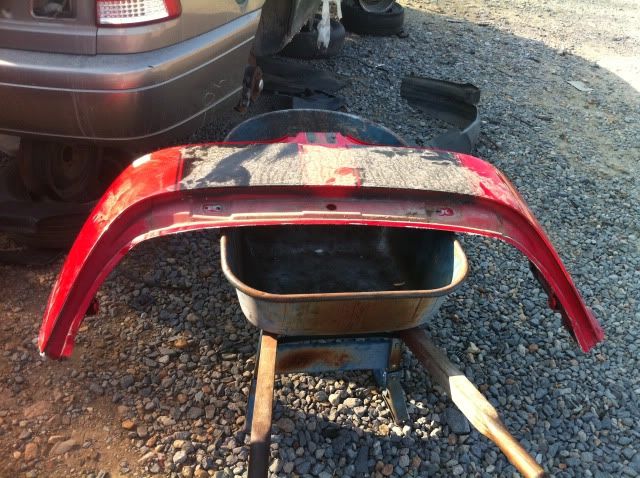
New roof: $65
Gas driving to the junk yard: $15
Not having another bubble in my sail panel: Priceless
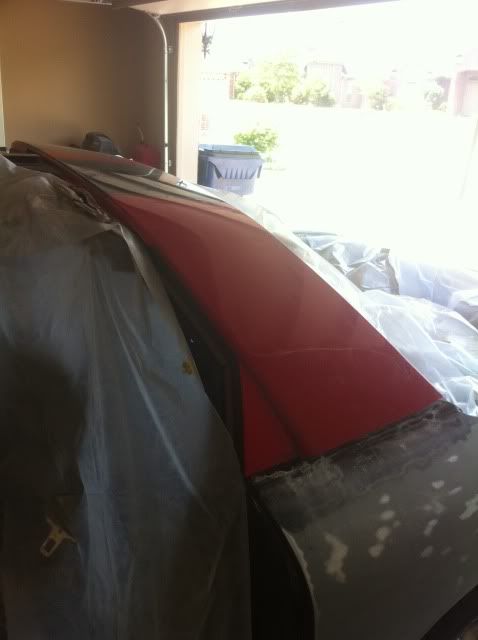
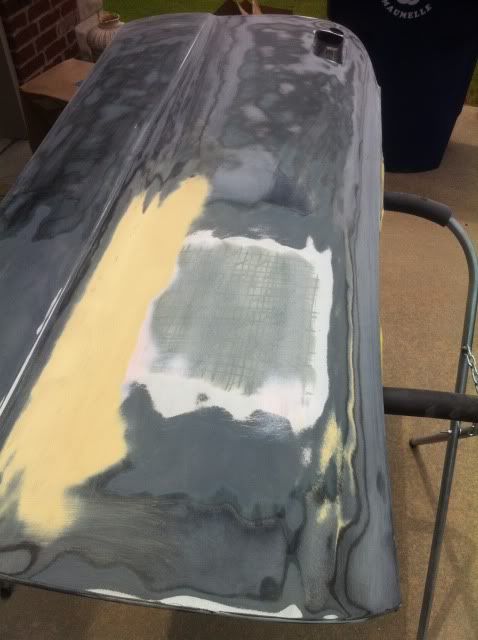
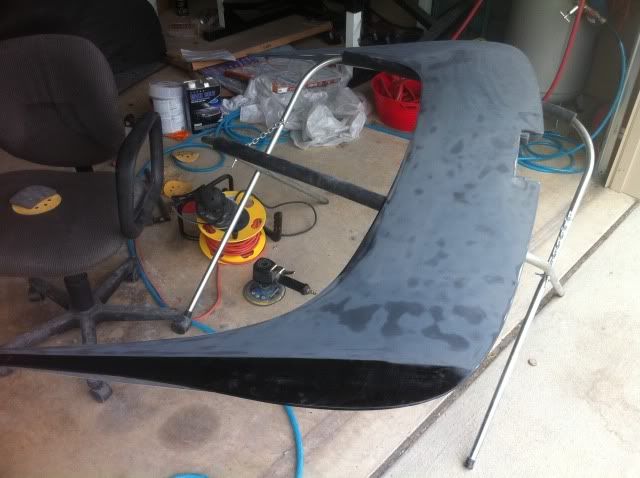
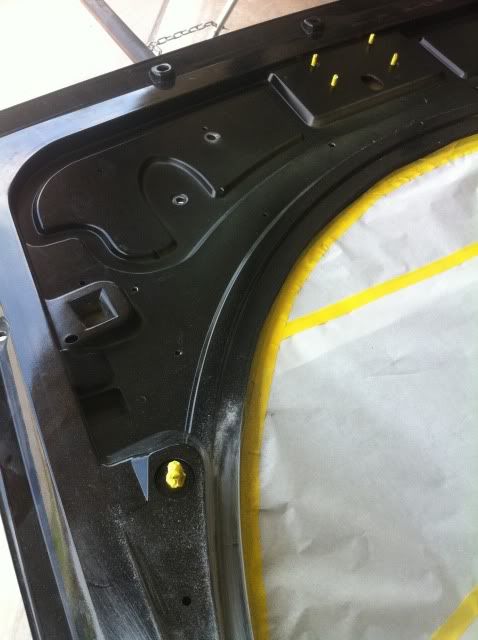
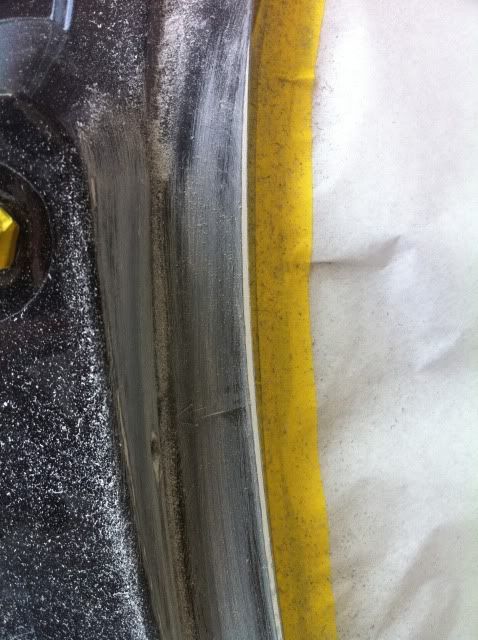
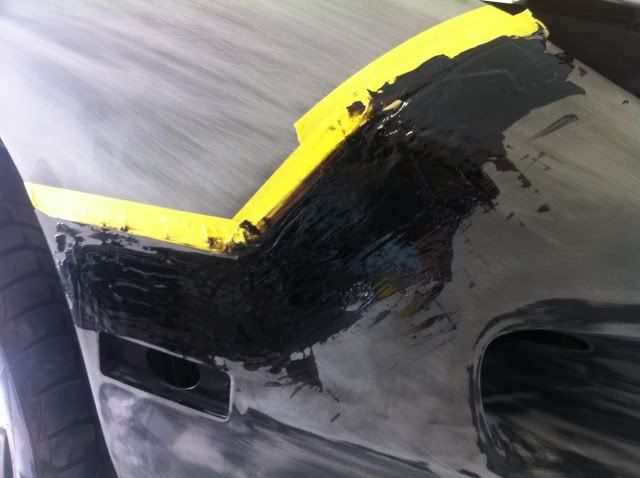
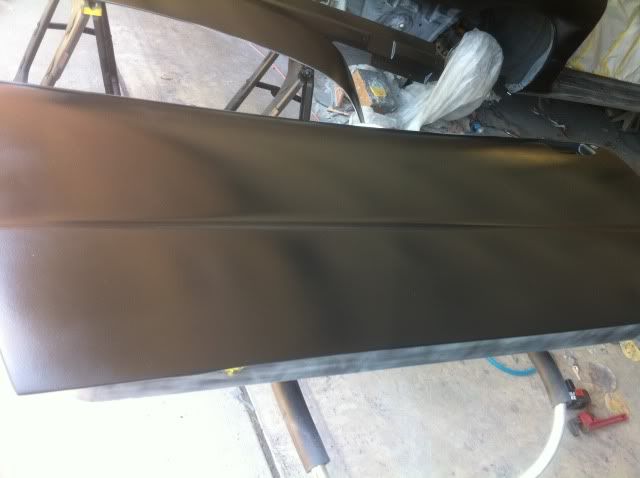
Bondo attempt #2. It's good enough for me.
The bondo is not on the lip this time lol
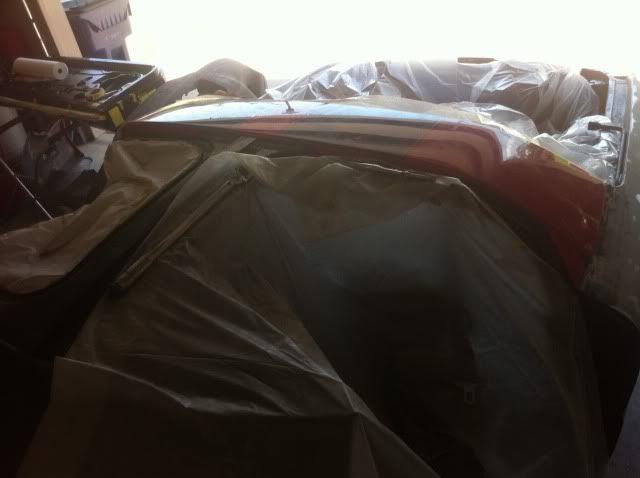
Can you say primer?

Last edited by andrewhlr; 07-26-2011 at 05:56 PM.
07-15-2011, 04:00 PM
#11
Banned
iTrader: (4)

Join Date: Feb 2011
Location: Hinesville GA
Posts: 226
Likes: 0
Received 0 Likes
on
0 Posts
wow man..who taught you how to do all that body work?...thats cool..wish i did'nt have to pay someone else to paint mine black...would have loved to save myself 2000 dollars
07-15-2011, 04:11 PM
#12
On The Tree
Thread Starter
iTrader: (5)
Join Date: Mar 2009
Posts: 102
Likes: 0
Received 0 Likes
on
0 Posts
But you should paint it next time. It's really not difficult, just time consuming. But make sure you have done your research before hand so you don't truly mess something up lol. Just my $0.02.
07-15-2011, 05:59 PM
#15
11 Second Club
iTrader: (5)
Join Date: May 2009
Location: Pittsburgh
Posts: 350
Likes: 0
Received 0 Likes
on
0 Posts
Im about to take on this challenge with my truck. Ive sprayed single stage paint before, but Im using base coat/clear coat for my truck. I think Im gonna go with a SOM color for it.
You have a link to where you bought your Sherwin Williams paint & primer?
You have a link to where you bought your Sherwin Williams paint & primer?
07-15-2011, 06:24 PM
#16
On The Tree
Thread Starter
iTrader: (5)
Join Date: Mar 2009
Posts: 102
Likes: 0
Received 0 Likes
on
0 Posts
But I'm using SW paint because they have a store near me. I would prefer to use PPG or HOK but had no idea of what all to buy and how to use it so I' going this route. You can check their website and see if they have a store near you. They probably will. Just make sure it's SW Automotive and not your household paint SW. The good thing about this is if I have any questions I can just give my jobber a call for some advice. He should know what he's talking about seing as how he painted cars for 29 years. And SW is still a high quality paint and on par with PPG and HOK so I'm happy with it.
07-15-2011, 06:46 PM
#17
On The Tree
Thread Starter
iTrader: (5)
Join Date: Mar 2009
Posts: 102
Likes: 0
Received 0 Likes
on
0 Posts
Does anybody have any advice on the best black? I'm looking for the deepest darkest black that I can get. I know PPG and the others have good blacks but what about SW? Maybe I could go with a good factory black from some car or get a custom mix 
07-15-2011, 09:02 PM
#18
Looking good man. If you can I would spray undercoating or something else inside the quarter you fixed. Moisture will get into the bondo through the small holes. Bondo is pourous and will suck the moisture up and will eventually pop out. That's why it's best to weld the holes shut or use kitty hair which is moisture resistant.
Please don't think I'm doggin' you because I'm not. Just trying to help. It looks good. I know how much work it is.
Please don't think I'm doggin' you because I'm not. Just trying to help. It looks good. I know how much work it is.
07-15-2011, 09:07 PM
#19
On The Tree
Thread Starter
iTrader: (5)
Join Date: Mar 2009
Posts: 102
Likes: 0
Received 0 Likes
on
0 Posts
Looking good man. If you can I would spray undercoating or something else inside the quarter you fixed. Moisture will get into the bondo through the small holes. Bondo is pourous and will suck the moisture up and will eventually pop out. That's why it's best to weld the holes shut or use kitty hair which is moisture resistant.
Please don't think I'm doggin' you because I'm not. Just trying to help. It looks good. I know how much work it is.
Please don't think I'm doggin' you because I'm not. Just trying to help. It looks good. I know how much work it is.