DIY: Headlight Restoration using Clear Coat
#1
Teching In
Thread Starter
Join Date: Sep 2013
Location: Ontario, Canada
Posts: 19
Likes: 0
Received 0 Likes
on
0 Posts
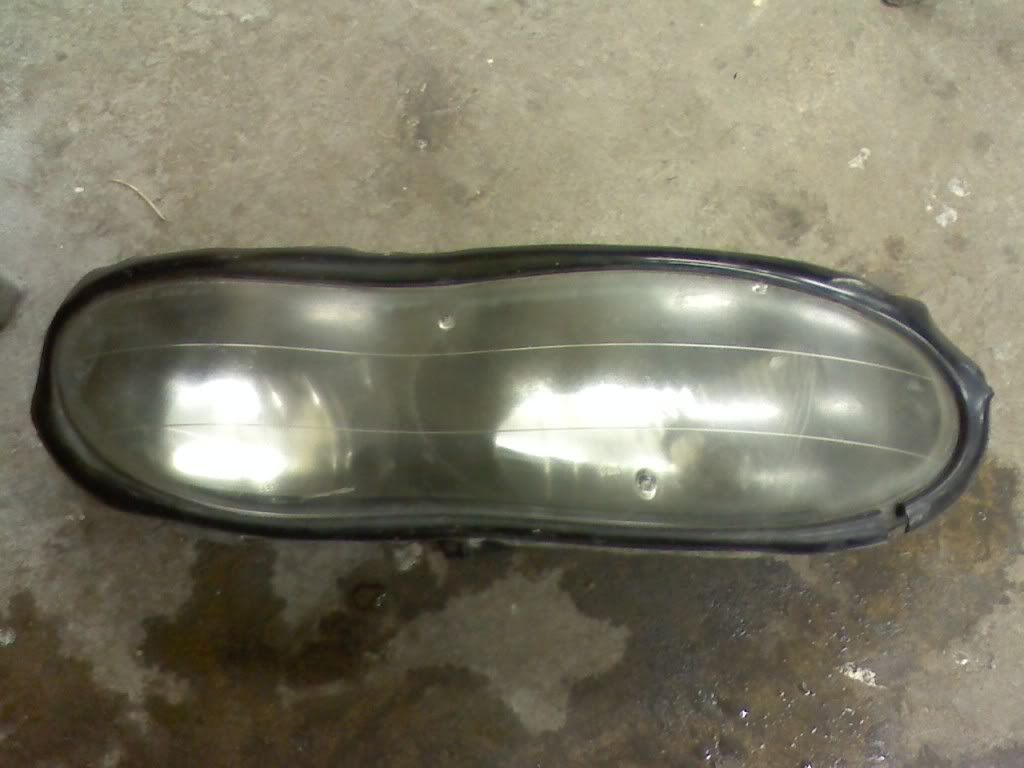
Video tutorial on how to refinished hazy/foggy plastic headlights by applying clear coat. This is intended to be a long term method compared to the other two methods which I have done in the past that was the wet sanding/polishing method and the method using strictly toothpaste. The headlights do not need to be removed from the vehicle or disassembled as I have shown the in the vehicle. Removing the headlights from the vehicle does help to eliminate the chance of any over spray from the clear coat or adhesion promoter landing on the paint which would need to be cleaned afterwards.
Tools/Supplies Needed:
-800 grit wet/dry sandpaper (if your headlights are severe)
-1000 grit wet/dry sandpaper
-bucket of soapy water
-isopropyl/rubbing alcohol
-clean lint free cloth
-tape
-paper
-adhesion promoter
-lacquer/clear coat
Procedure:
-if you decided to remove your headlights, start with that step first (headlight removal varies between makes/models of vehicles)
-wash the headlights thoroughly to ensure no contaminants will get into the wet sanding process
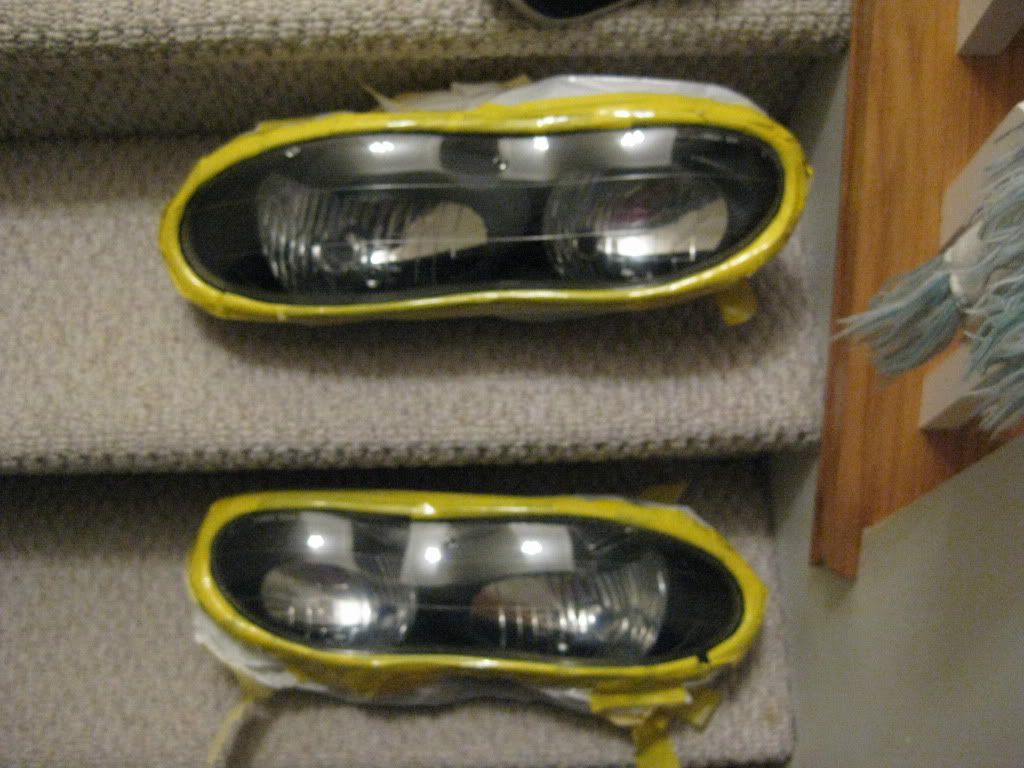
-tape off around the perimeter of the headlight lens or vehicles paint to protect it (optional)
-ensure the lens is always well lubricated during the wet sanding process using the soap water
-if your headlights are severely hazy/foggy, wet sand starting with 800 grit and finish with 1000 grit
-if headlights are mildly hazy/foggy, start and finish wet sanding with 1000 grit sand paper
-once satisfied, wash the headlight again to ensure there are no contaminants which would affect the lacquer/clear coat
-once headlight is dry, wipe it down with isopropyl/rubbing alcohol
-tape off the areas you do not want any lacquer/clear coat on
-wipe headlight lens down again with isopropyl/rubbing alcohol, do not touch the lens with your hands (oil from your skin can cause imperfections when apply the lacquer/clear coat)
-use the adhesion promoter to ensure there will be maximum adhesion when applying the lacquer/clear coat
-once adhesion promoter has setup, then go ahead and apply the lacquer/clear coat
-lacquer/clear coat can be applied in 2 coats if you are not planning on wet sanding afterwards
-if you are planning on wet sanding to a polish afterwards, apply 3 coats to ensure there is enough material for the next process
-wet sanding tutorial located here
-let the headlight fully harden in the sun for at least 24 hours before the wet sanding and polishing stage
#3
Staging Lane
I have done this a few times with good clear(Sikkens Production Clear) and still then it doesnt seem to last more than a year or so before it starts lifting(I am a professional painter by the way.) To me this is a "sell it" method. Sand/buff them or replace is my opinion for a personal car unless you are just getting by until replacement.
#7
TECH Regular
iTrader: (3)
The quality of clearcoat makes a big difference here. Use a good 2K clear and you won't have the chipping or hazing problems mentioned. You can get 2K in a rattle can now. Here is a good one:
http://www.ebay.com/itm/111298452665?_trksid=p2060778.m1438.l2649&ssPageName=STRK%3AMEBIDX%3AIT
I used a 2K clear on the headlights of my RSX and they look new over a year later. No chips, no hazing. In contrast, I used a cheap 1K duplicolor clear on my old 3000GT and the headlights started peeling in a couple months.
Trending Topics
#8
Staging Lane
If you use a automotive grade 2k clear 1000 or even 800 is too fine, you will not get good adhesion. I have done a lot of these and I always use 400 wet. That sounds too coarse, but the 2k will have no problem hiding the scratches.


