Paint & Body Work Custom Painting | Panel Repairs & Replacement

**** 4th gen Trans Am Ultimate Restoration ****

Thread Tools
 
Search this Thread
 
Old 01-13-2016, 12:41 AM
  #21  
Launching!
Thread Starter
 
96famaro's Avatar
 
Join Date: Mar 2009
Location: Weatherford Tx 76085 corner of N. Hwy 51 and 150 Green branch Rd.
Posts: 274
Likes: 0
Received 0 Likes on 0 Posts

Default


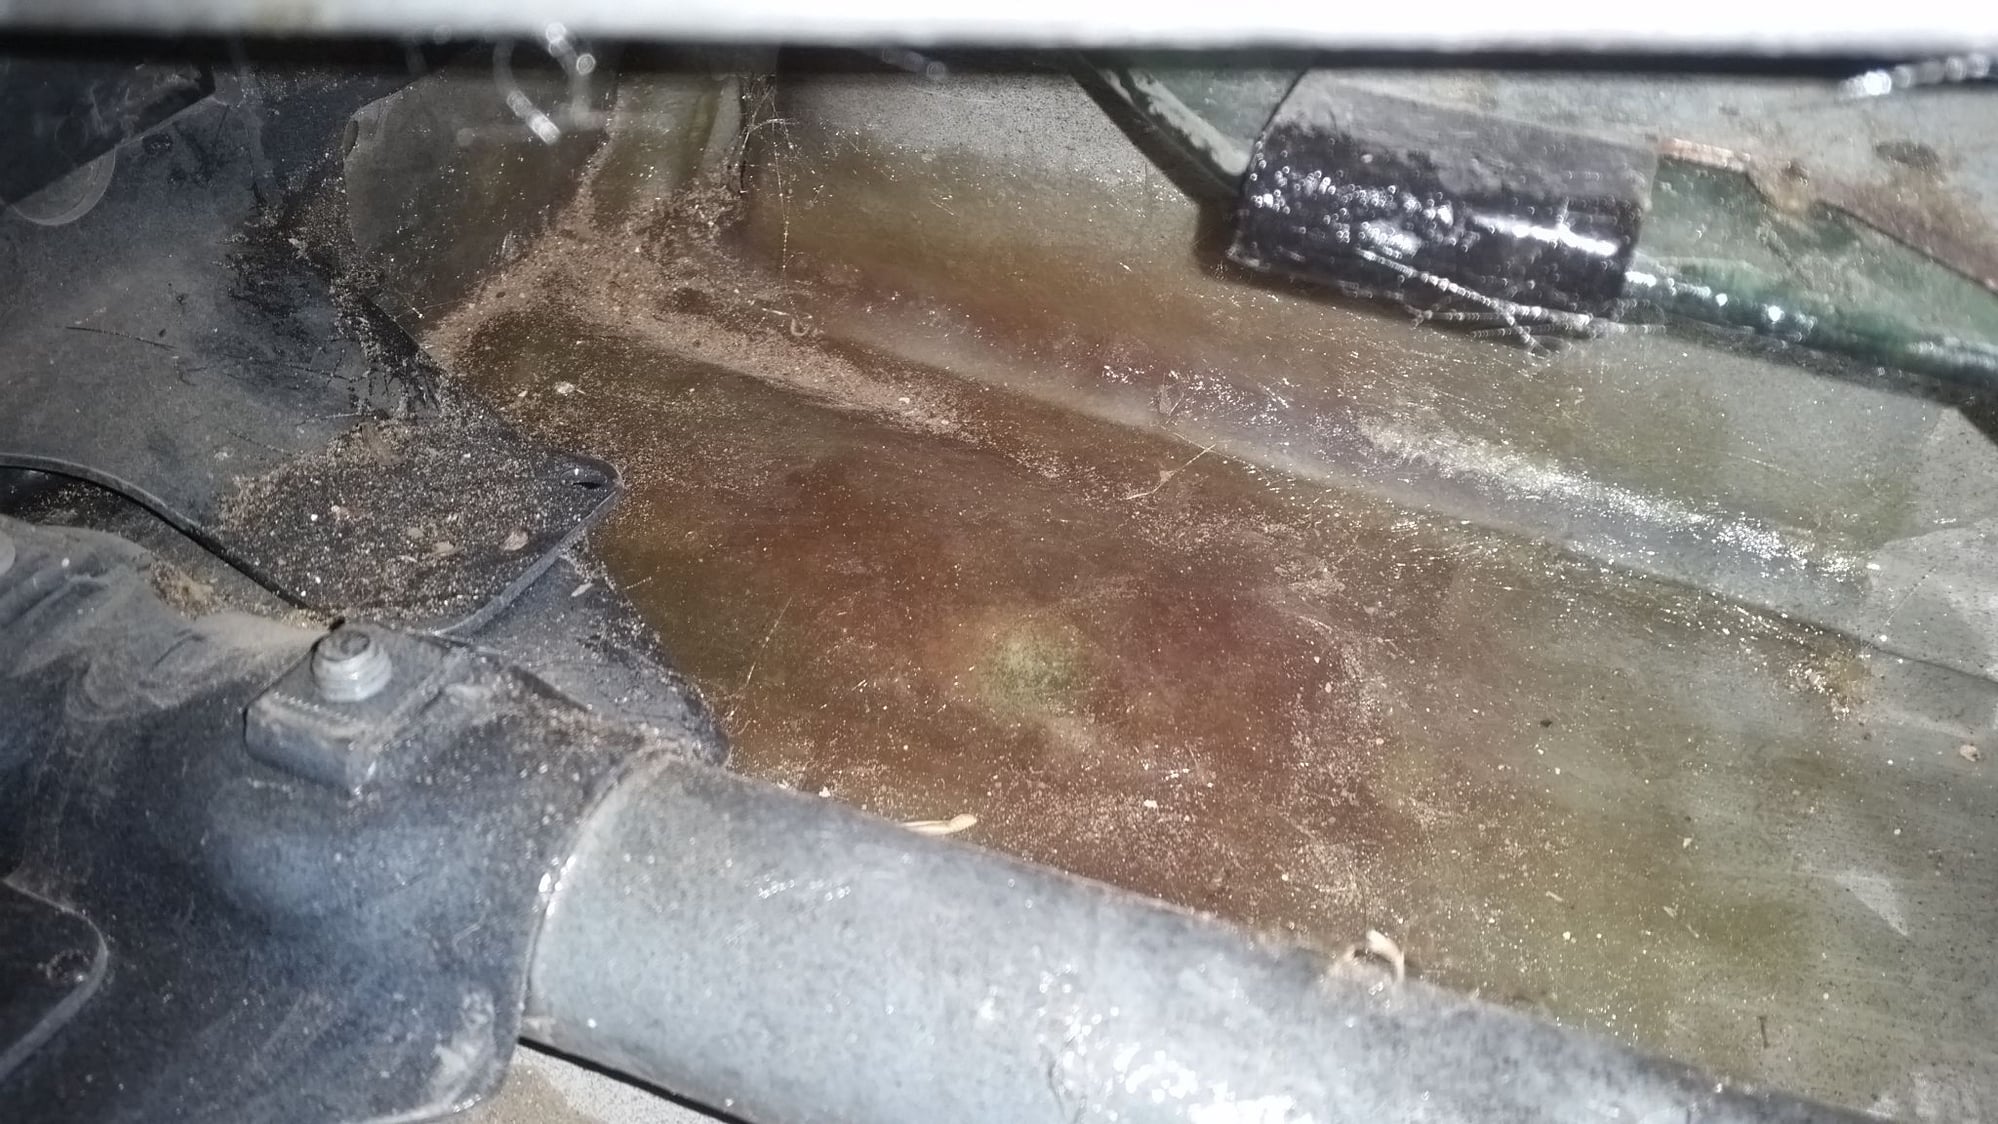
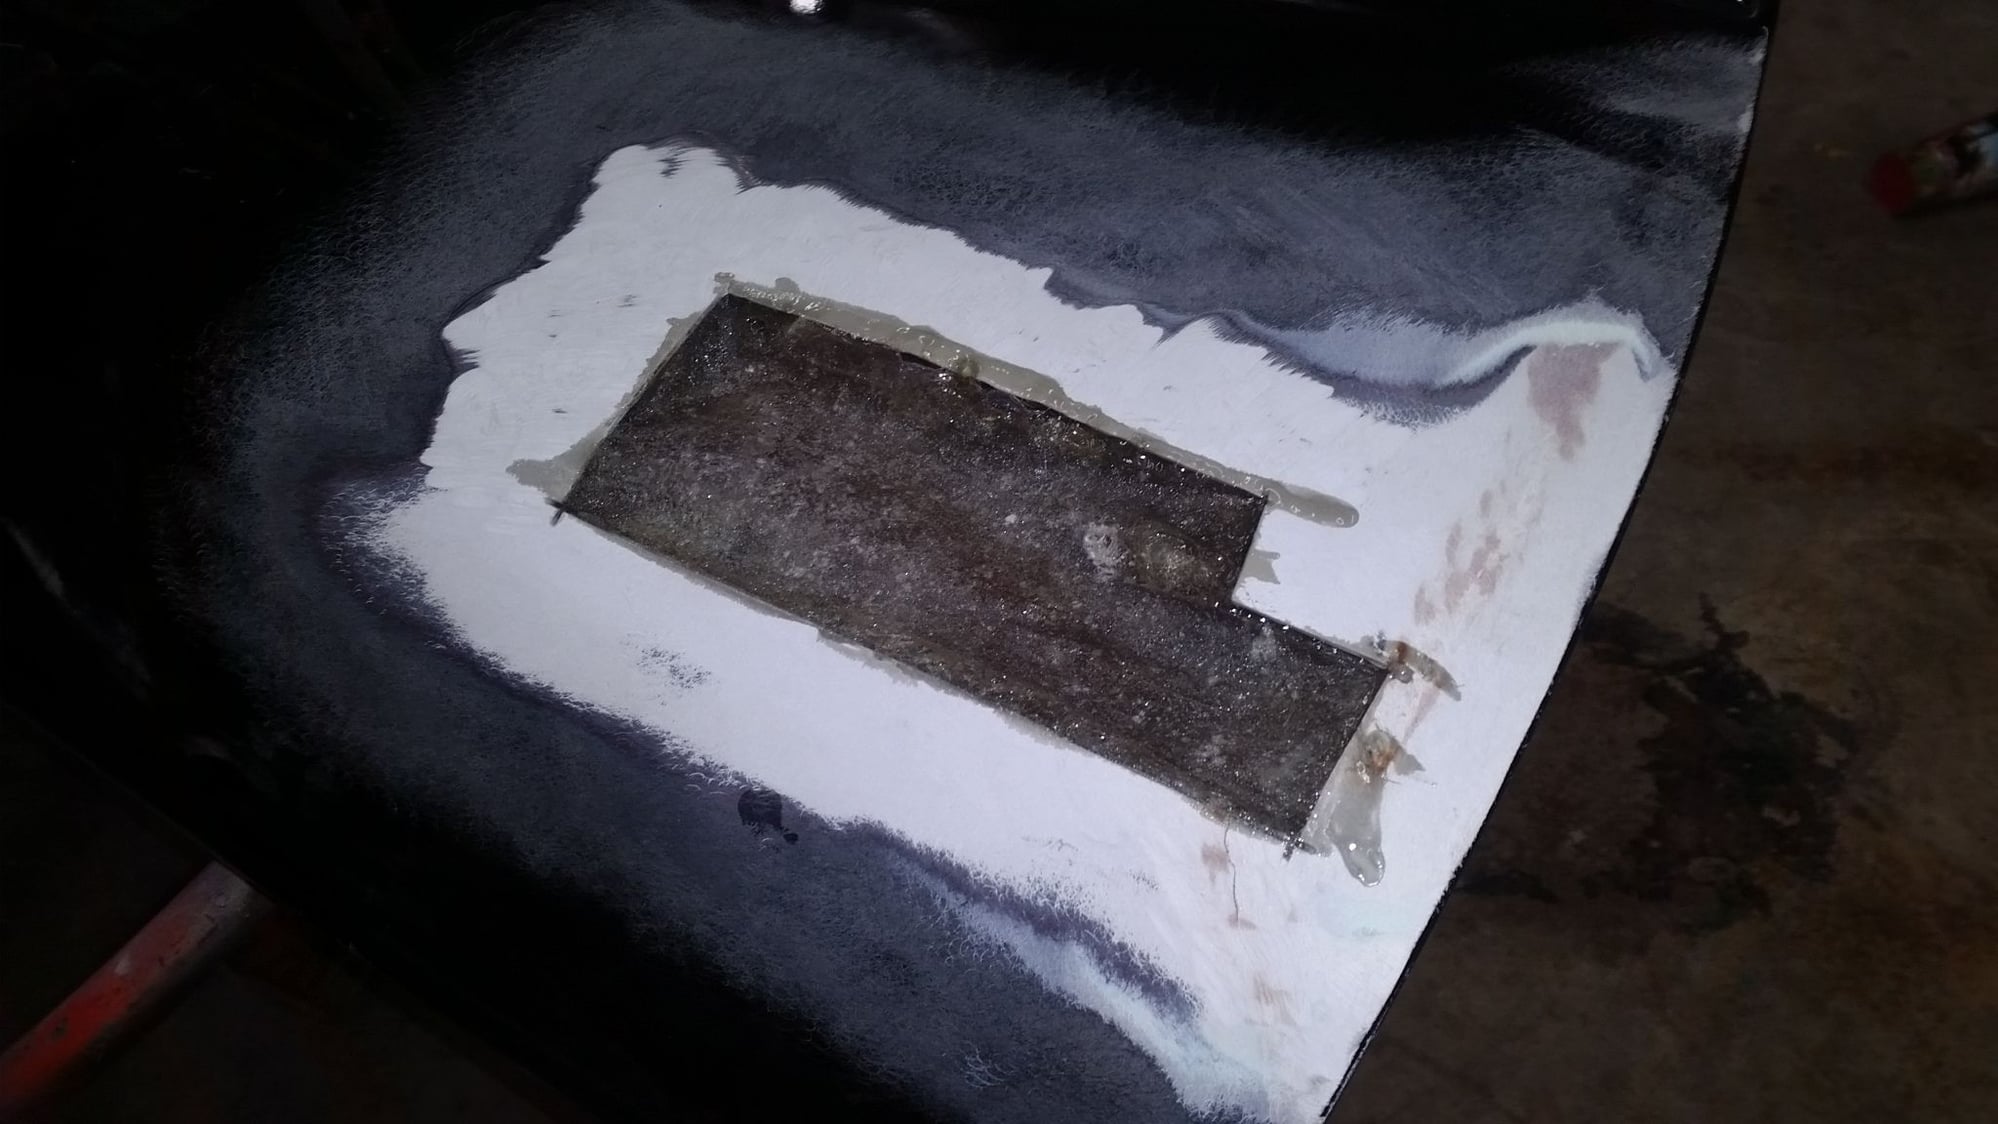
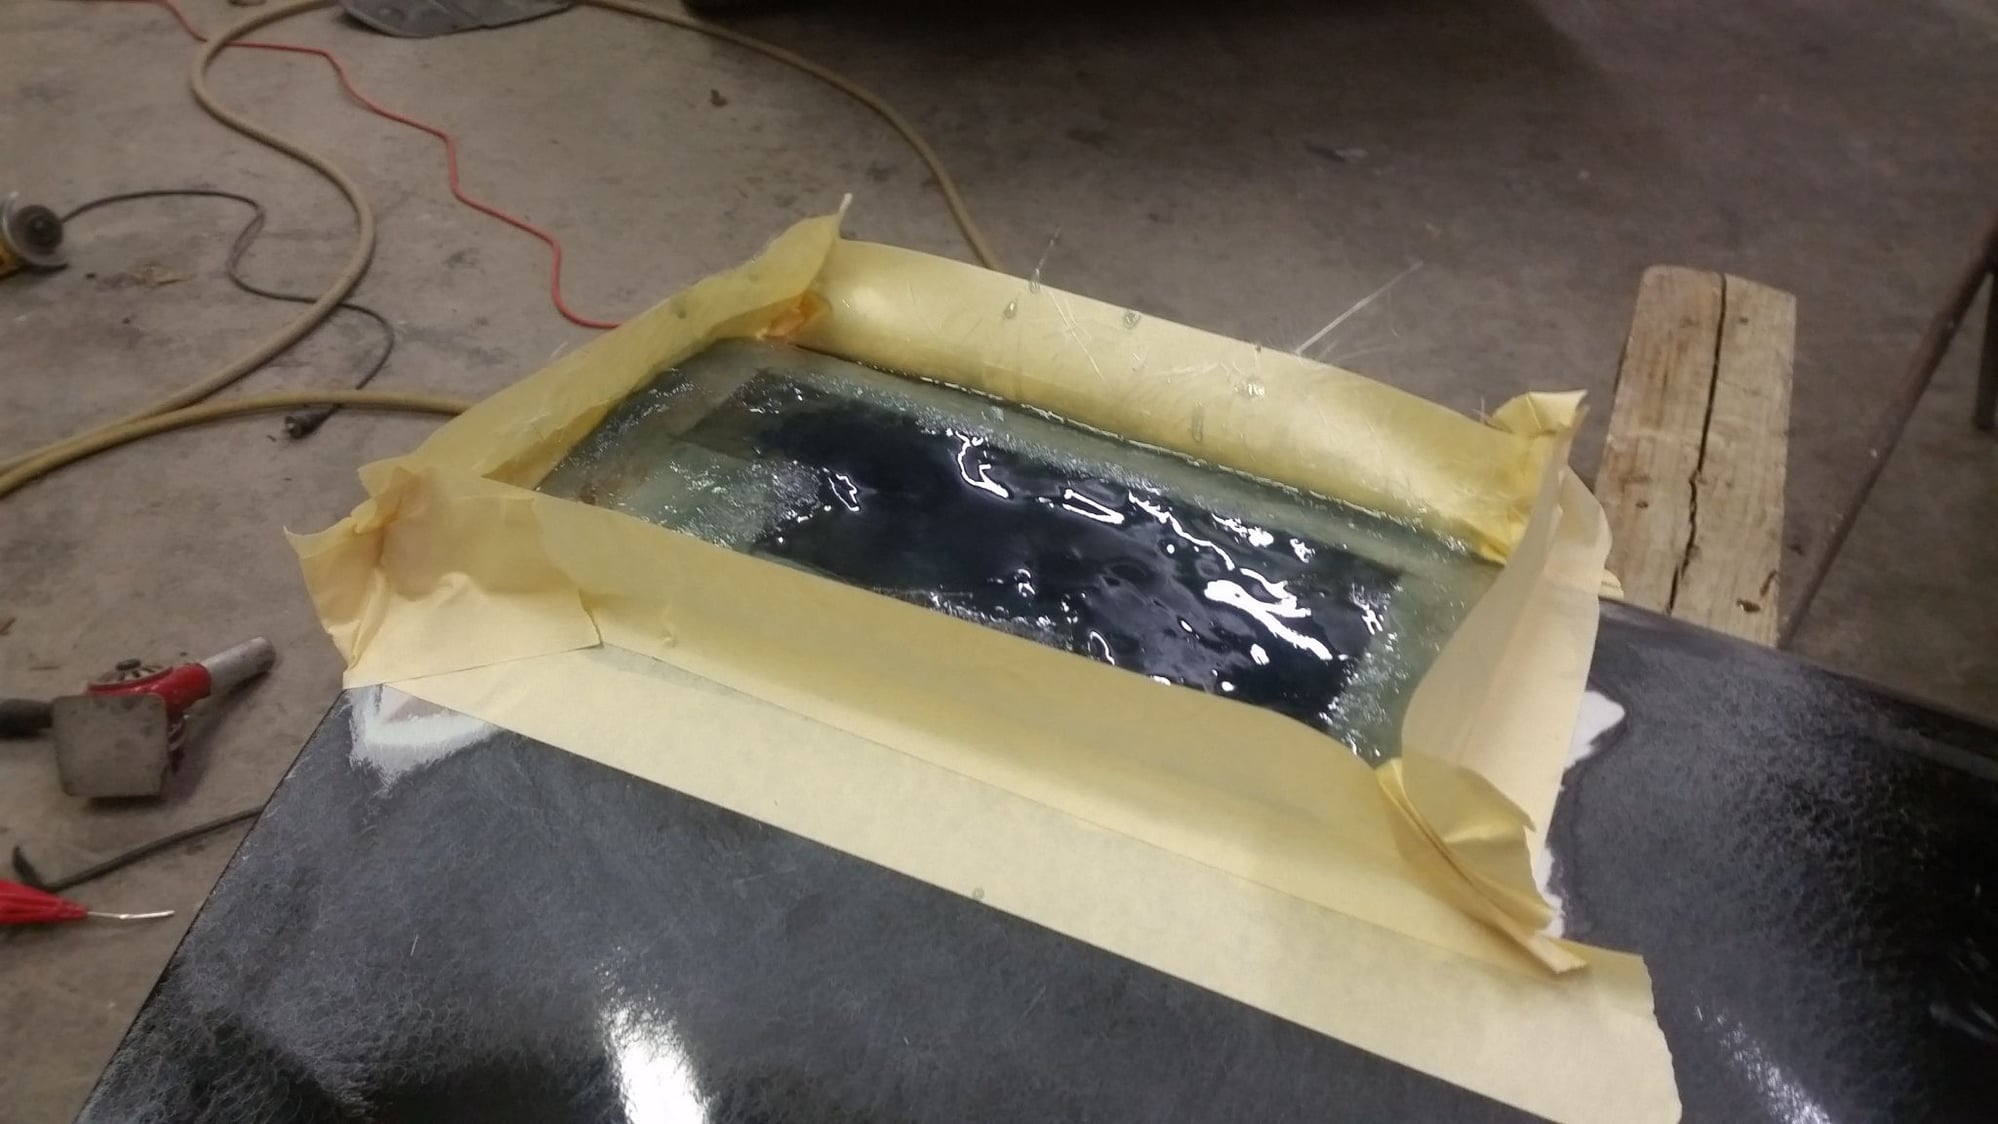
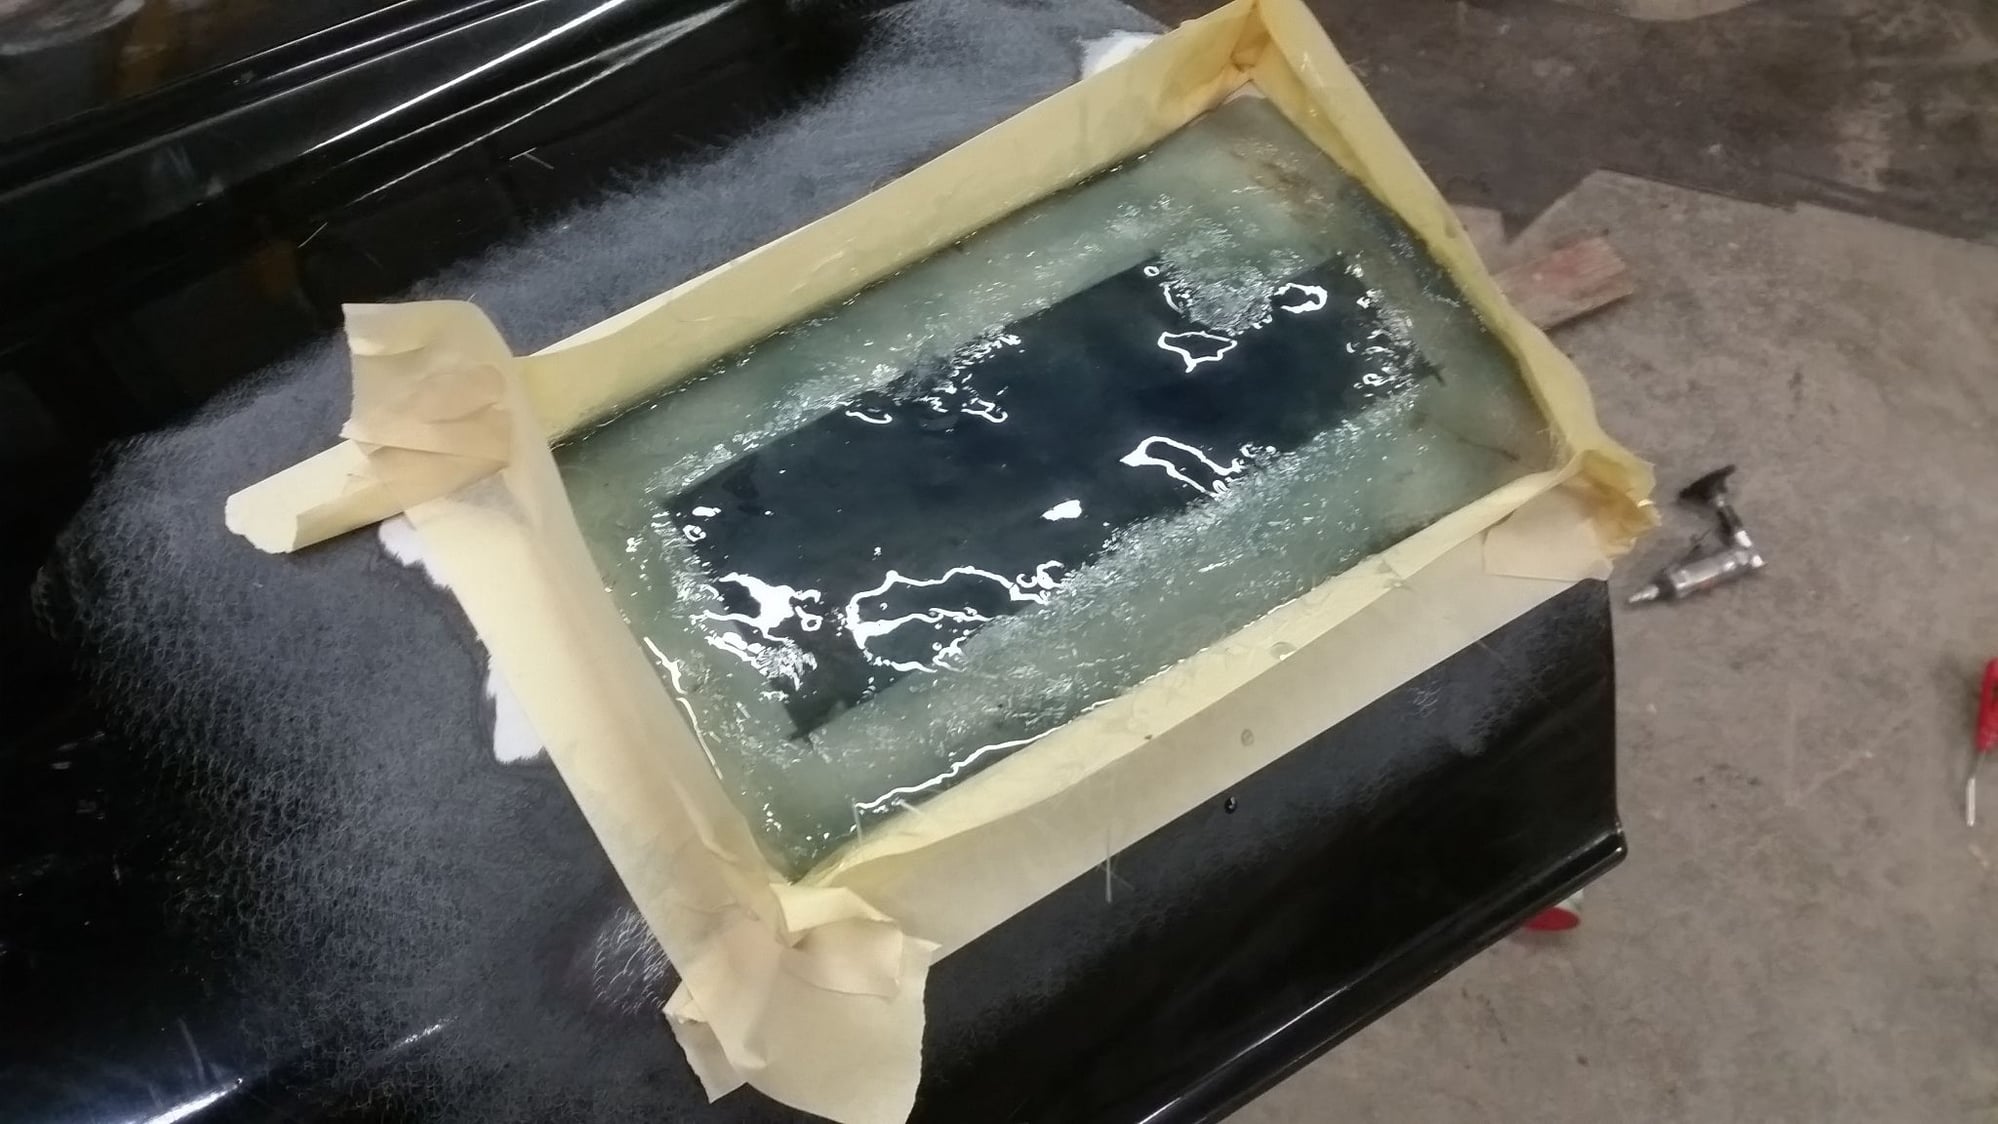
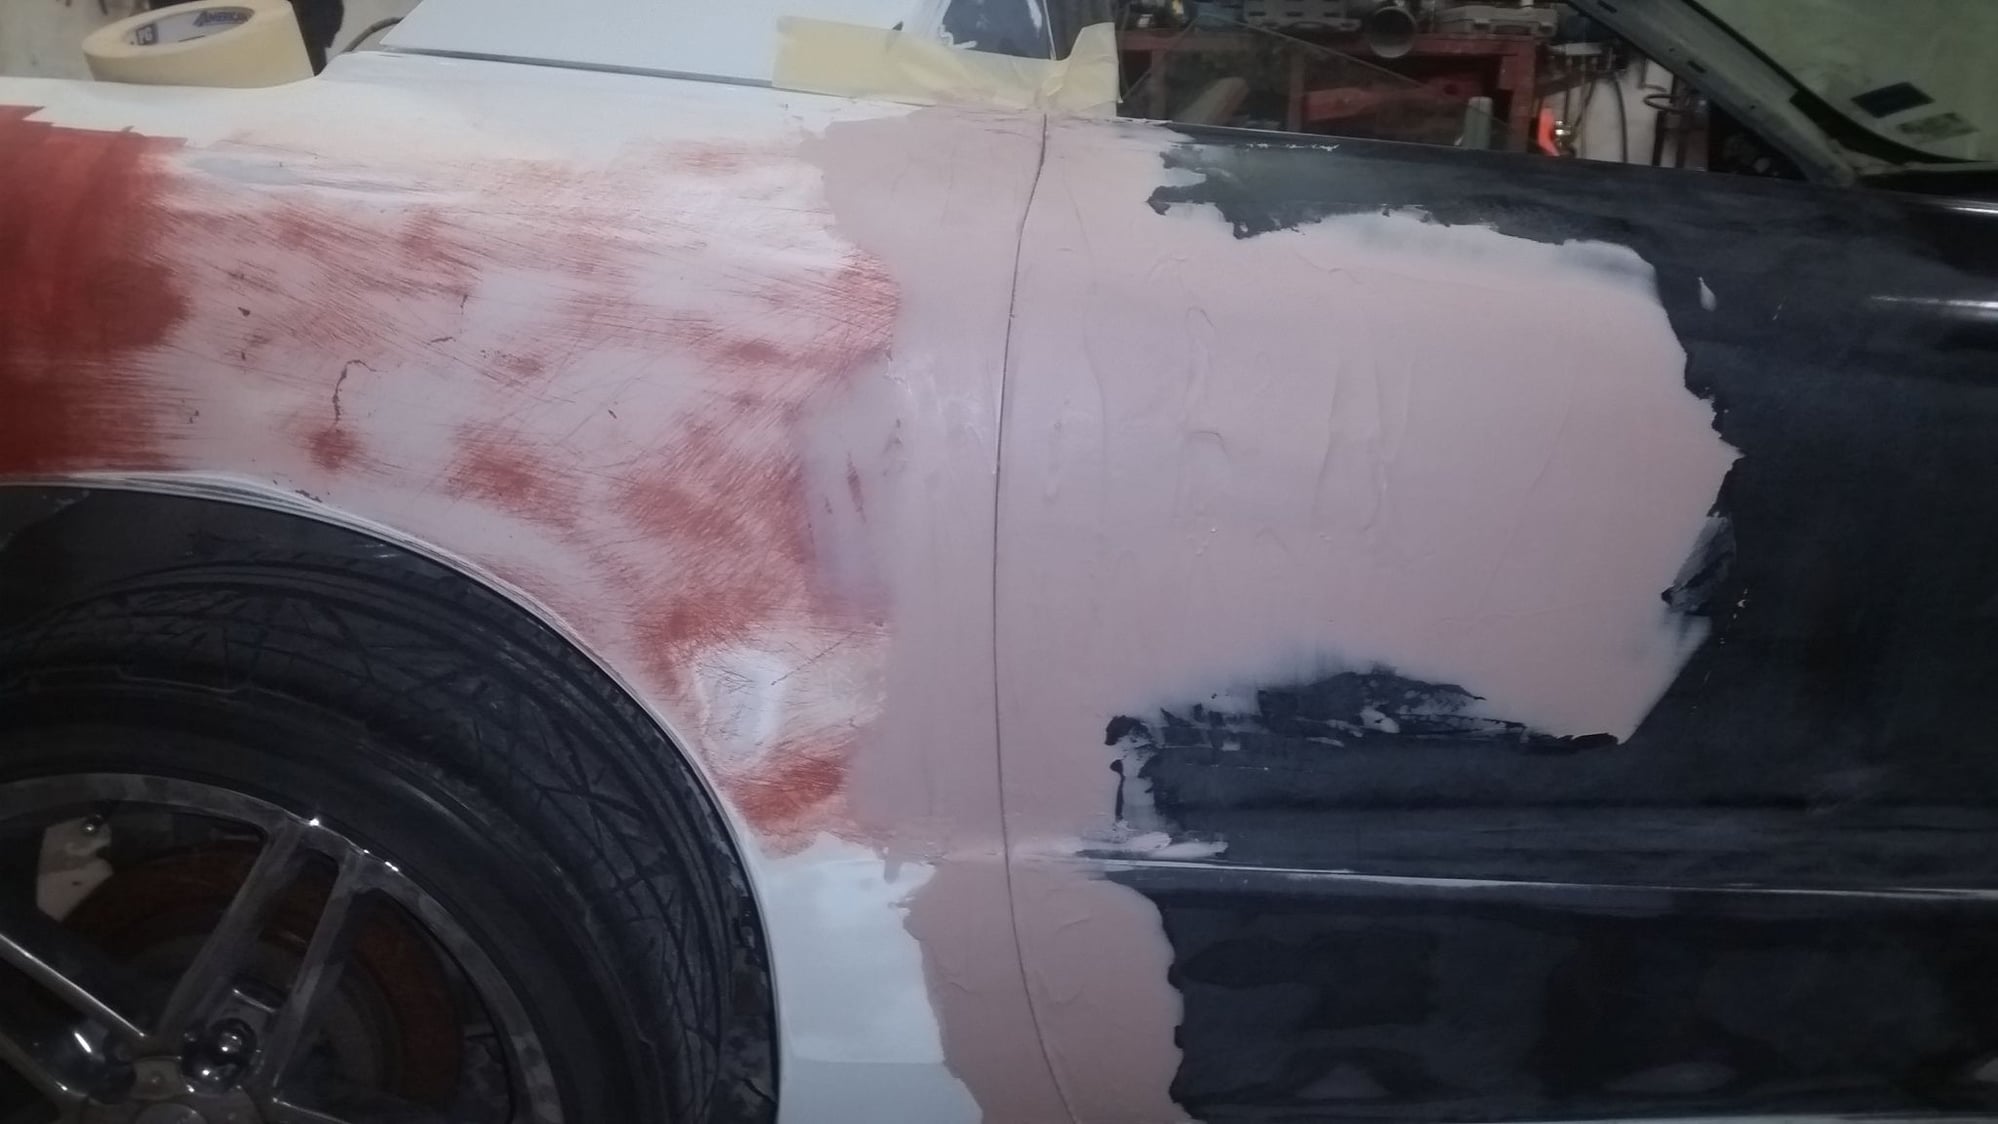
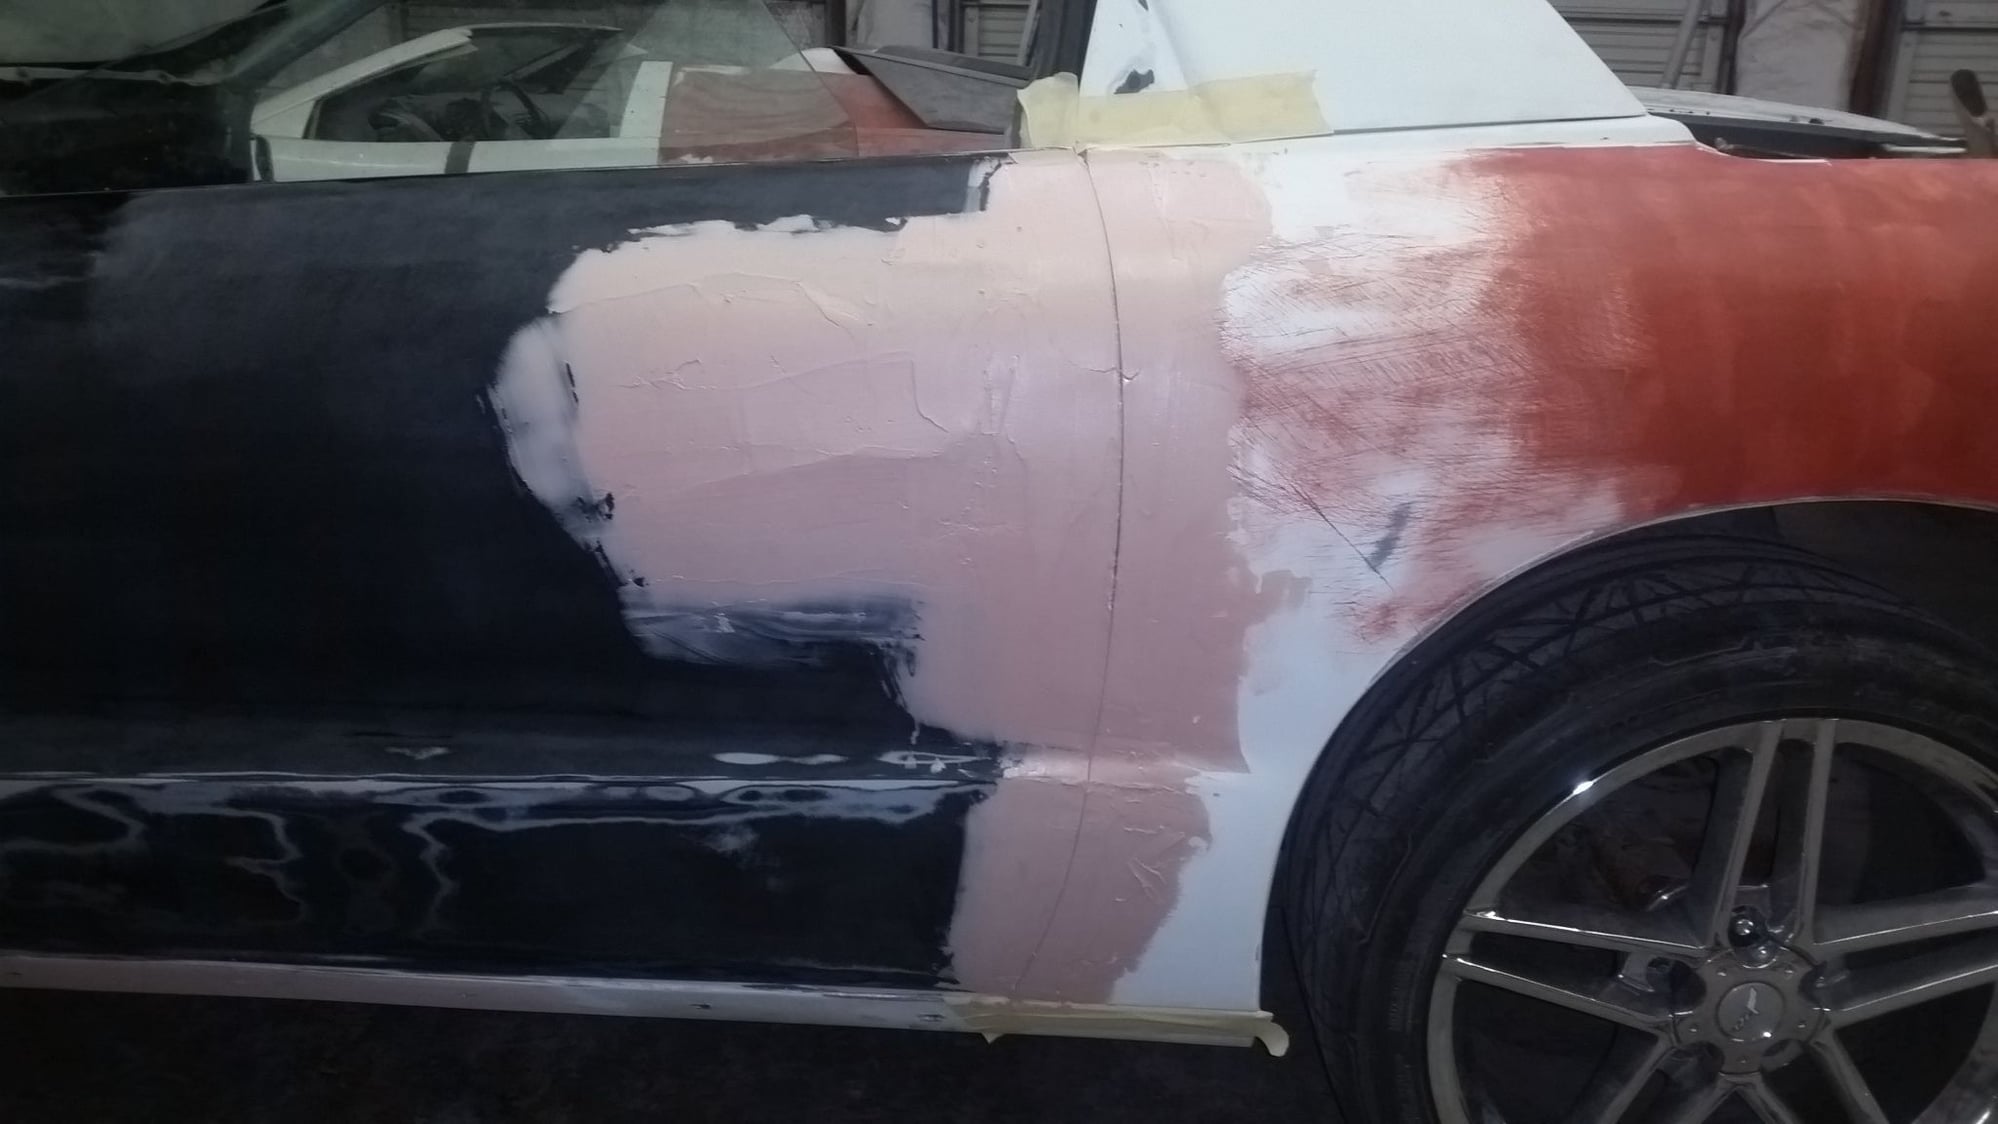
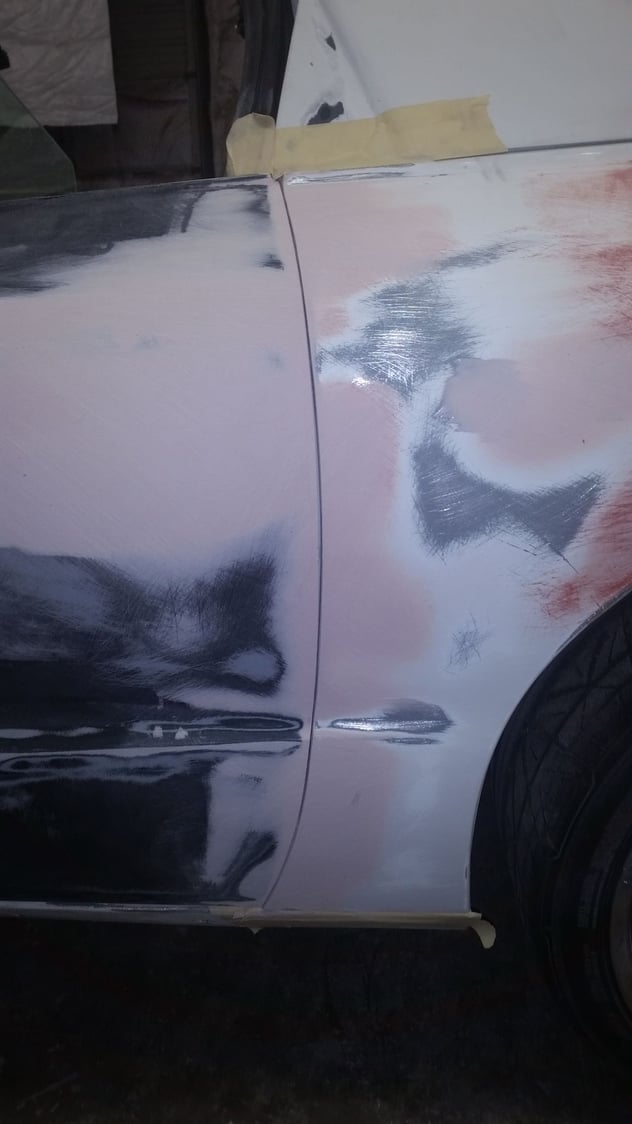
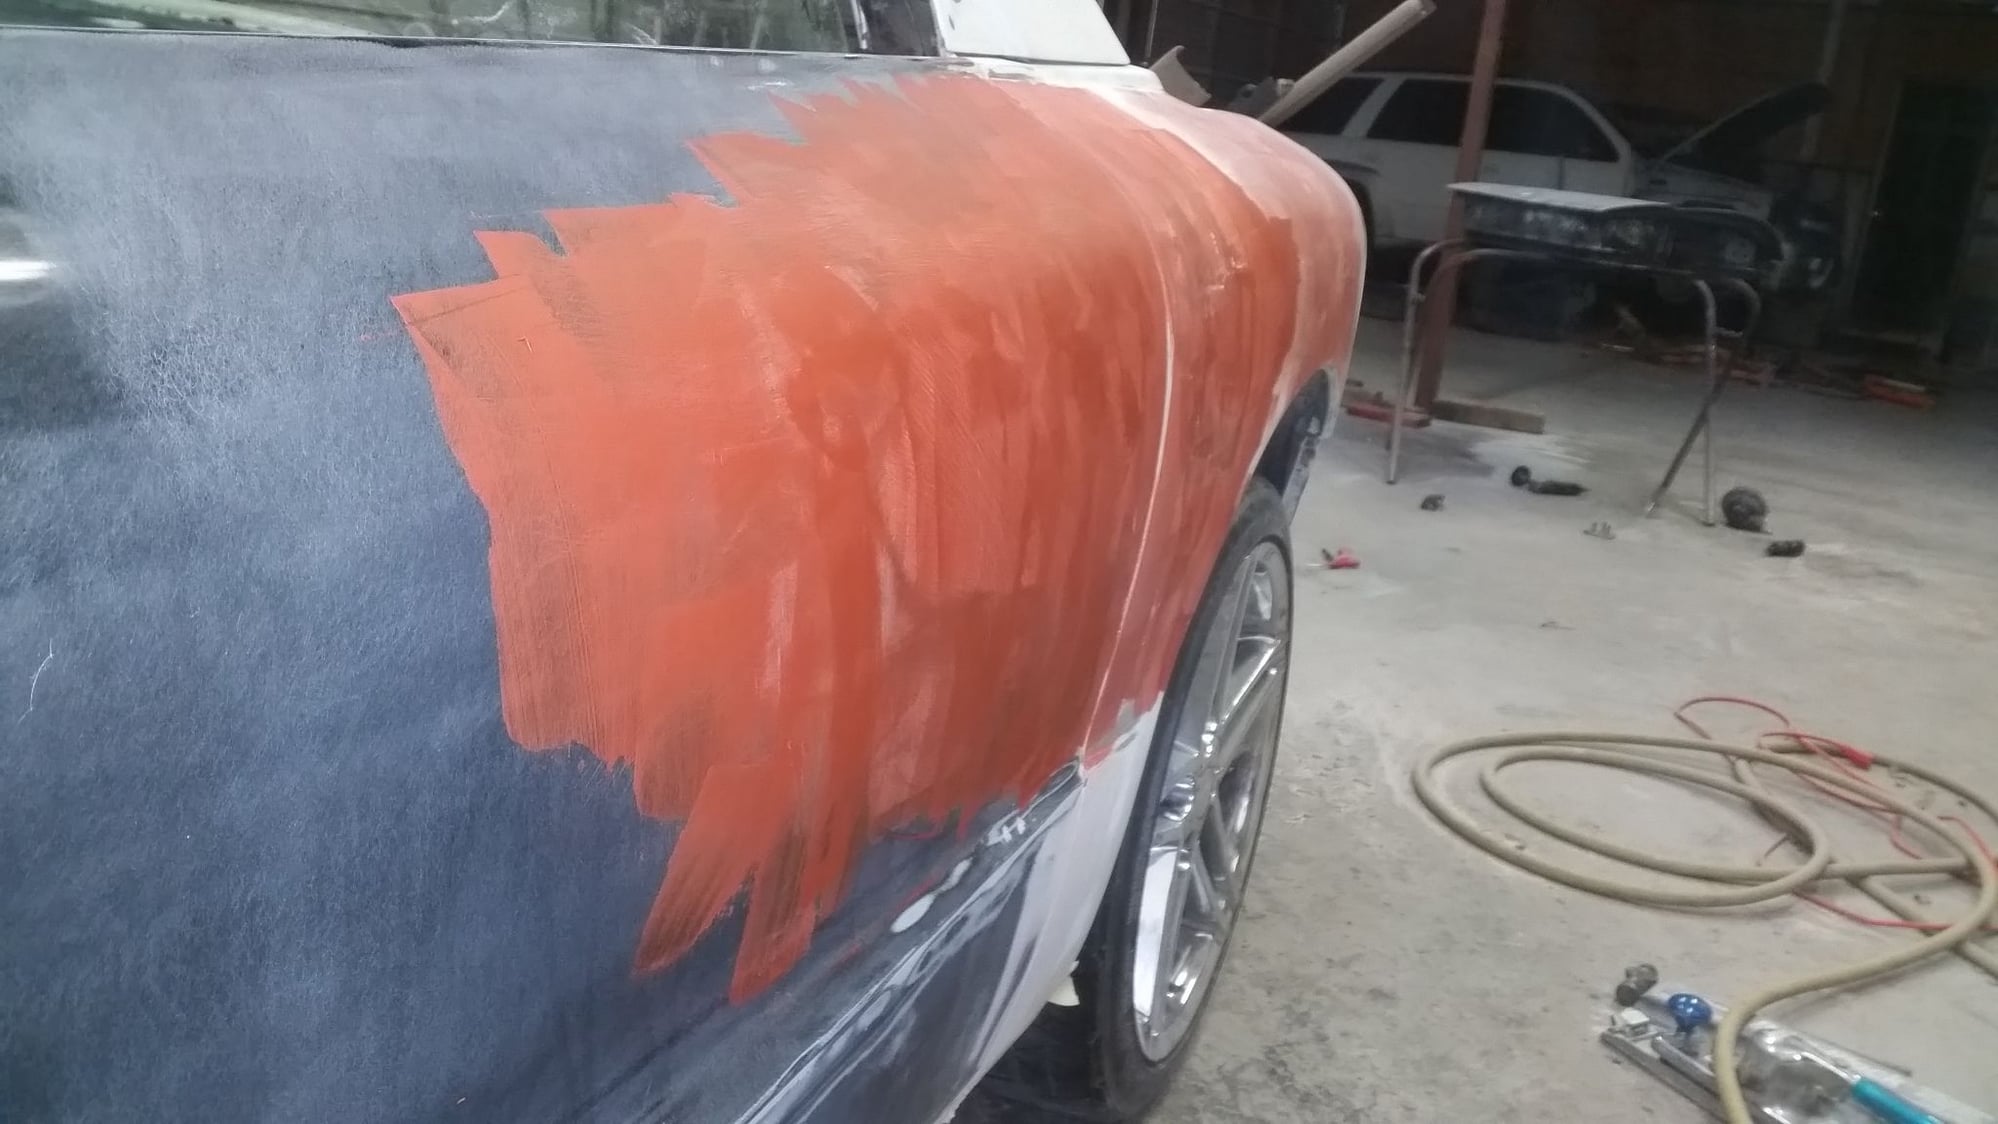
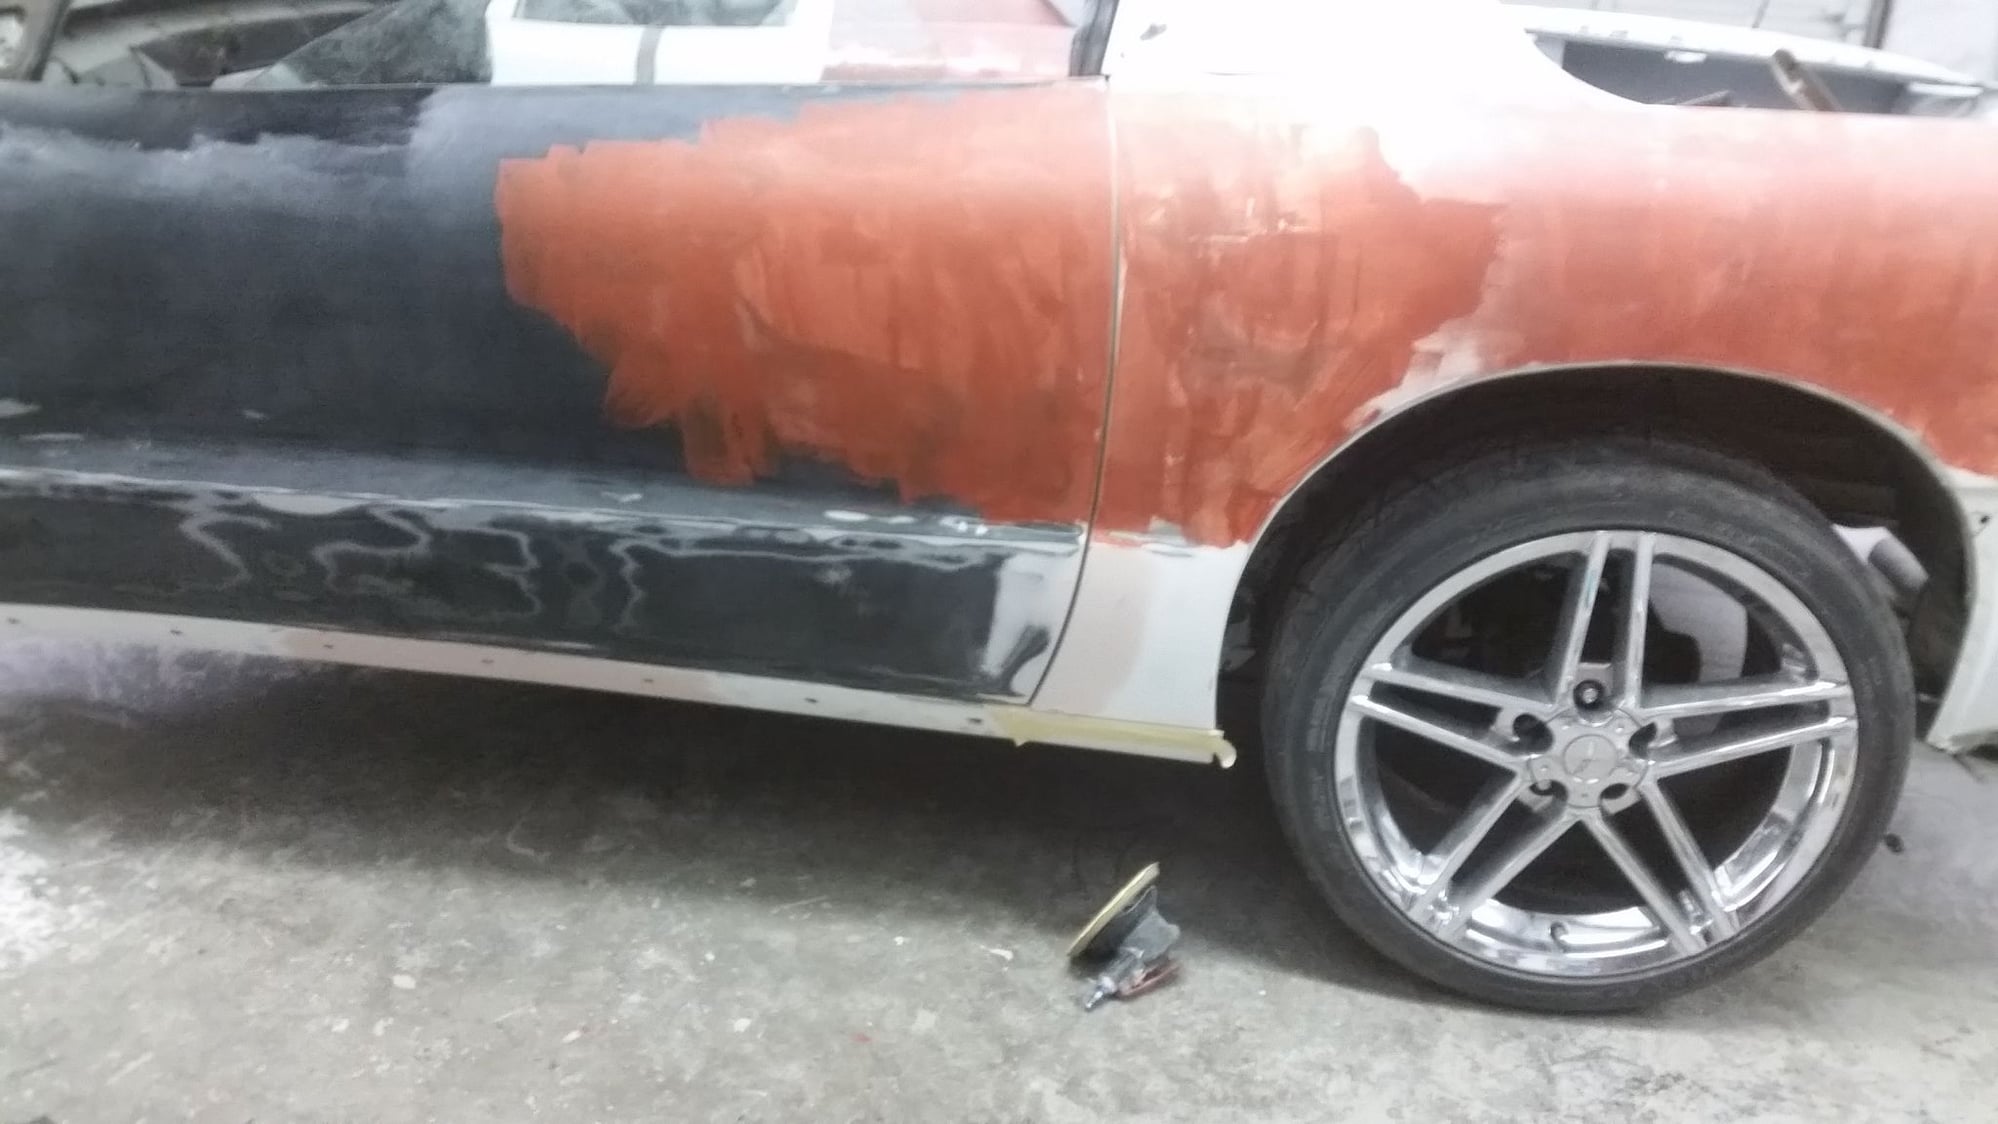
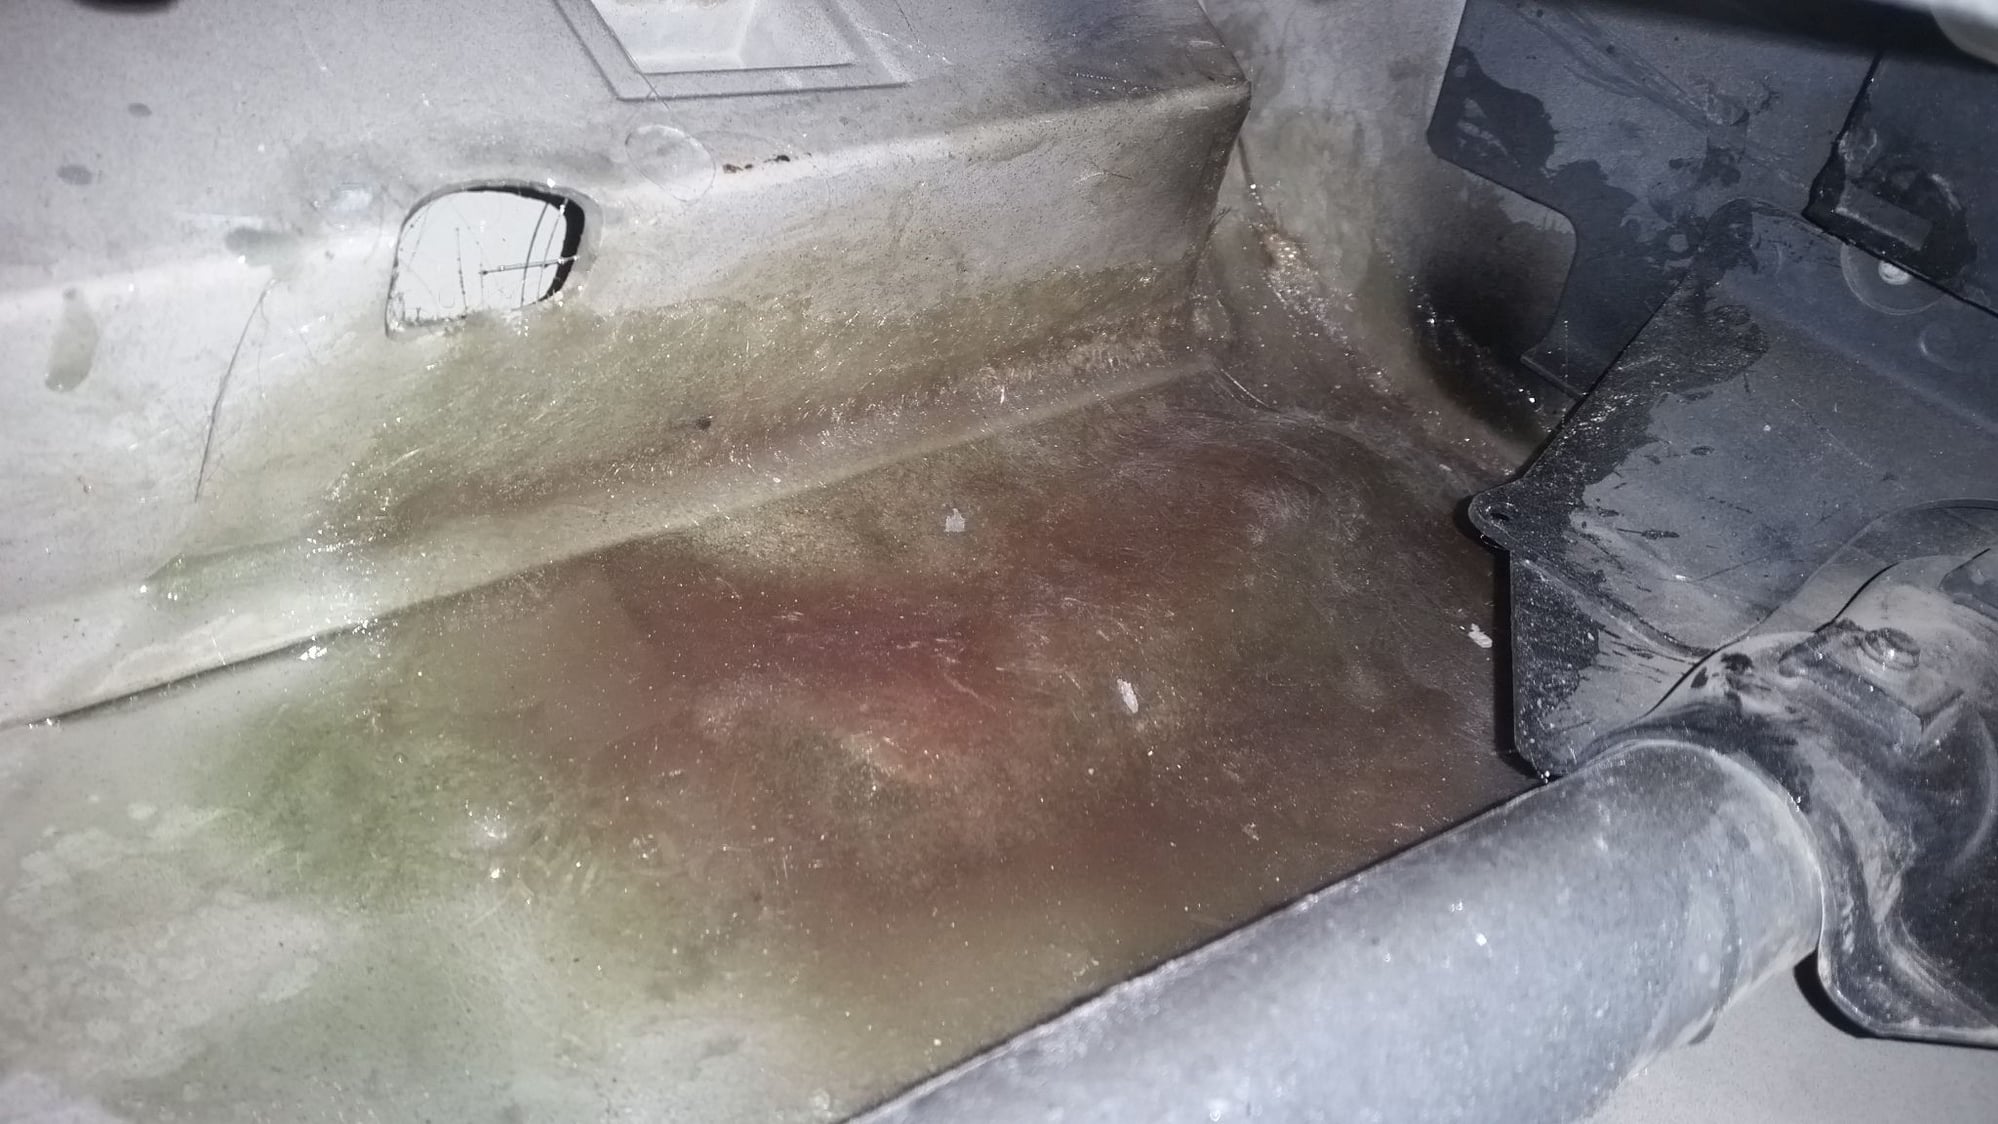
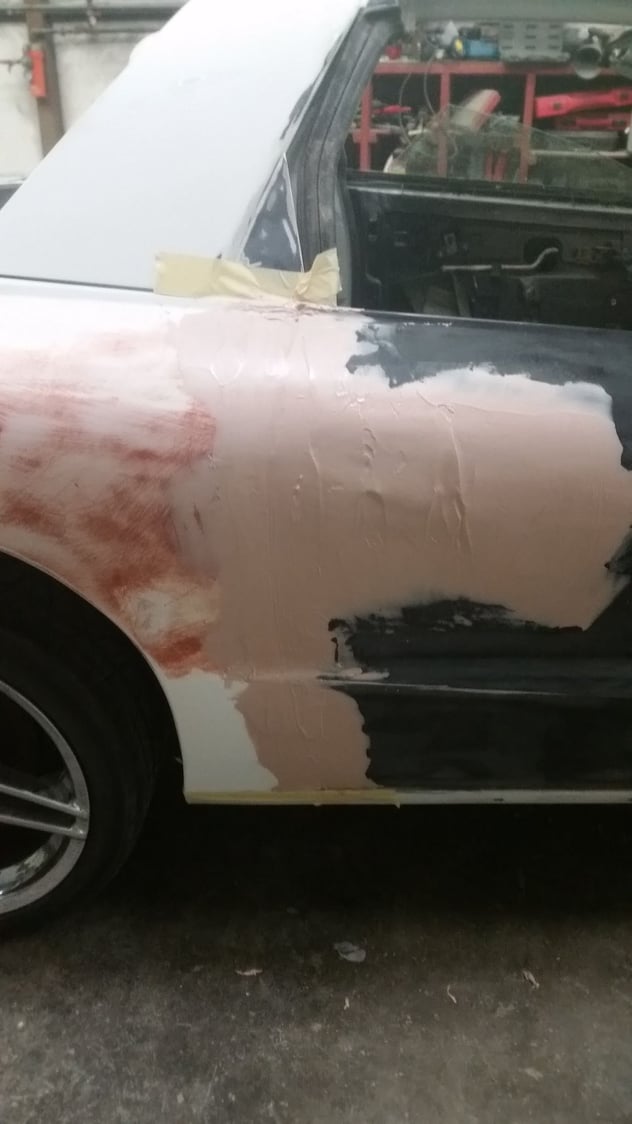
Inside of how both doors are fiberglass. Remember it's gotta be (SMC). When doing something like this don't ever lay it out conservative, you want this to last years down the road without coming back to messing with it. Do it right the first time! Oh little tip here is since it's really cramped around that area I like using a long funnel and pour resin and then use brush to dab it in the mat.


This is dried up. That's just dirt from inside the door.


Can't tell from the pics but I like to leave it with a dip so I can pack it with matting and resin, rather than leaving it with just a thin layer when it comes to sanding it down. When it dries up, it will be super solid around that whole area.
Old 01-14-2016, 01:02 PM
  #22  
Launching!
Thread Starter
 
96famaro's Avatar
 
Join Date: Mar 2009
Location: Weatherford Tx 76085 corner of N. Hwy 51 and 150 Green branch Rd.
Posts: 274
Likes: 0
Received 0 Likes on 0 Posts
Default


Old 01-15-2016, 07:28 PM
  #23  
TECH Enthusiast
iTrader: (9)
 
gm02ceta's Avatar
 
Join Date: Nov 2009
Location: The 3rd world of SFV,California
Posts: 533
Received 13 Likes on 8 Posts

Default

That's one serious project you've got going on. Since you're already into body mods, if it was me I'd also get rid of that hump that's located on the front passenger side floorboard next to the console.
Old 01-17-2016, 08:22 PM
  #24  
scj
TECH Addict
iTrader: (89)
 
scj's Avatar
 
Join Date: Feb 2008
Location: Magnolia, Texas
Posts: 2,021
Likes: 0
Received 23 Likes on 16 Posts

Default

Might as well get rid of the fuel filler door and put one of those push and release motorcycle ones.
Old 01-17-2016, 09:57 PM
  #25  
Launching!
Thread Starter
 
96famaro's Avatar
 
Join Date: Mar 2009
Location: Weatherford Tx 76085 corner of N. Hwy 51 and 150 Green branch Rd.
Posts: 274
Likes: 0
Received 0 Likes on 0 Posts

Default


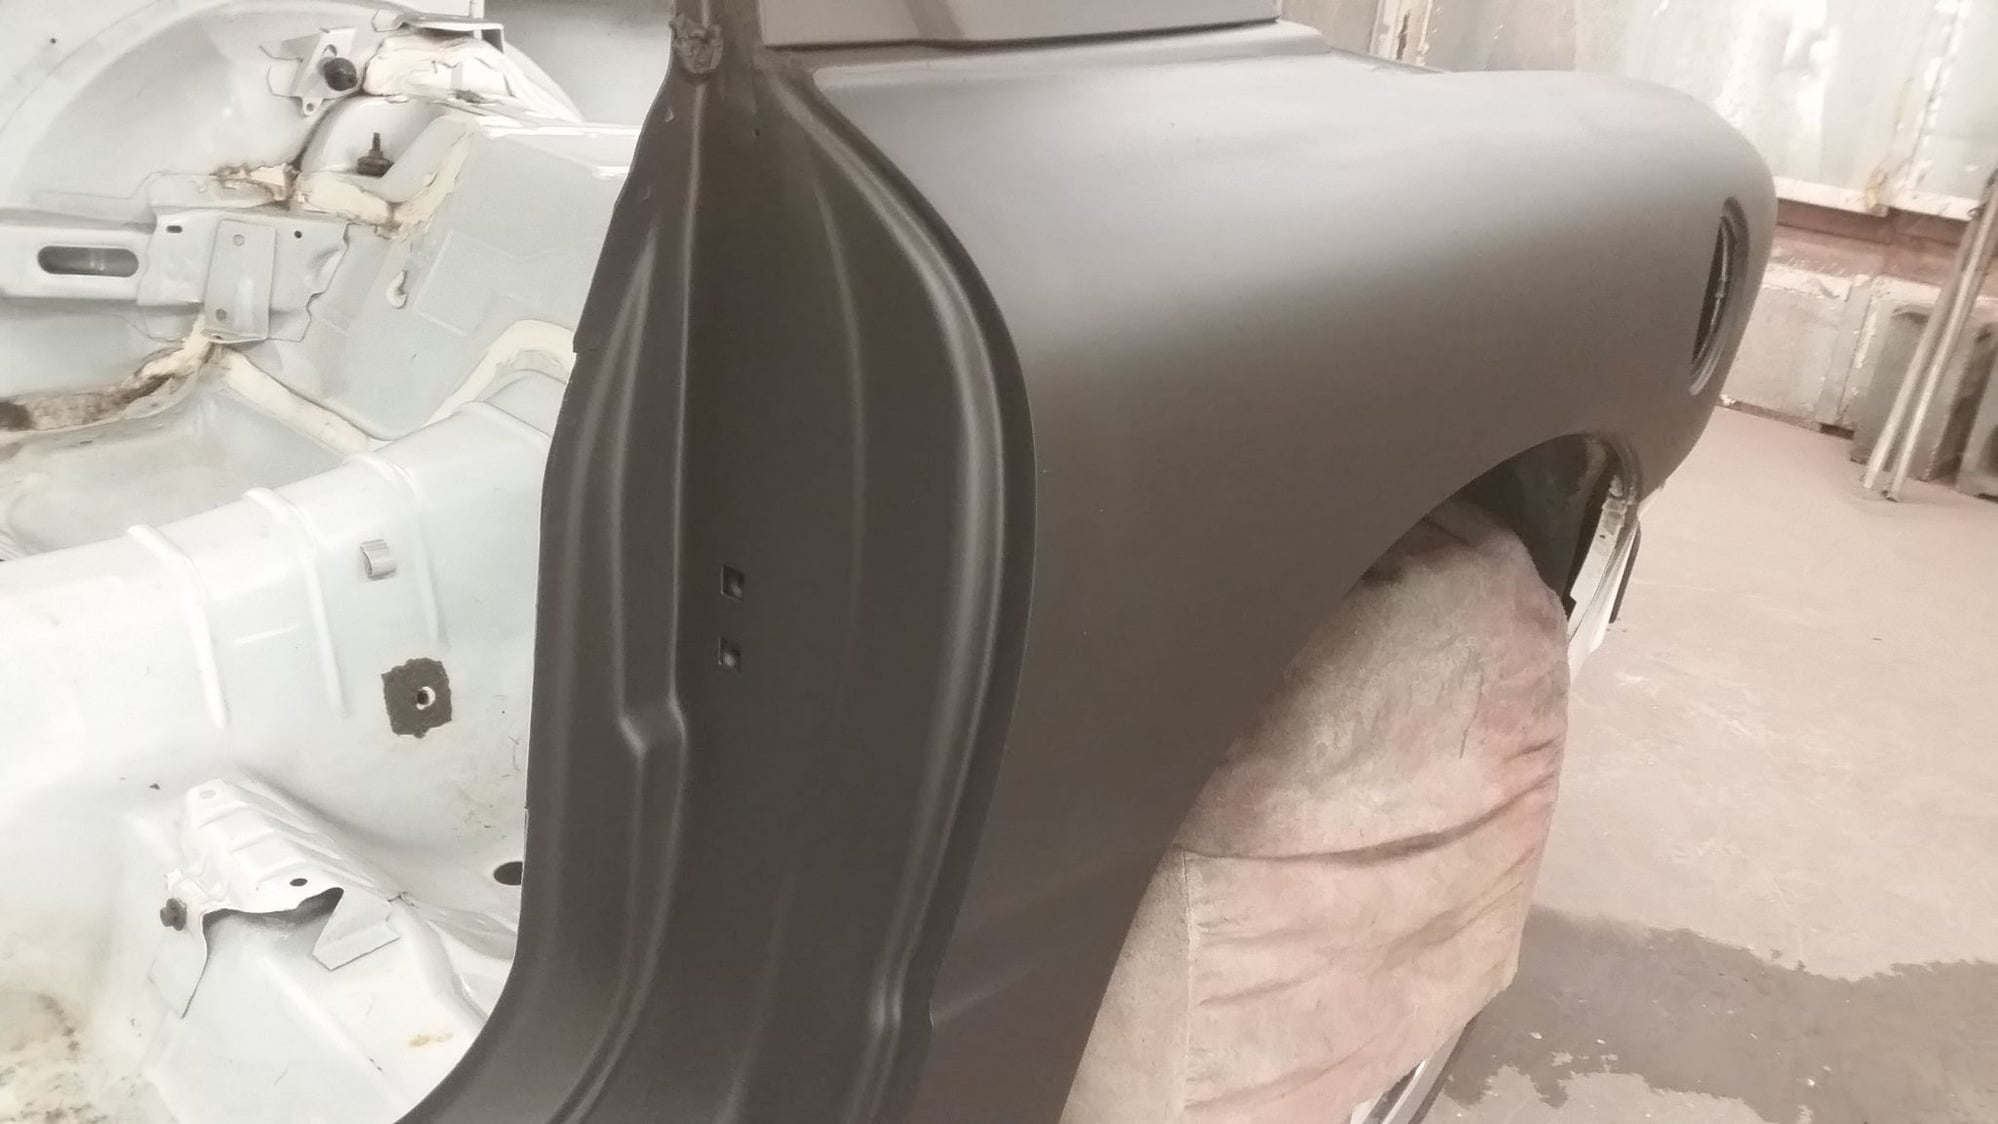
RH side.


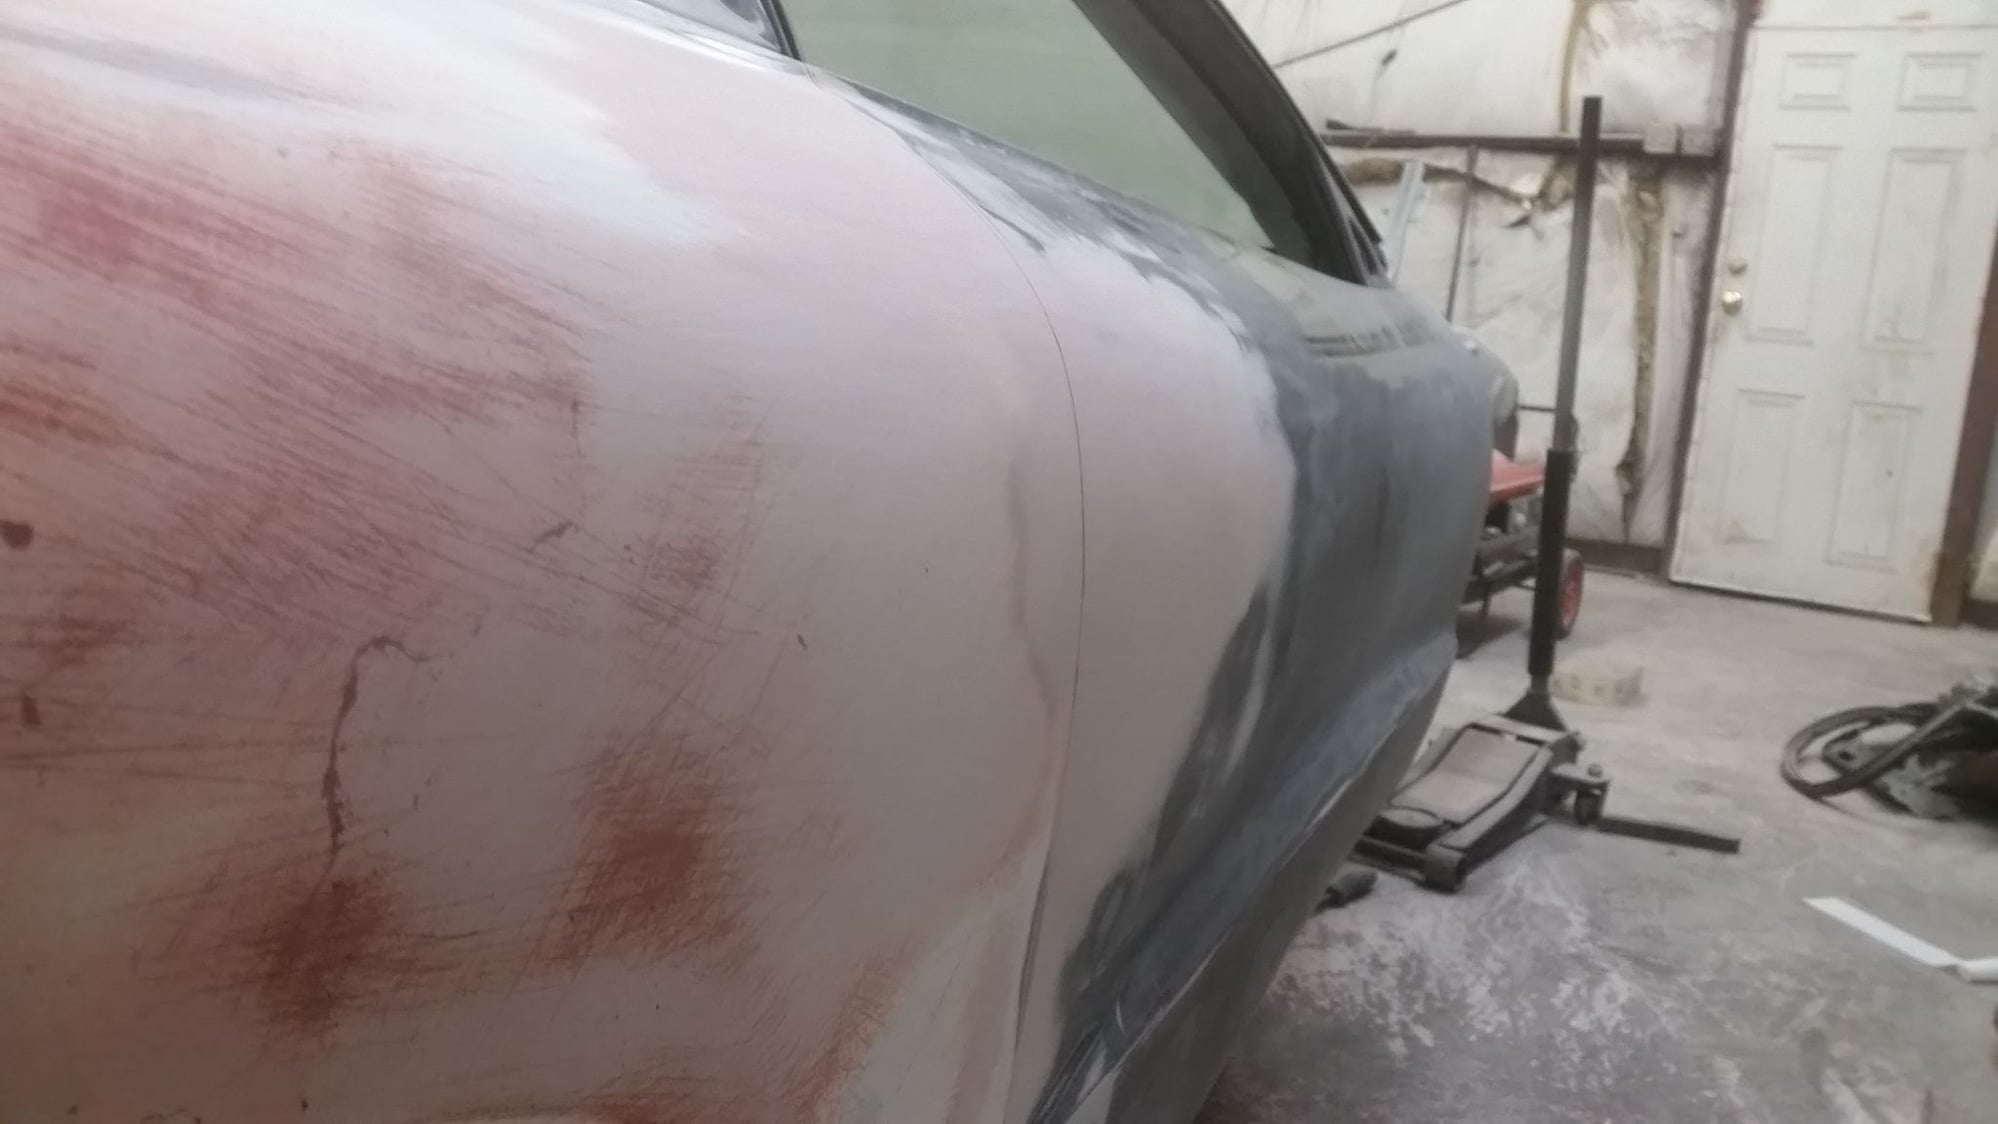
Straight as an arrow.


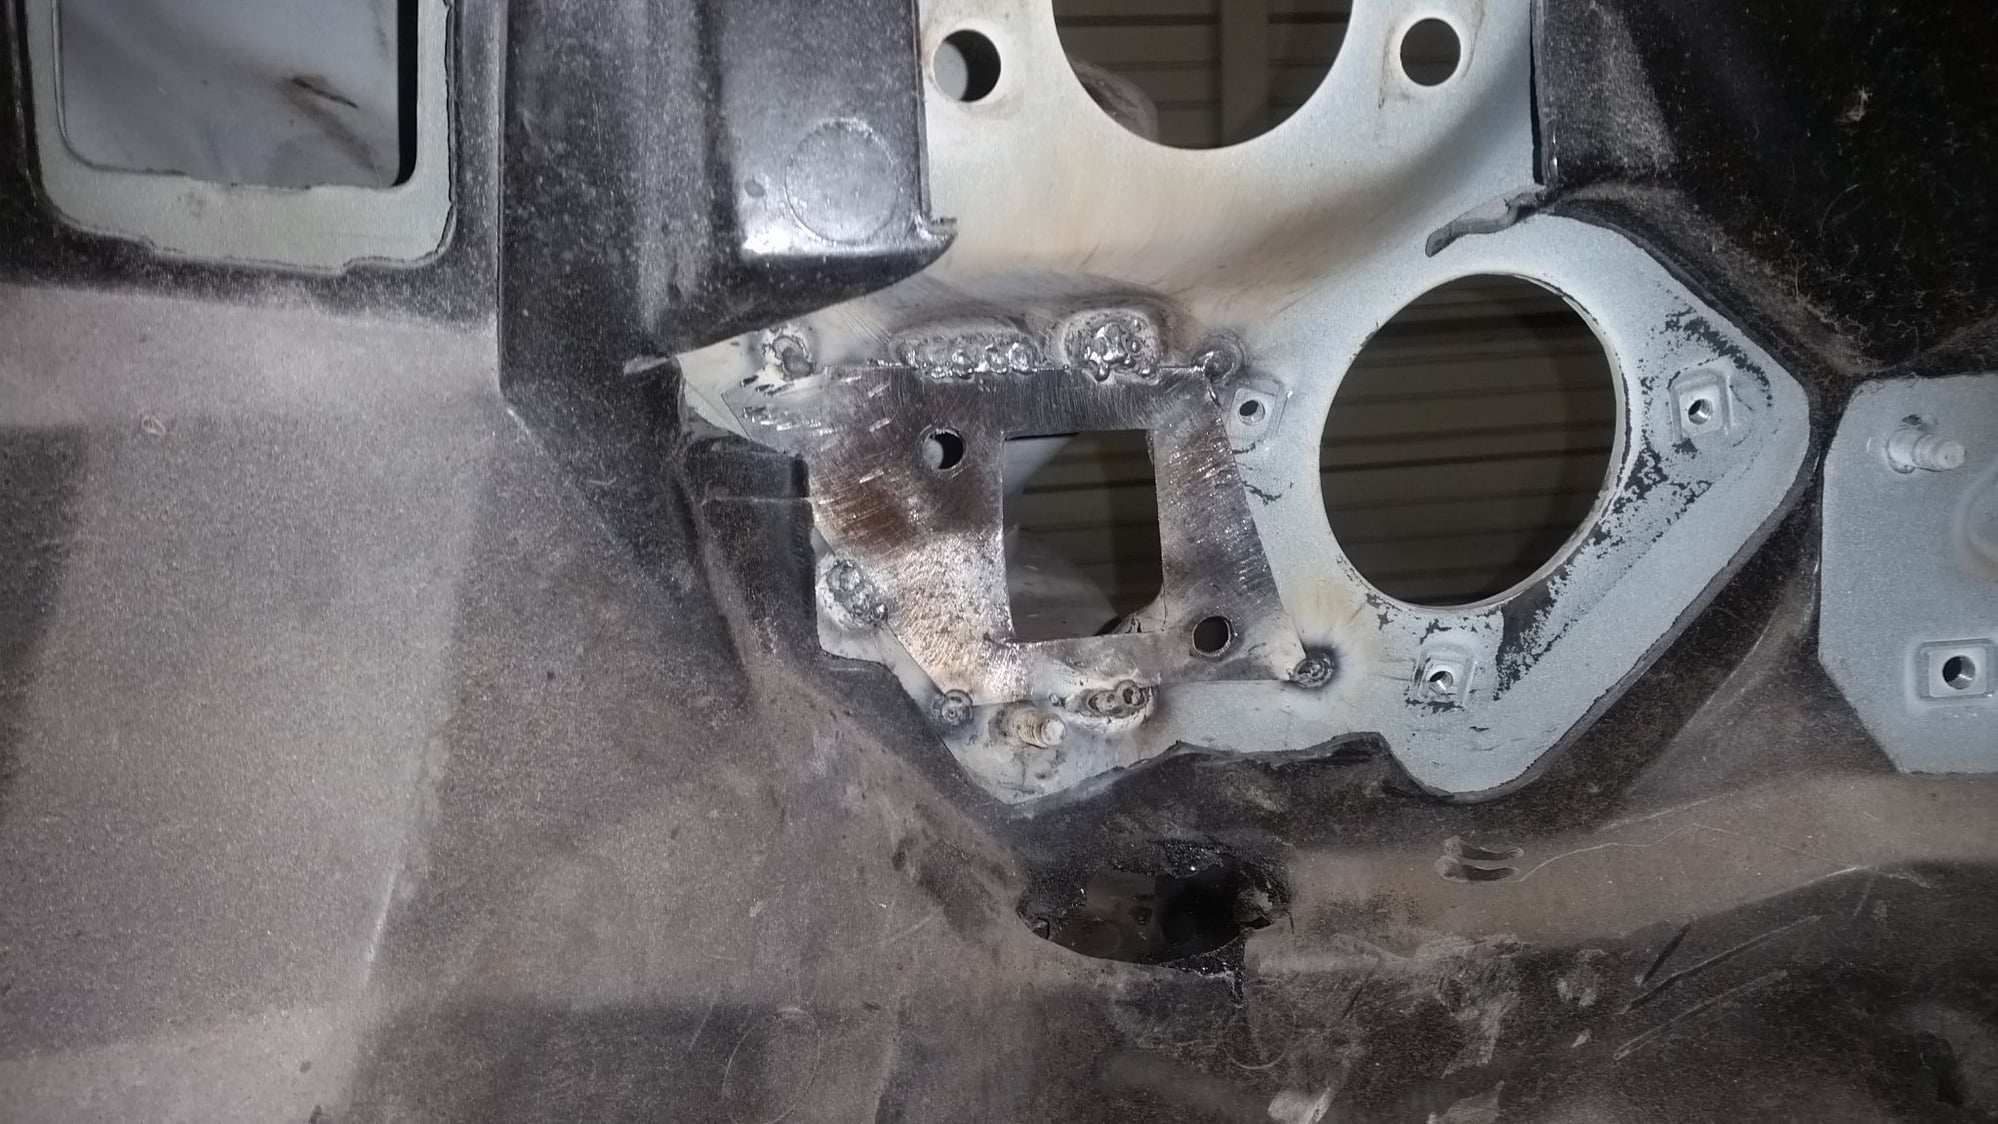
Last minute deal. I welded a metal plate. Apparently this area is weak and can tear later on.


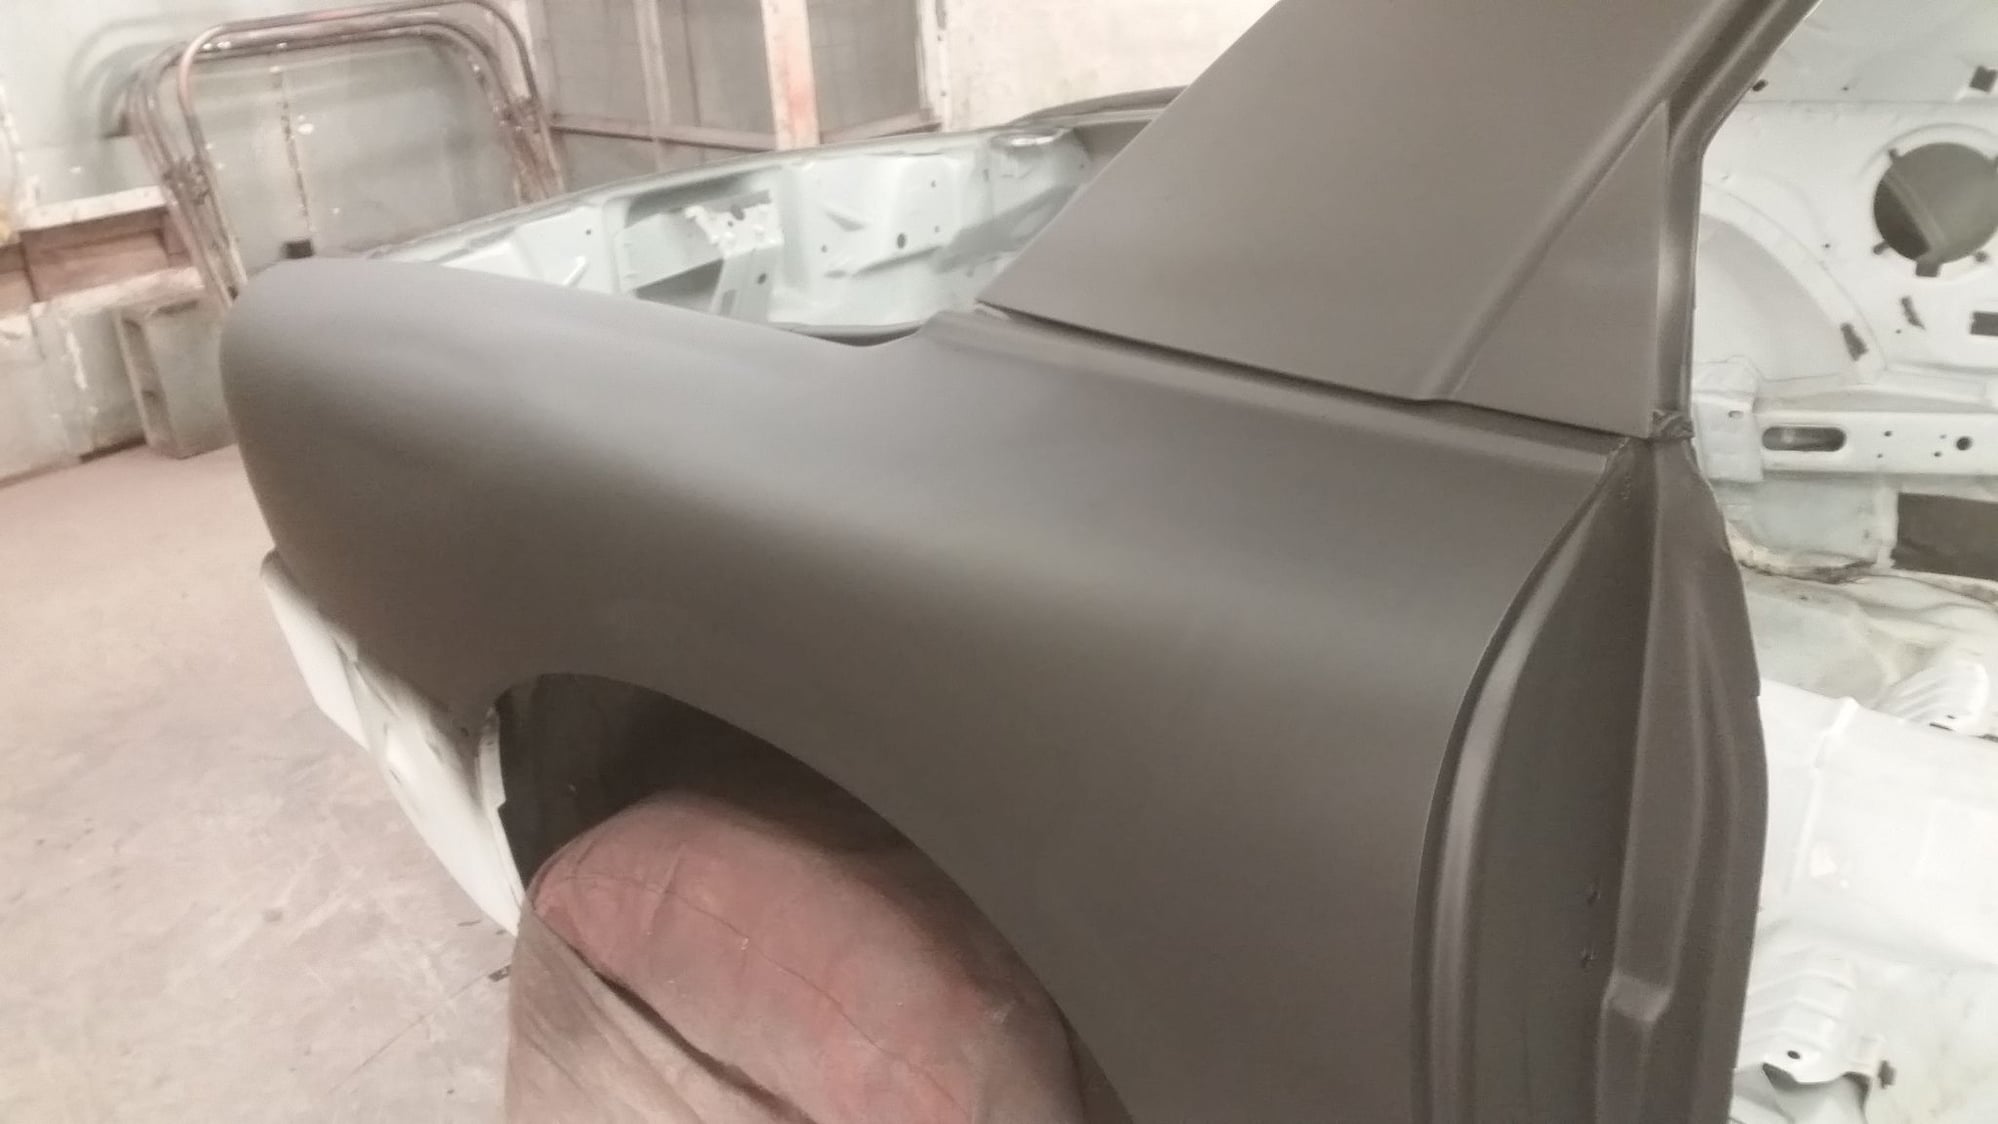
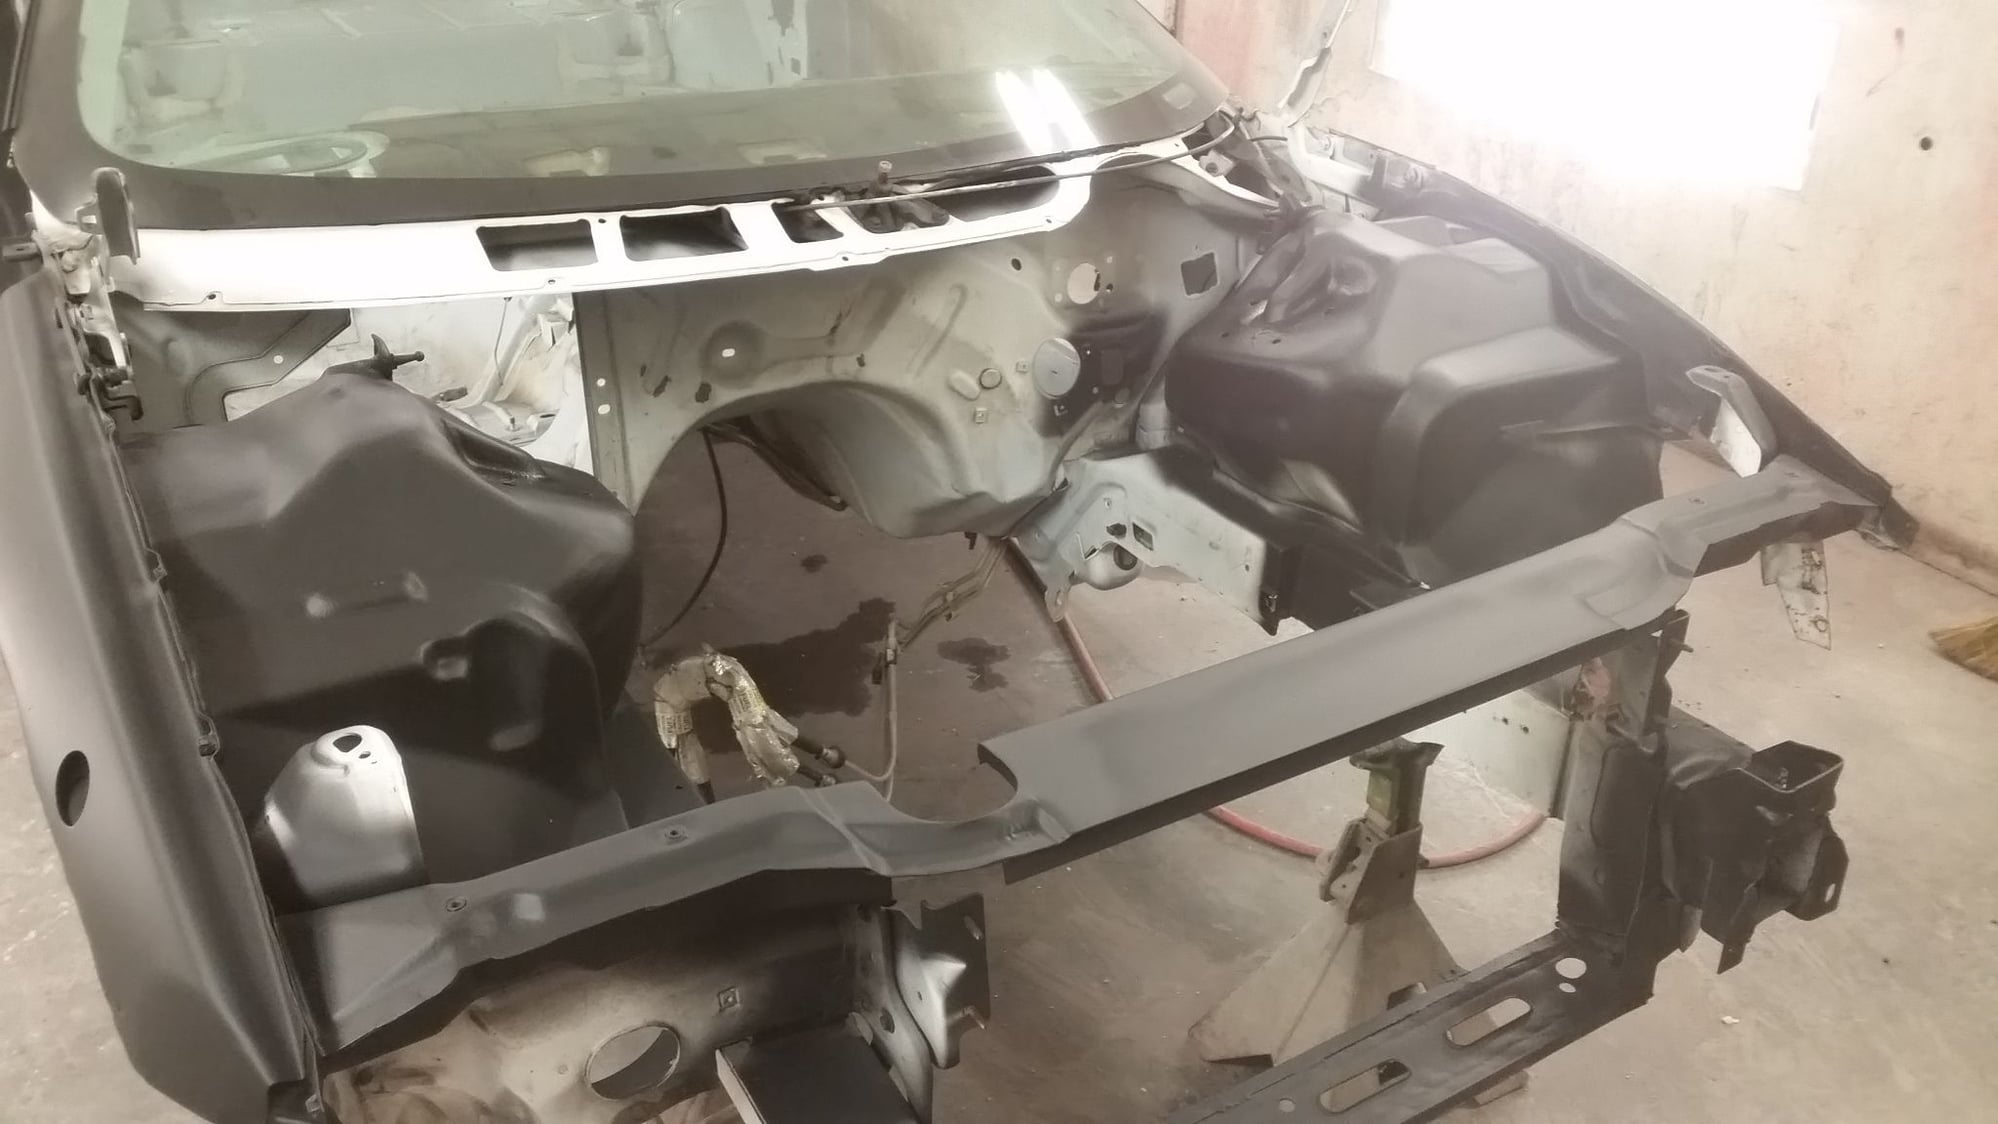
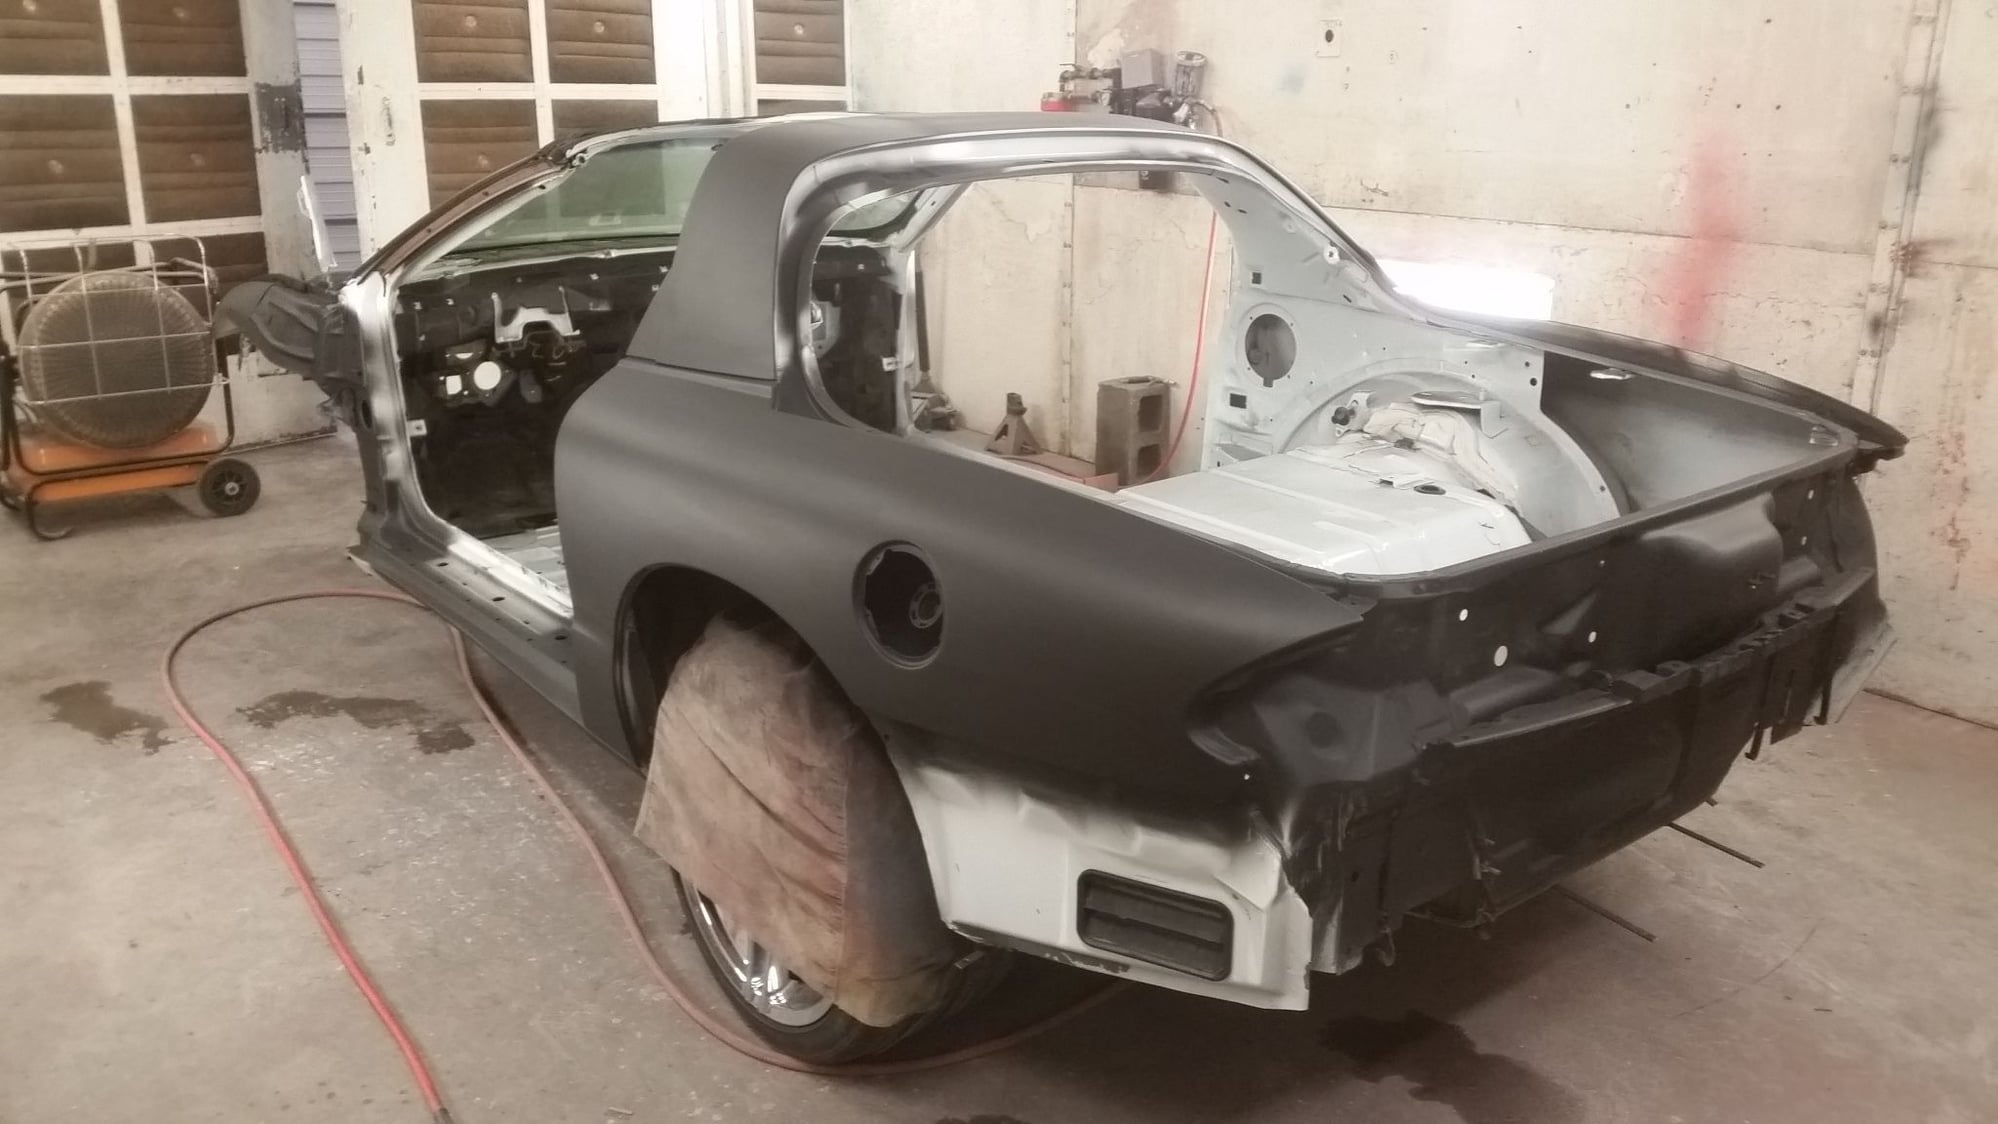
Got the body primed. Little closer now.


Old 01-19-2016, 08:11 AM
  #26  
TECH Fanatic
iTrader: (6)
 
InfiniteReality's Avatar
 
Join Date: Apr 2004
Location: Vinton, Louisiana
Posts: 1,457
Received 12 Likes on 9 Posts

Default

Sub'd, man you're really moving on this
Old 01-19-2016, 10:56 PM
  #27  
Launching!
Thread Starter
 
96famaro's Avatar
 
Join Date: Mar 2009
Location: Weatherford Tx 76085 corner of N. Hwy 51 and 150 Green branch Rd.
Posts: 274
Likes: 0
Received 0 Likes on 0 Posts
Default


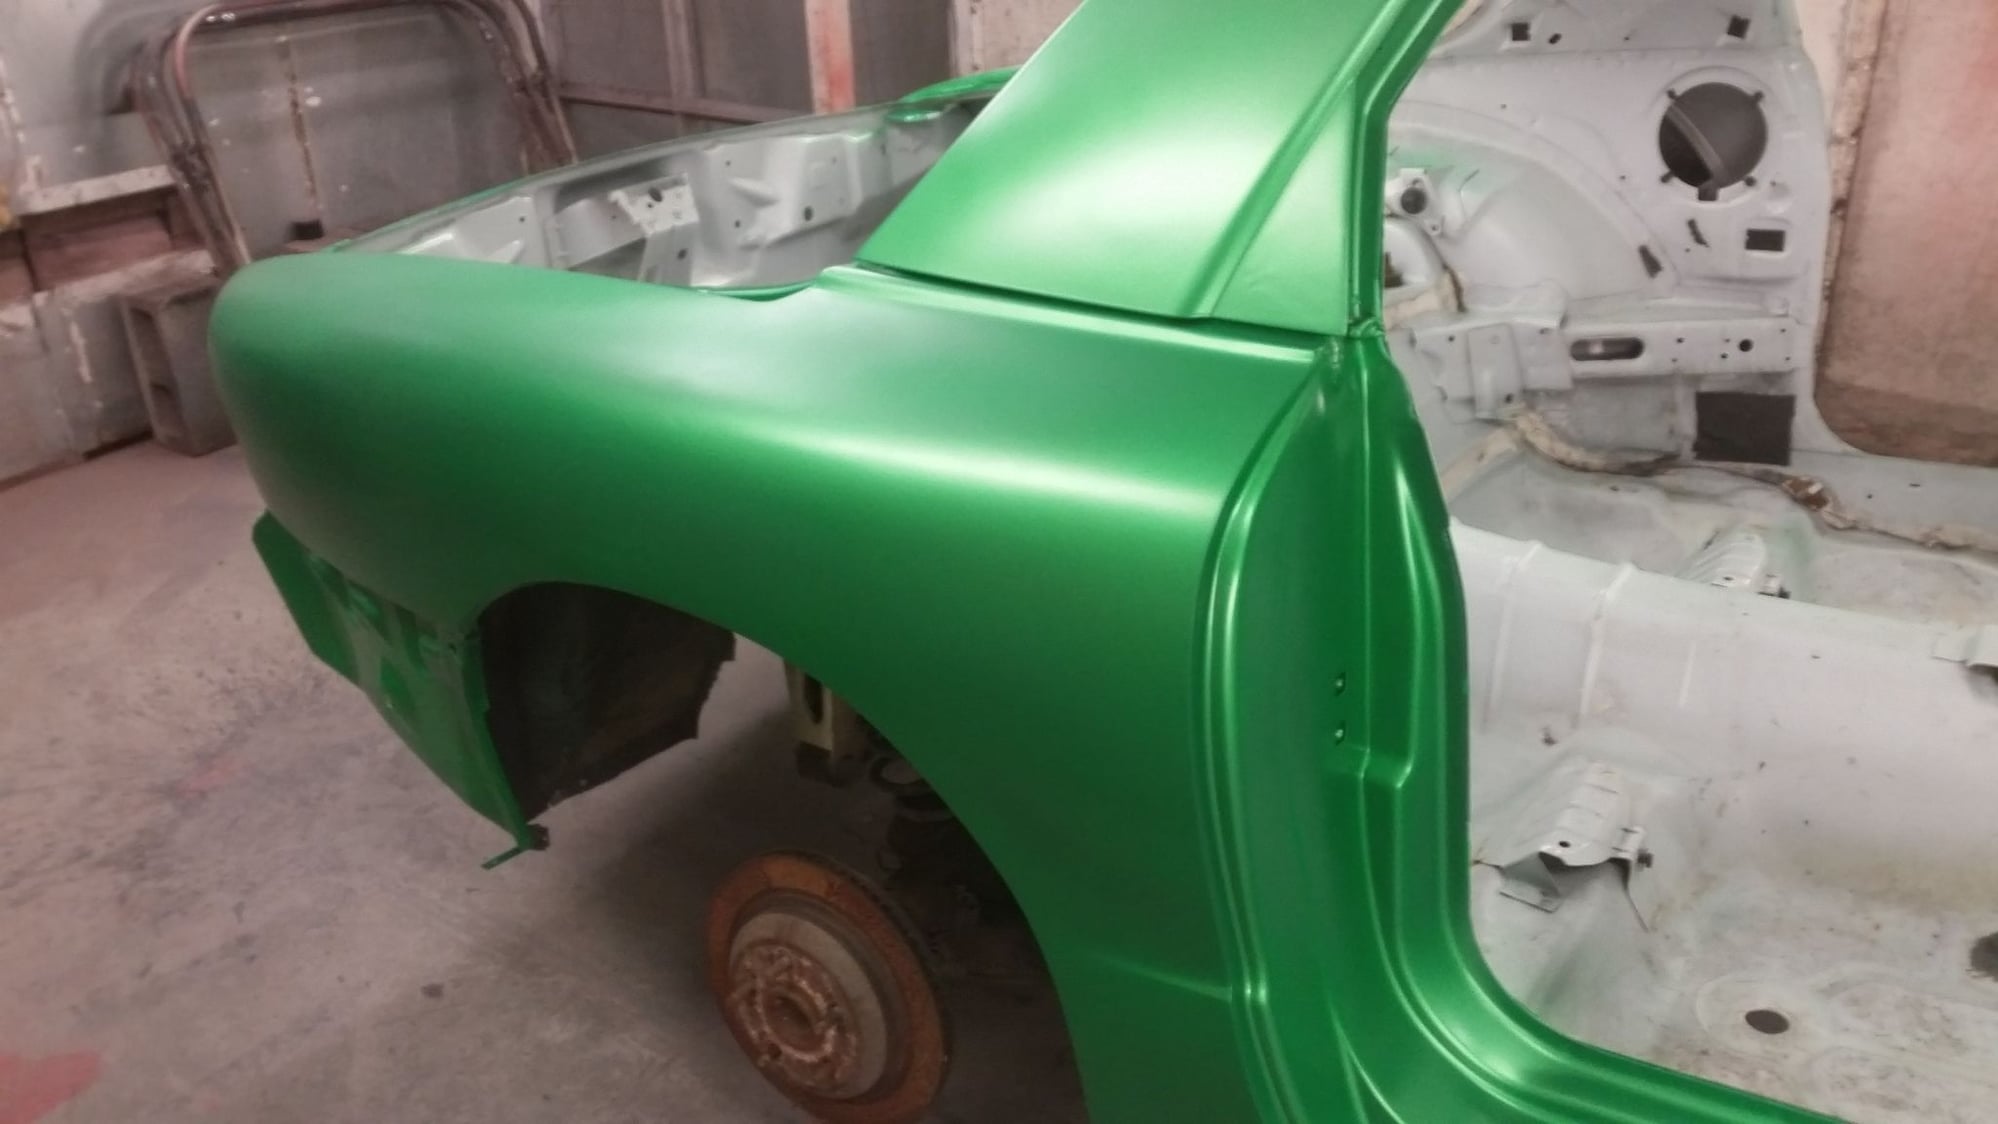
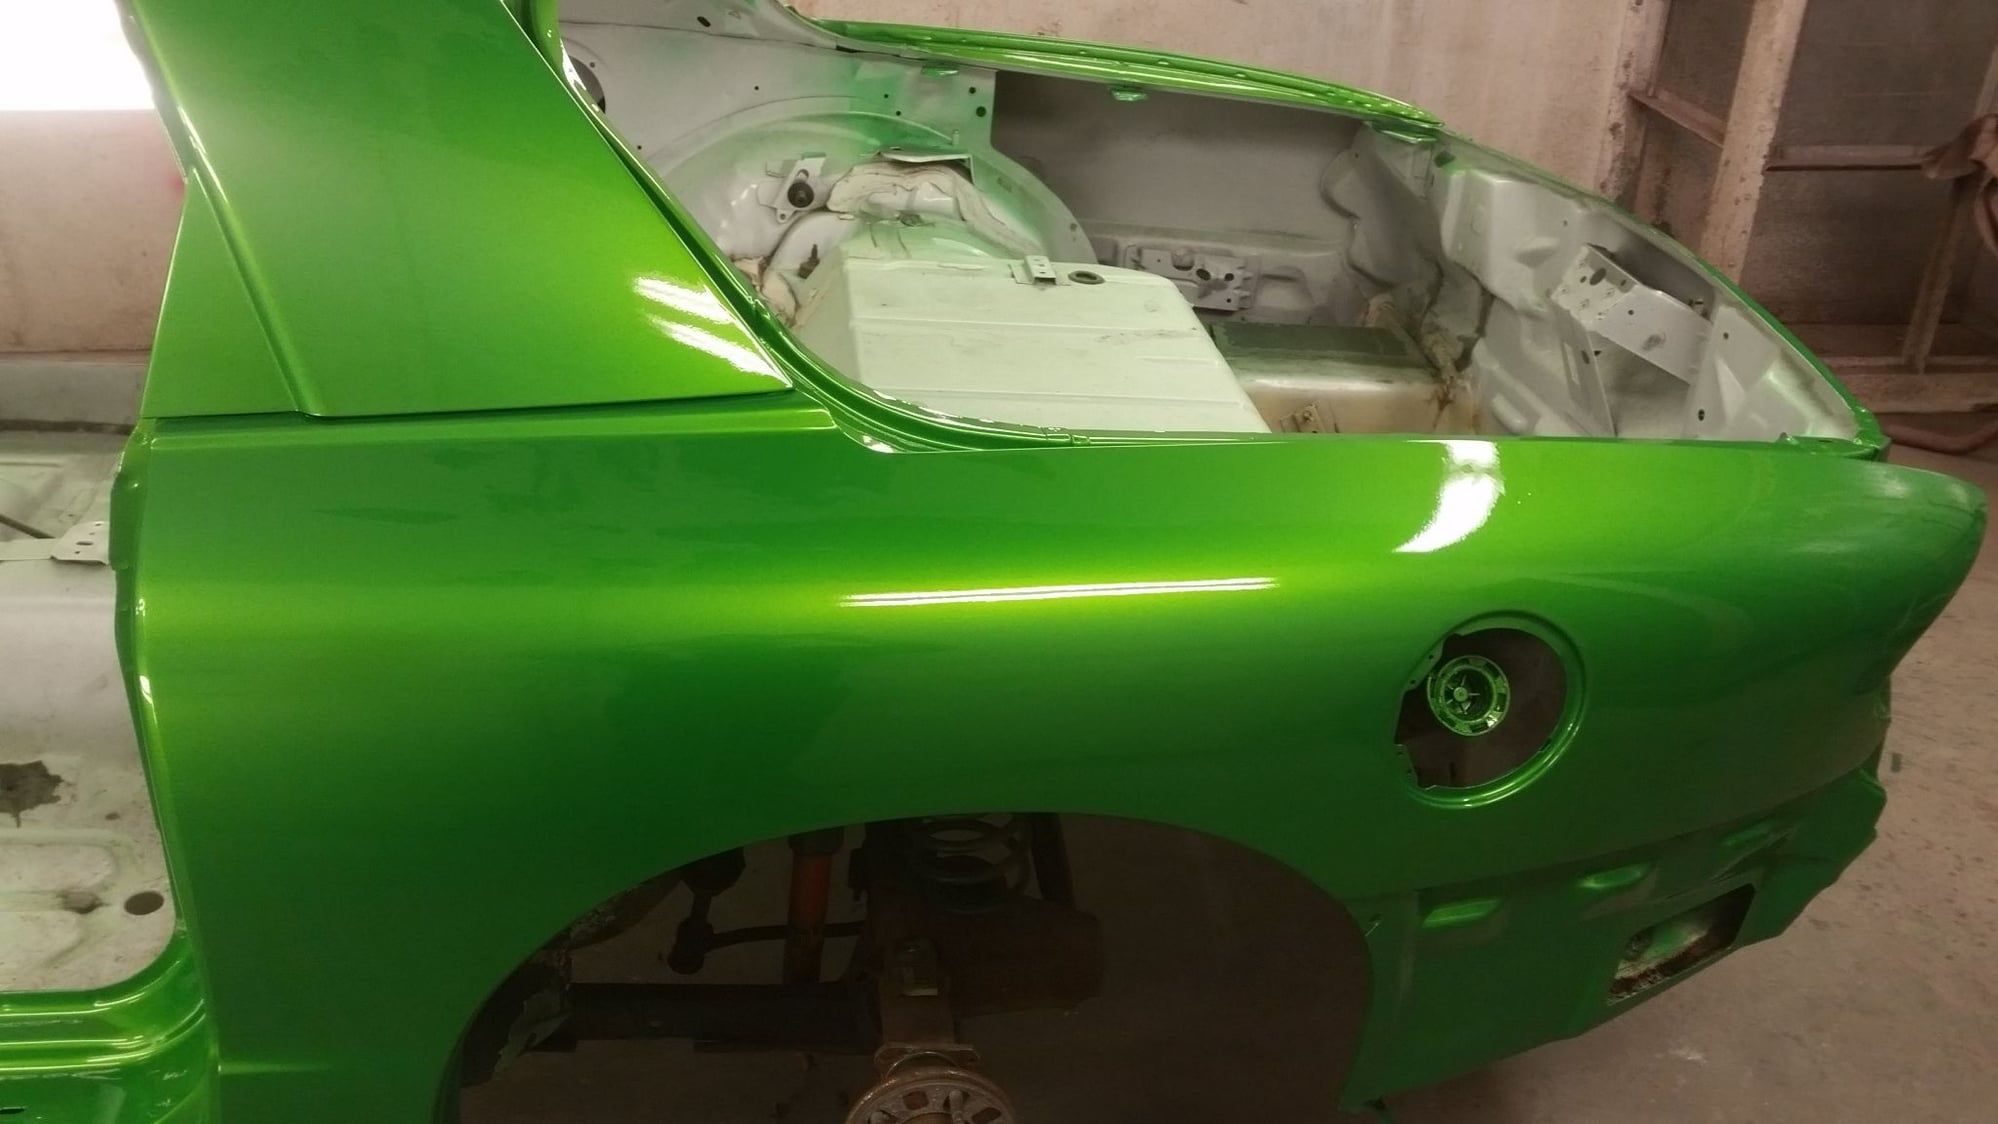
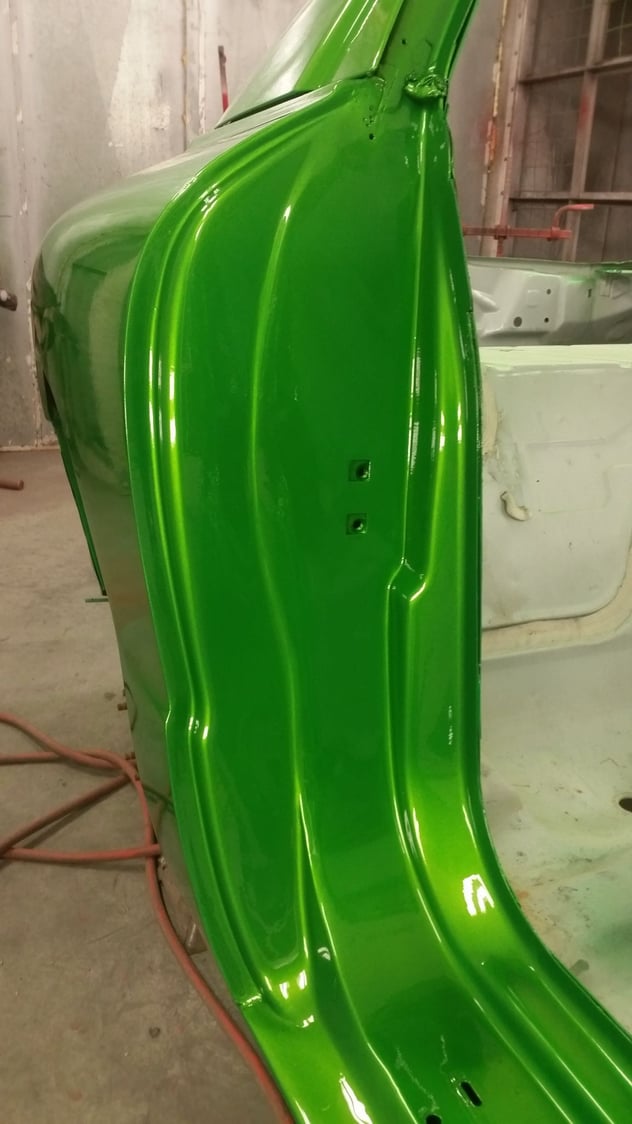
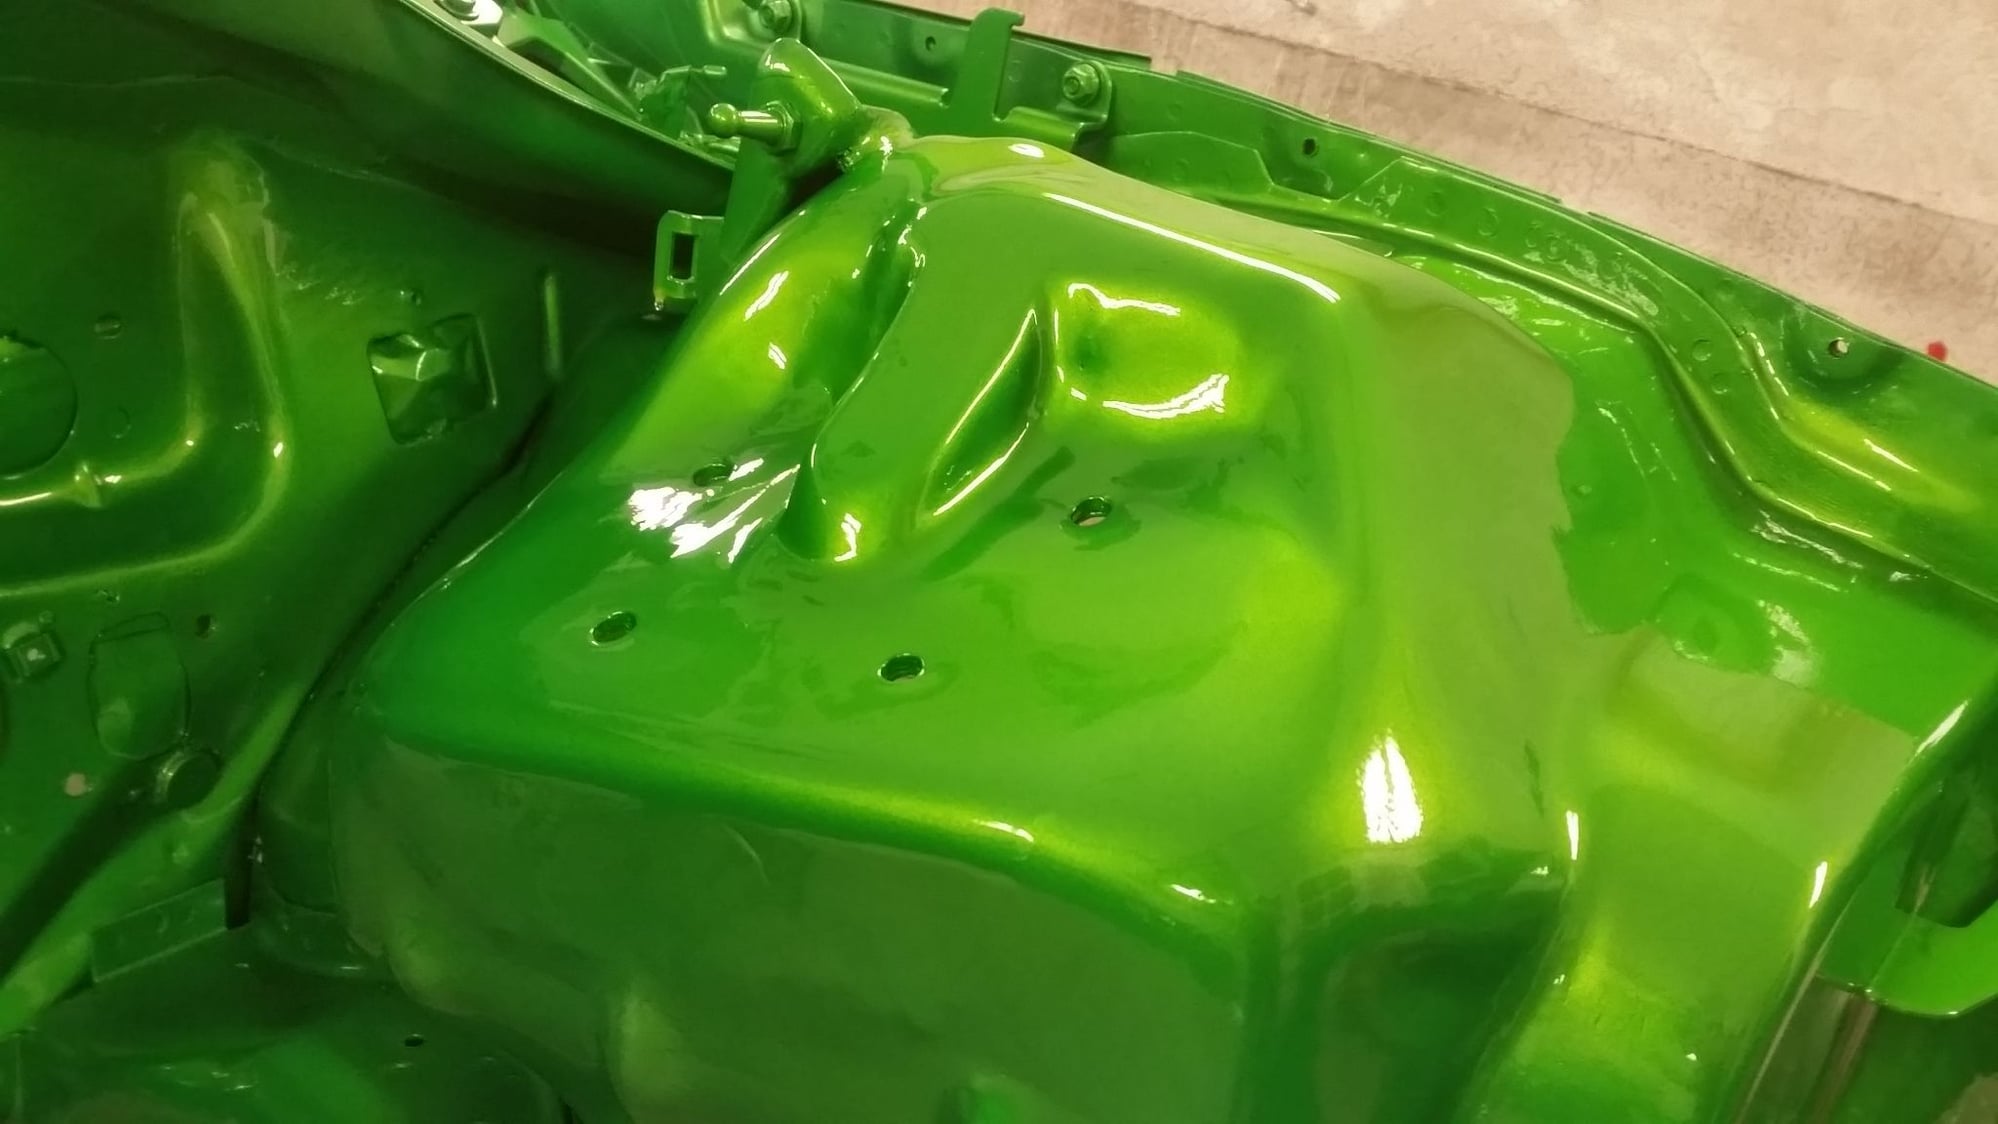
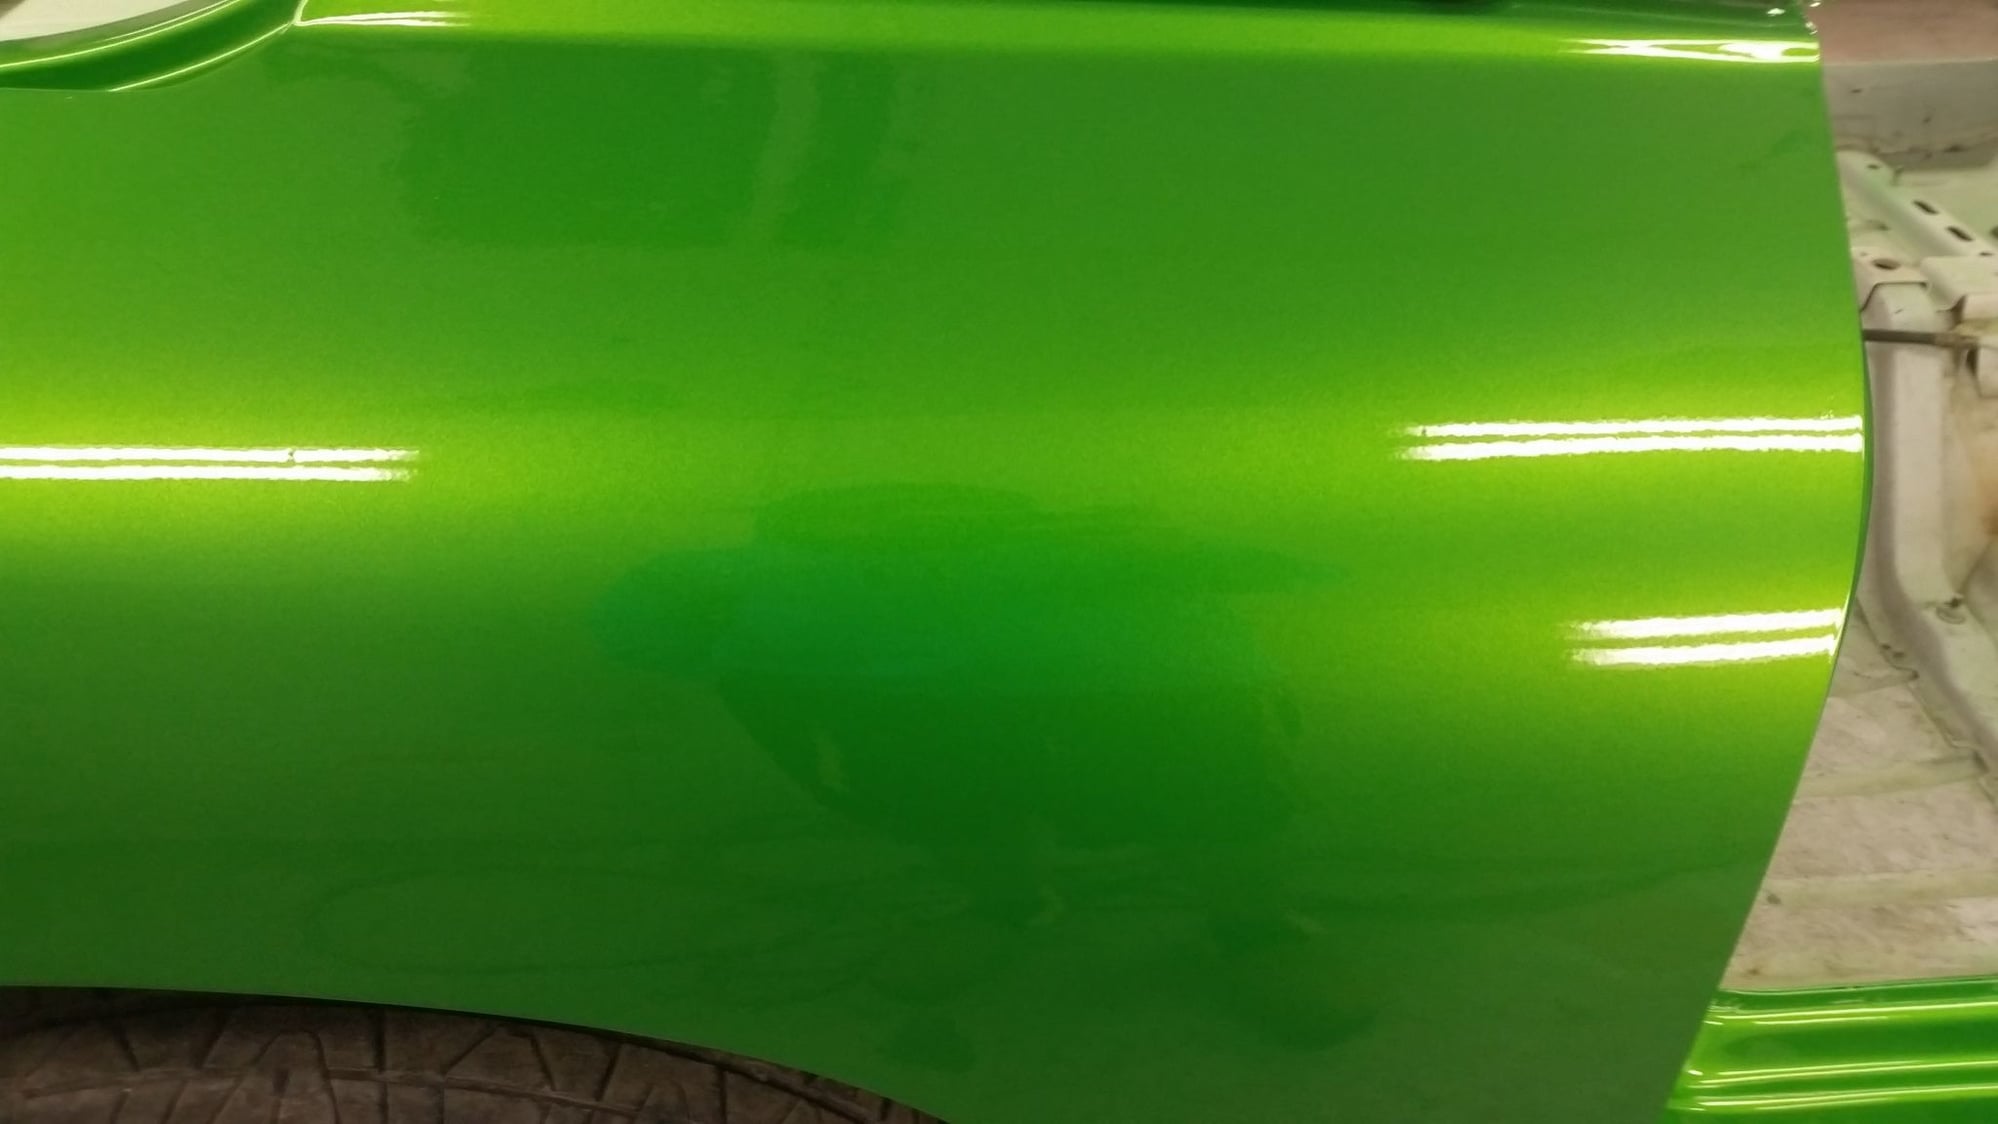
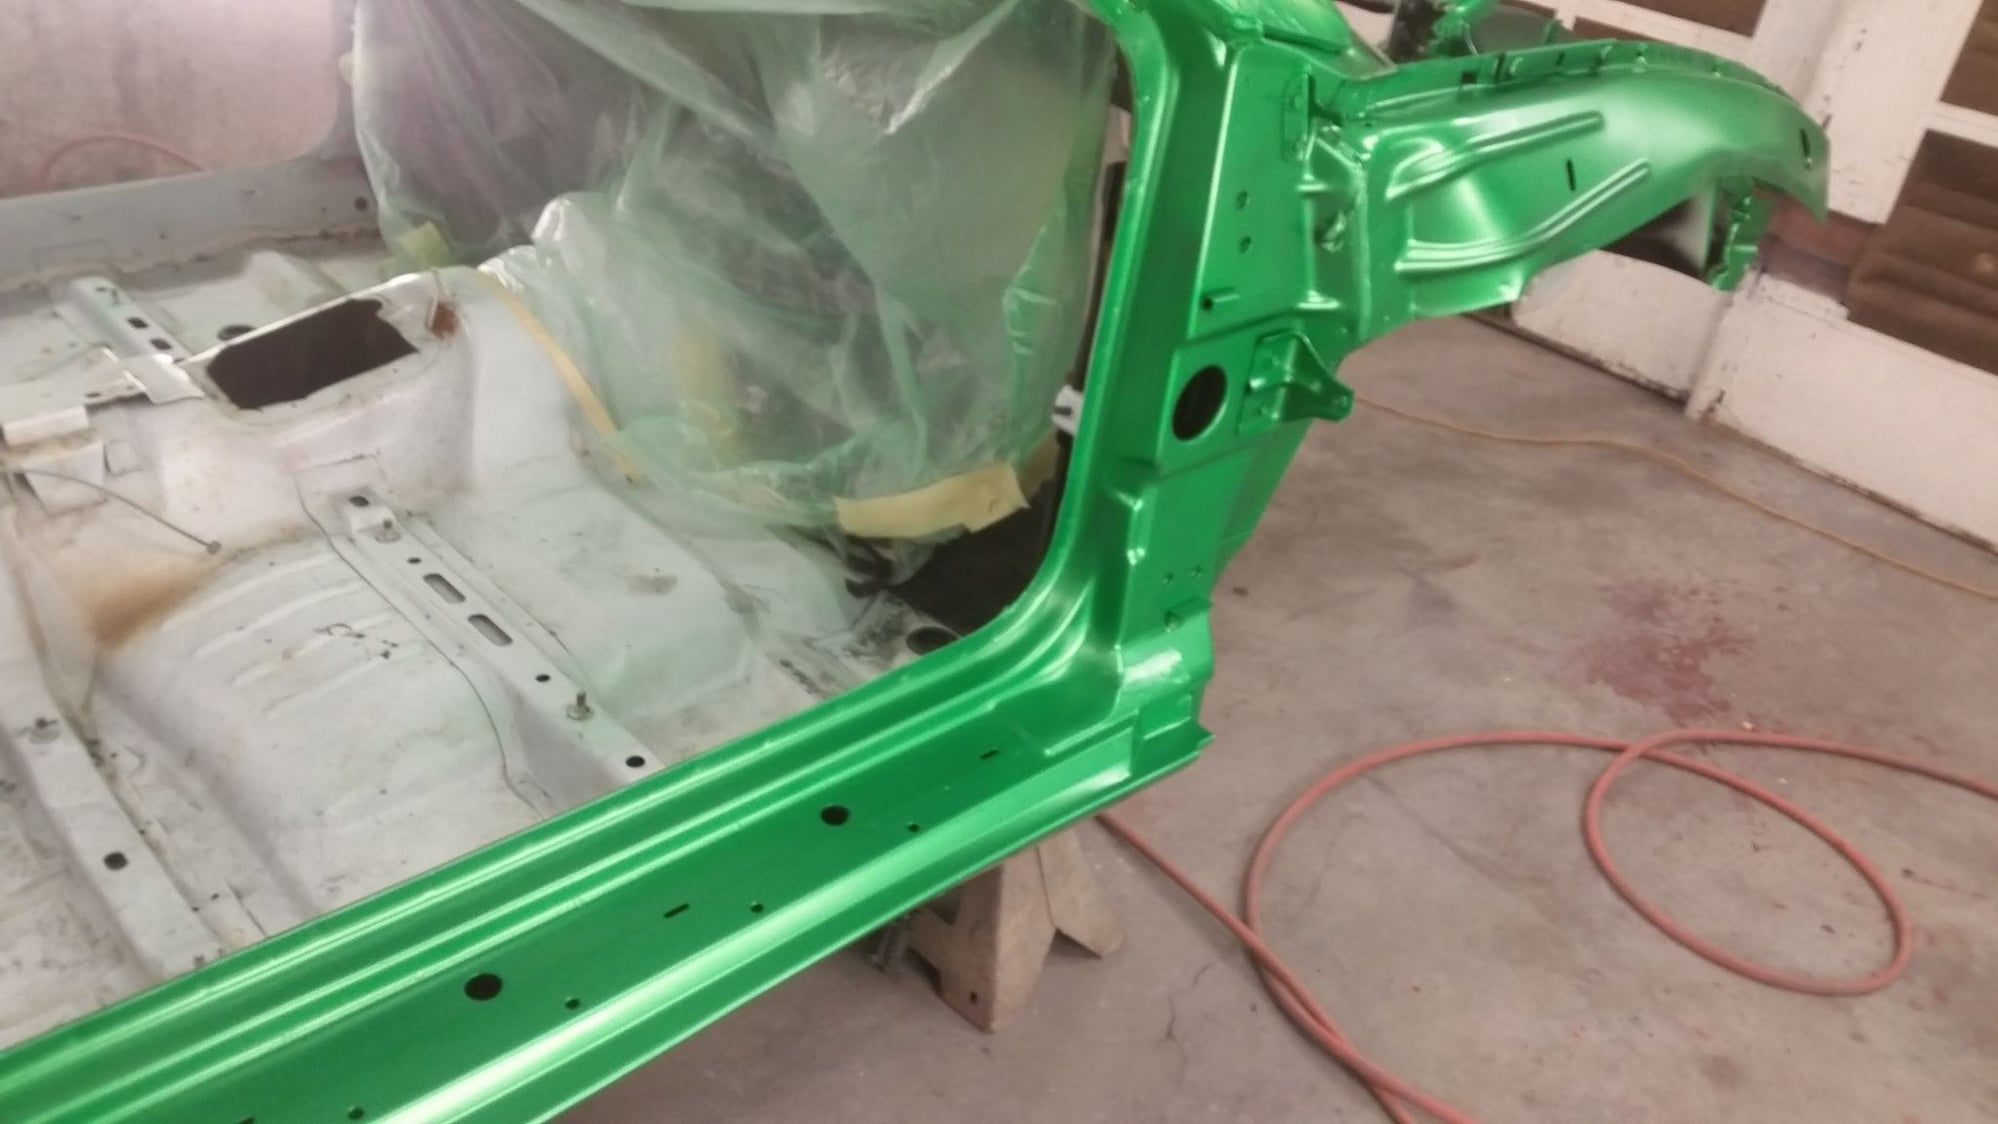
Green base


Green base


Kandy coat


Jambs came out nice and smooth. I hate how the factory leaves these f -bodys.


Old 01-19-2016, 10:58 PM
  #28  
10 Second Club
iTrader: (16)
 
Firebirdmuscle's Avatar
 
Join Date: Jan 2012
Location: Mississippi
Posts: 1,202
Received 12 Likes on 12 Posts

Default

Awesome work to date. Looking forward to future updates. Keep up the great work.
Old 01-19-2016, 11:00 PM
  #29  
Launching!
Thread Starter
 
96famaro's Avatar
 
Join Date: Mar 2009
Location: Weatherford Tx 76085 corner of N. Hwy 51 and 150 Green branch Rd.
Posts: 274
Likes: 0
Received 0 Likes on 0 Posts

Default

Originally Posted by InfiniteReality
Sub'd, man you're really moving on this
I'm trying to get this done so I can get back to my other build I have going that's much better than this!
Old 01-19-2016, 11:00 PM
  #30  
Launching!
Thread Starter
 
96famaro's Avatar
 
Join Date: Mar 2009
Location: Weatherford Tx 76085 corner of N. Hwy 51 and 150 Green branch Rd.
Posts: 274
Likes: 0
Received 0 Likes on 0 Posts
Default

Originally Posted by Firebirdmuscle
Awesome work to date. Looking forward to future updates. Keep up the great work.
Thank you sir.
Old 01-19-2016, 11:50 PM
  #31  
TECH Addict
iTrader: (14)
 
chrysler kid's Avatar
 
Join Date: Feb 2005
Location: Mckinney Plano Frisco
Posts: 2,720
Received 6 Likes on 6 Posts

Default

Epic. Great build!

Sport lines are garbage. Their spring rate is way too soft and they sit too low. Many members have cracked an oil pan on them
Old 01-20-2016, 12:22 AM
  #32  
Launching!
Thread Starter
 
96famaro's Avatar
 
Join Date: Mar 2009
Location: Weatherford Tx 76085 corner of N. Hwy 51 and 150 Green branch Rd.
Posts: 274
Likes: 0
Received 0 Likes on 0 Posts

Default

Quick walk around.
Old 01-20-2016, 05:12 AM
  #33  
TECH Fanatic
iTrader: (1)
 
2JAWZ's Avatar
 
Join Date: Apr 2015
Location: Locust Grove, VA
Posts: 1,846
Received 77 Likes on 70 Posts
Default

Originally Posted by 96famaro
I'm trying to get this done so I can get back to my other build I have going that's much better than this!
Geez. If this is the weak build I would love to see the better one.....
Old 01-20-2016, 06:29 AM
  #34  
TECH Fanatic
iTrader: (6)
 
InfiniteReality's Avatar
 
Join Date: Apr 2004
Location: Vinton, Louisiana
Posts: 1,457
Received 12 Likes on 9 Posts

Default

I'm with ^^, can't imagine the other build

Loving the door jams, looks so much better. Really like this color too
Old 01-20-2016, 11:58 AM
  #35  
12 Second Club
iTrader: (6)
 
Viper's Avatar
 
Join Date: Dec 2001
Location: Cleveland, OH
Posts: 4,908
Received 3 Likes on 3 Posts

Default

Wow, impressive!
Old 01-20-2016, 01:53 PM
  #36  
Staging Lane
 
Blu06R1's Avatar
 
Join Date: Sep 2007
Location: Sacramento, CA
Posts: 71
Likes: 0
Received 0 Likes on 0 Posts

Default

Awesome build! In for the result!
Old 01-22-2016, 04:05 PM
  #37  
TECH Resident
iTrader: (9)
 
CoreyD's Avatar
 
Join Date: Apr 2010
Location: NOLA / Lafayette
Posts: 894
Received 298 Likes on 166 Posts

Default

Great work! Also in for results.
Old 01-22-2016, 04:54 PM
  #38  
TECH Fanatic
iTrader: (1)
 
2JAWZ's Avatar
 
Join Date: Apr 2015
Location: Locust Grove, VA
Posts: 1,846
Received 77 Likes on 70 Posts
Default

Originally Posted by CoreyD
Great work! Also in for results.
As fast as he moved on this thus far, I don't think it will be long now**
Old 01-23-2016, 11:57 PM
  #39  
Launching!
Thread Starter
 
96famaro's Avatar
 
Join Date: Mar 2009
Location: Weatherford Tx 76085 corner of N. Hwy 51 and 150 Green branch Rd.
Posts: 274
Likes: 0
Received 0 Likes on 0 Posts

Default


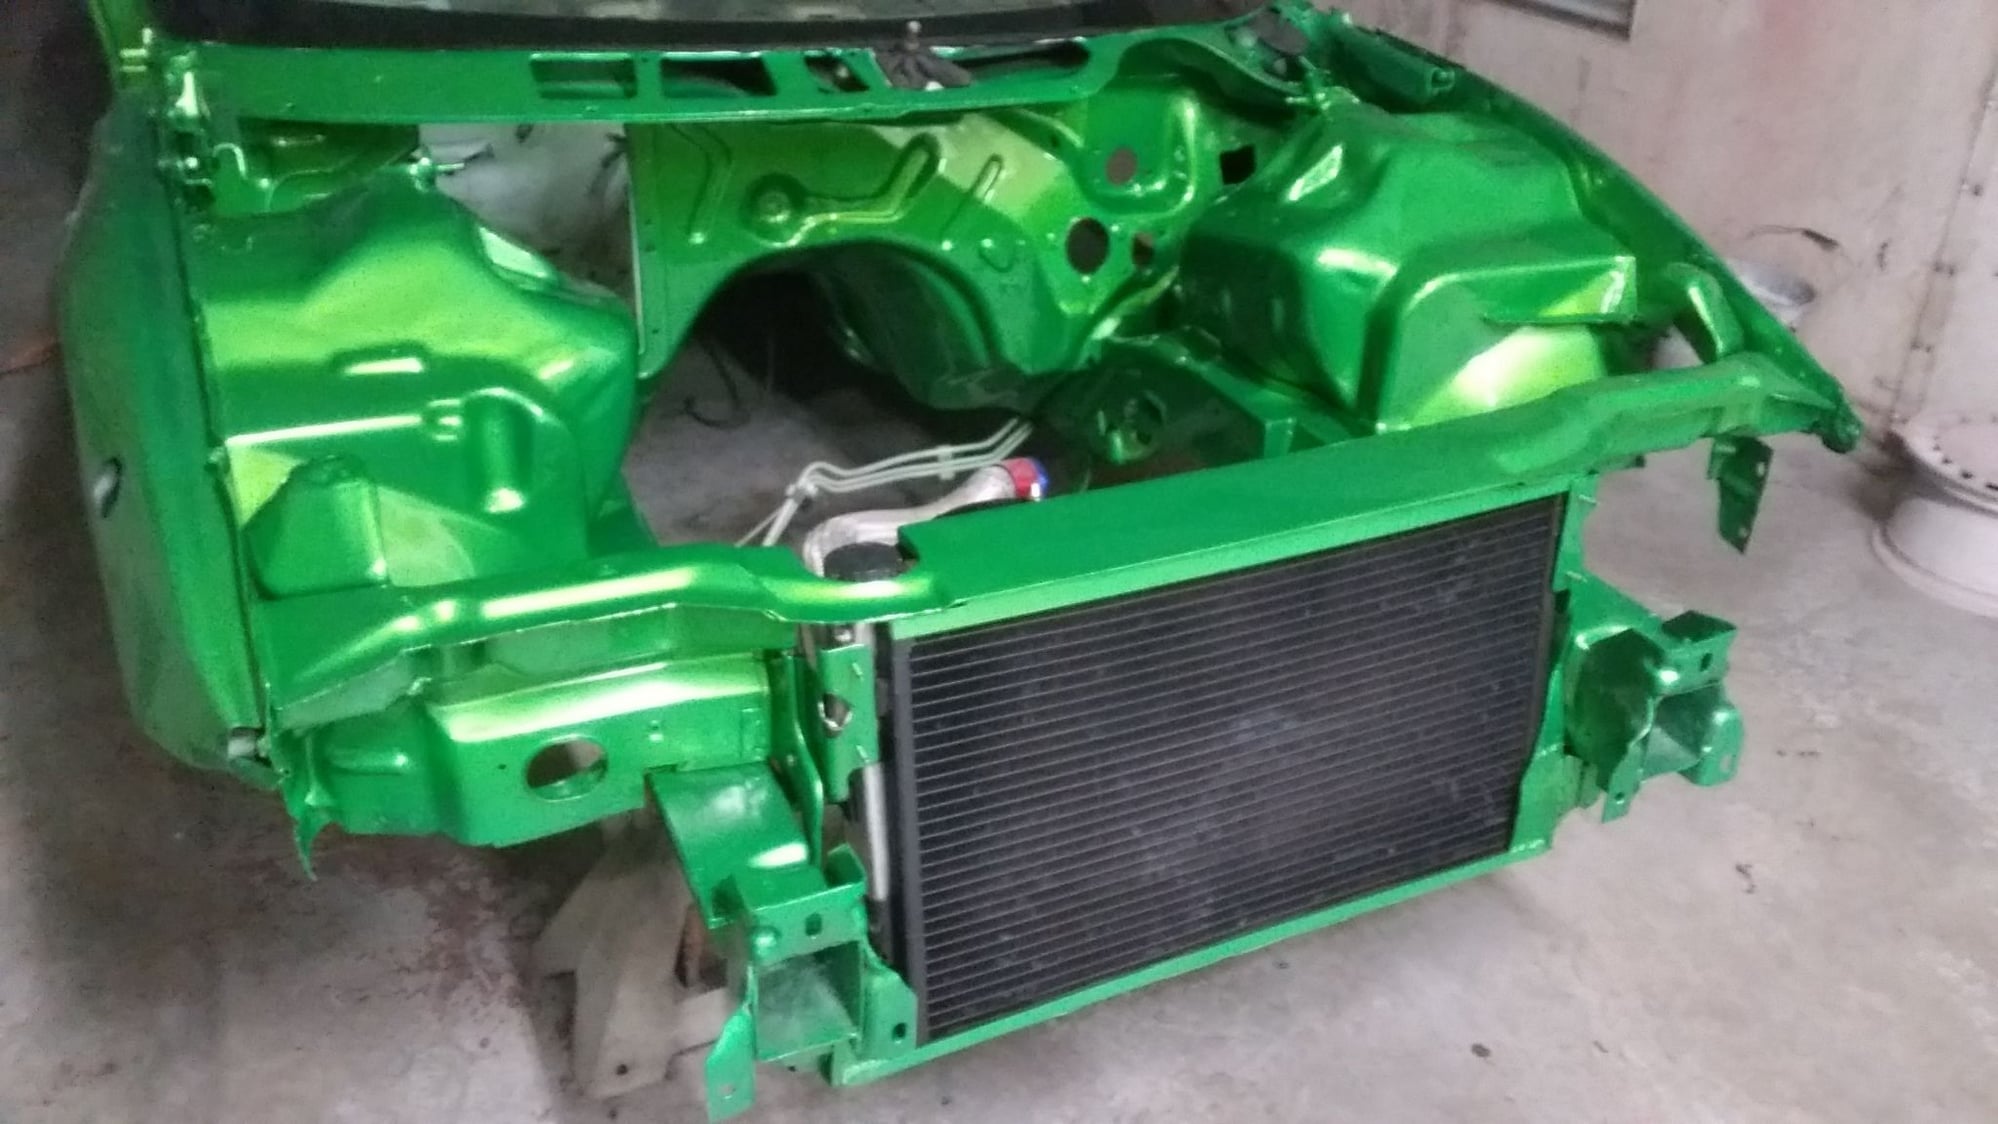
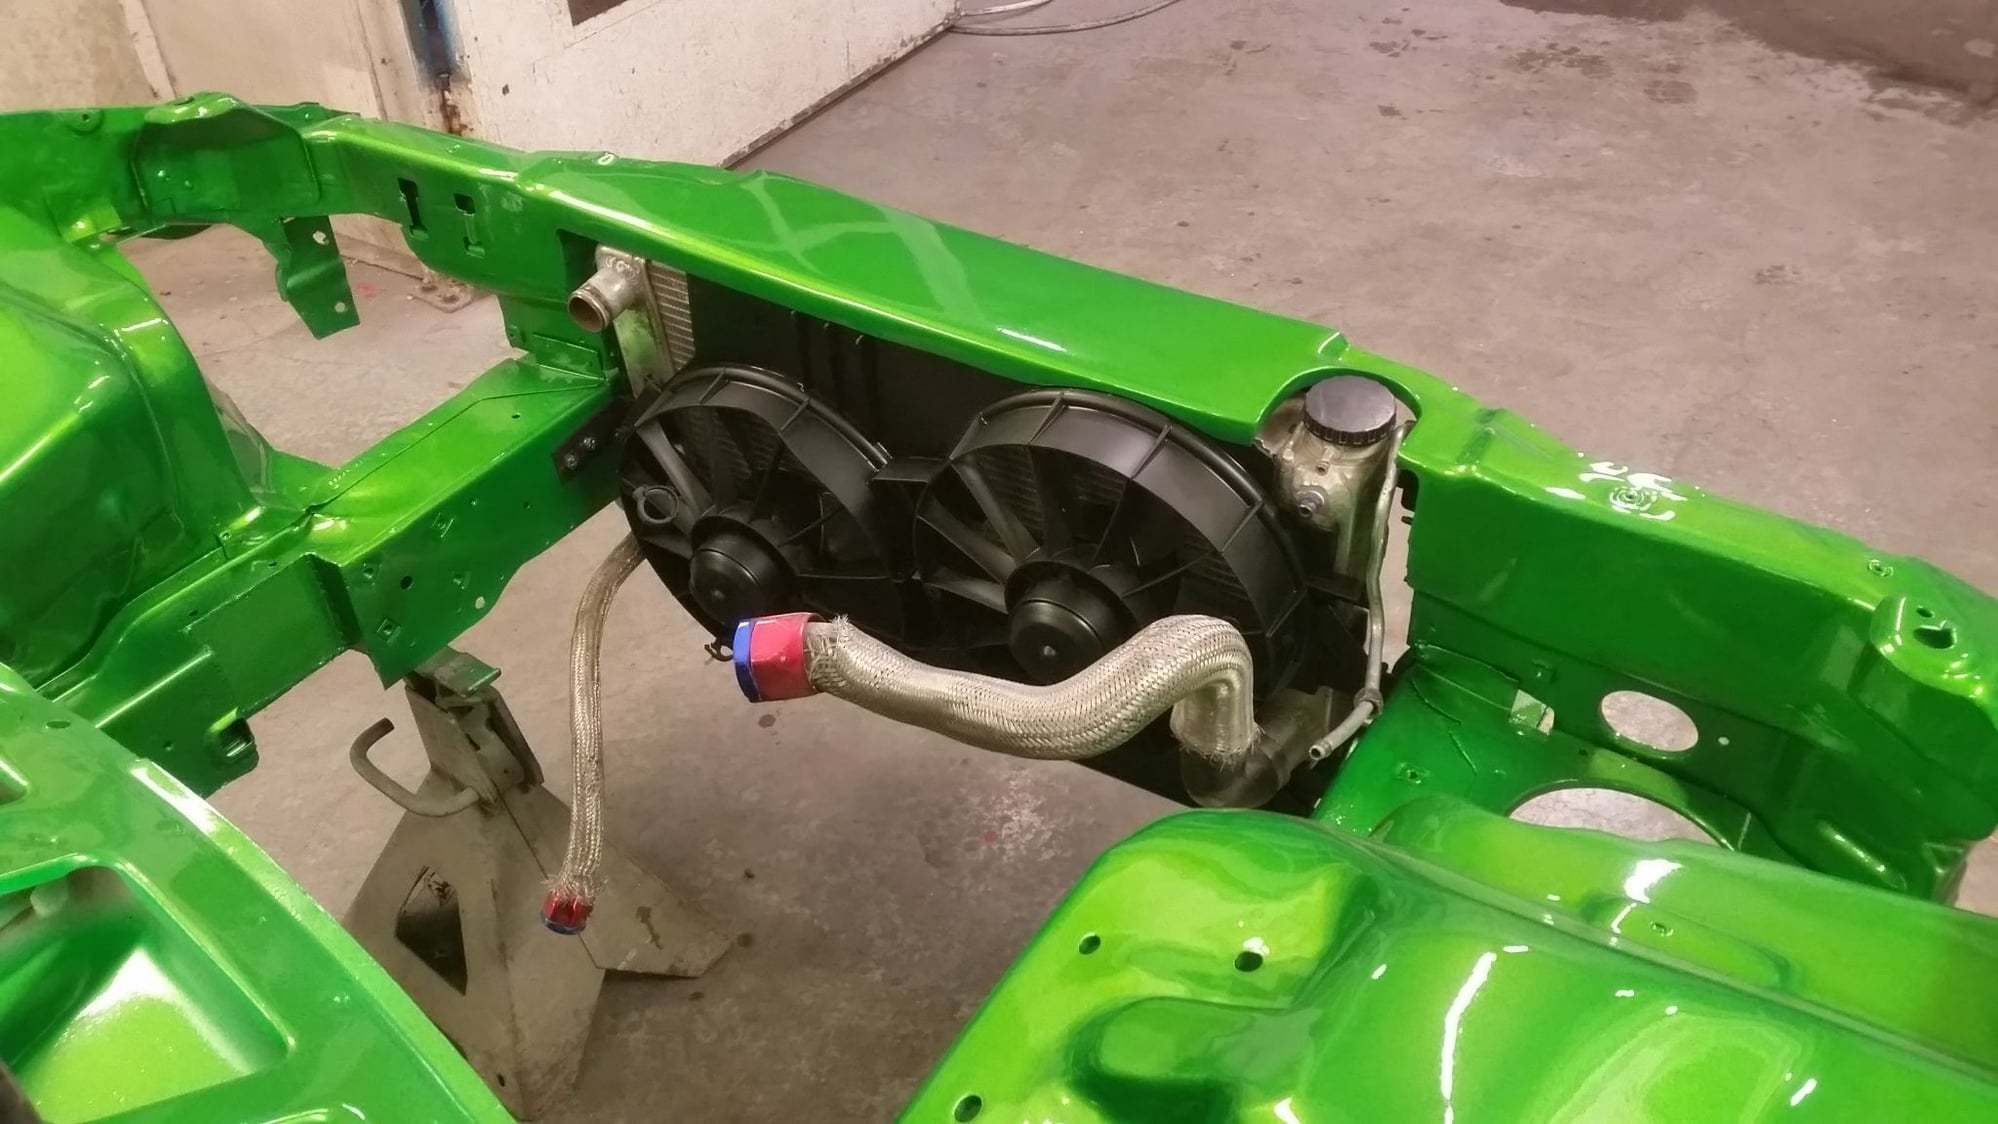
Decided to paint condenser.


Painted my fans as well. Last minute decision. I like it.


Started cutting the clear.


The inspector approves lol.


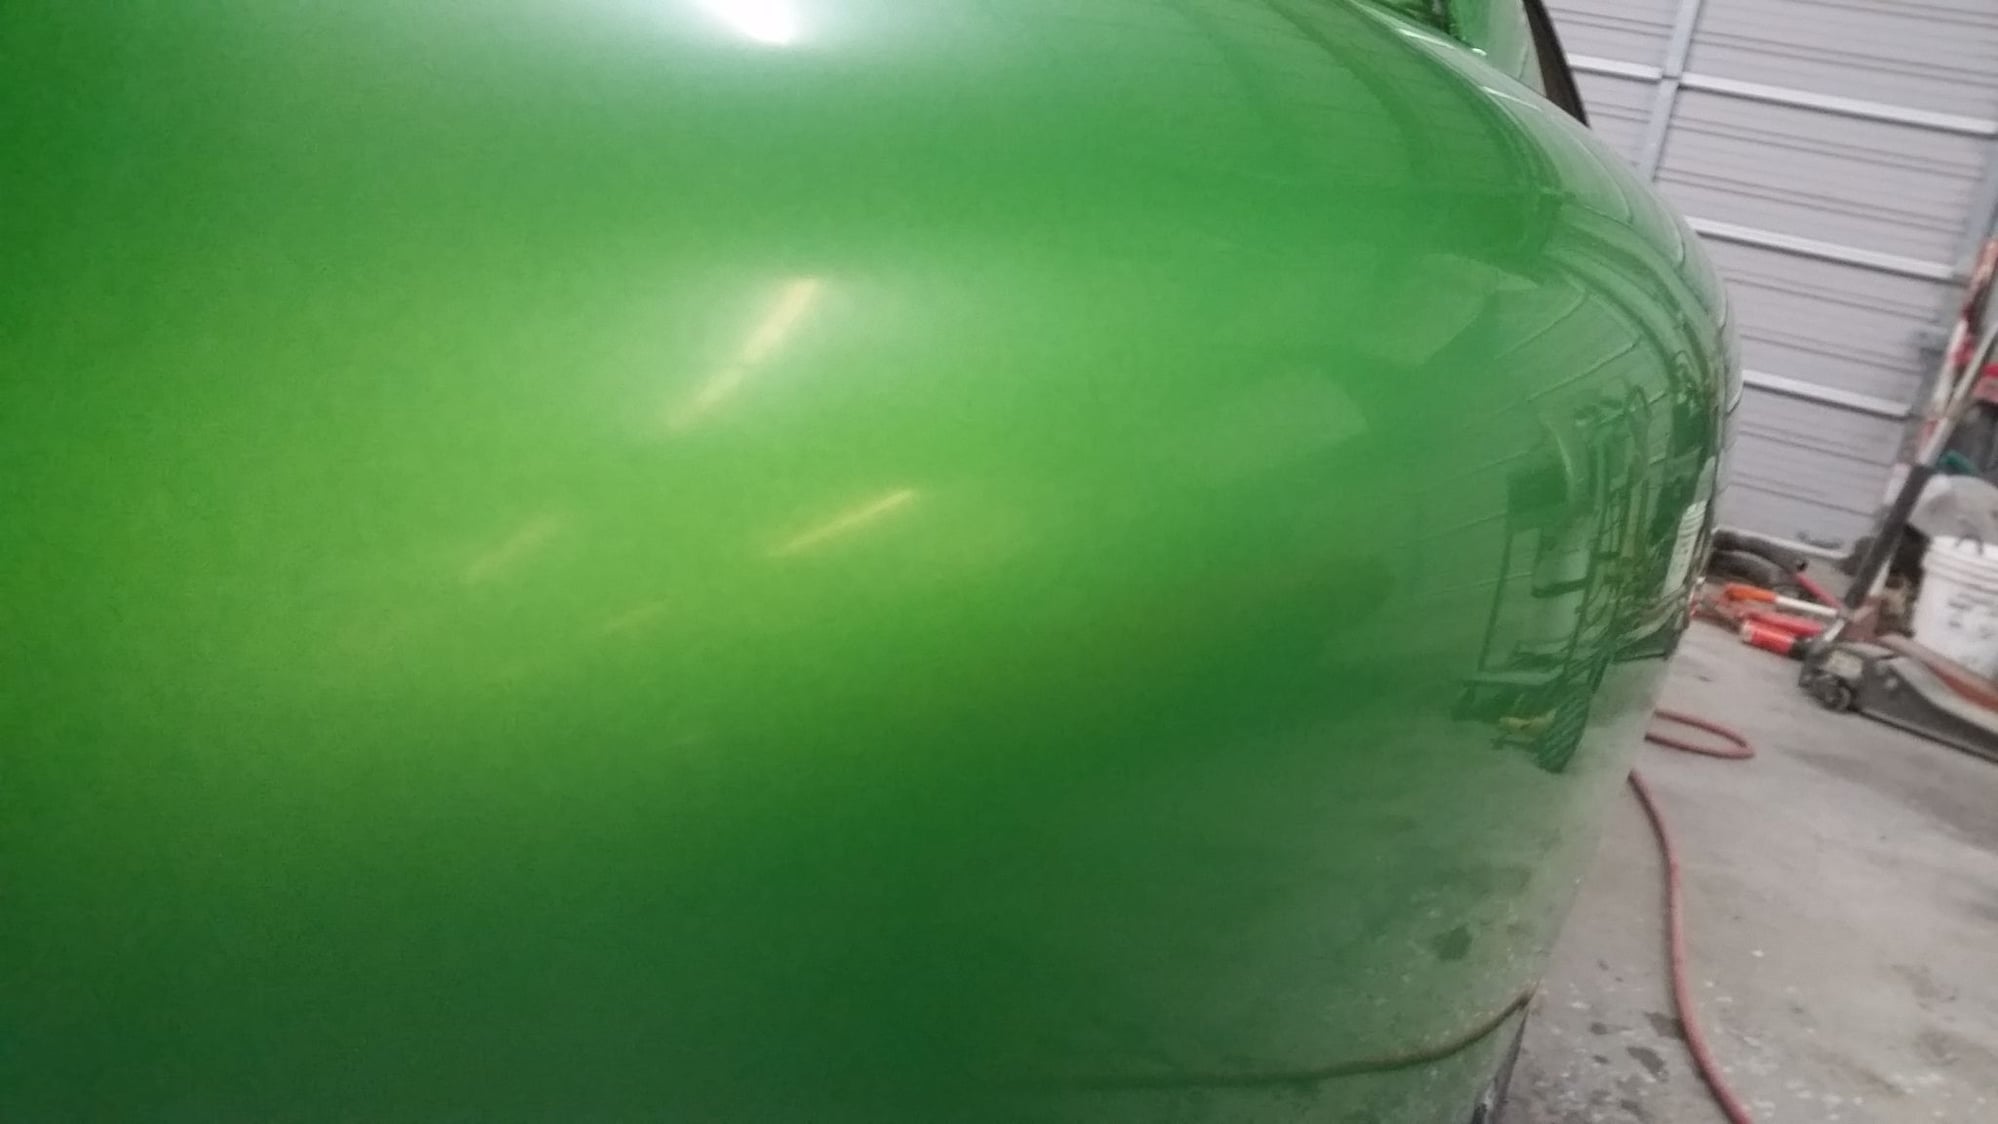
A super high quality cutting of the clear. It's already getting a polished finish. This is how I leave the final sanded stage before buffing out. I am very very picky how I do this process and nit pick the smallest of things.


Final polishing stage. I go through several stages very thoroughly.


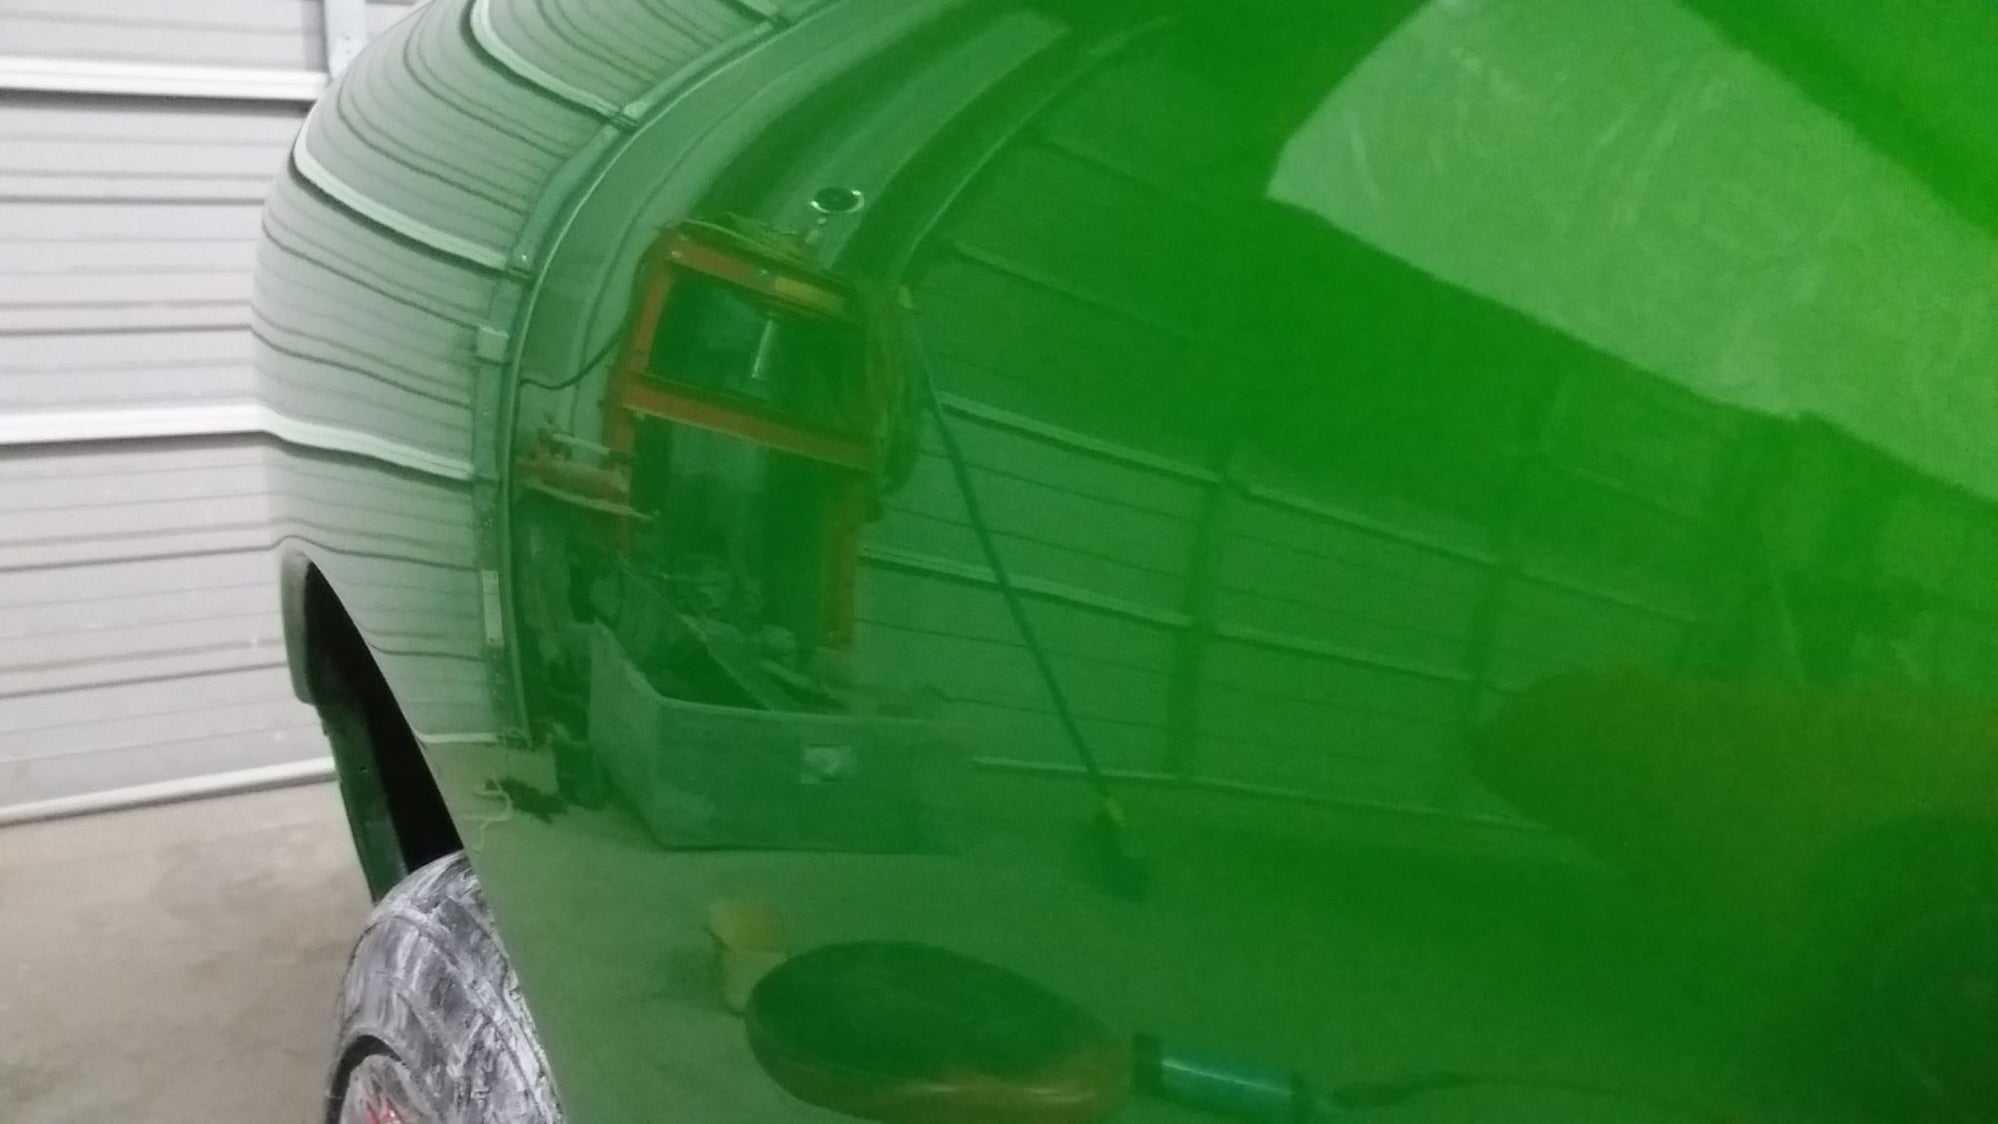
Final product after all that labor, this is the end result. There's no peel in that.


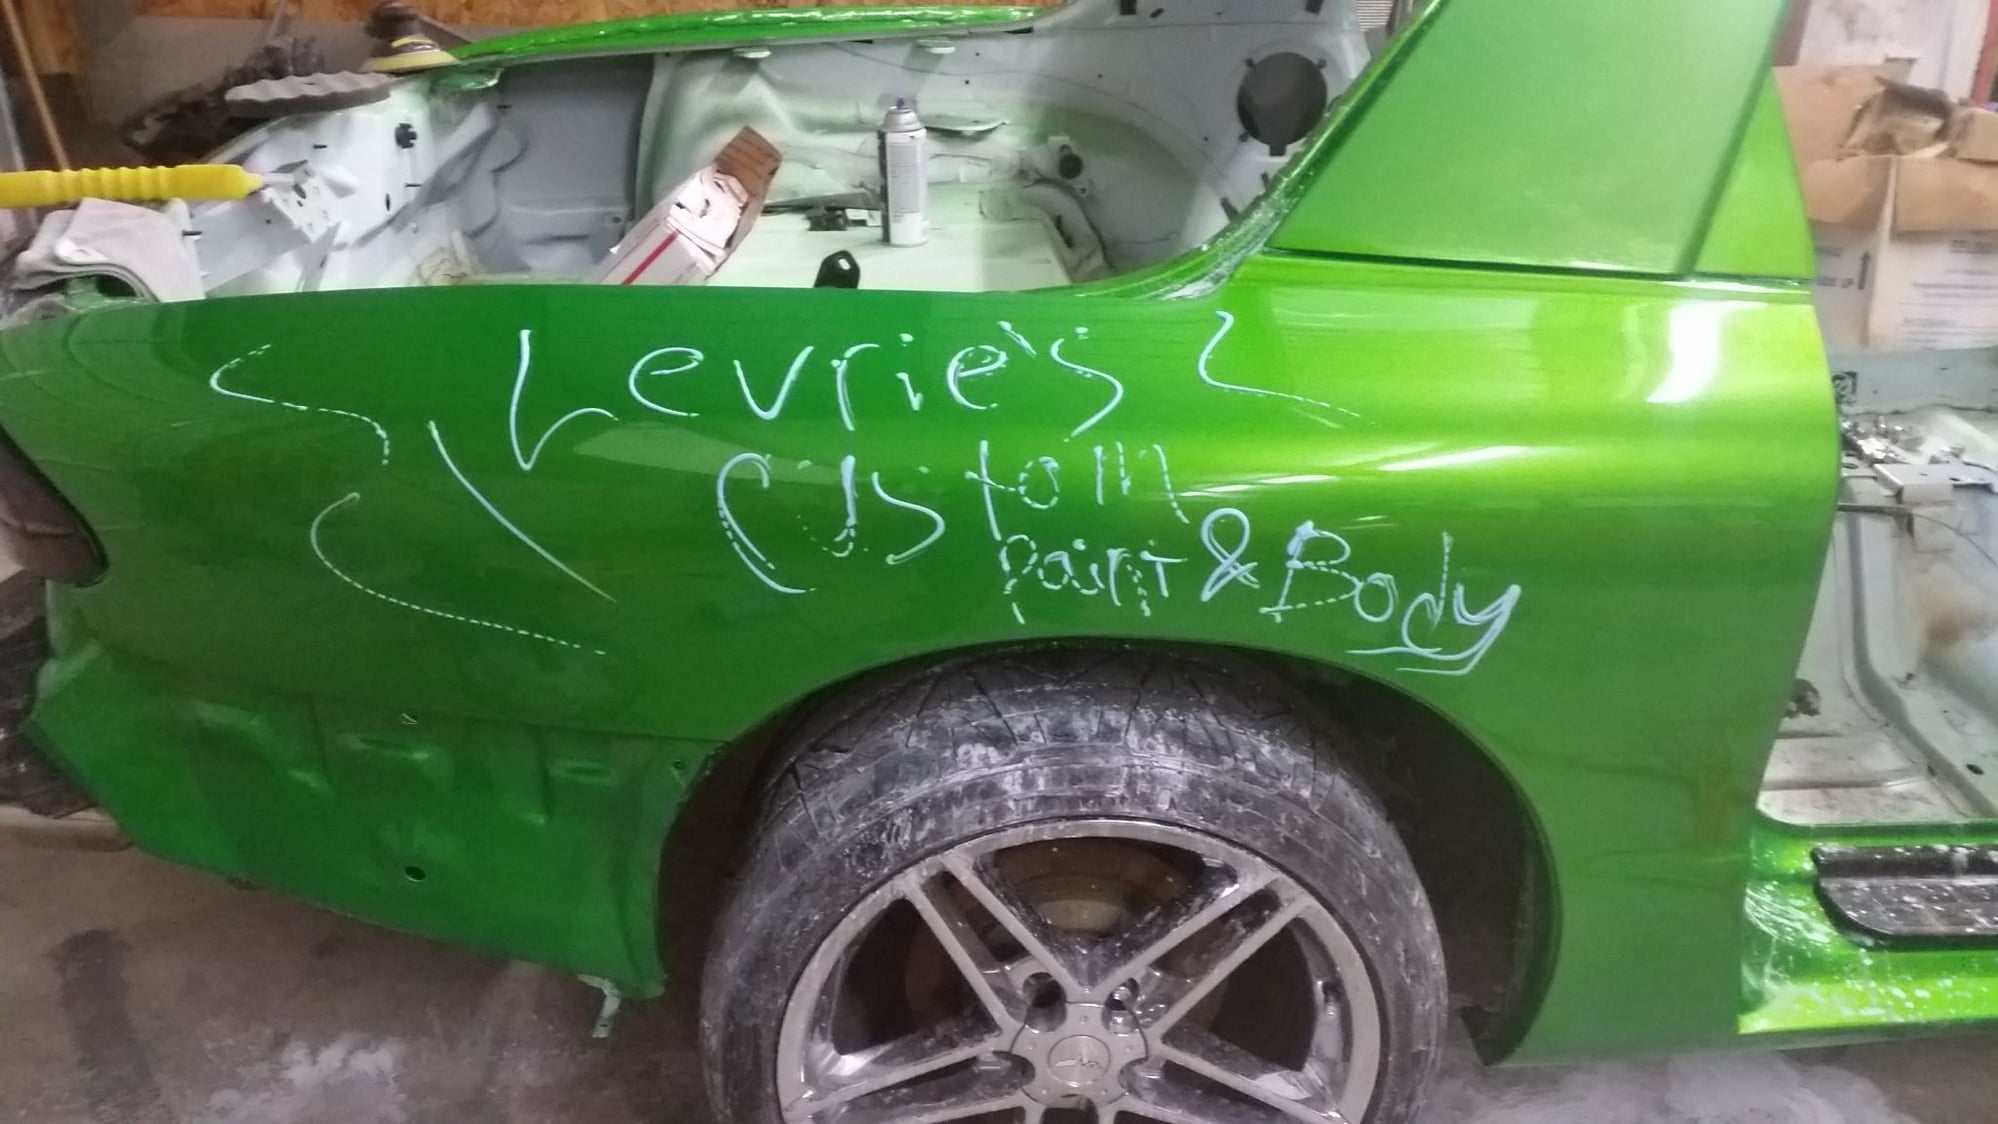
Final product. Its Like glass. This is where taking your time doing the body work shows all those efforts.
Old 01-24-2016, 12:04 AM
  #40  
Launching!
Thread Starter
 
96famaro's Avatar
 
Join Date: Mar 2009
Location: Weatherford Tx 76085 corner of N. Hwy 51 and 150 Green branch Rd.
Posts: 274
Likes: 0
Received 0 Likes on 0 Posts

Default

I don't want seem like I'm drowning the thread with a lot of pics but I'm just trying to take only main pics of it all. If anyone has something they feel I missed or want detailed info let me know. I like making these threads so I can use it for refrence for me. I might be selling this car when I'm finished with it or at least just to see what it will go for anyways thanks for all the compliments.


Quick Reply: **** 4th gen Trans Am Ultimate Restoration ****


All times are GMT -5. The time now is 05:01 AM.