When you click on links to various merchants on this site and make a purchase, this can result in this site earning a commission. Affiliate programs and affiliations include, but are not limited to, the eBay Partner Network.
I was working on a friend of mine trying to pry his 94 Formula hard top from him for over 2 years. Said it over heated and lost oil pressure about 4-5 years ago and was sitting ever since. Wouldn’t part with it until he got interested in a Tahoe I picked up that was clean and low miles. Told him I would trade him thinking he would never go for it but contrary to my belief, he went for it. Here’s how it looked when I finally got there with the trailer to claim my new project.
I hate thumbnails so I’ll have to try a different picture hosting site. My photobucket wants a subscription and that’s not gonna happen so I’ll try google pics and see if I can get this resolved. I have a lot of pics to post to get to where I’m at now with the car so I’ll get that figured out before I go any further.
Now that I think I have this photo sharing thing figured out I’ll try to get this caught up. I won’t go into great detail unless it’s important to the pictures. I’ll try to keep it short and sweet so it’s not boring and redundant.
I dragged this thing home on the trailer and first thing was it needed a major cleaning. I pressure washed it and then took off the stock wheels it had on the rear and put the used up dry rotted tires on just so it matched.
The interior was dirty but the dash wasn’t cracked so I put a piece of foam insulation in the windshield to keep the sun off it. It’s going to be in the garage soon but I first had to move my 89 K5 Cummins project out and get garage cleaned up and ready. Above pic shows the K5 under the tarp.
I picked up a center console from a 98 and installed it because I wanted the little cubby on the front for some switches and also needed the swing out cup holder. Using the one in the middle of the console wasn’t practical being an M6 car. As you can see, it’s not exactly the same as the other one but it went in for the most part and I’m not worried about it showing on the carpet as that’s getting replaced anyway.
I knew I was going to replace the LT1 with an LS so I started searching local salvage yards and Craigslist for a good LS. I came across a 5.3 out of an 03 Tahoe. Came complete with wiring and PCM for $400. Guy said it only had 132k miles, but he also said it was an 05 but ended up being an 03. I wanted the 05 because of the rods but I’ll just get new h-beam rods.
What I know is, the Firebird had the clutch replaced about 8 months before it was parked. At the same time the opti and water pump were also replaced. Then he had a new exhaust put on from the cat back but didn’t put on a muffler. I’m was curious as to what was wrong with the engine so I started investigating. Battery was dead but with the use of a charger I was able to turn the engine over but it didn’t start. I could smell the bad fuel. So I drained the tank and put some fresh 91 octane in along with some seafoam. I checked the oil and it had no signs of water or antifreeze. I wasn’t going to put any money into this engine unless I knew it would start and run. The coolant was empty so I used straight water and found a few leaks. It wouldn’t hold pressure when testing the cooling system but I didn’t have any water getting into the oil. Got the engine to start and it had good oil pressure. I decided to go ahead and change the oil and see if I could get the coolant leaks fixed. One leak was coming off the oil filter cooler adapter. I thought this was strange because usually the oil is run through the radiator but this had coolant run through the oil adapter. I opted to remove it altogether.
With fresh oil and filter, oil cooler removed and coolant topped up I ran the engine up to temp and besides from a few leaks, it never dropped oil pressure and actually ran decent. I ordered a new radiator and did a tune up. While I was waiting for radiator I installed my red top battery in the trunk.
First thing I did was remove the side panel and drilled out the spot welds holding part of the spare tire carrier to the body.
Then I used my body saw to cut part of the bracket to get that piece out of my way.
I used a piece of cardboard as a template and made a plate for the battery to sit on.
After I welded the plate in place I took my home made battery box and welded it to the plate.
Battery installed. Waiting on the wire to get here.
With the battery installed and the new radiator in I found another leak. The freeze plug on the engine was seeping. I’m questioning as to how far I wanted to go with this LT1 but I’m so close to being able to drive it I figured I would change the expansion plug. And of course it has to be the one behind the engine mount. Just scraping at it with a screw driver poked a hole in it. Guy I got it from must have just threw some water in it before it sat for 4-5 years because every time I drained it the water was rusty. And these engines suck to drain.
The ground wire is dirty and that’ll get cleaned up as well. It’s hard for me to do this kind of stuff and not clean and paint everything as it goes back together, especially on my own stuff. But I keep telling myself, self, it’s all only temporary and you can clean and paint your heart out when it’s time for the engine swap.
Finally got it out. Had to jack up engine and put a piece of wood under oil pan on top of crossmember to keep engine supported while removing engine mount.
Because of all the crap in my way to get the engine mount off, I went ahead and removed the stuff I don’t need now anyway. AIR pump wasn’t in the way but managed to “fall” off anyway.
AC compressor and lines. Don’t need them right now. I will be putting AC back on this thing.
I capped off the lines going into the evaporator. I’ll probably replace it when I have the dash out later but it’s just good practice to cap stuff like that off.
For those that haven’t done this, it’s not as easy as just popping out the old one and beating in the new. The socket I used was not a straight shot to get to the plug. I used a long extension and did all the beating from down low. This is the angle I was working with.
Nothing major but this is where the socket would have been if i was able to get a straight shot at it
And that only got me flush with the block. To recess the plug I used a short extension and an alignment bar so I could beat at an angle while keeping the socket straight on the plug.
My perspective while seating it. I need a lift so bad. It’s probably gonna happen this summer.
At this point I’m pretty confident that I have the leaks fixed. I flushed it 6-7 times and still was getting rust colored water out of it. So after about the tenth time it was looking better. I would fill it up with water and some Prestone coolant flush and run it until it was up to operating temp and then drain. This is how ugly it looked even after the 3rd time.
Before I actually drove it on the road I needed some new tires and decided to do the brakes as well. They weren’t worn out but they were rusty. The rear tires I went with Nitto 555R radial drags in a 305/35ZR18 and fronts are Nitto 555G2 in a 275/40ZR17.
The brakes are drilled and slotted rotors with ceramic pads. Nothing special. I have a few different ideas on what brakes I want to run but I need to wait until I get to that point. My objective now is to just be able to drive it while I upgrade so I needed something.
I pulled the calipers off the front and the rotors were seized onto the hubs. I gave it a wack with a dead blow hammer and the rotor broke from the hat. It’s not like I beat it with a mini sledge or anything, just a light swing. Glad I decided to replace them before the test drive.
Both sides did the same thing.
I rebuilt all 4 calipers by popping the pistons, cleaning up the bores and used all new seals and dust boots.
I couldn’t resist throwing the calipers in the sandblast cabinet and giving them some new paint.
Car ran great.............until it got warm, and then hot, and then really hot. I barely made it back to the house. Once it started getting warm it had no power and I had to feather the throttle to get it moving. It’s gotta be a clogged convertor. I called my muffler shop and they said bring it in and they’ll chop it off and put a test pipe in for me. I planned on getting it removed anyway, that’s the beauty of getting a car that’s pre-96, no emissions test. I had 20 minutes to get there before they closed and the car is hot as hell. I’m bleeding the pressure off thru the bleeder valve and trying like mad to get ‘er cooled down so I can make it 3 miles over to the muffler shop. I made it! Barely. That cat was glowing orange when I got it on the lift. They had to let it cool for 5 minutes and put fans on it before they could cut it off and weld in the new pipe.
What a difference! Car ran at normal operating temp, I have a 160* thermostat in it, and it never lost power after that. But I hated the way it sounds with no muffler. It’s raspy and has that back breathing noise that drove me crazy. And drone, man, I couldn’t even drive it. Got online and ordered up a new muffler.
Hope this loads, it’s what it sounded like without any cat or muffler.
Back to the muffler shop it went for the new Flowmaster knock off muffler. $40 shipped to the house. I’ll have to get a video of it now that it has a muffler. Sounds night and day different.
Back home and I have a few issues to work out. First, I think there’s a slight vacuum leak. It idles high and I also wanna get rid of the EGR valve.
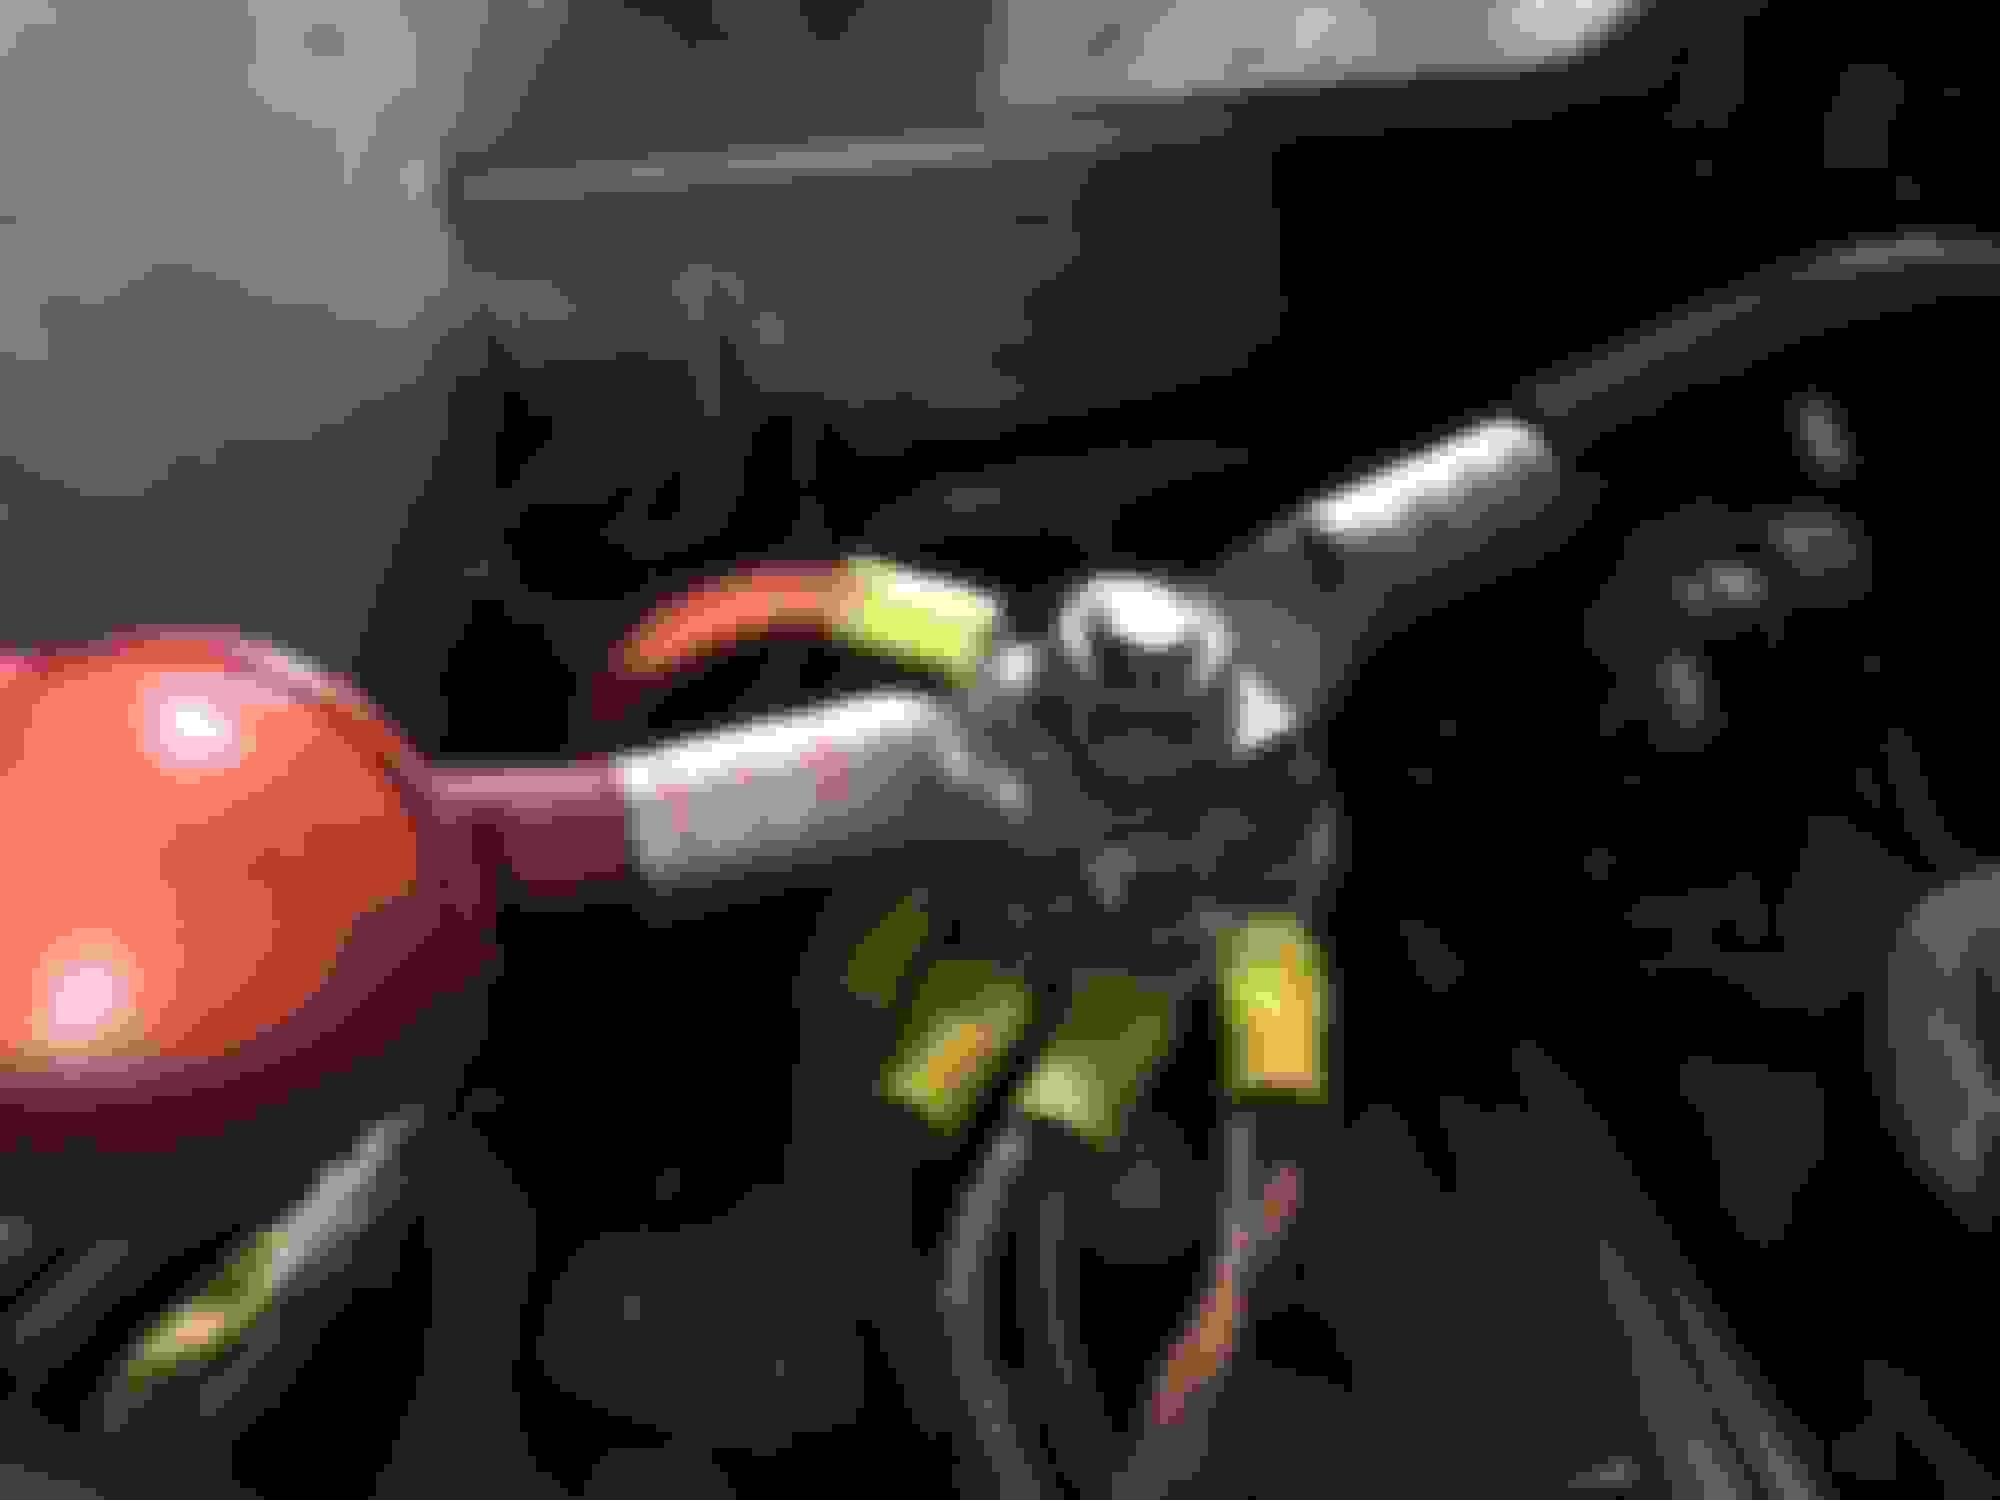
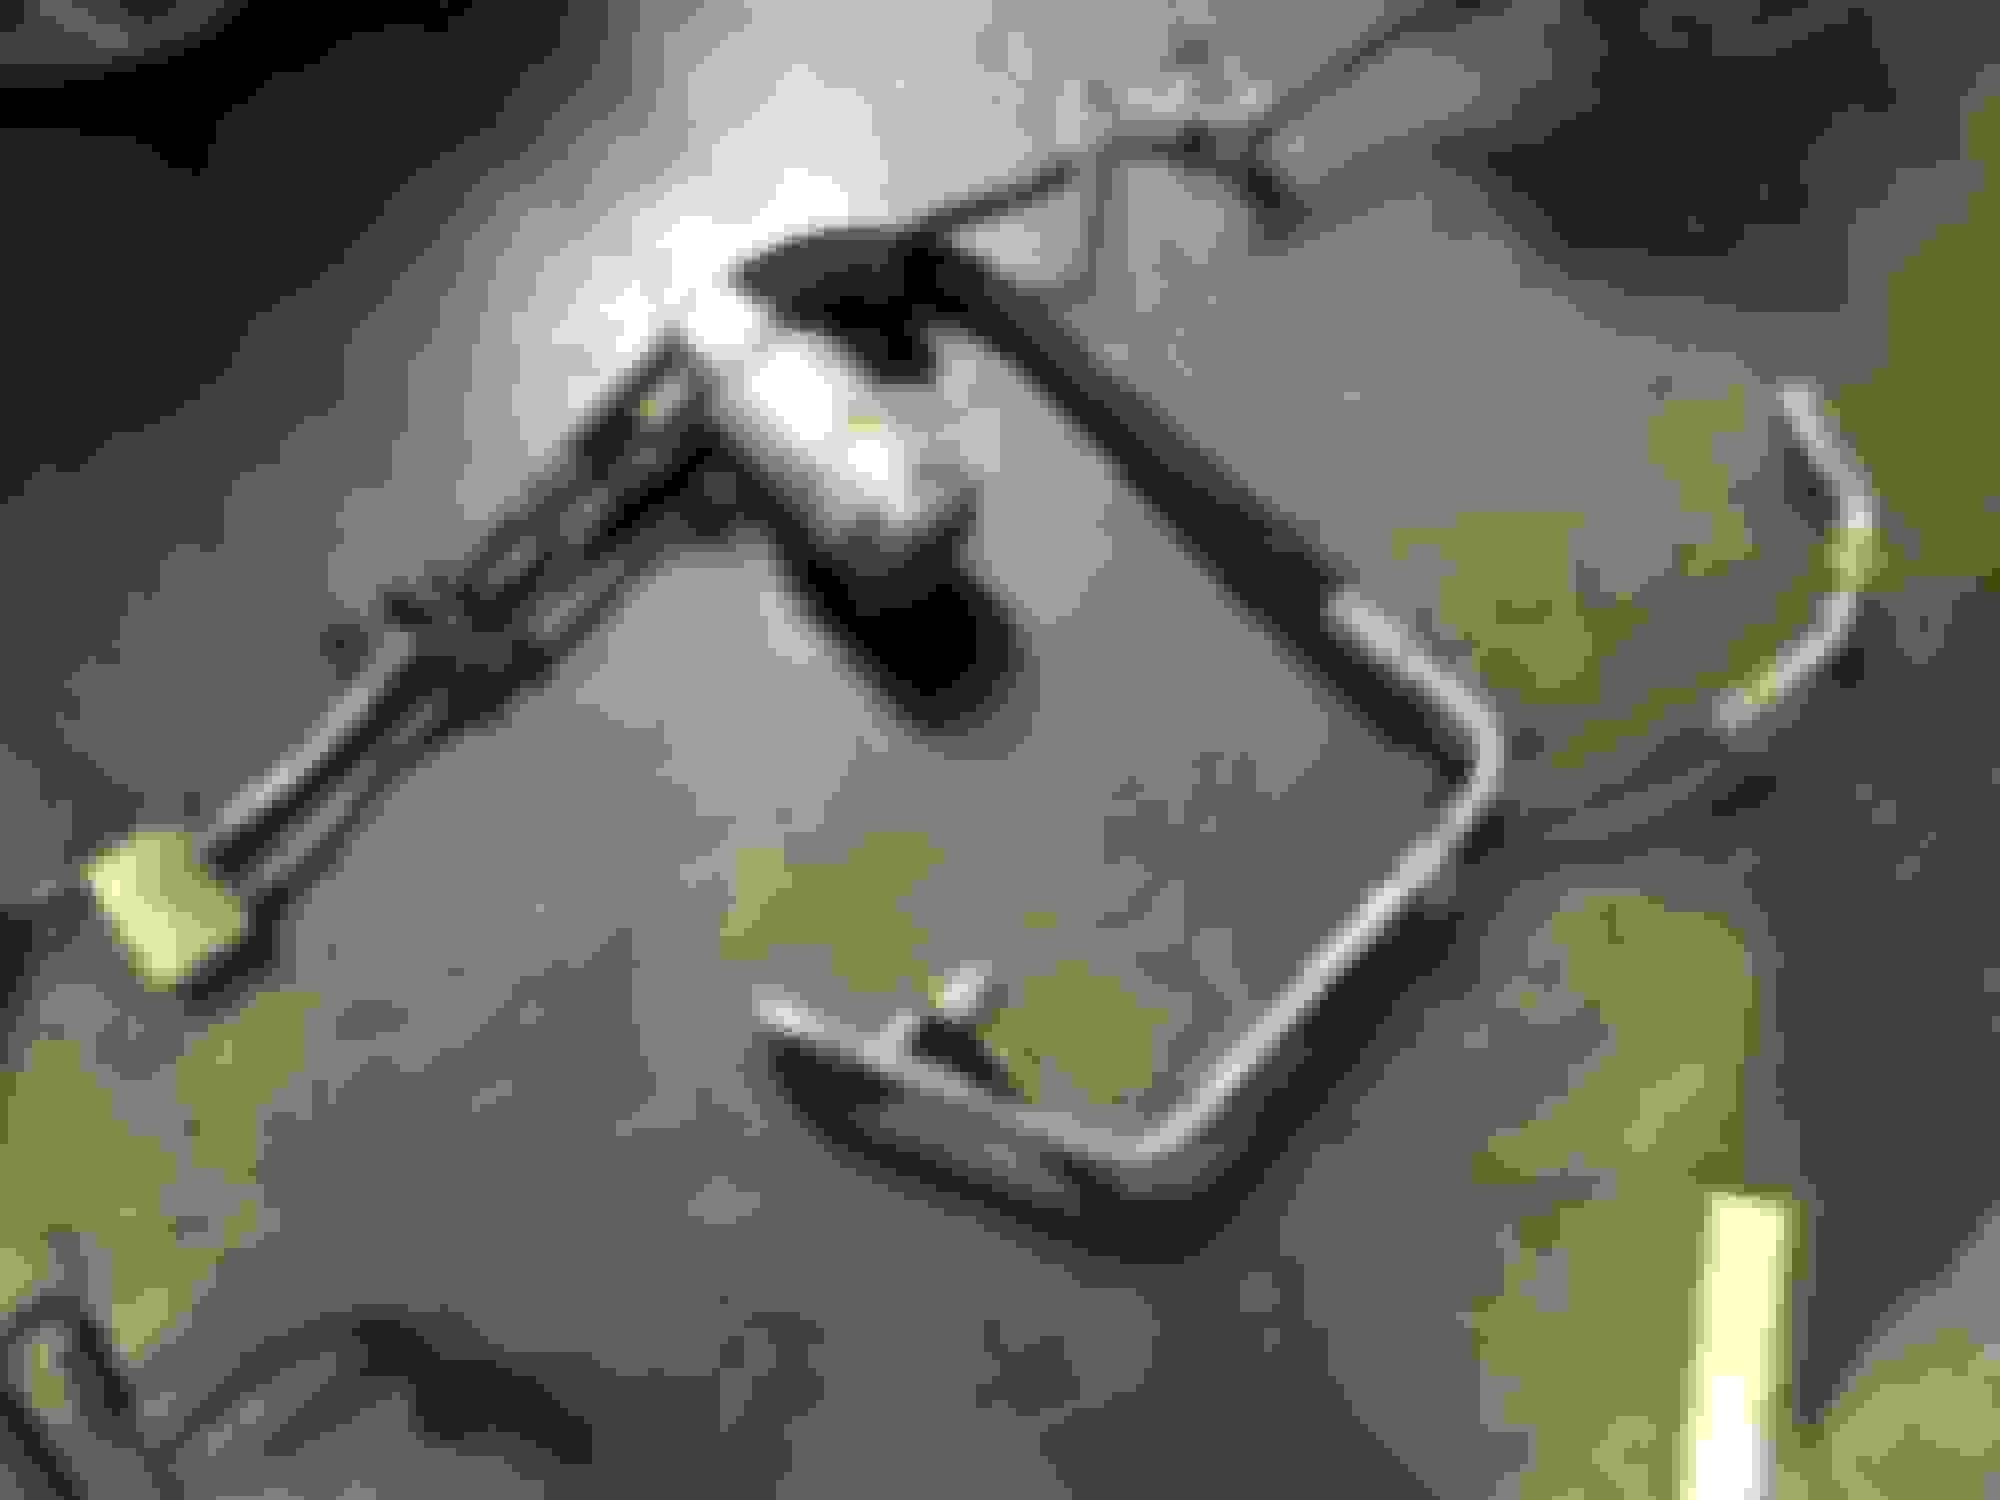
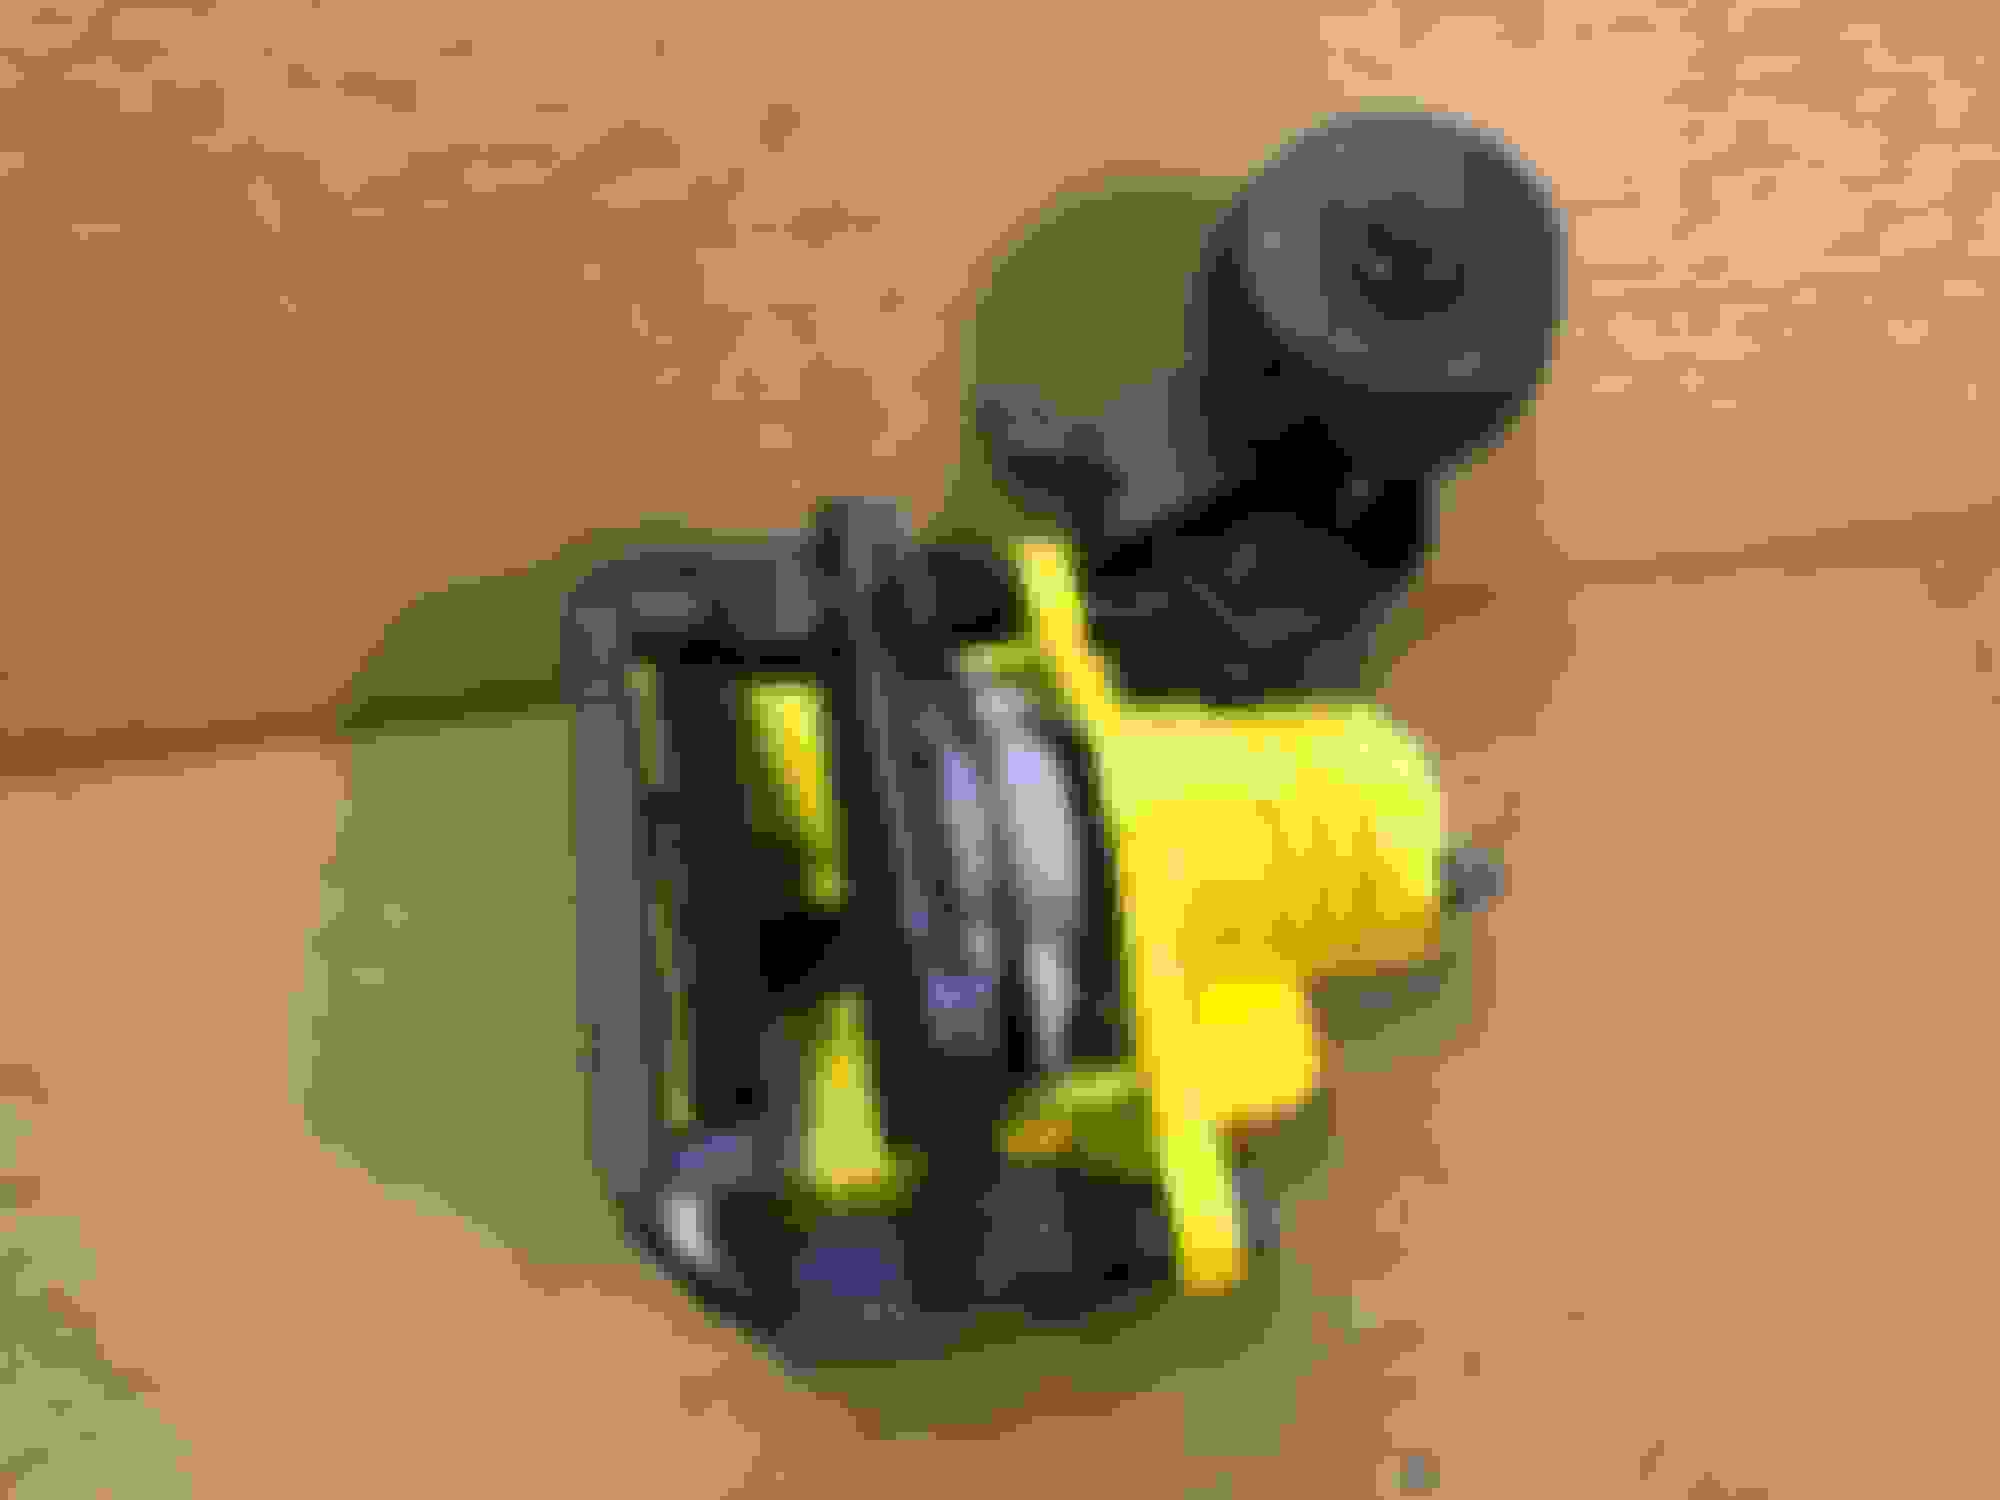
Since I started driving it I felt some play in the steering and could hear a little clunk in the front end so I ordered new front end parts. New inner and outer tie rods and upper and lower ball joints.
Pretty self explanatory but I figured I’d throw the pics in. Also notice the drain pan with nasty looking coolant in it. Yep, I drained it again and am still getting crap out of it. I think the guy put some stop leak in it thinking that would cure his leak or overheating problem. Idk, I always tell people there’s no such thing as a mechanic in a can and all that stuff does is plug up every hole and block heater cores. I hate that stuff and this was a reminder of why.
After the front end was done I started on ditching the WGR and finding the vacuum leak. When I went to remove the tube that goes from the manifold to the EGR valve, the bolt securing the tube broke off inside the manifold. There’s no good way to get at it without removing the exhaust manifold. But since I’m dealing with this stop leak issue I figured I would remove the intake and also pull the steam tubes off the back of the heads. I figured there has to be a restriction in there because it seemed like I was constantly bleeding air and filling radiator. So this is my progress. They say picture is worth a thousand words so here you go.
 03-01-2018, 08:39 AM