When you click on links to various merchants on this site and make a purchase, this can result in this site earning a commission. Affiliate programs and affiliations include, but are not limited to, the eBay Partner Network.
I would love to have a C6Z to race, but I don't know if I could tear up the interior of one of those like I did my camaro to get all the necessary gear in it. The next race car I put money into will be a tube chassis 5th gen, but I don't have 60k laying around for a chassis lol!
well work has begun.
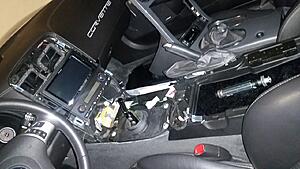
First thing was to remove the Hinson short shifter, it was rediculous. Ive had several short throws on the camaro, but this one was way to short and stiff. throws were 1/4" to 1/2" long and so stiff you needed two hands at times. especially for neutral checks. even tore my shoulder muscle a couple times. and with throws that close it wasnt going to be safe on track. ie lots of wrong gears.
first i removed the console which was alot more involved than the SS.
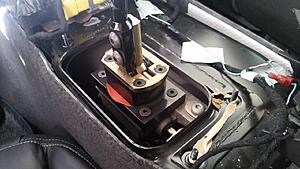
access and removed the Hinson
then reinstalled a stock shifter. much better. a bit rubbery but a big improvement for now, may look into a Core shifter in the future.
Last edited by STANG KILLA SS 2; 07-22-2017 at 06:03 PM.
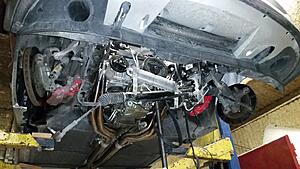
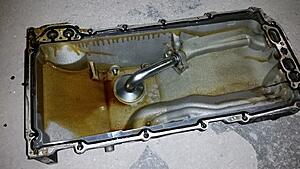
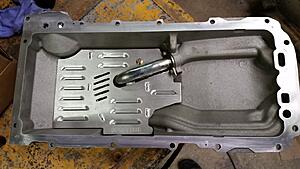
next up was the pan. picked up an improved racing oil pan baffle. i picked this one over the aviaid version because it was aluminum, and didnt require you to drill 3 holes in the bottom of your oil pan. also wraps around the right side a bit more.
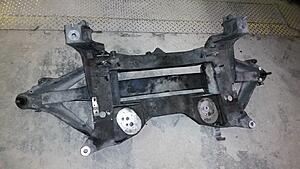
first up was to drop the cradle. being Magnesium it didnt weigh nothing. could carry it with one hand!
pan removed
pan cleaned and baffle bolted in. not a hard job in itself, just getting to it was the chore.
Last edited by STANG KILLA SS 2; 07-22-2017 at 06:05 PM.
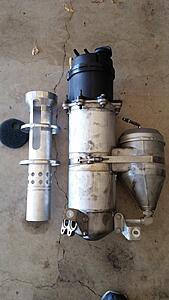
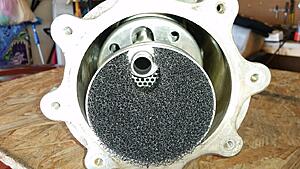
next up was the dry sump oil reservoir baffle. Aviaid was out of these but they built one for me and it came in right when we were in the middle of the pan baffle.
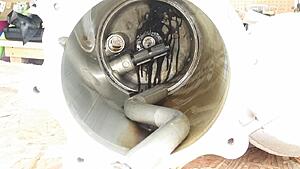
removed the reservoir from the fender cavity from below by removing the fender liner and loosing the fender bolts.
removed the top black plastic part. you can see the transfer tube and the port in sticks into on the left.
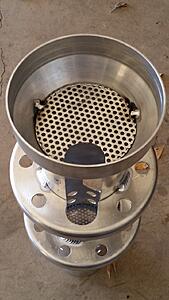
the baffle
next was the hard part, inserting the baffle and trying to get the transfer tube back into its port completely blind with the baffle blocking your view. but with some reference marks and some dry runs without the baffle i got it back together without too much hassle.
Last edited by STANG KILLA SS 2; 07-22-2017 at 06:07 PM.
I hope that stand wasn't on the crank pulley supporting that weight, you can easily bend the crank doing that...and many have.
I put a Hurst in my car and hated it. I took the stock one, cut it off and threaded it down to the bump. I got a small ball **** from Twistedshifterz and did the "Anti venom mod"...I love it this way.
only as a back up. the motor is hung from chains from above using a forklift.
i think the stock one has a rubber bushing in it in the handle shaft, i might look into making a delrin or aluminum replacement to make it more positive. im fine with the throws.
i have been looking at the Core shifters on ebay. for c5/C6 i really like what i see there. and the price too. http://core-shifters.com/
yeah i had one of there baffles in the LS1. its alot better in the large wet sump LS1 pan. i really liked it. ill be honest im not sure this one does alot. but no way im doing 3-5k on a aftermarket drysump setup. so trying to do what i can with the stock setup. had also planed a Katech high pressure pump. but the C6Z stock pump pressures are about the same as my Melling LS1 high pressure pump i had in the camaro. so it will stay for now.
Last edited by STANG KILLA SS 2; 11-28-2016 at 05:19 PM.
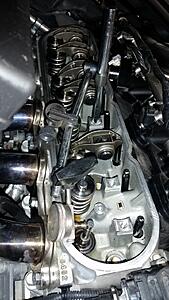
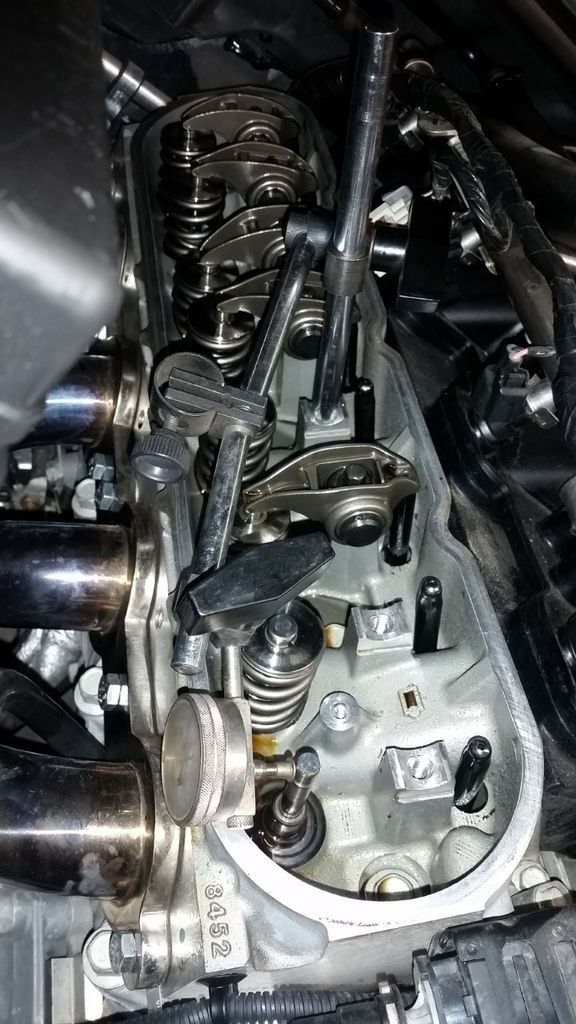
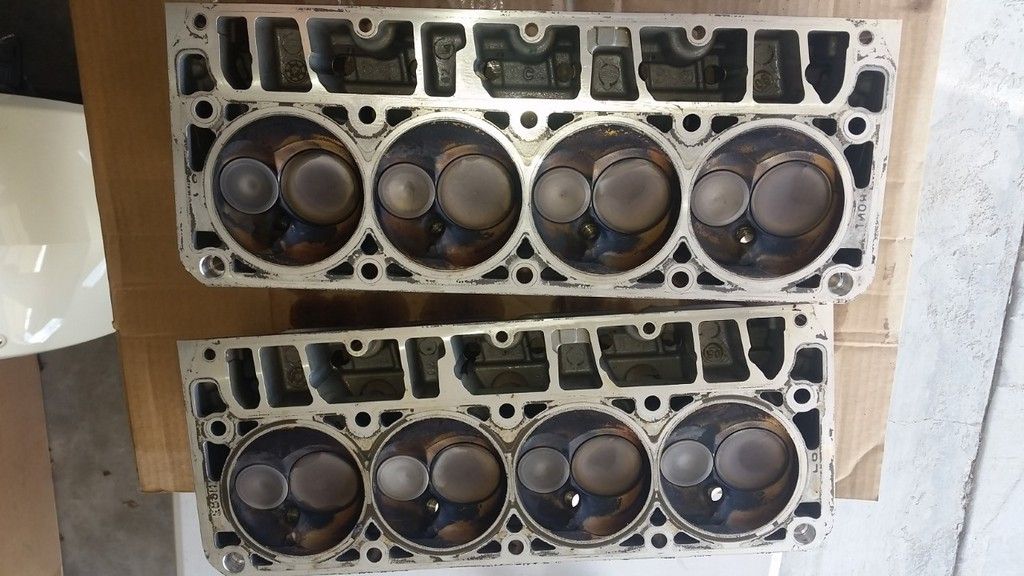
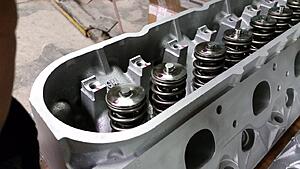
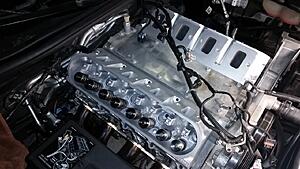
Pulled the valve cover off to check the LS7s achilles heel, the valve guides.
after checking 3 of them and getting .009 and .010 wobble (.007 is max) it was obvious they were bad.
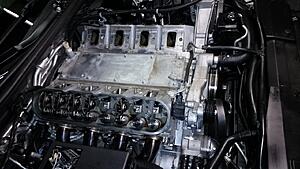
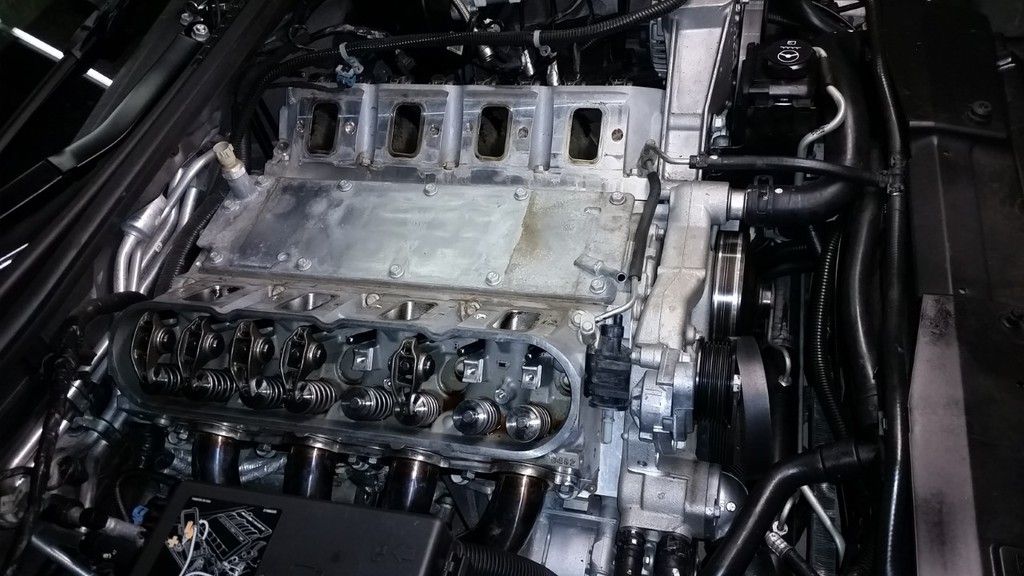
so time to pull them. Intake off
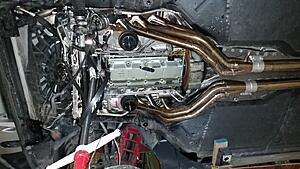
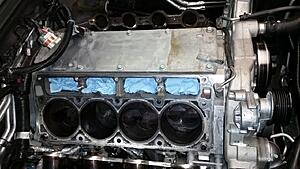
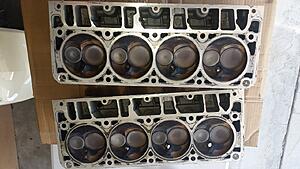
heads and headers off
Sent off to AHP in California....
i keep telling myself this is what everyone does to there car thats 2 weeks old...
Last edited by STANG KILLA SS 2; 07-22-2017 at 06:09 PM.
Pulled the valve cover off to check the LS7s achilles heel, the valve guides.
after checking 3 of them and getting .009 and .010 wobble (.007 is max) it was obvious they were bad.
so time to pull them. Intake off
heads and headers off
Sent off to AHP in California....
i keep telling myself this is what everyone does to there car thats 2 weeks old...
This is the major reason I don't own one of these cars.
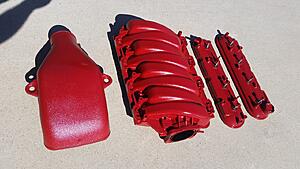
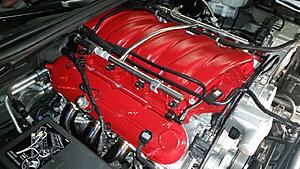
while i had them off i decided to paint the intakes and valve covers the z06 red since i wasnt going to put the red fuel rail covers back on (just hold heat) took me a couple days but they came out great!
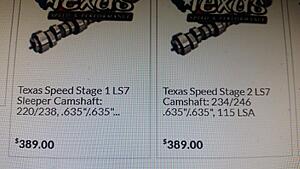
there was some confusion about the cam when i bought the car. the ad said it was a custom comp cams .615 lift, then when i bought it they said it was a TSP Stage 3 LS7S cam with .655 lift.
(going back in time before removing heads)
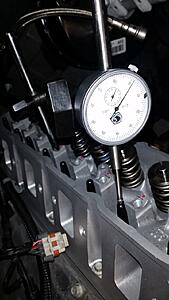
we set up dial indicator on pushrod.
the first rotation we got .355, second pass we got .351.
if you average those you get .353
.353 x 1.8 (rockers) you get .6354 lift.
so i go on texas speed and what do i find. they have a stage 1 and stage 2 cam with that lift! went from an unknown cam to narrowing it down to 2!
also found TSP 3/8" chromoly pushrods in the car
Last edited by STANG KILLA SS 2; 07-22-2017 at 06:12 PM.
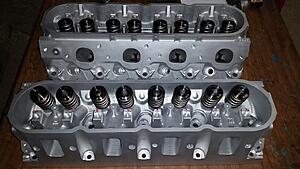
threw the magic of the internet the heads are done and back from AHP! (2 weeks later with shipping and holidays)
man they look awesome! so good in fact i thought they were painted.
AHP Package 4 Heads (include):
- Disassemble and Assembly of LS7 cylinder heads
- Performance Valve Job (show to add 5hp+ over the stock valve job)
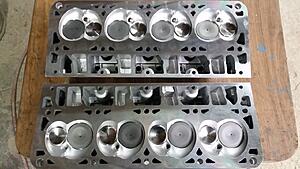
- Resurface Heads (or milling of heads)
- Clean and Bead Blast entire head (so they look brand new)
- Hardened Aftermarket Powder Metal Valve Guides (Harder than aftermarket bronze guides)
- Stock Titanium Intake Valves Treated and Polished
- Ferrea Competition Plus Exhaust Valves F2042P (85 grams)
- New Viton Valve Seals and machined valve locks
i also had them mill the heads .025 for more compression and upgrade to the bullet proof Moldstar90 guides.
heads back on
added .025 shorter pushrods to compensate for head mill and put intake and valve covers back on. love the look!
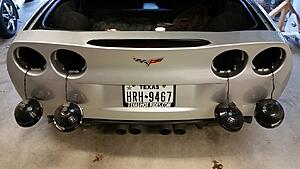
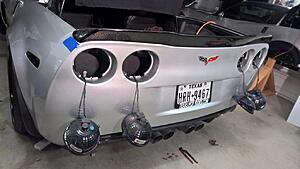
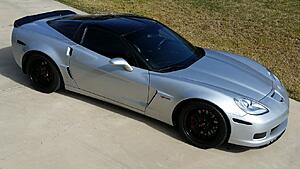
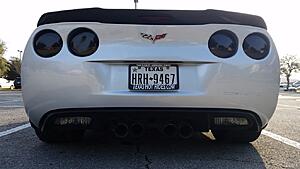
rear downforce time.
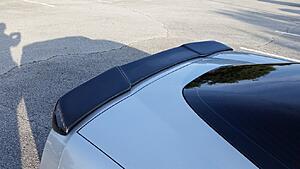
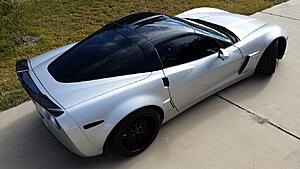
Went with the C7 Carbon Extended Zr1 spoiler.
Took them about 6 weeks to make it, but it was worth the wait. Fit and finish was awesome. Resin is super deep and glass smooth, weave is straight and consistent. fit the complex bumper curves well.
Ironically i actually ordered this before i found the car...
I went a little nuts with the pics, but i like the way it came out.
lights out
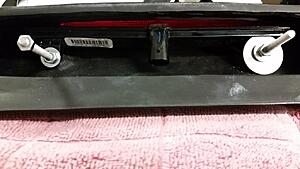
drilling brand new car #nervous
installing 3rd brake light. left side i was able to use factory tab. right side i had to cut the tab and hold it on with a ground down washer. The hardest part of the whole project was repluging in the 3rd brake light plug.
test fit
Done!
dat ***
Last edited by STANG KILLA SS 2; 07-22-2017 at 06:16 PM.
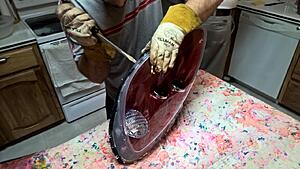
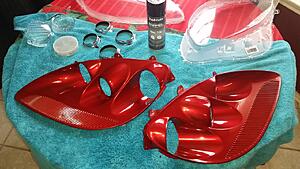
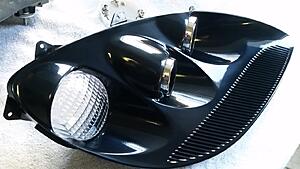
since the beginning i knew i wanted black headlights, but because its such a popular mod, and because GM hasnt made these headlights in years, they typically fetch a 4 figure price tag when a set comes up for sale.
so i decided to make my own. got super lucky and found a 3 month old set on ebay in a less desirable cheaper color. pretty much new condition including lenses.
started by baking them in the oven and prying. had to repeat this 5-10 times per headlight. HUGE PITA. took 4-5 hours.
Finally!
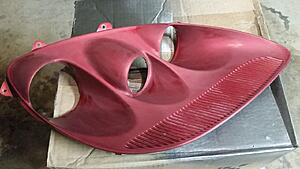
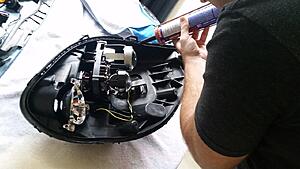
disassembled
wet sanded, degreased, and ready for paint
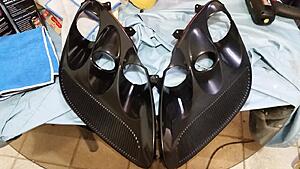
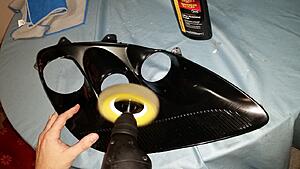
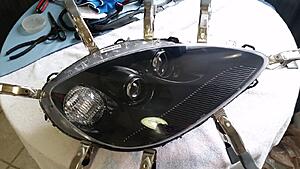
5 coats later
polishing, i wont even bother going into this huge ordeal....
reassembling
after a ton of research i settled on loctite PL roof and flash. WARNING, if you have kids, dogs, wife etc, this stuff smells EXACTLY like chocolate cake. im not kidding, even once dry for weeks. keep out of reach
no going back now
clamped. rinse and repeat for other side.
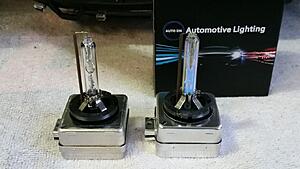
threw in a pair of 3k(yellow) HID headlights (right) ie C6R style.
Last edited by STANG KILLA SS 2; 07-22-2017 at 06:18 PM.
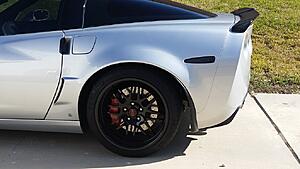
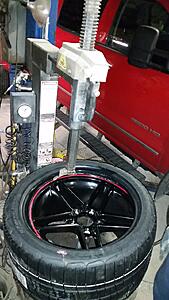
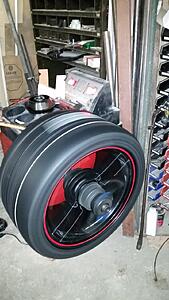
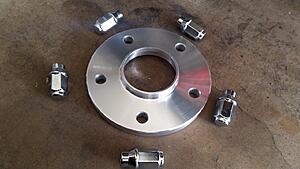
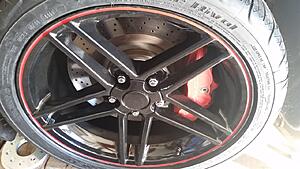
unfortunatly they wouldnt clear my calipers. bought some 1/4" spacers first but those were only enough for the rear. the front needed 12mm spacers. Both hub centric. also picked up some extended shank lugs to grab more threads lost from the spacers.
bingo
Last edited by STANG KILLA SS 2; 07-22-2017 at 06:20 PM.
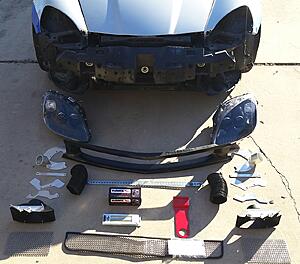
Splitter/bumper reinforcement
Spindle brake ducts
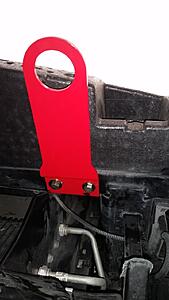
Tow hook
Race pads
Fog light brake ducts
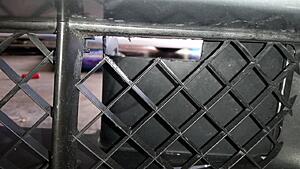
Race mesh
Blacked out headlights
LED DRLs
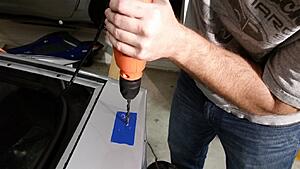
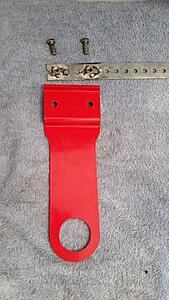
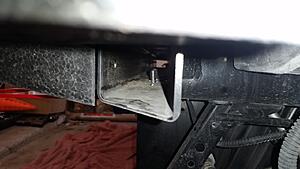
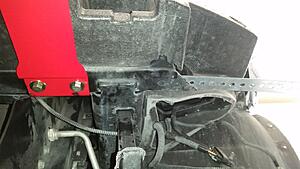
picked up towhook from JDP Motorsports. instead of using the supplied press in nuts, i bought and welded some nuts to a piece of steel...
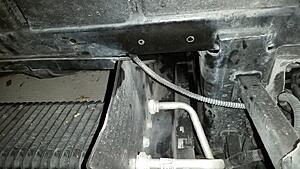
marked hole locations in bumper bar
drilled view from inside bumper bar
stuck steel "handle" with nuts welded to it in bumper bar and tightened. cut off excess after tight. beats taping wrenches to sticks or the pressed in nuts.
cut grill for tow hook
Last edited by STANG KILLA SS 2; 07-22-2017 at 06:22 PM.


 11-03-2016, 05:48 AM