When you click on links to various merchants on this site and make a purchase, this can result in this site earning a commission. Affiliate programs and affiliations include, but are not limited to, the eBay Partner Network.
I had an oil leak, so I decided to take my whole car apart.
I bought this 2000 Pontiac Trans Am WS6 from another forum member back in 2011. It had 112k miles on it and was pretty clean, at least on the surface. It was your run of the mill cammed fbody. It spent a lot of time sitting while we moved around and was even up for sale at one point because I couldn�t move it with me. Fortunately, I never sold it and it eventually found a permanent spot in our new 2 car garage.
It had a bad habit of throwing valve seals and leaked oil somewhere around the front cover, which I never had the time to figure out. Once it finally became a garaged car, I decided the leak needed to be fixed. I also couldn�t stand owning a vehicle that was slinging oil all over the engine bay. I decided the easiest thing to do was pull the motor. I had never been happy about the condition of the engine bay either. If you�re a gearhead, you know where this snowball was headed.
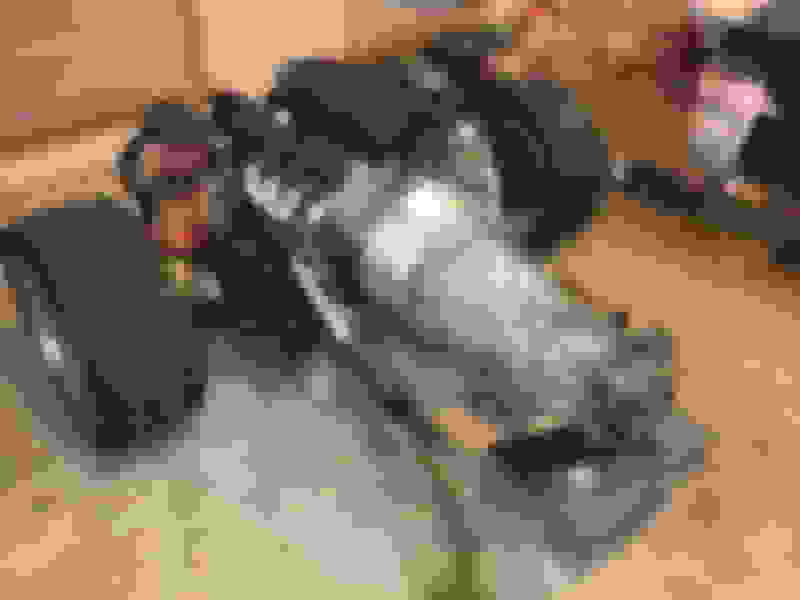
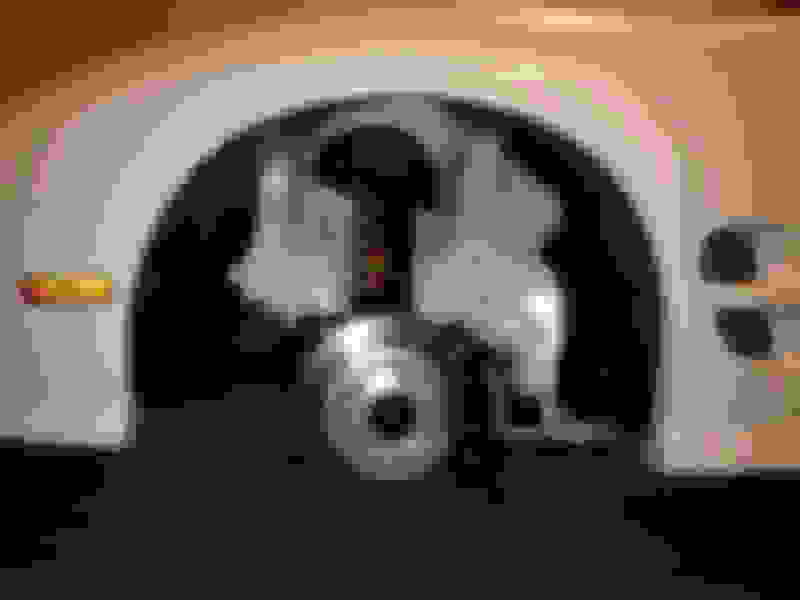
It started like this. Not too bad.
I started tearing into the car and eventually uncovered this.
And this!
So much for my �clean� car.
That is oil, power steering fluid, and dirt. It is NOT paint! Gross!
I eventually succeeded in pulling the motor from the top of the car. I do not advise this! I ended up damn near dissembling everything to do it. I just created more work for myself out of ignorant ambition.
I then worked on separating the engine and transmission to mount it on the stand. I discovered the top bolts on the transmission bell housing to the motor were incredibly loose. I also found out that they had chewed up the last couple threads on the ARP crank bolt, likely from trying to pull the balancer on with it. It ate out the threads in the crank snout upon removal. *Sigh*
Once on the stand, it�s apparent that I had more than an oil leak. It was more like an oil jet. I found four of the oil pan bolts were loose. *Sigh again*
I drug the engine and transmission into the driveway and proceeded to scrub them down. Unfortunately I seem to have lost any images of the engine cleaned, but I do have evidence of the transmission being scrubbed down.
I made my way back into the engine bay to evaluate things. Looking at the damage, I figured I�d scrub it down and see where I ended up.
Better, but still not great. There were spots where the oil and power steering fluid had ate through the paint. At this point I knew I had only one option, fill the holes and repaint it! Logical right? I turned around and looked at the front rack I pulled out.
Well that�s nasty. I can�t put that back in the car. Time for more scrubbing.
A little better. Still doesn�t quite cut it for something that�s going back in a painted engine bay. I also discovered I had torn a ball joint boot. Ahh screw it. Let�s just take it all apart, replace all the joints and bushings, and paint it!
Some words of advice to those who decided to R&R their front suspension, buy a shop press. You can get one at China Freight for around $120. Using hand tools to do it was the single most miserable part of this whole project. I succeeded, but I would never do it again!
A little Summit Chassis Shield Epoxy on everything and we are looking spiffy!
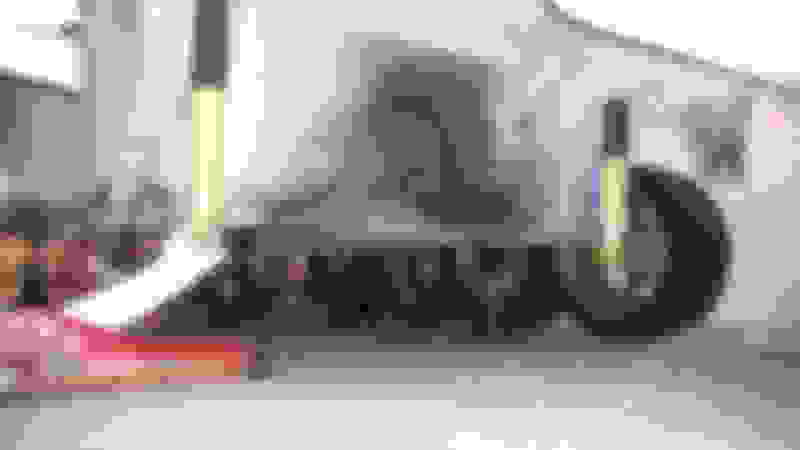
Progress up to this point has posed a new problem. How does one live with a car that has a like new front half and a greasy old back half? Let�s inspect what�s going on in the rear.
Aww man. I really wish I hadn�t looked under there. Oil on dirt on oil, covered in dirt. Looks like the next logical thing to do is to rip out everything from under the car. That is logical, right?
You know, there is a pretty underwhelming amount stuff under these fbodys. In my head, cars were way more complicated than this lol. With all that mess out of the way I was ready to start scrubbing.
I decided to scrub everything short of the rear differential that I had removed from the car too!
At this point I decided to take a break and fix a couple nagging issues I�ve had with the car, the bent fender tabs and pinch welds underneath. Not only did the people in this car�s last life not know how to tighten things properly, they apparently didn�t know how to jack vehicles up either.
Now that I�ve finished obsessively cleaning and straightening things, it was time to fill some holes and lay some paint. I figured out every hole that would no longer be needed after a good wire tuck and ground relocation and welded them up. Then went the body filler, sanding, primer, sealer, basecoat, and finally clearcoat.
I was more than just a little inspired by Crimson�s engine bay in his old red Trans Am. Having quite a bit of Summit Chassis Shield left over, I decided to mimic his core support, permanently.
I think it came out pretty snazzy!
Last edited by RebelExtrm02; 07-27-2016 at 10:20 AM.
At this point I started feeling like I was forgetting something. Oh yeah! The oil leaking and burning engine… That was the original goal after all. Let’s split that puppy open. All the cylinder walls looked good, but was I heartbroken to find eyebrows on all of the pistons when I cleaned them off. I failed you and didn’t save a picture of the deck and pistons cleaned up. That graphite was a nightmare to remove. It’s probably good you don’t have to witness that horror anyway. I figured out that the engine was subject to valve float from weak springs at some point in its previous life and every single valve stem was tweaked. I couldn’t even remove the valves from the heads. That explains why my valve seals wouldn’t stay on and why it burned oil.
I ended up lucking into a pair of 243 heads on craigslist for $200 from a high mileage GXP on craigslist. I actually received the whole top end of the motor. I ended up selling off the other parts essentially making the heads free (less my time of course). You can see it all piled up on the right by the compressor.
I very carefully set the heads on the cleaned deck to take my measurements and figure out how far I wanted to mill.
I sent the heads off to the machine shop and had them cleaned up, checked, and milled down to 63cc chambers.
I went back into the valley of the motor to notch the block for a LS6 valley cover and found these awesome little lifter trails on my cam. I pulled the cam to further inspect and found one of the lobes had cracks in it.
Well. So much for buying a cammed car. Looks like I’m putting my own cam in anyway. I just didn’t feel good going through all this work and putting new lifters on those lobes. At this point I’m getting pretty frustrated at having purchased a modified car, since I’ve replaced almost every mod the car had when I bought it (Shortly after purchasing it I changed the headers, exhaust, and suspension). Tired and frustrated I called around for cam recommendations to fit what I’ve already done (having milled the heads for the clearance of the last cam). I ended up settling with Martin Smallwood at SRD for a custom grind on a Cam Motion 8620 core.
While waiting for the cam to show up, I decided to do something about that nasty 10 bolt still sitting in the back of the garage. I have no need to replace it yet, it still works fine, short of a leaking pinion seal. I decided to replace the pinion seal, clean it, and finally repaint it using the last of my Summit Chassis Shield. I was surprised to find that the pinion nut was loose when I started changing the seal. I don’t know why I was surprised, nothing else was tight on this damn car. I digress.
Still patiently waiting for the cam to show up, I decide to go after the engine covers with some VHT wrinkle paint.
I even managed to revive my hood latch assembly. I put it in vinegar overnight which ate away most of the rust. I then soaked it down in dawn dish water. Finally, I hit it with several coats of the VHT wrinkle paint and tossed it in the oven.
Even the cowl and wiper arms received some paint. I used Krylon Exterior Satin Black.
The cam still wasn’t in, so I started putting the rear end back together. I ditched the factory bump stops and spacers for a pair of 3rd gen rubber bump stops I picked up for $10 at the local pick-n-pull. I’m pretty happy with how these turned out.
I started to install the headlights in the front of the car and realized they weren’t up to snuff any more. I took them apart and repainted all of the brackets.
I also took a little detour and started the wire relocation mod on the passenger side of the engine bay. I cut a �” hole under the hood strut mount and depinned the connectors on the harness to fit them through. I beveled the edge of the hole with a file so it wouldn’t cut the wires. I may still go back and put in a grommet just to be safe.
The cam finally showed up!
In case you’re wondering, it’s a little 226/234 .612/.595 112+2 using Martin’s lobes. I had expressed a desire to quiet down the valve train a bit. The last cam was running .62X lift Comp LSL lobes on the exhaust side and had a very prominent industrial sewing machine sound. The new cam didn’t eliminate it, but it’s a LOT better than it was. Of course, the valve train ended up being properly measured and assembled with quality balanced parts this time too . Installation was greatly simplified by having the cam doctor card with the cam so I knew it was degreed in properly.
The next arrival was a set of Morel 5315 drop in lifters. I got cold feet about the LS7 lifters I had originally purchased to replace the worn out factory lifters. Having to shell out for a new cam made me reconsider quite a few different things.
I went ahead and installed the cam with a new retaining plate and new bolts for the timing gear. I also added a Trick Flow timing chain damper with the LS2 damper. On went the LS6 valley cover as well.
I got a little curious about the oil pump and pickup tube while I was in there and pulled the pickup tube off. Yep, pinched o-ring. How this thing had oil pressure for the last 50k miles is anyone’s guess. I’m officially over buying a modified car at this point. Never again.
The local GM dealer hooked me up with a new o-ring, so I carried on.
Last edited by RebelExtrm02; 07-27-2016 at 10:24 AM.
Before putting the oil pan back though, I started a little project. This came about from entirely too much reading about fbody oil pressure online after finding the pinched o-ring.
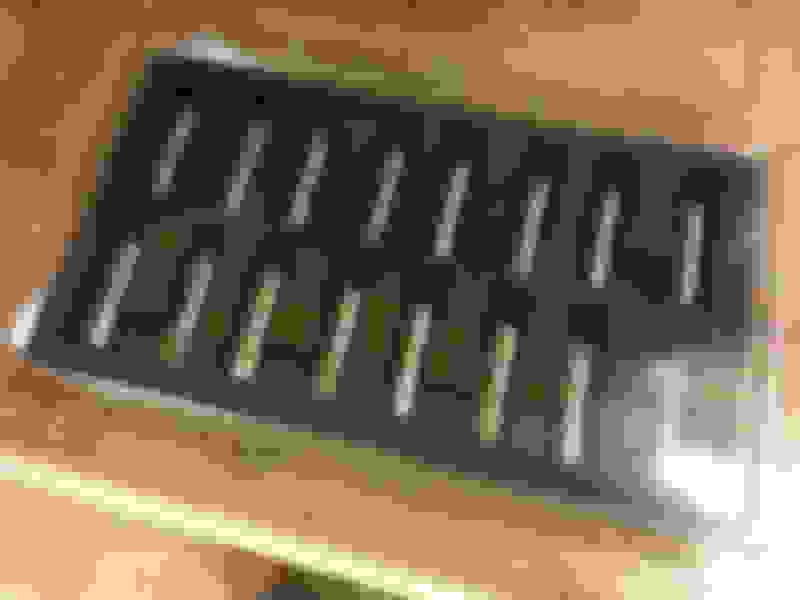
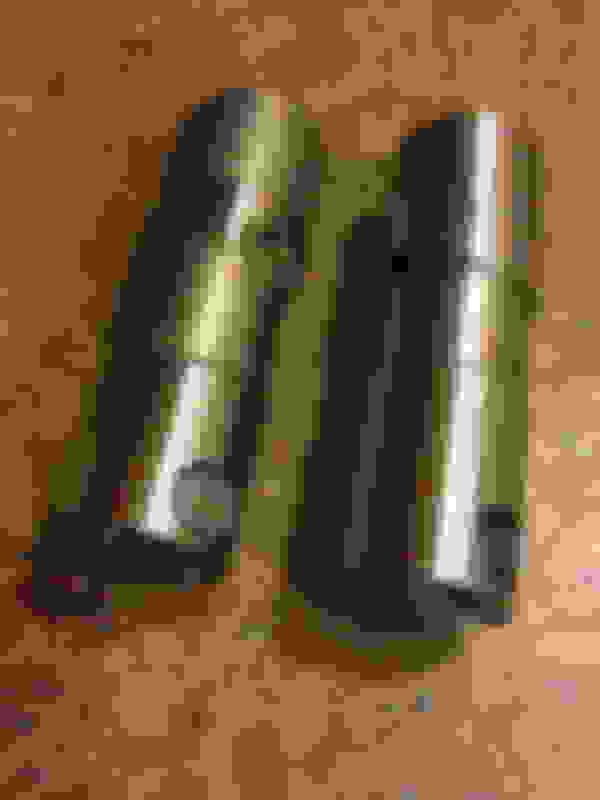
I wanted a baffled oil pan. I looked at the Improved Racing baffles but couldn�t see spending $200 on so little aluminum in such a simple configuration. I hit up the local metal shop and purchased a 12�x24� sheet of 1/8� 3003 H14 aluminum. I�m not a welder so I snagged a rivet gun and some 1/8� pop rivets from china freight. I was convinced I could mimic the Improved Racing baffle using folds and rivets. Fortunately for me, they sold their trap doors separately since those would have been harder to mimic.
I started with mocking up the baffle in cardboard using the factory baffle as a template.
I then laid it out on the aluminum, traced it, and made my cuts. I used a variety of tools including a dremel, hacksaw, and metal files.
I used a homemade sheet metal brake I built to fold my pieces. I then drilled the holes and riveted them together.
I think it turned out fantastic! I did have to remove and reinstall the pan several time and file some of the edges to get perfect clearance. In the end it was worth it! All for $30 in materials and tools plus a reckless disregard for my personal time.
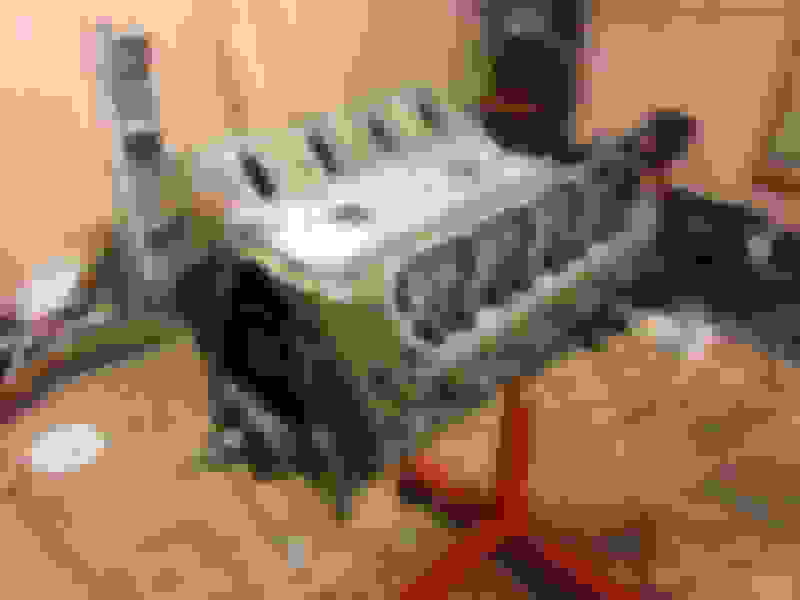
I went back to assembling the motor. I installed the heads using gm mls gaskets and gm bolts.
I measured for my pushrod length and went ahead and installed the BTR Platinum Dual valve springs I had already purchased, along with the engine covers, pan, and balancer with new ARP bolt. I had to run a bottom tap through the crank snout a million times to get all of the jacked up threads and debris out from the old crank bolt catastrophe. I then used the proper tool to reinstall the balancer. I used a torch to heat up the balancer before and during pressing it on. It also helped that it was now winter and the crank snout was frozen. You can see my little space heater on the left trying to keep me flexible. I was the happiest man in town when I reached the proper torque on the new ARP crank bolt and the threads held.
I installed the 3/8 pushrods with rockers and covers. I also snuck a POTZ ported throttle body on there. I was able to buy it off the forum for the same amount I was able to sell my stock tb for. Free upgrades ftw!
Before mounting the coils to the engine, I wanted to clean up the wires and tuck them a little better. I peeled off the metallic tape from the coil harness and replaced it with tightly wound electrical tape. I then assembled the coils to the bracket with the wires tucked under. I think it came out much better.
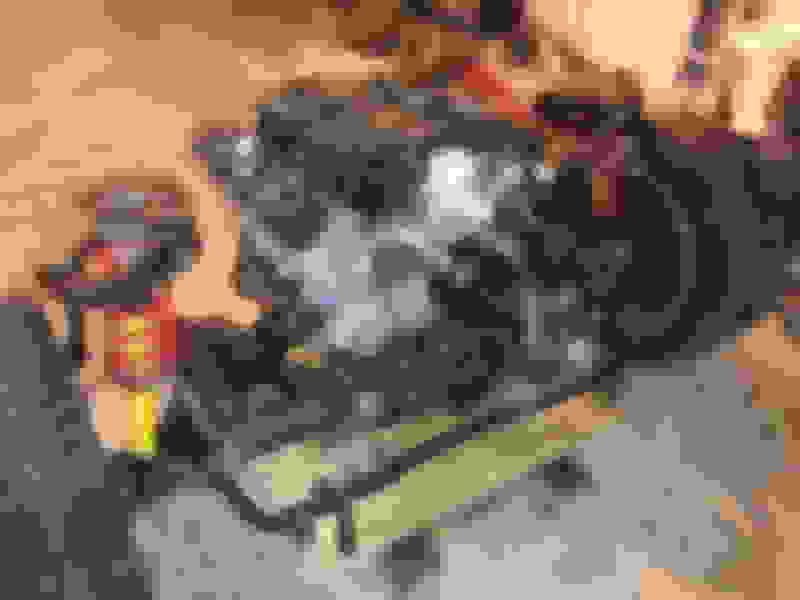
It was now time for the engine to meet the K-member again. I had to introduce them slowly since it had been almost a year at this point since they last saw each other. I also snuck a 145amp alternator from a 03 GMC van in there real quick to replace the power steering fluid and oil soaked original.
At this point I was going to reinstall the clutch and flywheel I removed from the car. It was just a Centerforce I but had held up fine so far. Unfortunately I looked a little closer and found that the factory cast flywheel had cracks in it. Desiring to keep my feet, I ordered a new SPEC billet flywheel and then called up Jason at TDP and ordered a new Diamond Stage II clutch package.
With time on my hands waiting for parts in the mail again, I decided to carry on with other things. I looked around and noticed the terrible condition my headers were in. The excessive fluid leaks had ruined the finish on them. I decided to torture myself with a few days� worth of sanding and polishing with some Mothers Mag and Aluminum polish until they were in acceptable condition.
By this time, the clutch kit had been delivered. I took it down to the local machine shop and had the assembly balanced. As you can see, the so called zero balanced SPEC flywheel still needed some material removed for a true balance.
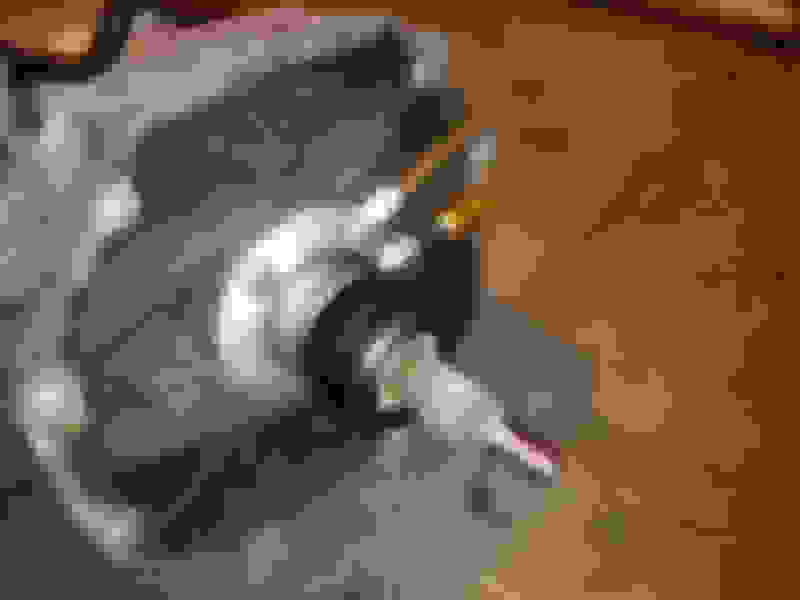
What I didn�t show, because I managed to lose the pictures again, was removing and reinstalling the pilot bearing. My guess is this was not changed when the last owner installed the Centerforce clutch. It had just started to pit the input shaft on the transmission. Fortunately a very small amount of polishing with emery cloth was able to fix it. I then installed a new slave cylinder with the appropriate shim and mated the transmission to the motor.
The headers were then installed. It goes without saying that installing motor mounts and headers this way is awesome! Haha.
Then came the magic moment. Reinsertion! I found a handy way of connecting the shop crane to the front of the car using the load leveler.
I very slowly lowered the car while reconnecting everything. I bled the master and slave on the clutch system with the car � of the way down so I could easily reach the bleeder screw while my wife pumped the pedal slowly. It worked marvelously. Ha!
Once it was back down on the jack stands, I started putting the accessories on. I put in a new Duralast Gold battery as well. I rolled under the car and reconnected a few things under there as well such as the harness around the transmission, fuel lines, and whatnot.
If you look closely, the harness that runs across the front of the core support is missing. I managed to tuck it behind the plastic cover that helps funnel air into the radiator from underneath. Worth it!
I noticed my brake lines were looking kinda gross and out of place with the newly freshened up suspension so I swapped them out for some stainless lines.
Celebrating the success of re-install of the powertrain, I took a break to finish figuring out my exhaust. I previously had a TSP off road y pipe and magnaflow catback. There was still some rasp in it and it stunk. I had put a catted ypipe on it once before but it neutered the exhaust volume and cam chop. Fortunately for me, Hooker just released their Blackheart duals for the fbodys. I decided to gamble on this and mod in my own Magnaflow spun metallic 200 cell cats. I was hoping with the free flowing cats and straight through mufflers it would still have good volume while eliminating the rasp and exhaust stench. I’m happy to say that it did!
When I was installing the exhaust tips, I realized the CETA mod the previous owner did on the back bumper was in pretty terrible condition. I decide to repaint that too! You would think I would have been tired of painting things at this point.
That was accomplished using Rustoleum 2x Satin. I wasn’t happy with the spray pattern of the Krylon fusion on my cowl. I’ve used this Rustoleum before and really liked it. Hopefully it holds up in the sun alright.
I headed back to the engine bay. I purchased a bunch of stainless hardware from Bolt Depot to replace all of the body fasteners in and under the engine bay. Don’t mind the rag. I was also filling up the radiator. The old hardware was rusty and greasy. I reinstalled the front bumper using the new hardware as well.
With that out of the way, it was time to reinstall the hood and wheels and then see if it runs. After a couple primes of the pump, it turned right over! Then it died. The fuel outside of the bucket had evaporated out of the tank from sitting for so long.
Once I was able to get some fuel in the tank I pulled it out of the garage. If you look close enough, you can see the Techflex F6 split loom I recovered the harness in while buttoning things up. I also tucked the harness under the fuel rail instead of floating over it.
To finish things off, I picked up a used Norris catch can on eBay to run alongside the LS6 valley cover and hopefully help mitigate oil entry into the intake.
Now that I considered the car to be complete, I booked my tuning appointment. Unfortunately, the first shop wasn’t the best choice. I had picked them because of the reputation of their gm tuner. They kept having issues getting the car to start up and idle right.
I did some research and found out their original gm tuner (the one that had been recommended) had left and opened his own shop a few months before hand. Woops. I tracked him down and explained the situation. I took my car to him and he was able to fix everything. On top of it, he was able to get more power out of it than the first shop.
You can see in the dyno graph the first run with the tune from the first shop compared to his final run after fixing the tune. I’m super happy with the numbers considering it was 113*F in the shop. The car is so silky smooth now when transitioning between gears and on/off acceleration. I never knew a tune could change the way a car feels so much. I might actually like driving this one more than my Go-Kart.
Now, to answer the burning question. Does it leak oil? NO! Mission accomplished!
Last edited by RebelExtrm02; 07-27-2016 at 10:26 AM.
Great writeup and summary buddy! I'll dig through my photos and see if I happened to save any of the ones you misplaced. Fantastic work and attention to detail on the entire project!
One of the best threads I've come across in a long while. Great write up/ pics/ info! Love the attention to detail. I know how that goes with the snowballing of events, the '78 build took on a whole new life the more I got into it, though I haven't torn through the engine as you did... it'll eventually happen! With my trans am everything was much more half-assed than I would have liked. Feels good to really do each of those little jobs so thoroughly and see the amazing before/after As you've shown here. That's how I felt working on the 78
Thanks for the motivation to get back to work on my car!
Amazing build! You went above and beyond.
On your catch can with the LS6 cover, the top fitting is going to the valley cover correct? Lower one to the intake manifold?
Just checking as this is how mine is.
That is an awesome build!! Enjoyed all the pictures of each step. Car looks amazing! How long did this all take from start to finish?
Thank you! It took roughly a year and a half. I started taking the car apart last spring. It was drug out so long because I'd get another step into the project and find something that needed to be corrected that I didn't account for. That almost always meant having to order something online and wait a week before I could proceed.
Originally Posted by crimson_bird
One of the best threads I've come across in a long while. Great write up/ pics/ info! Love the attention to detail. I know how that goes with the snowballing of events, the '78 build took on a whole new life the more I got into it, though I haven't torn through the engine as you did... it'll eventually happen! With my trans am everything was much more half-assed than I would have liked. Feels good to really do each of those little jobs so thoroughly and see the amazing before/after As you've shown here. That's how I felt working on the 78
Thanks for the motivation to get back to work on my car!
No problem. It was your trans am that motivated me to start the project! I had used photoshop to change the car from red to white so I could see what it would like look all cleaned up.
Originally Posted by 00_MMM_Z28
Great writeup and summary buddy! I'll dig through my photos and see if I happened to save any of the ones you misplaced. Fantastic work and attention to detail on the entire project!
That would be awesome. I went looking for several and couldn't figure out why on earth I would have deleted them.
Originally Posted by juniorssrollin
Amazing build! You went above and beyond.
On your catch can with the LS6 cover, the top fitting is going to the valley cover correct? Lower one to the intake manifold?
Just checking as this is how mine is.
Yes, that's how mine is routed. Crankcase vents from the valley into the top of the catch can where the filters are inside. It then exits out the side and into the intake manifold.
One of the best threads I've come across in a long while. Great write up/ pics/ info! Love the attention to detail. I know how that goes with the snowballing of events, the '78 build took on a whole new life the more I got into it, though I haven't torn through the engine as you did... it'll eventually happen! With my trans am everything was much more half-assed than I would have liked. Feels good to really do each of those little jobs so thoroughly and see the amazing before/after As you've shown here. That's how I felt working on the 78
Thanks for the motivation to get back to work on my car!
I was just about to say the same thing! Take me back to the days when Tech was in it's prime. Makes me want to rip into mine too. I've been stalling, I've got a nice pile of part accumulating that I'm procrastinating diving into.
That oil pan baffle is fantastic, and I'm curious your thoughts on the Blackheart? I've had many people talking about it recently but none have installed. How's fitment? Either way great job RebelExtrm02. Now enjoy it!
I love the exhaust. The people at the tuner shop were asking me what exhaust it was because it sounded amazing on the dyno, and nothing like most fbodys. It fit fine for me, but I also cut up the front part of it to fit in high flow cats and mate it to my long tubes. It's tight in the tunnel and over the axle but doesn't hit or vibrate against anything.
It's my favorite setup, and I've had several. I bought the car with straight pipes (loudmouth with resonator replaced with straight piece of pipe) and a crappy ory. It was stupid loud and raspy. I then put on the Magnaflow quad tip catback. It was quieter but still raspy. Then I added cats and a flowmaster merge to the y. It was too quiet, but not raspy. Then I replaced the y with a TSP ory. It was a good volume and had very little rasp. Finally I sold it all and installed the blackheart with cats. It's now the perfect volume for me and has zero rasp or exhaust smell.
This is by far the best "how-to" for fixing an oil pan leak! Well done, awesome documentation, and I love how it just kept spiraling out of control. It may have been covered, but is there anything you would have done differently in another go around?
Also, I can agree with the Blackheart sentiments, it sounds so good! The only thing I regret is that it's not 3". I know what they were going for, and my ground clearance is awesome with the Blackheart. But why, oh why wouldn't you do a 3"? It nags at me in the back of my mind every time I go WOT...
Holy ****!!!!! You basically rebuilt the car and it came out great! I agree with you on not buying on modded car, you never know how good of work the previous people did . . . you'd be surprised what well known shops do. Again great work!!!
Last edited by King Nothing; 07-27-2016 at 02:01 PM.
 07-26-2016, 10:13 PM


 . Installation was greatly simplified by having the cam doctor card with the cam so I knew it was degreed in properly.