Fiberglass Stealth Sub Box Walkthrough
 07-22-2007, 12:45 AM
#1
On The Tree
Thread Starter
iTrader: (10)
Join Date: Aug 2005
Location: TX
Posts: 198
Likes: 0
Received 0 Likes
on
0 Posts

This guide and others are available at http://ws6.forgeseven.com
***Disclaimer - You assume all responsibility in undertaking this project. I am not responsible for you FUH-messing up your car. With that said, have fun, this project is very easy. If you can spell your name, you can do this. Let's get started.
Keep in mind, I had never done any fiberglassing before. You can do this, just take your time.
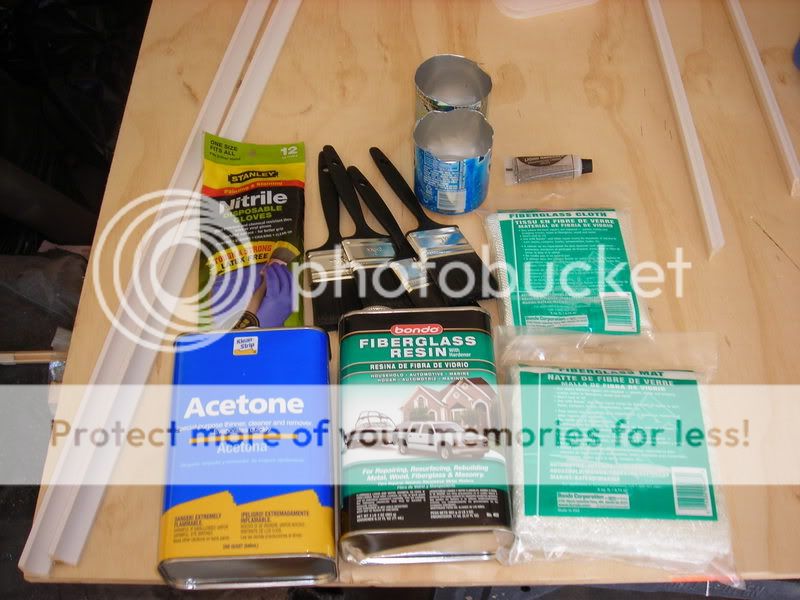
1. I used the following supplies. You may want to use more/different.

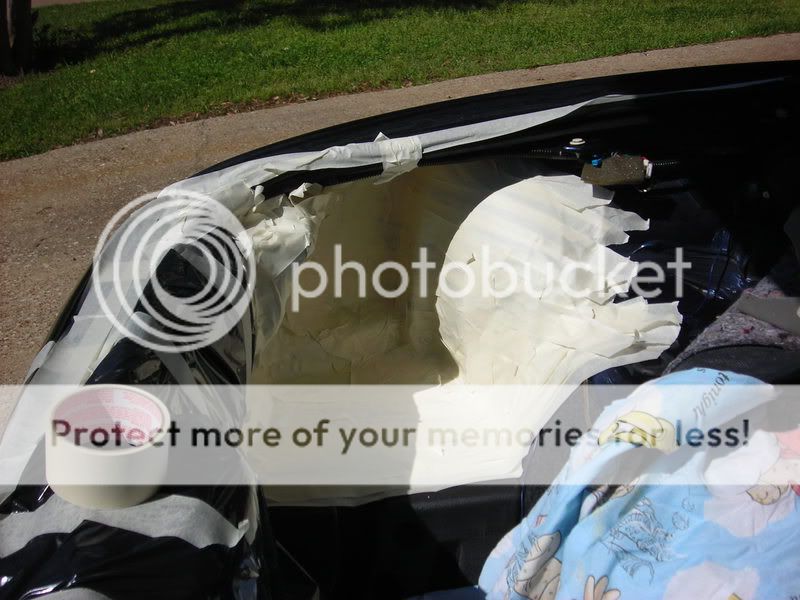
2. Tape the inside of cubby hole in the rear of the car. Use at least 2 layers. Then put some turtle wax over the tape to prevent the resin from sticking to the tape too much.

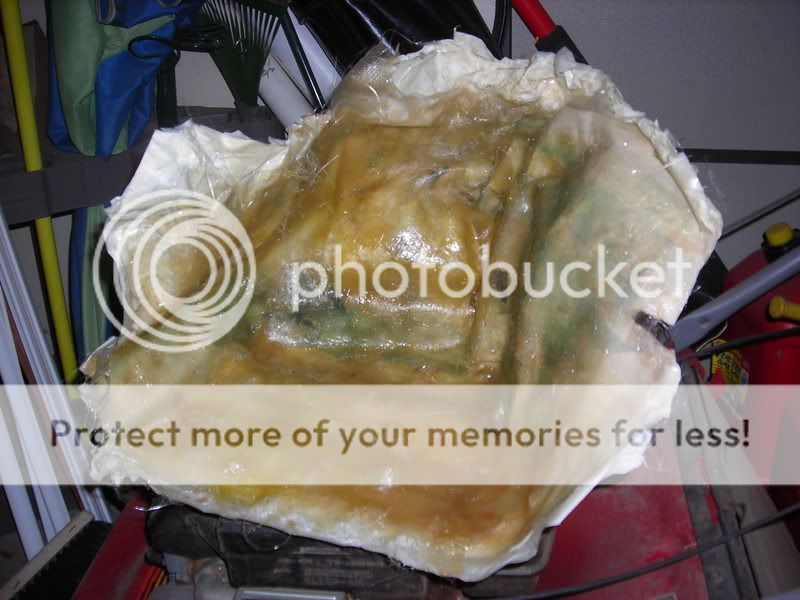
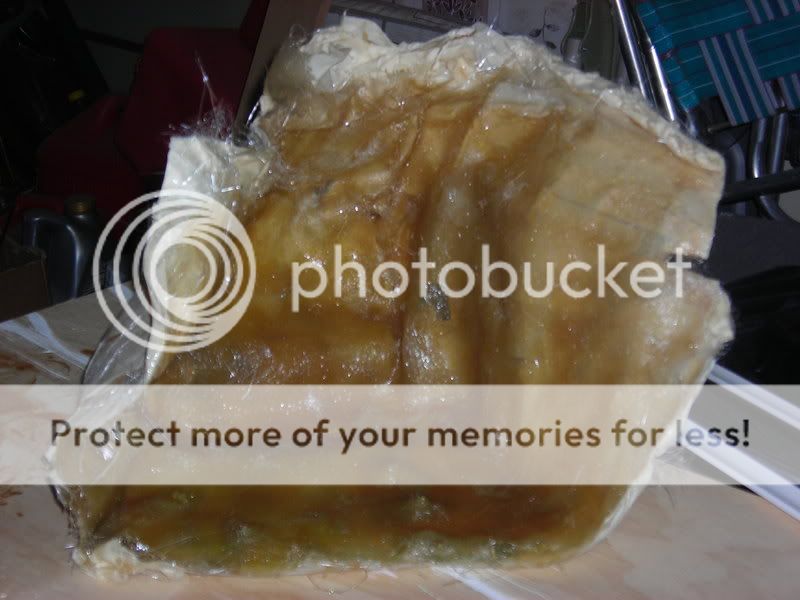
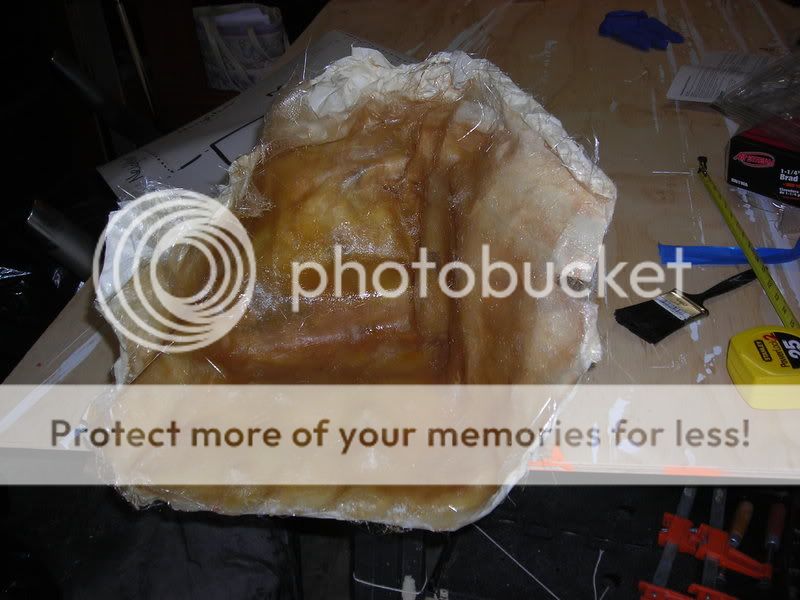
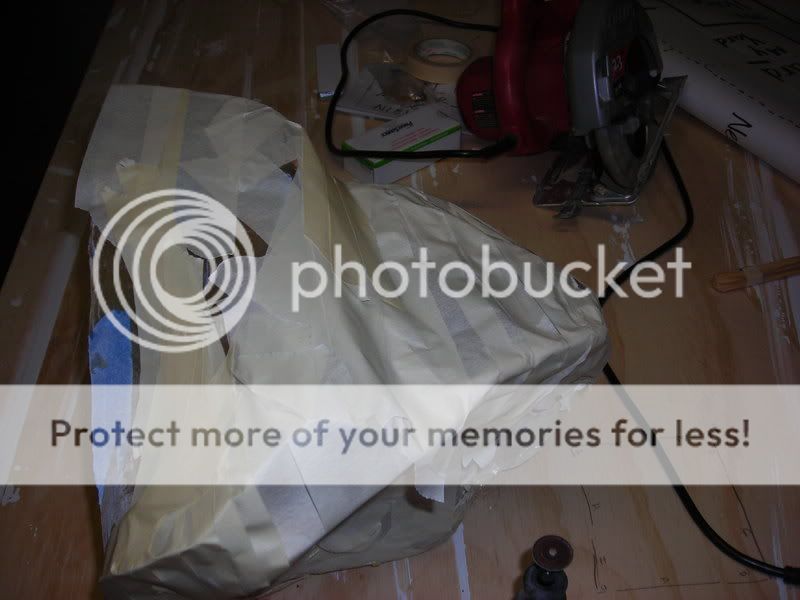
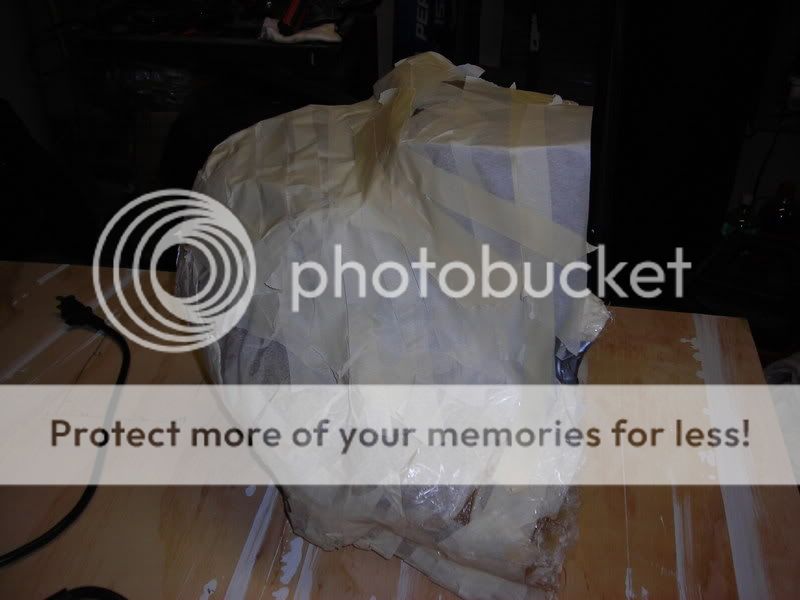
3. Putting the first layer of glass down:
**Note - Using the fiberglass cloth for the first layer to create the mold may alleviate some headaches for beginners
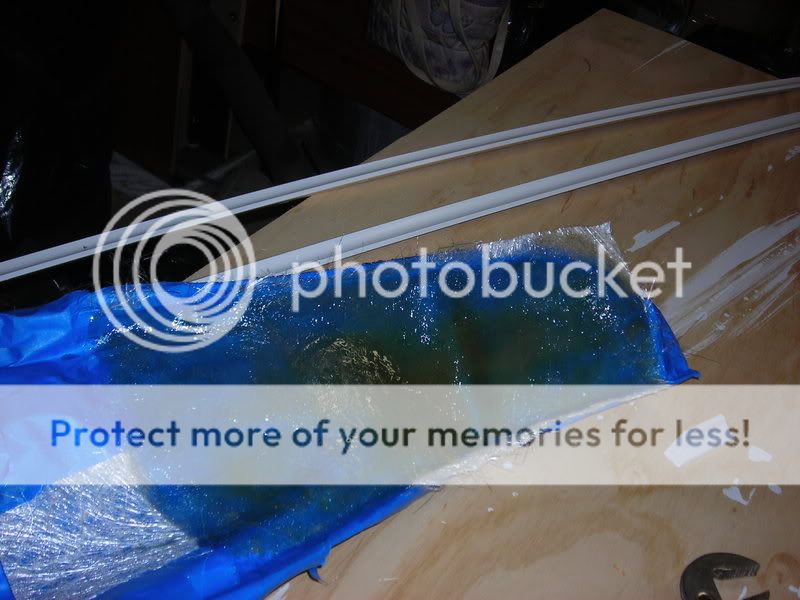
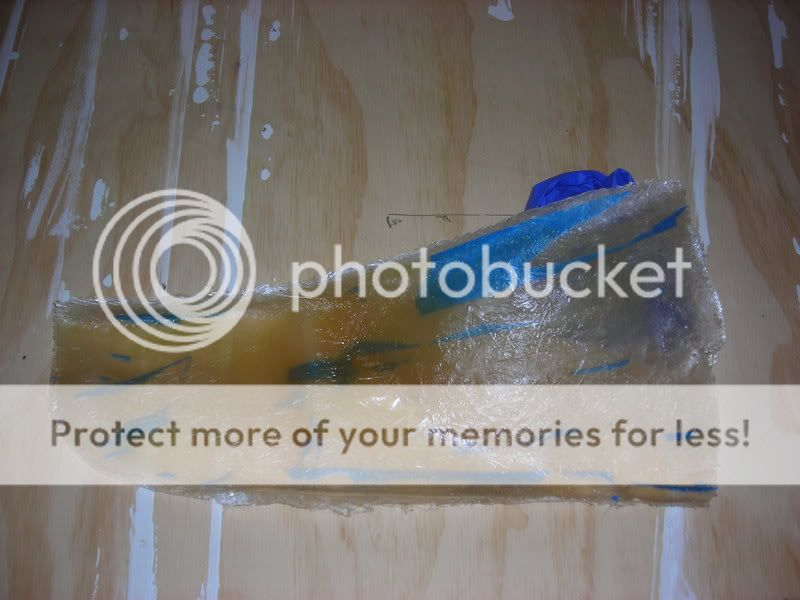
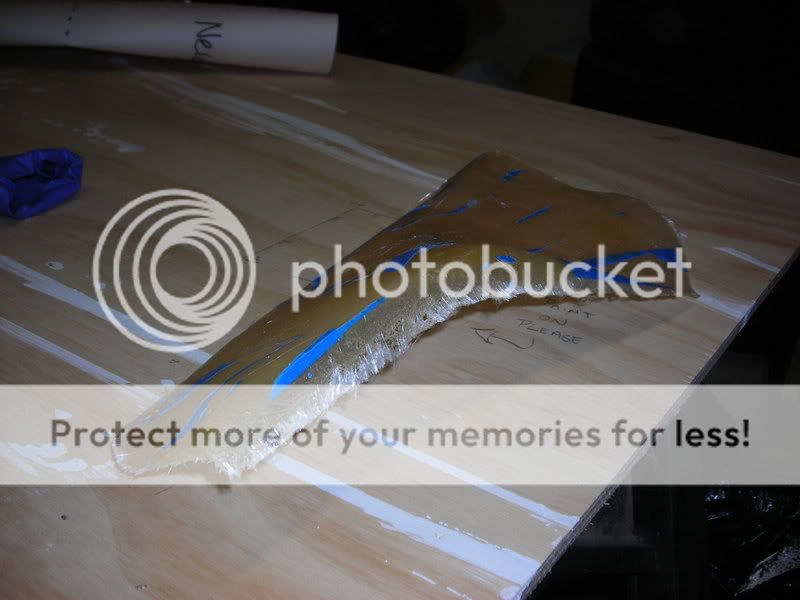
4. Perform steps 2 and 3 on the underside of the piece of trim that overhangs the cubby hole.
***Disclaimer - You assume all responsibility in undertaking this project. I am not responsible for you FUH-messing up your car. With that said, have fun, this project is very easy. If you can spell your name, you can do this. Let's get started.
Keep in mind, I had never done any fiberglassing before. You can do this, just take your time.
1. I used the following supplies. You may want to use more/different.
2. Tape the inside of cubby hole in the rear of the car. Use at least 2 layers. Then put some turtle wax over the tape to prevent the resin from sticking to the tape too much.
3. Putting the first layer of glass down:
**Note - Using the fiberglass cloth for the first layer to create the mold may alleviate some headaches for beginners
4. Perform steps 2 and 3 on the underside of the piece of trim that overhangs the cubby hole.
Last edited by blackened; 09-24-2009 at 01:31 PM. Reason: Added site link
 07-22-2007, 12:45 AM
#2
On The Tree
Thread Starter
iTrader: (10)
Join Date: Aug 2005
Location: TX
Posts: 198
Likes: 0
Received 0 Likes
on
0 Posts
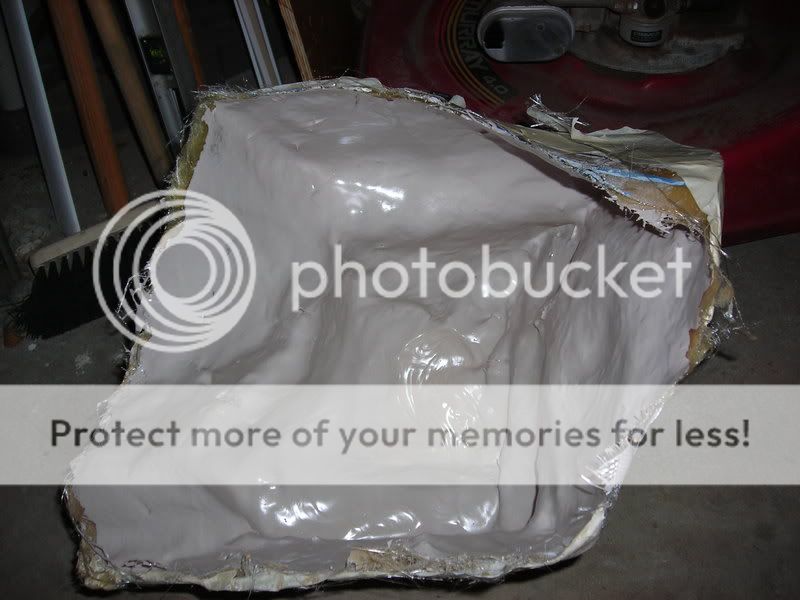
5. Add 5-6 layers of fiberglass to the box and trim molds

6. Mock up how the top will sit in relation to the bottom, brace it, and tape up the holes. Then glass the two pieces together. Marry them in a sense.
**Note - A hot glue gun can become indispensible in a situation like this.
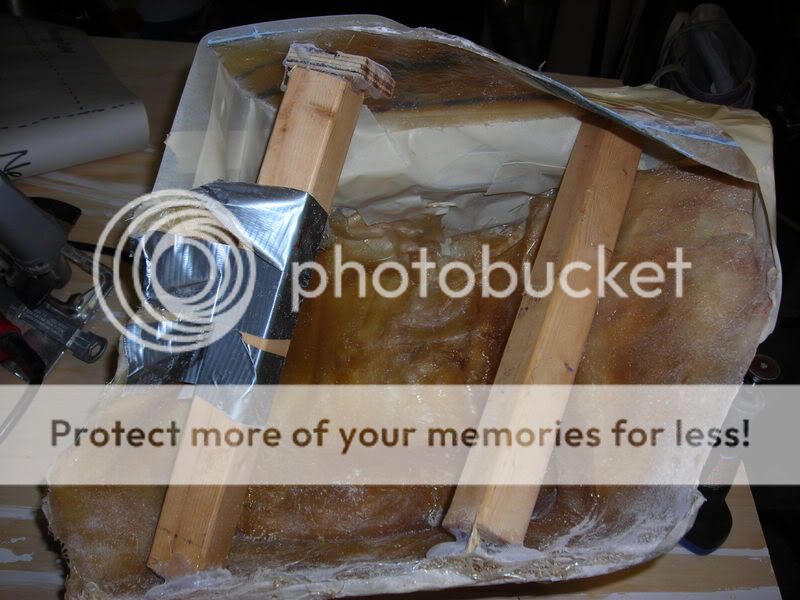
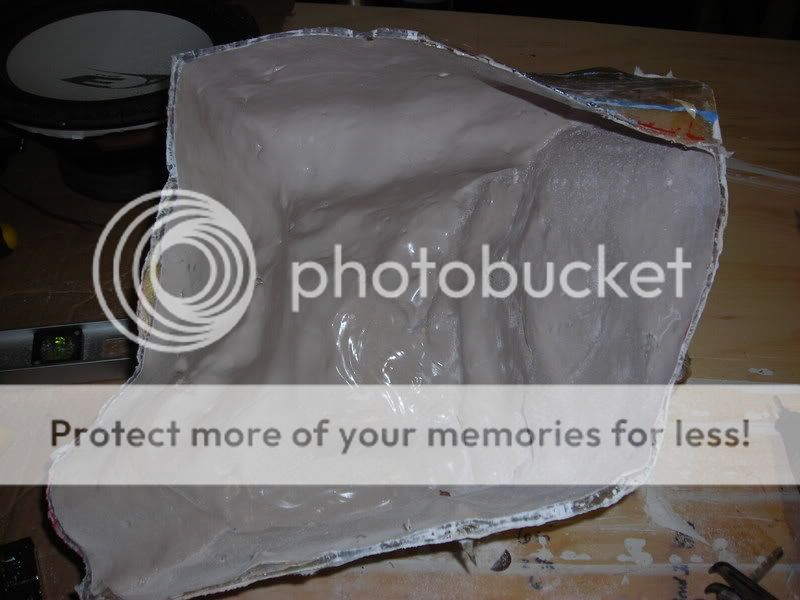
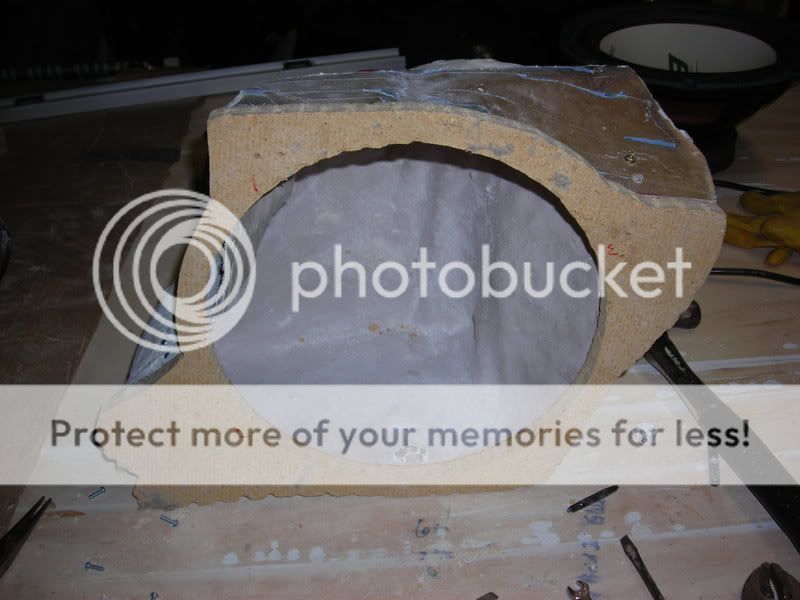
7. When its all joined up, its time to make a bondo milkshake to bring all the boys to the yard. This is accomplished by taking resin w/ hardener (not too much) and mixing bondo w/ hardener in with the resin until it reaches the consistency of a good (insert favorite flavor here) milk shake. Then spread it all over the inside of the box make sure all surfaces are covered. When it hardens, your box will be ultra-mega-superhero strong and hopefully pin-hole free.
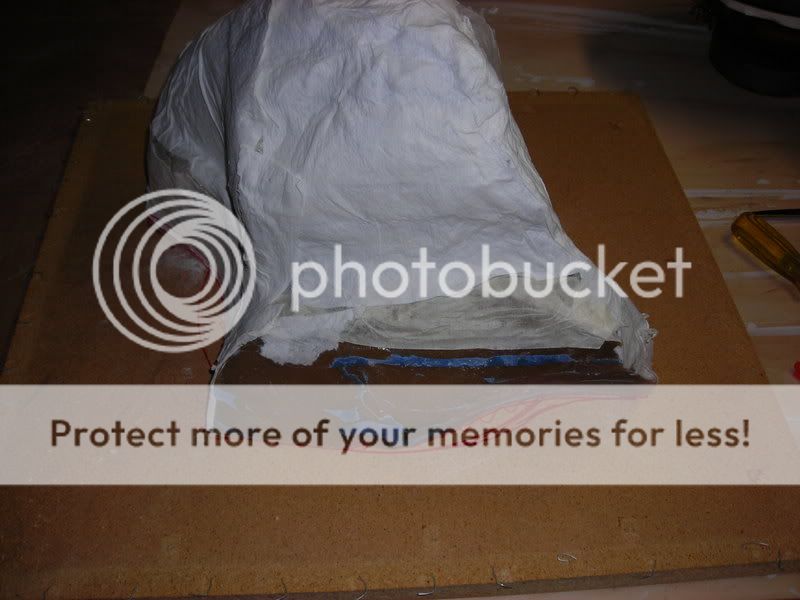
8. When fully cured, take the box and place it on the mdf and trace the outside of it.
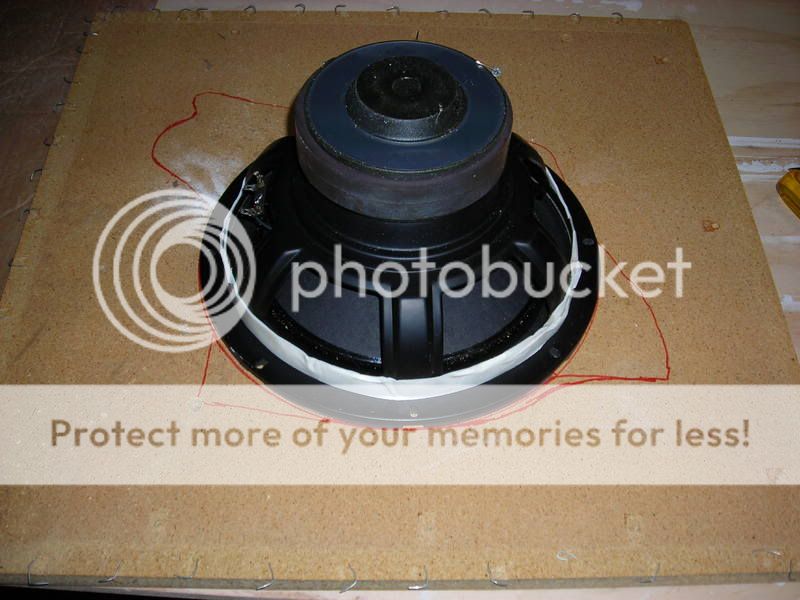
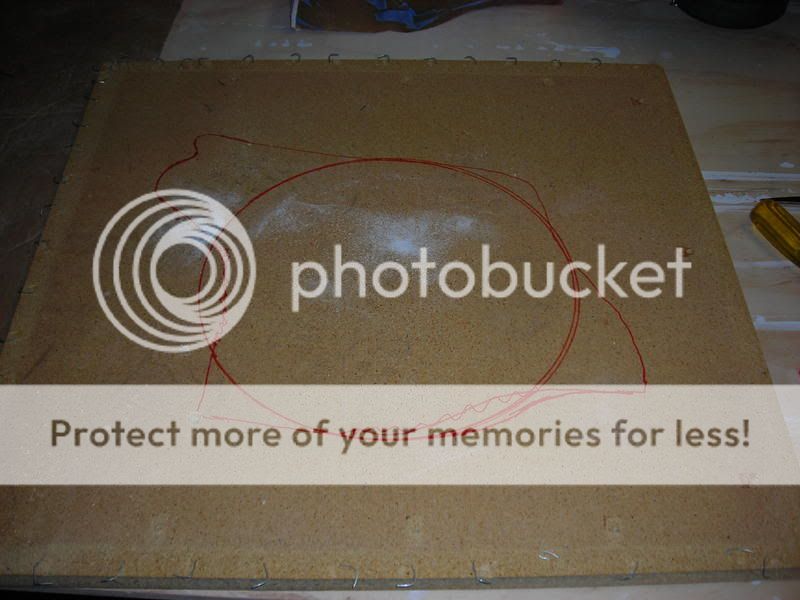
9. Now take your sub and put in the middle of the tracing and trace around the sub. Now you have the outline of the baffle. Now cut it out with the jigsaw.
10. Use a sander to close the box to baffle gaps. This can take a bit of time. Take it slow
11. Drill a hole for the speaker wire and seal it with Liquid Nails. Mount the baffle to the box using the L-Braces. Seal up the cracks using the Liquid Nails. Test fit.
**Note - Pre-drill everything. It always makes projects less stressful.

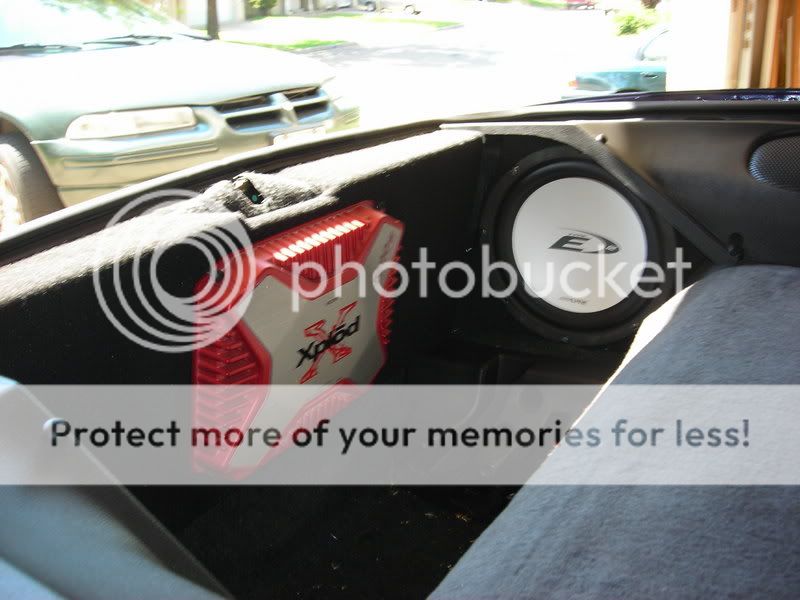
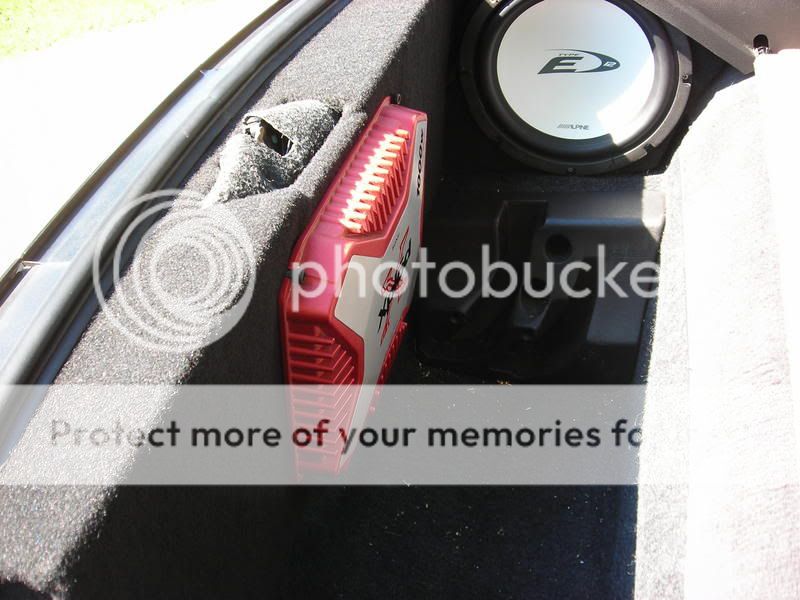
12. Carpet it using the same directions in the amp rack walkthrough.
13. Hook-up and mount the sub and place in car. Let the boom commence..


I originally posted this on pfrperformance.net:8080.
6. Mock up how the top will sit in relation to the bottom, brace it, and tape up the holes. Then glass the two pieces together. Marry them in a sense.
**Note - A hot glue gun can become indispensible in a situation like this.
7. When its all joined up, its time to make a bondo milkshake to bring all the boys to the yard. This is accomplished by taking resin w/ hardener (not too much) and mixing bondo w/ hardener in with the resin until it reaches the consistency of a good (insert favorite flavor here) milk shake. Then spread it all over the inside of the box make sure all surfaces are covered. When it hardens, your box will be ultra-mega-superhero strong and hopefully pin-hole free.
8. When fully cured, take the box and place it on the mdf and trace the outside of it.
9. Now take your sub and put in the middle of the tracing and trace around the sub. Now you have the outline of the baffle. Now cut it out with the jigsaw.
10. Use a sander to close the box to baffle gaps. This can take a bit of time. Take it slow
11. Drill a hole for the speaker wire and seal it with Liquid Nails. Mount the baffle to the box using the L-Braces. Seal up the cracks using the Liquid Nails. Test fit.
**Note - Pre-drill everything. It always makes projects less stressful.
12. Carpet it using the same directions in the amp rack walkthrough.
13. Hook-up and mount the sub and place in car. Let the boom commence..
I originally posted this on pfrperformance.net:8080.
Last edited by blackened; 07-22-2007 at 01:35 PM.

Trending Topics
03-26-2008, 05:36 PM
#8
TECH Senior Member
iTrader: (42)
Join Date: Dec 2004
Location: Tomball/Nacogdoches TX
Posts: 5,064
Likes: 0
Received 0 Likes
on
0 Posts
Looks great. I started mine last week:


I lined mine with aluminum foil to get the shell. I have the face cut out but I still have a long ways to go.
I lined mine with aluminum foil to get the shell. I have the face cut out but I still have a long ways to go.

 I don't think I'll need the milkshake.
  03-28-2008, 01:12 AM
#15
one thing you can do to make it nice & clean is to use one of those "perfect circle" router attachments, if you have a router....or you can make a router attachment of your own out of some thin pegboard or something similar.
these things are great for cutting the circle(s) out for your subs.....makes it fit really nicely, looks extremely clean, and helps you do avoid air leaks that irregular edges can cause.
these things are great for cutting the circle(s) out for your subs.....makes it fit really nicely, looks extremely clean, and helps you do avoid air leaks that irregular edges can cause.
04-21-2008, 06:52 PM
#17
TECH Fanatic
iTrader: (6)
Join Date: Jan 2007
Location: Calabasas, CA
Posts: 1,327
Likes: 0
Received 0 Likes
on
0 Posts
ok so i started mine. itll take a while before its done. i just letting it cure in the car, and i used chop mat for the first layer, i know, i did it the hard way.


05-02-2008, 11:22 PM
#20
On The Tree
Thread Starter
iTrader: (10)
Join Date: Aug 2005
Location: TX
Posts: 198
Likes: 0
Received 0 Likes
on
0 Posts
thanks for the positive replies. It looks like you guys are doing an awesome job.
I hope more people take the time to try their hand at it and do as good a job as you guys have. I'm glad the walk through was informative and apparently easy to follow.
I hope more people take the time to try their hand at it and do as good a job as you guys have. I'm glad the walk through was informative and apparently easy to follow.