How do i properly grease my UMI A Arms? / How to keep camber bolts in place?
 05-11-2014, 08:19 PM
#1
Staging Lane
Thread Starter
iTrader: (2)
Join Date: Mar 2012
Posts: 61
Likes: 0
Received 0 Likes
on
0 Posts
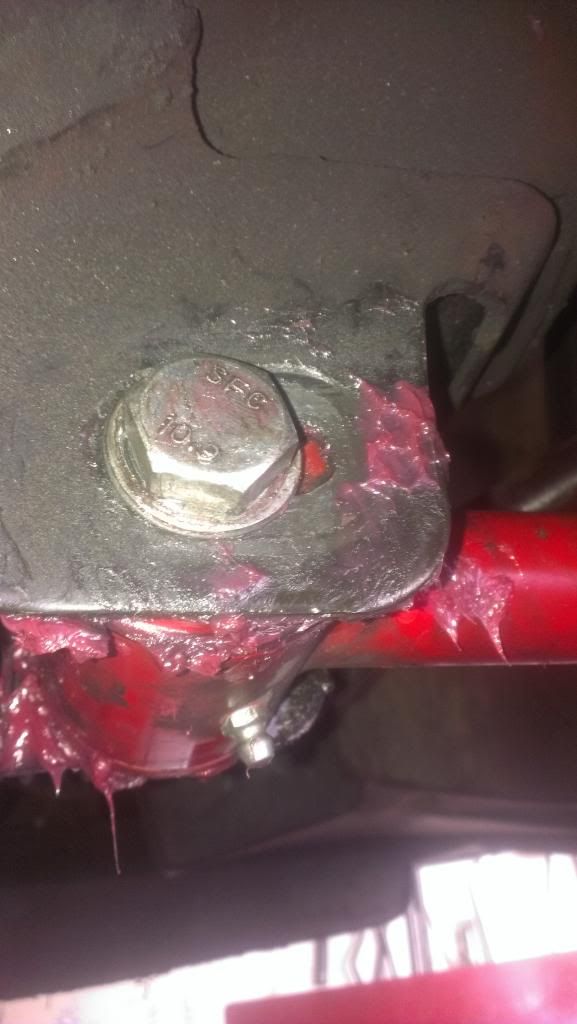
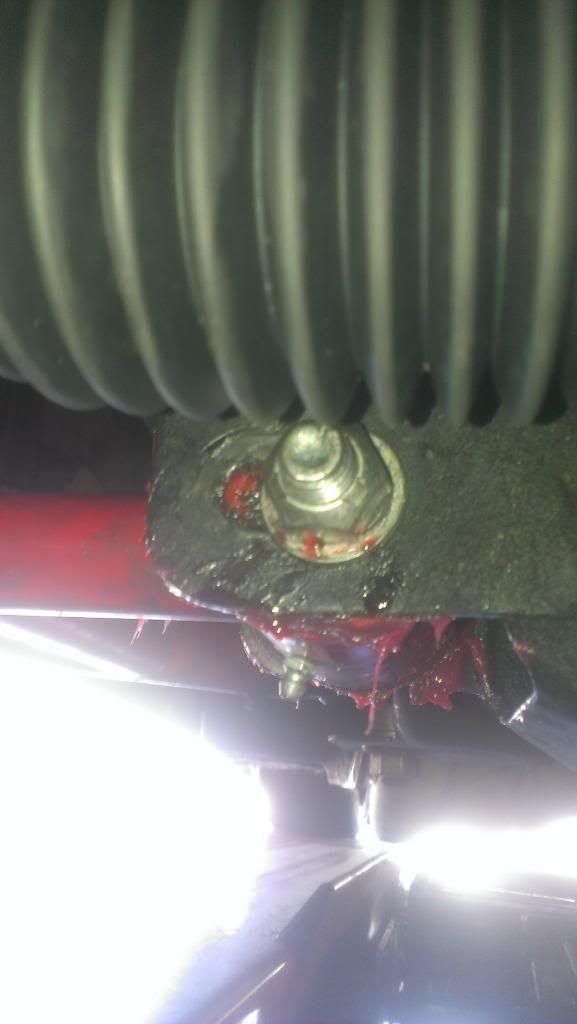
Sounds like a noob question, right? While I usually find my answers via search, I could not find a direct answer.. I used Mobil 1 synthetic grease, but where does the grease go?? On the polyurathane surface, or JUST the zerk fitting??
And it may seem like its because of the excess grease, but my camber bolts keep slipping.. They slipped even when I had the A arms in there dry.. On my first install, I used the OEM camber bolts with the "hook" that slipped on the k member, but upon reinstall (I took them out b/c they squeaked like no tomorrow) I used the supplied UMI bolts w/ washers on both sides plus RED locktite to prevent slippage/loosening (they were dangerously loose after the first install).
I am now contemplating on tack welds to keep them in place but I don't want to void my alignment warranty.. What did you guys do to keep the camber from slipping??
Also, I torqued both caster and camber bolts to 75 ft. lb.'s


Last edited by XDeath; 05-11-2014 at 08:25 PM.

 05-20-2014, 08:04 AM
#5

Good morning.
The bushings are fluted inside and split down the middle. Upon initial install, you can place the enclosed prelube (or Mobil 1, or Synco, or xxx) on the face of the bushing and slide the arm up into place. After installing the bolt and placing the nut on finger tight, I usually place 1 to 2 pumps into the zerk. Having the bolt at 0 ft-lb allows the grease to flow through the split and flutes and out to the face. Then cycle the arm a few times to spread everything.
As for tightness, try 10 add'l ft-lb. The slot and washer system has the occasional question but for the most part, the stuff stays put. Also clean the washer/bolt area real well and Sharpie it after alignment. If something moves you can put it back.
Off the record: In the hot rod world, small tack welds are common when problems need solutions. I wouldn't think any alignment shop worth their salt would object to seeing a tack weld witness mark unrelated to any of their work.
ramey
05-20-2014, 11:44 AM
#6
Staging Lane
Thread Starter
iTrader: (2)
Join Date: Mar 2012
Posts: 61
Likes: 0
Received 0 Likes
on
0 Posts
Good morning.
The bushings are fluted inside and split down the middle. Upon initial install, you can place the enclosed prelube (or Mobil 1, or Synco, or xxx) on the face of the bushing and slide the arm up into place. After installing the bolt and placing the nut on finger tight, I usually place 1 to 2 pumps into the zerk. Having the bolt at 0 ft-lb allows the grease to flow through the split and flutes and out to the face. Then cycle the arm a few times to spread everything.
As for tightness, try 10 add'l ft-lb. The slot and washer system has the occasional question but for the most part, the stuff stays put. Also clean the washer/bolt area real well and Sharpie it after alignment. If something moves you can put it back.
Off the record: In the hot rod world, small tack welds are common when problems need solutions. I wouldn't think any alignment shop worth their salt would object to seeing a tack weld witness mark unrelated to any of their work.
ramey
The bushings are fluted inside and split down the middle. Upon initial install, you can place the enclosed prelube (or Mobil 1, or Synco, or xxx) on the face of the bushing and slide the arm up into place. After installing the bolt and placing the nut on finger tight, I usually place 1 to 2 pumps into the zerk. Having the bolt at 0 ft-lb allows the grease to flow through the split and flutes and out to the face. Then cycle the arm a few times to spread everything.
As for tightness, try 10 add'l ft-lb. The slot and washer system has the occasional question but for the most part, the stuff stays put. Also clean the washer/bolt area real well and Sharpie it after alignment. If something moves you can put it back.
Off the record: In the hot rod world, small tack welds are common when problems need solutions. I wouldn't think any alignment shop worth their salt would object to seeing a tack weld witness mark unrelated to any of their work.
ramey

