When you click on links to various merchants on this site and make a purchase, this can result in this site earning a commission. Affiliate programs and affiliations include, but are not limited to, the eBay Partner Network.
Decided to undertake a project refinishing my wheels. Previous owner had them powder coated black from the factory. I am over the black on black theme and love the way raw metal looks so I rolled the dice to see how I could make out. The only experience I have with this type of work was polishing my Harley's lower forks a couple years ago which took forever...so I had an idea of what I was getting myself into - but man this process has been brutal and time consuming! I figured I would help share the process I have found to work out to help the next DIY guy who may be interested in doing something similar. I must forewarn anyone thinking about doing this - it is not an easy project, it takes a ton of time and patience. If you do not have either of those do not attempt this on your own. To date I probably have four full 8-10 hour days into this project, and the hours are spent mostly tediously sanding by hand to get the desired finish.
Step 1 - Stripping the Powdercoating
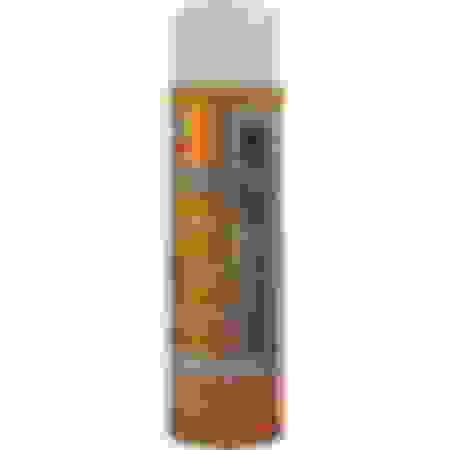
At first I was foolishly attempting to grind the powdercoating off with a medium grade prep disc on my die grinder. Needless to say I figured out fast that was not going to work so I went to the old interweb and searched around. Chemical Stripping seemed to be the way to go. I ended up trying a few different chemicals - however the one that worked the best and was readily available and cheap at Walmart was paint stripper by Klean-Strip below:
Typically you spray this product on the powder coated item and allow it to sit for 20 minutes. Make sure you wear pants / long sleeves / gloves / eye protection guys. This stuff means business and burns when it gets on your skin (trust me I am stubborn and learned not to do ignore the warnings and use this stuff in shorts and sandals lol). After it sits you can literally scrape it off with a plastic scraper, wire brush, or whatever works best to get in the area you need to remove from. It did take 2-3 cycles to fully strip all the powder coating, however this was due mainly to having to get into all the little nooks and crannies around the wheel. The main surface came off no problem.
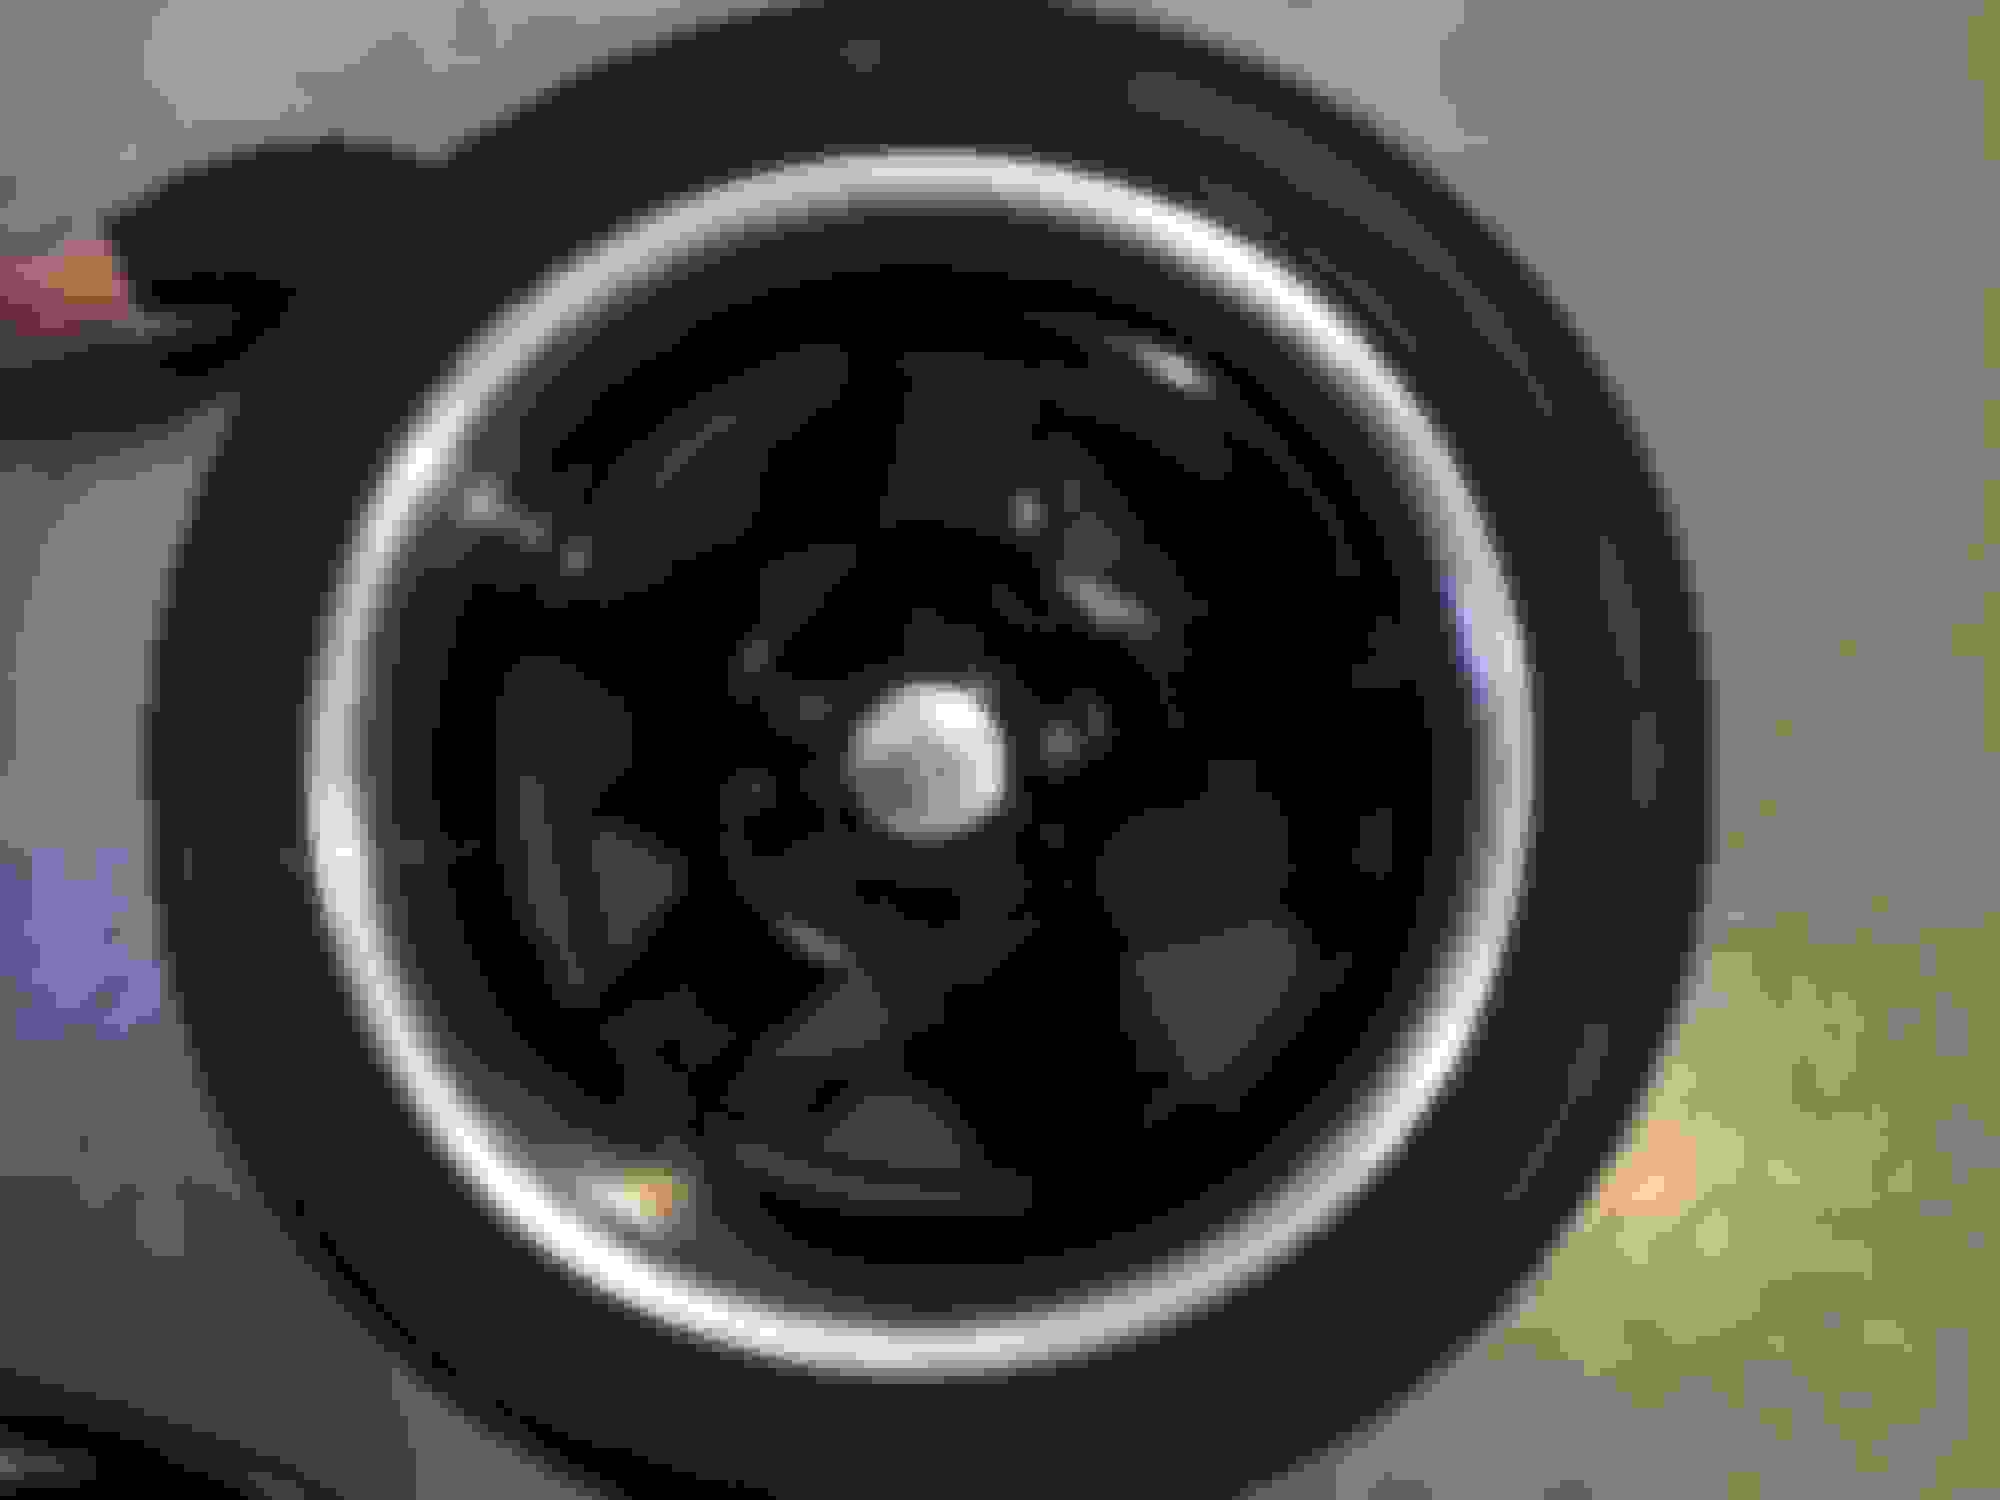
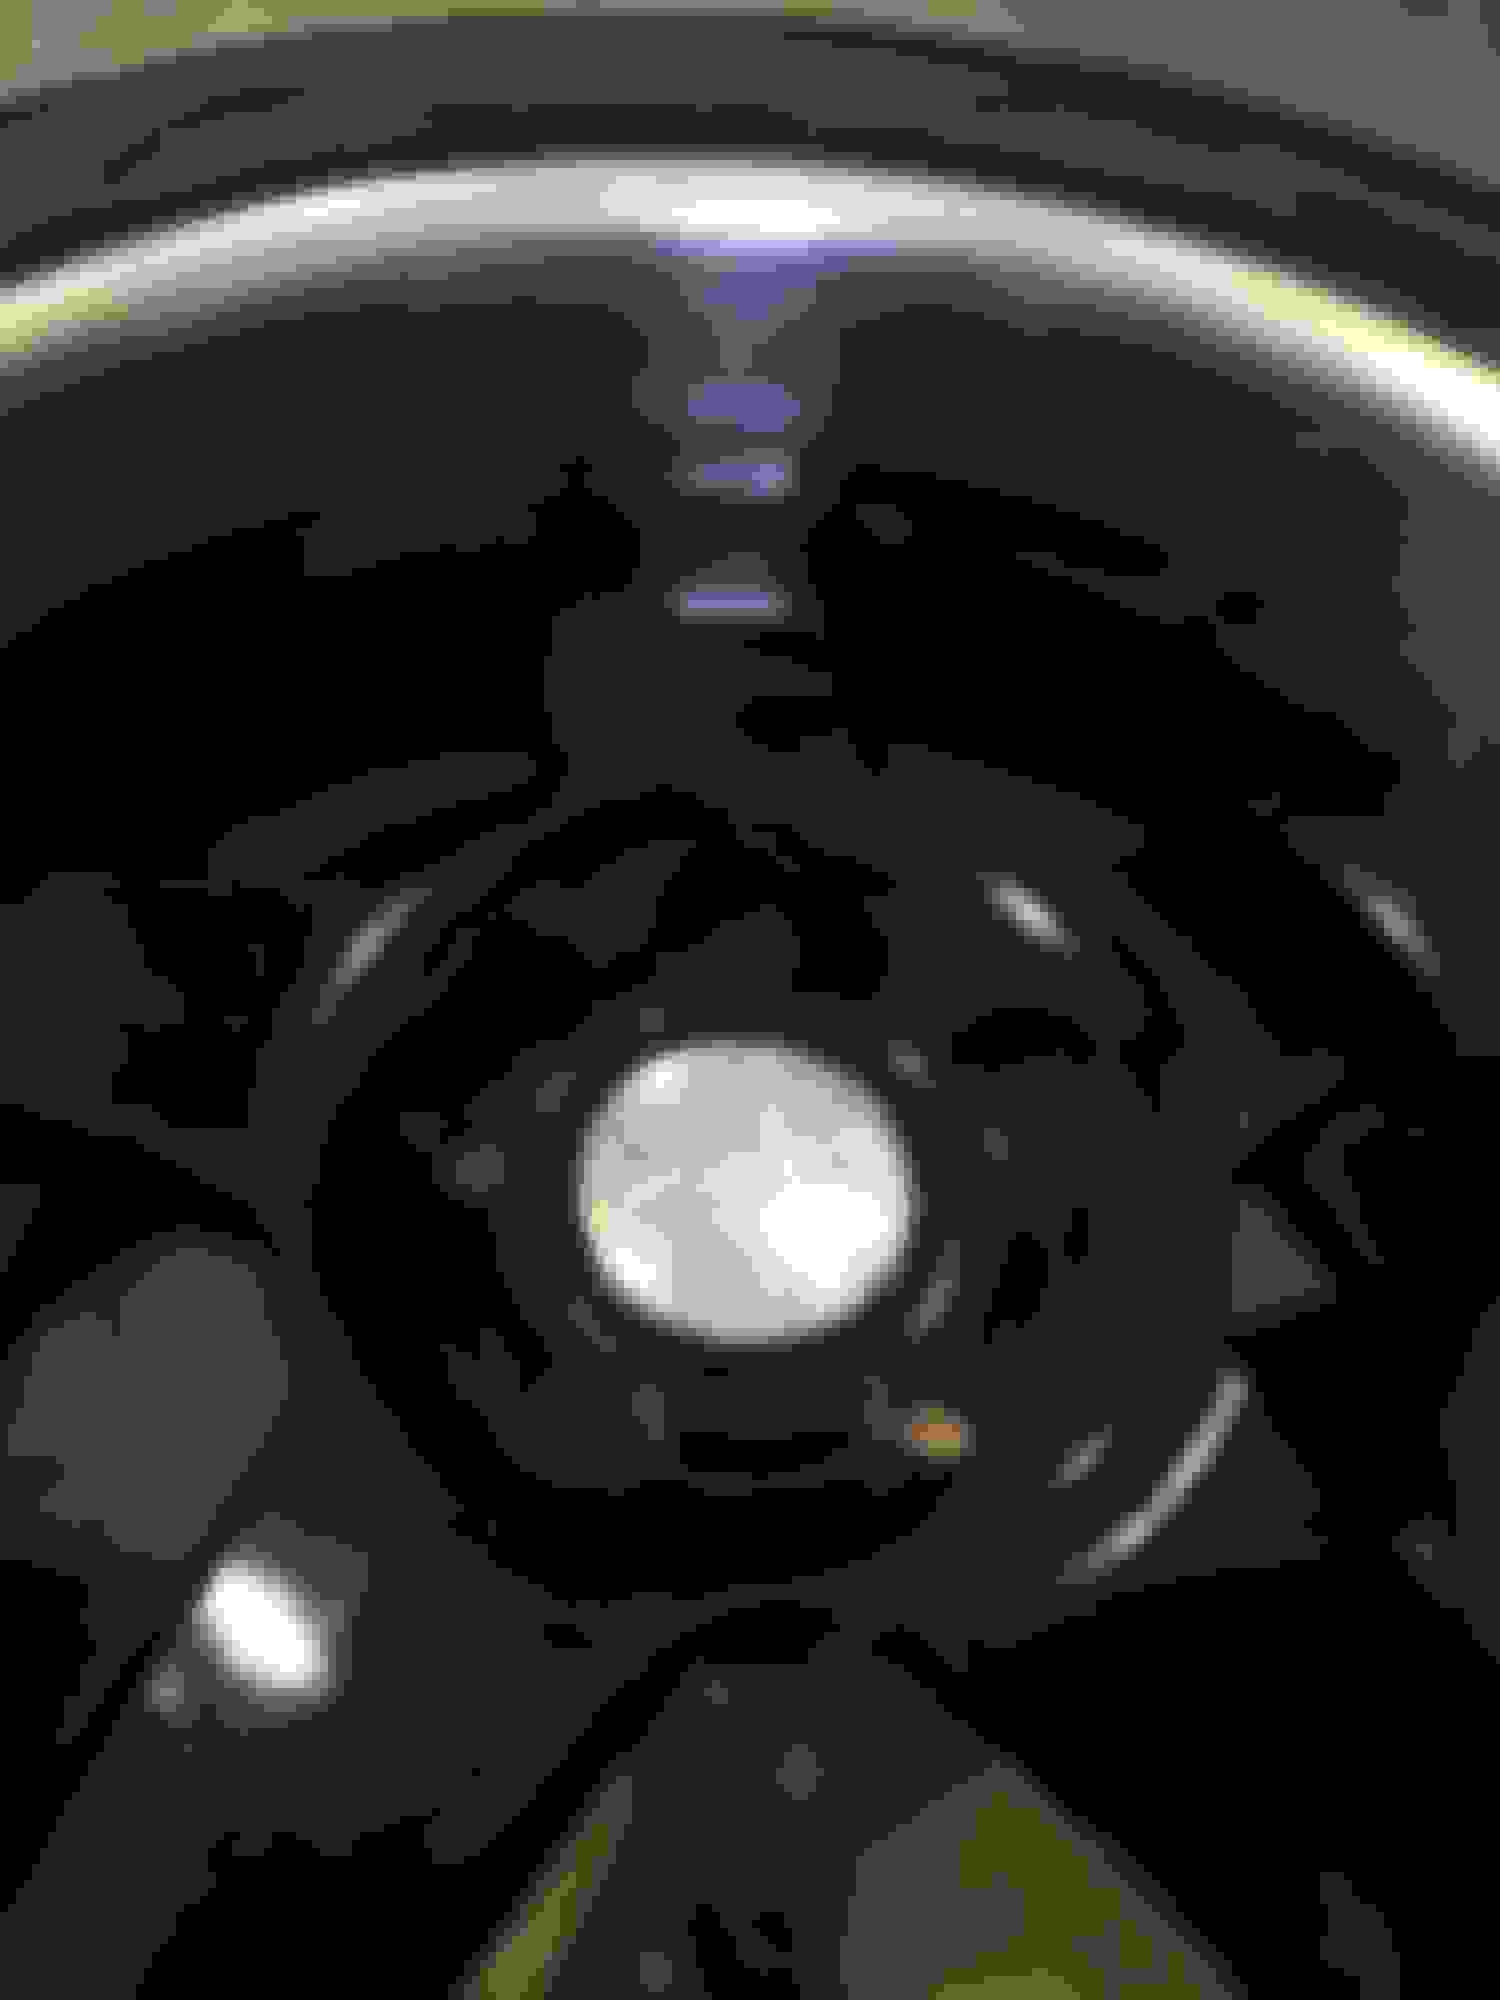
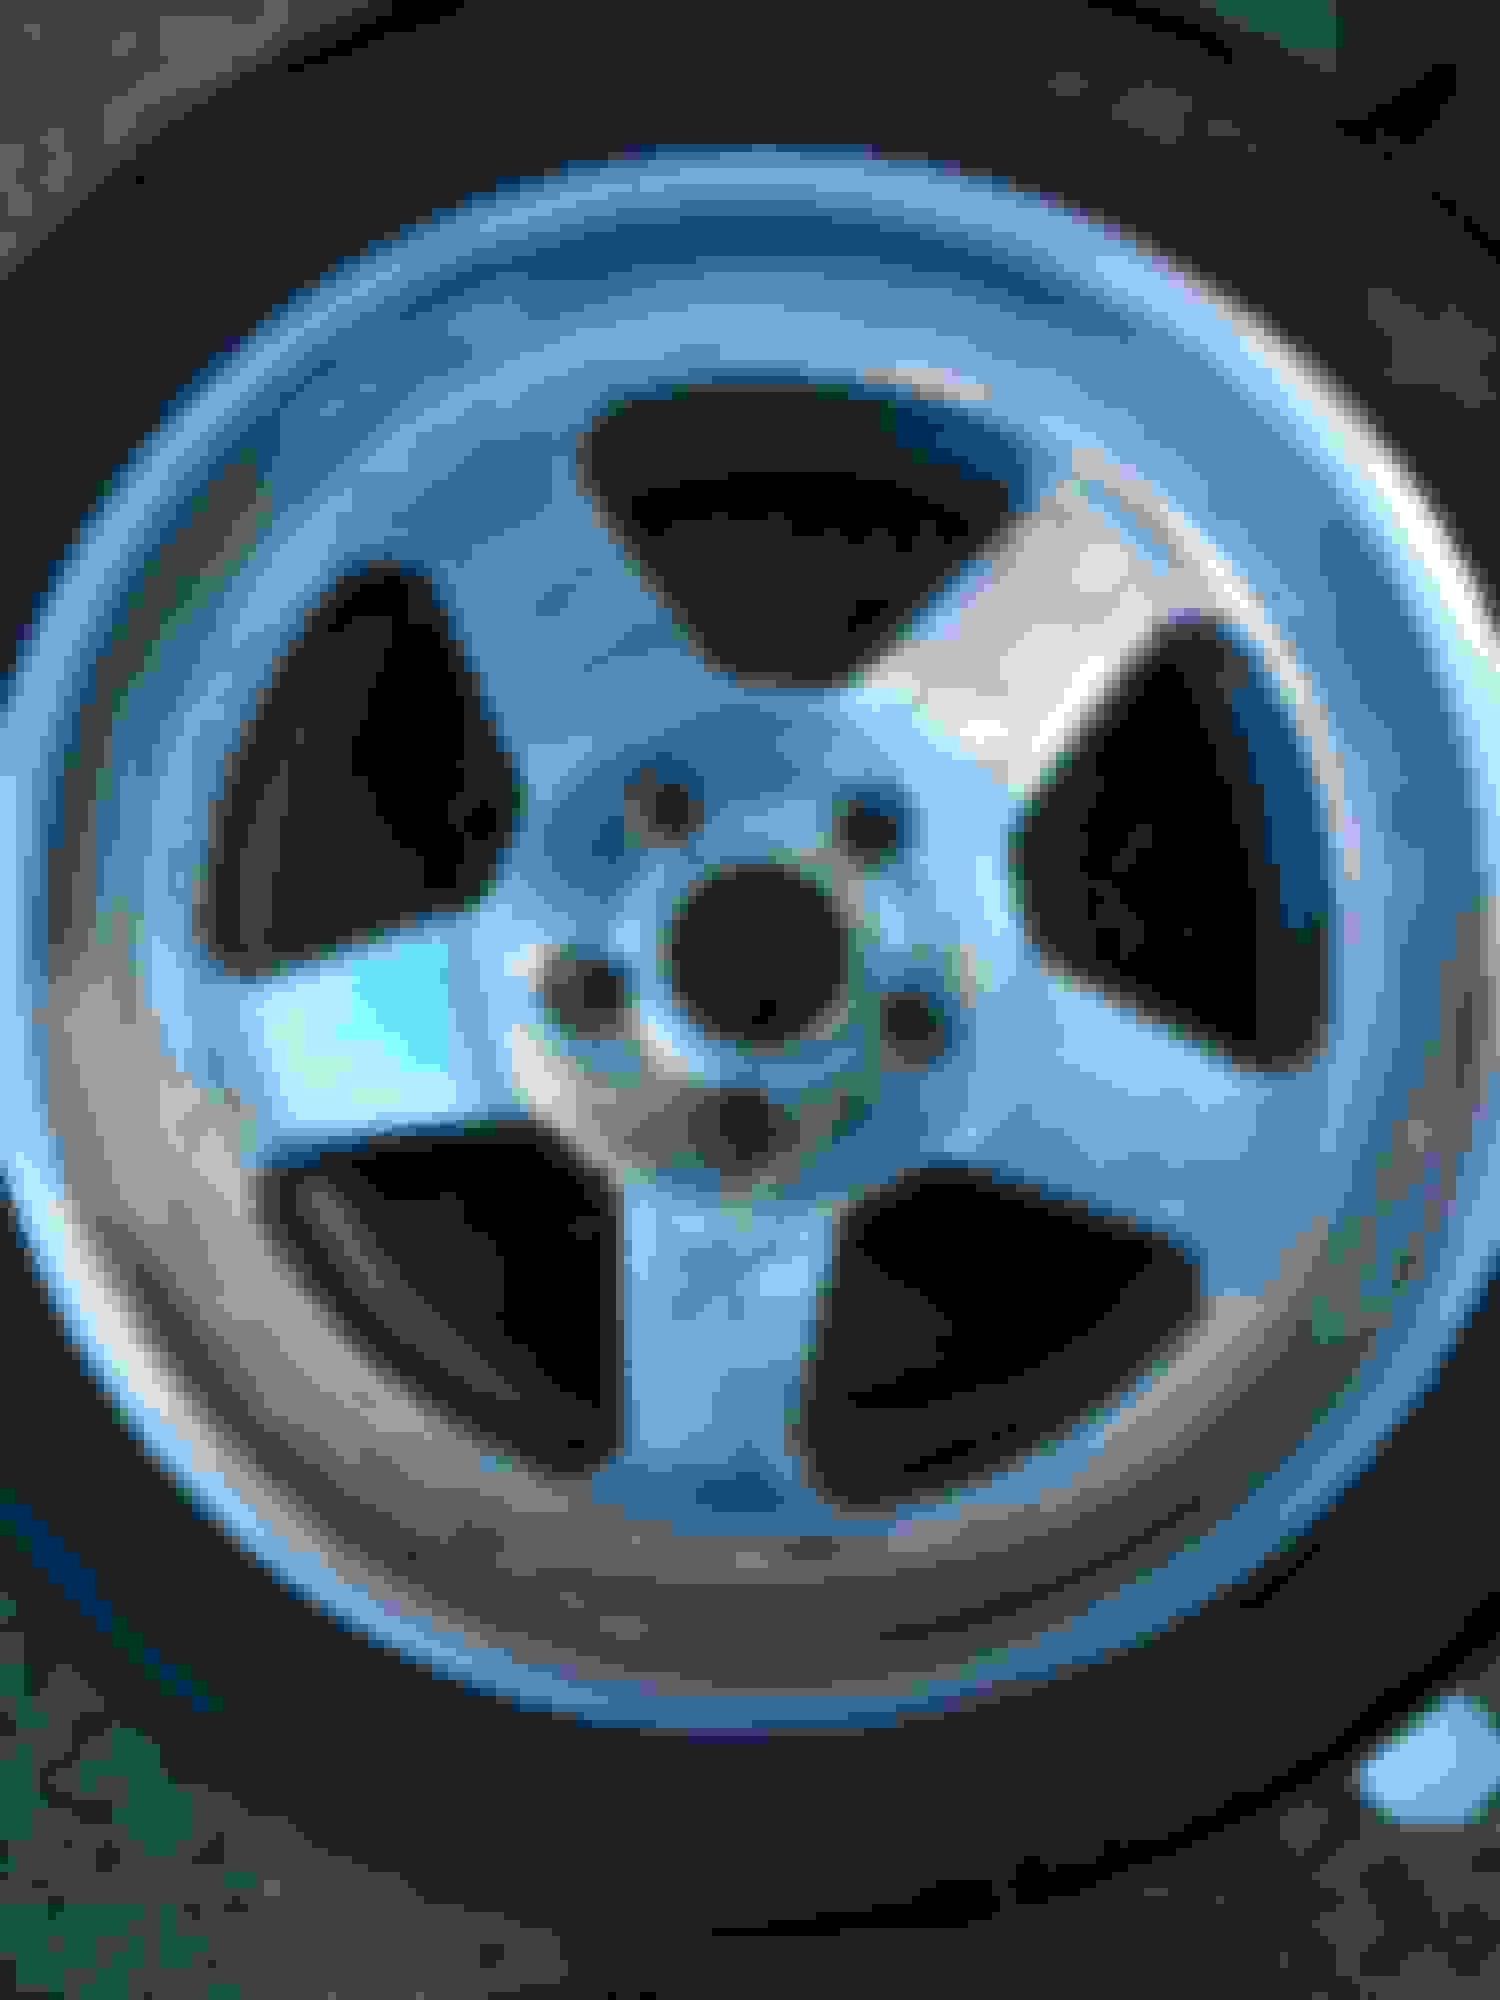
Pics of wheel before starting chemical stripper:
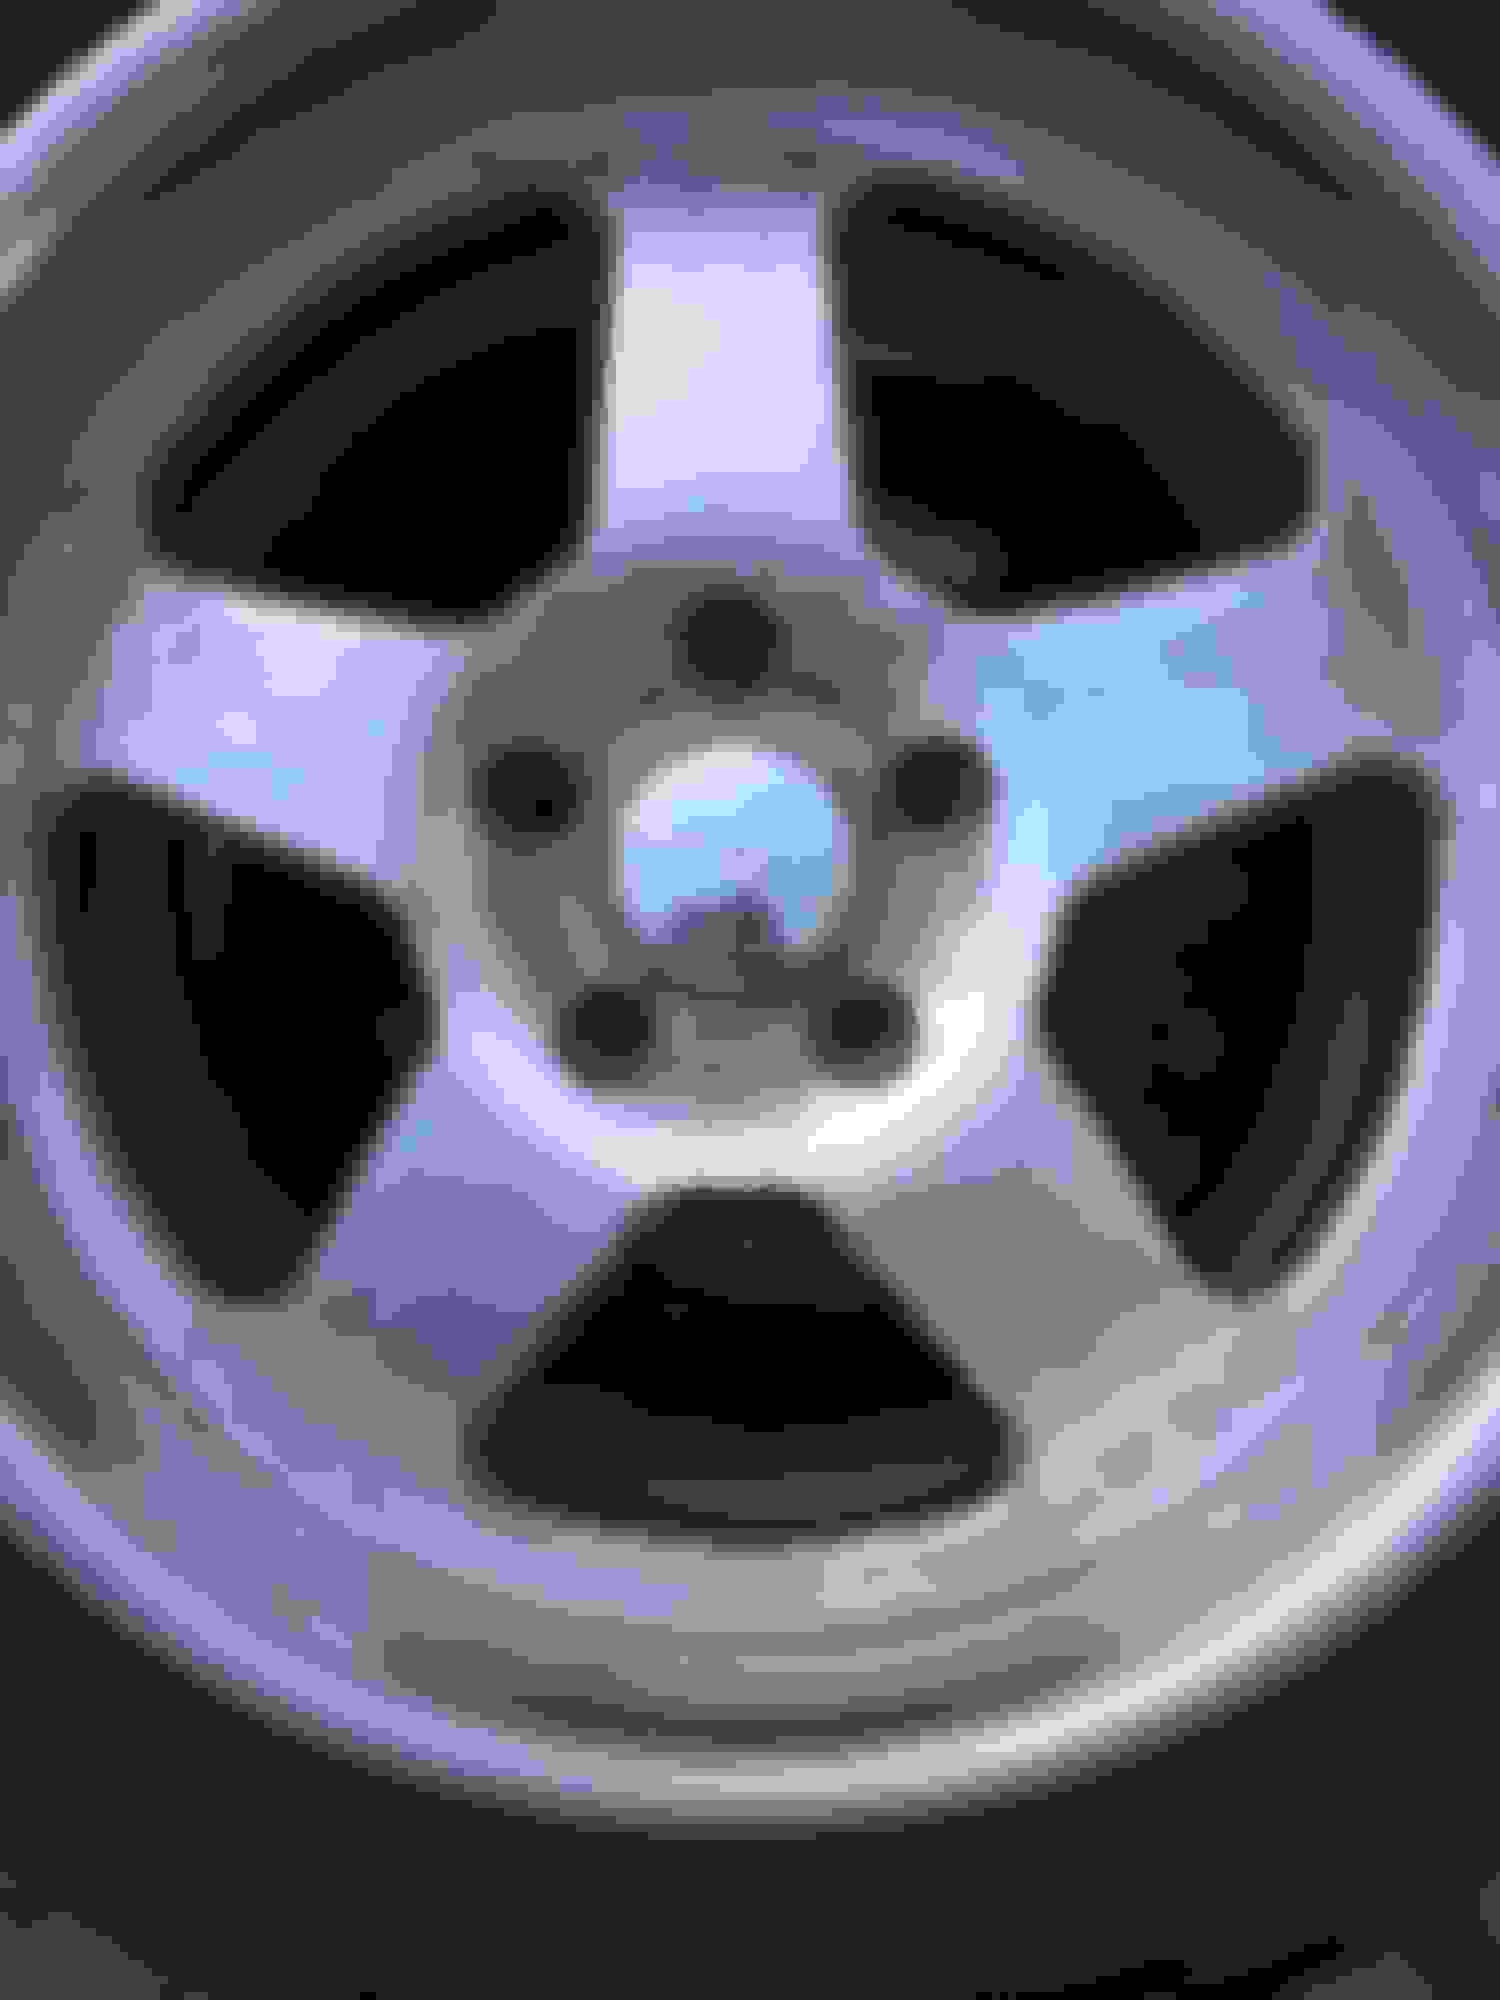
Pic of wheels during chemical stripping process:
Step 2 - "taking down" the textured finish
After all the powder coating was removed I began the re-finishing process again. As you can kind of tell from the pics above the surface left under the powdercoating was that of the textured raw surface from the casting. The order I found to work best to take down this surface to a smooth finish is below:
Use the Medium Grade maroon disc on the die grinder to take down the textured surface on all faces and crevices you can get into - this will also be the time when you want to take down/blend any pitting, or possible curb rash etc. **Important to note** this step is a balancing act. Not being aggressive enough requires go back work or a lot more time sanding in the following steps; however being too aggressive can take too much metal down or burr the surface which will also take much longer in the following steps to smooth these erros our. The more practice I had with this phase the better I got judging what was too much or too little. This is about what it looks like after disc prep is complete:
Step 3 - Cleaning up the disc job
Use a multi-tool or mouse sander with 180 - 200 grit sand paper to remove any burrs left over from the disc grinding above. The reason I suggest the multi-tool or mouse sander is that the triangular point allows you to get into areas to sand much easier than a traditional block or circular sander would. After this is complete - move up to a 240-300 grit sand paper and repeat same step with sander to take down any aggressive swirls/lines from the previous sanding.
Step 4 - Hand sanding to desired finish (ladder system with grits)
This is the most time consuming process. Get a variety of wet sand paper and by hand start the ladder step process from most aggressive grit to fine grit. The range I selected was 180 (needed to take down hard to reach areas the sander could not get into), 320, 400, 800, 1000. You can obviously select different grits to your liking - this seemed to work good for me. I read that adding a little dish soap to your rinse bucket keeps the wet sand sandpaper from clogging up. This seemed to work pretty good. There was also some reading stating to use WD-40, I did not try this but might and will update this post if it works any different.
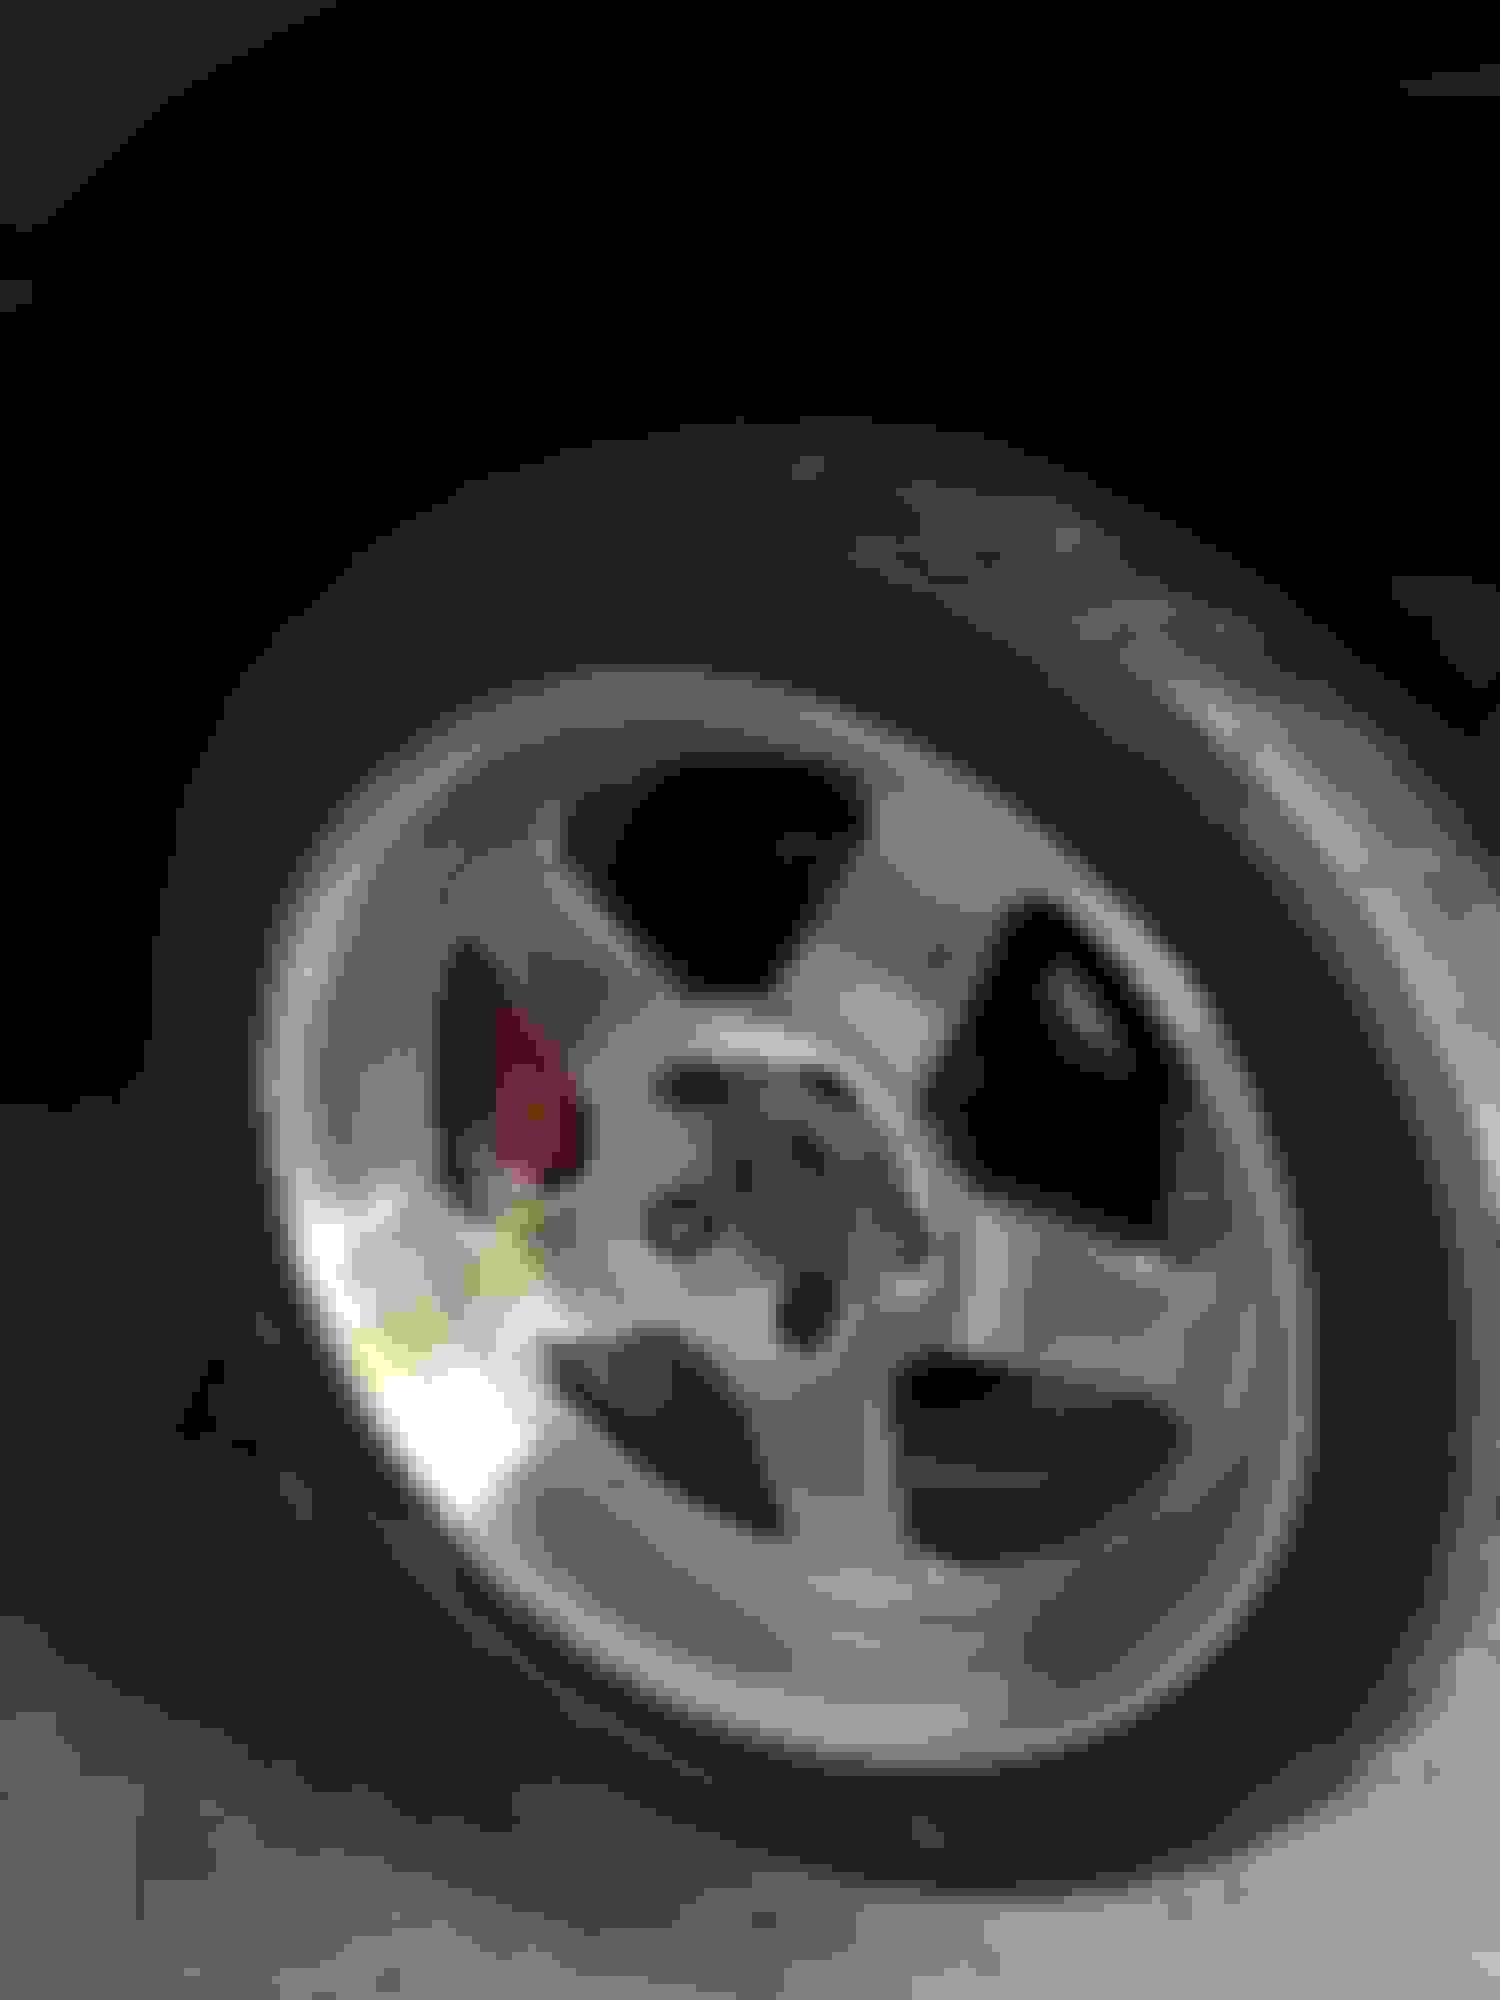
I do not have a lot of photos of the entire process (hands get very messy) - but here is a close up of one spoke faces after mostly completing the hand sanding on the surface. As you can see at the top, there are swirls which I had not gotten to yet, and if you look even closer around the bolt hole you can see the textured surface not yet removed as well - this was a test spoke I did to see what method would work best over the entire wheel.
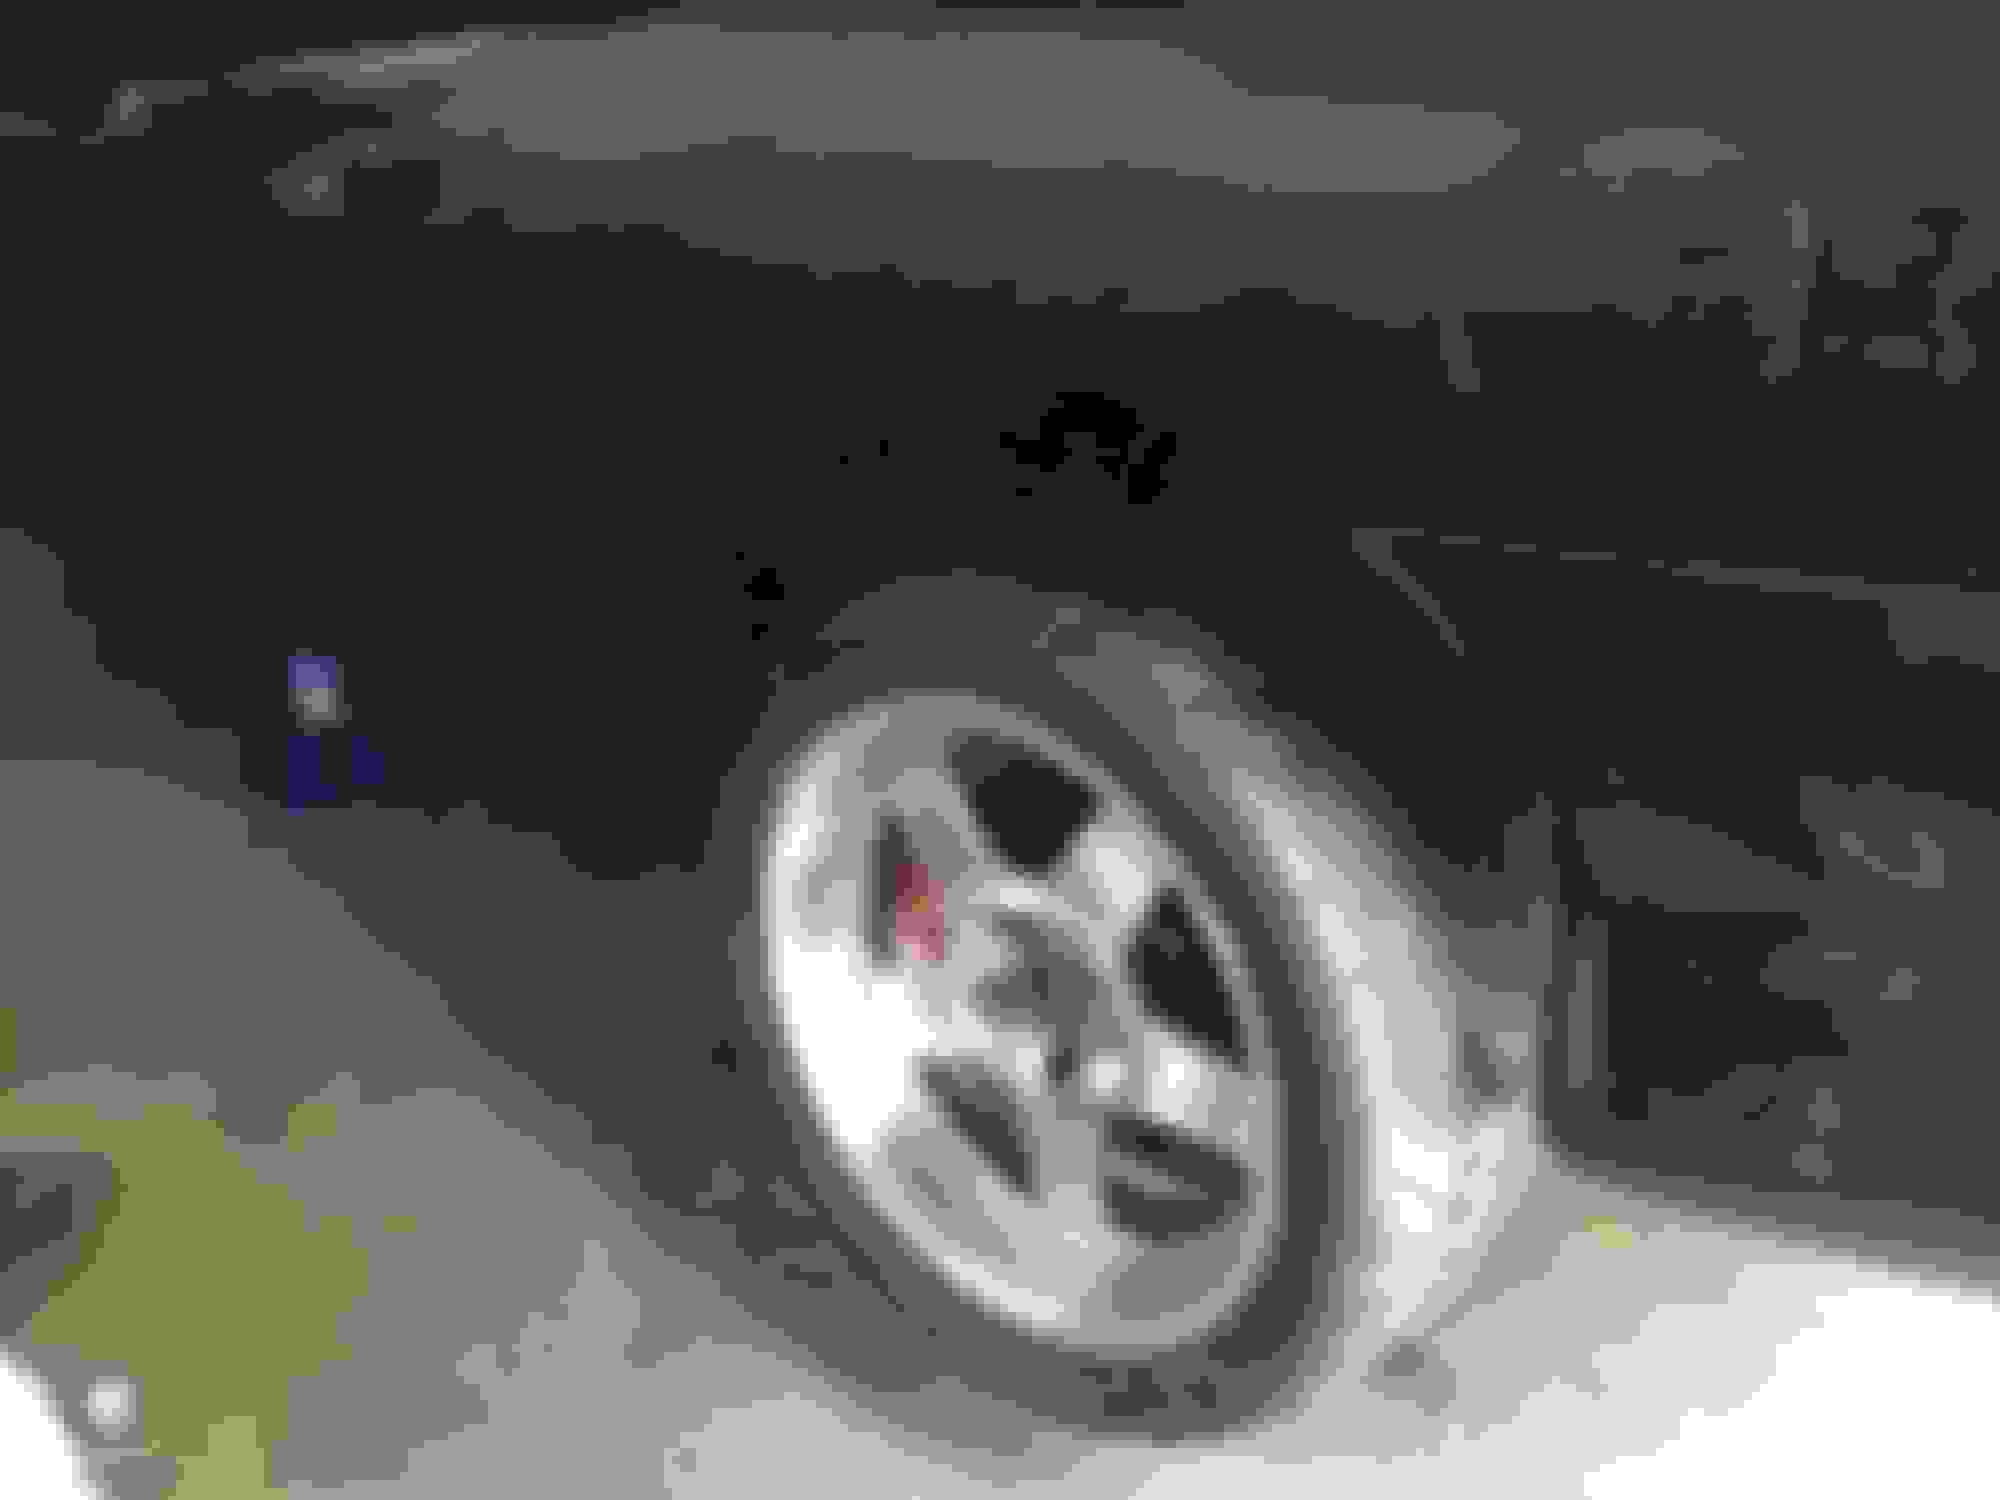
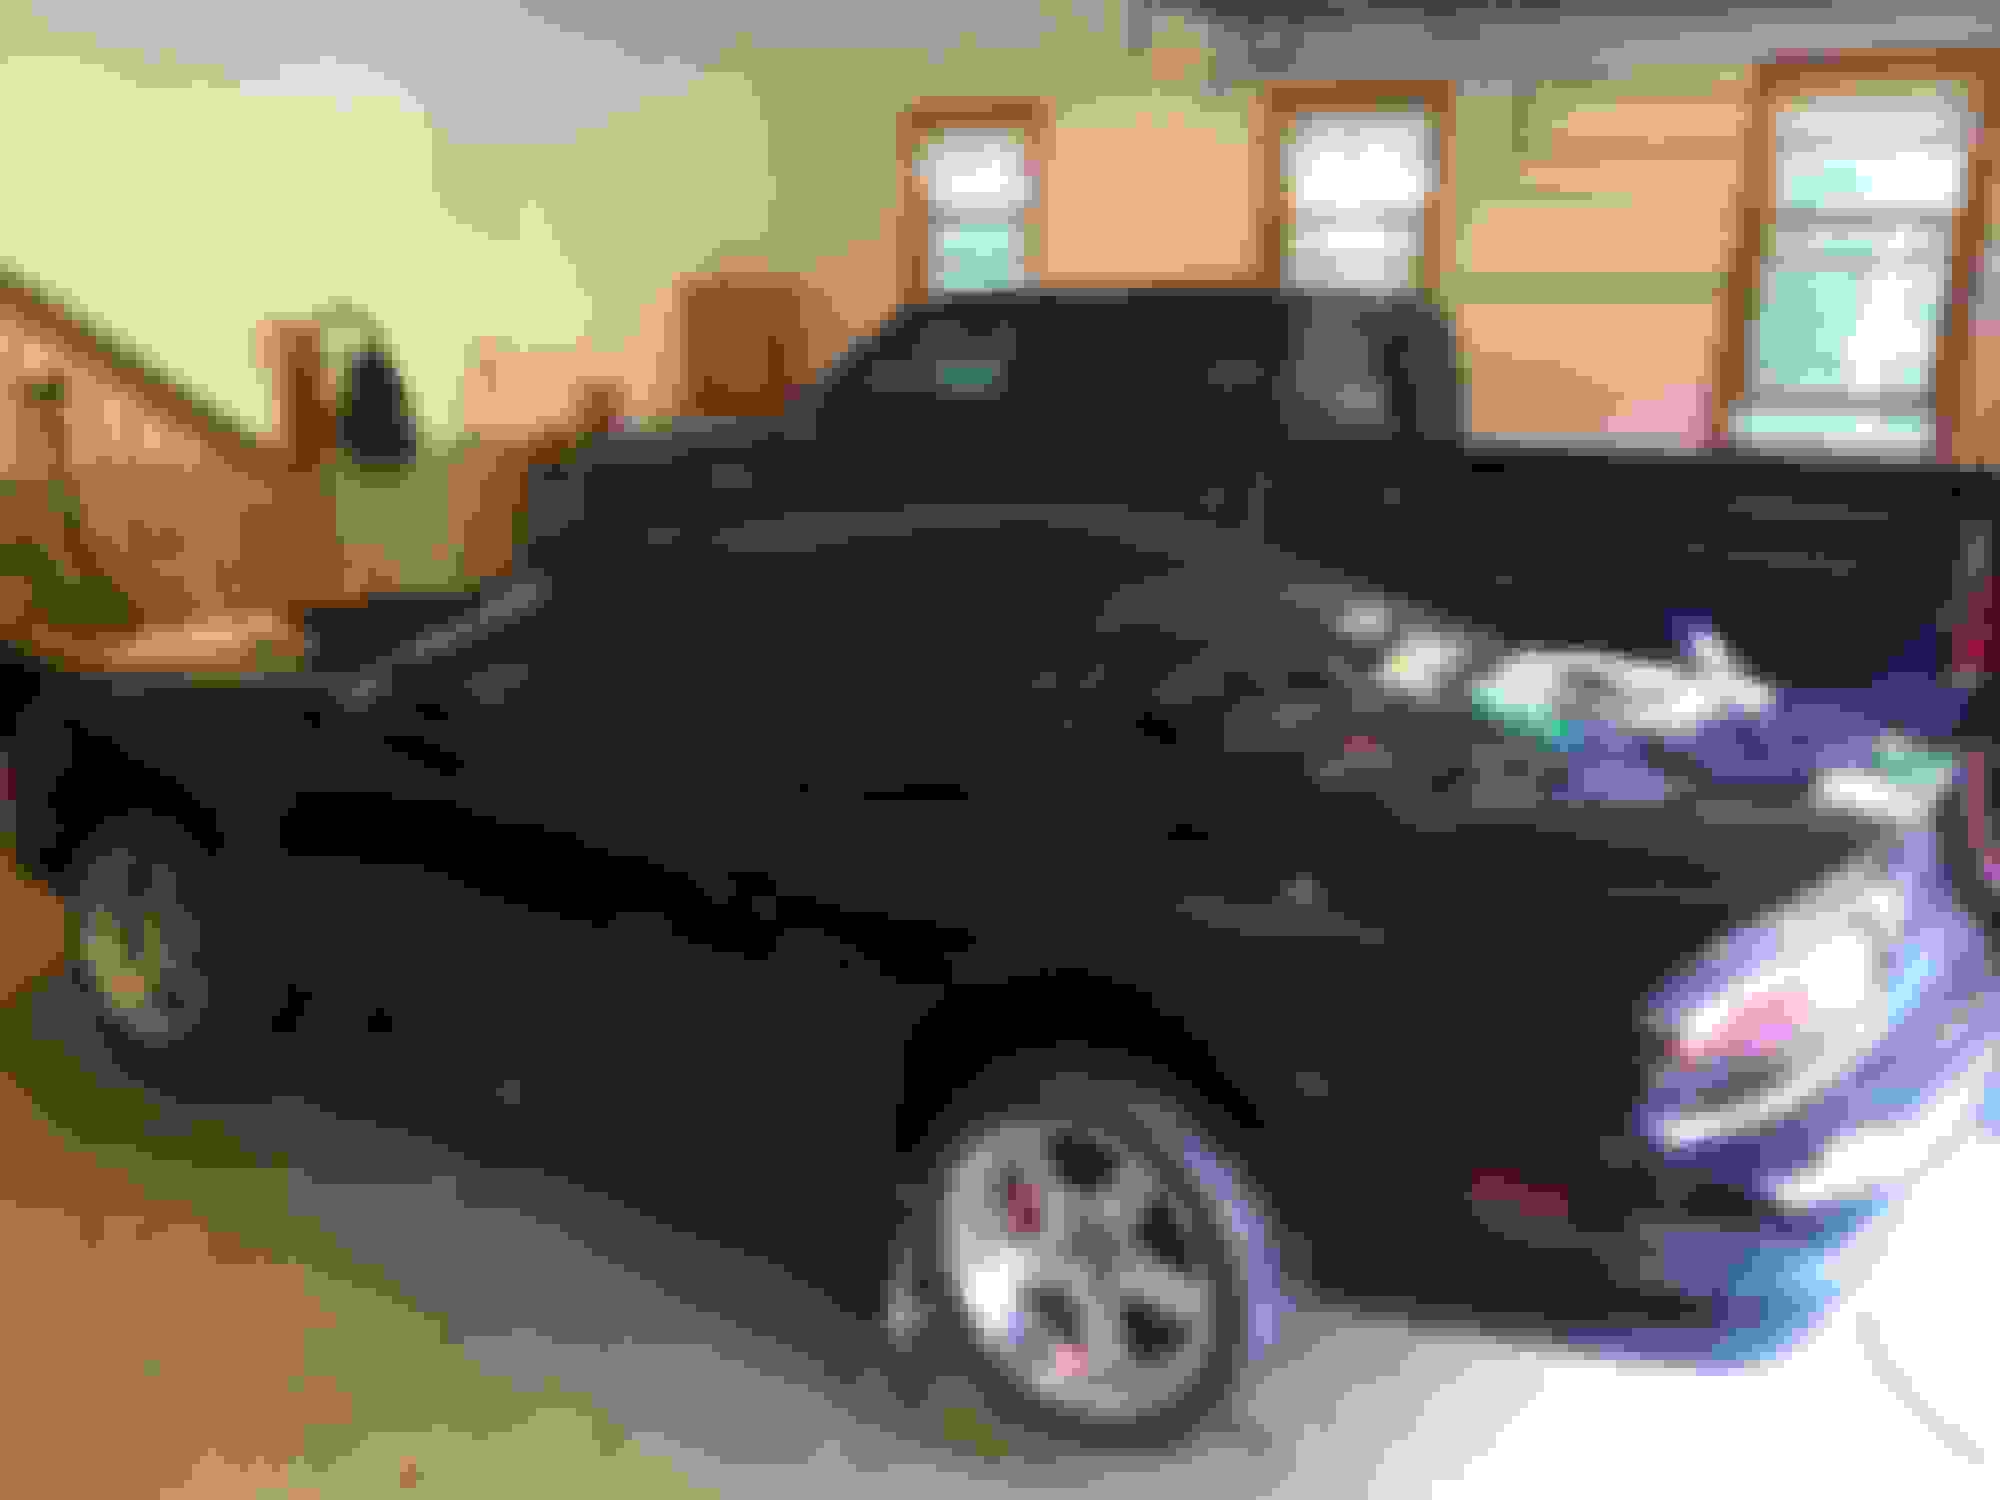
After getting the wheels to what I would consider 75% complete I mounted them on the car temporarily to see how they looked.
I am still deciding on exactly how brushed / raw I want to leave the face and if I am going to polish the lips or not. I will keep posted with more progress over the next couple weeks. Might decide to run them raw like this for the season and finish up over the winter.
Hope this might help anybody else looking to do something similar
Thanks guys - I think I will end up going with polished lips - def. a good winter project, don't want to keep her off the road while I polish wheels in this nice weather. Being in New England I only have a couple months a year I take the car out as it is so every weekend counts!
 06-18-2015, 08:28 AM