Camaro and Firebird: Broken Stereo Diagnostic Guide
Have an aftermarket radio that works when it wants to? Learn how to diagnose your broken stereo with this helpful guide.
This article applies to the Camaro and Firebird (1990-2015).
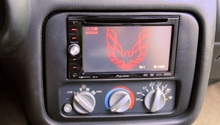
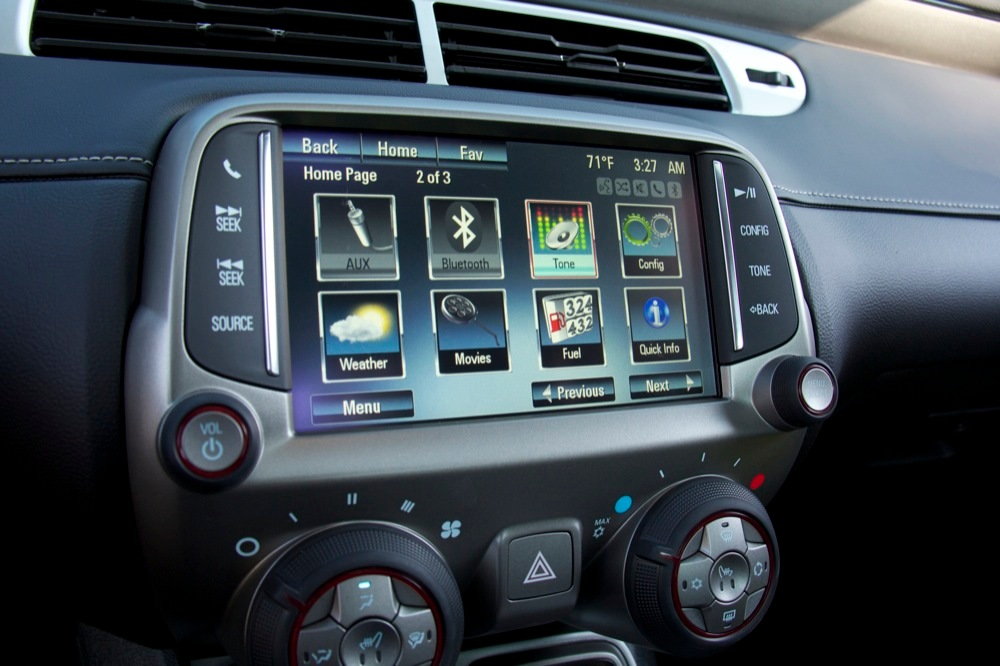
One of the most desired features in any vehicle is the stereo system. Whether you're an AM/FM radio junkie or into some competition quality music components, they all start at the factory stereo system. Many enthusiasts choose to replace the factory grade radio deck with aftermarket receivers. Some even go as far as replacing all or most of the speakers with the addition of an external amplifier, as well as a subwoofer. This introduces other points of failure. But just the same, the factory stereo system can have similar points of failure. It could be as simple as a loose wire or connection, or it can be complex like re-soldering the joints on the BCM (Body Control Module). This guide will help you determine and possibly resolve the source of the problem.

Materials Needed
- Phillips screwdriver
- Star shaped screwdriver
- Solder gun with solder
- Wire crimpers
- Electrical connectors
- Electrical tape
- Flash light
- Electrical probe
- Multimeter
Step 1 – Reset radio
Before delving into removing the radio, it's best to start with resetting the radio.
- Find the menu button.
- Find the option that resets the radio to factory or default settings.
- Start the radio and test the different functions to ensure continuous playback.
Step 2 – Reset battery
If you reset the radio settings and still continue to have an issue, resetting the battery can help.
- Unhook the negative (black) battery terminal for 30 seconds.
- Secure the negative battery cable back in place.
- Turn the ignition to accessory mode.
- Start the radio and test the different functions to ensure continuous playback.

Pro Tip
You can also use a multimeter to test the battery and ensure the alternator is charging at least 14.4v and steady. A weak battery can cause the radio to reset and malfunction. You will also need to have your vehicle security code handy in order to unlock the anti-theft feature.
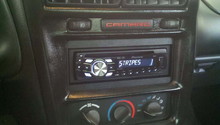
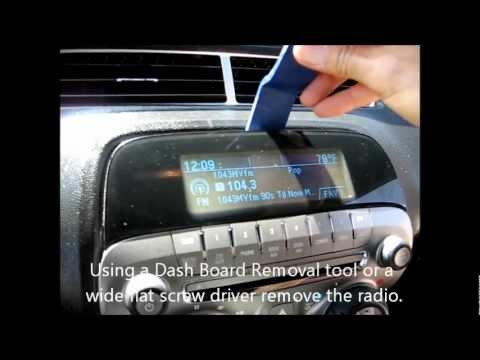
Step 3 – Remove radio
If resetting the battery did not resolve the issue, it is time to look at the wiring and connections.
- Use a flat head screwdriver or non-marring tool to pry surrounding cover/bezel around radio, as well as connected trim.
- Remove screws using the screwdriver.
- Carefully pull the radio out, but leave the connections in place.
Pro Tip
Though not necessary, it may help to engage the parking brake and place the gear in neutral to give you more room to remove surrounding trim.
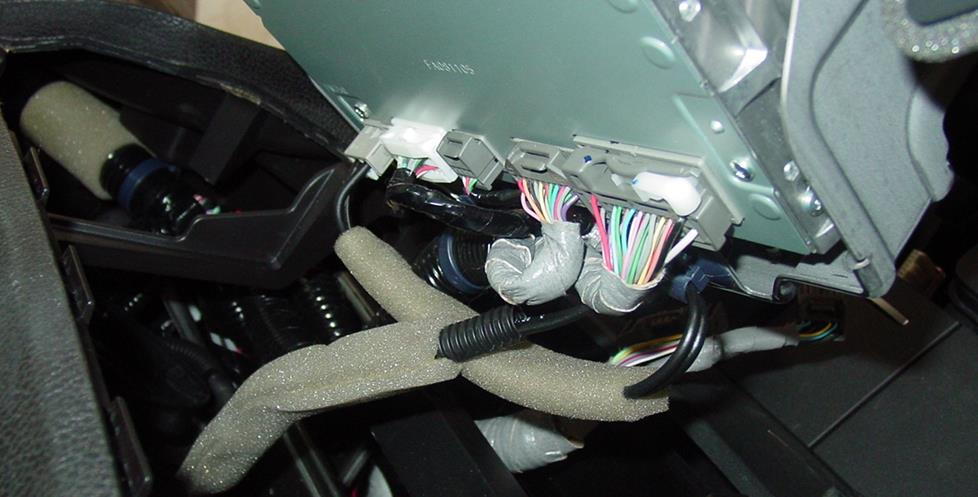
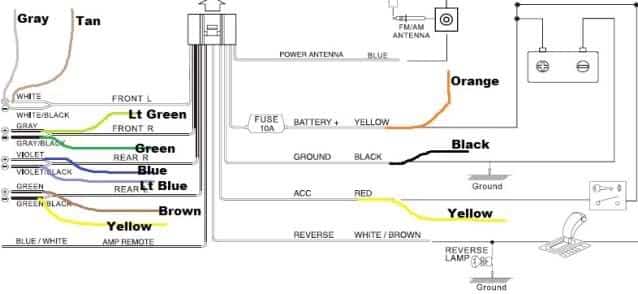
Step 4 – Check for loose connections
Circuit may be incomplete.
It is possible that there is a loose connection or two behind the stereo, causing the interruption in how the radio plays. There could also be frayed or broken wires throughout the system at one of the speakers or tweeters.
- With the radio removed and wires still connected, turn it on and let the music play.
- Gently wiggle each wire and connection behind the radio.
- Determine if any wires or connections are disconnected or even frayed.
- Use the electrical probe to test the wiring behind the radio.
- Use the multimeter to test wiring at connections throughout the system to check for continuity.
Pro Tip
If you're running upgraded speakers, an amp and/or subwoofer, you'll want to check the connections at these points as well. Sometimes, wires running along floorboards or between seats and rails can get pinched.
Step 5 – Repair or replace wires
Electrical circuit is not continuous.
Whether you have a broken or disconnected wire, the connection is not solid, causing interruption in normal stereo operation.
- Reconnect the disconnected wires or harnesses to ensure they snap into place.
- Repair frayed wires using solder gun and quality solder.
- Secure new connections with electrical connectors.
- Wrap new connections with electrical tape.
- Check for continuity of voltage using the multimeter.
Pro Tip
You can also use an electrical probe at each of the connections on the back of the unit to determine if power is continuous or not.
Step 6 – Repair BCM
Solder joints may have come loose.
It has been known for this module to have inconsistent solder joints that come loose over time. This can cause issues like power windows not working, as well as the radio not turning on.
- Locate the BCM on the passenger's side under the dash behind the glove box.
- Remove the black box that is snapped in place.
- Disconnect any harnesses and wires going into the unit.
- Remove circuit board from inside the case.
- Inspect relays as well as chips to check if they are loose and wiggling.
- Turn circuit board over and repair solder joints as necessary.
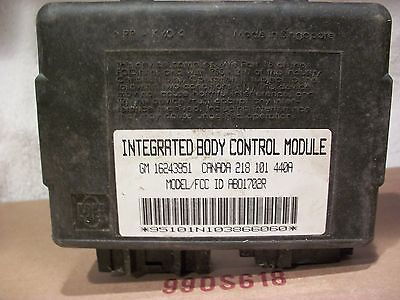
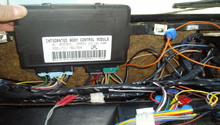
Figure 6. Here is what the BCM looks like. 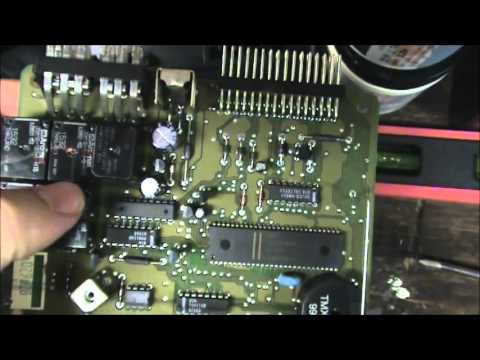
Figure 7. Check the soldering on the board and that all components are connected.
Pro Tip
You can clean off your new solder connections using 91% alcohol to prevent corrosion to the board.
Featured Video: Fixing Body Control Module
Related Discussions and Video
- LS1 Stereo Operating Delay Problem - LS1Tech.com
- LS1 Body Control Module Problems Fix - LS1Tech.com
- LS1 Weak Battery Problem - LS1Tech.com
- Repairing Power Windows and Radio Intermittently Not Working - YouTube.com