Camaro and Firebird: How to Install HID Headlights
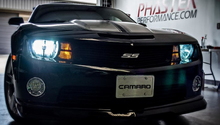
HID headlights are a great way to not only improve the looks of your ride, but are also a great way to dramatically improve your visibility at night.
This article applies to the Camaro and Firebird (1990-2015).
HID (High Intensity Discharge) lighting has become a popular upgrade on older vehicles for a couple of very good reasons. It provides vastly superior and much more powerful light than old incandescent lamps (while also using less electricity), and it just looks cooler. Though HID lights have recently been surpassed in popularity by LED lighting, they still provide an easy, plug-and-play type installation that is a massive upgrade over stock lighting for older vehicles, however, and they do it at a cheaper price than LED's. If you like the sound of that, here's a step-by-step guide on how to install HID lighting on your Camaro or Firebird.

Materials Needed
- 10mm wrench
- 13mm wrench
- Flat head screwdriver
- Phillips head screwdriver
- HID kit
- Zip ties
Step 1 – Remove the stock low beam headlights
Depending on which kit you buy, different modifications may be required, so be sure and read the instructions carefully. This installation covers the BLS HID kit, which comes with a plug and play harness and is very easy to install.
First, remove the stock low beam headlights by twisting them counterclockwise and pulling them out. Disassemble the headlights completely.
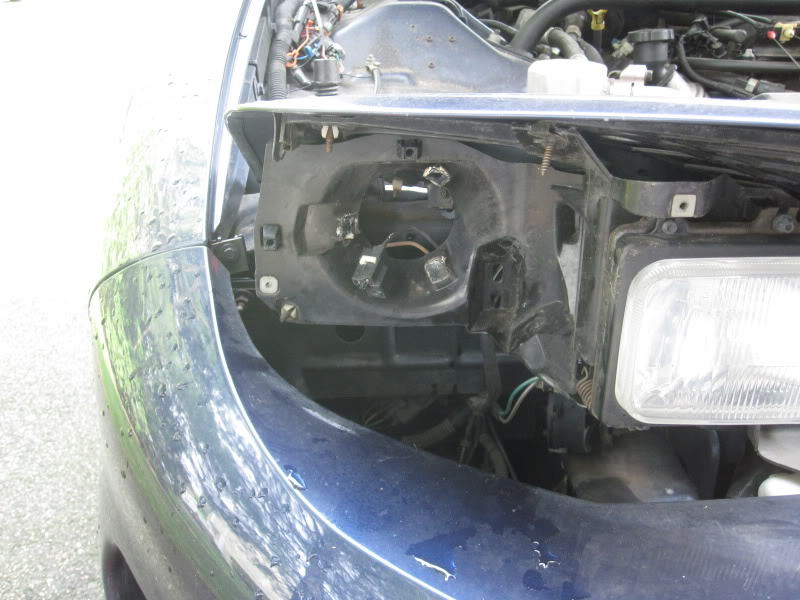
Figure 1. Remove the headlight assembly. 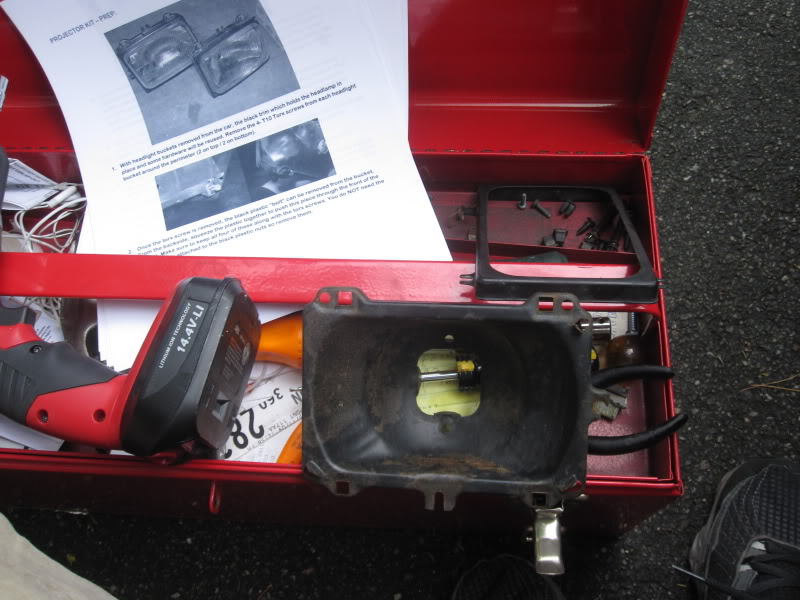
Figure 2. Disassemble the headlights.
Step 2 – Assemble the HID headlights
Install the projectors for both sides into the mounting plates. Attach the black plexiglass panel and foam strip, then the lens and stock trim ring. Install the new headlight assemblies.
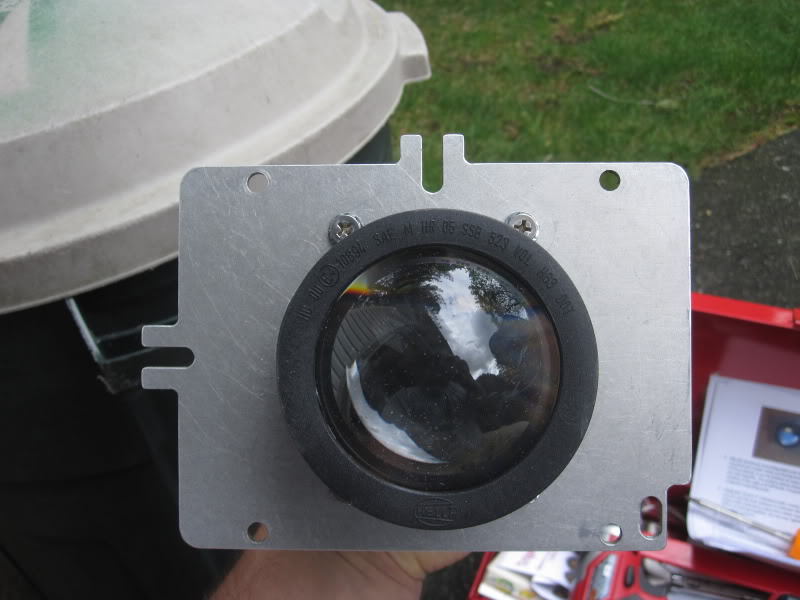
Figure 3. Mount the projector on the mounting plate. 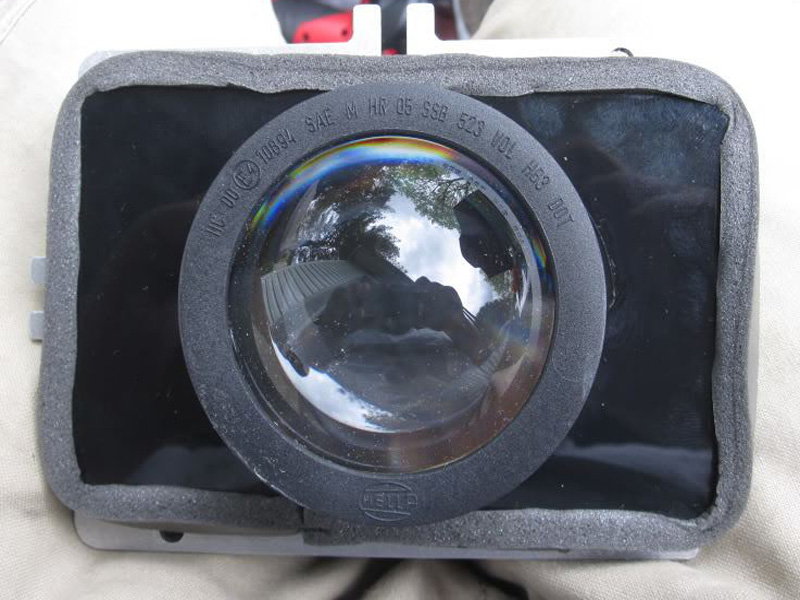
Figure 4. Install the plastic plexiglass panel and foam surround. 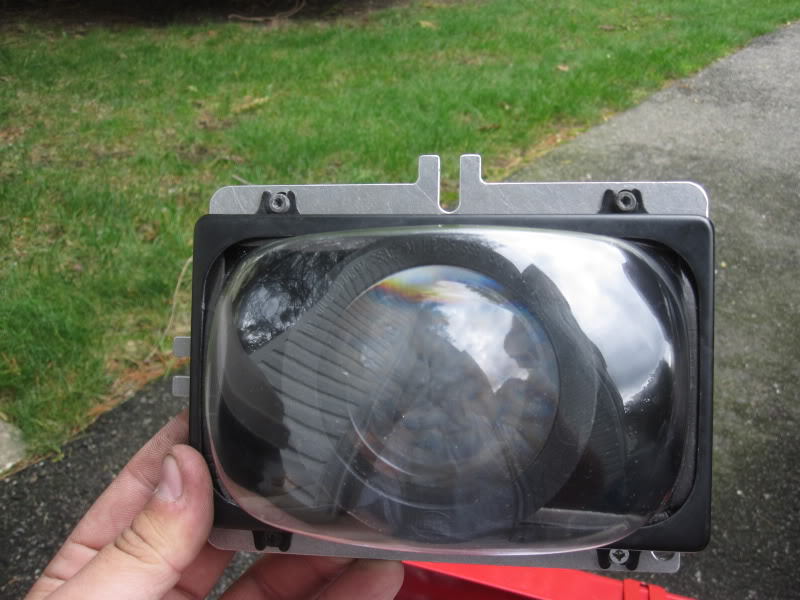
Figure 5. Install the lens and stock trim ring.
Step 3 – Install the wiring harness
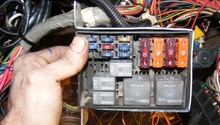
Use a zip tie to secure the relay to the metal piece with the rubber hood cushion near the fuse panel. Route the power cable underneath the fuse panel and connect it to the positive terminal with the red cover on the top left of the fuse panel. Run the ground cable underneath the fuse panel as well, and connect it to the support on the bottom left of the fuse panel.
The passenger side wires can be run along the wiper fluid tank, and the headlight wire between the support and small frame. Mount the ballasts inside the front bumper using the provided velcro strips. Test to make sure the lights are working properly, and you're finished!
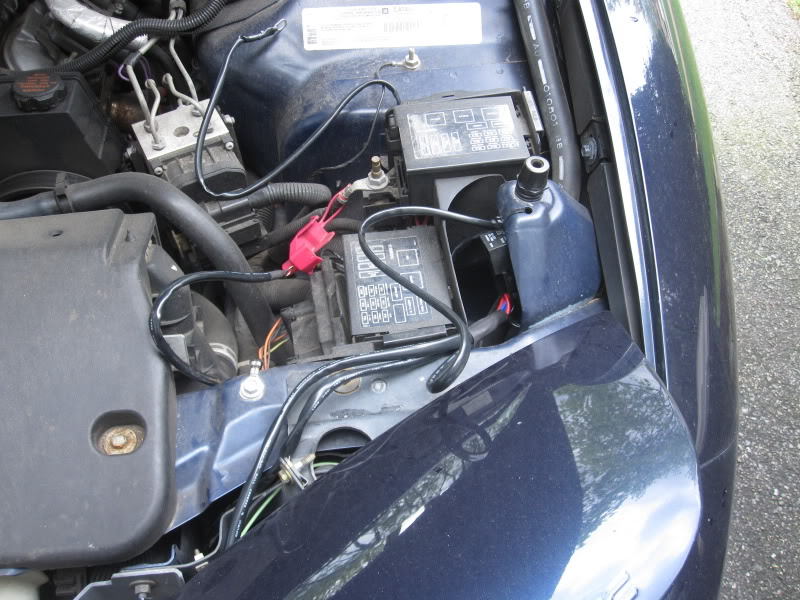
Figure 6. Mount the wiring harness. 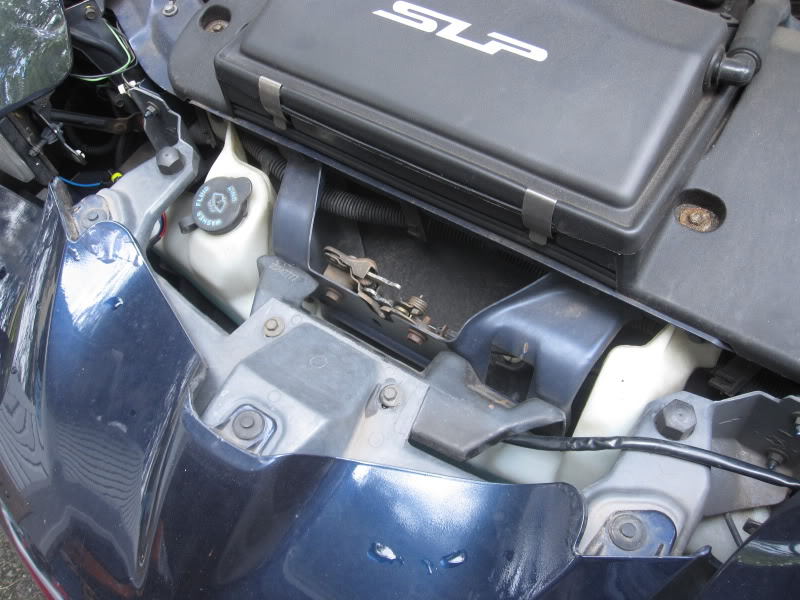
Figure 7. Run the passenger side wiring. 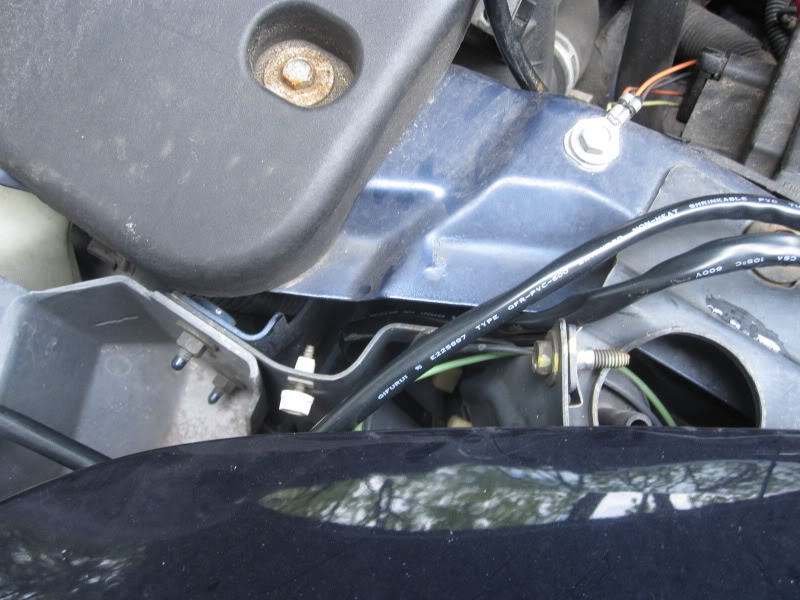
Figure 8. Run the driver's side headlight wire. 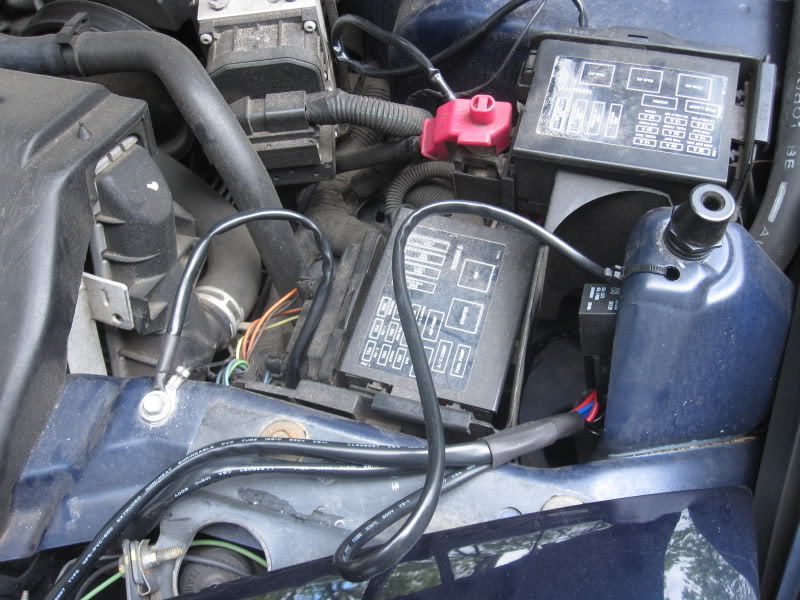
Figure 9. Connect the power and ground cables.
Related Discussions
- HID Kit Install on a GTO - LS1Tech.com
- My BLS HID Kit Install - LS1Tech.com
- HID Headlights in a Camaro - LS1Tech.com