Camaro and Firebird: How to Replace Brake Pads/Calipers/Rotors
Camaros, Firebirds, and Corvettes are some of America's favorite performance cars that can hit the track on a weekend and still be driven to work during the week. While many are often concerned with how fast their cars get up and go, slowing down and coming to a stop tends to be overlooked.
This article applies to the Chevrolet Camaro (1993-2002) and Pontiac Firebird (1993-2002), as well as Chevrolet Corvette (1997-2004).
Lackluster brakes are not only a safety concern to yourself, but also to other drivers on the road. Regular brake fluid flushes will help maintain brake system operation, but severely worn brake pads and rotors can be a dangerous endeavor. Similarly, a stuck or leaking brake caliper can cause undesired brake system operation and potentially lead to an accident. Prompt replacement of worn or damaged brake components will ensure miles of trouble-free operation.

Materials Needed
- Floor jack and jack stands
- Metric socket set
- Metric wrench set
- Metric hex (Allen) key set
- Ratchet, breaker bar, and extension
- Torque wrench
- Silicone grease
- Wire brush
- Brake parts cleaner
- Bungee cord or rubber snubber
- Rubber mallet or dead blow hammer
- Medium strength Threadlocker (blue)
- C-clamp
- Syringe or turkey baster
Step 1 – Lift vehicle and remove wheels
- To begin, lift and support the vehicle with jack stands. The whole car does not have to be lifted, just the axle in which you will be performing brake maintenance. For additional information on safely lifting your car, see How to Jack Up Your Car.
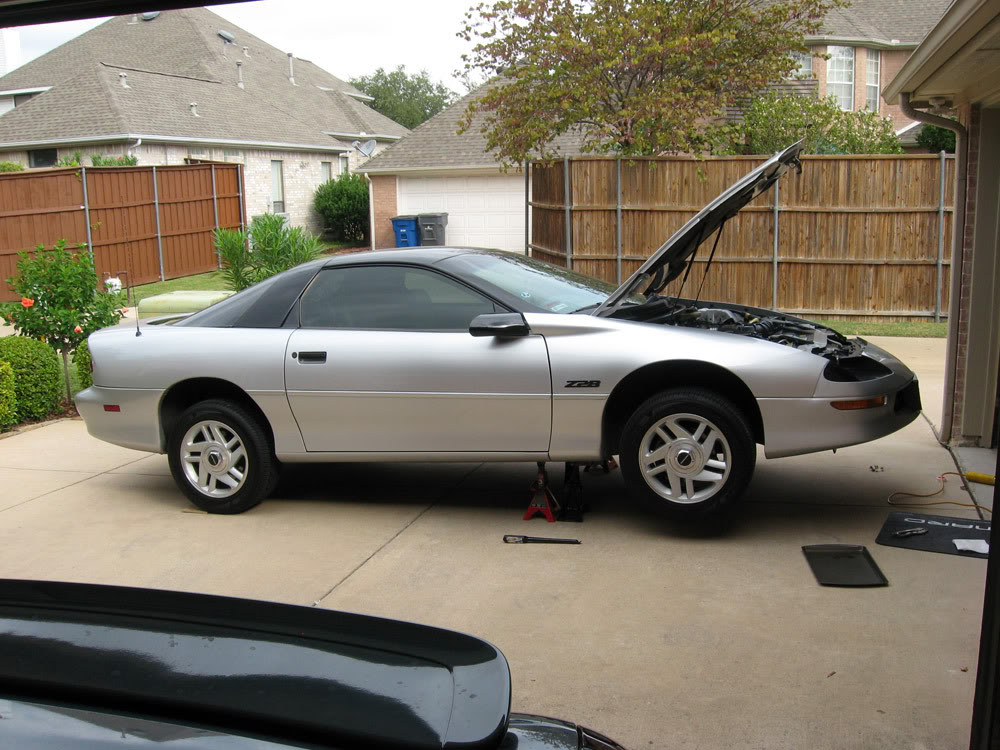
- Remove the wheels to expose the brakes.
Pro Tip
The wheel lug nuts can be loosened with the vehicle resting on the ground to aid in wheel removal once the vehicle has been placed on jack stands.
Step 2 – Caliper removal
Whether you are simply replacing the brake pads or completely overhauling the brake system with new components, the brake calipers must first be removed.
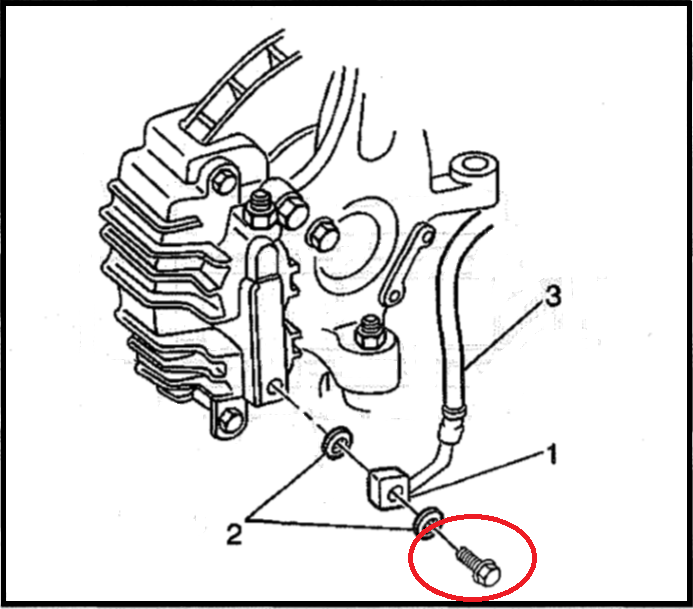
- If replacing the brake caliper(s), loosen the brake hose banjo bolt prior to removing the caliper assembly.
- To remove the brake caliper from the caliper mounting bracket, remove the caliper guide pin bolts. While removing the guide pin bolts, counter with a wrench on the guide pin to prevent the entire guide pin from spinning.
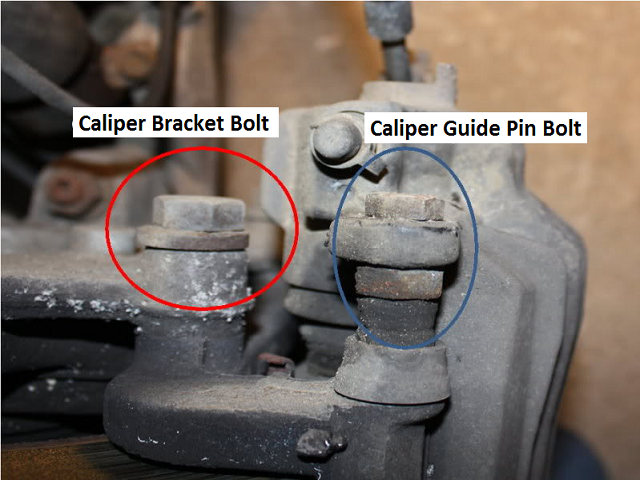
Figure 4. Caliper bracket and guide pin bolts. 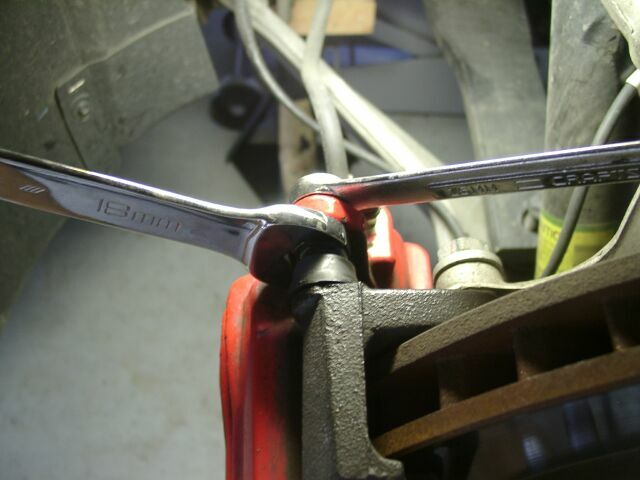
Figure 5. Caliper guide pin bolt removal.
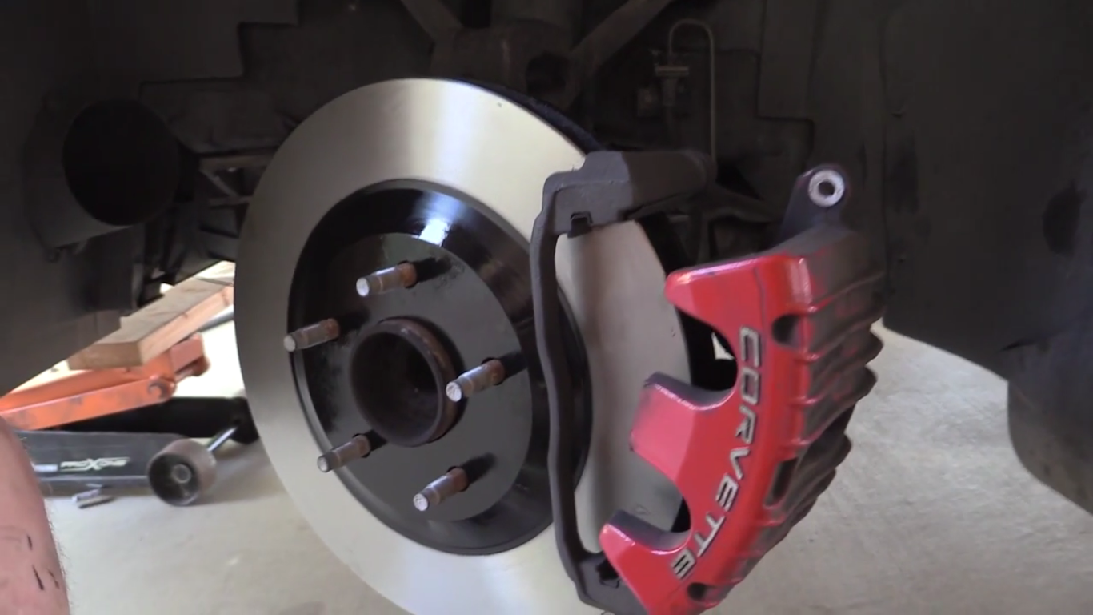
- With the guide pin bolts removed, the caliper can be slid off of the rotor. If re-using the caliper, support it using a bungee chord, snubber, or wire hanger to prevent it from hanging by the brake hose. If replacing the caliper, the brake hose can now be disconnected from the caliper and the caliper sat aside.
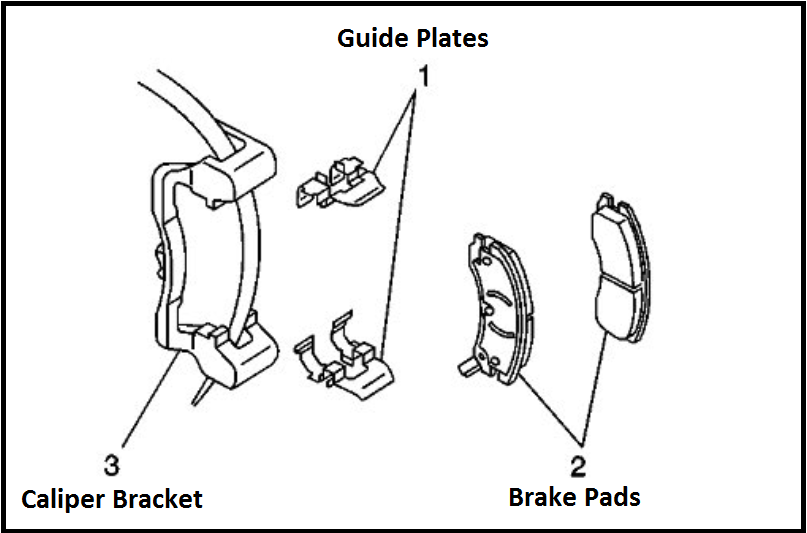
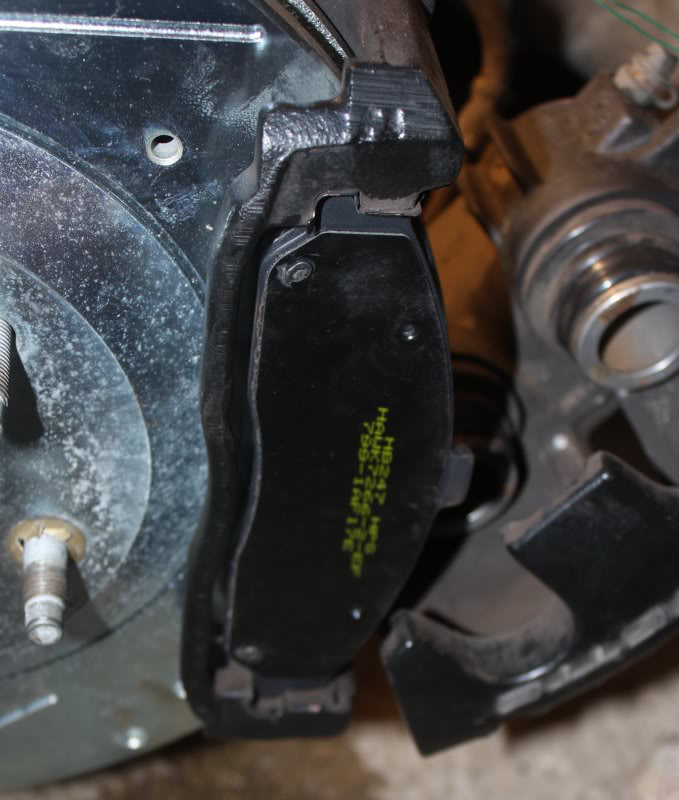
- With the caliper removed, the brake pads and pad guide plates can be removed from the caliper bracket.
Pro Tip
If replacing the caliper, be sure to place the end of the brake hose into a suitable catch container as brake fluid will seep out.
Step 3 – Rotor removal
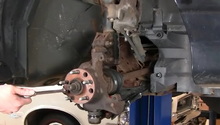
- To remove the brake rotor, the caliper bracket must be removed from the knuckle. Simply remove the caliper bracket bolts and set the bracket aside.
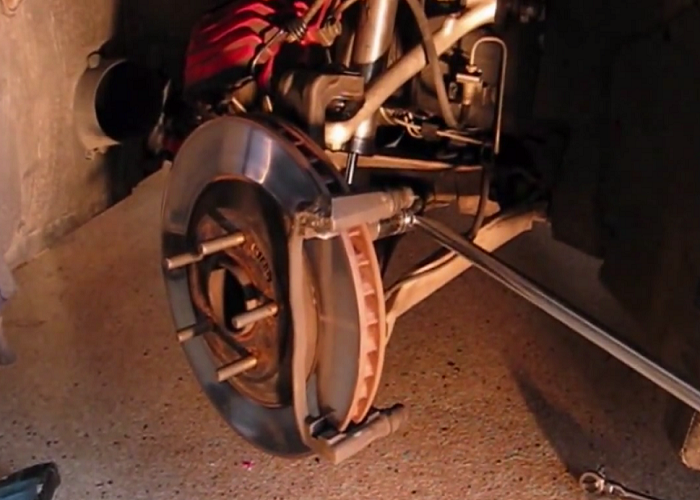
Figure 8. Caliper bracket removal. 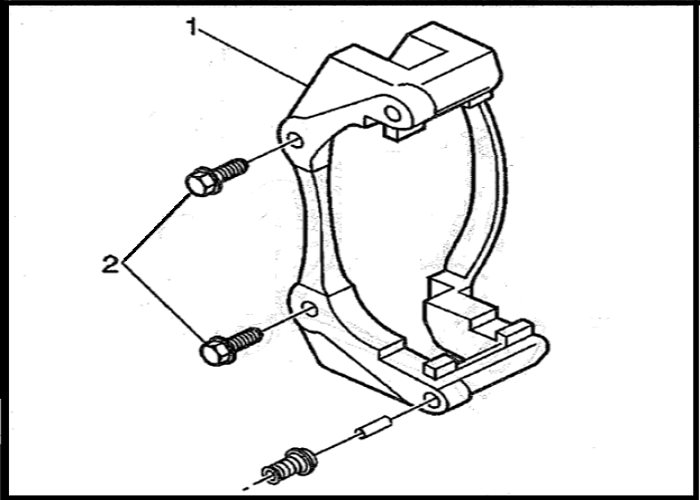
Figure 9. Caliper bracket and caliper bracket bolts.
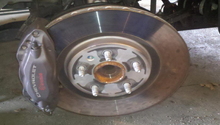
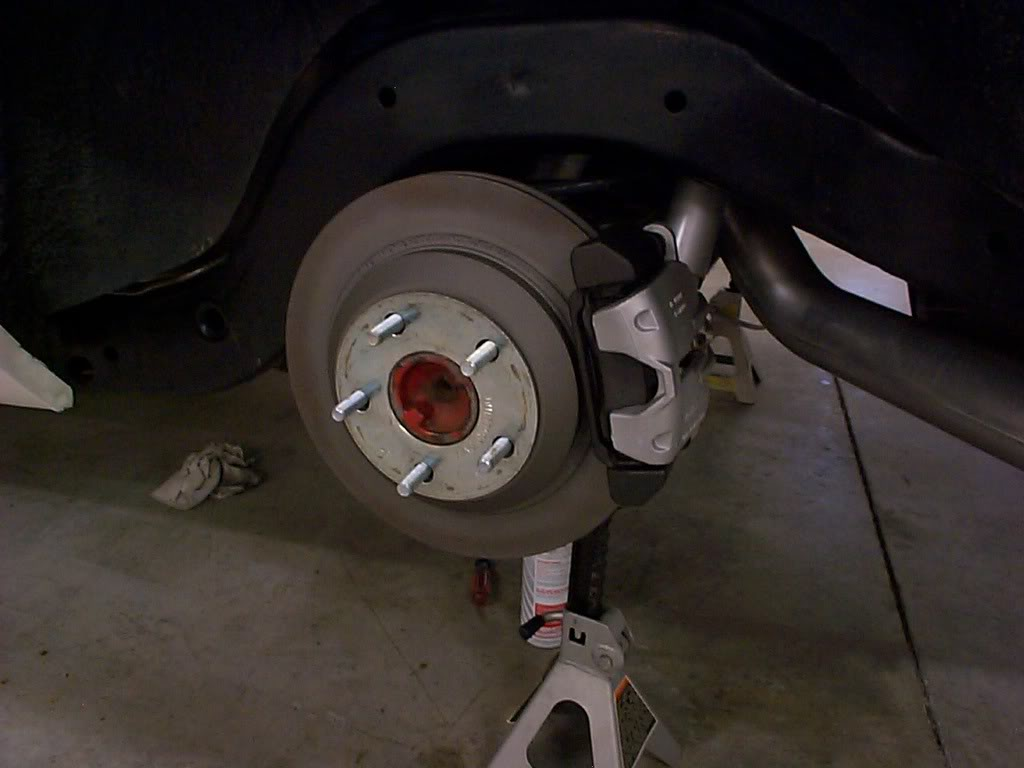
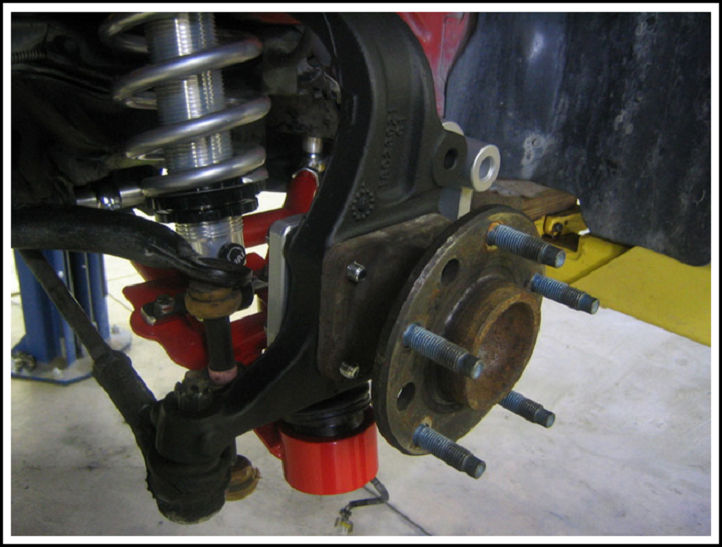
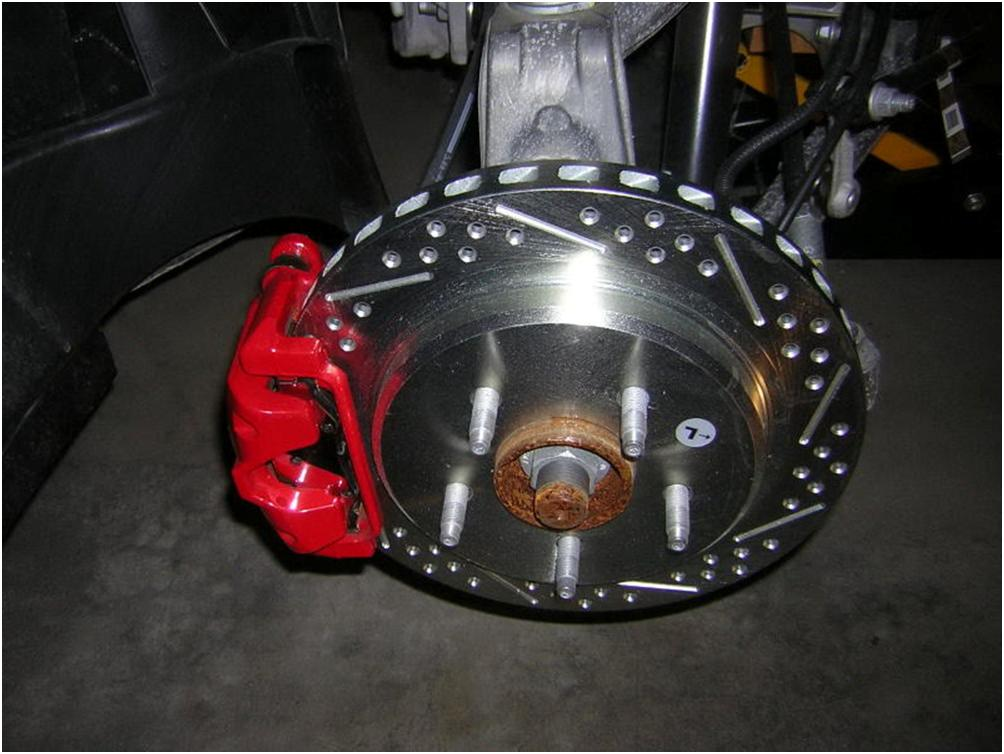
- With the caliper bracket removed, the rotor should simply slide off of the hub. If the rotor is rusted to the hub, a slight tap with a rubber mallet or dead blow hammer will typically free it.
Step 4 – Install new brake components
Rotors
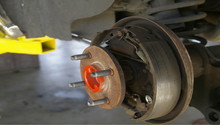
- Using a wire brush, clean any rust or dirt off of the hub flange to ensure the new rotor fully seats against the hub.
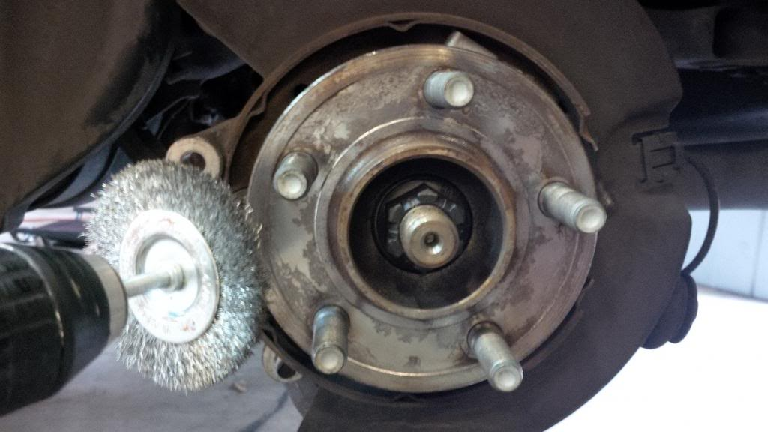
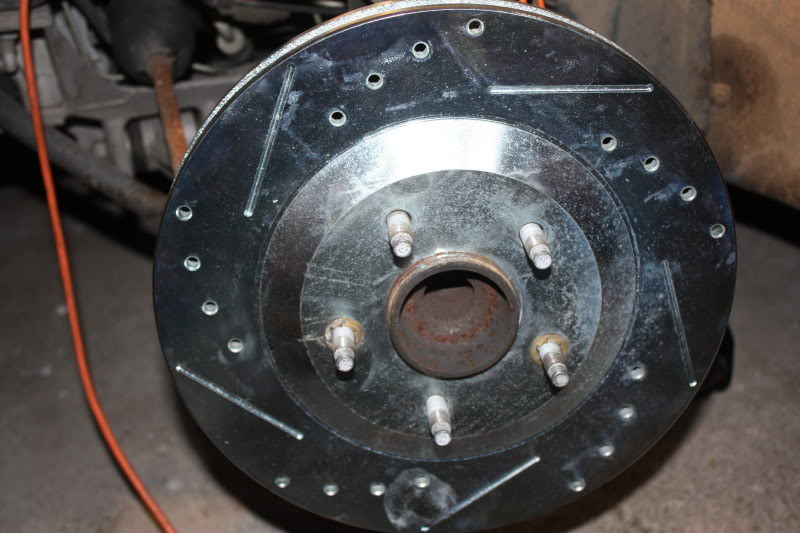
- Slide the rotor onto the hub. A wheel lug nut or two can be used to hold the rotor in place while installing the brake caliper/brake pads.
Pro Tip
New brake rotors typically come coated in a rust inhibitor. Wipe down the rotor with acetone or brake parts cleaner before installing the brake pads.
- With the brake rotor in place, install the brake caliper bracket using medium strength Threadlocker (blue) on the threads of the mounting bolts. Corvette and F-body cars typically require the mounting bolts to be torqued between 75 ft/lbs and 125 ft/lbs. Refer to your service manual for the correct torque specifications.
Brake Caliper and Pads
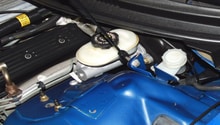
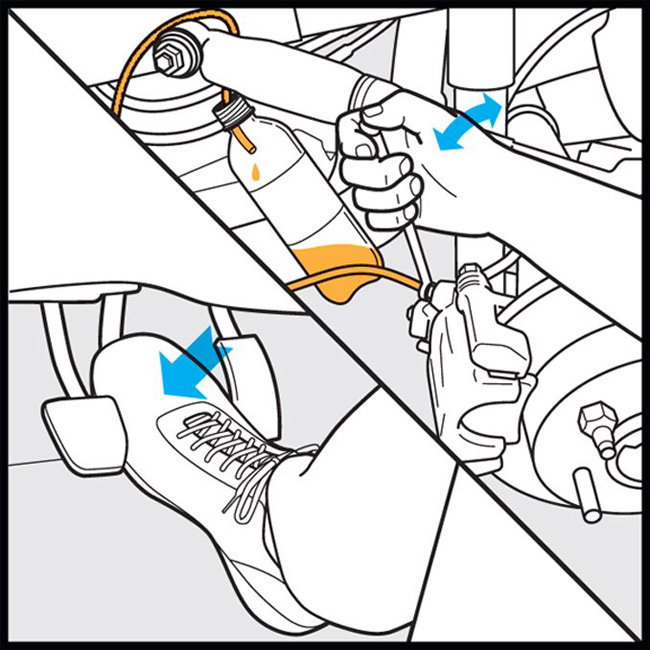
- If re-using the brake caliper, siphon brake fluid from the master cylinder reservoir before using a c-clamp to compress the brake caliper piston(s).

Figure 14. Siphon brake fluid before compressing caliper pistons. 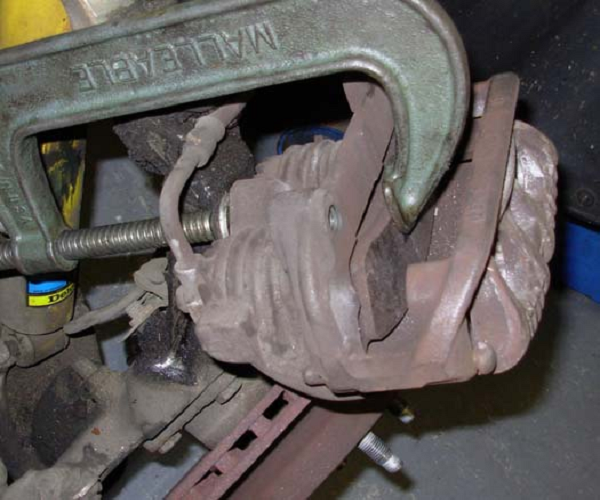
Figure 15. Compressing caliper pistons with c-clamp and brake pad.
- Install the newly supplied brake pad guide plates into the caliper bracket. With the guide plates in place, slide the new brake pads into the caliper bracket, making sure the ears of the pads are properly positioned in the guide plates.
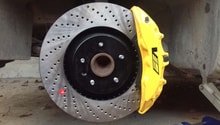
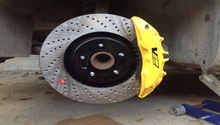
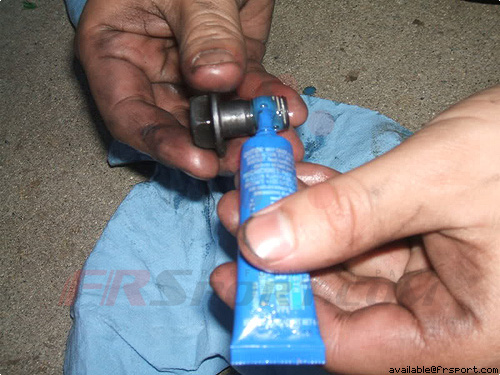
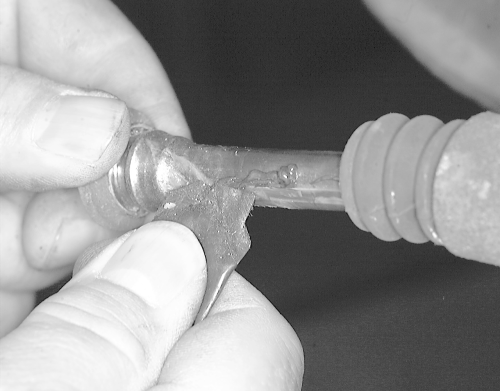
- Lubricate the caliper guide pins with a silicone-based grease and be sure the rubber boots are in good condition and properly seated before installing the brake caliper.
- With the brake caliper in place, install the guide pin bolts (caliper bolts). Torque the bolts to approximately 25 ft/lbs. If a new brake caliper has been installed, re-attach the brake hose using new crush washers on the banjo bolt and torque to approximately 35 ft/lbs.
Step 5 – Bleed brakes (optional)
If you installed a new brake caliper, the brake system must be bled; however, it is always a good idea to flush the brake fluid whenever performing brake system maintenance. For additional information on bleeding the brakes, see How to Replace Brake Fluid
With bleeding complete, install the wheels and lower the vehicle off of jack stands.
Related Discussions
- Question About Replacing Brake Pads/Rotors? - LS1Tech.com
- Doing My First Brake Job, Help???- LS1Tech.com
- Brake FAQ - LS1Tech.com