When you click on links to various merchants on this site and make a purchase, this can result in this site earning a commission. Affiliate programs and affiliations include, but are not limited to, the eBay Partner Network.
Last weekend I Whistler modded my headlamp housings and installed my Morimoto Mini H1 7.0's with 5500K bulbs. I was going to retrofit G37's, but these are a little more plug and play! They literally just screw into the 9006 bulb hole. Just pry the holder out and you're set.
I did the high/low beam mod and also use my stock halogen highs, so it's quad high beams when the shields drop.
Other lighting mods include LED's all around, including front switchbacks, brake/tail lights, rear turn signals, marker lights. Fogs are stock Blazer's with 50w bulbs and the lens sprayed with amber glass paint. I basically just use them as DRL's. I also have yellow halogen high beams, mostly because they looked cool. Good attention grabbers though.
For those interested, I'm using the Keep It Clean FF552NLF no load flasher and it works well with full LED turn signals. My hazard lights work perfectly with my stock hazard flasher.
Great job! The headlights came out great! Did you have to do any cutting?
Thanks! And nope, no cutting at all except removing the original 9006 bulb holder and shield with a pair of pliers. The locking nut that screws on the projector is just small enough to seat perfectly in the back of the headlight. Ideally you'd want to Dremel out the surrounding plastic to make it easier to screw on, but I was able to tighten it down on a rubber grommet no problem.
One thing I still have to do is get a cover to go over the back of the bulb where it enters the projector. It's exposed, so you do run the risk of water getting in there and causing moisture or bursting the capsule. TRS sells them.
I'll also add that I did shim my bulbs to fix/optimize the hotspot, which is common with these Morimotos. Not a big deal, and you can find more info on it on HID Planet.
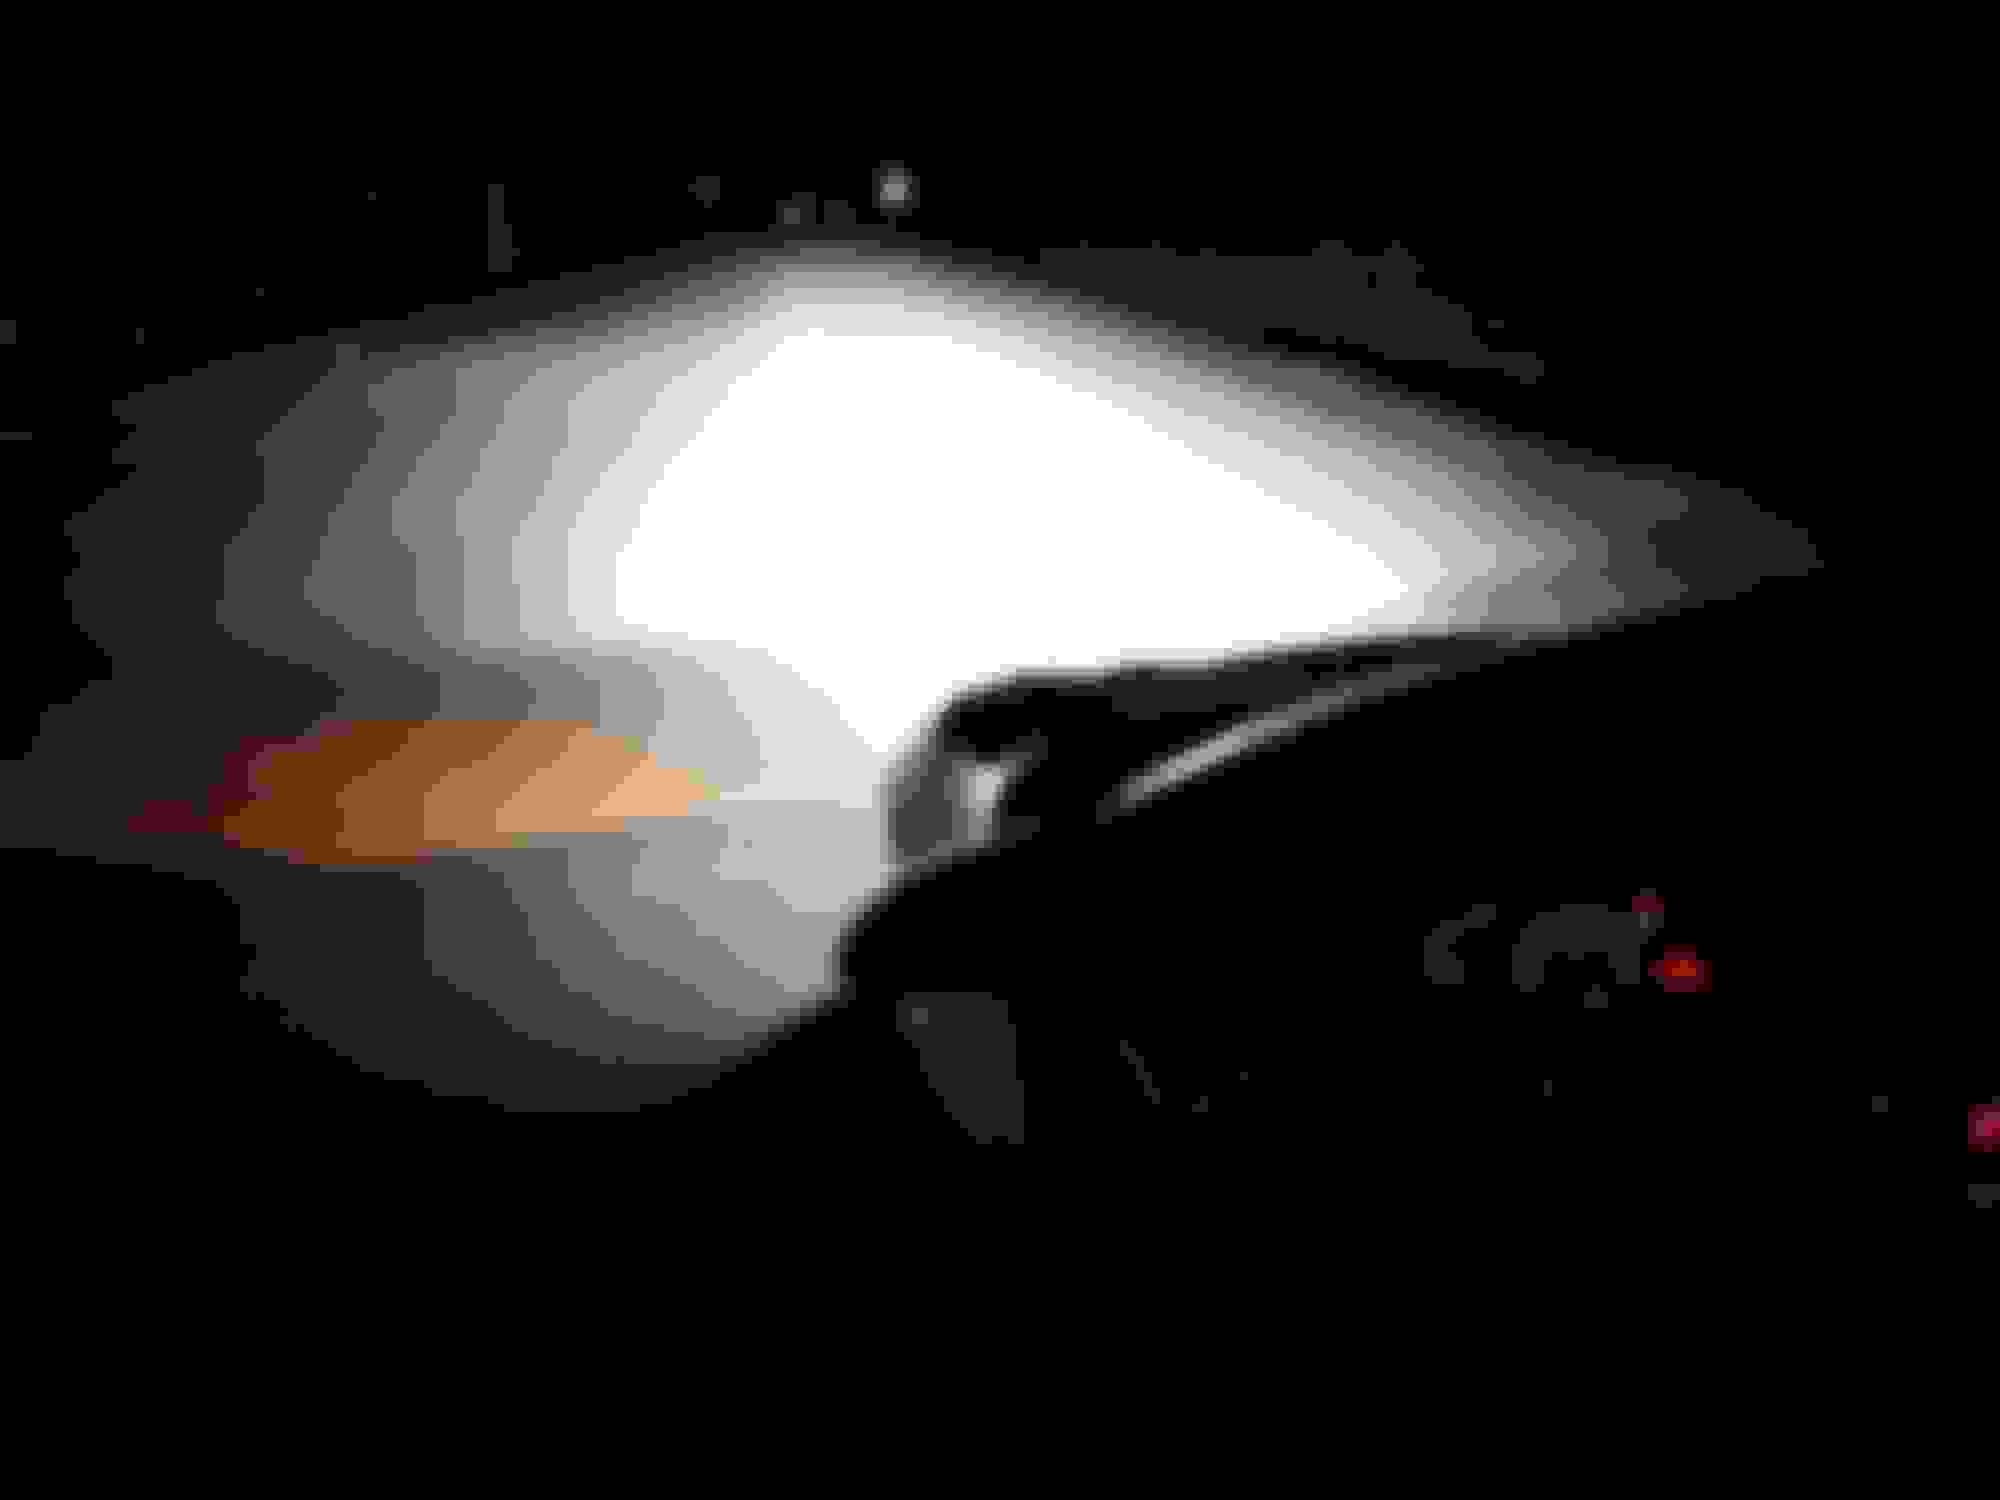
Literally night and day over stock. I get more distance out of them than the pictures really show. There is also minimal glare since I'm using projectors, so it stays out of other drivers faces and stays on the road.
Kind of surprising that you had to shim the Morimoto bulbs. I could see having to with some generic cheap bulbs like DDM junk, but you'd think Morimoto projectors + Morimoto bulbs would not have this problem.
Wonder how mine will look on my Silverado when I get them done.
Kind of surprising that you had to shim the Morimoto bulbs. I could see having to with some generic cheap bulbs like DDM junk, but you'd think Morimoto projectors + Morimoto bulbs would not have this problem.
Wonder how mine will look on my Silverado when I get them done.
It's pretty common on MH1's, but it's more of a nitpicking thing. I just wanted to get the hotspot aligned properly with the cutoff to maximise distance. But I agree, id expect perfection by 7.0 lol. But even my G37's with OEM Philips D2S bulbs put the hotspot behind the shield on one of the projectors. The few 7.0 threads on HIDPlanet I believe had guys shimming them as well.
After running with 5500K for a week, I might go with 4500ish or whatever TRS is offering at the moment. I find it really hard on the eyes, honestly.
Overall the 7.0's are nice though, so I think you'll be happy. The output is wide and they have a nice high beam. Distance is far better than my cell phone pictures show, especially since the road dips. I've aimed them up a bit since and they are fantastic. Nice colour flicker too, even in stock form, if you're into that.

 05-10-2016, 11:29 PM