When you click on links to various merchants on this site and make a purchase, this can result in this site earning a commission. Affiliate programs and affiliations include, but are not limited to, the eBay Partner Network.
Been working on this hood the last 2 hours doing adjustments, it just seems the left side is warped upwards
Also, does a safety latch even work on these hoods? My stock ram air safety latch will not work because there is no steep pitch at the nose for it to move
Since the passenger side seems level and the whole driver side is too high in your current configuration I'd say maybe your safety latch (the center point) is too high. Try lowering it to make the hood pivot at the passenger side and bring the drivers side down.
Since the passenger side seems level and the whole driver side is too high in your current configuration I'd say maybe your safety latch (the center point) is too high. Try lowering it to make the hood pivot at the passenger side and bring the drivers side down.
not sure what i can do with center as it is touching the nose already... i will be elongating the holes on the support brackets per VFN to see if this helps as they think it will...
You need to slot your hood hinge vertically to drop that entire side. Also may need to shave almost 1/4" of the fertile lip away so that the inner fender lip doesn't hold it up. I have well over 20 hours in fitting mine and I have it fitting better than almost all that I have seen online. It isn't perfect but damn close.
You will also need to shave a lot off the nose and front bumper
If I come home for lunch today I will get some pics, otherwise it will be late tonight after work. My driver side was up also but my stock hood fit perfect. I think it's common with our car for that side to be up like that.
I never got that hood nor any money back for it. A dozen of us got an email in may of 2016 from him saying that he had supplies and was planning on filling orders but that was the last thing. I contacted a friend of his who saw him at a party and said that he never mentioned having any problems. He has since never replied back when I was looking for further info. I've collected a lot of info that I don't think that most know of that I have been tempted to just post everything up but I haven't convinced myself of doing that yet.
I still need to raise the center nostril area on the bumper to meet the level of the nostril bottom of the hood. The corners of the nostrils are shimmed to the right height. There is a lot that cannot be corrected in the nostril area. I cut a decent amount of bumper to correctly match the hood edge gap.
I notched the hell out of every front nose piece (bumper support, latch assembly, etc. to get the hood to sit flush on the sides. Many many hours and still need more
Do you have all 4 bumpstops turned all the way down? You shouldn't have any shocks, latch, or lever on the hood at this point.
Rip that latch off, you need to get that hood sitting flush before you add the latch. It has tons of movement and can be tweaked later.
I had to cut the foam bumper support, lower the latch, the bracket the latch is on, the fiberglass bracket that hold the 2 center bump stops, notch the driver side hood hinge vertically, shave the sides of the hood, cut the bumper and shave the nose on both the bumper and the hood.
Look as the sides of your hood, when you have it lowered, you may see it tubing he top of the inner lip of your fender. That may need shaved like mine. I did about 2 feet on the driver side and 6" on the passenger side.
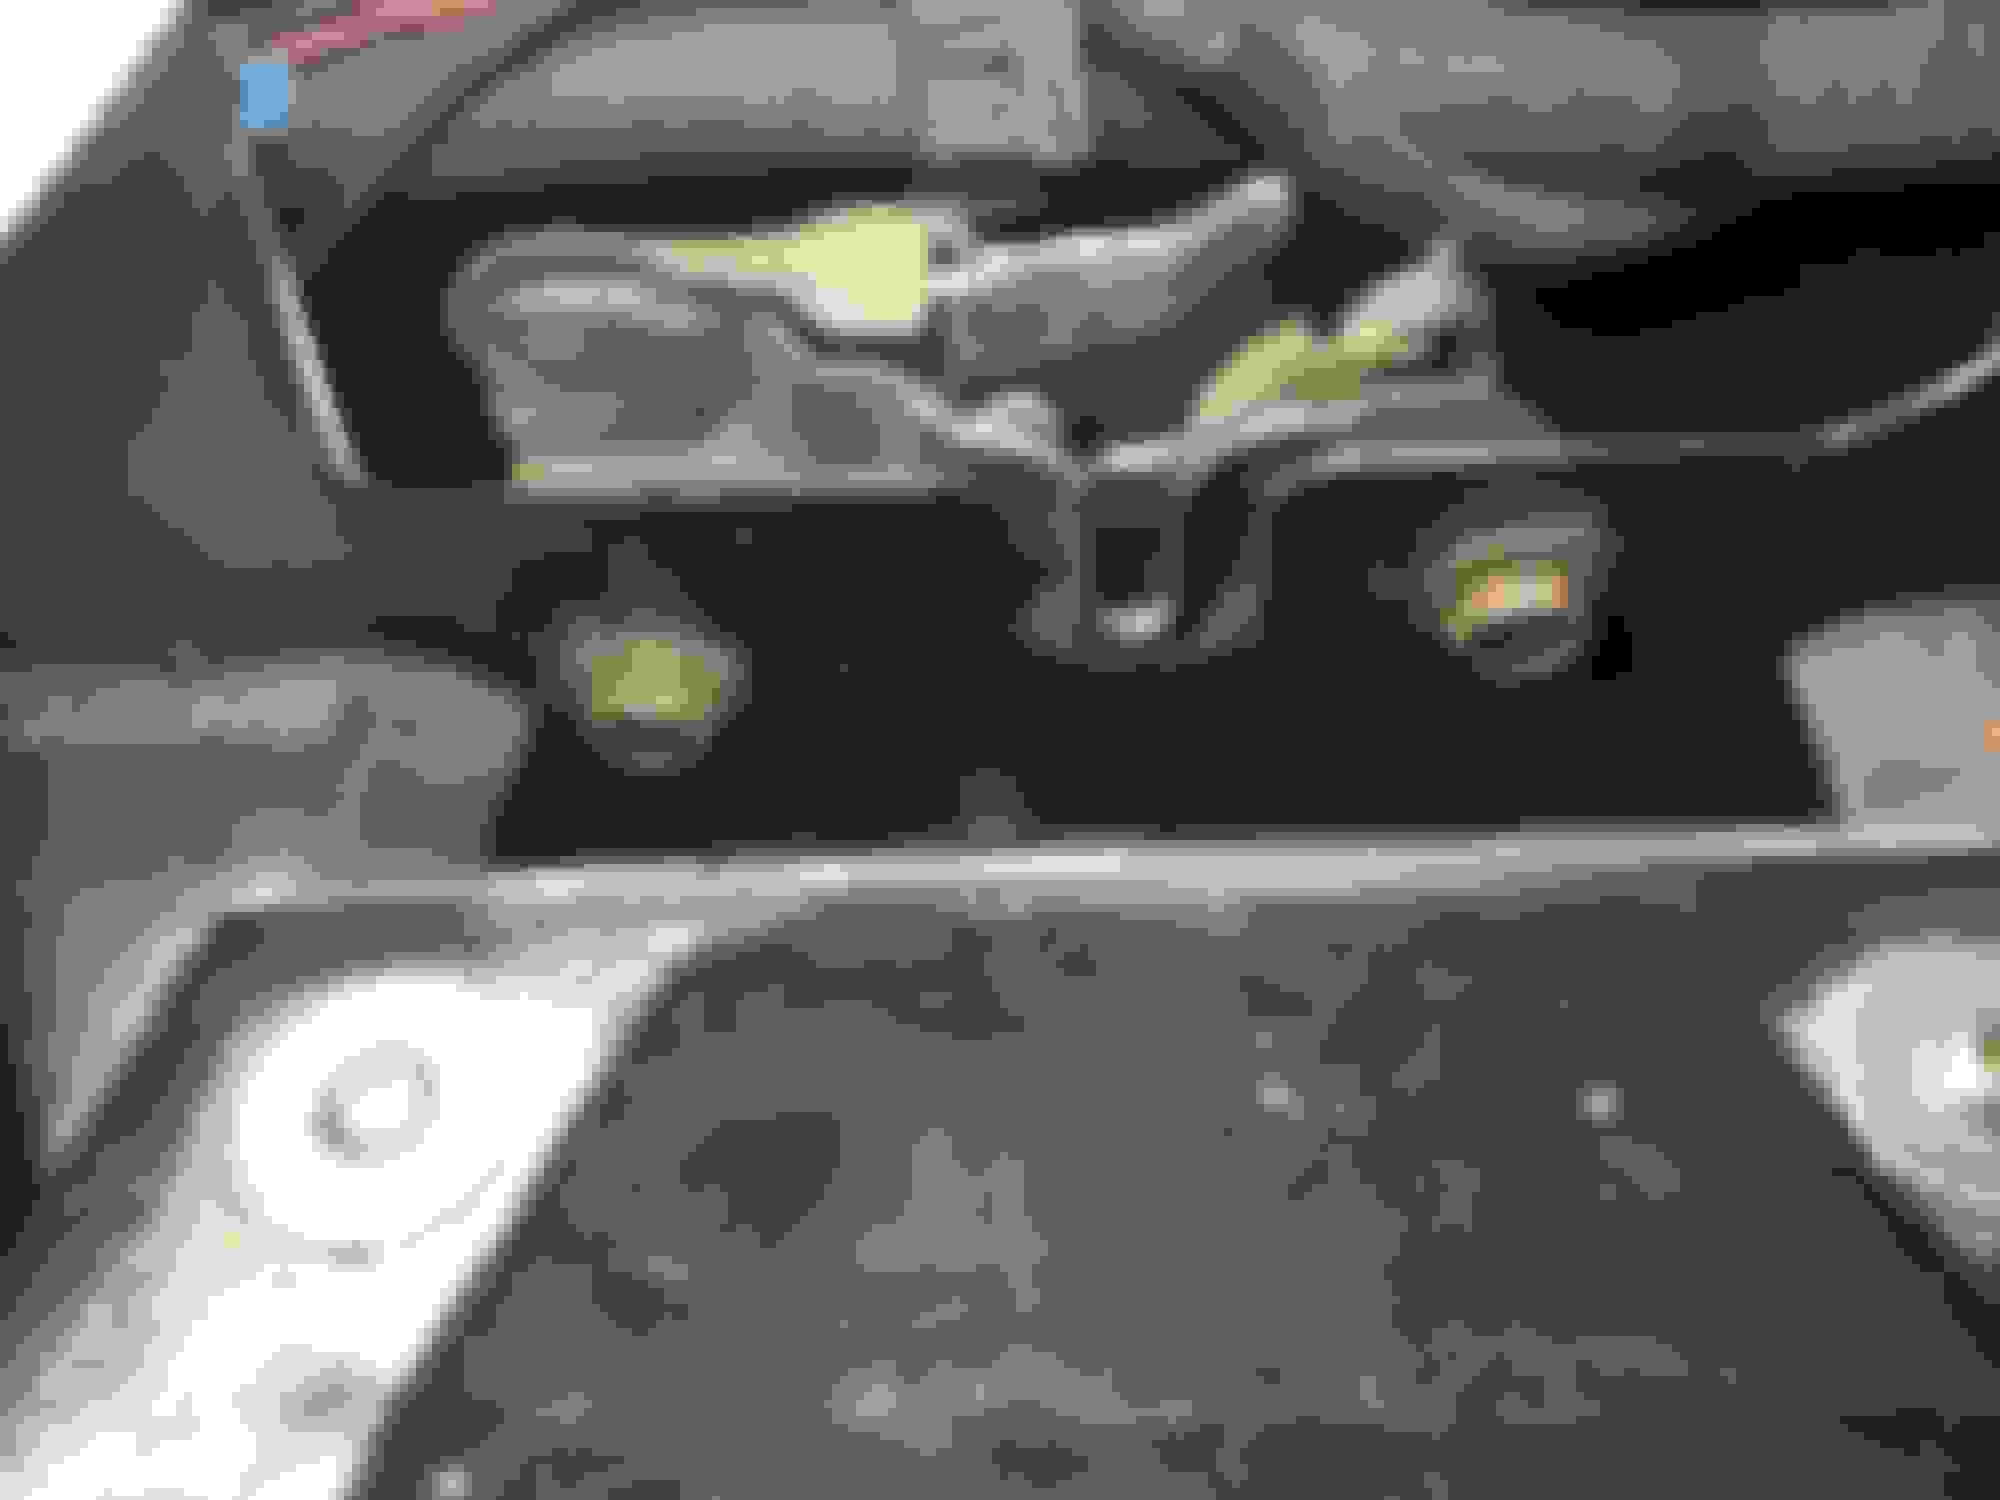
The fiberglass bracket with the 2 center bump stops may need vertically slotted like mine:
Last edited by BlackDuk98; 07-29-2017 at 12:00 AM.
The hood latch has tons of movement but you won't mess with this until your hood sits flush
The one pic is the metal bracket that the fiberglass bracket mounts to, this may need to be lowered like mine.
Make sure your front bumper cover has the 3 plastic push pins removed so that you can get the hood to sit flush without hitting the bumper.
This pic shows that I had to slot the hood hinge in the driver side vertically to the point that it rests against the fiberglass hood
I had to bring the outer corners of the bumper up, and lower the entire center while also pulling the center towards the front of the hood after the hood was flush. Those 3 push pin holes will get slotted and is why they gave you bolts to lock it into place. I also had to machine some nylon washers up as shims to bring those corners up to meet the hood. The corners I am talking about are the outer edge of the nostrils before if flows into the headlights
After all of that, you have to modify the hood release. I didn't like the way they did it, so attach the release lever in its stock form and slowly lower the hood. You will easily see where it hits so just cut it off before that. I took extra time to split it, reshape it no weld it and it is really nice like factory
I had to shave the nose of the hood to keep dropping it to the point where the layers opened up. Filler will fix that. They give you extra material to be able to shave it down and fine tune it.
Headlight covers will need some work. You have to be carful not to move them so drastically that when you turn them on and they raise, that the covers don't hit the bracket behind it and chip the paint. I had to put a good size notch in the bracket due to needing an extreme adjustment.
This is what bugged me in the end. I purchased a ws6 airbase to utilize the nostrils and with my 98mm lid, the hood hit almost 2 inches before latching. I then put it on the short base and that improved it by an inch. I had to melt the hell out of my lid to close the hood and it still rubs. Looks like **** and can't use the nostrils. I'm running a 92mm throttle body and no maf so I need it bigger than a stock lid to not have a restriction. I may have to get another slp lid and chop it up and hope it doesn't hit.
I lowered my hood a bit more than needed so that I could use the outer bump stops to fix the corners. My driver side was also worse and that seems to be the same on hoods from other companies. Funny thing, when the temp is hot, my hood will settle by 1/8" plus (lower itself). And when cold, will raise back up. I fought this for a long time since my bumps stops on the driver side would contact during the day, and they not contact at night. I fixed it the best that I could.
*cut me some slack on how nasty the car is. It has sat for almost a year since I work 80-100 hrs a week and haven't had any time until now trying to get it back to running. Looks like **** for only 40k miles
Last edited by BlackDuk98; 07-29-2017 at 08:54 AM.
So, i was able to get the hood to close and line up pretty good BUT the front nose has to come over the hood itself to close... the new hood is sitting on the bump up under the nose... something i assume has to be shaved down now....
also i had to put a washer or too to lower the latch down some for it to lock....
im making progress but not sure what i should move to next... i think im going to take it to a paint shop tomorrow for them to look at it aswell....
Get the latch stuff off the hood, you are nowhere near that step. Did you lower all the brackets that I pointed out? Did you grind on all of the hood places that I mentioned? You need to lower all of the brackets on the car including the center of the bumper itself before you then grind on the hood to continue lowering it.
Where are you located? If local I can maybe help in person
After seeing all this why would anyone pay money for this product? I can understand some fitment work being needed but seriously? I was going to swap my Firehawk hood out for one of these at some point but I'd rather light that money on fire than give it to this company.
After seeing all this why would anyone pay money for this product? I can understand some fitment work being needed but seriously? I was going to swap my Firehawk hood out for one of these at some point but I'd rather light that money on fire than give it to this company.
I will update in a day hopefully with pictures and info... i worked out the hood fitmit issues for the most part with their tech lead over at VFN.... the hood is now sitting as it should... he said he is creating a video for this particular hood to help with installs..... the thread does seem to make it look bad, but my frustration and lack of knowledge on what to do didnt help...
After seeing all this why would anyone pay money for this product? I can understand some fitment work being needed but seriously? I was going to swap my Firehawk hood out for one of these at some point but I'd rather light that money on fire than give it to this company.
I gotta say the same thing. And even if it gets lined up correctly you can't use the factory type ram air setup with out seriously compromising its shape? Not trying to bash the company but godam! I'd rather stick with the factory WS6 hood, or find one if I didn't have a WS6.
I gotta say the same thing. And even if it gets lined up correctly you can't use the factory type ram air setup with out seriously compromising its shape? Not trying to bash the company but godam! I'd rather stick with the factory WS6 hood, or find one if I didn't have a WS6.
We did talk about this briefly during install yesterday.... he mentioned they are looking into reshaping the area where the airbox fits under the hood... I have an SLP intake and it does rub at the highest spot

 07-22-2017, 12:50 PM