
$100 Craigslist VFN Hood Repair.
 09-01-2018, 12:10 PM
#1

Let me start by saying...

Prior to this i have never touched fiberglass or body filler or anything. I went into this with minimal expectation.
Scanning my local craigslsit like i do pretty often, I cam across a VFN Smooth Sunoco hood that needed some repairs. After a few back and forth messages, i was on the way to pick it up for $100.
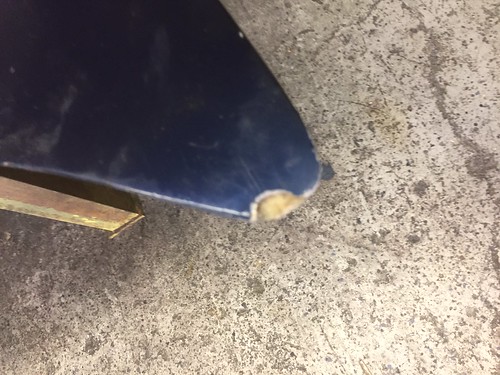
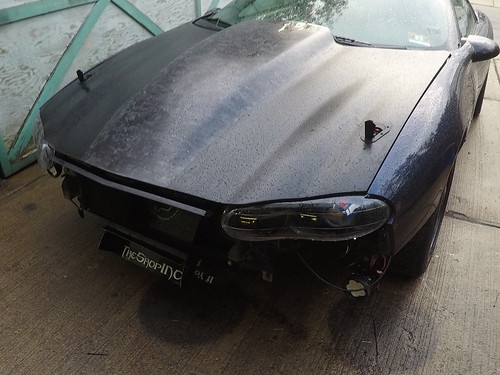
Here are the pics of the damaged areas.
Pass Top Corner:
Driver Top Corner:

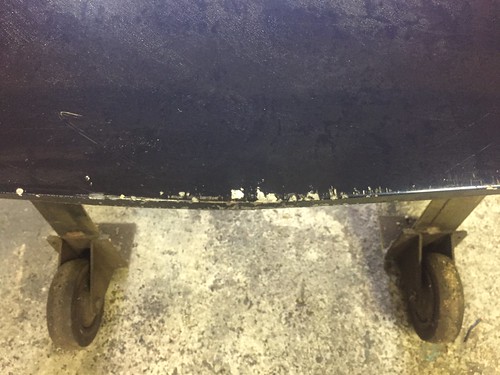
Front:
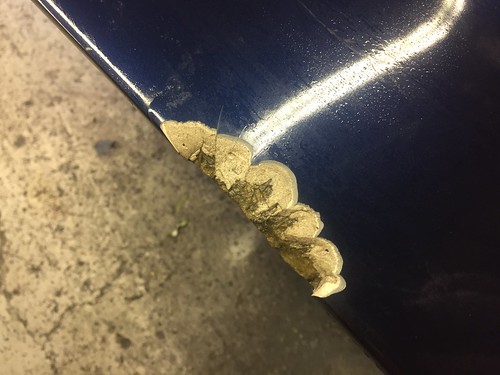
Passenger Side Chomp:
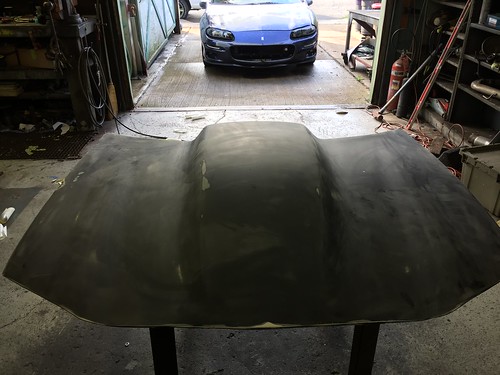
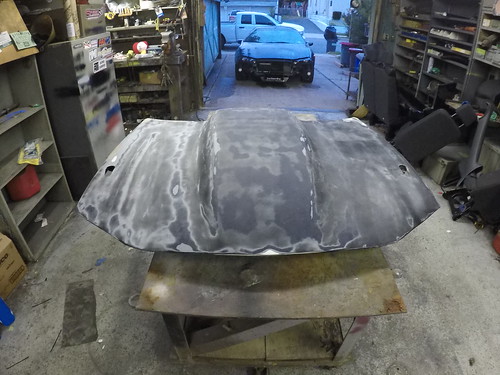
Started off by sanding down the hood completely bc that seems to be what people on discover channel start by doing.
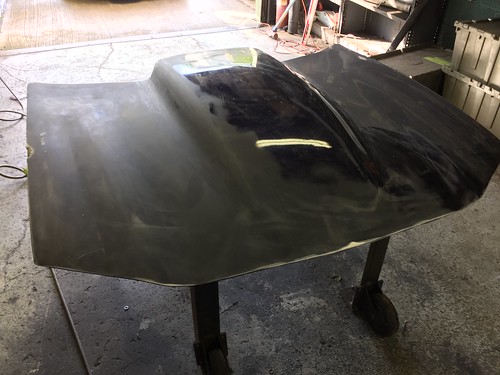
All Sanded.
Wish i would have taken the time to take more photos of the proccess, but long story short i traced the corners of the stock hood, and cut out the shape in thick cardboard. Then wrapped it in plastic wrap. Taped that to the bottom of the hood and laid a few ****s of glass mat. I only used fiberglass on the Passenger corner and Shark Chomp, and just tog get back to the shape. The hood itself is very thin so body filler was used to fill the remaining. Mostly bc using fiberglass was like pulling teeth. If its up to me, ill never touch it again.
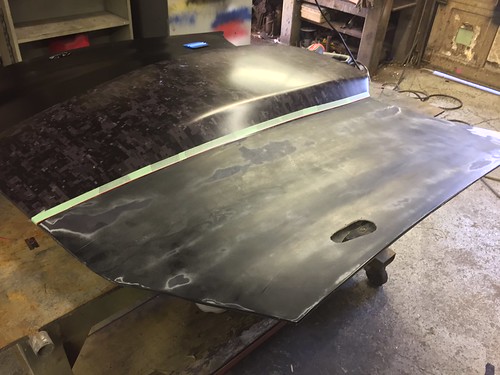
Anyway, Pics.
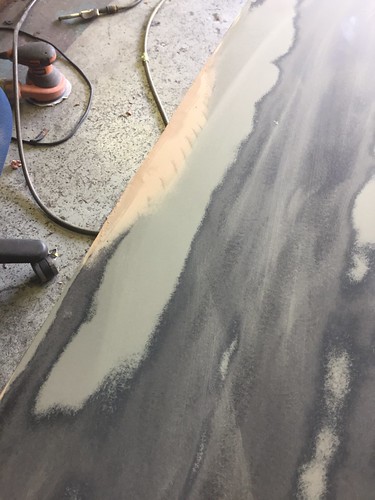
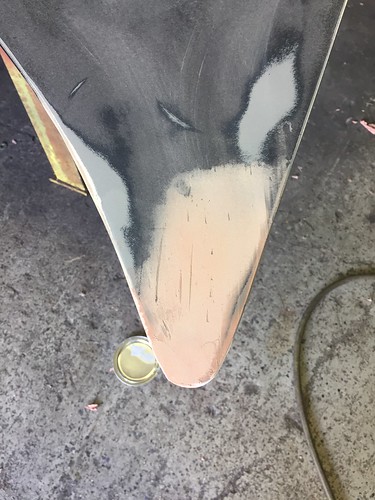


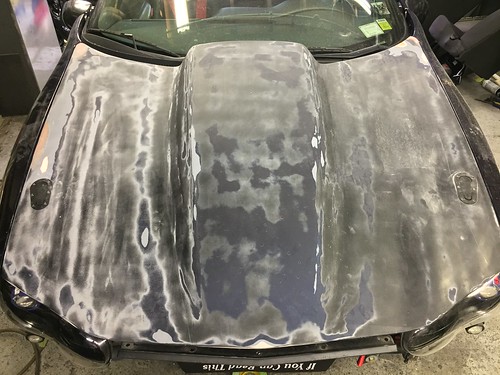
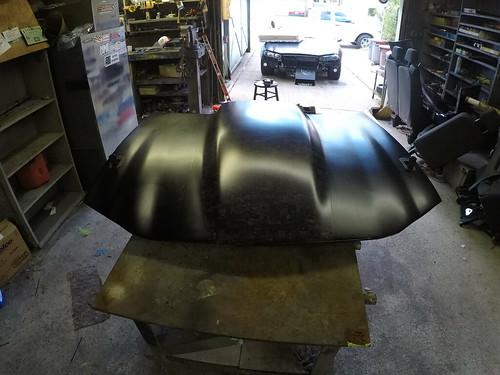
Those pics are after the first pass of filler and sanding. I did 3-4 passes of body filler and sanding until i thought it was good enough to be wrapped and not show.
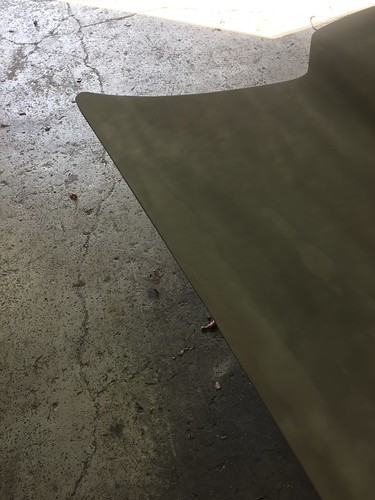
Ended up looking like this. Perfect? Not even close. Good enough for a wrapped hood on a Skreet car? yaaaas.
Next step was fitting the Aerocatch hood pins.
I found a lot of people with F bodies end up using the hood bump stop tab things for the location of the hood pin pin, so i followed.
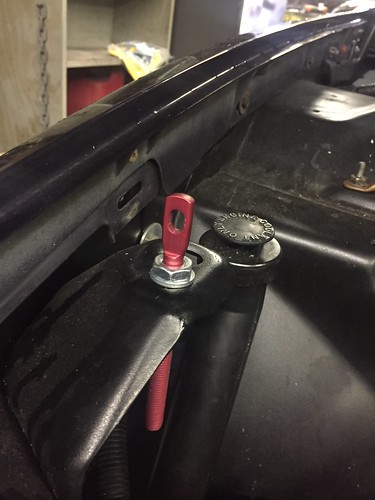
Bolted the hood on the car and got it aligned. Put some grease on the top of the pins and closed the hood to mark the location. Drilled a hole threw the hood as per instructions and then went online and printed out the template. They provide you with a website address in the box that gives you a template to print out for cutting.
Template.

Ended up covering both sides of the hood with painters tape so i can draw on it and make sure all measurements were correct so the pins were even on both sides.
I used a dremel tool to cut out the shape, Dropped in the latch assembly and marked the bolt locations. Then drilled them out.
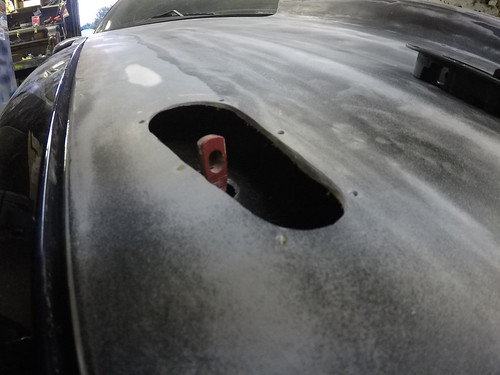
Latch in place(its not sitting flush in the pic bc the curve of the hood. They are soft enough that when you bolt it down it forms to the curve mostly. )

Latch Latched in. Success.

Install Done !
Time to wrap
Again, other than the berger panel on my car i really have never wrapped anything crazy. Ive done 2 roofs before, but something so flat is easy. So again, going into this realizing i may end up paying someone to do this when i fail.
I ended up using 3 seperate pieces to do the hood. And it wasnt as challenging as i thought, but then i did make some mistakes. So meh.
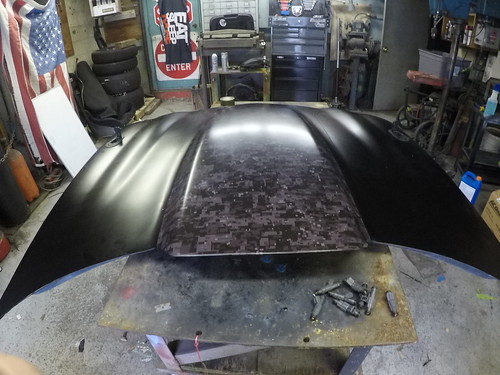
Shadow Black Digi Camo for the cowl, which matched the berger panel.

Now this is were i made of my mistakes. I underestimated how much the vinyl would show threw upon overlaying it. As i said i did it in 3 pieces. Center, Driver and Passenger. I did the passenger side first to see how it would cover the chomp. and it does well. However you can see a line from the camo under the satin black. Ill prob grab another section of satin black and redo the passenger side. But good enough for now.
To prevent that from happening on the passenger side, i grabbed some knifeless tape and laid it were the vinyl will but up. So there is a very small overlap, and its right on the seam. Practically invisible.
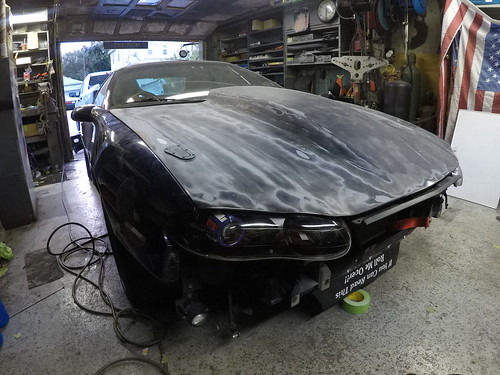
All done.
Mounted up, still need to align. But as you can see it started to rain so i will prob do that today.

Prior to this i have never touched fiberglass or body filler or anything. I went into this with minimal expectation.
Scanning my local craigslsit like i do pretty often, I cam across a VFN Smooth Sunoco hood that needed some repairs. After a few back and forth messages, i was on the way to pick it up for $100.
Here are the pics of the damaged areas.
Pass Top Corner:
Driver Top Corner:
Front:
Passenger Side Chomp:
Started off by sanding down the hood completely bc that seems to be what people on discover channel start by doing.
All Sanded.
Wish i would have taken the time to take more photos of the proccess, but long story short i traced the corners of the stock hood, and cut out the shape in thick cardboard. Then wrapped it in plastic wrap. Taped that to the bottom of the hood and laid a few ****s of glass mat. I only used fiberglass on the Passenger corner and Shark Chomp, and just tog get back to the shape. The hood itself is very thin so body filler was used to fill the remaining. Mostly bc using fiberglass was like pulling teeth. If its up to me, ill never touch it again.
Anyway, Pics.
Those pics are after the first pass of filler and sanding. I did 3-4 passes of body filler and sanding until i thought it was good enough to be wrapped and not show.
Ended up looking like this. Perfect? Not even close. Good enough for a wrapped hood on a Skreet car? yaaaas.
Next step was fitting the Aerocatch hood pins.
I found a lot of people with F bodies end up using the hood bump stop tab things for the location of the hood pin pin, so i followed.
Bolted the hood on the car and got it aligned. Put some grease on the top of the pins and closed the hood to mark the location. Drilled a hole threw the hood as per instructions and then went online and printed out the template. They provide you with a website address in the box that gives you a template to print out for cutting.
Template.
Ended up covering both sides of the hood with painters tape so i can draw on it and make sure all measurements were correct so the pins were even on both sides.
I used a dremel tool to cut out the shape, Dropped in the latch assembly and marked the bolt locations. Then drilled them out.
Latch in place(its not sitting flush in the pic bc the curve of the hood. They are soft enough that when you bolt it down it forms to the curve mostly. )
Latch Latched in. Success.
Install Done !
Time to wrap
Again, other than the berger panel on my car i really have never wrapped anything crazy. Ive done 2 roofs before, but something so flat is easy. So again, going into this realizing i may end up paying someone to do this when i fail.
I ended up using 3 seperate pieces to do the hood. And it wasnt as challenging as i thought, but then i did make some mistakes. So meh.
Shadow Black Digi Camo for the cowl, which matched the berger panel.
Now this is were i made of my mistakes. I underestimated how much the vinyl would show threw upon overlaying it. As i said i did it in 3 pieces. Center, Driver and Passenger. I did the passenger side first to see how it would cover the chomp. and it does well. However you can see a line from the camo under the satin black. Ill prob grab another section of satin black and redo the passenger side. But good enough for now.
To prevent that from happening on the passenger side, i grabbed some knifeless tape and laid it were the vinyl will but up. So there is a very small overlap, and its right on the seam. Practically invisible.
All done.
Mounted up, still need to align. But as you can see it started to rain so i will prob do that today.


