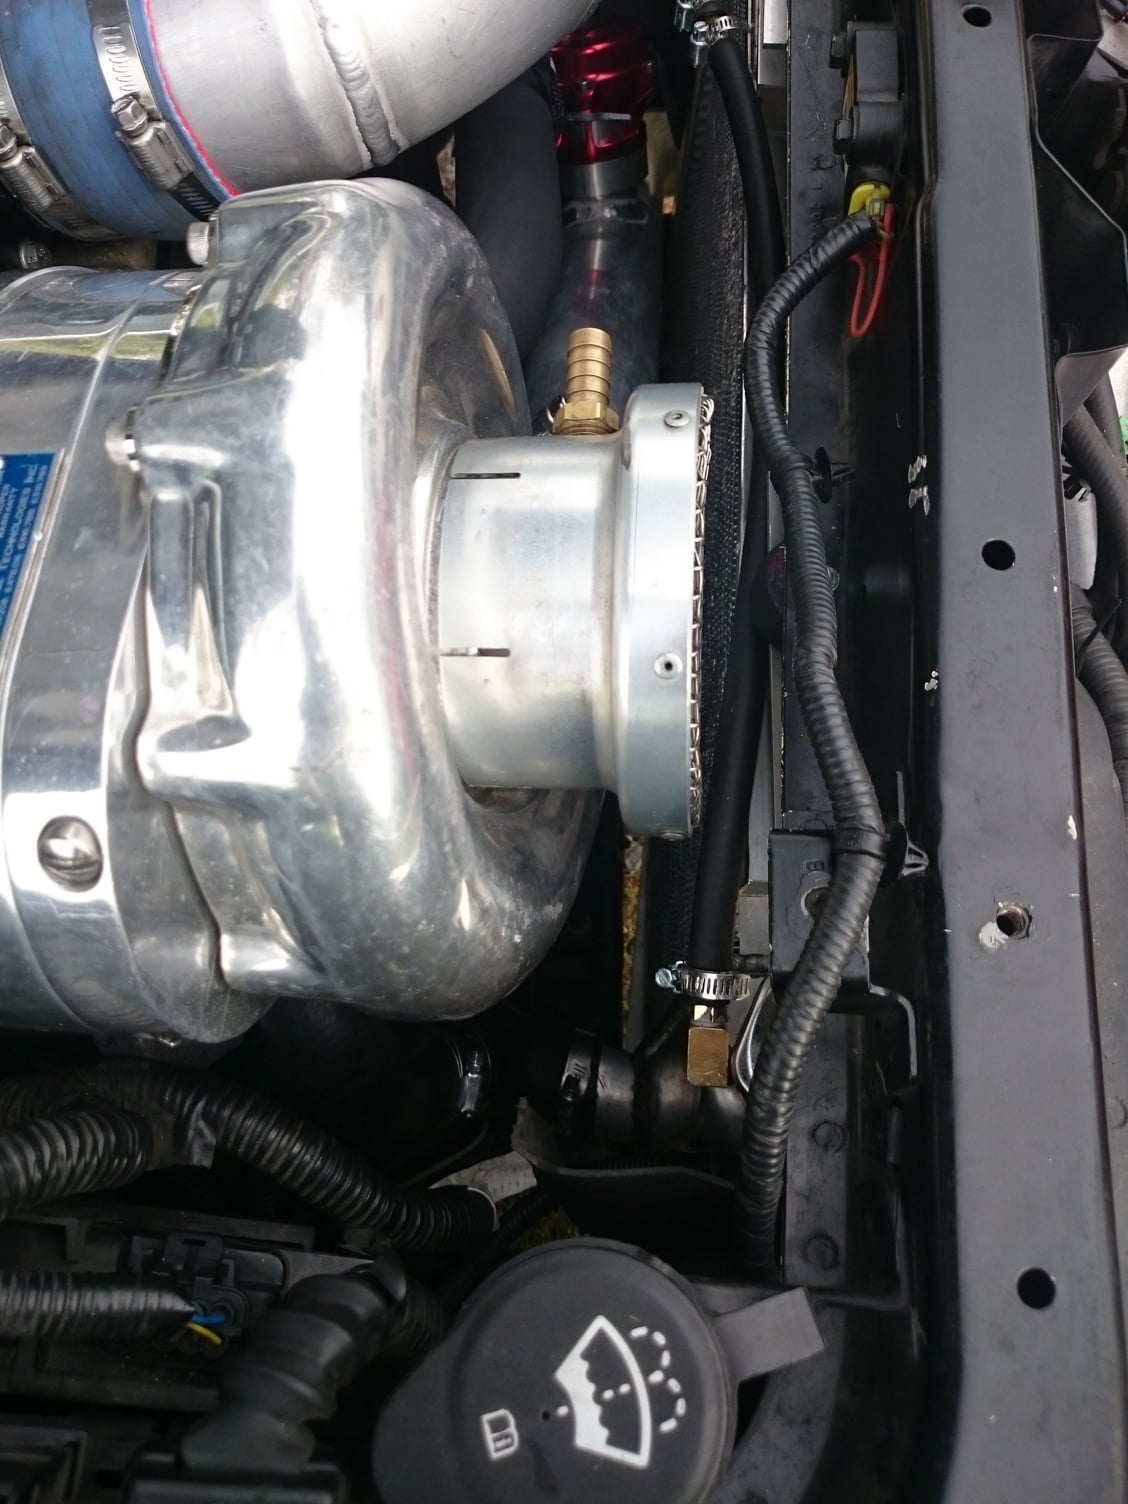
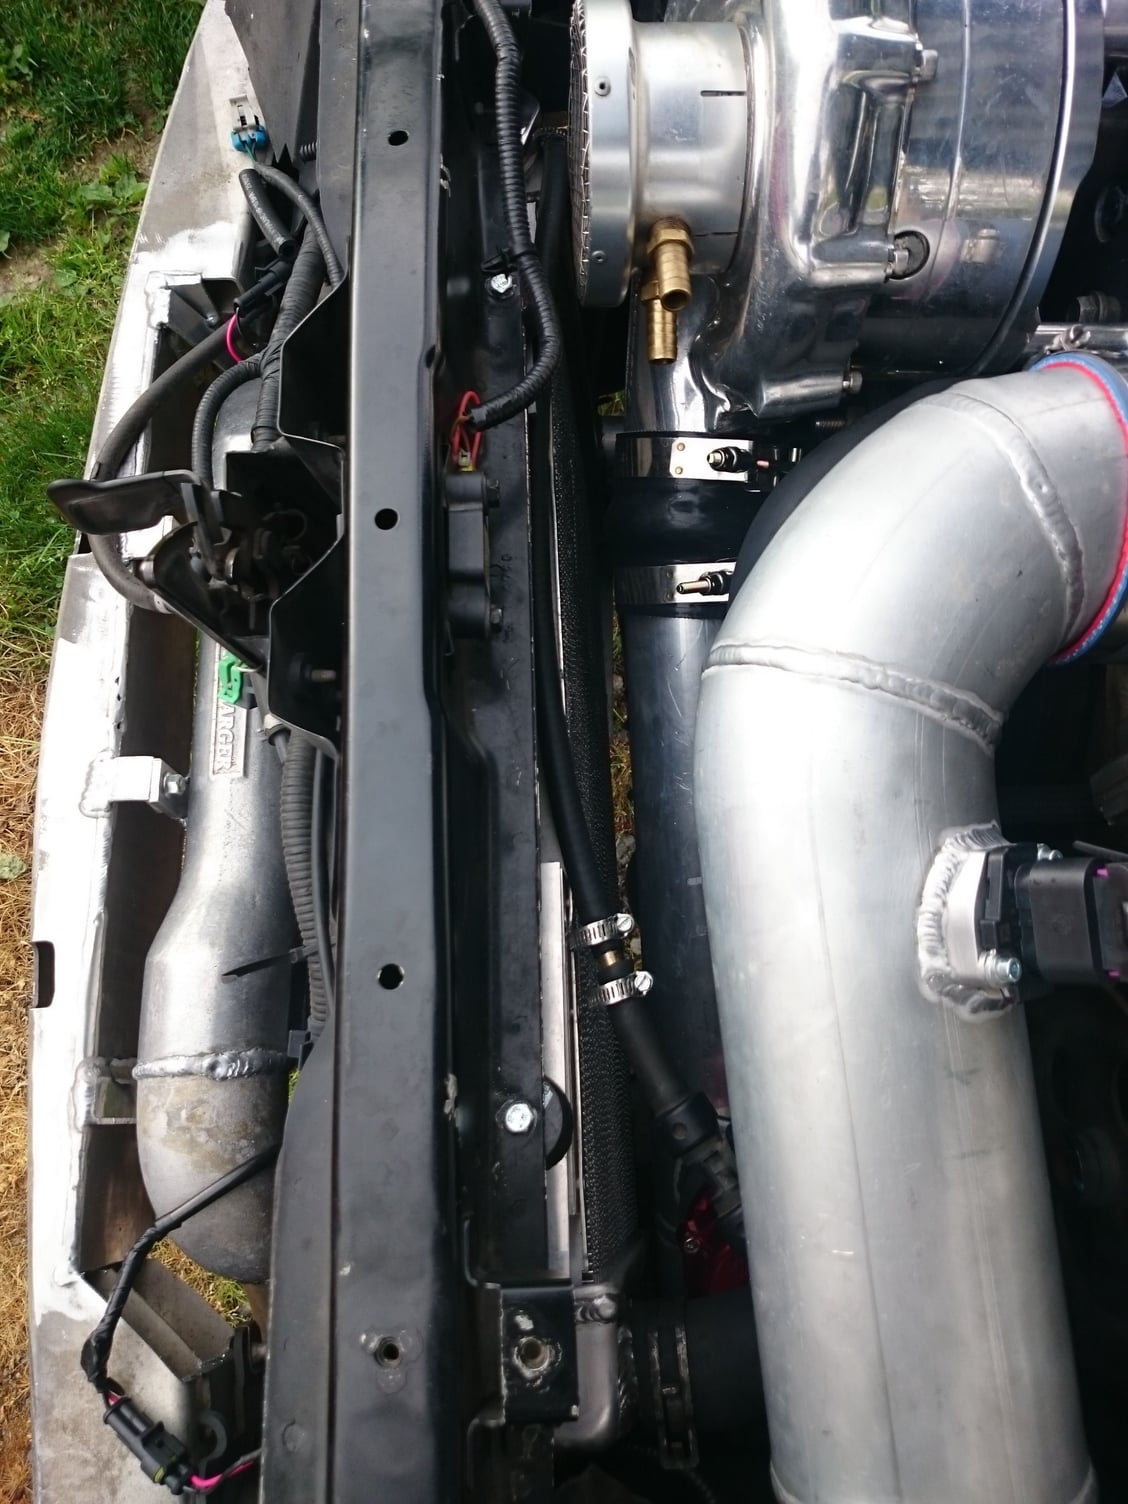
procharger build d1sc ls6 cts-v
#1
Like i promised i would make a build thread with price list for every one who wants to go a similar route or is thinking of doing a procharger setup.
c6-upgraded bracket from a&a - 850
freshly rebuilt d1sc by procharger
reverse rotation 1900
custom charge pipes 900
3core air to air procharger intercooler 300
(used unit)
60lb injectors+pullies+crank pinning kit
from brute speed 680
griffen 3inch 26"radiator 225
10" hi speed push fans+mounting 85
custom raditor hoses plus mounts 160
gm 2 bar map 75
kb bap 350
racetronics hotwire kit with bap
and extra ground connectors 100
procharger red race bov 300
blem ati- crank balancer 250
thats pretty much the main things that you need to get everything going,
which totals up to about 6200$ plus tunning cost, which i didnt list because different places have different rates and i got a good deal from a buddy of mine so i choose not to disclose that part, unfortunately i drowned my old phone so i dont have any photos but its all in the other thread,
https://ls1tech.com/forums/cadillac-...r-tuesday.html
#2
LS1Tech Sponsor
iTrader: (16)
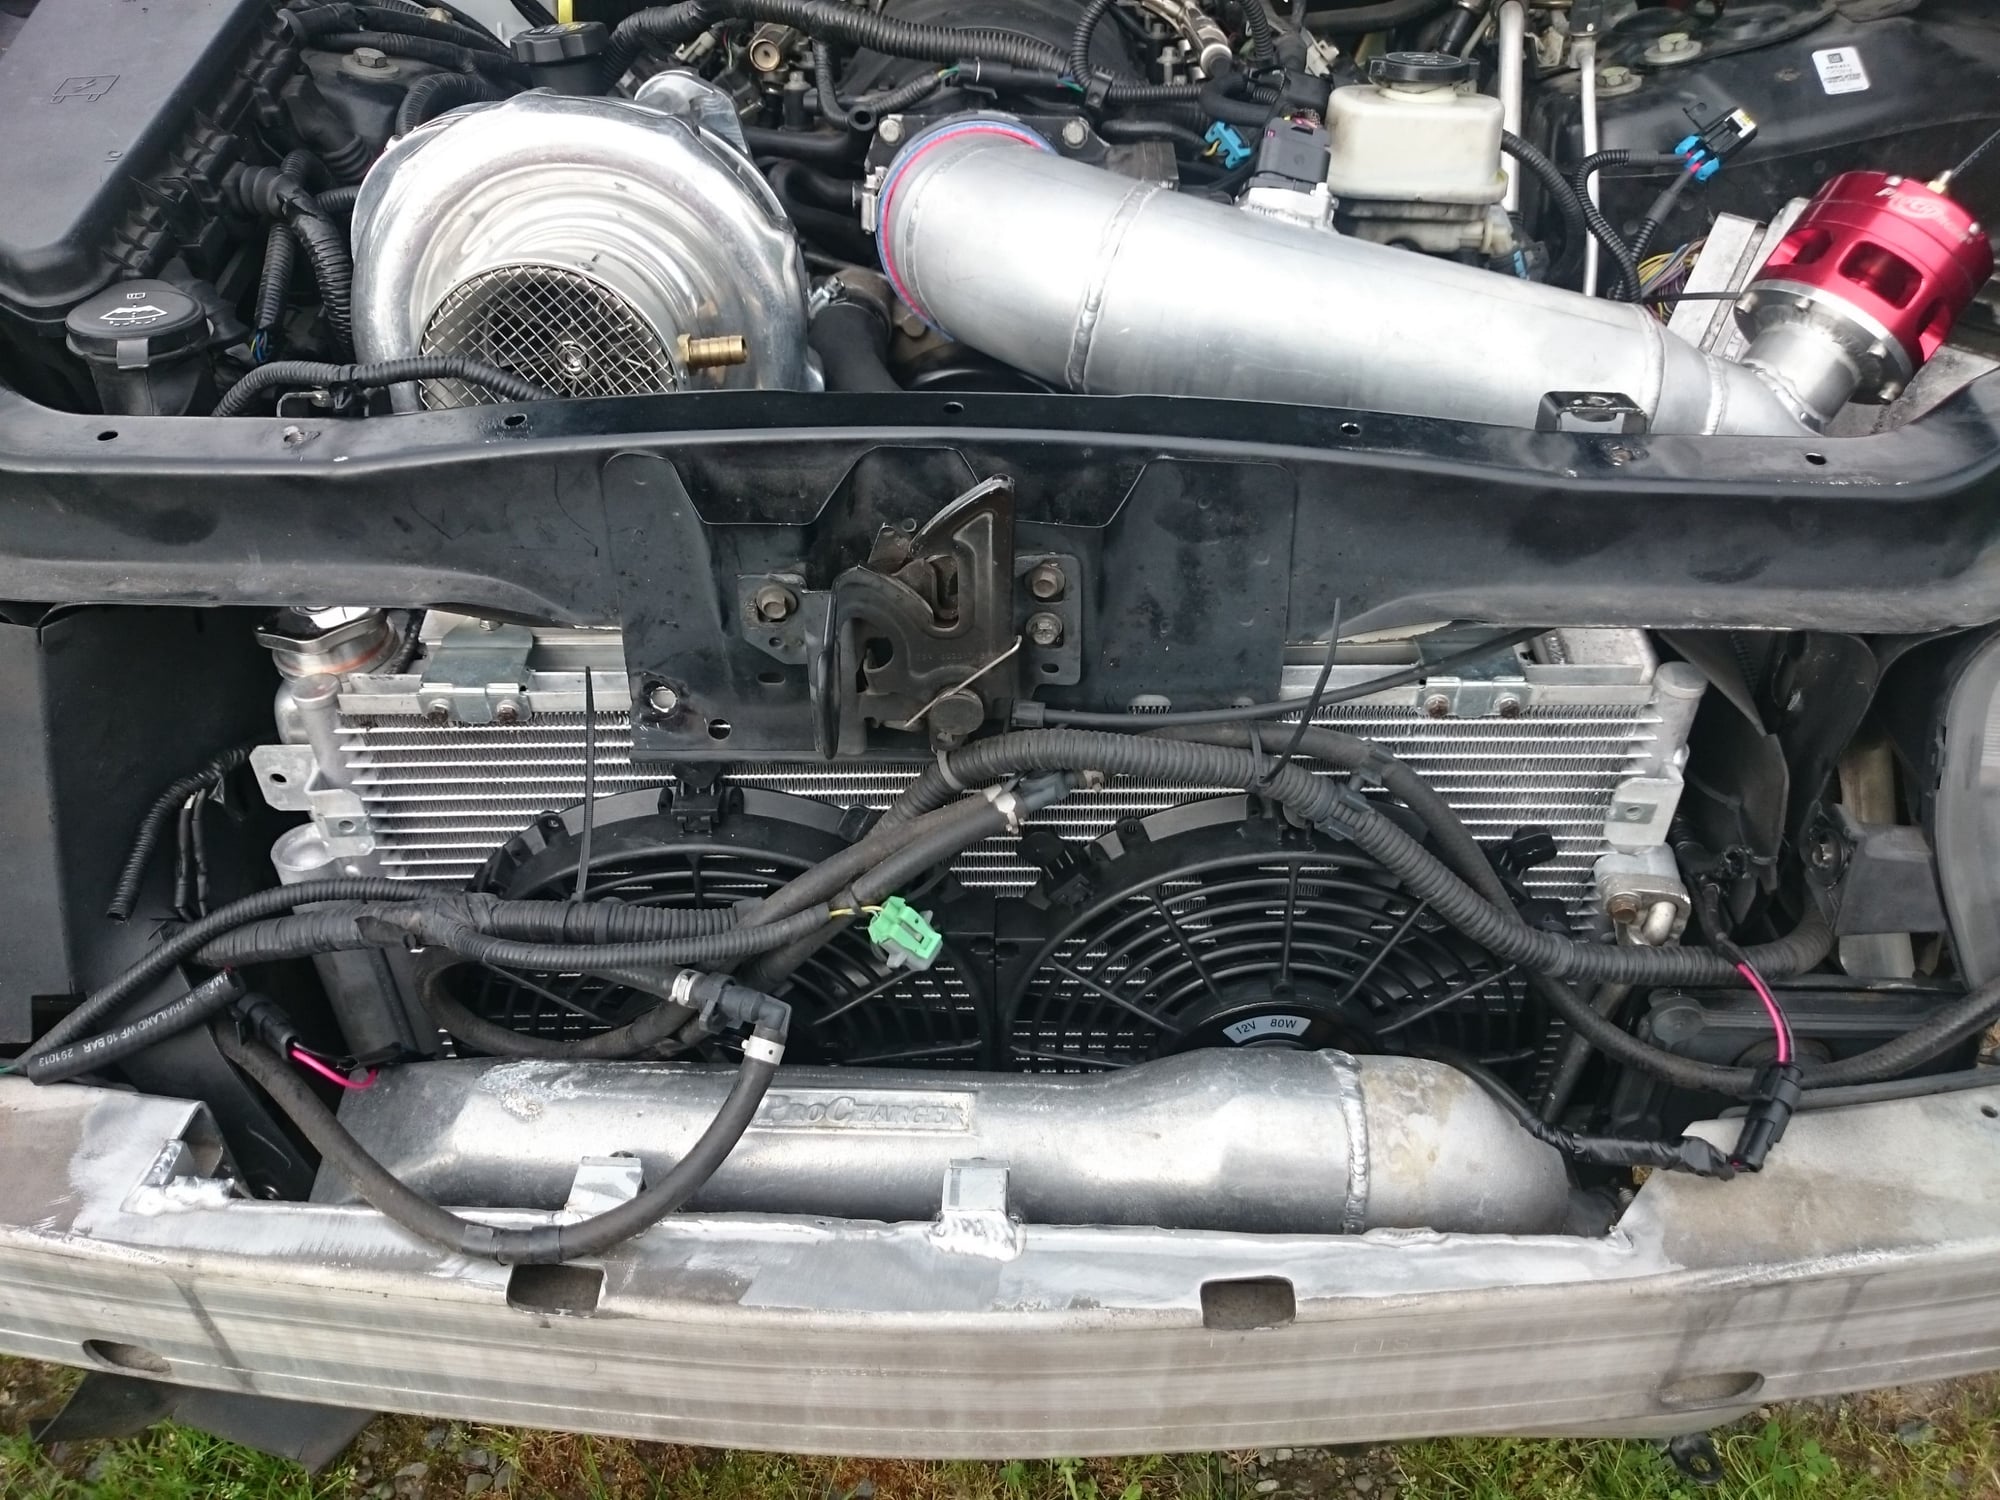
Looks really good! Are you planning on running an air filter on it? Bob
__________________
ATI ProCharger and Moser Sales 260 672-2076
PM's disabled, please e-mail me
E-mail: brutespeed@gmail.comob@brutespeed.com
https://brutespeed.com/ Link to website

ATI ProCharger and Moser Sales 260 672-2076
PM's disabled, please e-mail me
E-mail: brutespeed@gmail.comob@brutespeed.com
https://brutespeed.com/ Link to website

#4
#5
#6
LS1Tech Sponsor
iTrader: (16)
Something like this might work, if the radiator is low enough. Bob
__________________
ATI ProCharger and Moser Sales 260 672-2076
PM's disabled, please e-mail me
E-mail: brutespeed@gmail.comob@brutespeed.com
https://brutespeed.com/ Link to website

ATI ProCharger and Moser Sales 260 672-2076
PM's disabled, please e-mail me
E-mail: brutespeed@gmail.comob@brutespeed.com
https://brutespeed.com/ Link to website

Trending Topics
#16
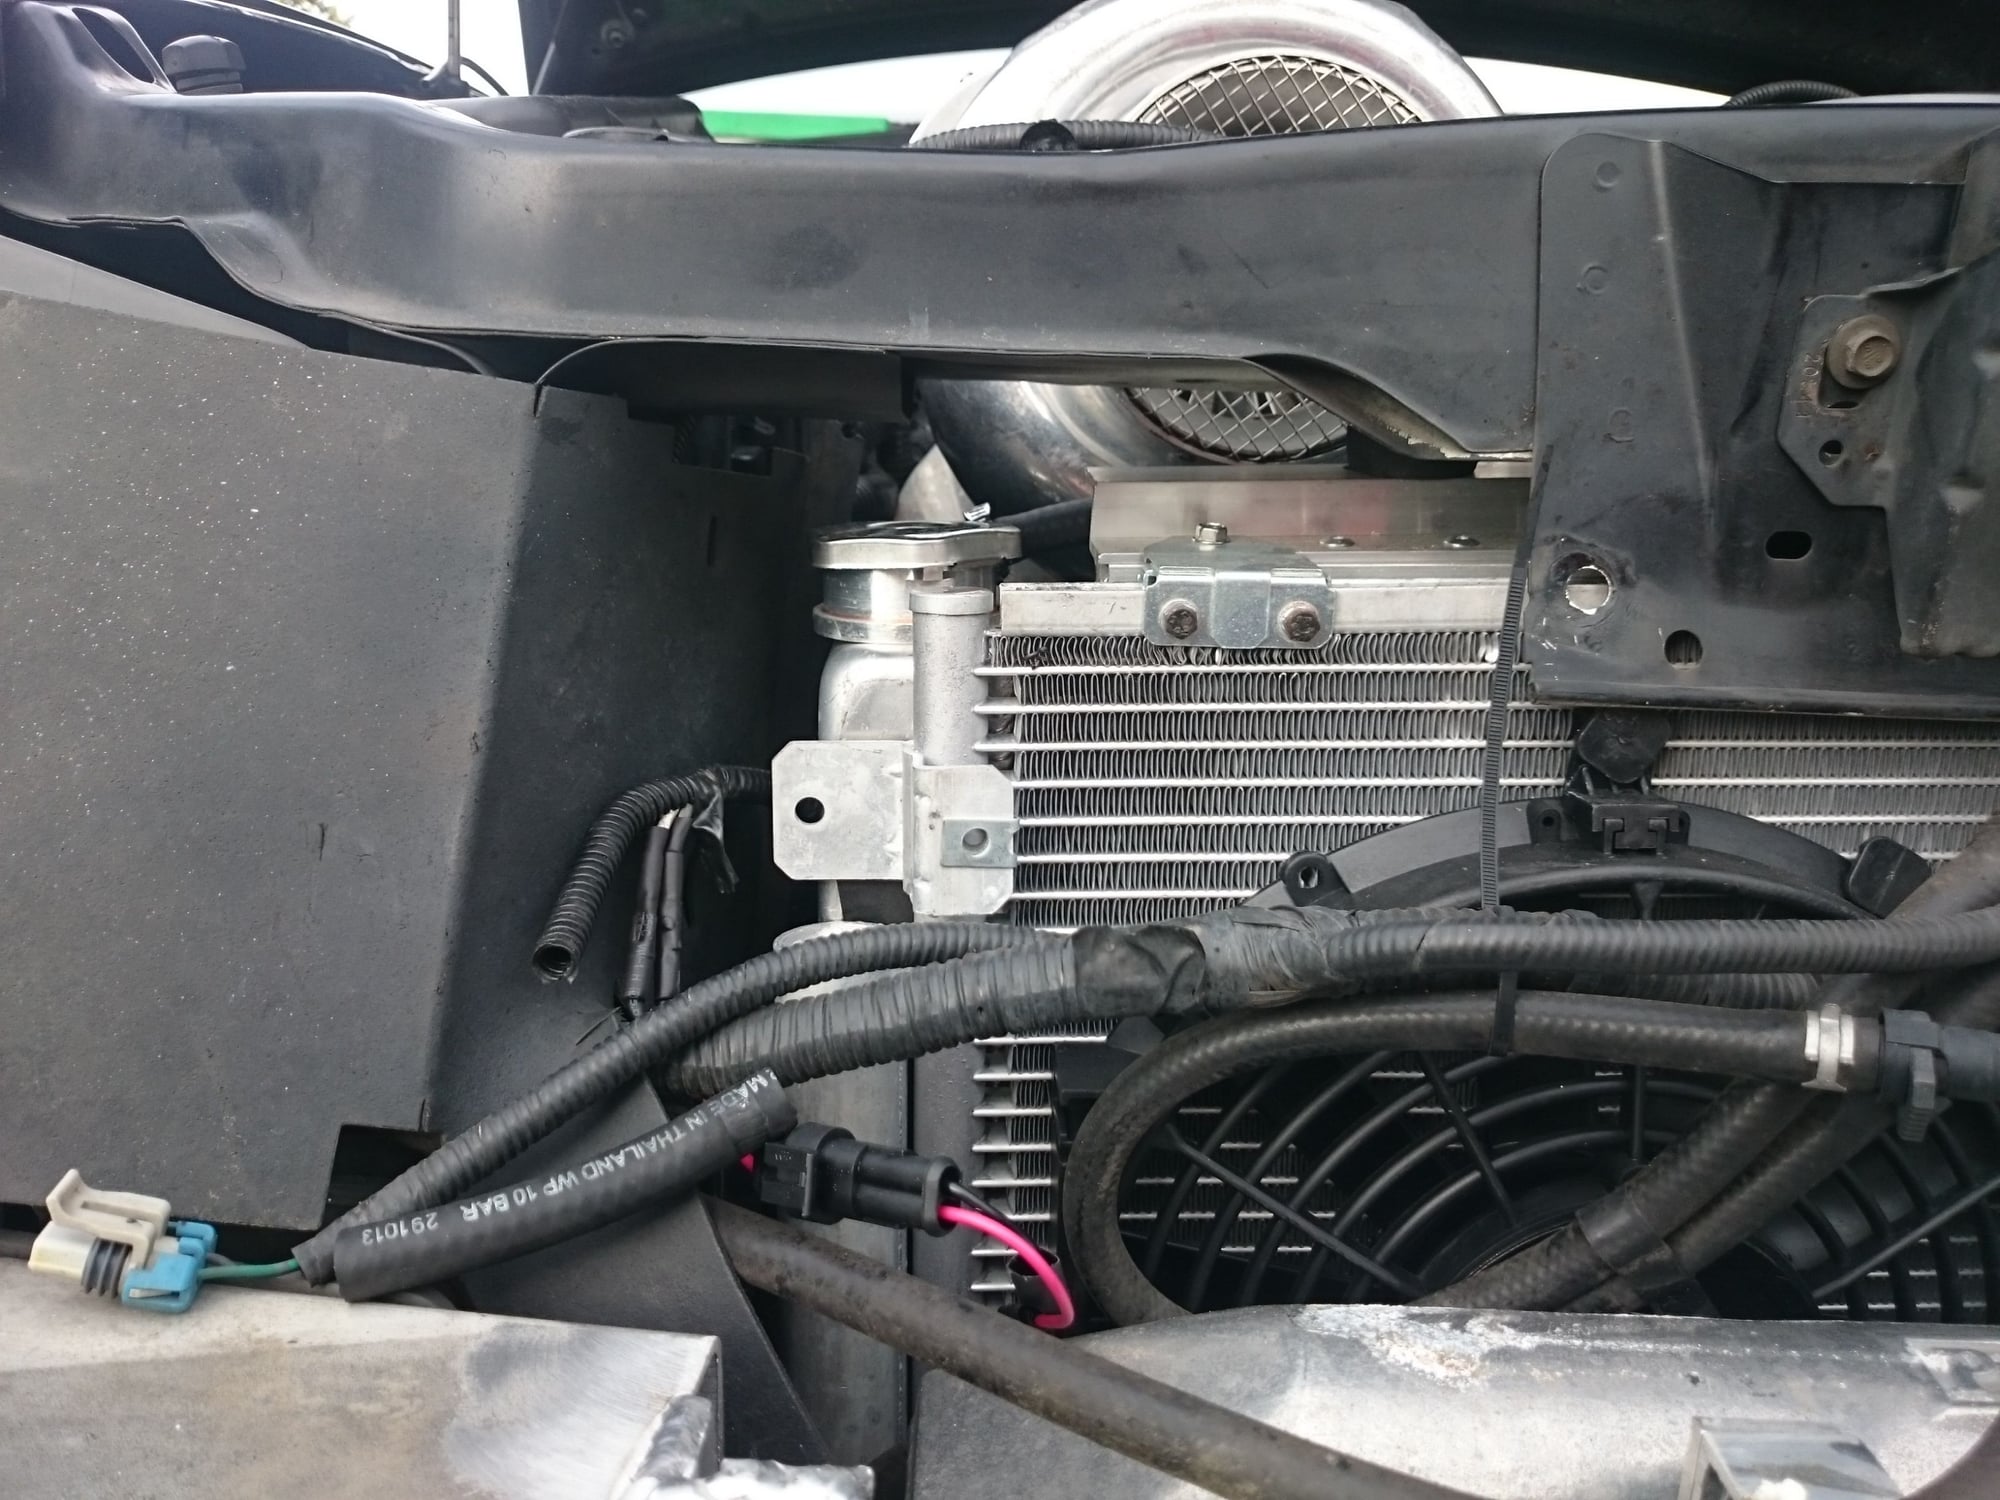
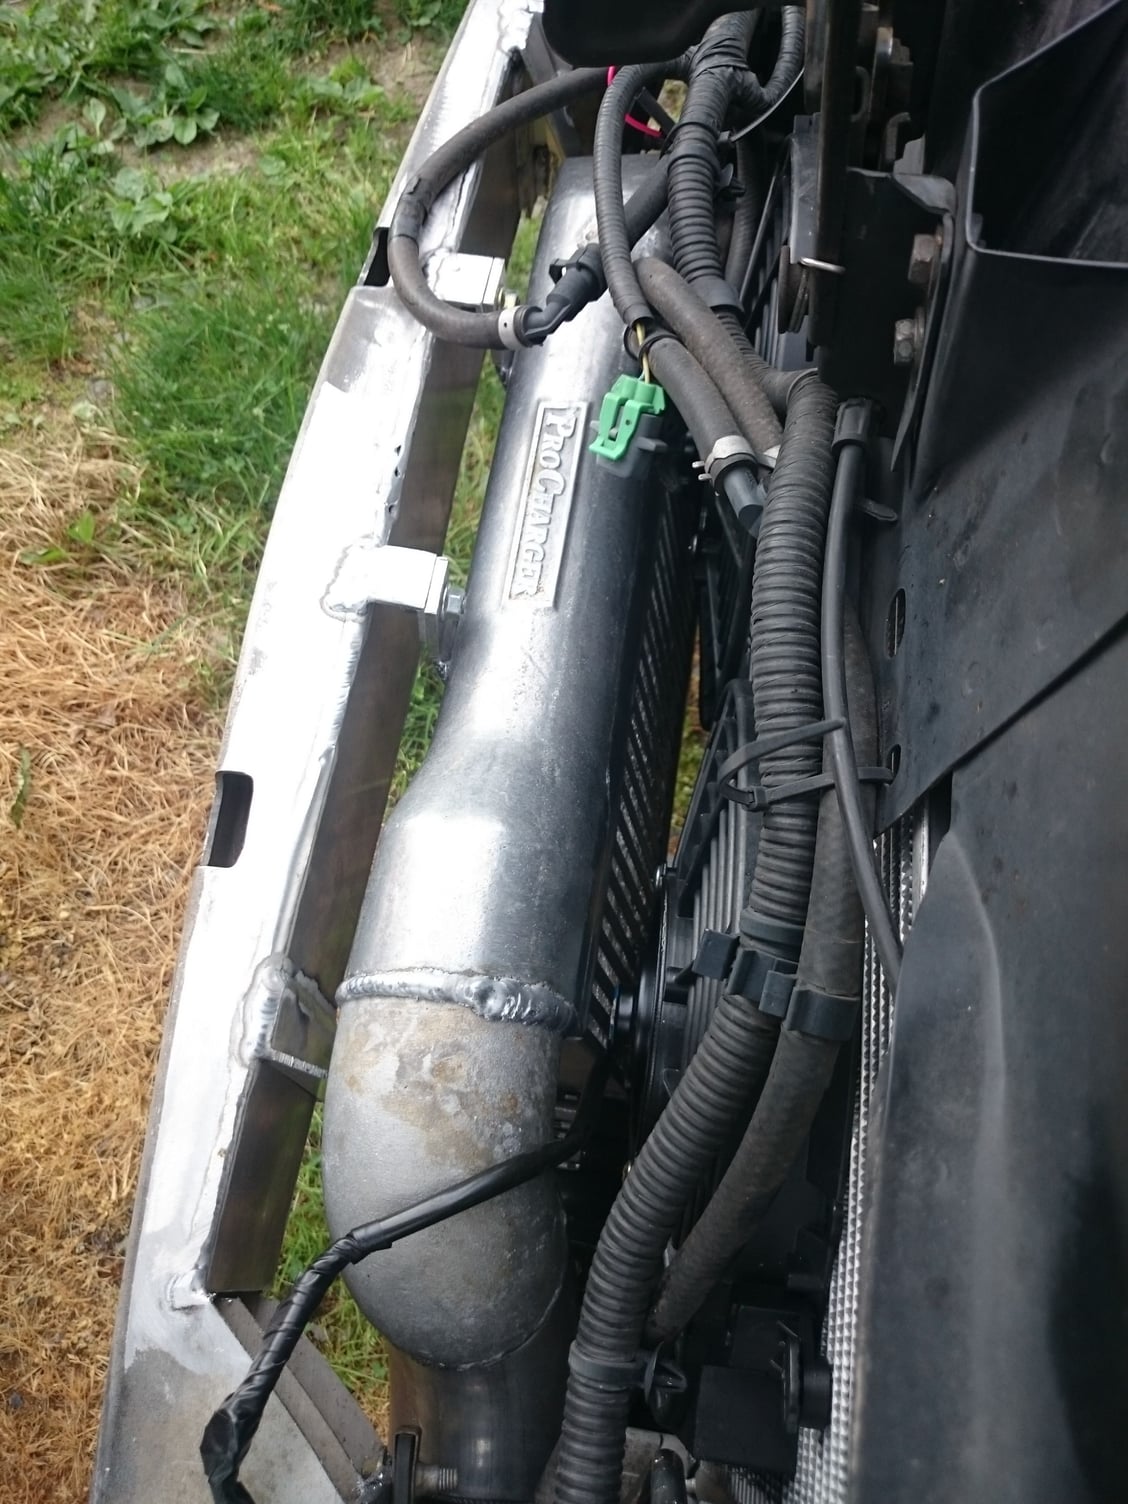
Lol hindsight is 20/20 my question is why do you want to keep your stock radiator this is all aluminum unit with a 3" core. To answer your questions if you could have relocated the upper hose the stock radiator would have worked you just would have to step down to 2.5 inch charge pipes instead of 3. The charge pipes where made around all the other things in the car.
#17
#18
TECH Addict
iTrader: (10)
Lol hindsight is 20/20 my question is why do you want to keep your stock radiator this is all aluminum unit with a 3" core. To answer your questions if you could have relocated the upper hose the stock radiator would have worked you just would have to step down to 2.5 inch charge pipes instead of 3. The charge pipes where made around all the other things in the car.
Basically I'm weighing my options for a procharger kit. GTO or this kit. With your kit, couple things I would hope to change, mainly keeping the stock radiator location and all that (while running the alradco radiator, and also running the charge piping (basically reverse of the GTO kit) the opposite way you have it. So going behind the passenger headlight area with the hot charge, and coming in the same way you have it from behind the drivers headlight area with the cooler charge.
With an intercooler that flows similar to an S. What I mean by that is intake coming from the bottom passenger side intercooler tank (that covers half the intercooler) into the top tank covering the entire cooler, then out the bottom driver side. If that makes sense. I was trying to find an example picture but I'm drawing a blank. Probably will need to have it custom made anyway.
Of course this is all still a year or two away for me, as I would have to build the fuel system and yada yada yada to be ready to strap on the chrger and boost. Plus I'm not even done with my engine, trans, chassis build yet so.....yeah I got some time to figure it all out.
Good news is though that once my current build is done I will start collecting parts for the procharger addition. Thats how I do things
Edit: Which is also what I planned with my motor. Built the 406 1/4 compression lower (10.25:1) forged so I can put 12 PSI to it with out meth (hopefully) But my end goal is conservative in my book, just looking for 800whp and then I'm done.
Last edited by NIKDSC5; 05-20-2015 at 09:26 AM.
#20
Currently not driving the car around waiting for clear forg lights to arrive and to get my front bumper repainted since it had a bunch of rock chips so I said might as well fix it while it's off. Plan is to get a filter instead of the screen and drill 2 2" holes in the top part of the core support so fresh air would getting to the filter.


