When you click on links to various merchants on this site and make a purchase, this can result in this site earning a commission. Affiliate programs and affiliations include, but are not limited to, the eBay Partner Network.
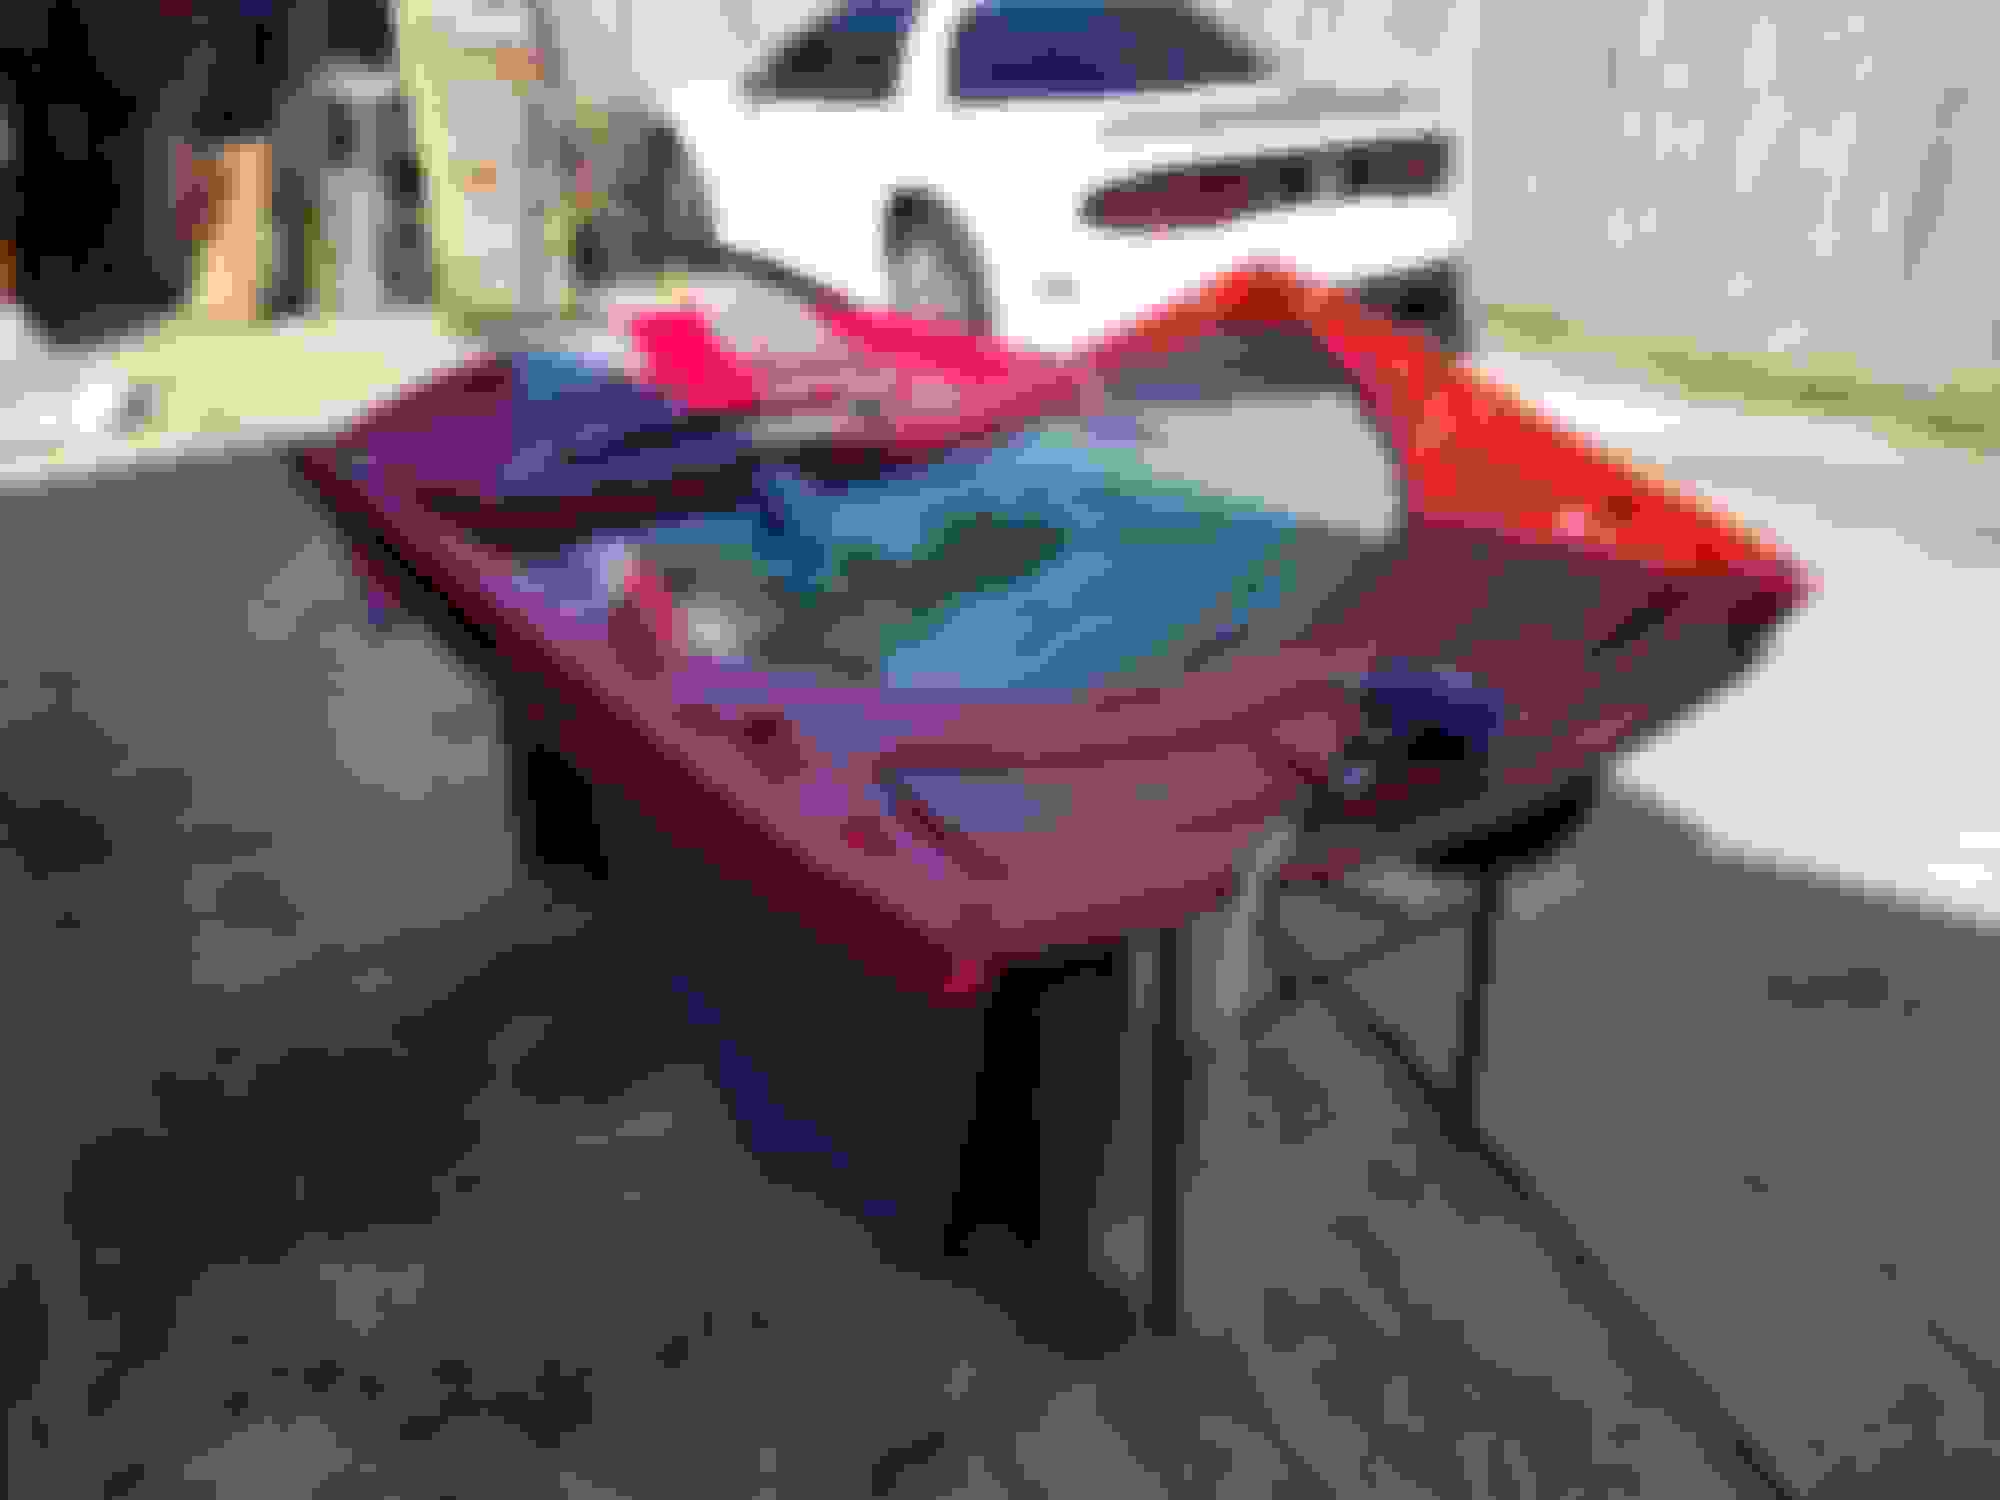
So I spent the day working on the car to get it ready for some upcoming work. I removed the rear hatch and installed my new one which is in a crazy good condition.
The glass people will be here this week to pull the glass from the old hatch and reinstall on my new one. Since the car will eventually be getting a paint job I'm not going to be reinstalling the 35th anniversary stripes, instead I'll be doing a different stripe setup. Because of this the rear spoiler won't be installed till the new stripes are installed.
Hopefully will have my extra SS spoiler sold within the next couple weeks.
Also removed the hood so I can bring it to my paint guy to fix the clear that's cracking near the scoop. Hopefully will have it within the next 2 weeks. On top of all this the new interior seat covers came in and they look even better in the pictures. The seats have been removed to be dropped off and have the covers installed.
All in all the car seems to be heading in the right direction and hopefully will be drivable and in my garage by Thanksgiving! Hope y'all are enjoying the thread, it's been kinda dead but I'm working to change that.
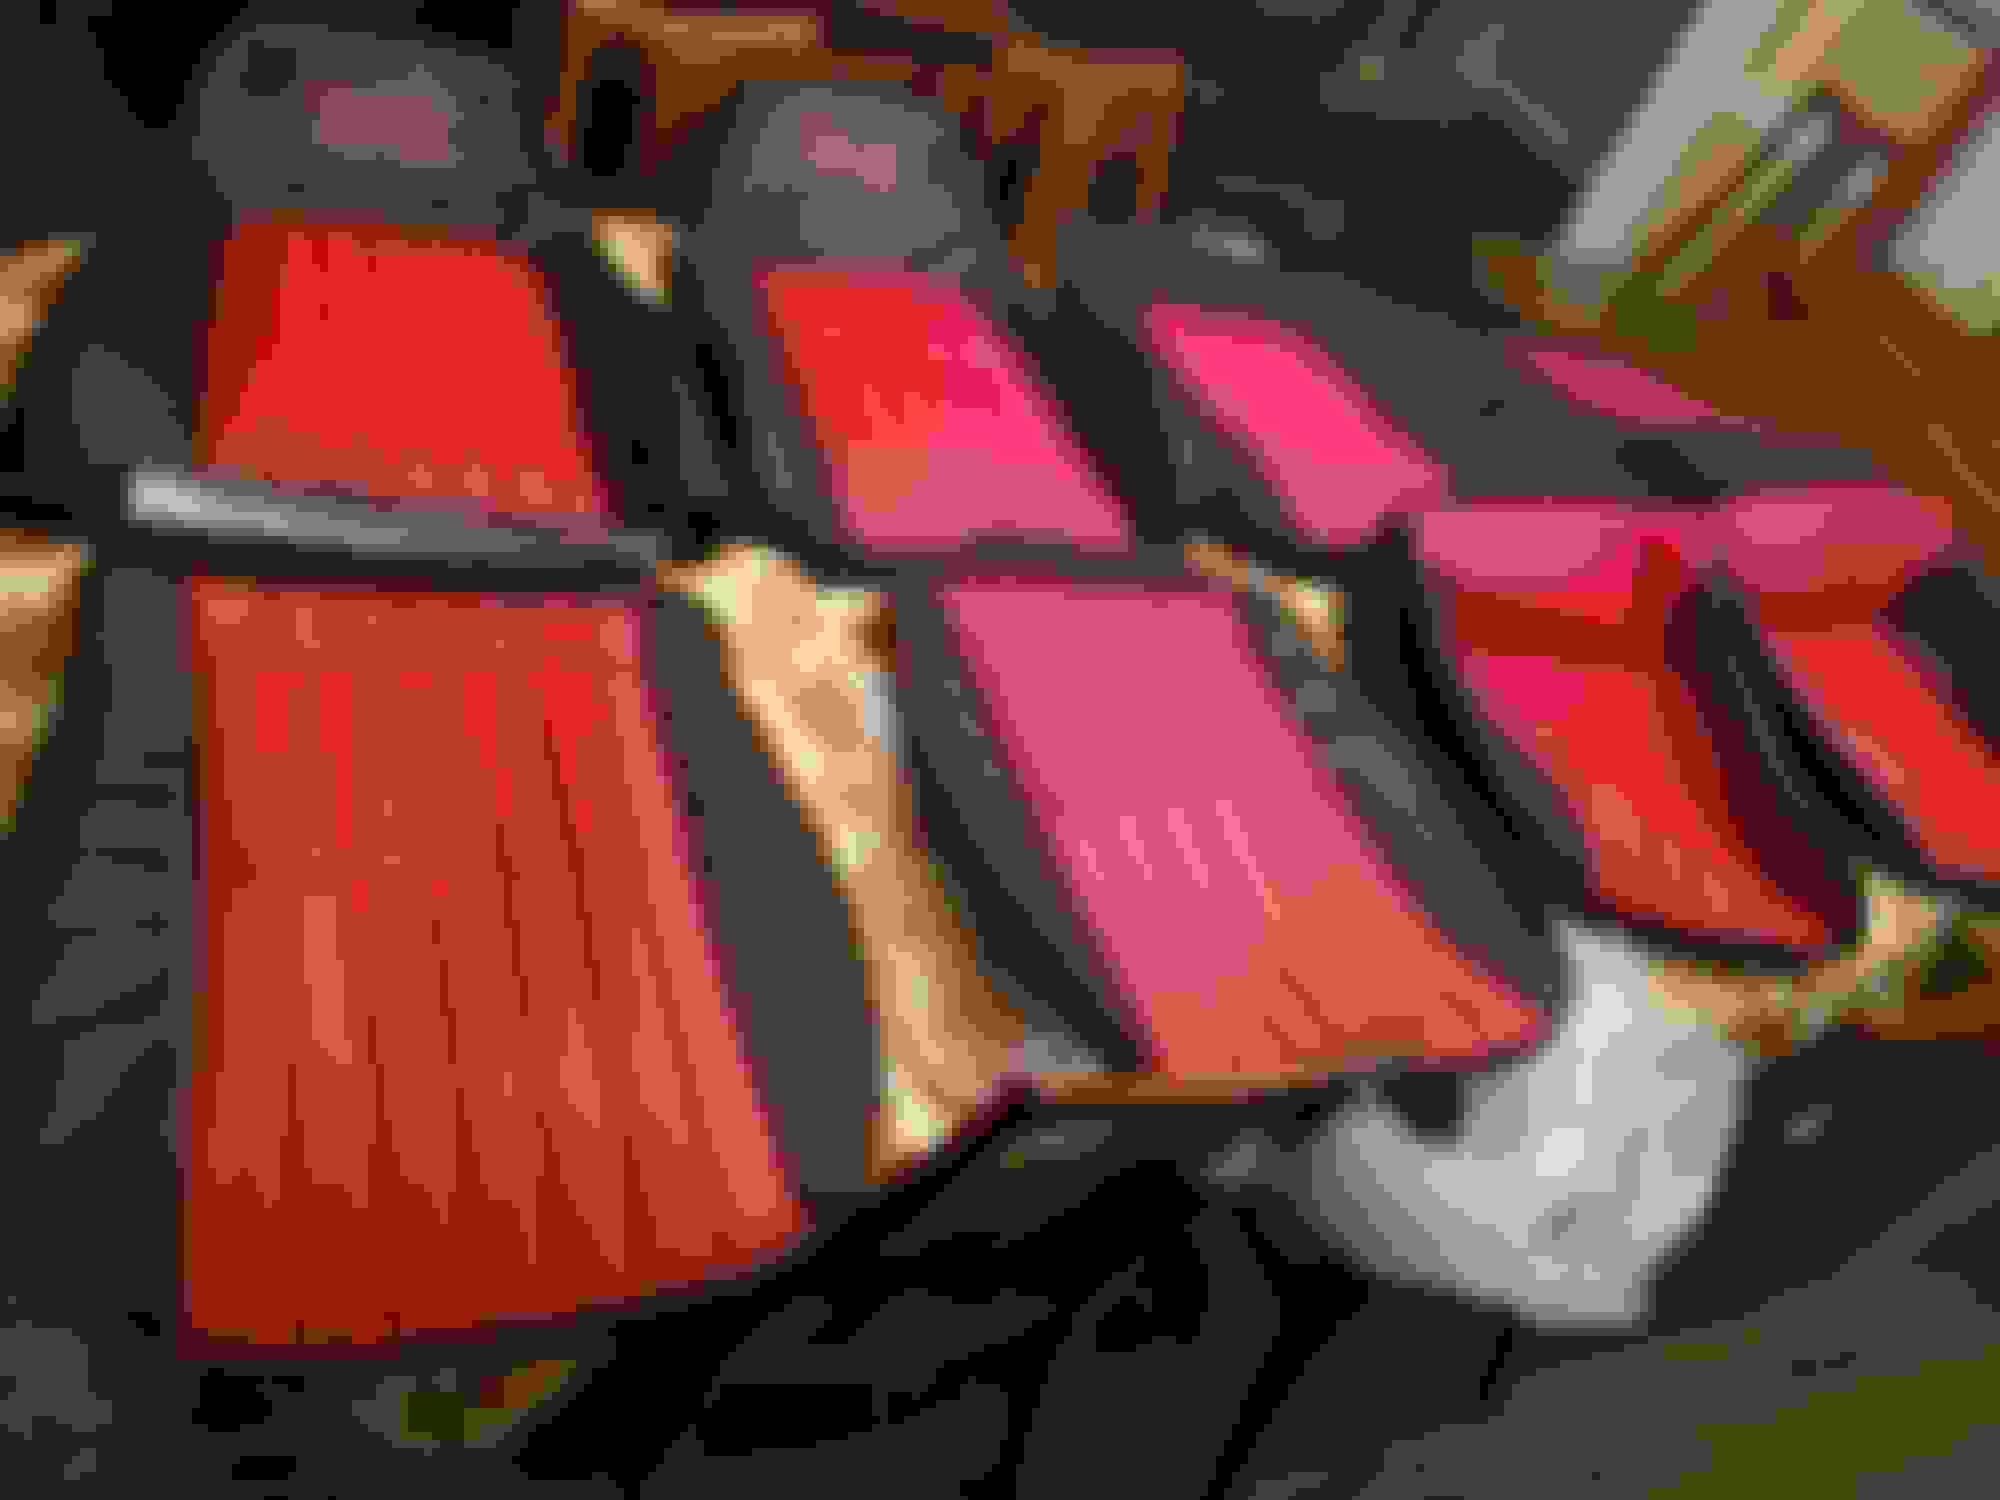
So small update since I spent most of the weekend moving to a larger apartment. After moving everything I found some time yesterday evening to fool with changing the seat covers on my front seats, my pops brought them with him when he came to help me move. If I can give any advice for doing these covers it is to unbolt the back of the seat from the bottom and remove the seat rails.
Little comparison for yall. I only did one seat so far and will slowly do the rest over the next couple days. Fit and finish was extremely nice and I'm very satisfied with the covers. They fit snug and the quality seems to be light years ahead of the factory stuff. Also keep in mind that it was in the upper 60s when I did this so I'm sure if I let them sit outside on a hot Louisiana day the minimal wrinkles I have will disappear.
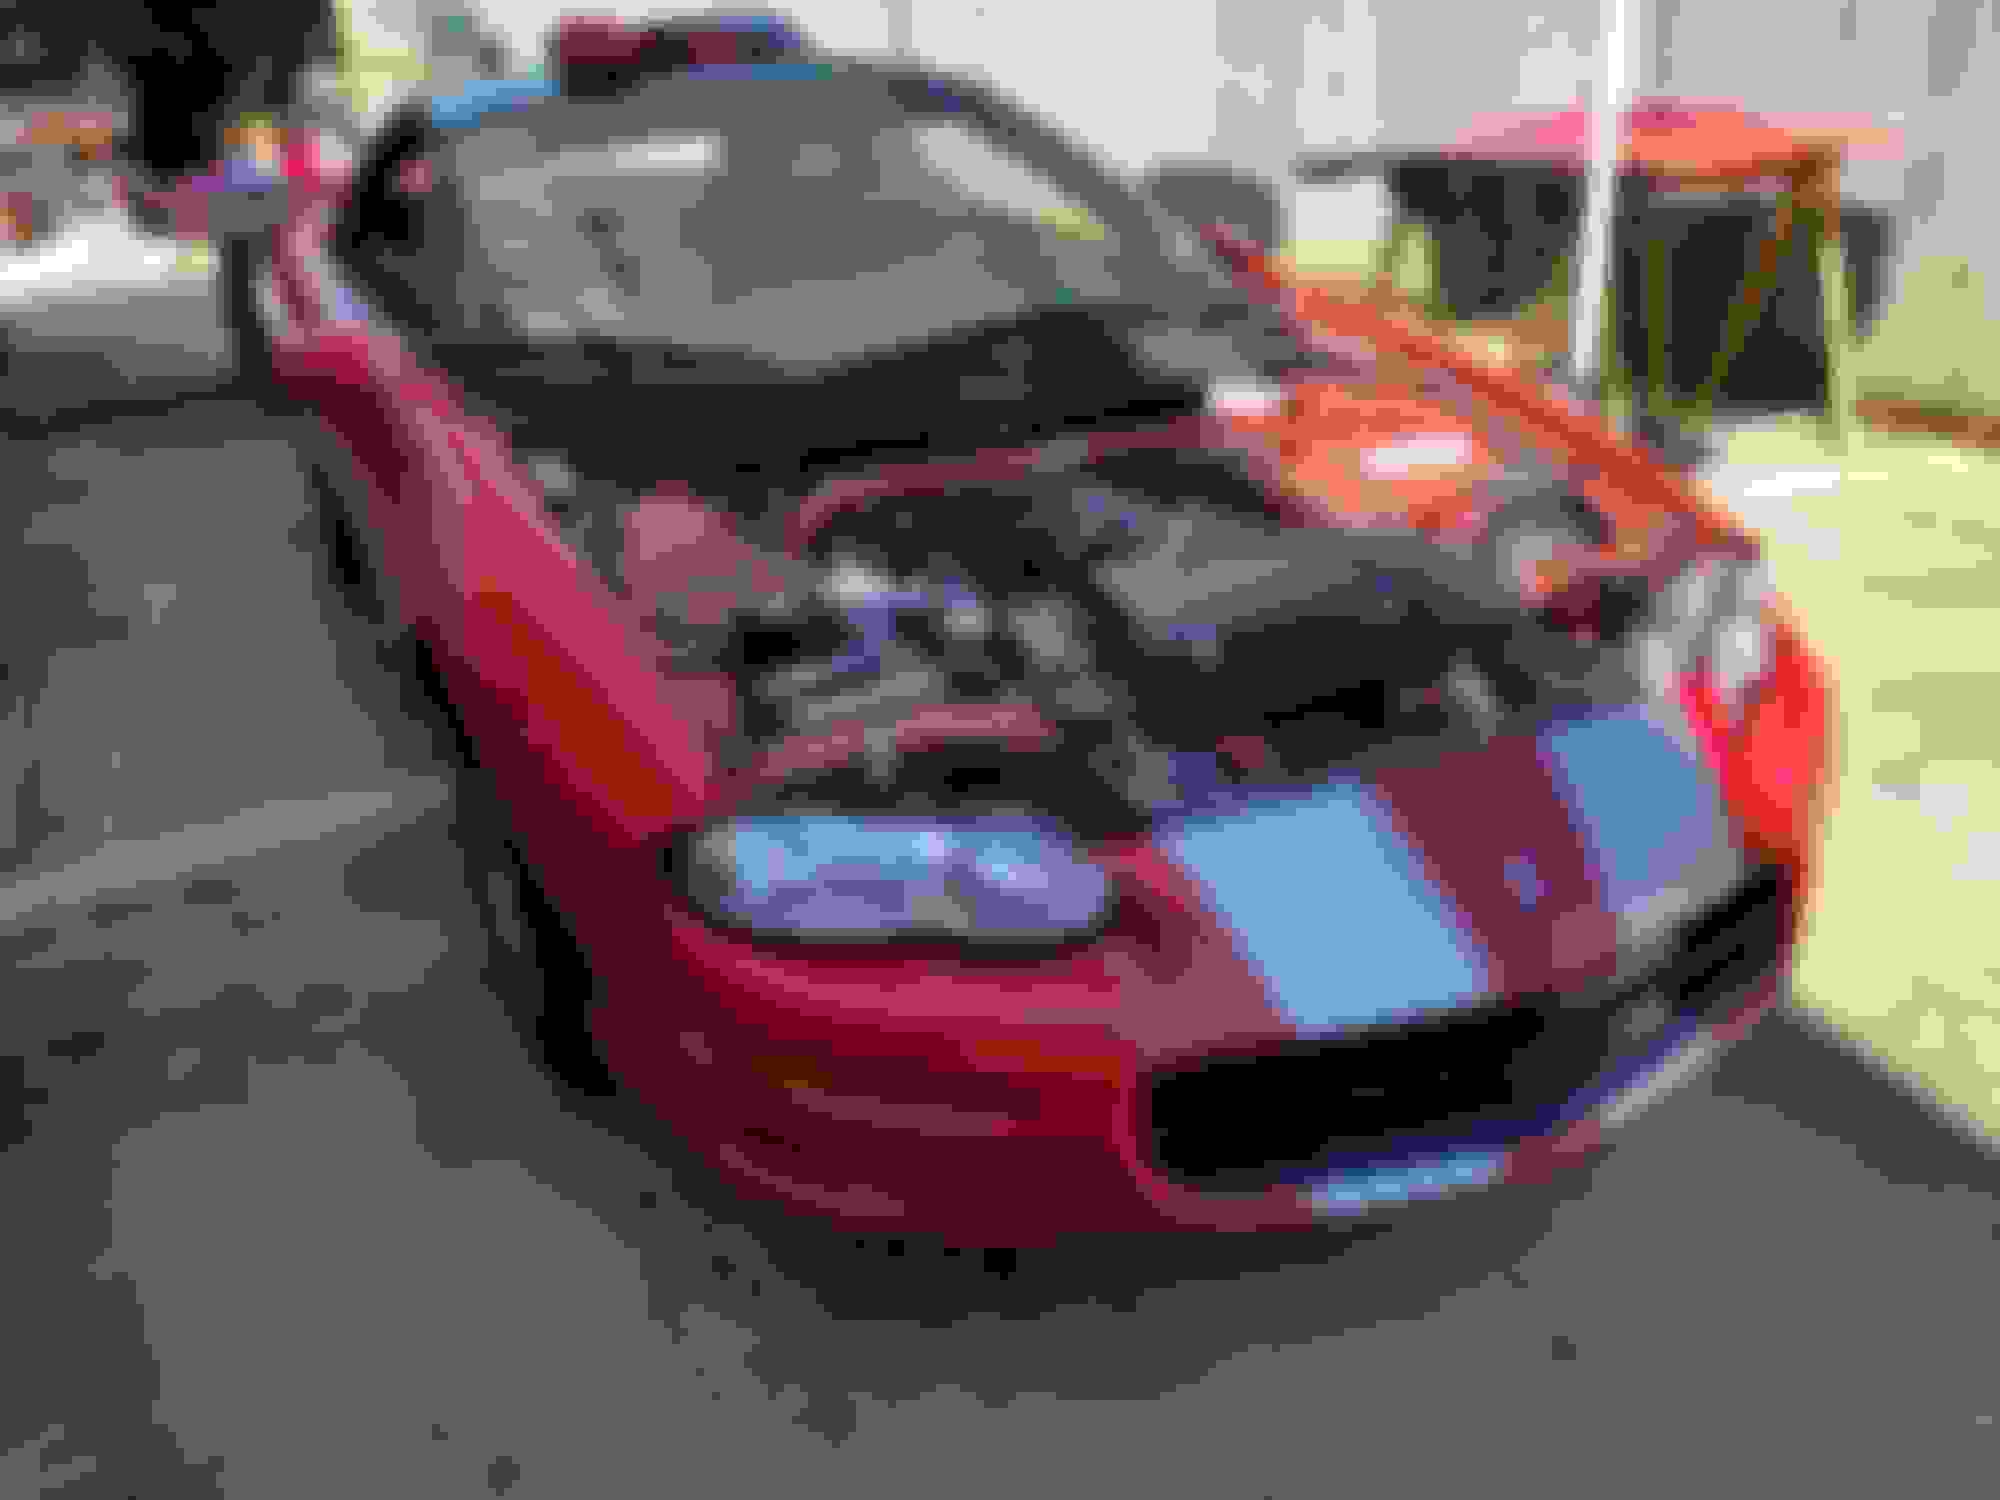
In other news my pops was able to pick up the hood from my painter and its looking awesome!
The window people were supposed to install the rear glass this past friday but the trim for around the back glass came in broken so they ordered another one. Will hopefully be done next week sometime. After all of this is done the car should be heading back to Lafayette, fingers crossed.......
So not much has changed since my last posting. I got around to recovering the majority of the seats, I have to make a harness to power the drivers seat bottom so I can unbolt the rails and then that seat will be done and put together. The glass guy has been having a terrible time getting in the trim for the rear windows unbroken. He finally received one but it was too cold outside to put the trim on the glass so he decided to bring the glass with him and do it in his shop. This has been going on since I removed the hatch...... Hes supposed to be coming by today to finally install the rear glass on the car. I will be heading down on the 19th of December to leave for Disney. Plan is to put the car back together when we get back and bring it back to Lafayette with me..... fingers crossed, been waiting for this day for a while.
Well, the back glass is FINALLY reinstalled with the trim around the edge. One step closer to getting the vehicle back on the road, my pops was telling me that the car has a coolant leak though. Luckily it looks to be a small bypass hose of some sort and should be easy to fix. My garage is almost empty as well so I will have some room to start cleaning up the 12 bolt rear end so I can install it! Next upgrades are ATS Brembo front calipers, although it will have to wait until I get the new engine installed in my truck. Thankfully my truck is still drive-able, it just has a rather bad lifter tap that has finally annoyed me enough to fix it.
Well, the car is back in Lafayette with me. My pops was able to trailer the car up this past weekend. I planned to work on it all day Saturday to get the interior cleaned and buttoned up but ended up having to go to Baton Rouge to bring some stuff to my gf parents and since we were over there we sorta made a day of it. So the car was just parked in the garage. The garage still has quite a bit that needs to be unpacked however, my gf was an elementary school librarian and is now a high school business teacher so alot of the stuff she brought from her old job isn't really applicable to the new one so I'm not sure how many boxes will disappear........
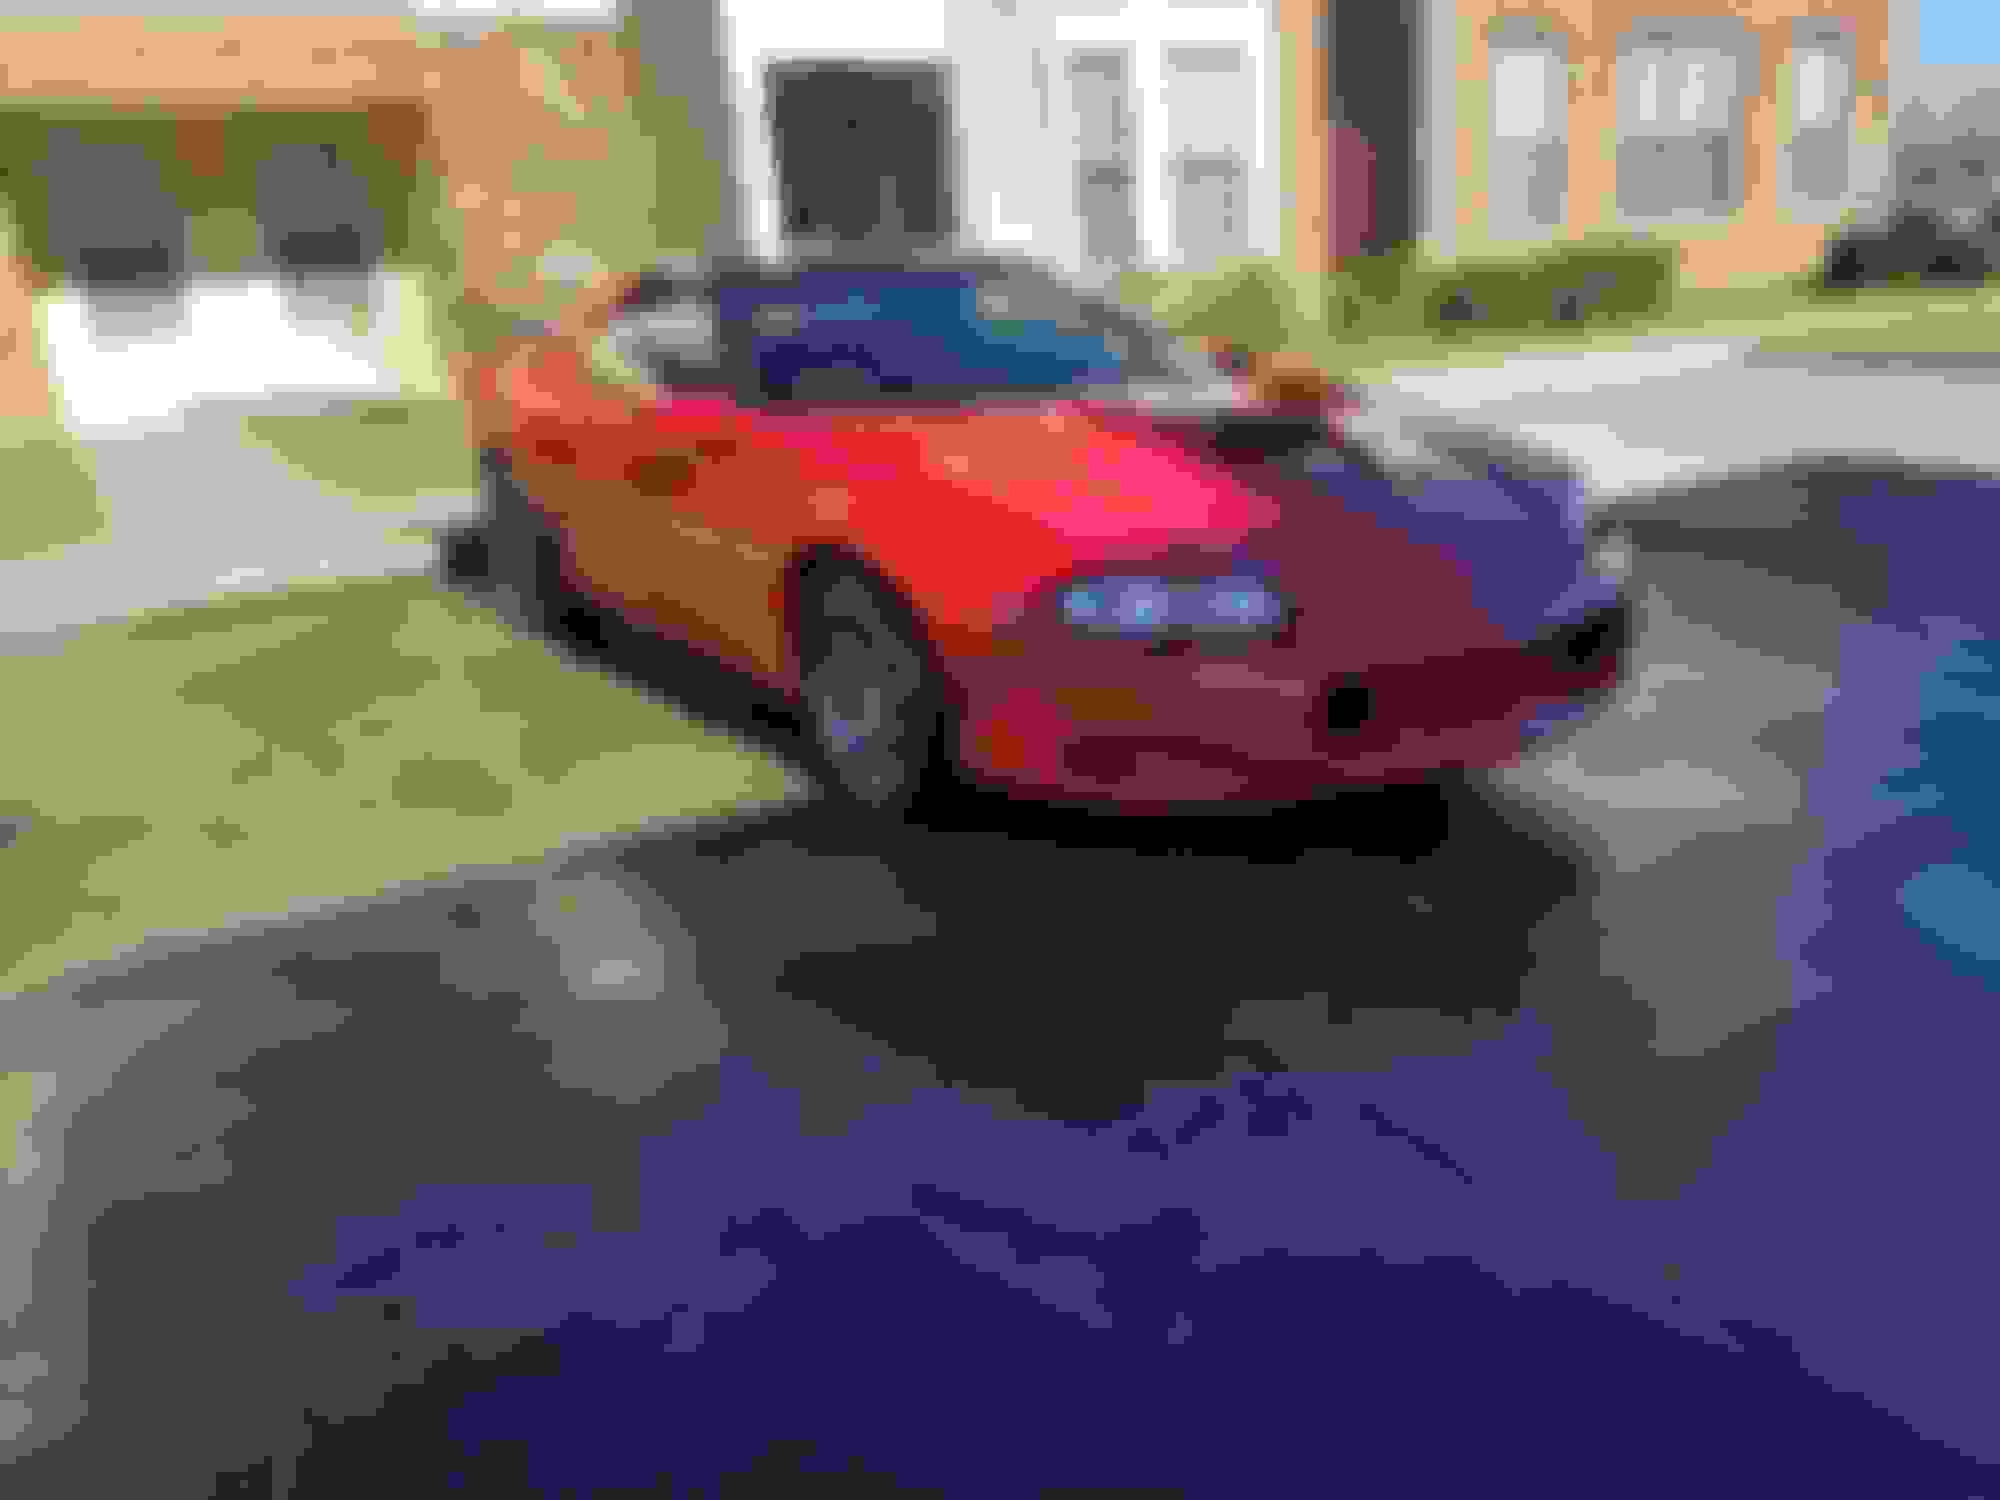
We had a great time in Baton Rouge and the weather was fantastic (it had been rainy and just muggy all week). Since my Saturday was used I got up early on Sunday to start cleaning. First thing I did was remove the driver seat so I could shampoo the carpets and clean all the stuff that had ended up in the car from sitting for roughly a year. Currently I'm using primarily Adams Polishes products and their carpet & upholstery cleaner is fantastic! That along with a 6" brush attached to my porter cable made quick work of cleaning up the carpet. Surprisingly after a year of having the car torn apart I only lost one bolt! An thankfully it was just the bolt to hold the lower rear bucket in place. After getting the interior all cleaned up I tackled the exterior, here are some pictures of the car all back together.
All in all I'm extremely happy with how the interior turned out. You can also see the new center console lid that was made by a member, if in need of one I HIGHLY recommend this over a factory one. It does not have a latch but I think it looks cleaner and definitely more stout than factory. I was also able to pick up some new to me SS floor mats from a local friend, they're in much better shape than the anniversary ones I had. Plans are to eventually get some Lloyds ones made that will match the carpet better...... I'm unsure why the factory ones don't seem to match very well considering the carpet is factory as well.
The car will eventually get the anniversary stripes put back on the car but it'll be after the car is repainted (no idea when that'll happen, after I buy a house etc.). So for now I have some other stripes that are a good bit cheaper to go on the car and give it a different look.
Well, the car is back in Lafayette with me. My pops was able to trailer the car up this past weekend. I planned to work on it all day Saturday to get the interior cleaned and buttoned up but ended up having to go to Baton Rouge to bring some stuff to my gf parents and since we were over there we sorta made a day of it. So the car was just parked in the garage. The garage still has quite a bit that needs to be unpacked however, my gf was an elementary school librarian and is now a high school business teacher so alot of the stuff she brought from her old job isn't really applicable to the new one so I'm not sure how many boxes will disappear........
We had a great time in Baton Rouge and the weather was fantastic (it had been rainy and just muggy all week). Since my Saturday was used I got up early on Sunday to start cleaning. First thing I did was remove the driver seat so I could shampoo the carpets and clean all the stuff that had ended up in the car from sitting for roughly a year. Currently I'm using primarily Adams Polishes products and their carpet & upholstery cleaner is fantastic! That along with a 6" brush attached to my porter cable made quick work of cleaning up the carpet. Surprisingly after a year of having the car torn apart I only lost one bolt! An thankfully it was just the bolt to hold the lower rear bucket in place. After getting the interior all cleaned up I tackled the exterior, here are some pictures of the car all back together.
All in all I'm extremely happy with how the interior turned out. You can also see the new center console lid that was made by a member, if in need of one I HIGHLY recommend this over a factory one. It does not have a latch but I think it looks cleaner and definitely more stout than factory. I was also able to pick up some new to me SS floor mats from a local friend, they're in much better shape than the anniversary ones I had. Plans are to eventually get some Lloyds ones made that will match the carpet better...... I'm unsure why the factory ones don't seem to match very well considering the carpet is factory as well.
The car will eventually get the anniversary stripes put back on the car but it'll be after the car is repainted (no idea when that'll happen, after I buy a house etc.). So for now I have some other stripes that are a good bit cheaper to go on the car and give it a different look.
Car looks great Chris hope to see it in person soon. Might actually get to take mine out this weekend.
Damn a lot of work! So what stripes were you thinking of going to? I did see you are going to put back on the anniversary stripes. I have the same Camaro metal sign in my garage too lol
Well, not much has changed since I installed the interior. I have decided to finally start working on correcting the paint on the car (best I can with the condition of the paint). I have some new products coming in to use for the correction. Short list of stuff I'm using:
Meguairs M105 (didn't care for the resutls)
Griot's Garage Complete Compound (very surprised with the results and quite pleased)
Jescar Compound (waiting to come in, heard great things though).
Menzerna SF4000 (finished quite nicely)
Lake County Flat Pads (Yellow, Orange and white. Yellow used with compound and white with polish).
I have some Lake County MF Pads coming in for some extra cut.
Also ordered a bunch of microfiber towels from The Rag Company. An a few other chemicals I thought would be helpful. Currently I don't have any plans to ceramic coat the car but it has been on my mind. I have some time to make a decision.
This is what I started with.
This is after hitting the spoiler with Griot's Complete Compound with a yellow pad on my Porter Cable DA.
Just a little finished shot. I'm only working on the spoiler today because I'll be removing it soon to correct the paint beneath it on the hatch.
So its been about a month since my last post...... What I realized was with my previous tools for correcting my paint it was going to be a long process and more of a chore than enjoyable. I decided to do some research and see what everyone was using as their go to for paint correction. I ended up picking up some new products and tools to aid with the task. Here's what I ended up going with after a bunch of research:
1. A new polisher, nowadays a long throw orbital is most peoples go too. Compared to my old DA (dual action) a long throw covers more area and corrects quicker. I ended up coming across a deal on a Rupes LHR15ES and picked it up. Its the Mark I which some say is under powered however, I haven't had any issues with it. The Mark II and Mark III (which just came out) are also an easy $100 more expensive from Rupes.
2. Pads...... Having enough pads and the correct variety. When I bough my polisher the guy threw in some extra pads he had and I've been using them for now. Luckily he threw in a couple microfiber cutting pads so I didn't order anymore of them. I did however order some yellow (cutting) and white (polishing) pads directly from Rupes. I've read that using other manufacture's pads can cause vibration and lead to fatigue, I haven't noticed that with the microfiber ones but Autogeek was running a great sale and I used the discount to get the Rupes for basically same price as other brands.
3. Compound. Previously I was using Mequiars M105 and Griots Complete Compound. The Griots was great for being able to be purchased locally, the M105 dusts and dries up and overall a pain to use. After research I ended up ordering some Jescar Correction Compound, its is a fairly aggressive compound and so far is phenomenal. It does leave a slight haze afterwards but with using that aggressive of a compound you should follow with a polish.
4. Polish. The current polish on the market that everyone is raving about is Sonax Perfect Finish. It is not just hype....... this **** is awesome. Literally the best polish I've ever used and leaves brilliant clarity. It is not cheap though, most websites sell it for $70 for a 1L. I was able to purchase off of Amazon for $50 with prime and that's literally the cheapest anywhere. I can't recommend this polish enough......
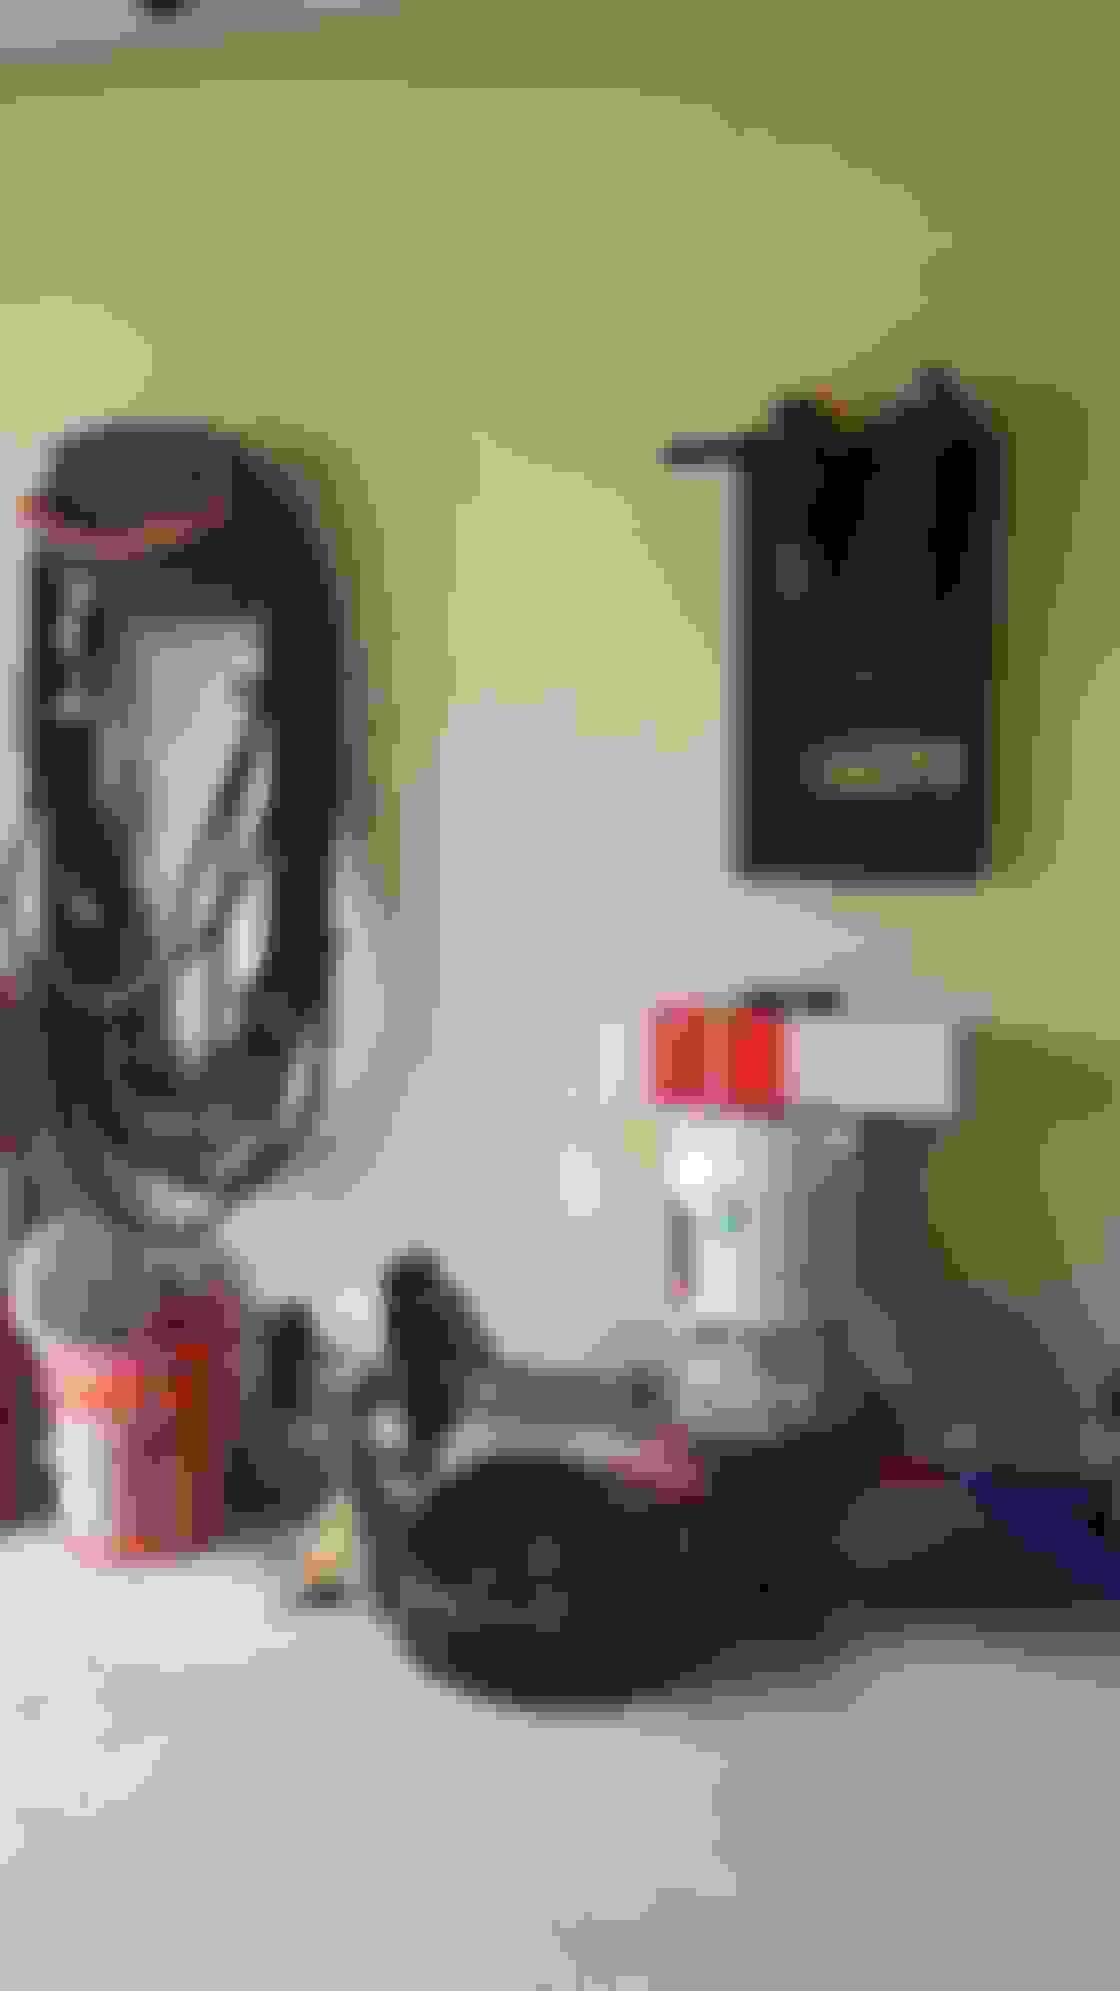
I've also been working at organizing my garage and making the most efficient use of space. My apartment is nice because it has a garage attached however it is not the largest and is mainly designed to allow you to park a vehicle and not much else. Previously I've kept my polishers on the bottom shelf of my rack but they ended up getting dust, spider webs etc from sitting. I order this dual polisher rack from Max Shine and really like it. It holds both of my polishers with a little opening below to store the power cords. Ok, enough of me babbling on here are some pictures.
Once I finish correcting the paint I will be putting a layer of Jescar Powerlock on and then topping that with Collinite 845. This combo is supposed to last for 6-8 months which is crazy for a sealant and wax. Will post up in the future with a review of its durability.
Once this is all done I'll be spending some time cleaning up this 12 bolt and installing it in my car.
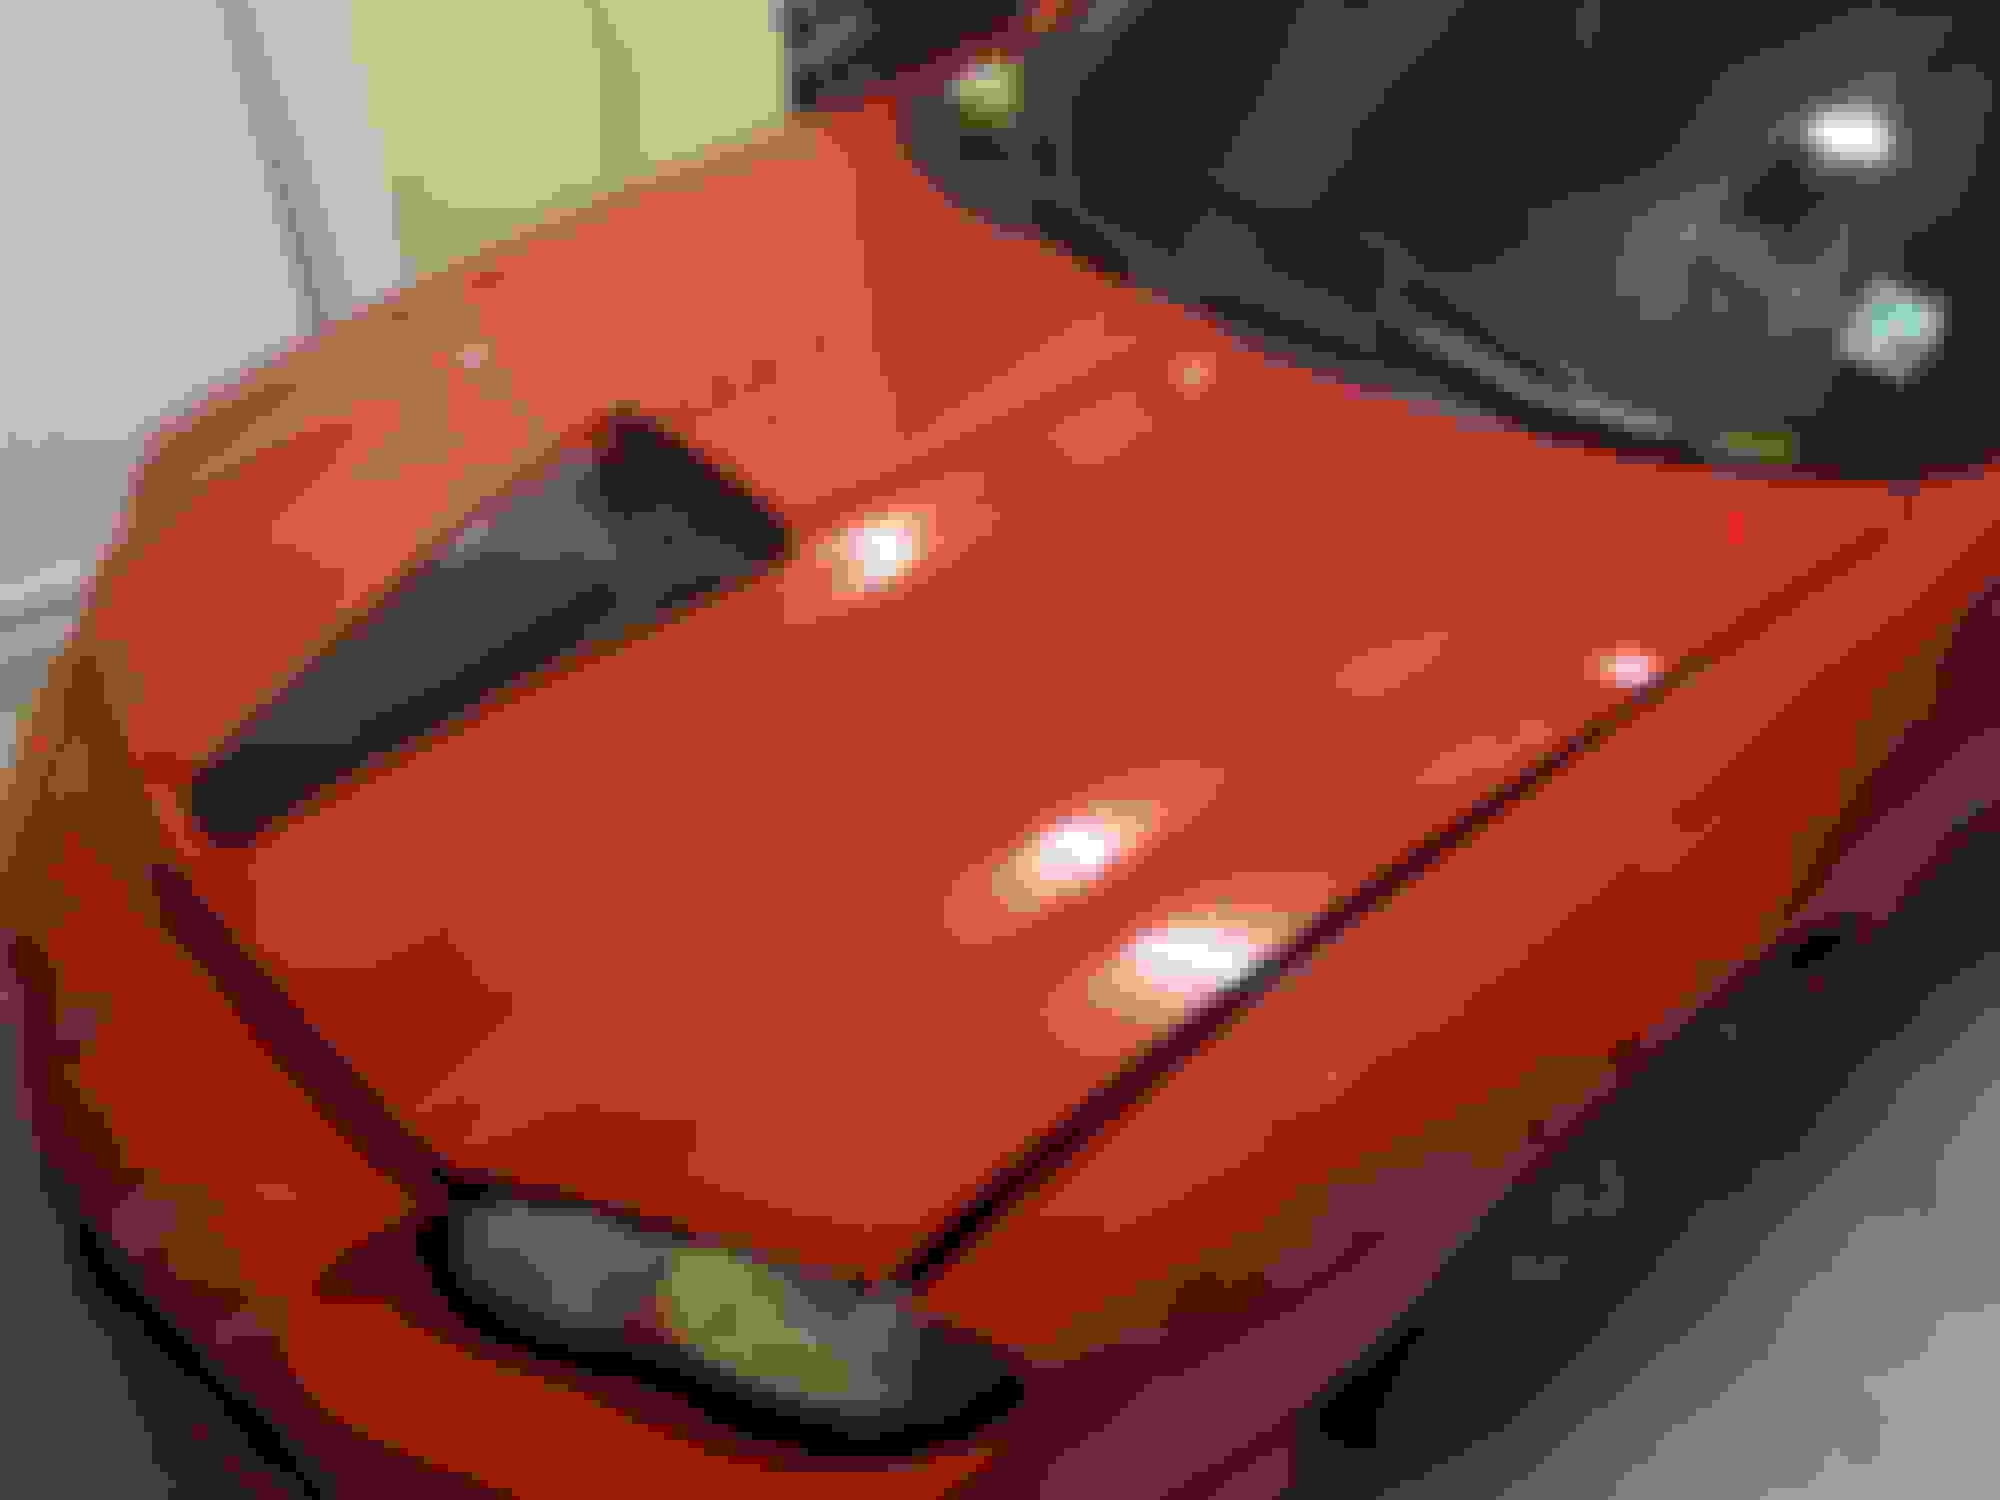
Hood compounded and polished.
Look at that gloss!
Out in the sunlight. At this point the hood and drivers fender have been corrected. No sealant or wax yet.
Fender before
Fender after
Hood, fender and drivers door above the molding have been corrected and sealant/wax applied. The color just pops so much more compared to the rest of the vehicle.
Little further away view. If you've been following this thread since the beginning or read from there you might remember me saying the paint was trashed and needing a repaint. While I still plan on repainting the car the current paint is coming out phenomenally and could probably keep me happy without a repaint. Will post more once the car is finished!
Great Job! Car looks very good... Be mindful that the SONAX Perfect Finish has fillers. There will be some micro-marring still left behind once the oils evaporate or when sprayed with a liberal Amount of IPA. HD Polish is a great finishing polish with the tools you have at hand.
Great Job! Car looks very good... Be mindful that the SONAX Perfect Finish has fillers. There will be some micro-marring still left behind once the oils evaporate or when sprayed with a liberal Amount of IPA. HD Polish is a great finishing polish with the tools you have at hand.
Great job and keep the pics coming!
Michakaveli, thank you. I've read up on the Sonax Perfect Finish fillers debate and I haven't been able to find any concrete evidence that it does in fact have fillers. Its bodyshop shop save which leads me to believe it doesn't have fillers. A lot of people are applying coatings after using this product, granted they are typically doing wipe afterwards but nothing crazy to where they're doing it multiple times so this also leads me to believe it has no fillers. From my research the product is extremely popular in the UK and when it was finally available in the US a lot of people say its snake oil.
On my car I do hit it with Carpro Eraser to check for any defects left and there's nothing. I don't plan on coating my car so I'll have to keep an eye on it over time and see if some light marring appears. I'm also curious if people repeatedly hitting the panel with an IPA wipe and rubbing on it are causing the marring then and not "removing the fillers".
I think I saw you post on the Obsessed Garage Facebook group but you really can't be the Powerlock+ and Collinite 845 combination like Matt Moreman says. I've had good success with it lasting longer than the 6-8 months like Matt says, I applied it to my friend's Silverado and washed it almost a year since initial application and didn't notice too much of a difference, Went through your thread the other night at work, great job bringing this car back to life!
441bertre, yep that was me. That group has been my wallets worst nightmare, I've spent a good bit recently on upgrading my detailing inventory. I think i'm about done with ordering for a while now and plan to just work on the my vehicles. The Powerlock/845 combo is phenomenal, once I correct my other "daily driver" vehicles they will be getting a coating of it. I've also heard that applying beadmaker on top for even more protection/shine, probably will give that a go as well.
Thanks, its been a long journey and the car still needs a lot of work.
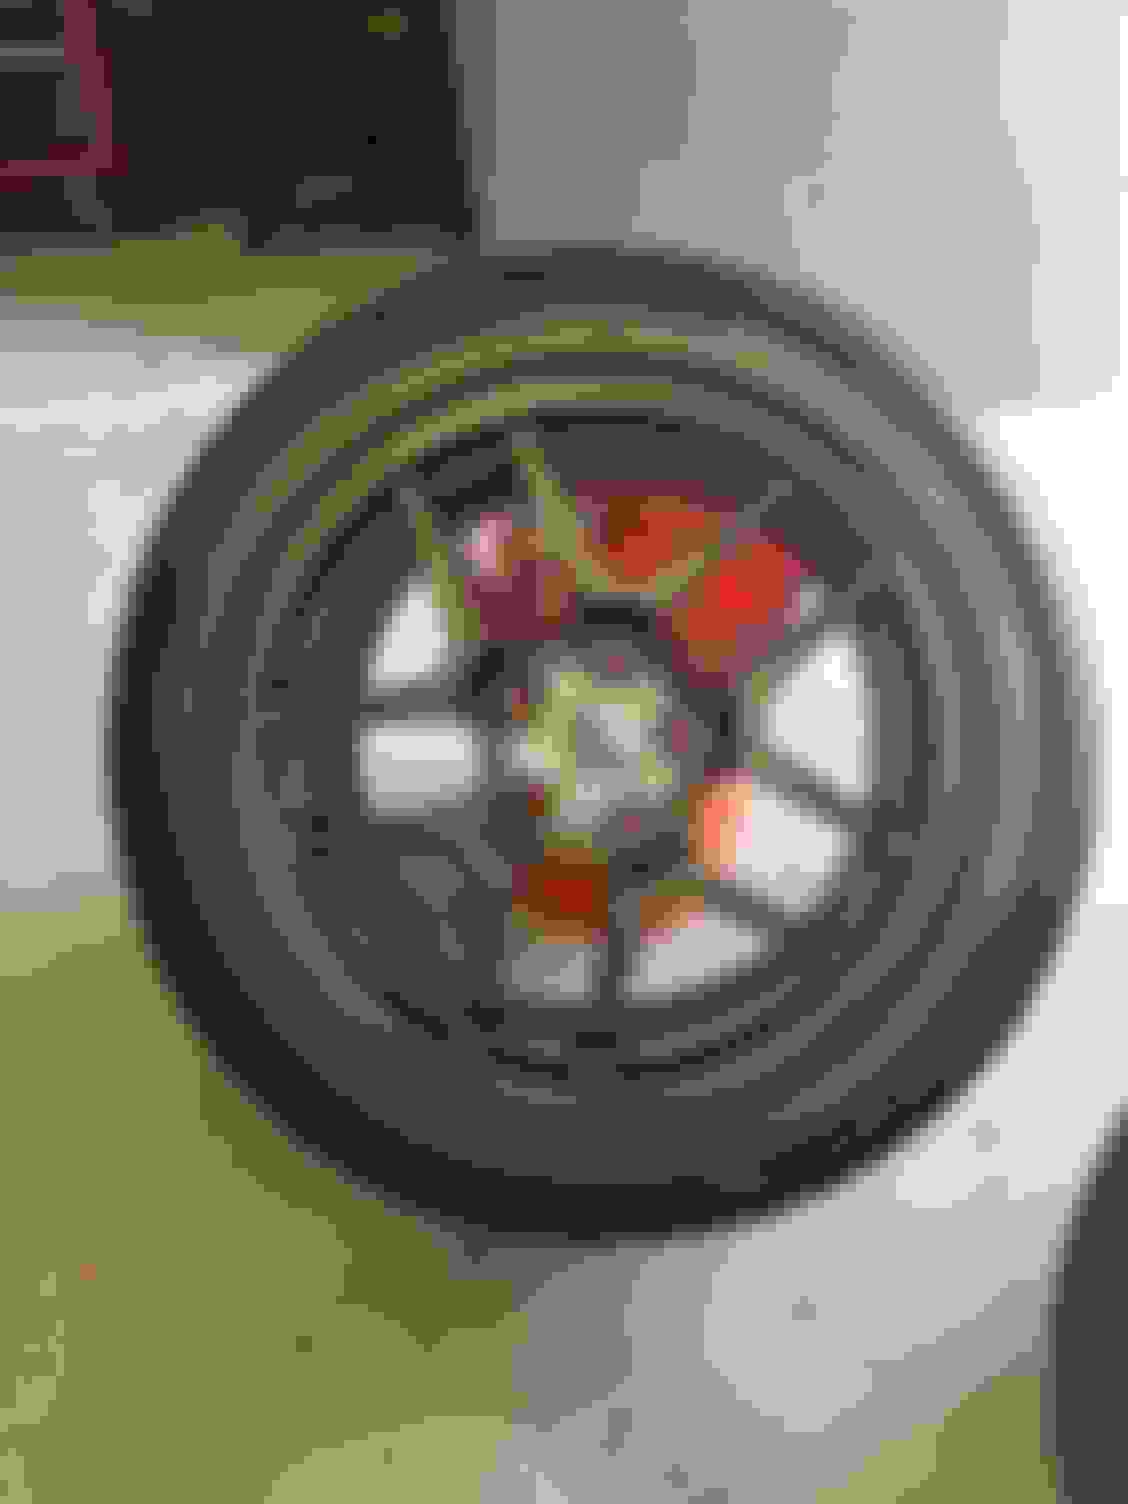
Well, spent some time this week plastidipping 2 of the wheels. Have had the itch lately to put new wheels on the car and decided to change it up with a $45 kit from dipyourcar. Ended up going with Brass Monkey for the color, I was unsure of my color choice but figured it was only $45 so I took a gamble.
Overall, pleasantly surprised with how much I like the outcome. Well worth the $45 gamble, I might end up powder coating them a similar color now.
 10-11-2018, 03:40 PM