02 SS Build
 10-22-2015, 10:22 AM
#1
On The Tree
Thread Starter

Join Date: May 2014
Location: FortLauderdale/Orlando
Posts: 179
Likes: 0
Received 0 Likes
on
0 Posts
Wanted one of these cars since I was in high school. 10+ years later I finally got the $ and a garage to put it in.
When I bought it about a year and a half ago.
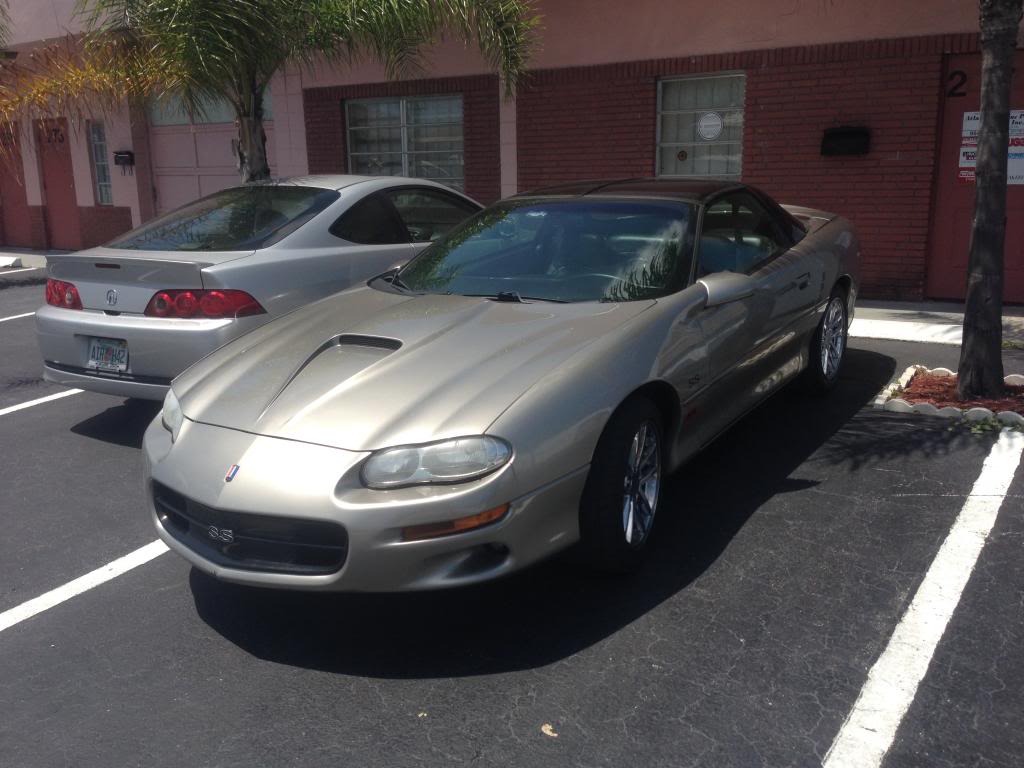
Its a fully optioned M6 car w/ 122k on the clock. One of the CME tips was hanging and the other was missing, foggy headlights and a few dings in the quarters. Guy I bought it from put some BBK LT's on it, otherwise it was stock.
First thing was fixing the exhaust situation. I found another tip and got to polishing. Just to give you an idea half way through the first how bad the stocker was.
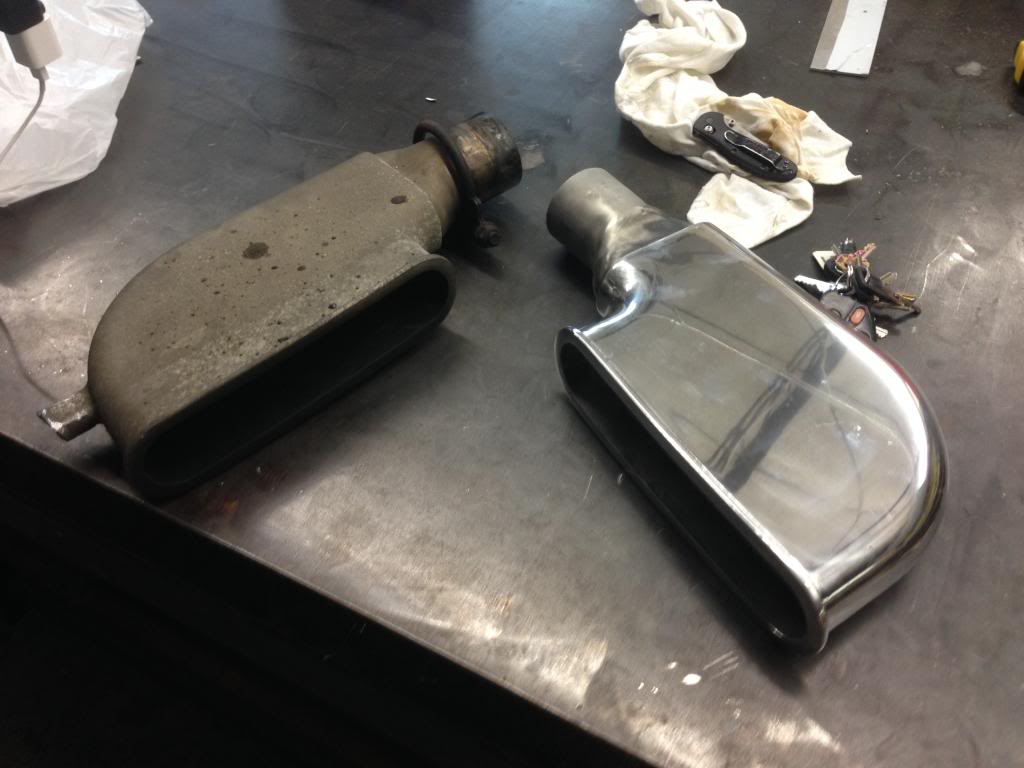
Polished elbows and tips installed..

Had a paint-less dent removal guy take out the dings and gave it a good clay bar and wax. Took the headlights out and wetsanded/polished them up.
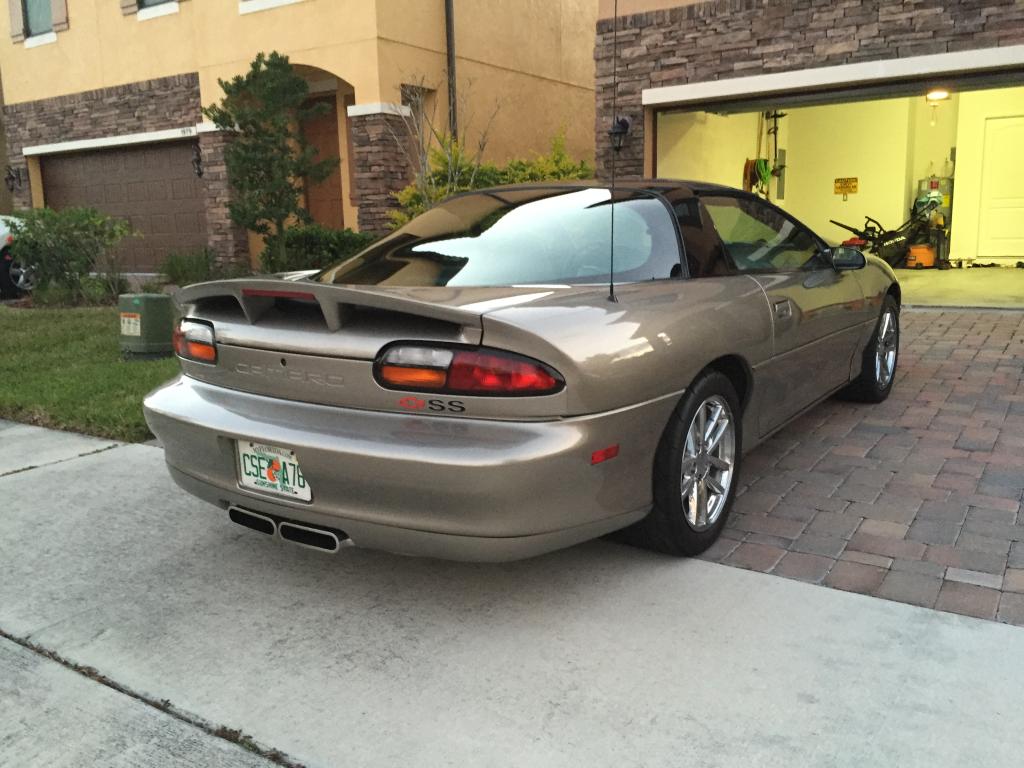
There's some front end body panel alignment issues, but they'll get sorted.


 10-22-2015, 03:23 PM
#5
On The Tree
Thread Starter
Join Date: May 2014
Location: FortLauderdale/Orlando
Posts: 179
Likes: 0
Received 0 Likes
on
0 Posts
The car isn't in Fort Lauderdale, actually. Its up in Orlando.
Thanks guys.
After I got done replacing window motors and the usual maint stuff I had Tick grind me a cam. Did all the usual stuff that's involved. This site was great for info on the install.

Put the wife to work on the spring swap.

Unfortunately, upon the first start up I had a crazy oil leak at the pan near the oil filter. Turned out I cracked/or made an existing crack worse. I had to wait a few weeks to chill out after getting pretty upset about doing things all OCD and having a huge problem. Ordered a new pan and had fun dropping the k-member and raising the motor up with one of the harbor freight lift bars. No big deal.
I'm all excited to just drive the thing after a month (w/ Frost tune). Start it up and AWESOME! No leaks. Take the thing out and after a few miles I cant get the car into 3rd. A mile later I cant get it out of neutral. I manhandle the thing into gears I can get into to get it home.
I have to wait another few weeks to chill out again. Pull the trans and take it apart. Turns out to be a broken key. Had a local shop who deals with the various T56's do a rebuild that would handle 750wtq. Put in a monster stg3 clutch and the Tick master. Got it going last Christmas with my father in law and finally got to drive it.
I haven't done anything to the motor since. All the engine mods to this point are a blackwing lid, bellow, BBK LT's, UD pulley and an electric cut-out.
10-22-2015, 04:32 PM
#6
On The Tree
Join Date: Oct 2014
Location: Illinois
Posts: 115
Likes: 0
Received 0 Likes
on
0 Posts
What under drive pulley are you using? Ie been thinking about getting one. I've been thinking about SLP for the price, but it seems some people have had problems with them.
10-22-2015, 05:18 PM
#7
On The Tree
Thread Starter
Join Date: May 2014
Location: FortLauderdale/Orlando
Posts: 179
Likes: 0
Received 0 Likes
on
0 Posts
I have the SLP. No problems thus far. I can't see going through the effort to swap it on its own. I did it along with the cam and whatnot.
Trending Topics
10-26-2015, 09:02 AM
#8
On The Tree
Thread Starter
Join Date: May 2014
Location: FortLauderdale/Orlando
Posts: 179
Likes: 0
Received 0 Likes
on
0 Posts
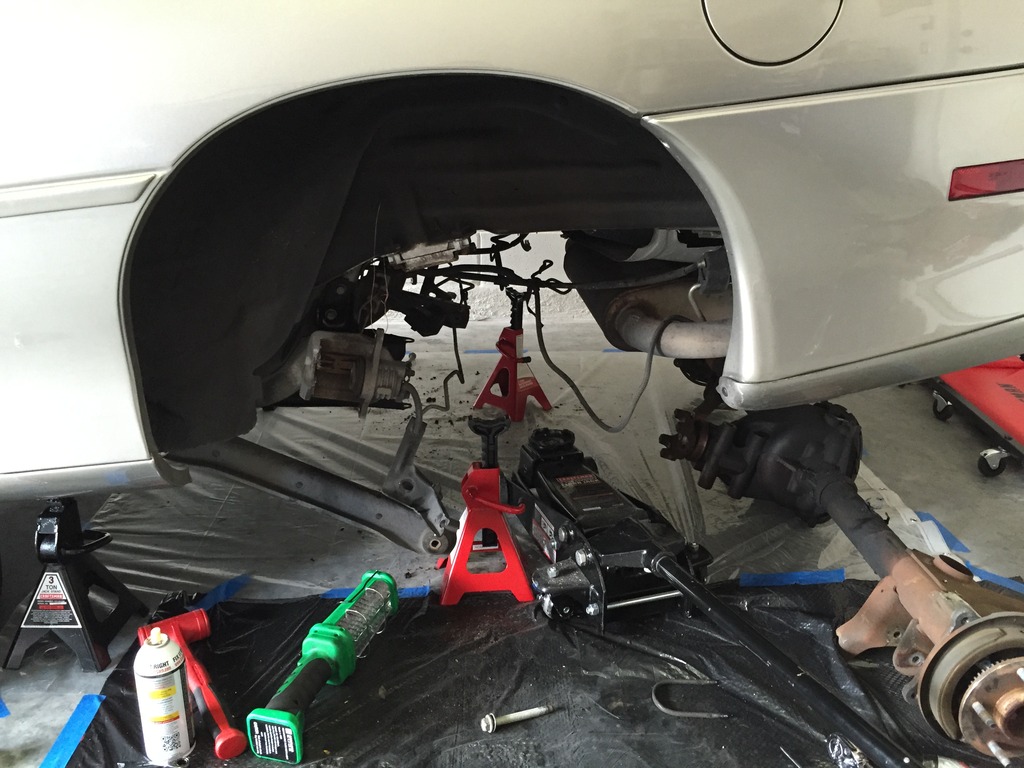
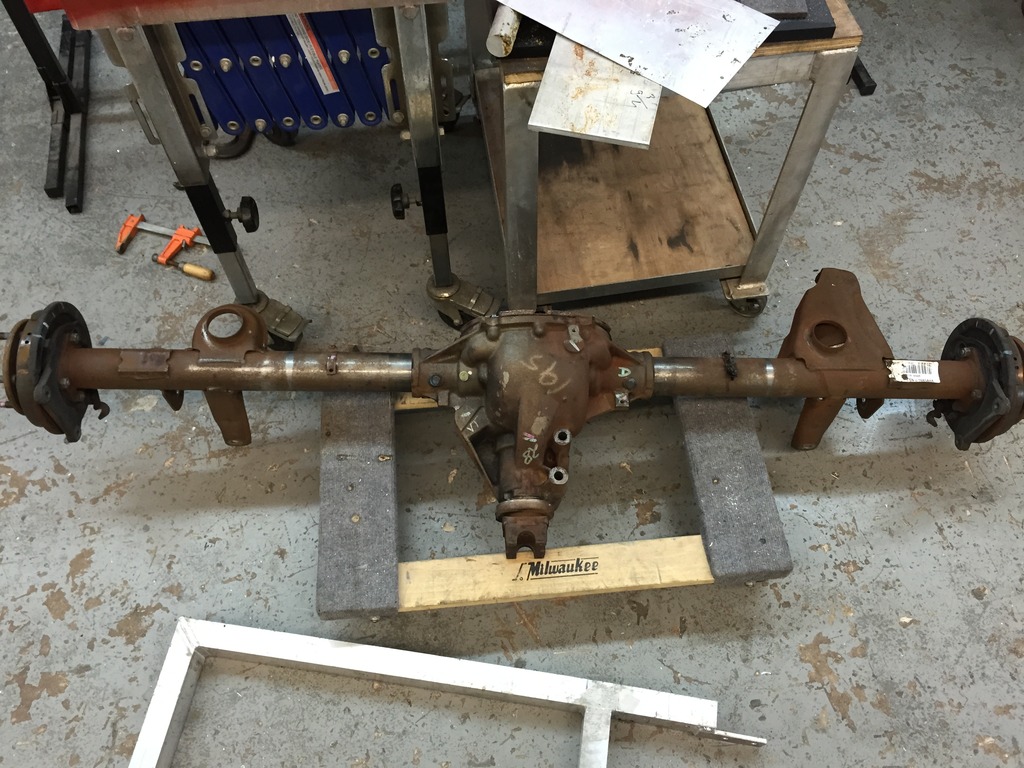
Pulled the rear to narrow it 2.25" per side, swap from 3:42's to 4:10's, add some moser axles and a girdle. I'm not building this car for drag racing and I want the weight to a minimum.


 10-26-2015, 09:12 AM
#9
On The Tree
Thread Starter
Join Date: May 2014
Location: FortLauderdale/Orlando
Posts: 179
Likes: 0
Received 0 Likes
on
0 Posts
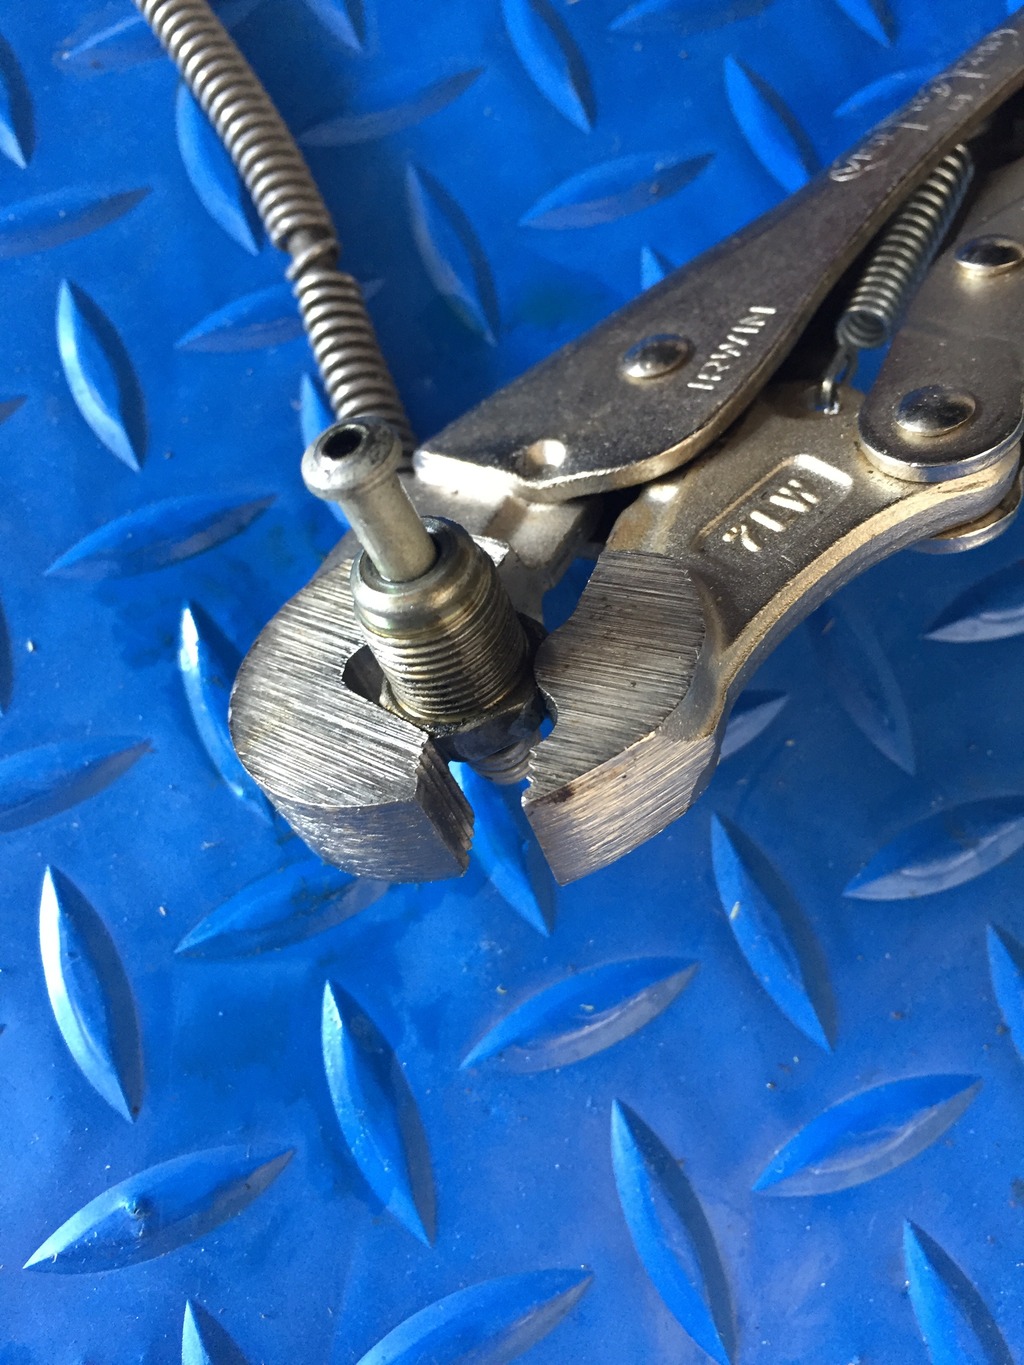
The parking brake and brake line brackets presented the only problems I had with the rear end rebuild. I could not get the 14mm flare nut loose. Tried a snap-on 14mm line wrench with a pair of vise grips around the box end of the wrench only to round it over.
These things are awesome..
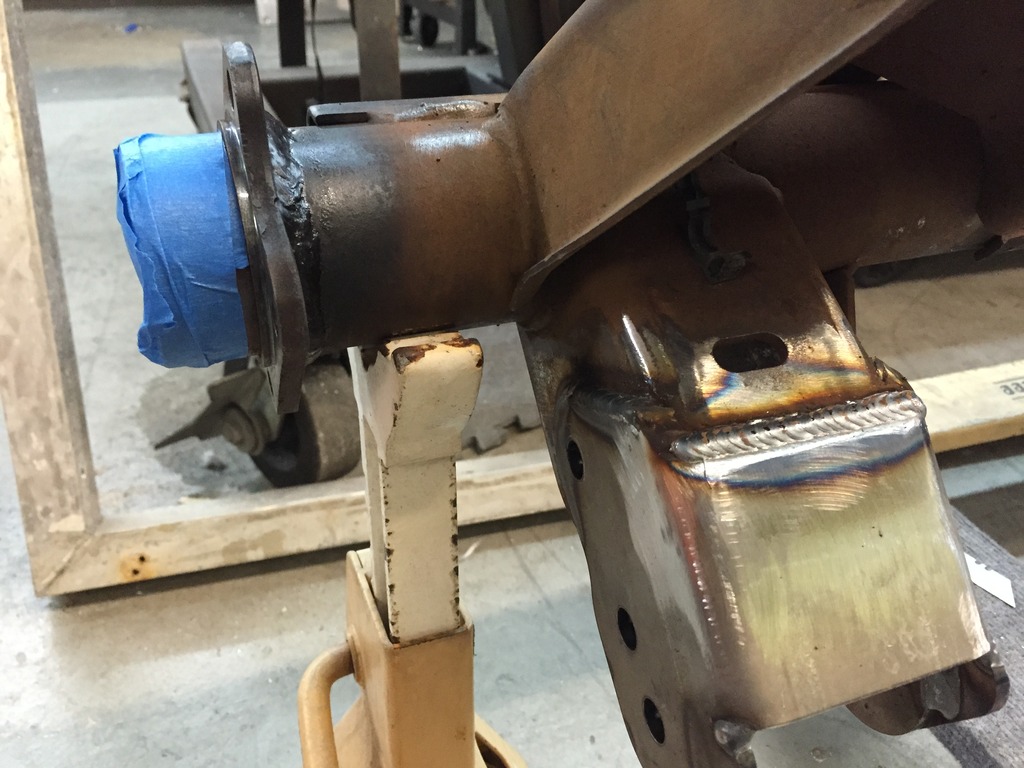
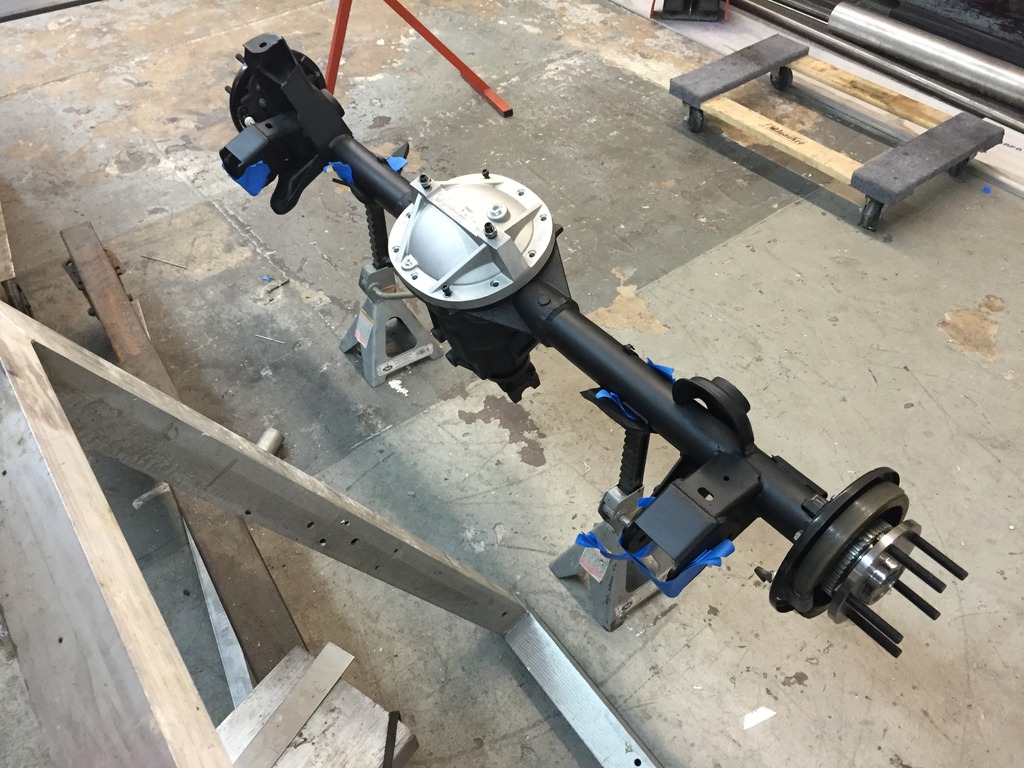
rear all back together for the most part. All double adjustable LCA's and panhard.

BFH mod.
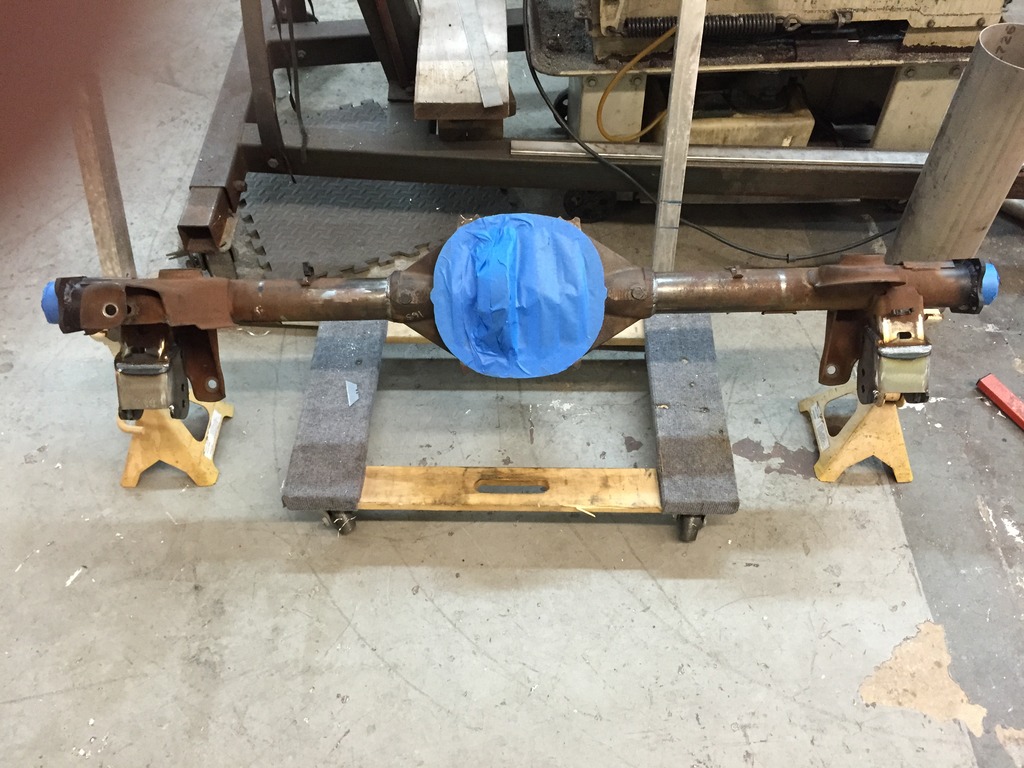
undercoated..
first fit..


These things are awesome..

rear all back together for the most part. All double adjustable LCA's and panhard.


BFH mod.

undercoated..

first fit..

 10-28-2015, 05:55 AM
#13
On The Tree
Thread Starter
Join Date: May 2014
Location: FortLauderdale/Orlando
Posts: 179
Likes: 0
Received 0 Likes
on
0 Posts
Thanks for the comments guys.
Flaring the new rear brake lines. Being the rear got narrowed I needed shorter lines. The stockers had a bend right where I wanted them to end and you'll never get a good flare if the line isn't straight.
I went with some copper nickel lines because theyre super easy to bend/flare and they polish easily.

Needed some fender rolling.


Finally moving into a bigger shop..

 10-28-2015, 01:02 PM
#14
On The Tree
Thread Starter
Join Date: May 2014
Location: FortLauderdale/Orlando
Posts: 179
Likes: 0
Received 0 Likes
on
0 Posts
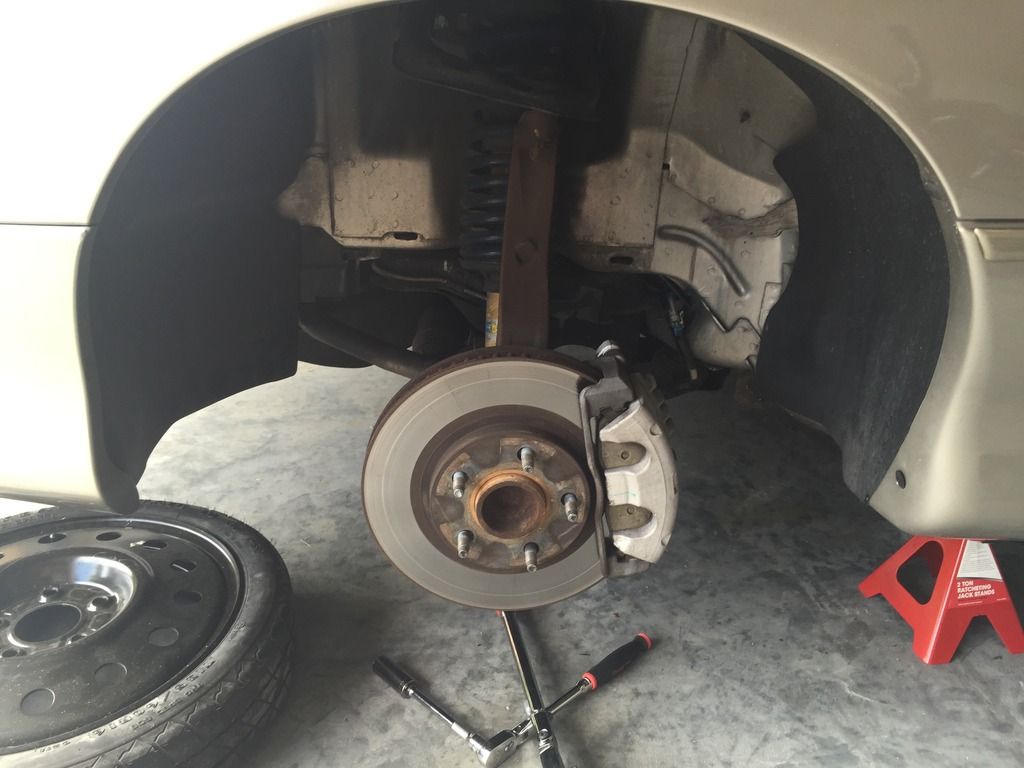
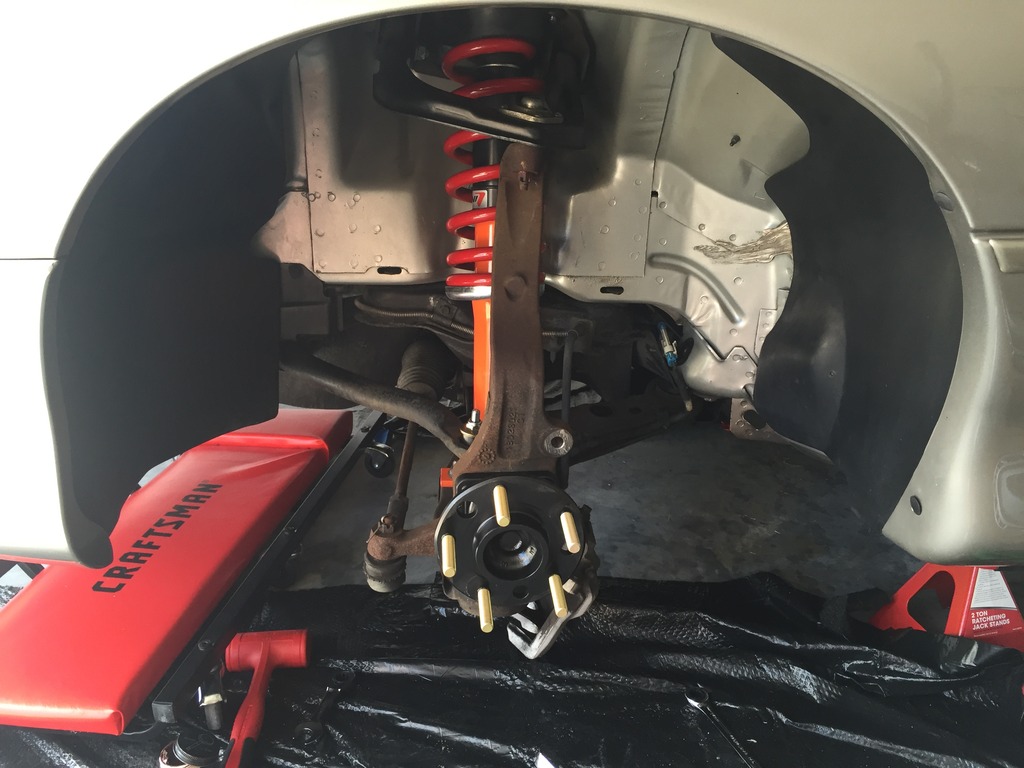
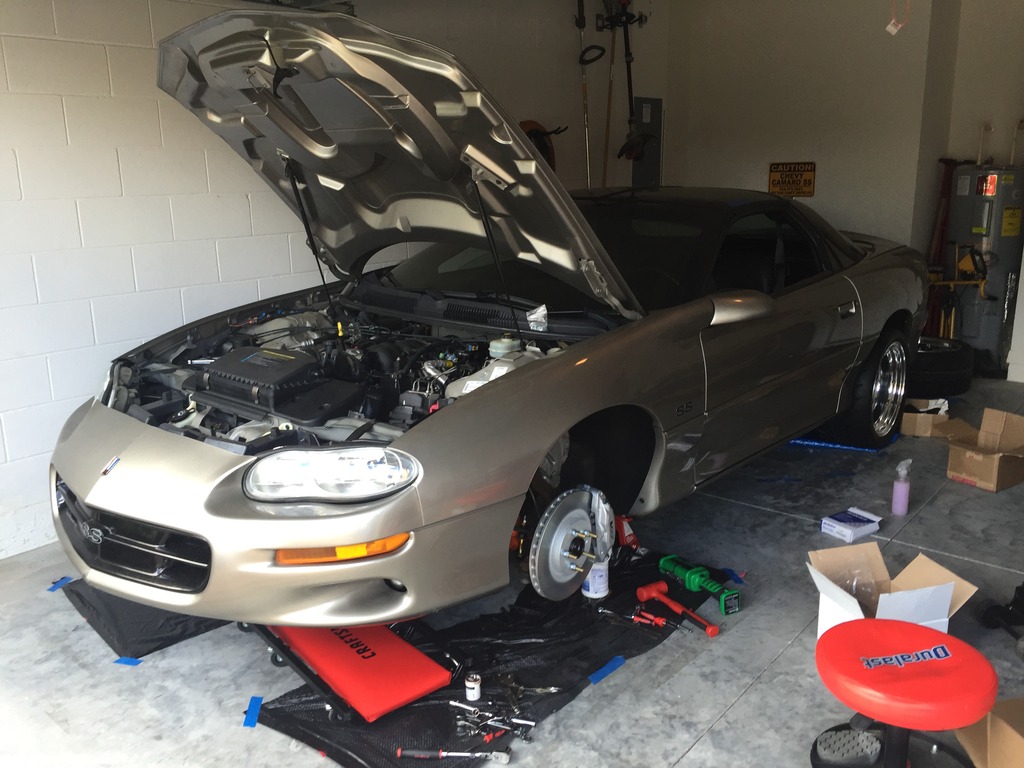
Few things still need to be addressed out back, but on to the front end.
Ive been trying to clean the underside of the car as I go. Everything from the back of the engine to the rear bumper is pretty spotless. The stock, oxidized exhaust is the only real eyesore underneath the car.
What I started with...
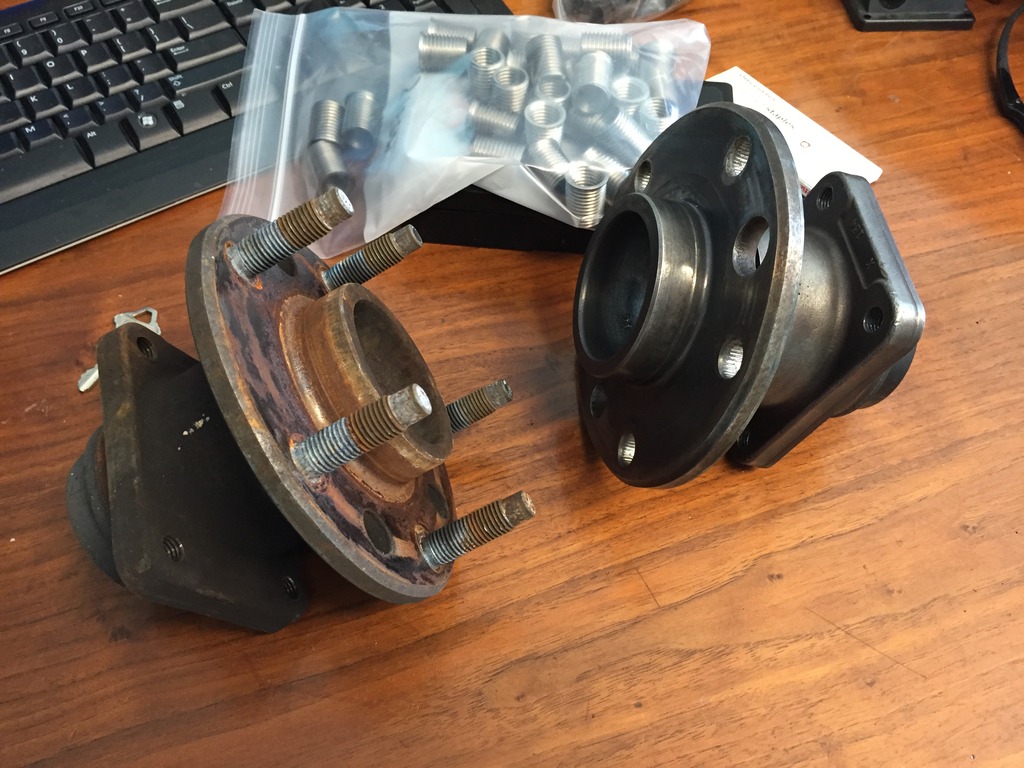
Front hub before/after 5 min with a wire wheel on a die grinder.
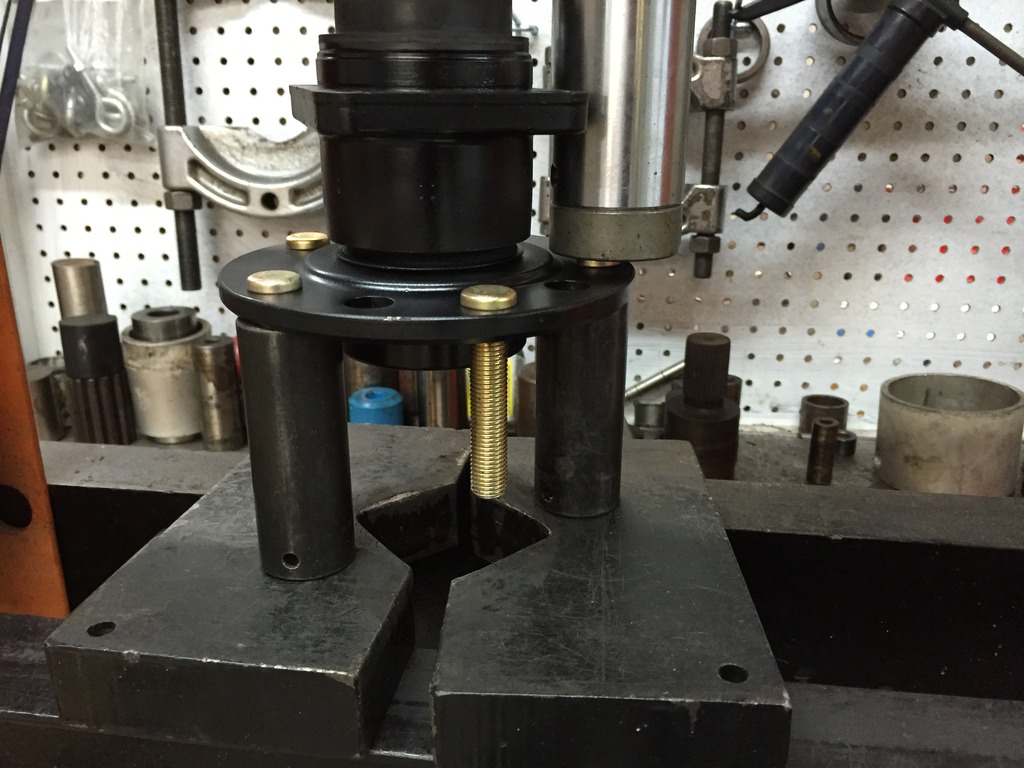
Pressing in the ARP studs..
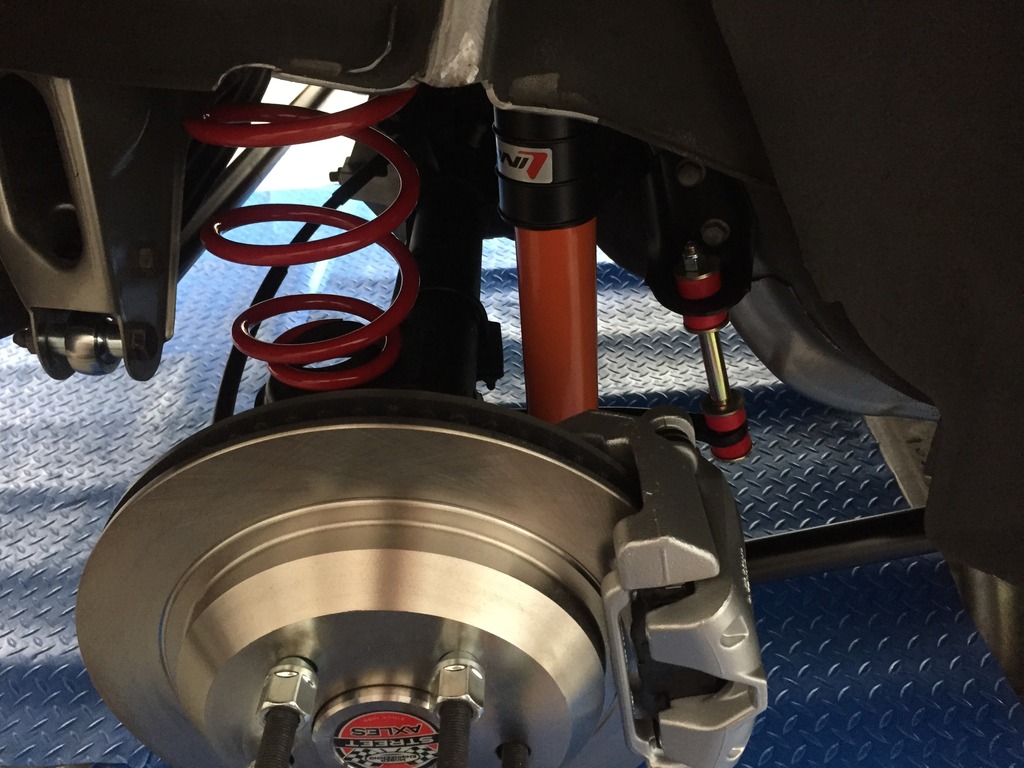
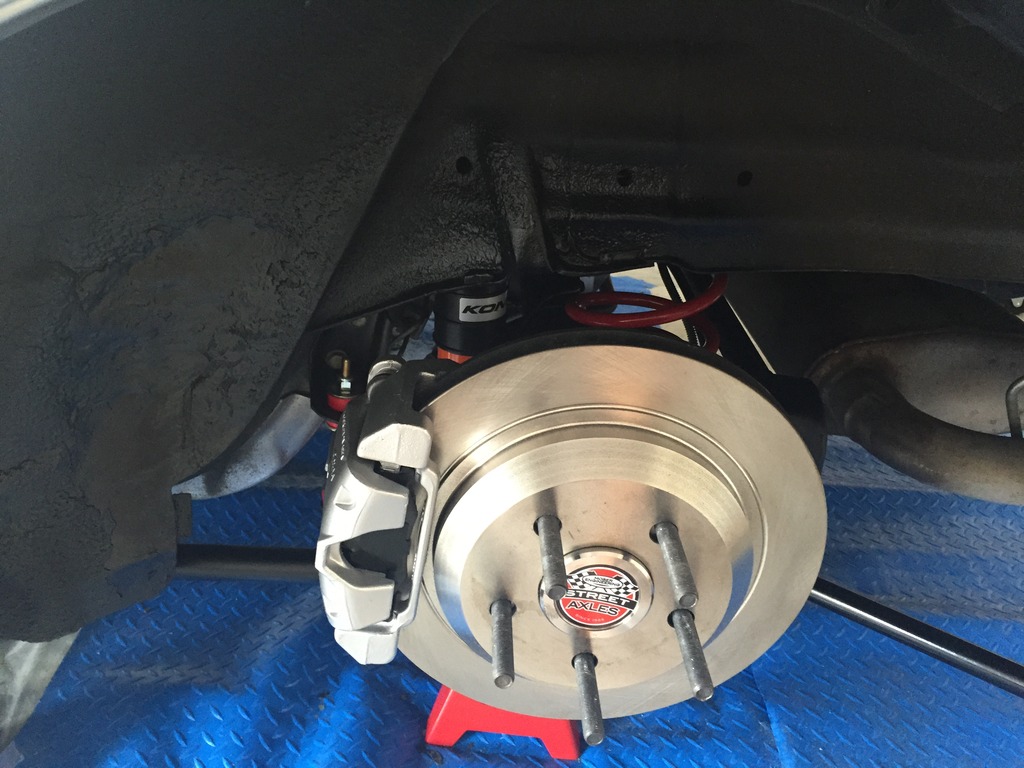
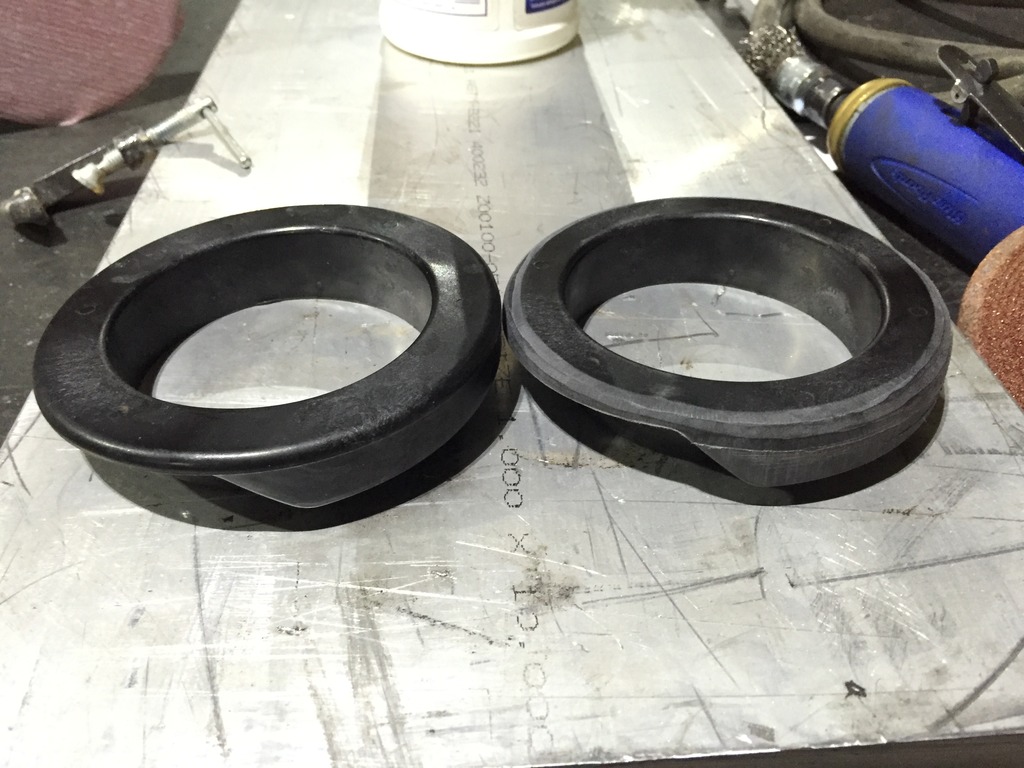
before/after front spring seat shaping for the Koni perch..
Assembled front shock assembly. Used all new Moog stuff.
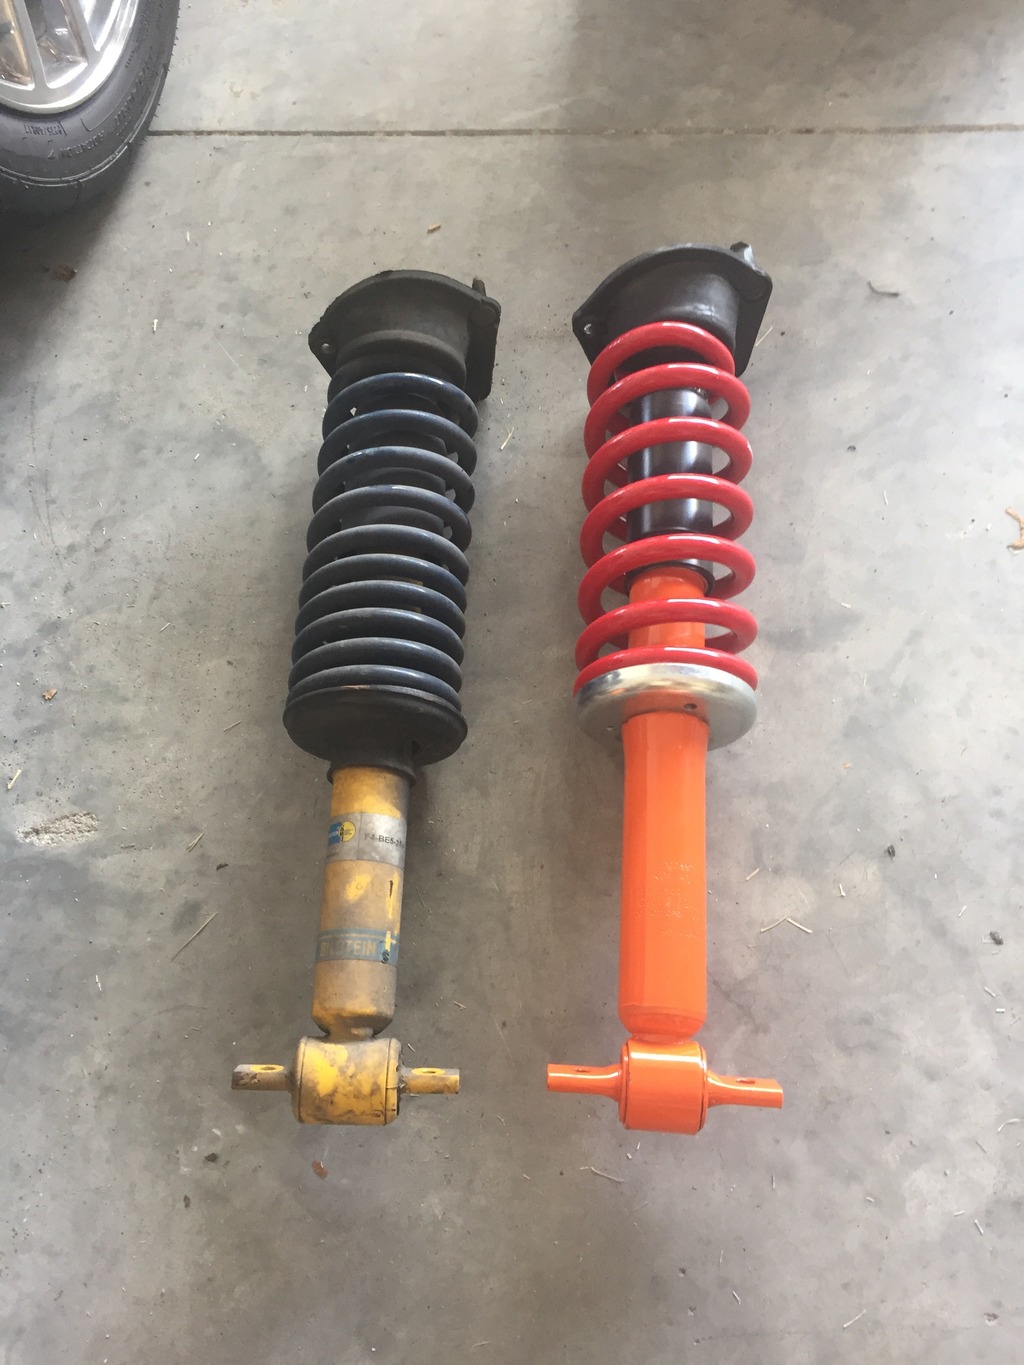
I left the spring compressed and tightened the shock nut all the way down. Installed the assembly and then de-compressed the spring. No worries on the alignment of the upper and lower shock mounts.
Ive been trying to clean the underside of the car as I go. Everything from the back of the engine to the rear bumper is pretty spotless. The stock, oxidized exhaust is the only real eyesore underneath the car.
What I started with...

Front hub before/after 5 min with a wire wheel on a die grinder.

Pressing in the ARP studs..

before/after front spring seat shaping for the Koni perch..

Assembled front shock assembly. Used all new Moog stuff.

I left the spring compressed and tightened the shock nut all the way down. Installed the assembly and then de-compressed the spring. No worries on the alignment of the upper and lower shock mounts.
 10-29-2015, 05:50 AM
#17
On The Tree
Thread Starter
Join Date: May 2014
Location: FortLauderdale/Orlando
Posts: 179
Likes: 0
Received 0 Likes
on
0 Posts
10-29-2015, 10:25 AM
#18
TECH Regular
iTrader: (2)
Join Date: Feb 2010
Location: Pittsburgh Pa
Posts: 436
Likes: 0
Received 0 Likes
on
0 Posts
Great build an shop also a big fan of the CME. Did u say you are not building it for drag?
What size are your wheels? Tires look huge.
keep up the good work thing is going to look badass.
What size are your wheels? Tires look huge.
keep up the good work thing is going to look badass.
11-02-2015, 06:17 AM
#19
On The Tree
Thread Starter
Join Date: May 2014
Location: FortLauderdale/Orlando
Posts: 179
Likes: 0
Received 0 Likes
on
0 Posts
I got the upper strut mounts and upper control arms powdercoated. Unfortunately, I completely destroyed the control arms while pressing in the bushings. I had a bunch of 7/16" nuts in the void to avoid compression, but they got all tweaked out and I threw them in the heap. I'm going to get the spindles powdercoated and a new tubular set of UCA's when I do the K-member and a more comprehensive rebuild of the front end. I cleaned up another set of UCA's I had and threw it together.
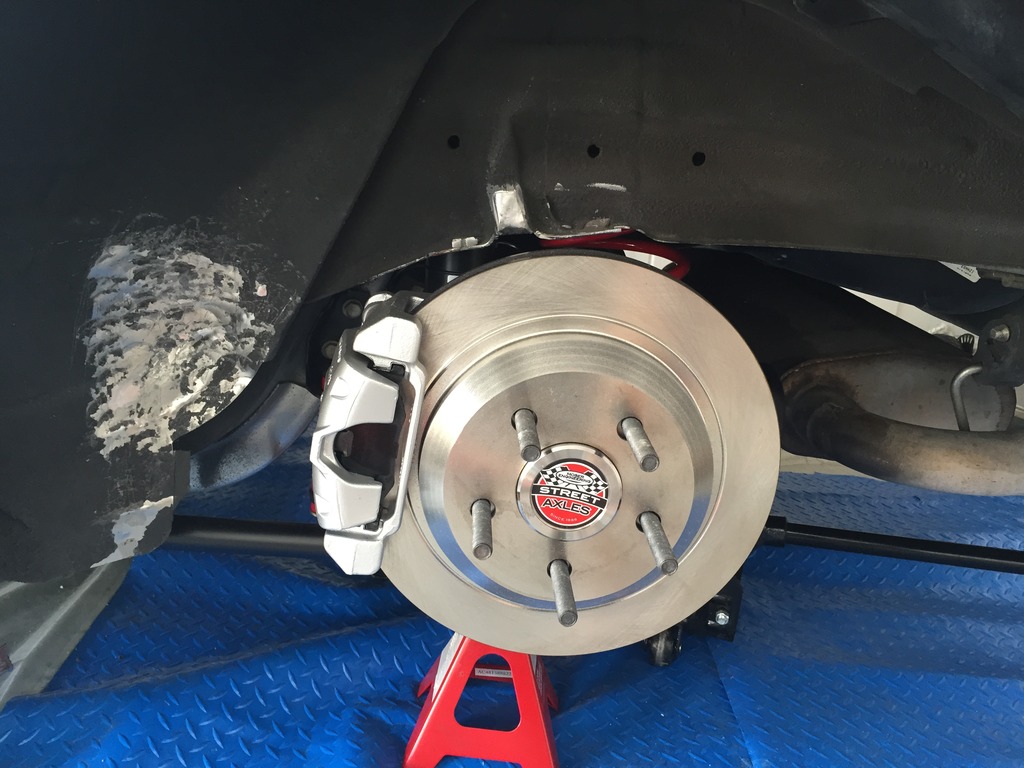
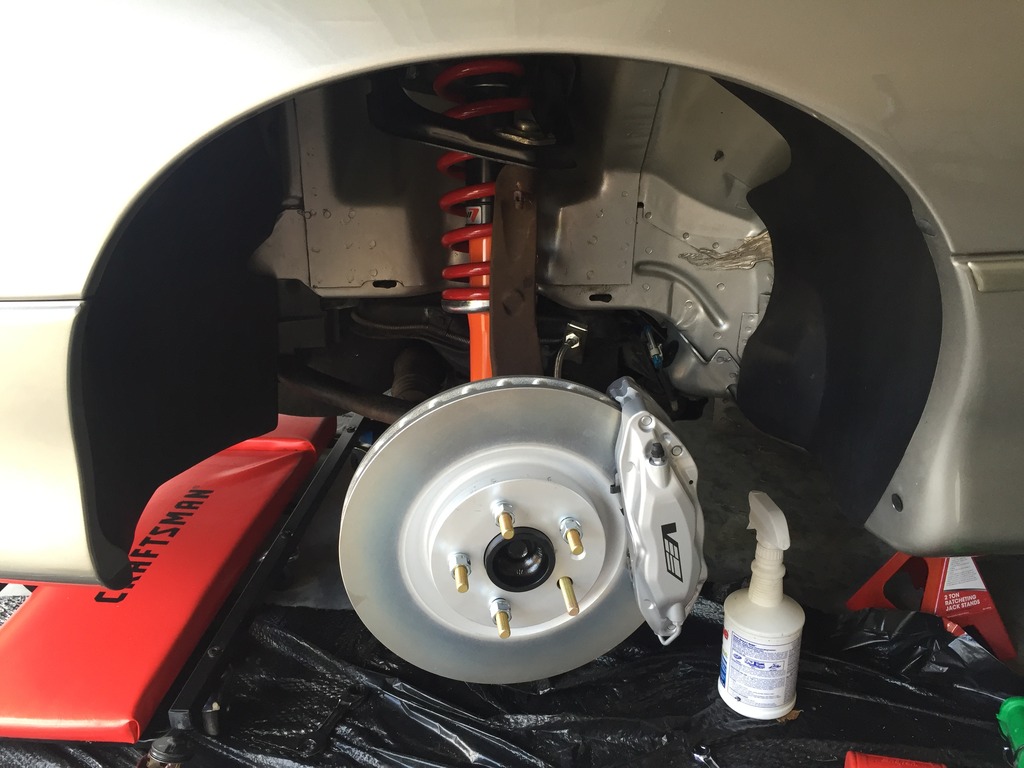
I got around to chucking up the Gen5 rotors in the lathe. Another inch and I wouldn't have been able to swing them. Kore3 lines in both the front and rear.
Got all 4 corners bled in no more than 15min with the Motive PowerBleeder. Greatest thing to happen to bleeding the brakes or clutch.

I got around to chucking up the Gen5 rotors in the lathe. Another inch and I wouldn't have been able to swing them. Kore3 lines in both the front and rear.

Got all 4 corners bled in no more than 15min with the Motive PowerBleeder. Greatest thing to happen to bleeding the brakes or clutch.


