When you click on links to various merchants on this site and make a purchase, this can result in this site earning a commission. Affiliate programs and affiliations include, but are not limited to, the eBay Partner Network.
Final routing of the fuel lines, retained with some stick on zip tie blocks. I also wrapped the ends with foam tape and installed some foam sound deadener for further protection.
I also loomed the block heater cord and bundled it up with a cushion clamp. I really dont plan on using it, but left it becuase its a weird option in my opinion.
Since I am waiting for the loom and grommets to finish the engine bay, I started tearing into the trunk area for sound deadening and stereo installation. I removed the carpet, vacuumed out the crap, wiped everything down with glass cleaner and used some cloth tape to combine the latch harness.
I also ordered a new Opti-Spark since the coil didnt solve my missing issue.
My new Opti-Spark showed up today, yes its a Cardone, yes I understand its not as good as the OEM unit, no I don't care to hear about it...
So I started tearing apart the front of the engine by draining the cooling system. I had planned on replacing the radiator hoses and t-stat anyway, so WTH. I suppose I will order a new water pump, this is the original one and only has 50k on it, but its been sitting for a longtime... I fear it will fail shortly after I get it running if I put the original. I may replace the balancer as well because Im paranoid about dry rotted rubber balancing my engine.
After some initial cleaning so I have a decent area to work in.
I sprayed the balancer down with PB Blaster and hoping I can get it off easily, if not, I'll have to go get a puller.
Last edited by 95blackm6; 03-18-2019 at 05:19 PM.
Reason: text
I finally got the balancer off, it was a bit rusty from sitting for the last 20 years. I wire wheeled it off and used some rust converting primer before painting it with engine enamel. I cleaned up the front of the engine as best I could for now and installed the new Opti. I also wrapped the Opti harness in cloth tape and put some dielectric grease on the connector seals. Next up is putting everything back together and hoping it runs.
Update: New Opti in place, water pump cleaned up and ready to go back, balancer painted and installed. I need to pickup up the water pump gaskets today so I can put it all back together. I also recieved my grommets for both sides and installed them. Finalized the routing of the hood release cable and added the wiring for the front camera. I just need to install the fender liner and tire so I can move the car our of the garage and wash out the engine bay before I run it very long...
Hood cable and camera wiring through the inner fender.
I plan on putting the camera in the center of the bowtie and relocating the front plate to the side.
Opti install is complete, balancer back on and decided to reuse the original water pump. It was just too clean and felt "tight" so I put it back on, might regret it, we'll see I guess. I also used new radiator hoses and t-stat. I was able to find the drivers side hose that is the bypass style, so no more throttle body coolant hose (much cleaner). Topped the system off with fresh coolant, had the car running to bleed it out and it shut off, wouldnt restart... I am hoping its just the ICM finally crapping out, guess I'll find out when the new one shows up.
After some clean up with a wire wheel and brake cleaner.
I worked on the car last night, mocked up the front camera, need to finalize the hole and hope that the location is good for vision.
I also put the cooling system and air intake back together, hoping to get this thing running again before the weekend. I purchased the throttle body bypass style upper radiator hose, so thats much cleaner now. I plan on getting the 95' style heater hoses to remove the feed for the throttle body as well.
Next up is the sound deadening for the interior, I am starting in the trunk and working my way forward from there.
Continued progress on the sound deadening front, I applied everything I had on hand in the hatch area. I need to order more to continue progress forward, hopefully in the next week or so.
I also had the damaged windshield removed so I can clean up all the broken glass and work on the dash/head liner.
More sound deadening on the dash, not sure if it will help anything, but easier to do with the windshield out. Ha Ha
I also routed the wiring for the alarm power, hood pin switch and siren to the drivers side of the dash.
Next up was ripping out the factory under hood liner and started making a new one with some foam sound deadener. Im not sure how I feel about it yet, we'll see how it goes when its completed.
Last edited by 95blackm6; 04-01-2019 at 09:57 AM.
Reason: text
I finally removed the broken dash, pulled out the HVAC ducting and re-routed the alarm wiring along the factory lower harness. I need to do some clean up, add the front door speaker wiring and some sound deadening.
Small steps forward (and backward), I finally decided to pull the injectors and have them cleaned/tested. Well, half of them are either not flowing or barely flowing... I guess its time for new injectors, so the search is on for some good 22# replacements.
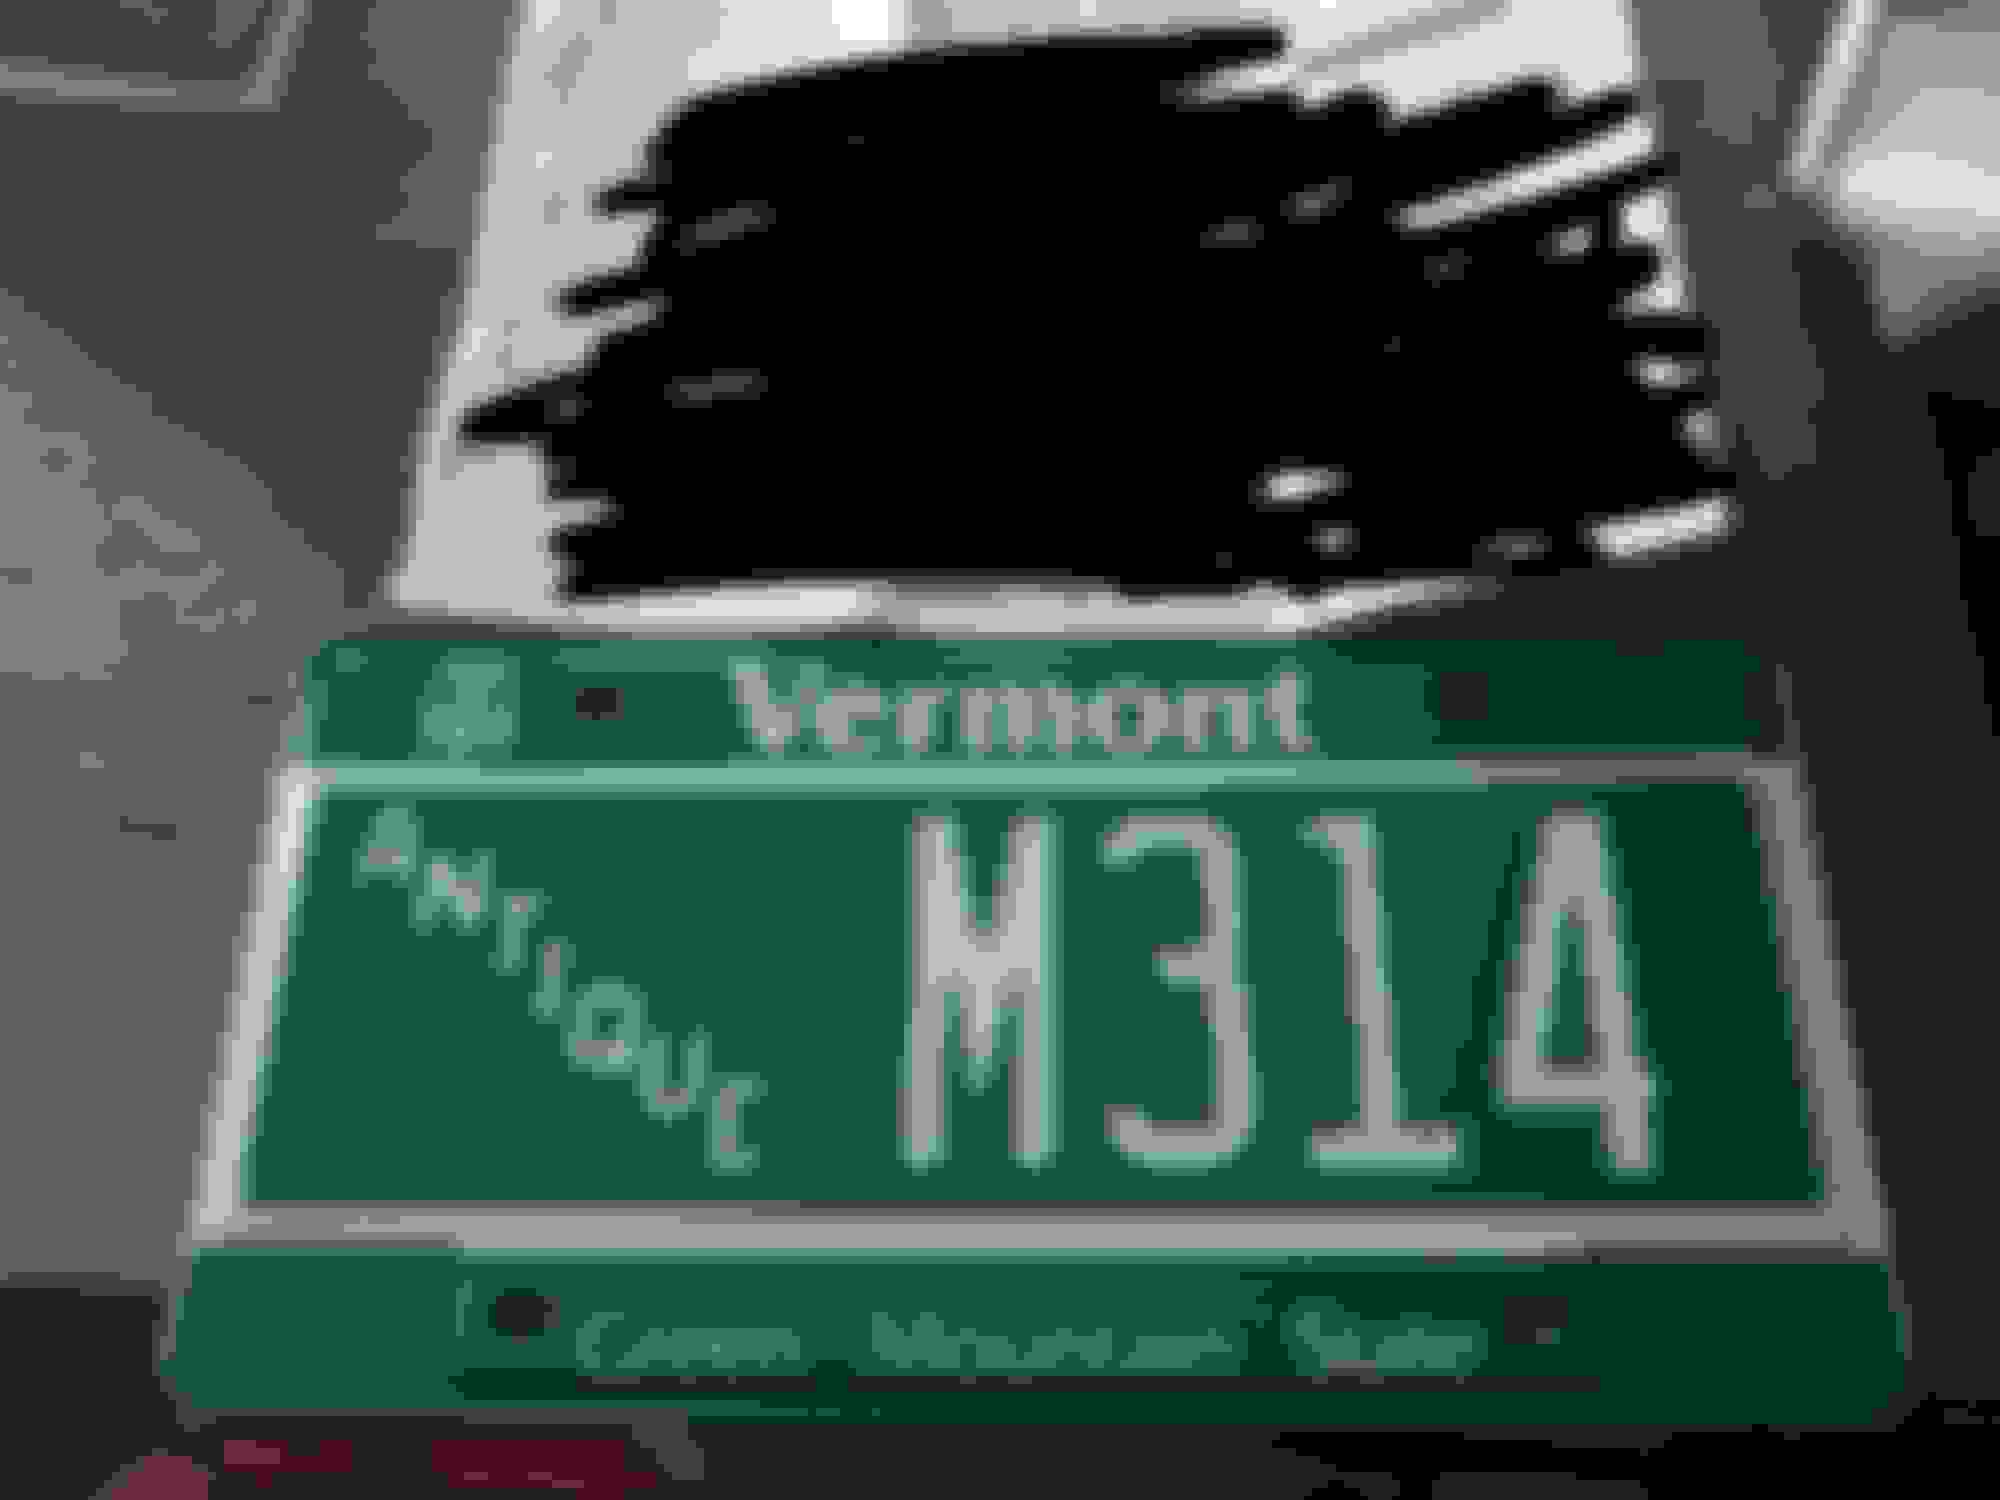
On a positive note, I did recieve my license plate, registration and sticker for the car. I am very glad Vermont doesnt mess around with vehicles and allows people to register out of state.
Also starting to break down the RPO codes on this thing.
 03-18-2019, 10:44 AM