Chevrolet Camaro 1967-2002 The forum for diehard Camaro fans

93' Sreet Car Build

Thread Tools
 
Search this Thread
 
Old 05-14-2019, 10:18 AM
  #81  
TECH Apprentice
Thread Starter
 
95blackm6's Avatar
 
Join Date: Oct 2010
Location: Colorado
Posts: 341
Likes: 0
Received 18 Likes on 18 Posts

Default

Another view, getting closer to a completed interior.


Old 05-15-2019, 09:47 AM
  #82  
TECH Apprentice
Thread Starter
 
95blackm6's Avatar
 
Join Date: Oct 2010
Location: Colorado
Posts: 341
Likes: 0
Received 18 Likes on 18 Posts

Default

More progress last night, I am working on the foot well lighting and finished up the backup camera wiring/install.


Old 05-15-2019, 09:49 AM
  #83  
TECH Apprentice
Thread Starter
 
95blackm6's Avatar
 
Join Date: Oct 2010
Location: Colorado
Posts: 341
Likes: 0
Received 18 Likes on 18 Posts

Default


Old 05-15-2019, 09:50 AM
  #84  
TECH Apprentice
Thread Starter
 
95blackm6's Avatar
 
Join Date: Oct 2010
Location: Colorado
Posts: 341
Likes: 0
Received 18 Likes on 18 Posts

Default

Backup camera will be mounted after I paint the bumper cover.

Old 05-16-2019, 09:56 AM
  #85  
TECH Apprentice
Thread Starter
 
95blackm6's Avatar
 
Join Date: Oct 2010
Location: Colorado
Posts: 341
Likes: 0
Received 18 Likes on 18 Posts

Default

Installed the headliner lastnight, used delete plates, who needs sunvisors anyway?

Old 05-20-2019, 08:30 AM
  #86  
TECH Apprentice
Thread Starter
 
95blackm6's Avatar
 
Join Date: Oct 2010
Location: Colorado
Posts: 341
Likes: 0
Received 18 Likes on 18 Posts

Default

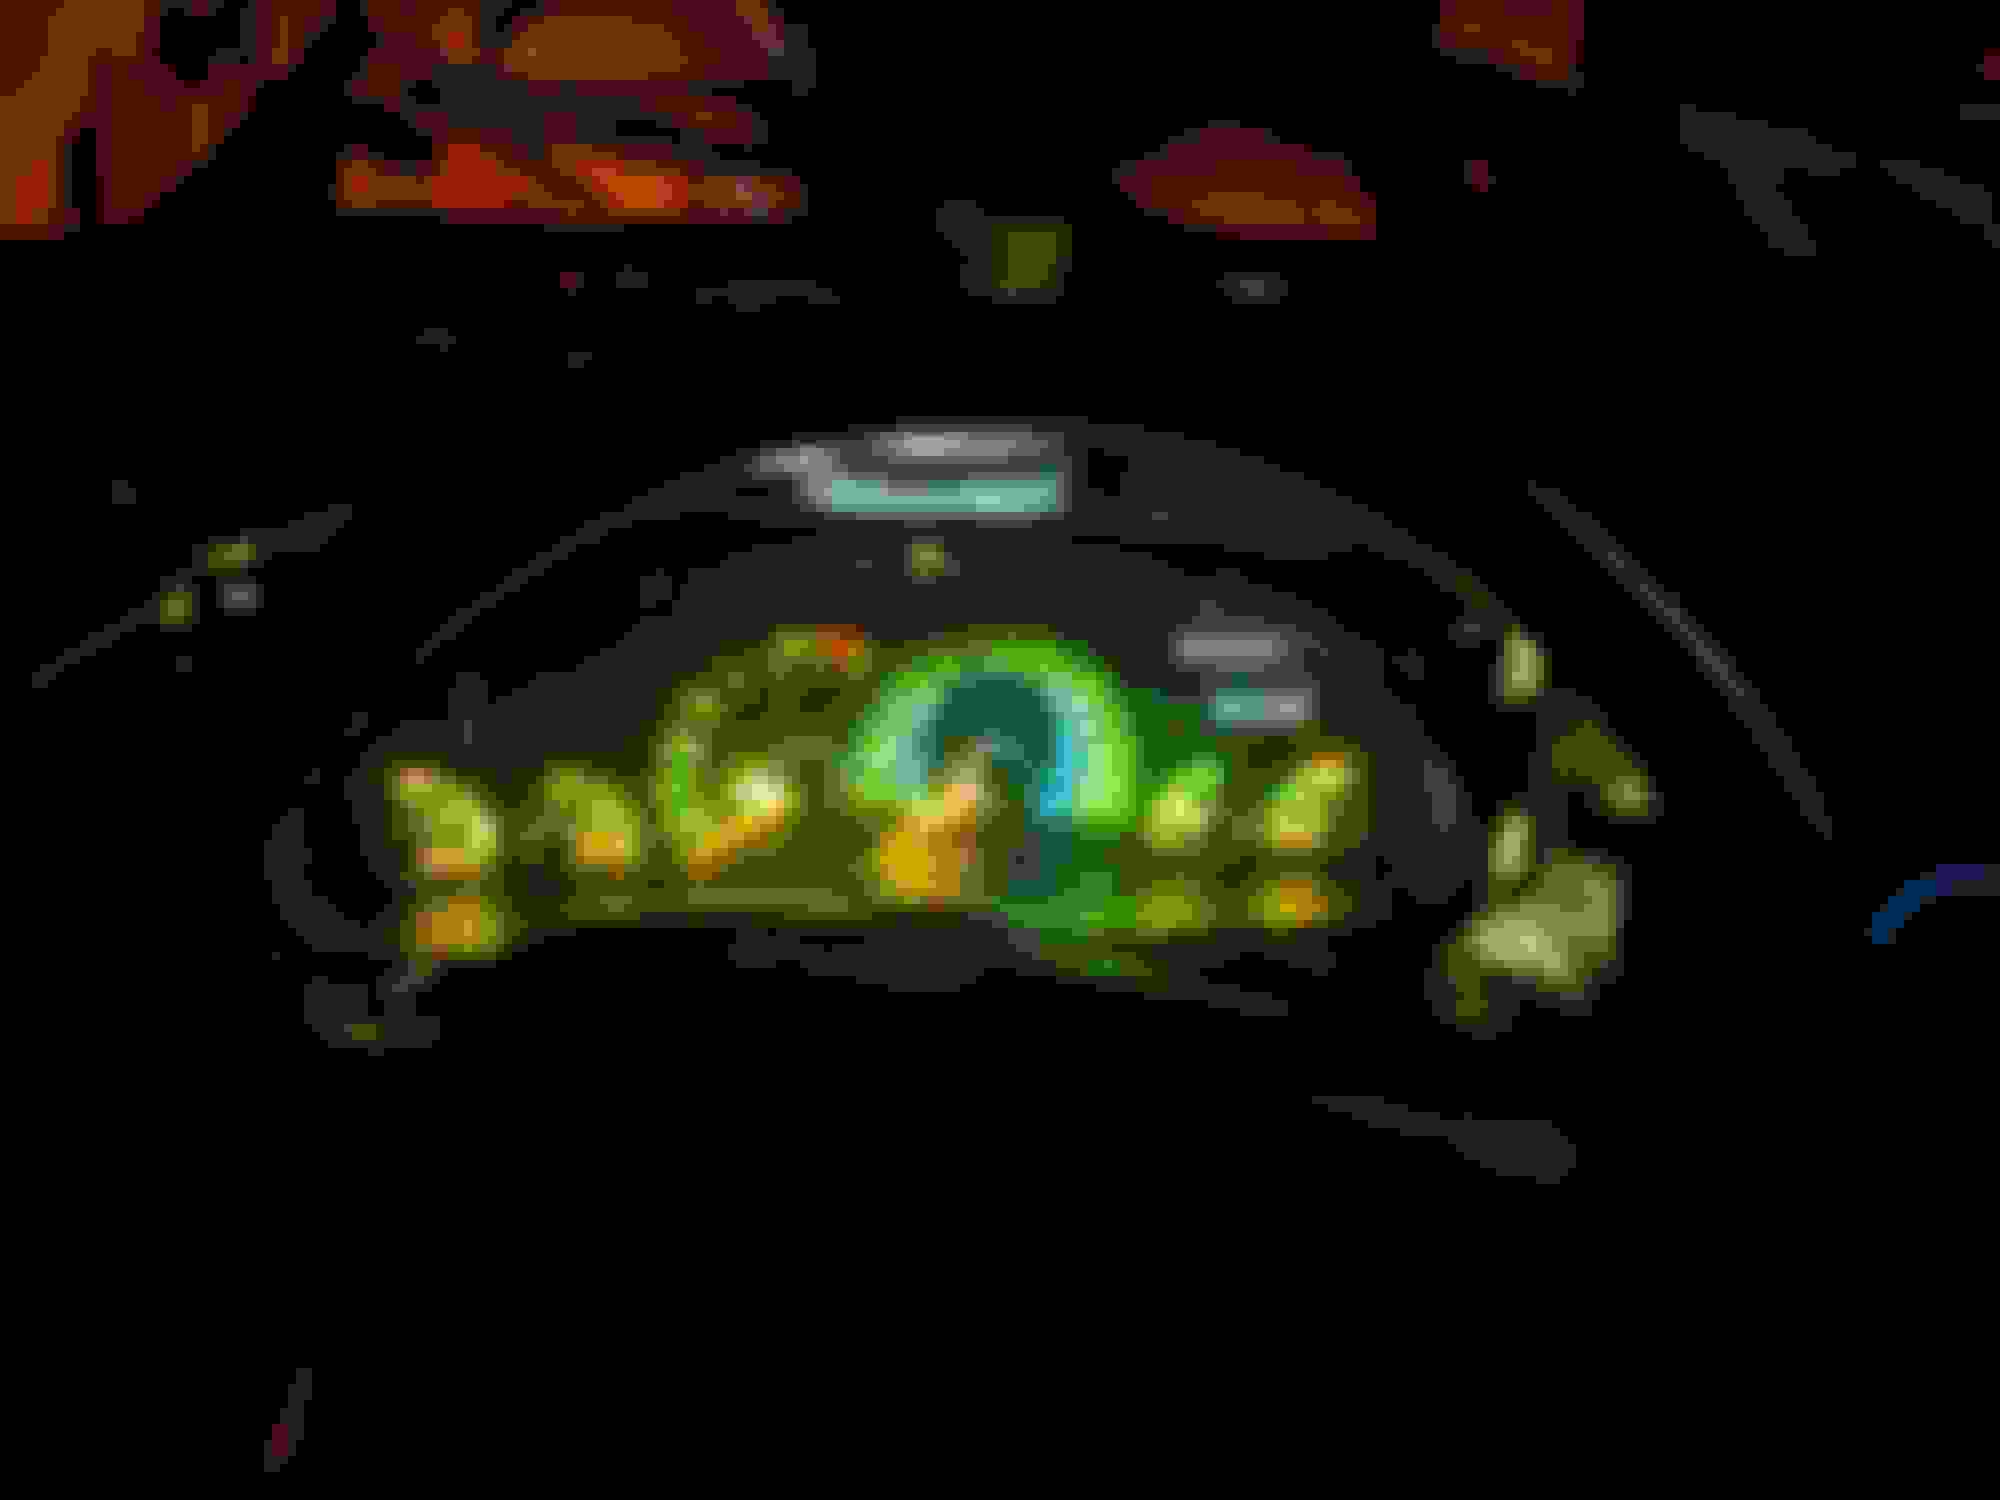
Converted the gauge cluster to LED, I had to break out the incandescent bulbs and solder LED replacements into the stock bulb holders. I couldnt find the correct bulb holders for the cluster.

Old 05-20-2019, 08:30 AM
  #87  
TECH Apprentice
Thread Starter
 
95blackm6's Avatar
 
Join Date: Oct 2010
Location: Colorado
Posts: 341
Likes: 0
Received 18 Likes on 18 Posts

Default

Old 05-21-2019, 10:17 AM
  #88  
TECH Apprentice
Thread Starter
 
95blackm6's Avatar
 
Join Date: Oct 2010
Location: Colorado
Posts: 341
Likes: 0
Received 18 Likes on 18 Posts

Default

I also swapped the dome light to LED and added courtsey lights in the hatch.

Old 05-21-2019, 10:18 AM
  #89  
TECH Apprentice
Thread Starter
 
95blackm6's Avatar
 
Join Date: Oct 2010
Location: Colorado
Posts: 341
Likes: 0
Received 18 Likes on 18 Posts

Default

Old 05-21-2019, 10:20 AM
  #90  
TECH Apprentice
Thread Starter
 
95blackm6's Avatar
 
Join Date: Oct 2010
Location: Colorado
Posts: 341
Likes: 0
Received 18 Likes on 18 Posts

Default


I used an open slot in the distribution block to power the additional lighting, they are triggered from the negative signal at the latch.

Old 05-21-2019, 03:42 PM
  #91  
TECH Fanatic
 
Nathan C's Avatar
 
Join Date: Jun 2011
Location: dayton, ohio
Posts: 1,598
Received 148 Likes on 134 Posts

Default

Bright light!
Old 05-21-2019, 03:44 PM
  #92  
TECH Apprentice
Thread Starter
 
95blackm6's Avatar
 
Join Date: Oct 2010
Location: Colorado
Posts: 341
Likes: 0
Received 18 Likes on 18 Posts

Default

Yeah, they are a little brighter than I had planned, I may have to tint them or dim them down a bit. Ha Ha
Old 05-29-2019, 03:39 PM
  #93  
TECH Apprentice
Thread Starter
 
95blackm6's Avatar
 
Join Date: Oct 2010
Location: Colorado
Posts: 341
Likes: 0
Received 18 Likes on 18 Posts

Default

Small update: I ordered all of the parts for the next phase, hoping to have everything next week sometime. Kenwood head unit & amp, Rockford Fosgate components, alarm system, etc.
Old 06-03-2019, 10:09 AM
  #94  
TECH Apprentice
Thread Starter
 
95blackm6's Avatar
 
Join Date: Oct 2010
Location: Colorado
Posts: 341
Likes: 0
Received 18 Likes on 18 Posts

Default

I recieved the stereo equipment, so I have been working on that. I made a plate to mount the amp, got it all wired up and installed.


Old 06-03-2019, 10:21 AM
  #95  
TECH Apprentice
Thread Starter
 
95blackm6's Avatar
 
Join Date: Oct 2010
Location: Colorado
Posts: 341
Likes: 0
Received 18 Likes on 18 Posts

Default

I applied sound deadener to the back side, I do not want/need any noises...


Wired up and bolted into place, hardly noticeable once in place.


Old 06-03-2019, 10:22 AM
  #96  
TECH Apprentice
Thread Starter
 
95blackm6's Avatar
 
Join Date: Oct 2010
Location: Colorado
Posts: 341
Likes: 0
Received 18 Likes on 18 Posts

Default


Old 06-03-2019, 10:24 AM
  #97  
TECH Apprentice
Thread Starter
 
95blackm6's Avatar
 
Join Date: Oct 2010
Location: Colorado
Posts: 341
Likes: 0
Received 18 Likes on 18 Posts

Default

Then I installed the rear speakers and started on the drivers door.


Old 06-03-2019, 10:25 AM
  #98  
TECH Apprentice
Thread Starter
 
95blackm6's Avatar
 
Join Date: Oct 2010
Location: Colorado
Posts: 341
Likes: 0
Received 18 Likes on 18 Posts

Default

Test fit of the sub box, these really do fit nicely.


Last edited by 95blackm6; 06-03-2019 at 10:25 AM. Reason: text
Old 06-04-2019, 12:54 PM
  #99  
TECH Apprentice
Thread Starter
 
95blackm6's Avatar
 
Join Date: Oct 2010
Location: Colorado
Posts: 341
Likes: 0
Received 18 Likes on 18 Posts

Default

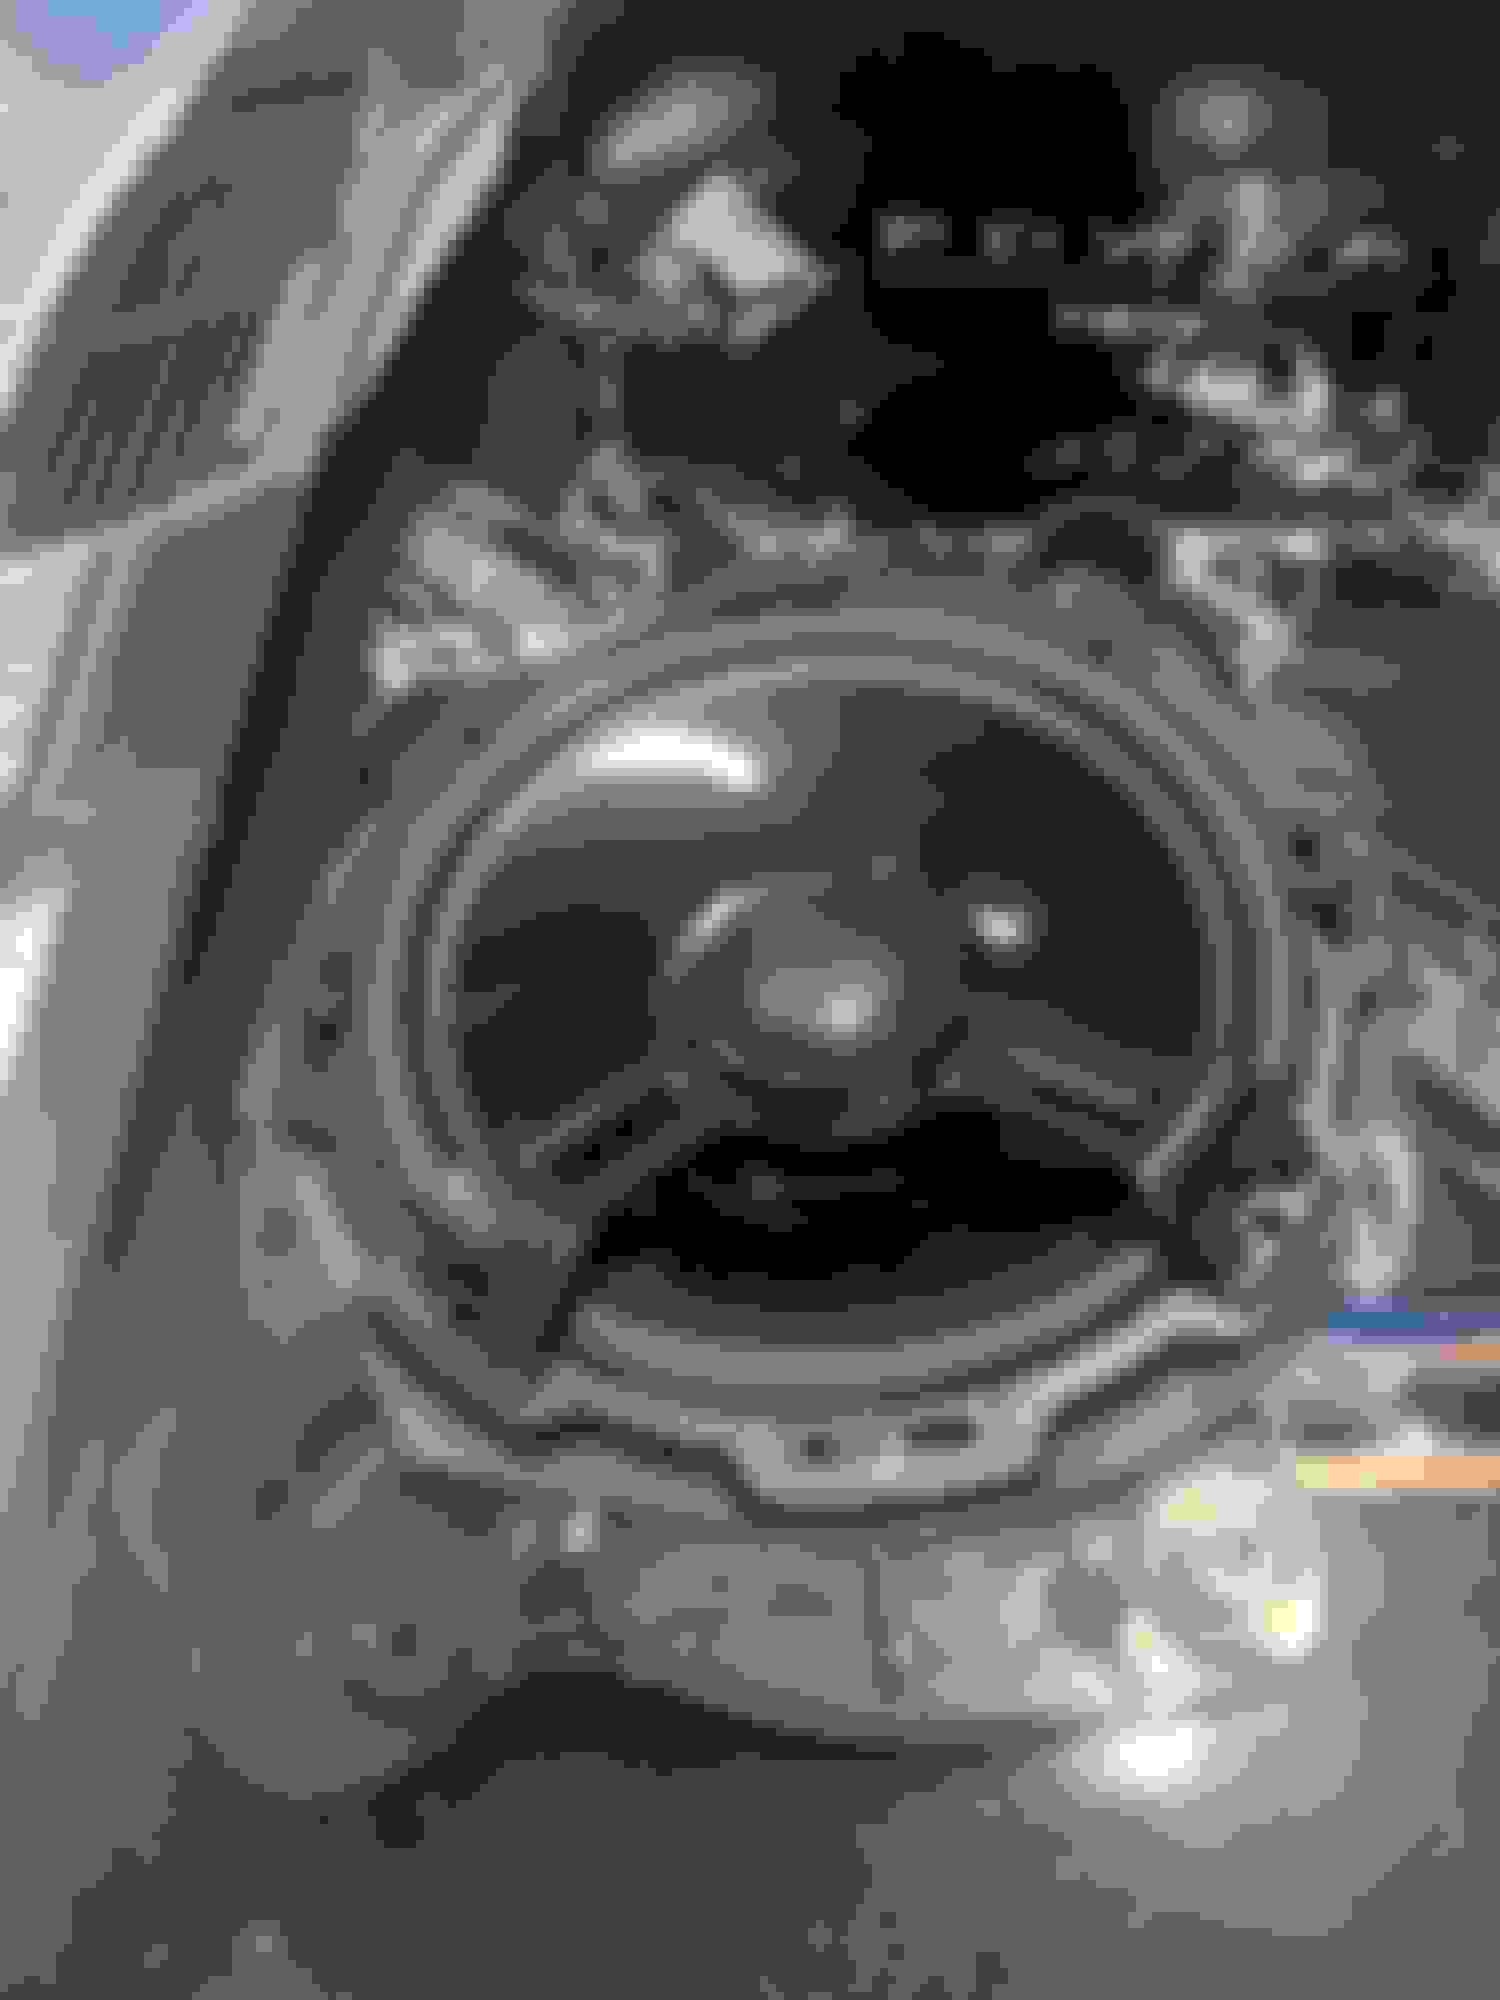
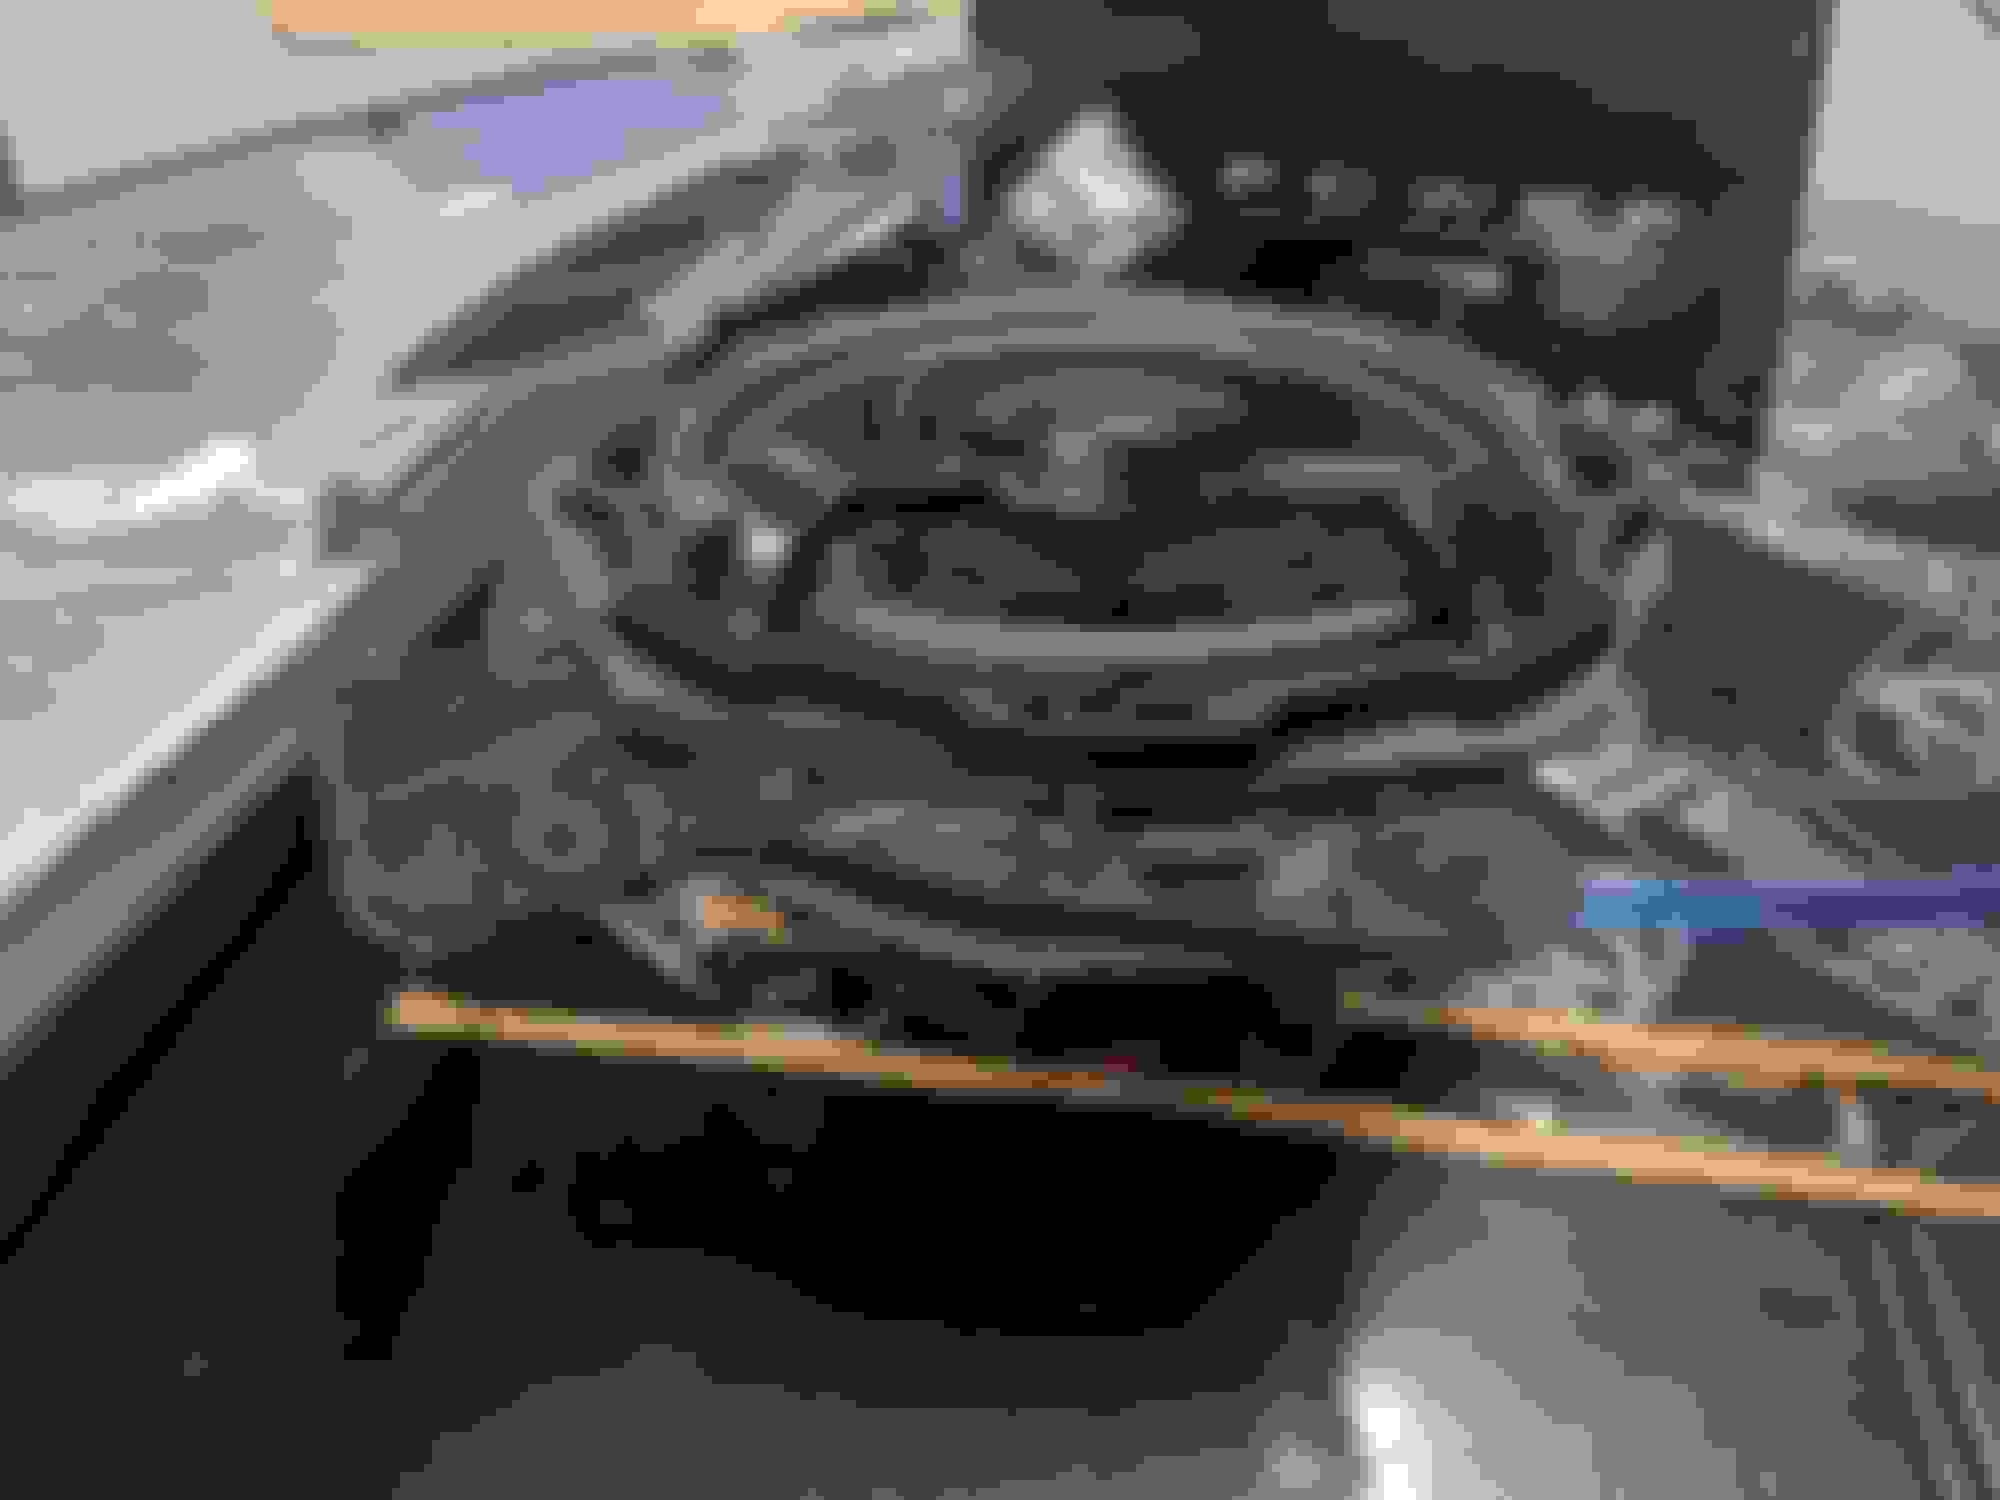
I modified the factory door speaker brackets to hold the new speakers. I am using foam baffles that I sprayed with sound deadener. I will also be sound deadening the doors (outer and inner skin) and running new wires for the speakers.


Old 06-04-2019, 12:55 PM
  #100  
TECH Apprentice
Thread Starter
 
95blackm6's Avatar
 
Join Date: Oct 2010
Location: Colorado
Posts: 341
Likes: 0
Received 18 Likes on 18 Posts

Default

Drivers door ready for sound deadening, I just need to wipe the surfaces clean.


Quick Reply: 93' Sreet Car Build


All times are GMT -5. The time now is 06:57 AM.